Seville Orange Marmalade
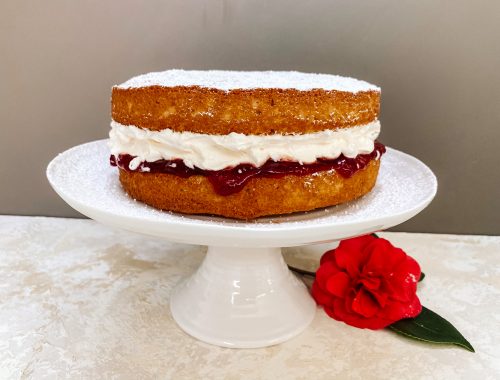
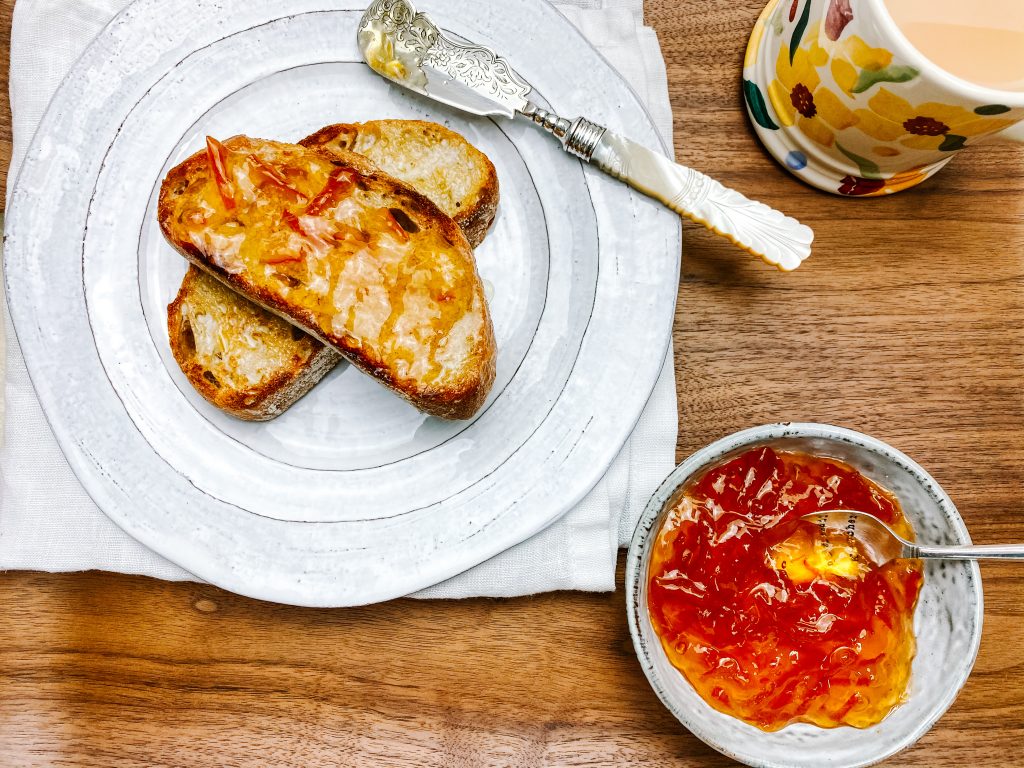
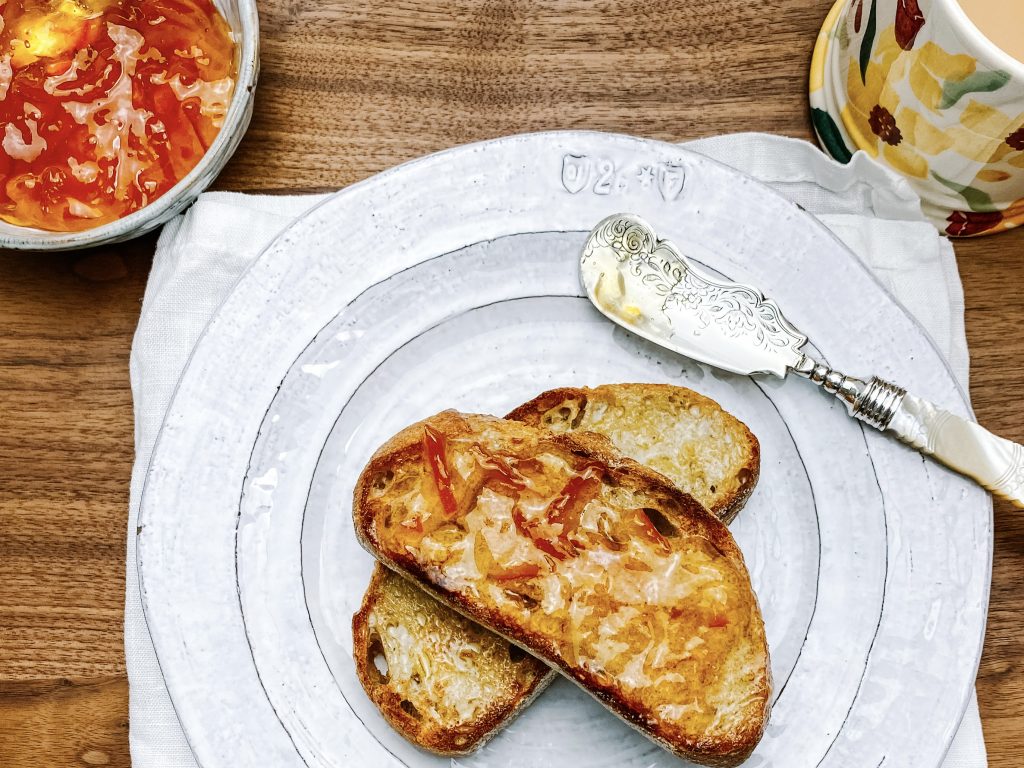
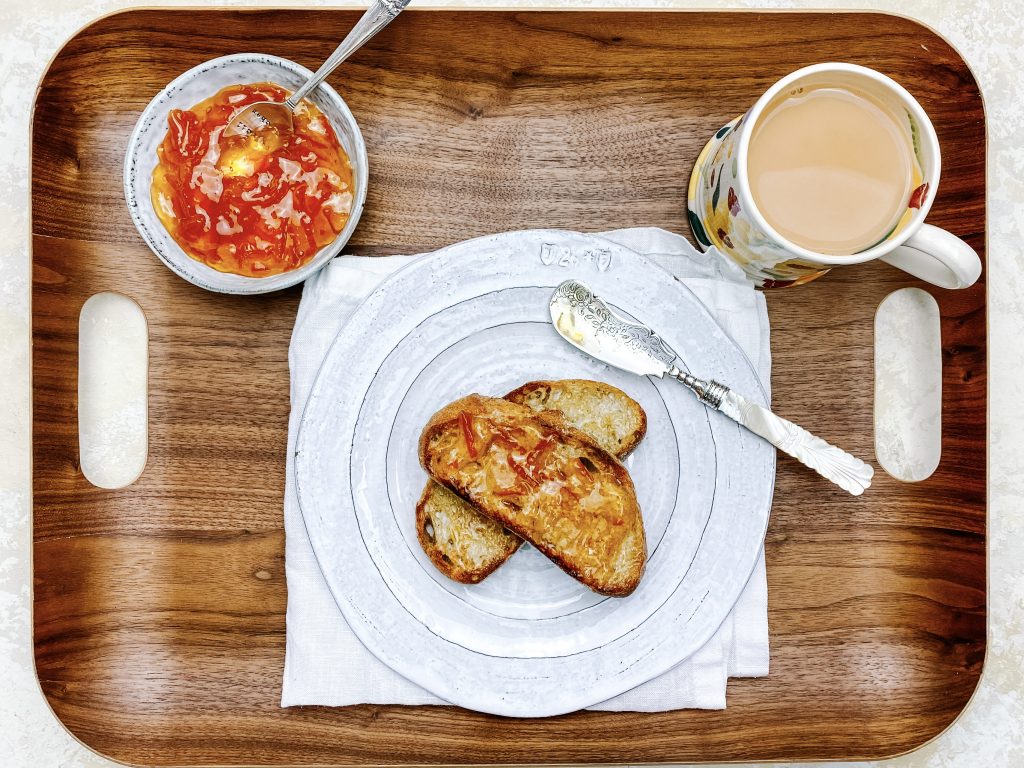
There is something quite glorious about starting the day with some hot toast, lashings of salted butter and a good dollop of homemade marmalade, Seville Orange Marmalade of course!
Raw Seville oranges are actually quite bitter, you certainly would not eat them without cooking. But combined with some sugar and cooked properly, (a badly cooked marmalade is a terrible thing!) they are utterly transformed into, arguably, one of the best and most famous preserves.
Most recipes use a lemon or two as well. Personally, I prefer using a couple of bergamot – a fabulous aromatic, sour Italian citrus fruit. However, they can be difficult to get hold of and are certainly more expensive than lemons – both work well, so your choice.
Seville oranges are in season in January, and more often than not, into early February. In the UK, it is almost impossible to find them at any other time of the year, so January is marmalade making season! Stored properly, (i.e. in a cool, dark location, free from draught and sunlight, and in thoroughly sterilised jars) your marmalade will last for months. Most guidance says to eat within a year and, once opened, store in the fridge and eat within a month. I confess, I have eaten marmalade over a year old and I tend not to store in the fridge. (Britain isn’t that hot!). I can’t say an open jar has ever lasted a month though, but it should certainly last that long, if not longer!
Please do not be put off by this very long post and so many instructions. I initially set this blog up to record recipes for my daughters to re-create when they left home. They both like very precise instructions, particularly when I am making food they don’t regularly cook for themselves.
Marmalade is not difficult to make, but it is difficult to cut corners, so it is a good idea to set a good amount of time aside, particularly the first time. I have tried to explain why certain steps are necessary – most of them I have learnt the hard way!
How to make Seville Orange Marmalade
You start making marmalade one day and finish it the next. This does spread the work, but you do need to remember to allow time to do this.
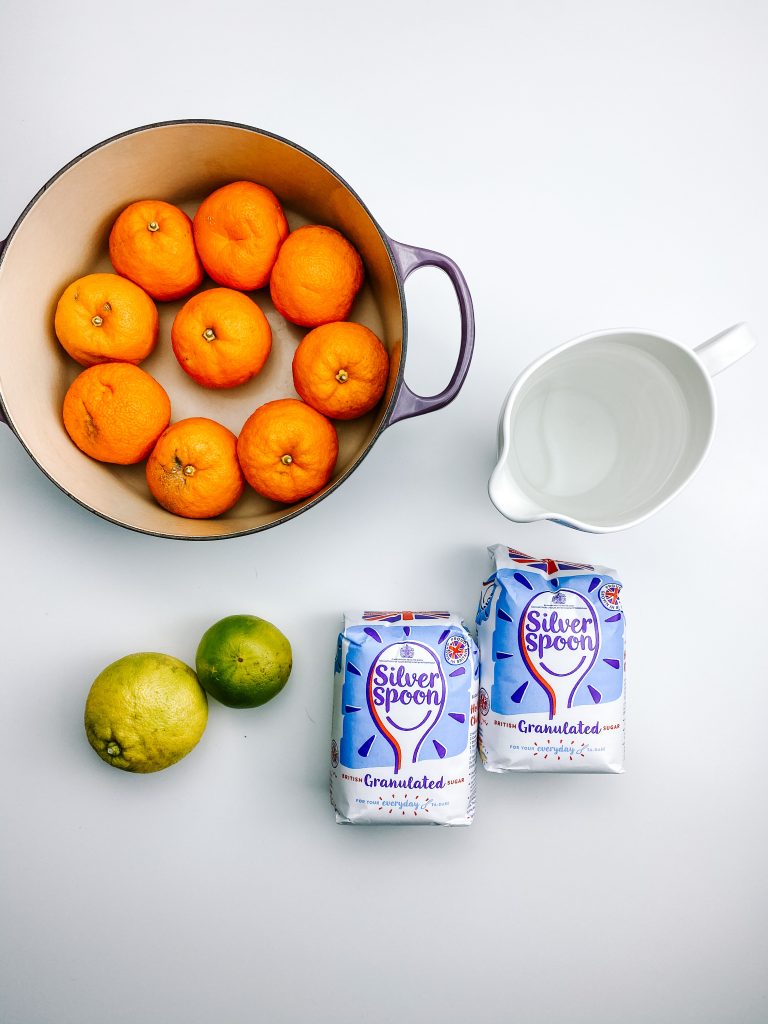
Collect all you ingredients together:
- Seville oranges
- bergamot OR lemons 3 to 4 limes
- granulated sugar
- water
Day One –
- You must start preparing the day before you want to make your marmalade. Wash the oranges and bergamot/lemons. Juice the bergamot/lemons.
- Put the oranges, whole, into your jam pot and add the water and the juice from the 2 bergamot/lemons.
- Ensure the oranges are covered by the water, if not, use a smaller pan or put a plate or bowl on top to help submerge them. They will more than likely float, so I always need a plate.
- Save the bergamot/lemon skin, pips and any excess flesh left in the reamer and transfer all to a muslin bag. Tie the top of the bag with some twine. Keep these on one side, in the fridge, until you cook the marmalade on Day 2.
- Bring to a simmer, put the lid on and cook on a low heat for 2½ hours until very soft. Turn the heat off and leave overnight.
Ingredients 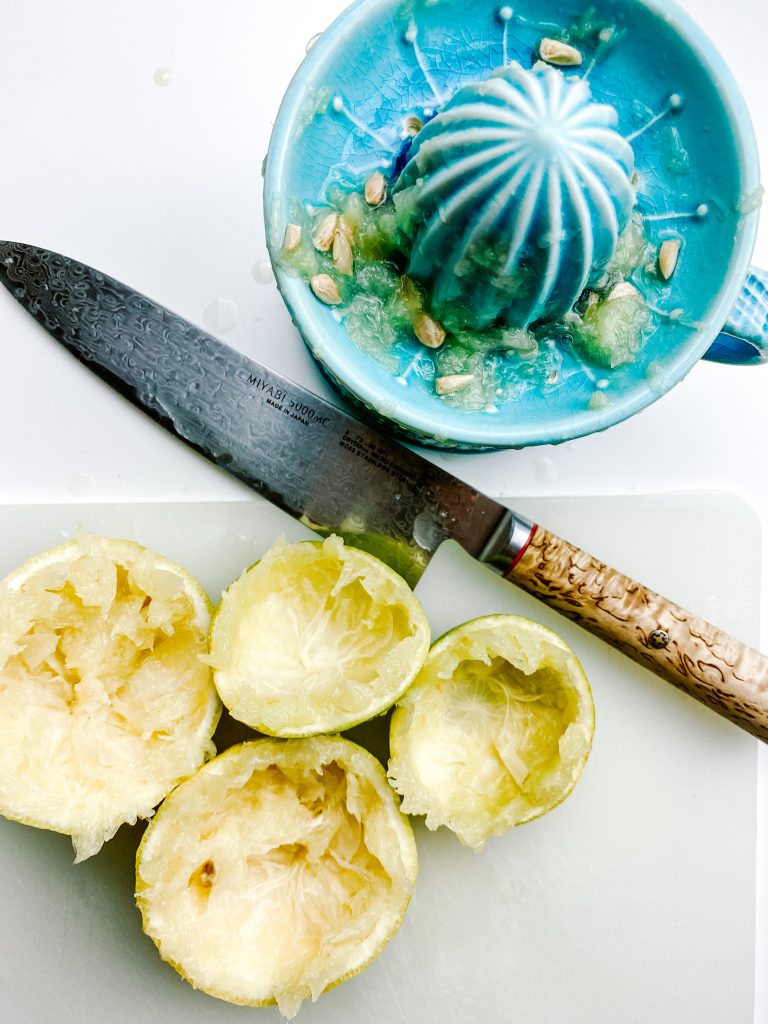
1 Juice the bergamot/lemons 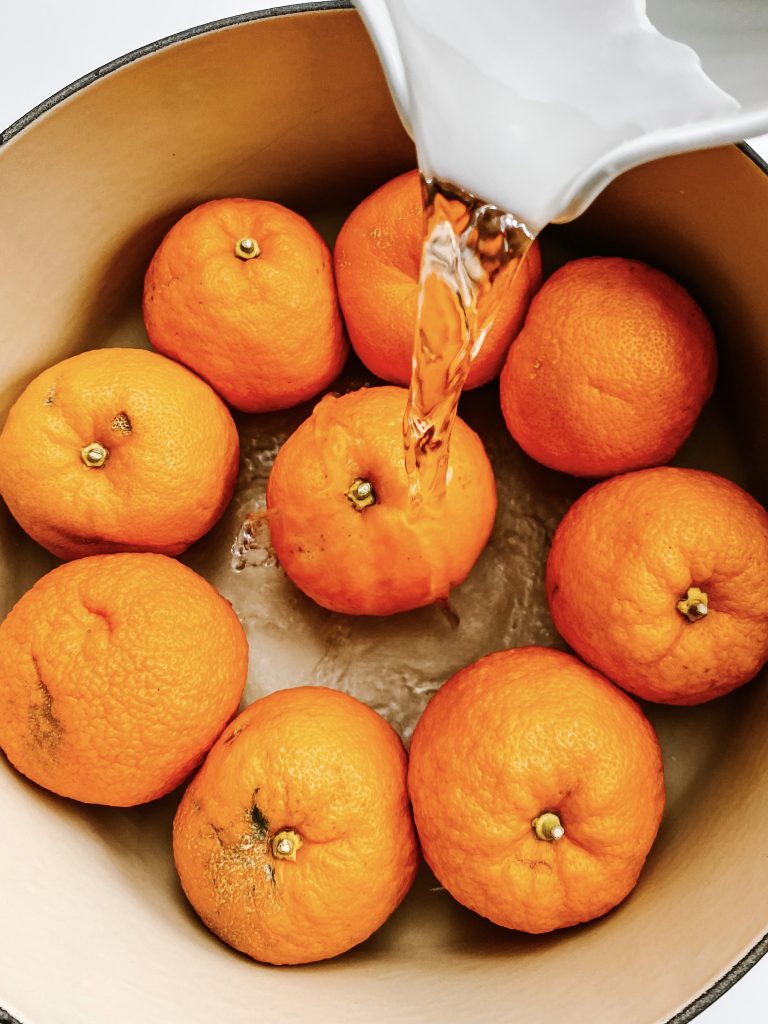
2 Add water and … 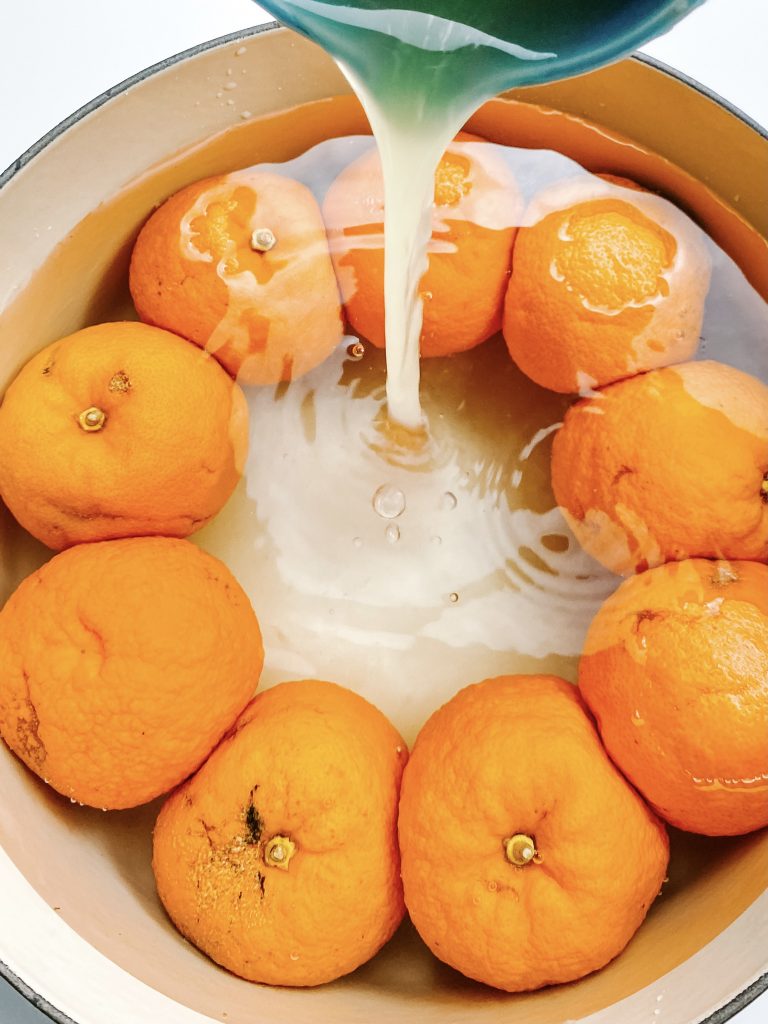
… bergamot/lemon juice 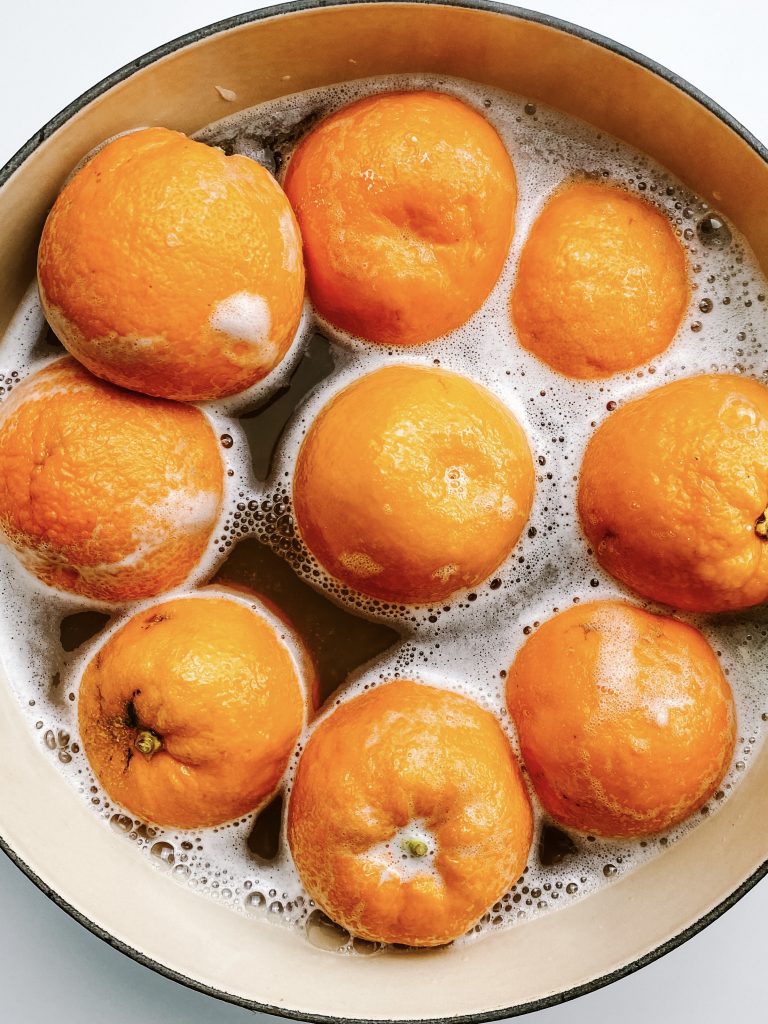
3 The oranges may float .. 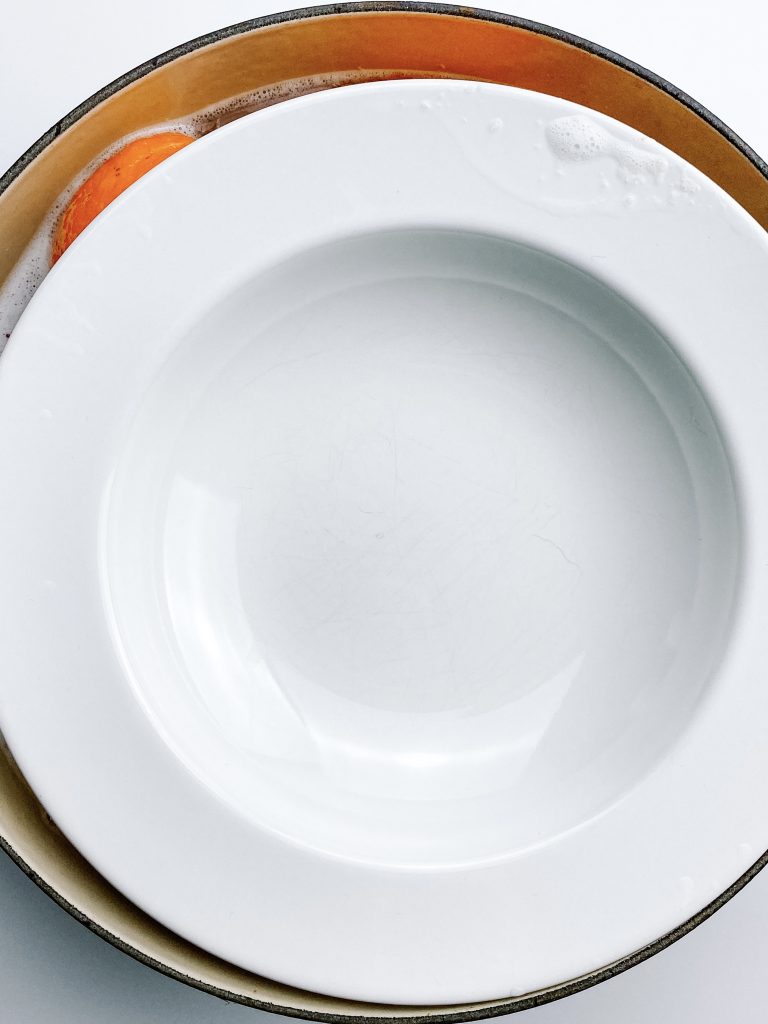
.. submerge with a plate and cover with a lid 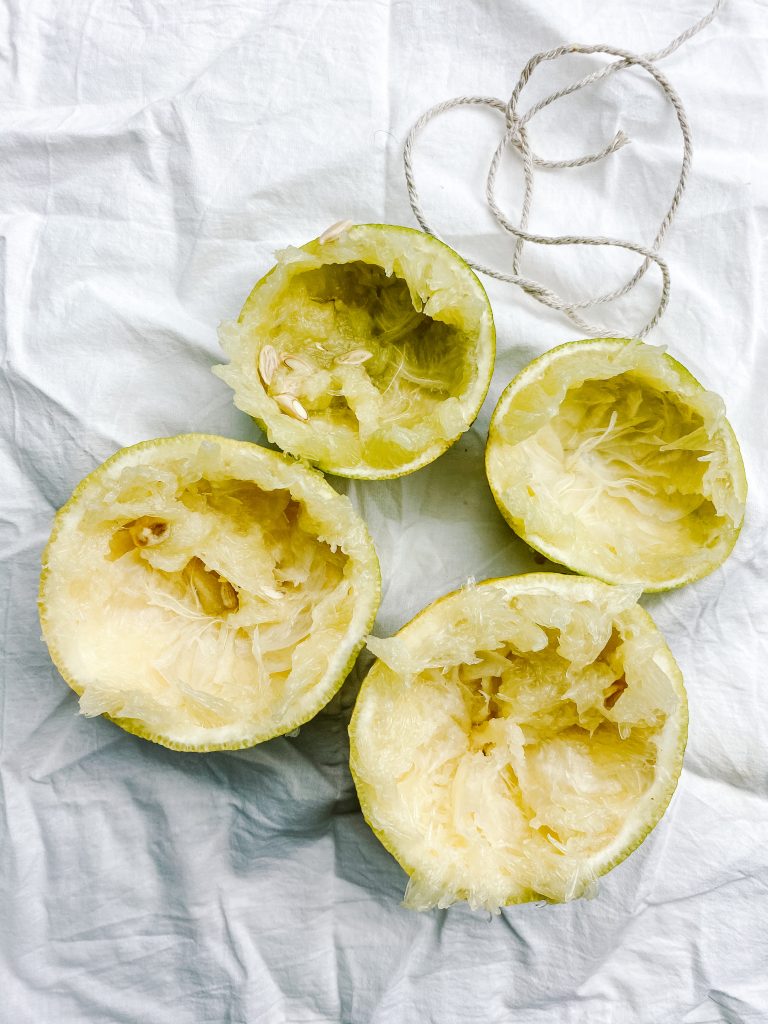
4 Save the bergamot/lemon skin, pips and any excess flesh. 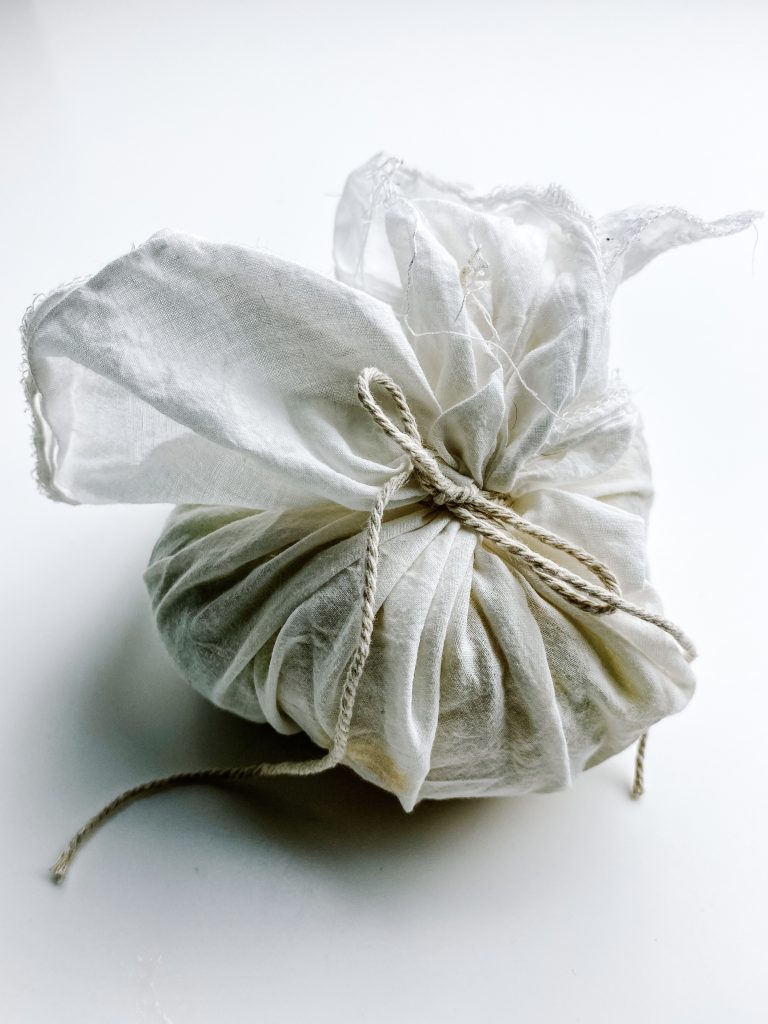
Transfer to muslin bag. Store in fridge for Day 2 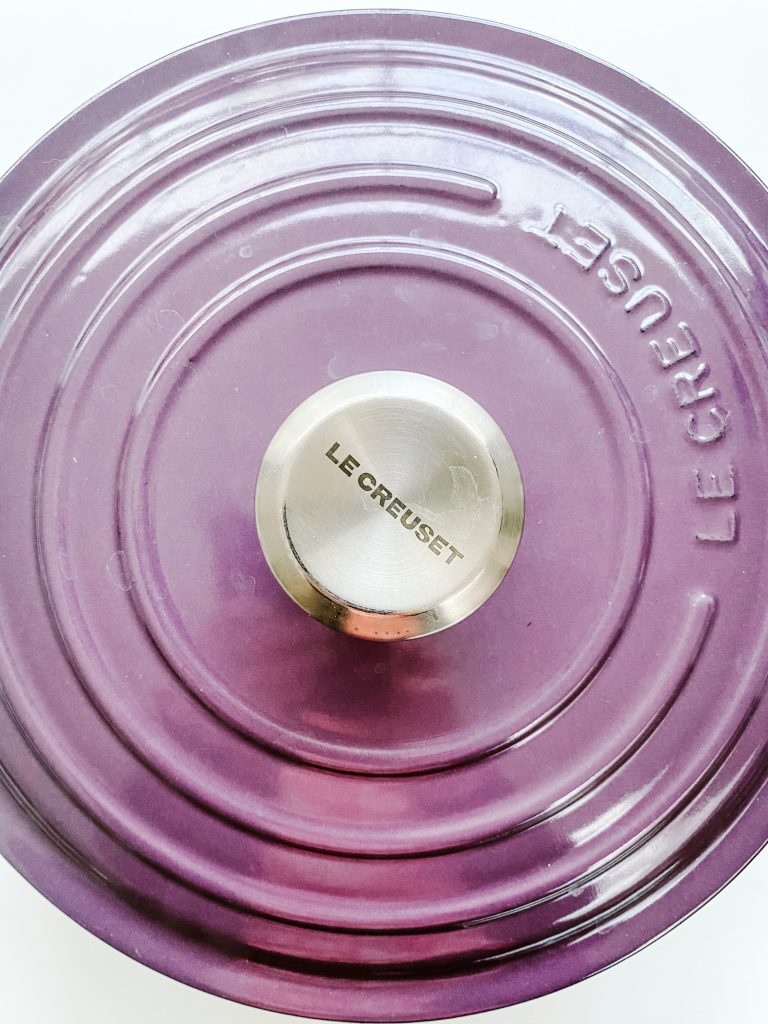
5 Simmer, lid on, for 2½ hours
Day 2 –
Start getting organised:
- Put a small plate in the freezer: you will use this to help determine when your marmalade is cooked.
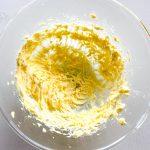
- Warm the sugar: weigh the sugar into 2 different ovenproof bowls.
- Prepare your jars: wash your jars and lids in hot water and place on a baking tray. Place the jars and lids in a cold oven with the sugar.
- Turn the oven on to Fan Oven 110°C/130°C/250°F/Gas ½
1 Put plate in freezer 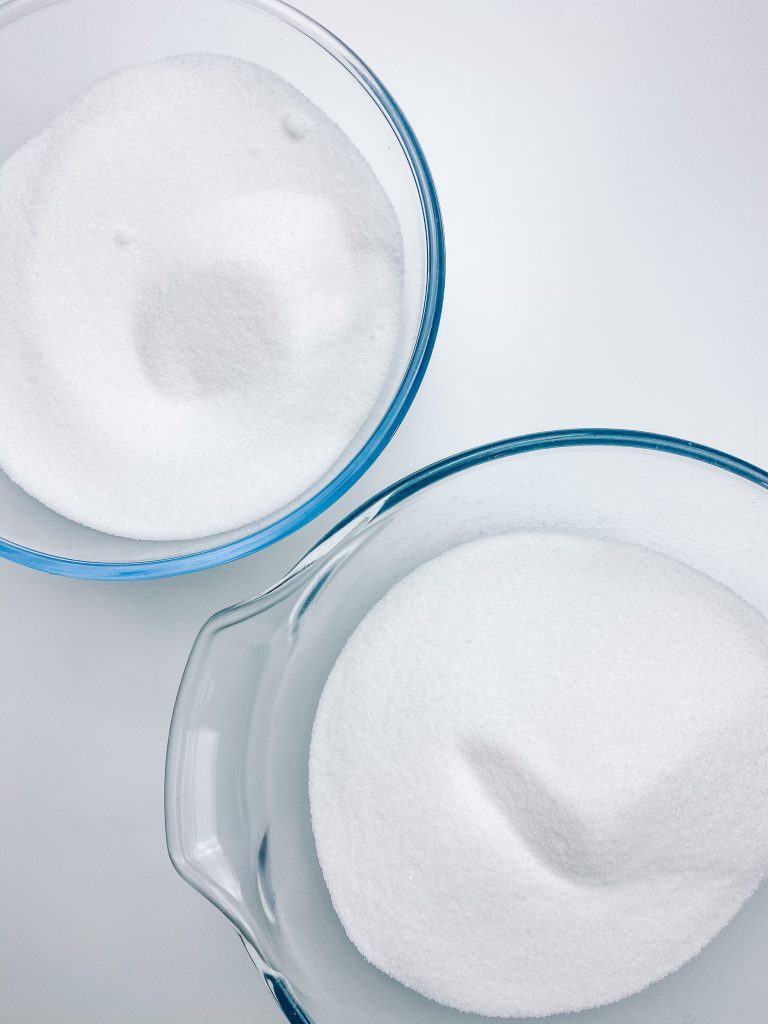
2 Weigh sugar into 2 bowls 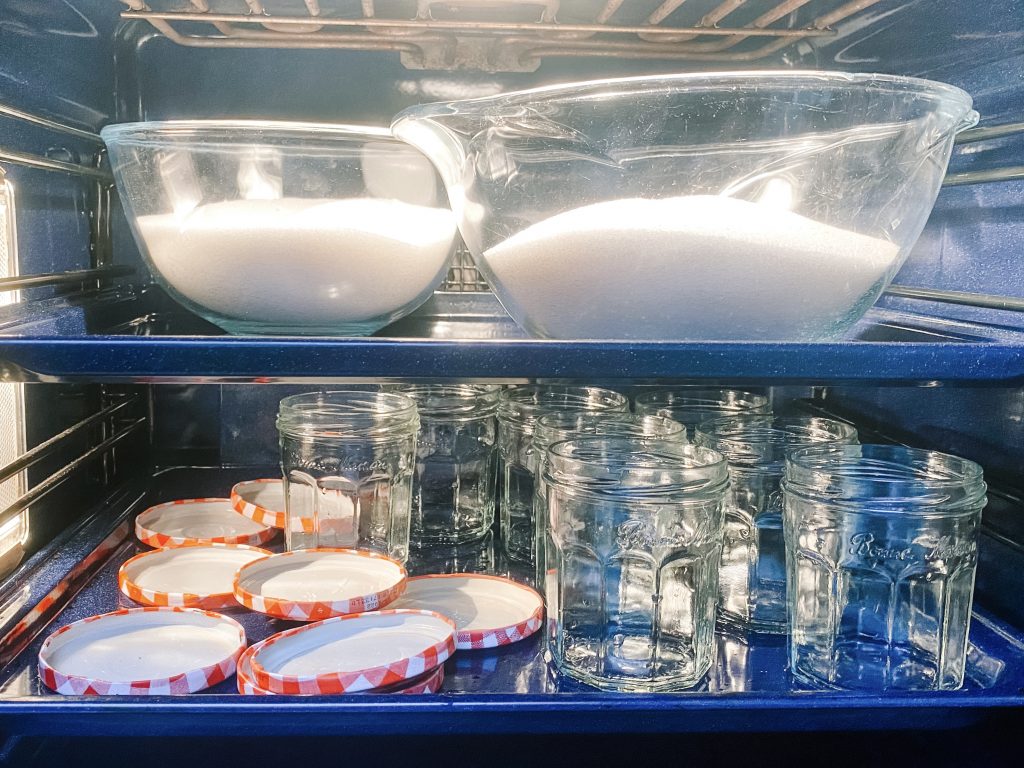
3 Put sugar and jam jars in the oven
Now prepare the oranges:
- Remove the oranges from the water: use a slotted spoon to remove the oranges from the water. Transfer the oranges to another bowl.
- Check you have 750ml of liquid left: if it is less, add some water to make it up to 750ml and put it back in the pan. If more, transfer back to the pan and bring to the boil. Reduce and measure again to check you have the correct amount. Wash out the pan
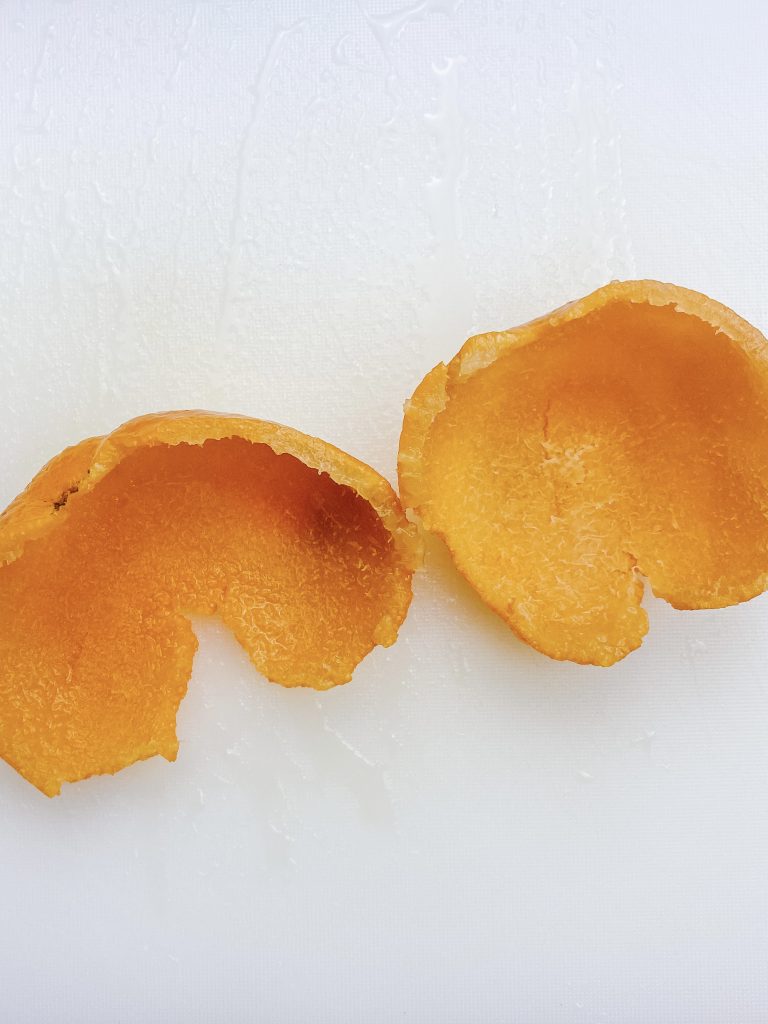
- Prepare the oranges: cut the Seville oranges in half and, using a spoon, scoop all the pith, flesh and seeds directly into the clean pan Scrape as much as possible from the skin. The skins will be very delicate, so handle them carefully. Don’t worry if they break up – you will be slicing them up anyway.
- Cook the juices and orange flesh with the lemon skins: add the orange liquid and lemon skins in the muslin to the pan.
- Put on a moderate heat and bring to a fast simmer. Cook for 6 minutes and then take off the heat.
- Strain the cooking juices: put a sieve over a bowl and line the sieve with a muslin cloth.
- Remove the muslin bag with the lemon skin and set aside in a bowl.
- Pour the contents of your pan into the sieve and leave to strain.
- Wash out the pan again.
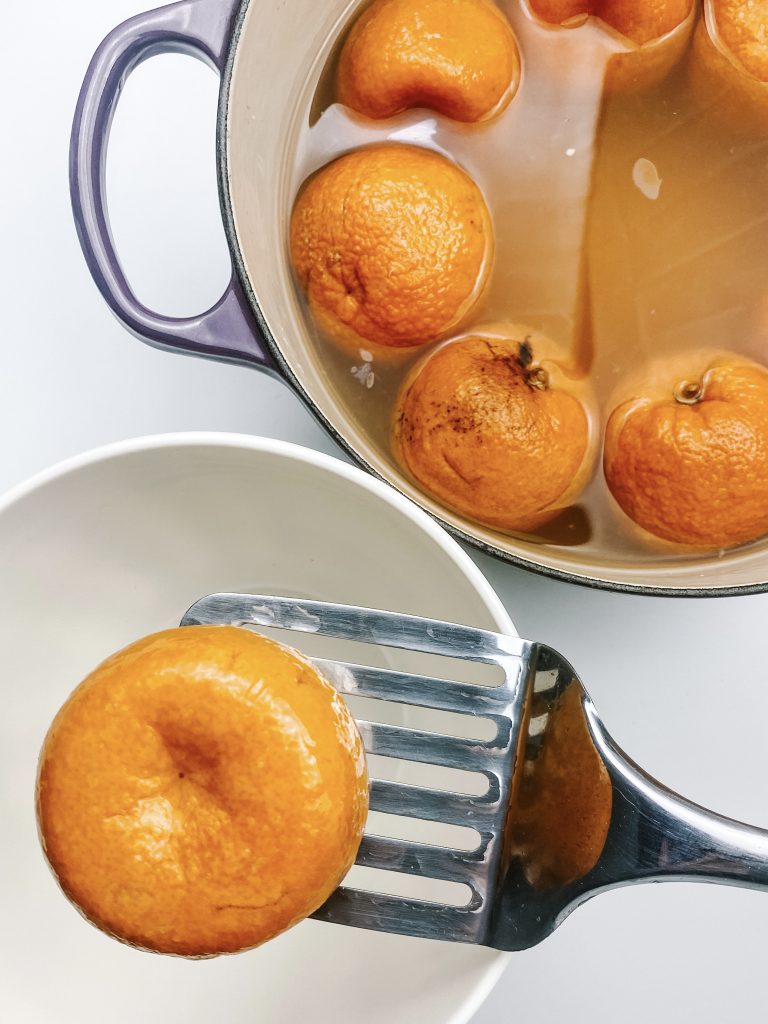
1 Remove oranges into.. 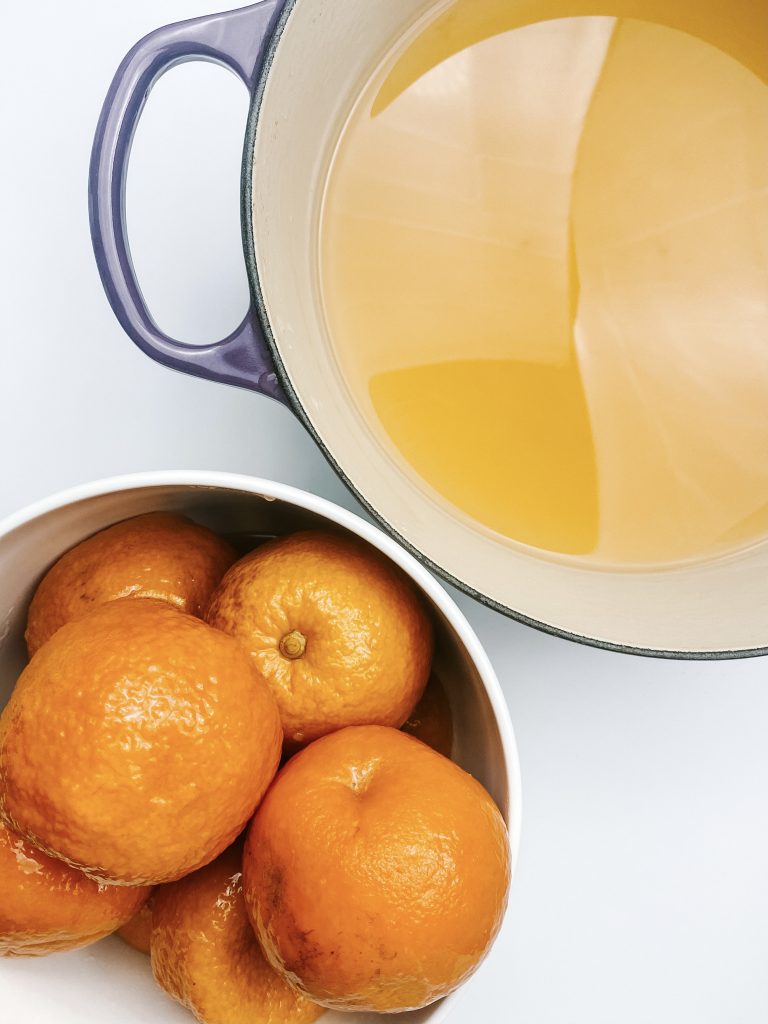
… another bowl 
2 Check liquid volume. If too much… 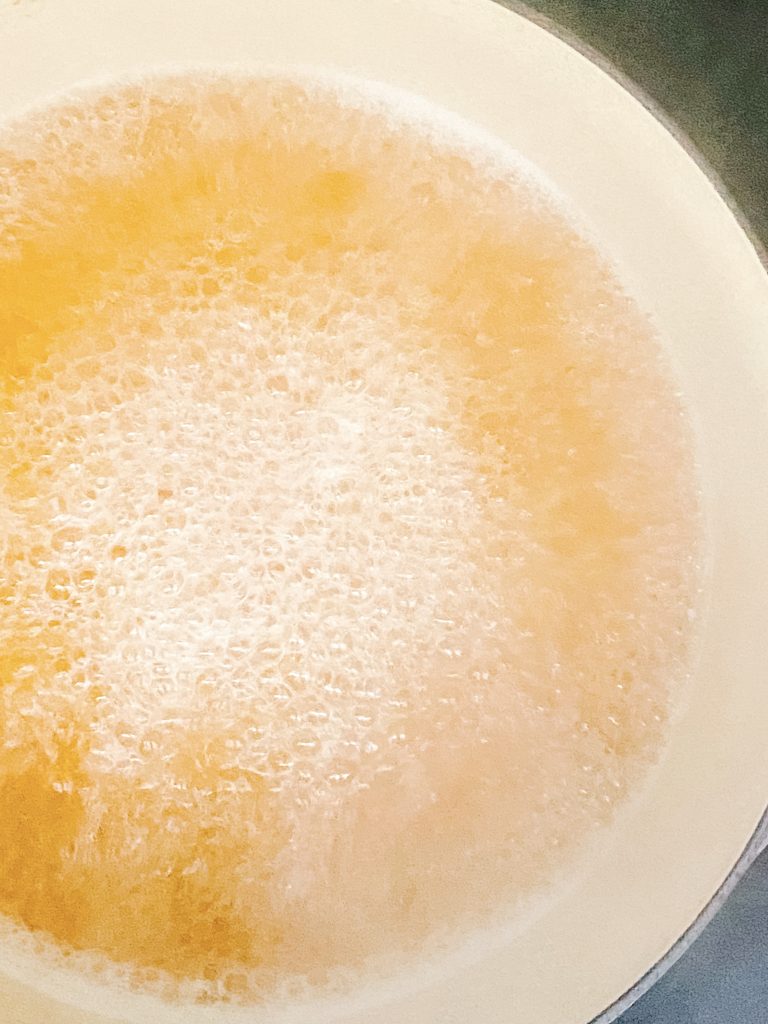
… boil to reduce. 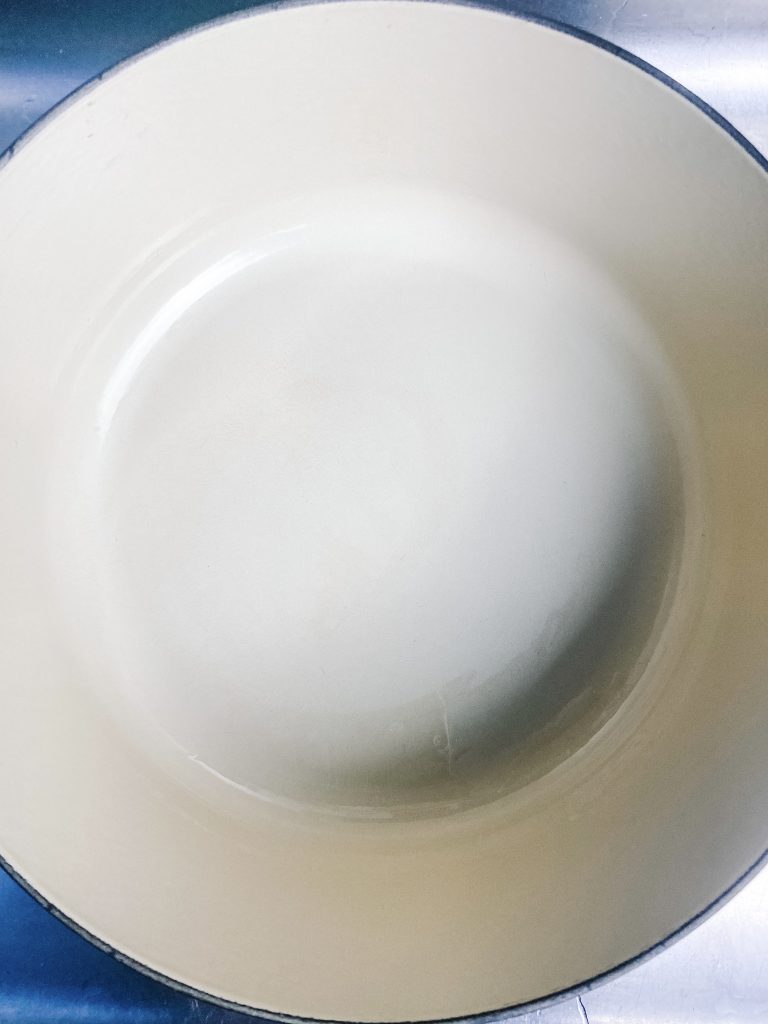
Wash out the pan. 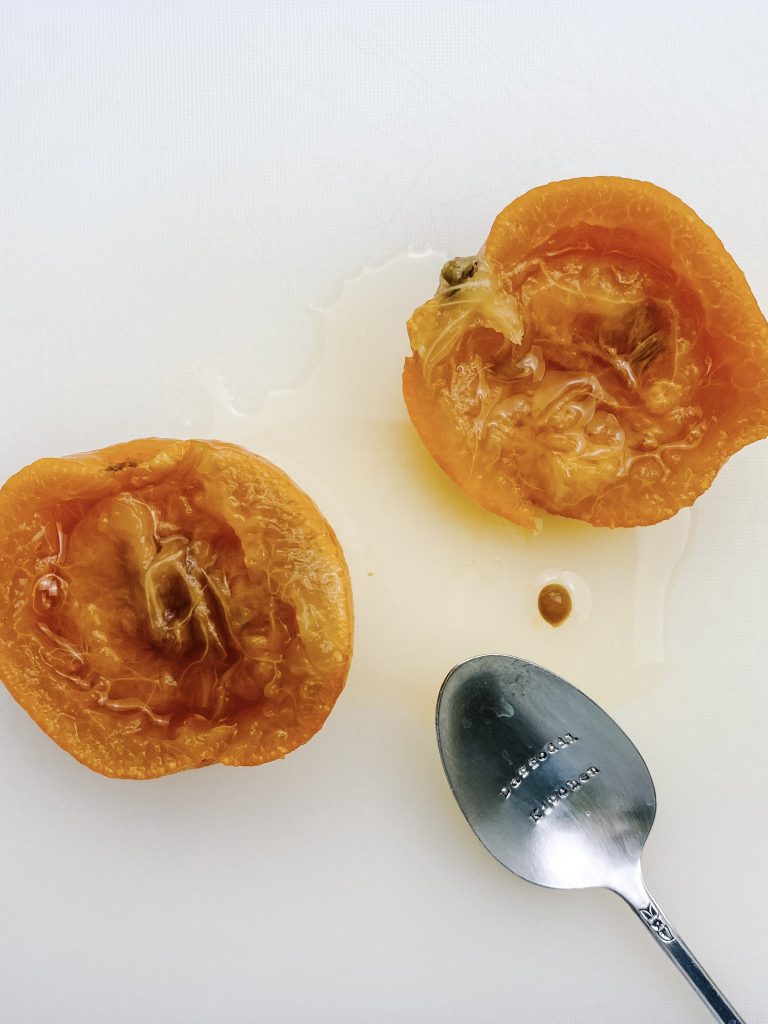
3 Cut oranges in half.. 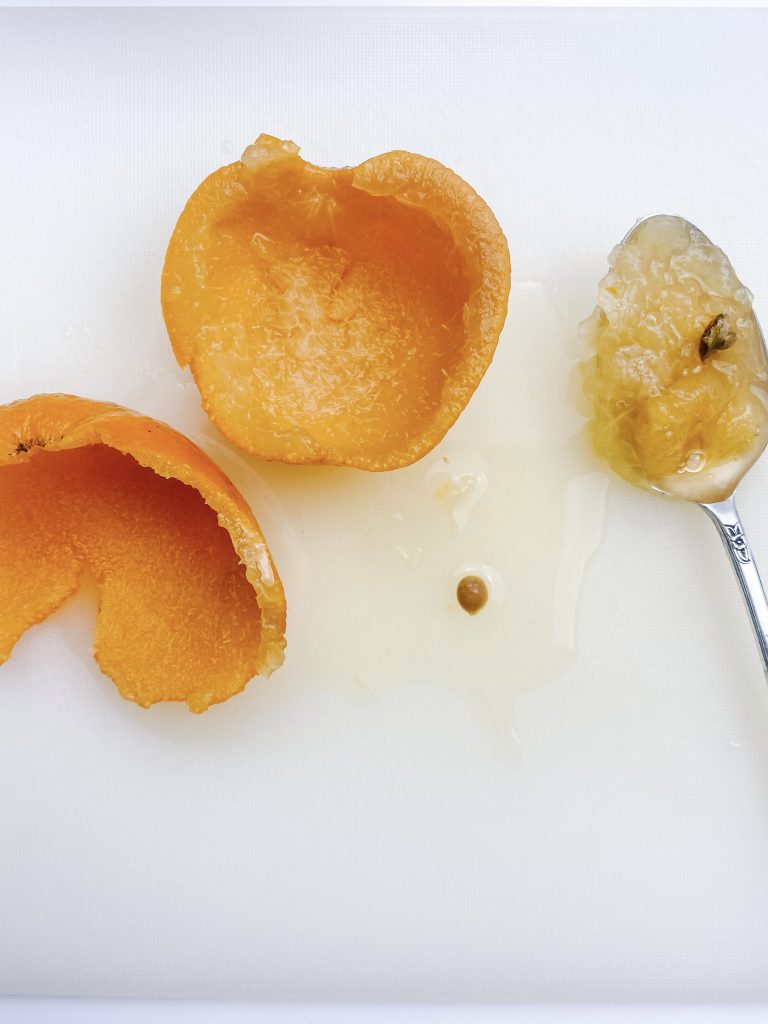
… scrape out flesh … 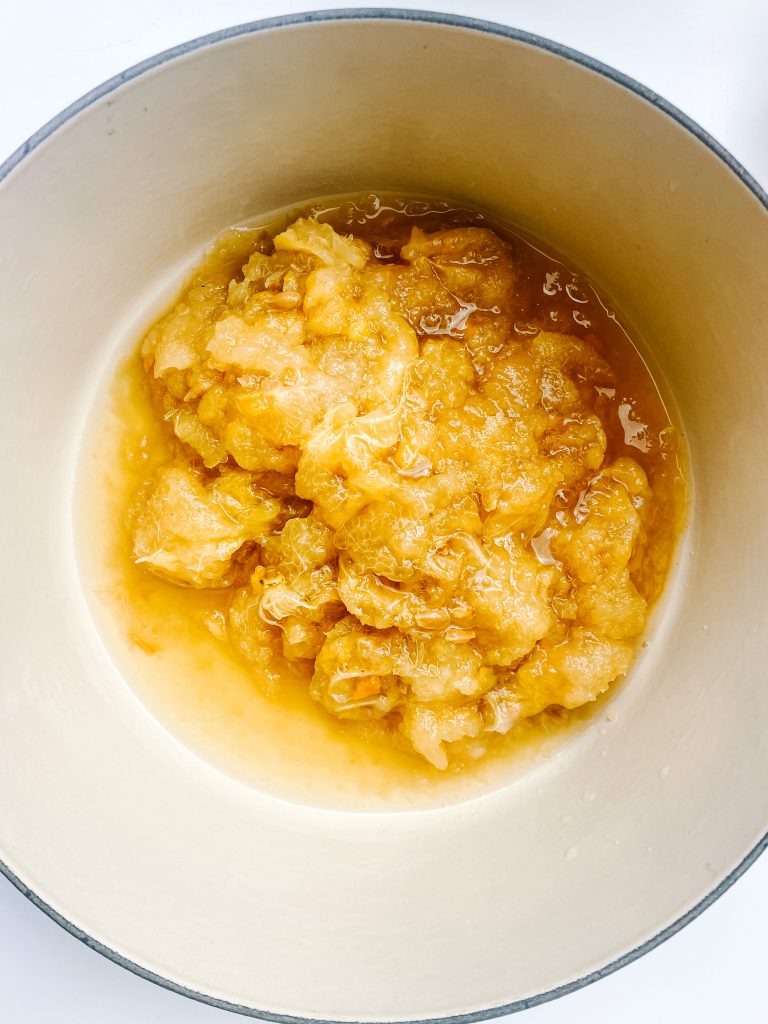
.. directly into clean pan. 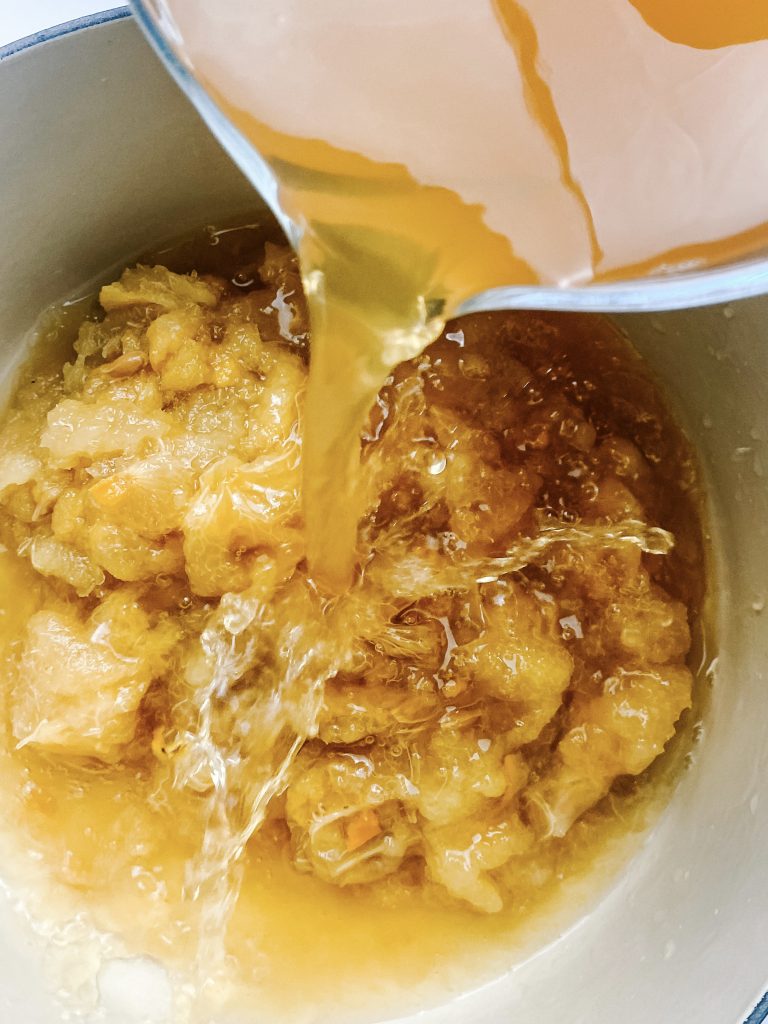
4 Add the orange liquid… 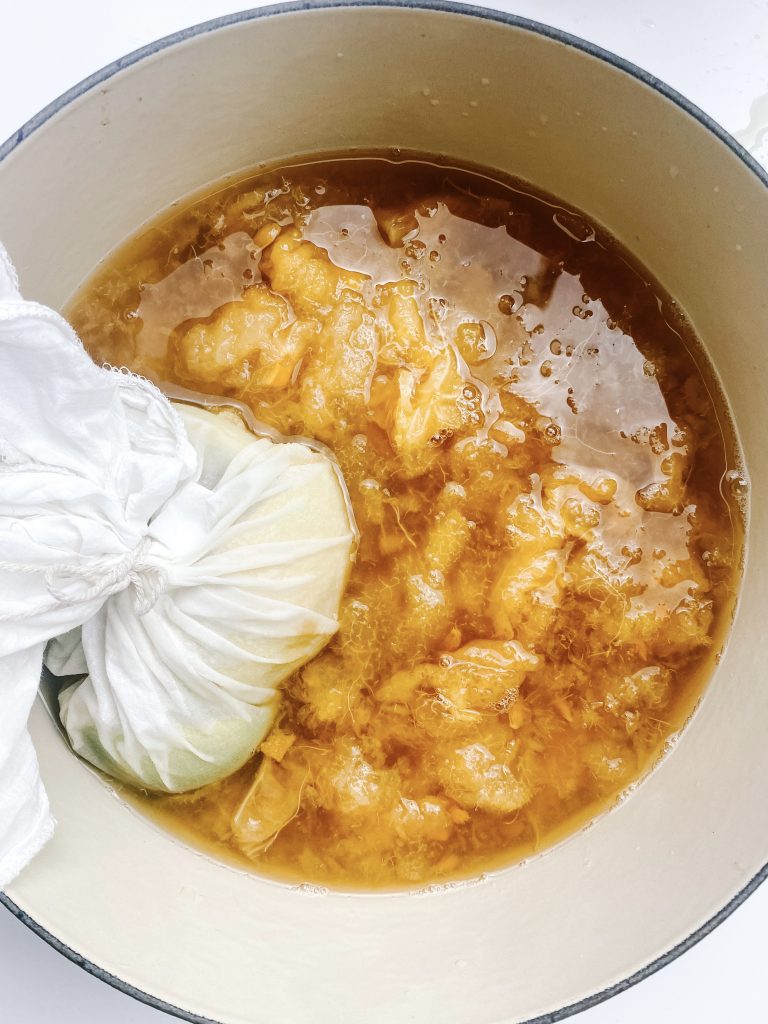
.. and the lemons in the muslin. 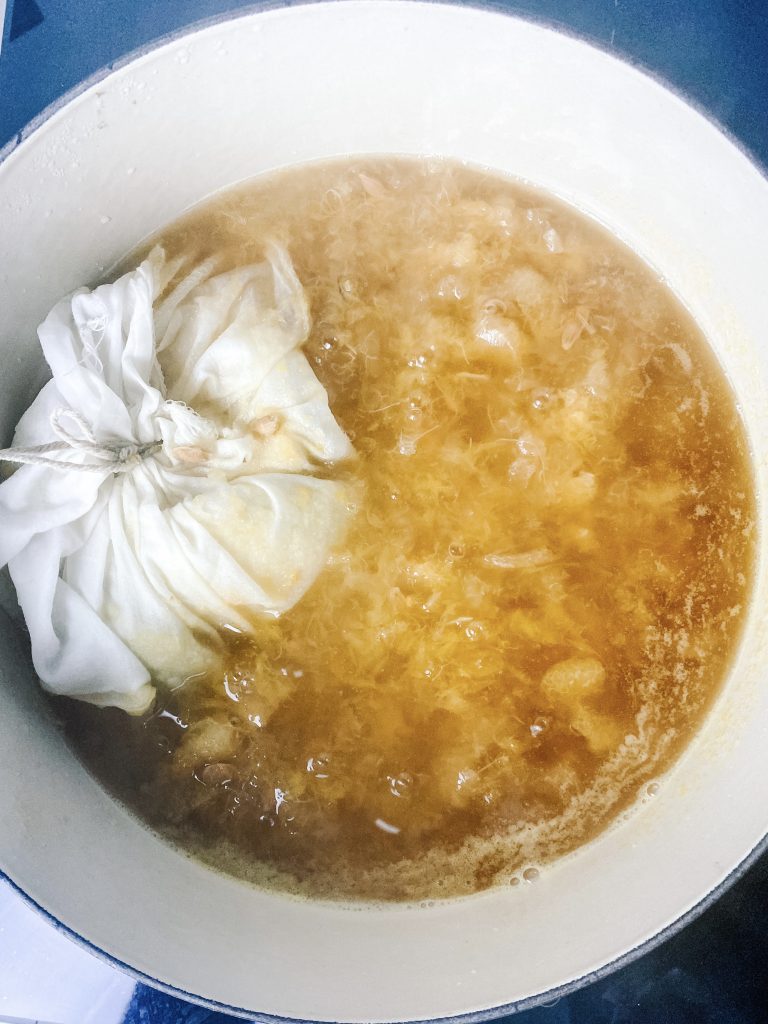
5 Cook for 6 mins at a fast simmer 
6 Put a sieve over a bowl and line the sieve with a muslin cloth 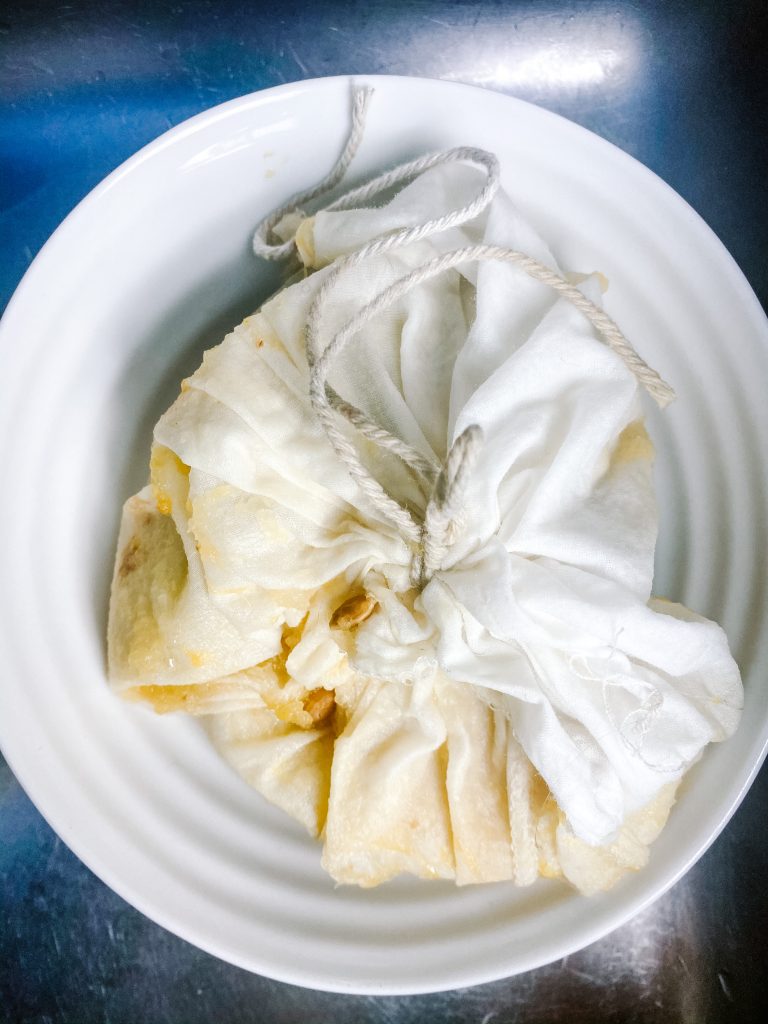
7 Remove muslin bag with lemon skin. Set aside. 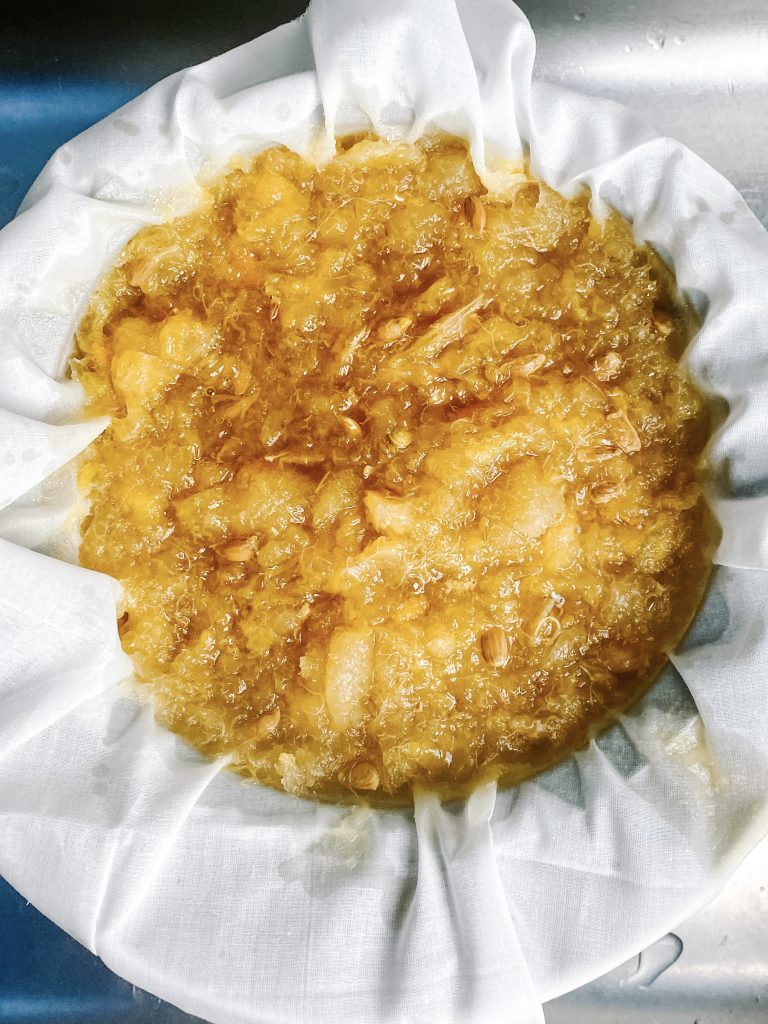
8 Pour contents of pan into sieve and strain. 
9 Wash out the pan again
Shred the orange skin:
- Shred the orange skin: meanwhile shred the orange skin to your desired thickness. I like to shred mine finely. I slice each half skin into 3 and lay these on top of each other. I then add the other 3 slices from the other half of the orange and slice them all together. They are very soft and easy to cut.
- Put the strained juices back in the pan: transfer the strained cooking juices back into your cleaned pan. Squeeze as much of the juice from the muslin cloth as possible directly into your pan. Be careful though – it will be very hot, so be careful. I always wear my marigolds!
- Warm the juice and dissolve the sugar: put your pan over a moderately low heat and bring to a gentle simmer. Add one of the bowls of sugar and stir well. Cook until the sugar has dissolved, stirring from time to time. It is important to do this over a moderately low temperature. Do not be tempted to turn the heat up or you will end up with crystallised sugar in your marmalade.
- As soon as the sugar has dissolved, add the second bowl of sugar and repeat the process to dissolve it.
- Turn the oven up: as soon as you take the second sugar out of the oven, turn the heat up to Fan Oven 140°C/160°C/325°F/Gas 3.
- Add the orange skin and muslin bag with the lemons: as soon as all the sugar has dissolved, add the orange skin to the marmalade as well as the lemon skin in the muslin bag. Also tip any juices which may have collected from the muslin bag into the marmalade. Bring to a faster simmer over a moderate heat.
- Cook for 15 – 30 minutes: simmer your marmalade, stirring from time to time. After about 15 minutes you can start testing to see if the marmalade has cooked sufficiently and has reached setting point. This will depend on how fast you are cooking it and the type of sugar you have used. Stir the marmalade from time to time. See note below.
- Remove the scum!: as the marmalade cooks a scum may rise to the top of the marmalade. It is important you remove this with a spoon during the cooking process. If you do not do this your marmalade may be cloudy rather than clear.
- Remove the lemons: I remove the lemons after 15 minutes. This allows me to ensure I can stir the marmalade thoroughly as it cooks and prevent sticking as it comes closer to setting point. You will need to stir more after 15 minutes. Some recipes tell you not to stir, but I have had problems with the sugar burning and sticking on the base of the pan – this affects the flavour and is a nightmare to clean!
1 Shred orange skin… 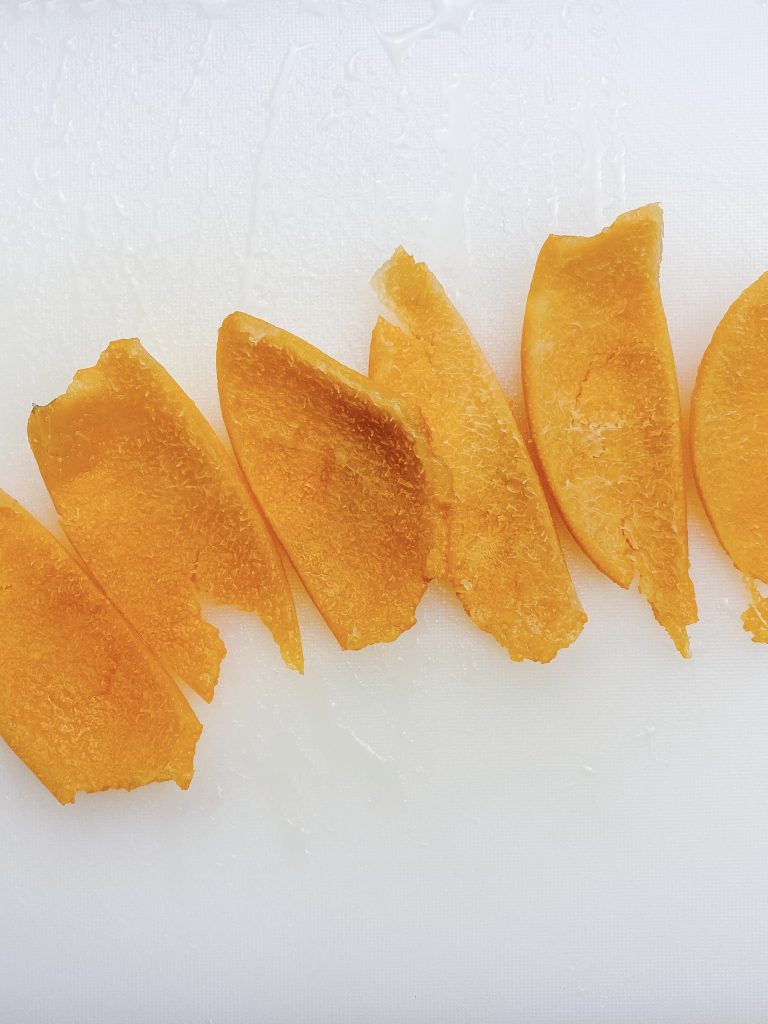
…cut each half into 3.. 
Make a pile out of all 6 slices.. 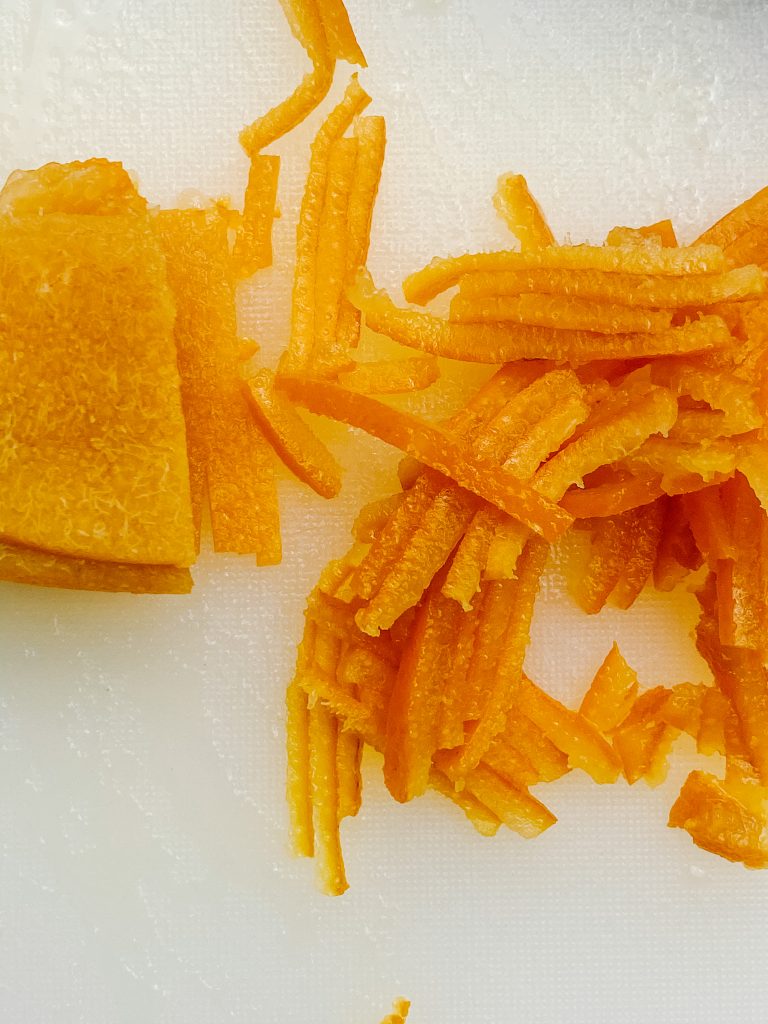
.. and shred. 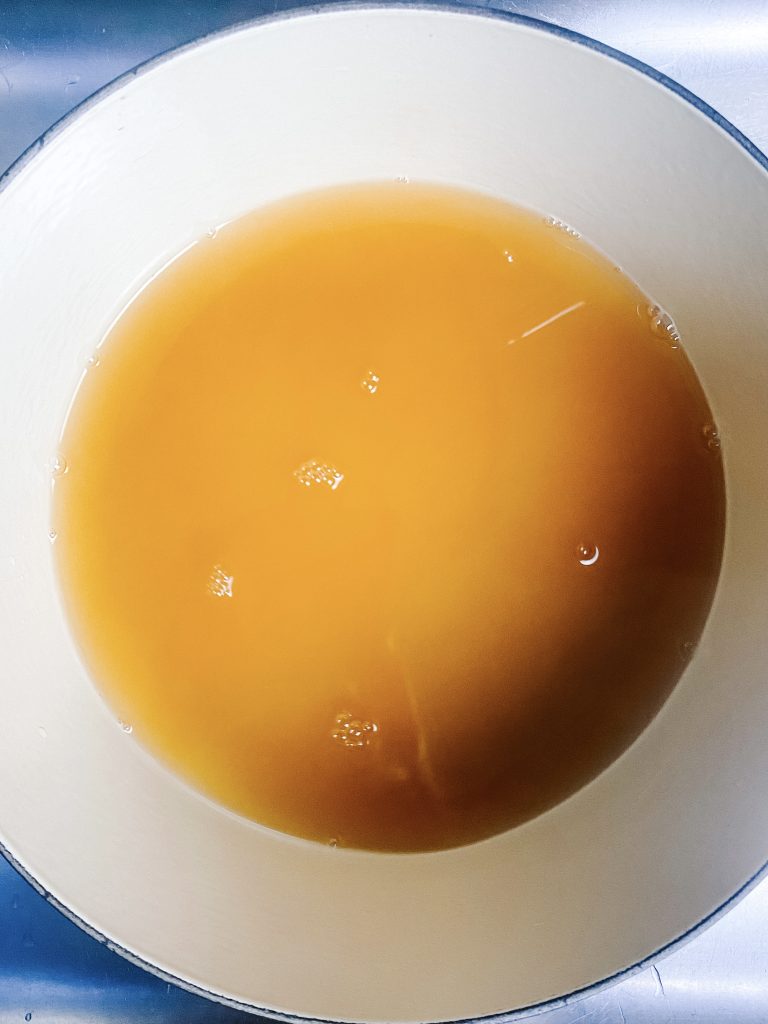
2 Strained juices back in clean pan over a low heat 
3 Add one bowl of warmed sugar and .. 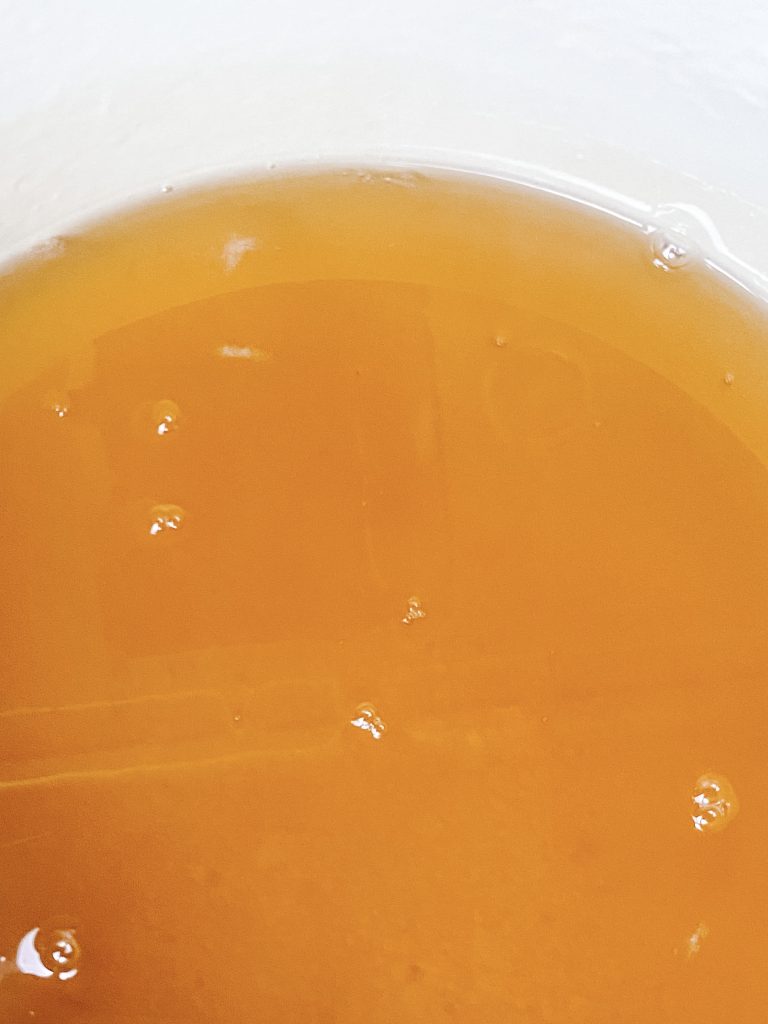
… heat on low until dissolved 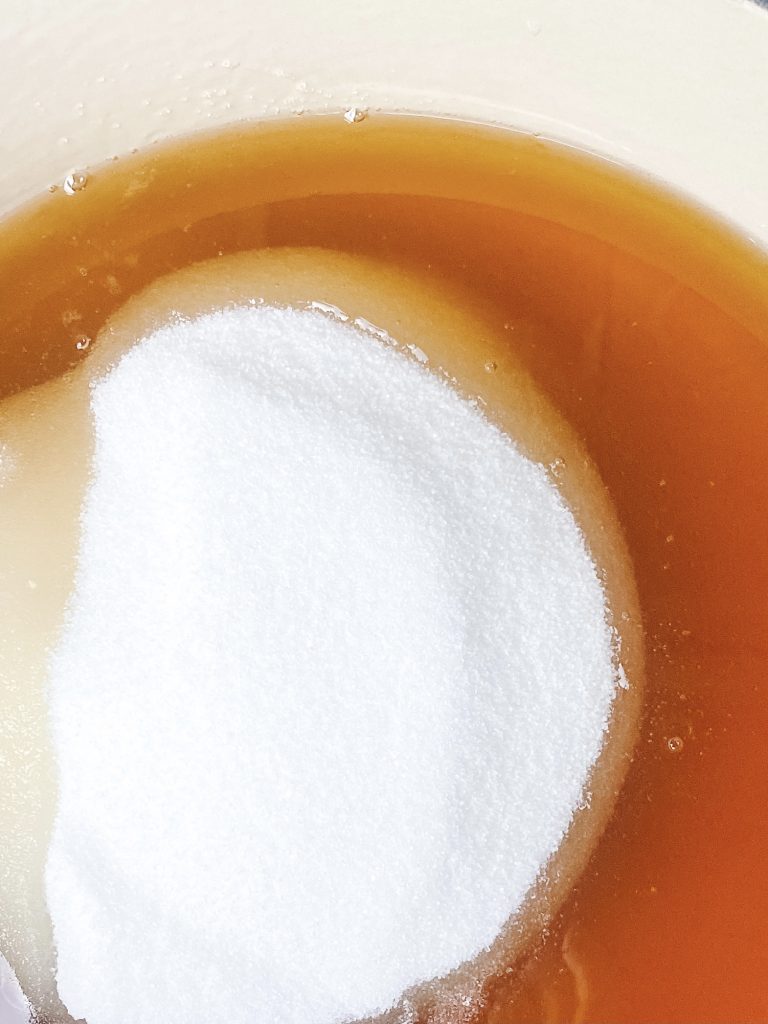
4&5 Add second bowl of sugar and heat on low… 
… until dissolved. Turn heat up on oven. 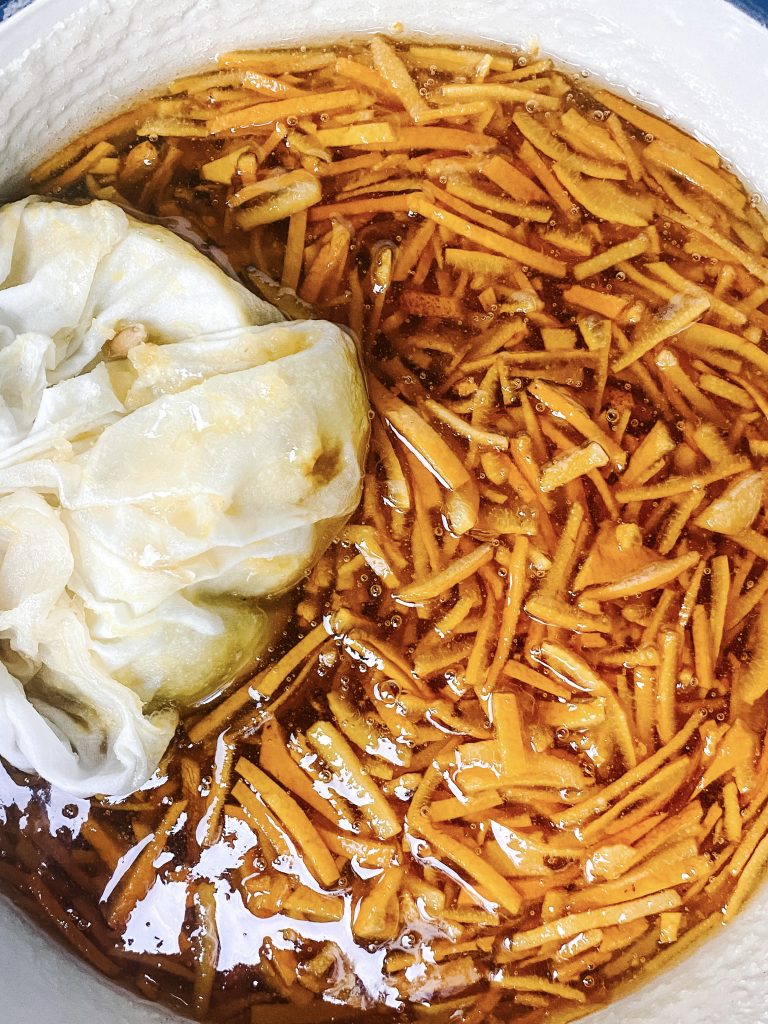
6 Add orange skin and bag with lemons. Cook on a fast simmer 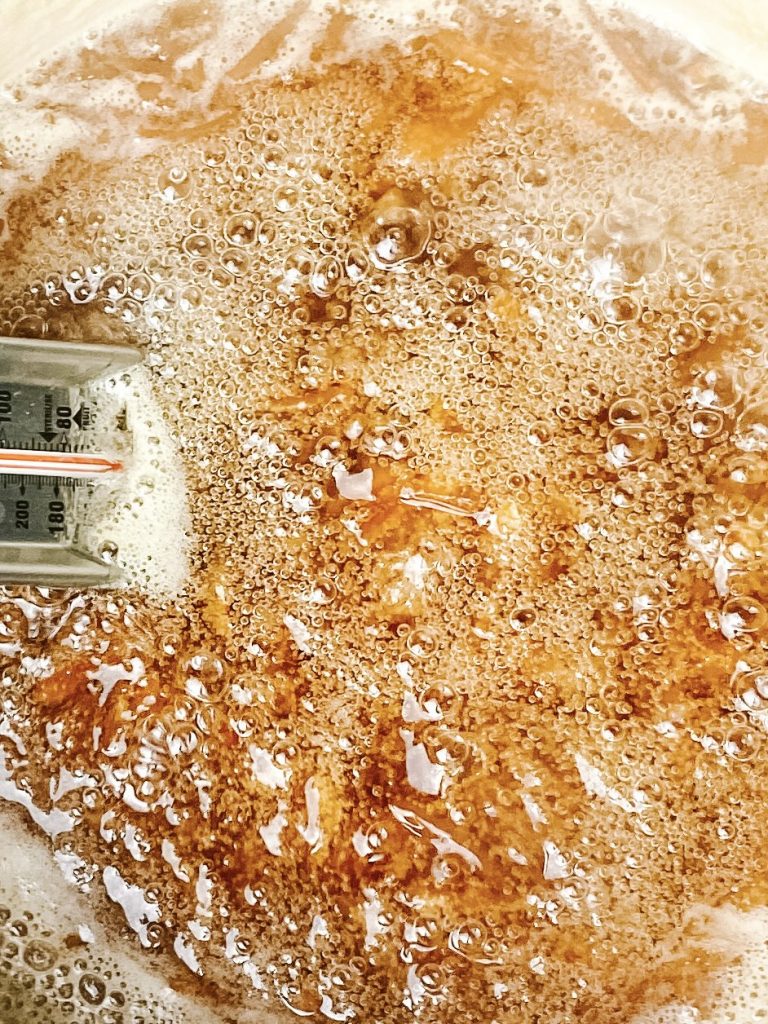
7 Cook 15 – 30 minutes. Stir from time to time. 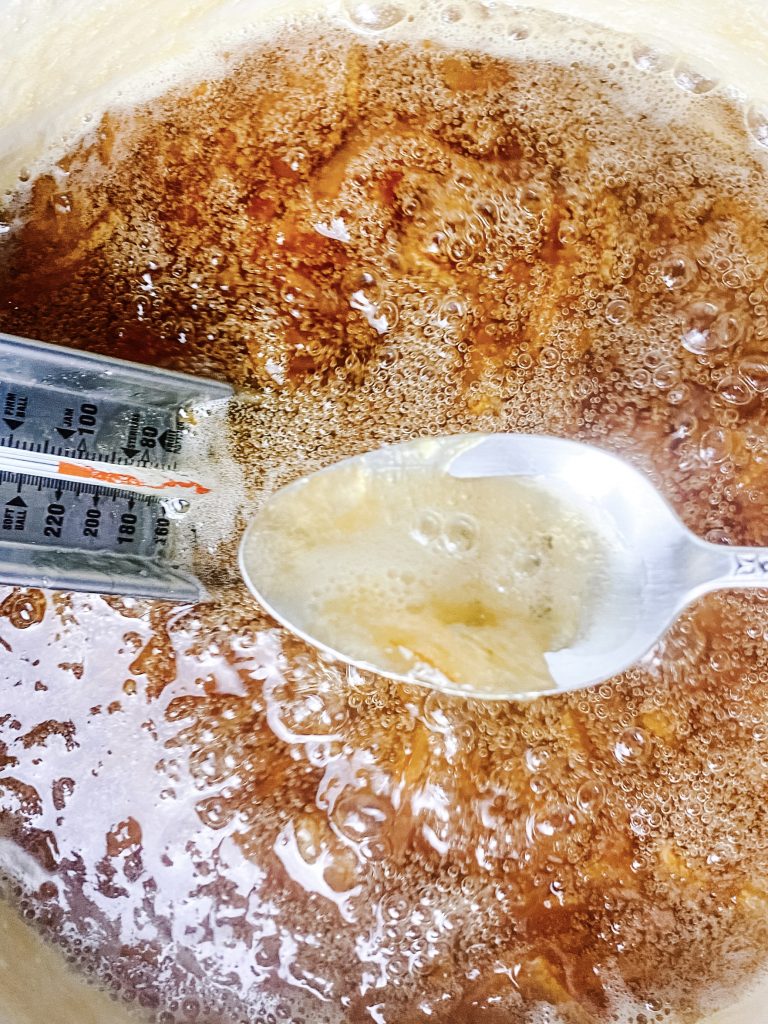
8&9 Remove lemons and any scum on surface
Test to see if it is cooked:
- Test to see if it has reached setting point: take your plate out of the freezer and put a teaspoon of marmalade on the plate. Leave for 30 seconds and then push one side of the marmalade with your finger. If the marmalade crinkles and moves without immediately reforming behind your finger, it is cooked.
- Use a thermometer: I double check my marmalade is ready with a jam thermometer. Setting point is 105°C but I prefer to cook mine to around 105.5°C – 106°C.
- Turn the heat off: allow the marmalade to sit for 15 minutes. At the end of this time, remove any final scum which has risen to the surface. It is very important to leave the marmalade for 15 minutes. During this time, it will thicken and this thickening will help prevent the orange shreds from rising to the top of the jar rather than being evenly dispersed throughout the jar – trust me I know this from bitter experience!
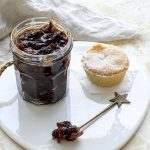
- This jar shows a batch I finished in a hurry – it was getting dark and I needed to walk the dog. I only left the marmalade for 5 minutes before transferring to the jars. Before heading out, I noticed that all the peel had risen to the surface in the jars, so I shook them and turned them upside down whilst I went out. When I came back, the peel was dispersed throughout the jar but marmalade had set and wouldn’t move from the top of the jar! It still tastes fabulous, but looks very strange!
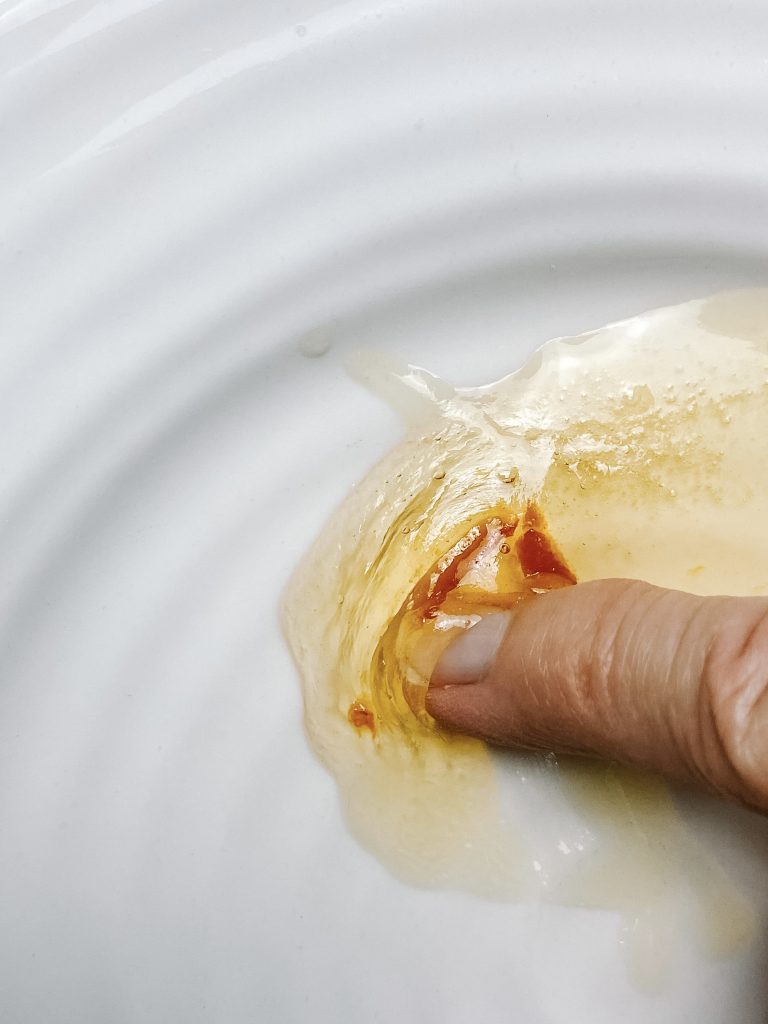
Wait for 30 seconds and push with finger – if it crinkles it is ready. Turn off the heat. 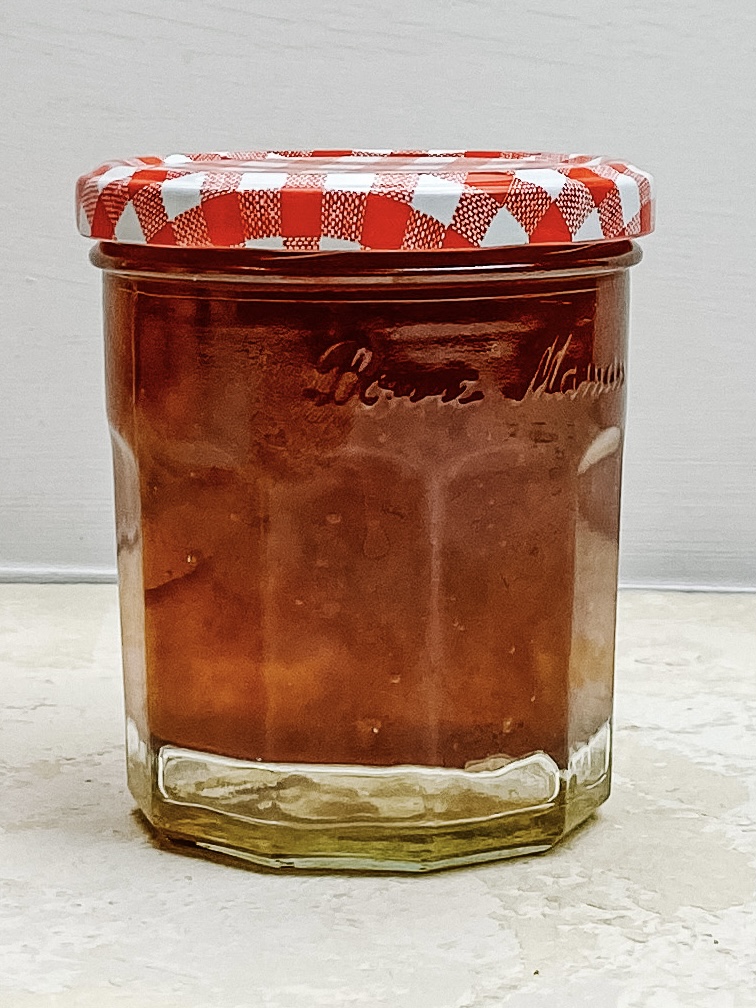
4. When you don’t wait for 15 minutes 
At least Arty got a walk!
Transfer to the sterilised jam jars:
- Prepare your jars: take the now sterilised jars and lids out of the oven and get together the waxed paper, jam funnel and a large jug.
- Fill the jars: be very careful transferring the marmalade as it will be very, very hot. The jars will also be exceedingly hot. Using your jug, scoop the marmalade into the jug. Place the jam funnel over the jar and pour in the marmalade to the top of the jar. Repeat with the remaining jars. You will find that as you use the marmalade up you will not be able to scoop it out, simply pour the remaining marmalade into the jug. I hold a plate under the base of the jug to avoid too much mess!
- Seal with wax discs and lids: when all the marmalade has been used up, top each jar with a wax disc and a lid. Again, be very careful as everything is very hot.
- Leave to cool then wash the jars: leave the marmalade to cool for around an hour. Fill your kitchen sink with hot water and make sure all the lids are screwed tightly. Wash the jars in the hot water ensuring any sticky from the marmalade has been removed. Do not submerge the jars below the lids to avoid water getting into the jars. Dry the jars and set on one side to dry and cool completely.
- Label your marmalade: as soon as the marmalade has cooled and you have cleaned your jars, label your marmalade, remembering to put a date on the label.
- Storage: store your jars in a cool, dry and dark place for up to 12 months. Once opened, store in the fridge.
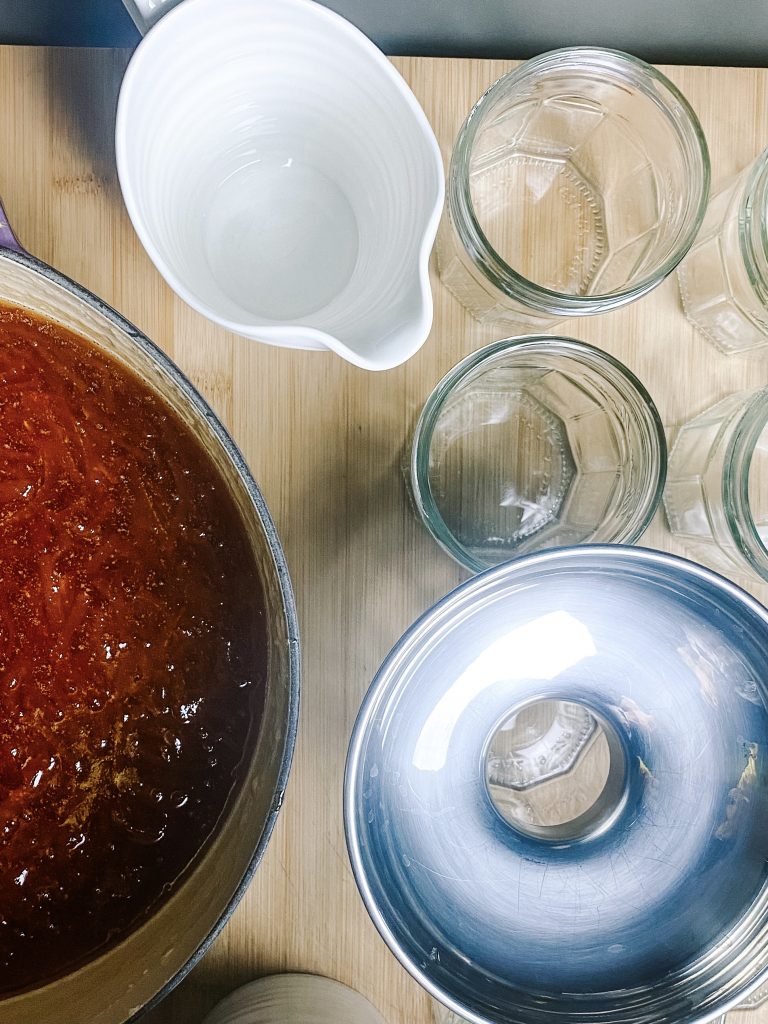
1 Get everything ready 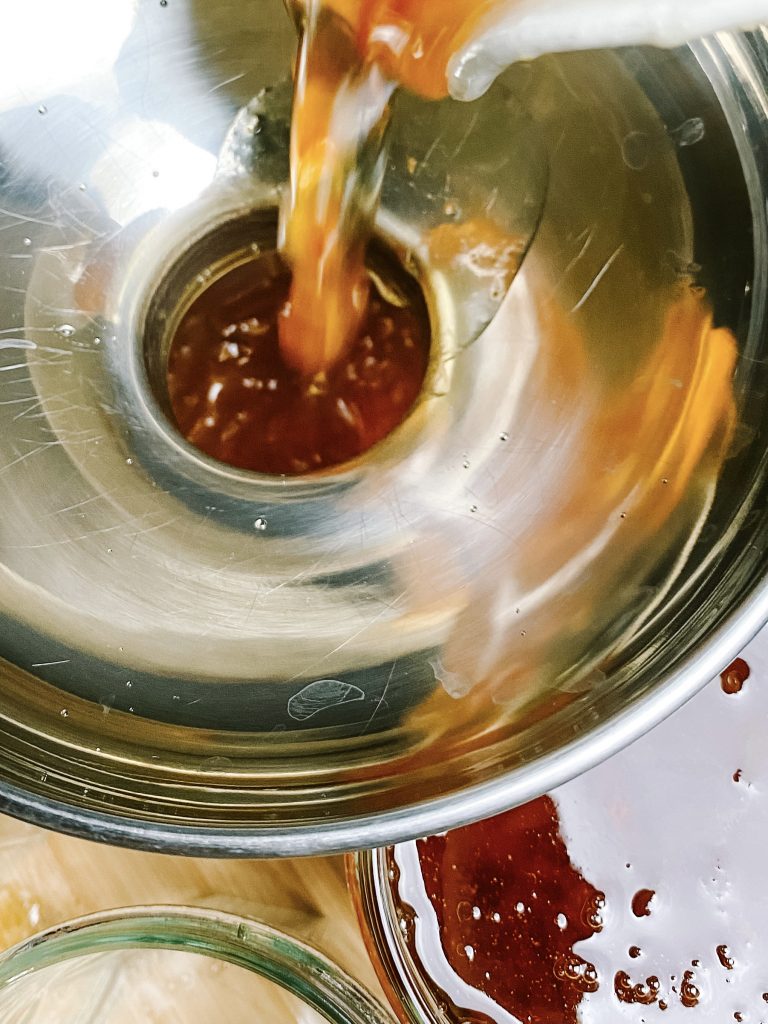
2 Put funnel on top of jars and pour in marmalade. 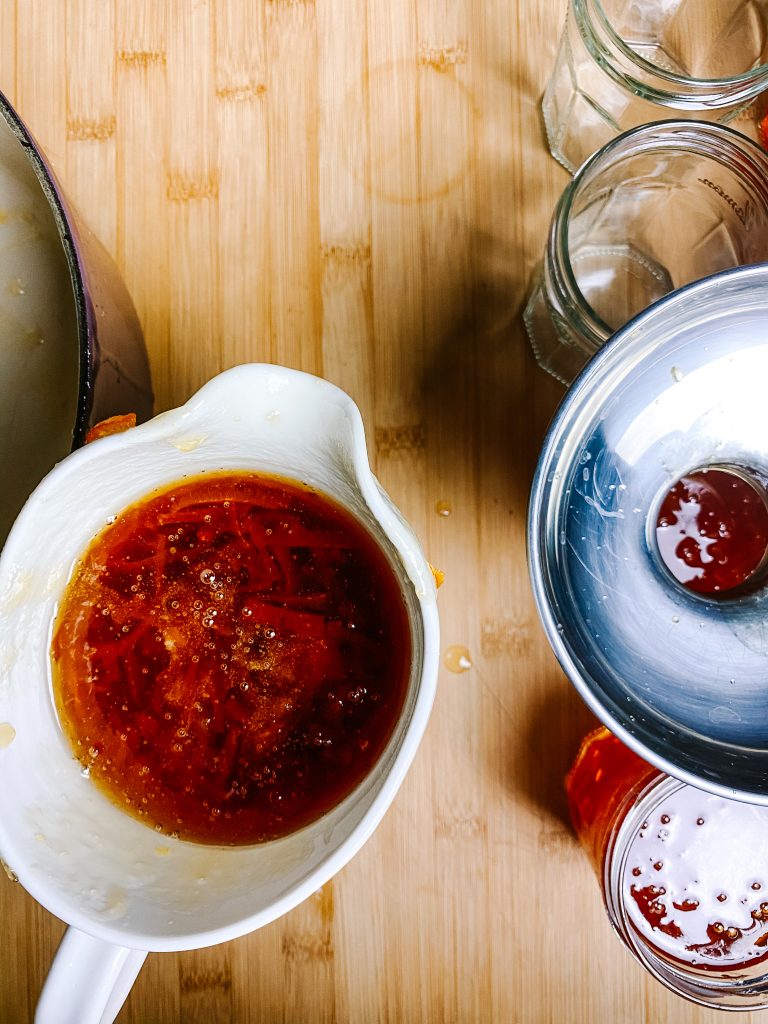
… Pour remaining marmalade into jug 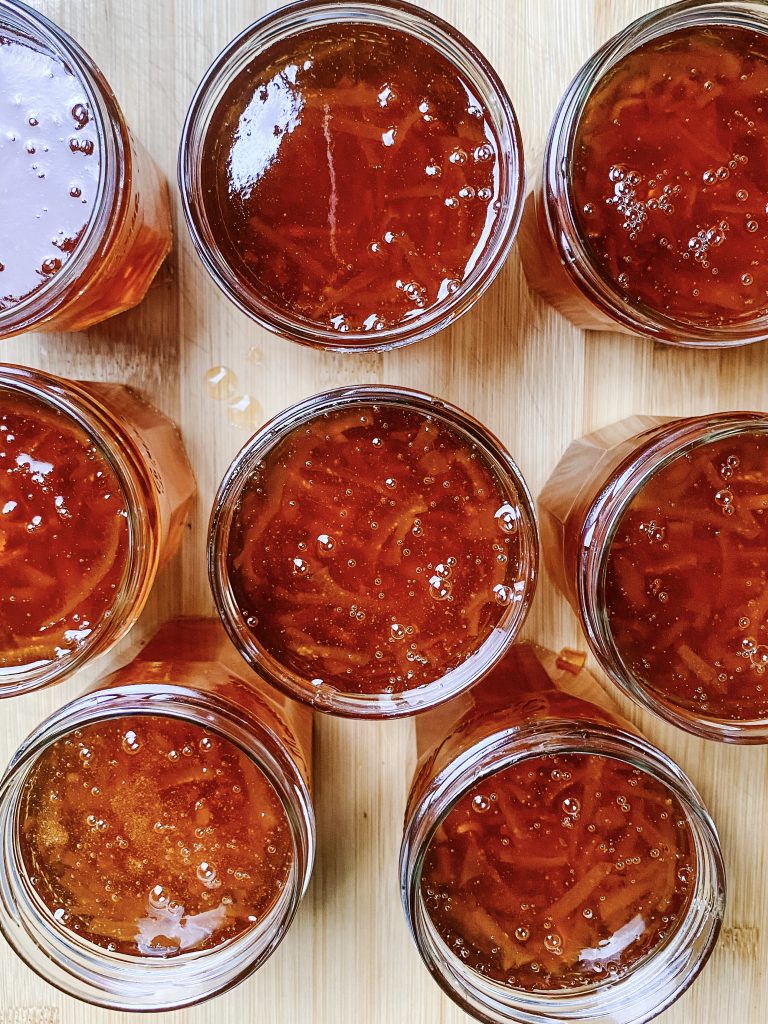
3 When all jars are full.. 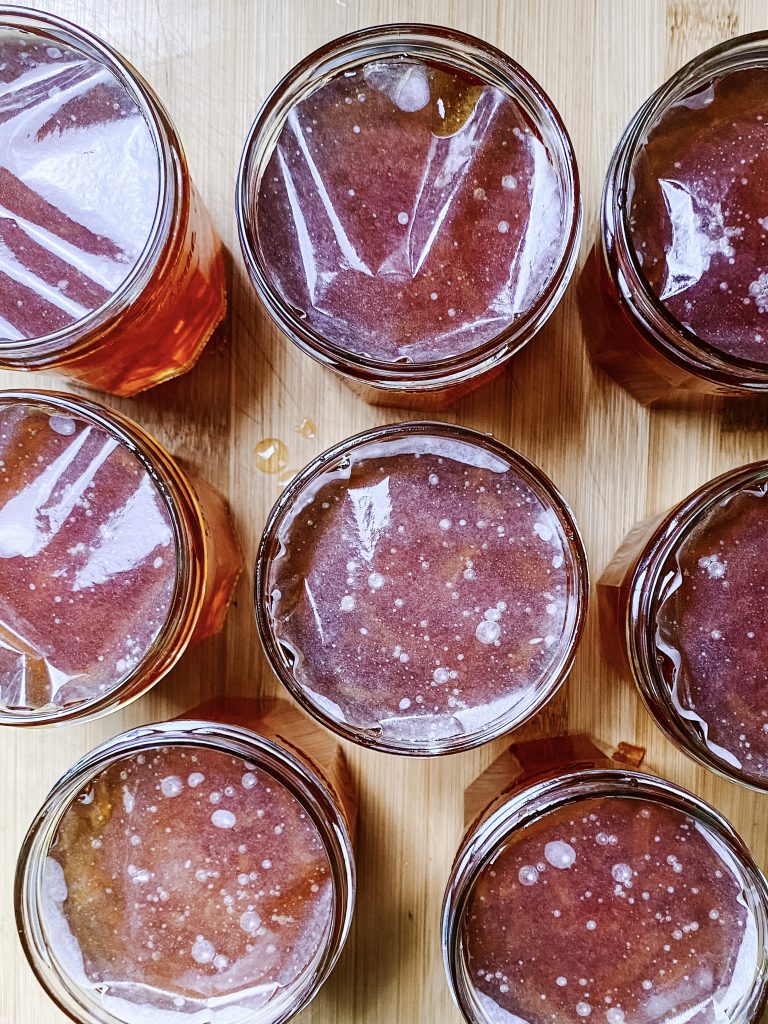
..cover each jar with a wax disc. 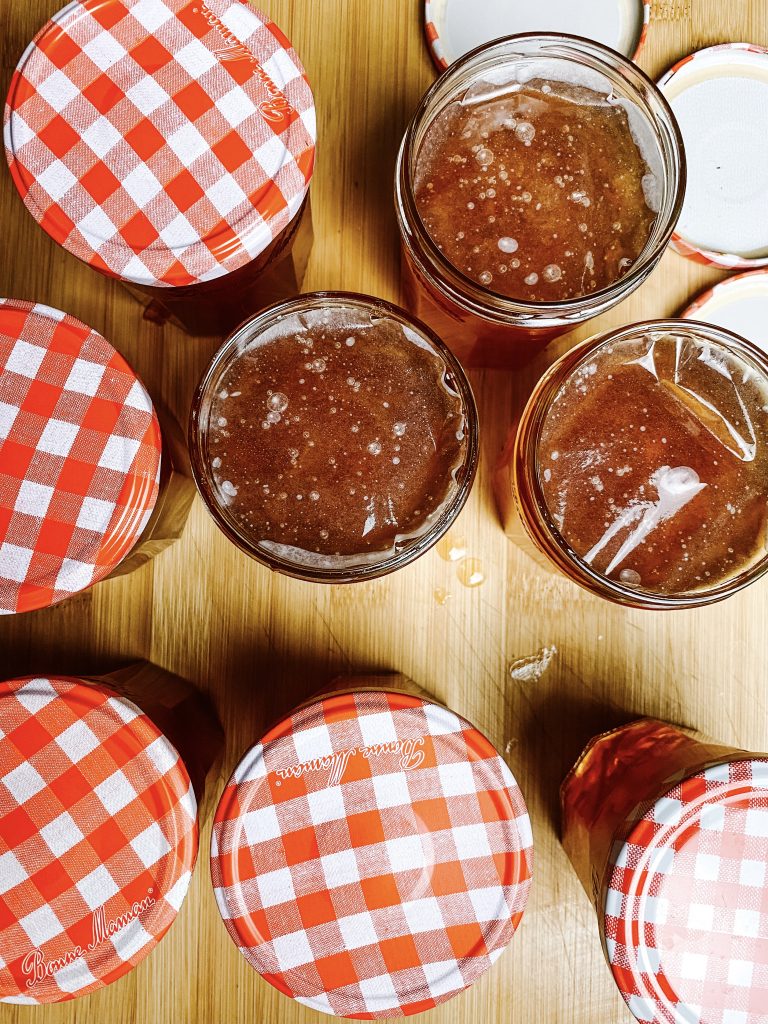
Seal tightly with a lid.

Made this recipe?
If you make this recipe, do please tag me on instagram @daffodil_kitchen. You could also leave a comment in the box directly below the recipe.

Seville Orange Marmalade
There is something quite glorious about starting the day with some hot toast, lashings of salted butter and a good dollop of homemade marmalade, Seville Orange Marmalade of course! Makes 8 x 400g jars
Ingredients
- 1kg Seville oranges
- 2 bergamot OR 2 lemons OR 3 to 4 limes
- 2kg granulated sugar
- 1.75 litres water
Instructions
DAY ONE
-
You must start preparing the day before you want to make your marmalade. Wash the oranges and bergamot/lemons. Juice the bergamot/lemons.
-
Put the oranges, whole, into your jam pot and add the water and the juice from the 2 bergamot/lemons.
-
Ensure the oranges are covered by the water, if not, use a smaller pan or put a plate or bowl on top to help submerge them. They will more than likely float, so I always need a plate.
-
Save the bergamot/lemon skin, pips and any excess flesh left in the reamer and transfer all to a muslin bag. Tie the top of the bag with some twine. Keep these on one side, in the fridge, until you cook the marmalade on Day 2
-
Bring to a simmer, put the lid on, and cook on a low heat for 2 ½ hours until very soft. Turn the heat off and leave overnight.
DAY 2
-
Start getting organised: put a small plate in the freezer. You will use this to help determine when your marmalade is cooked.
-
Warm the sugar: weigh the sugar into 2 different ovenproof bowls. Place in a cold oven.
-
Prepare your jars: wash your jars and lids in hot water and place on a baking tray. Place the jars and lids in a cold oven with the sugar.
-
Turn the oven on to Fan Oven 110°C/130°C/250°F/Gas ½.
-
Now prepare the oranges: use a slotted spoon to remove the oranges from the water. Transfer to another bowl.
-
Check you have 750ml of liquid left: if it is less, add some water to make it up to 750ml. If more, transfer back to the pan and bring to the boil. Reduce until you have the correct amount. Measure again to check you have the correct amount. Wash out the pan
-
Prepare the oranges: cut the Seville oranges in half and, using a spoon, scoop all the pith, flesh and seeds directly into the clean pan. Scrape as much as possible from the skin. The skins will be very delicate, so handle them carefully. Don’t worry if they break up – you will be slicing them up anyway.
-
Cook the juices and orange flesh with the lemon skins: add the orange liquid and lemon skins in the muslin to the pan.
-
Put on a moderate heat and bring to a fast simmer. Cook for 6 minutes and then take off the heat.
-
Strain the cooking juices: put a sieve over a bowl and line the sieve with a muslin cloth.
-
Remove the muslin bag with the lemon skin and set aside in a bowl.
-
Pour the contents of your pan into the sieve and leave to strain.
-
Wash out the pan again.
-
Shred the orange skin: meanwhile shred the orange skin to your desired thickness. I like to shred mine finely. I slice each half skin into 3 and lay these on top of each other. I then add the other 3 slices from the other half of the orange and slice them all together. They are very soft and easy to cut.
-
Put the strained juices back in the pan: transfer the strained cooking juices back into your cleaned pan. Squeeze as much of the juice from the muslin cloth as possible directly into your pan. Be careful though – it will be very hot.
-
Warm the juice and dissolve the sugar: put your pan over a moderately low heat and bring to a gentle simmer. Add one of the bowls of sugar and stir well. Cook until the sugar has dissolved, stirring from time to time. It is important to do this over a moderately low temperature. Do not be tempted to turn the heat up or you will end up with crystallised sugar in your marmalade.
-
As soon as the sugar has dissolved, add the second bowl of sugar and repeat the process to dissolve it.
-
Turn the oven up: as soon as you take the second sugar out of the oven, turn the heat up to Fan Oven 140°C/160°C/325°F/Gas 3.
-
Add the orange skin and muslin bag with the lemons: as soon as all the sugar has dissolved, add the orange skin to the marmalade as well as the lemon skin in the muslin bag. Also tip any juices which may have collected from the muslin bag into the marmalade. Bring to a faster simmer over a moderate heat.
-
Cook for 15 – 30 minutes: simmer your marmalade, stirring from time to time. After about 15 minutes you can start testing to see if the marmalade has cooked sufficiently and has reached setting point. This will depend on how fast you are cooking it and the type of sugar you have used. Stir the marmalade from time to time. (See Recipe Notes)
-
Remove the scum!: as the marmalade cooks a scum may rise to the top of the marmalade. It is important you remove this with a spoon during the cooking process. If you do not do this your marmalade will be cloudy rather than clear.
-
Remove the lemons: I remove the lemons after 15 minutes. This allows me to ensure I can stir the marmalade thoroughly as it cooks and prevent sticking as it comes closer to setting point. You will need to stir more after 15 minutes.
-
Test to see if it has reached setting point: take your plate out of the freezer and put a teaspoon of marmalade on the plate. Leave for 30 seconds and then push one side of the marmalade with your finger. If the marmalade crinkles and moves without immediately reforming behind your finger, it is cooked.
-
Use a thermometer: I double check my marmalade is ready with a jam thermometer. Setting point is 105°C but I prefer to cook mine to around 105.5°C – 106°C. Do not go any higher than this or the orange rind will be too chewy.
-
Turn the heat off: allow the marmalade to sit for 15 minutes. At the end of this time, remove any final scum which has risen to the surface. (See Recipe Notes)
-
Transfer to the sterilised jam jars: start by taking the now sterilised jars and lids out of the oven and get together the waxed paper, jam funnel and a large jug.
-
Fill the jars: be very careful transferring the marmalade as it will be very, very hot. The jars will also be exceedingly hot. Using your jug, scoop the marmalade into the jug. Place the jam funnel over the jar and pour in the marmalade to the top of the jar. Repeat with the remaining jars. You will find that as you use the marmalade up you will not be able to scoop it out, simply pour the remaining marmalade into the jug instead. I hold a plate under the base of the jug to avoid too much mess!
-
Seal with wax discs and lids: when all the marmalade has been used up, top each jar with a wax disc and a lid. Again, be very careful as everything is very hot.
-
Leave to cool then wash the jars: leave the marmalade to cool for around an hour. Fill your kitchen sink with hot water and make sure all the lids are screwed tightly. Wash the jars in the hot water ensuring any sticky from the marmalade has been removed. Do not submerge the jars below the lids to avoid water getting into the jars. Dry the jars and set on one side to dry and cool completely.
-
Label your marmalade: as soon as the marmalade has cooled and you have cleaned your jars, label your marmalade, remembering to put a date on the label.
-
Storage: store your jars in a cool, dry and dark place for up to 12 months. Once opened, store in the fridge.
Recipe Notes
Equipment:
- Large jam making pot (I use a cast iron casserole)
- Lemon reamer
- 3 glass mixing bowls – 2 of which must be ovenproof
- slotted spoon
- kitchen scales
- chopping board and sharp knife
- small plate
- jam/sugar thermometer (optional)
- 1 measuring jug
- 2 muslin cloths
- kitchen twine
- 1 sieve
- 8 x 400g jam jars and lids
- wax disc jam covers
- jam funnel
- jam jar labels
Stirring the marmalade:
Some recipes tell you not to stir, but I have had problems with the sugar burning and sticking on the base of the pan – this affects the flavour and is a nightmare to clean!
Leave for 15 minutes before transferring to jars:
At the end of cooking, it is very important to leave the marmalade, off the heat, for 15 minutes. During this time, it will thicken and this thickening will help prevent the orange shreds from rising to the top of the jar rather than being evenly dispersed throughout the jar – trust me I know this from bitter experience!


Asian Fish Sauce

You May Also Like
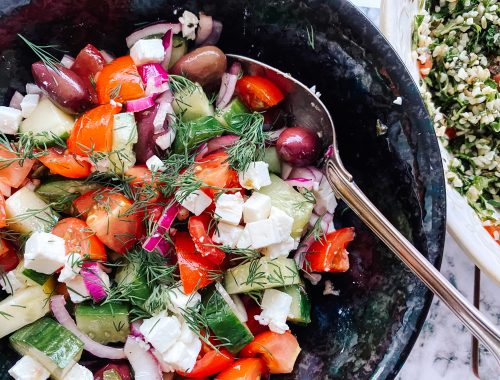
Greek Salad
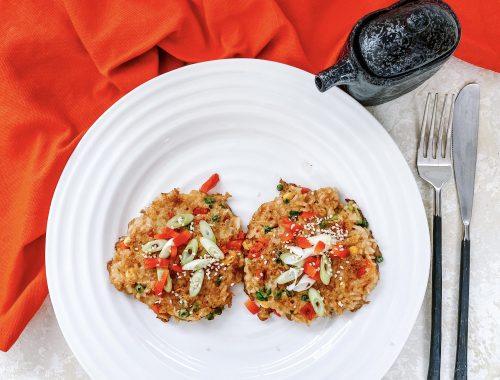
Quick Chinese Fried Rice Cakes