Sweet Shortcrust Pastry
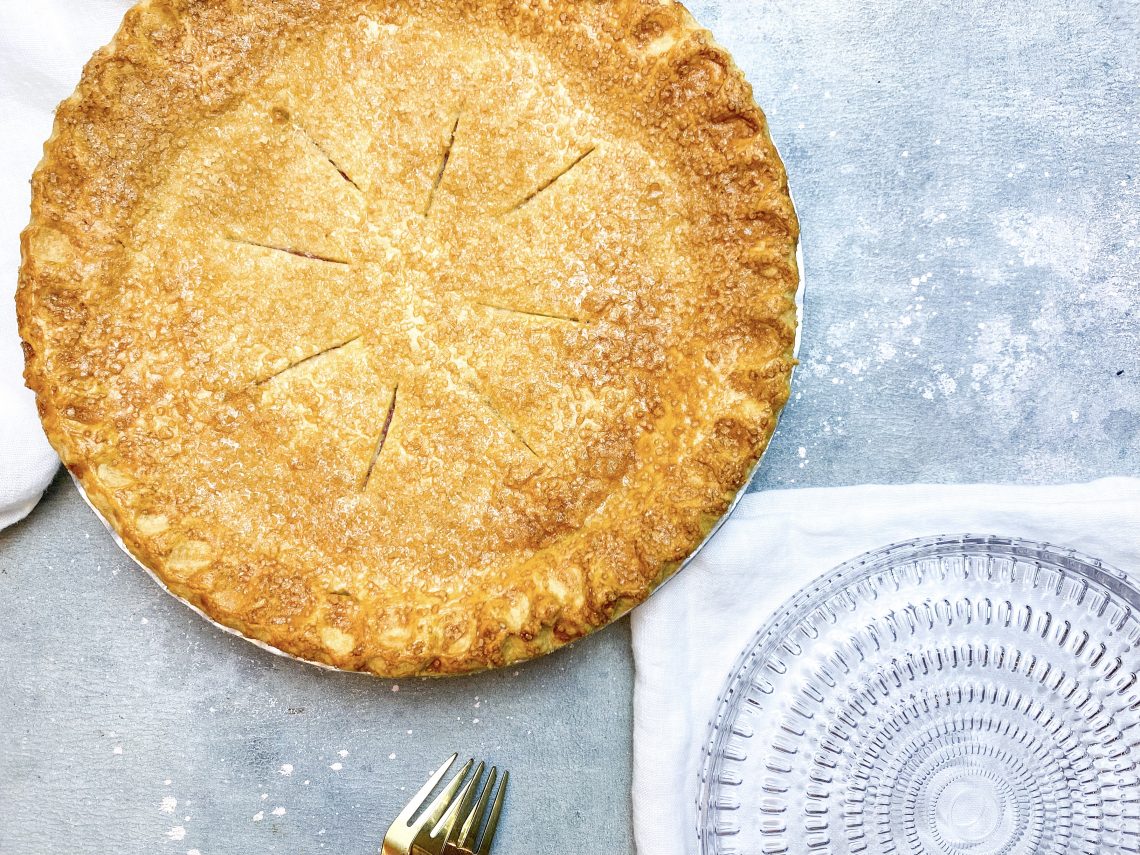
Rich, buttery, slightly sweet, flaky and melt in the mouth, this Sweet Shortcrust Pastry is ideal for sweet pies and tarts. It is made in a flash (using a food processor or by hand) and it freezes well, either before cooking or after.
Truth be told, I have had a few disasters making pastry over the years and confess I do sometimes resort to ready rolled shop bought, particularly if I need puff pastry. Shortcrust and sweet shortcrust pastries, however, are really quite easy, you just need to remember a few basic tricks.

Why do we need to keep pastry cool?
When reading about making pastry, guidance consistently tells us not to handle the dough too much, not to add too much liquid and keep everything as cold as possible. Both too much handling and too much water will make the pastry ‘tough’ and ‘chewy’ and we are looking to create ‘short’, buttery, flaky and melt in the mouth pastry. If the ingredients get too warm, the butter may melt or soften too much and your pastry will be oily and greasy.
How to make Shortcrust Pastry
My recipe:
- plain/all-purpose flour
- fine salt
- baking powder – this helps the pastry rise just a little when cooking which in turn gives it its flaky texture. If you replace the plain flour with self raising flour, then you should omit the baking powder. This is not a classic addition, so feel free to miss it out, if you prefer
- sugar – you can use either caster or icing sugar
- unsalted butter – I use just butter to ensure a rich buttery flavour
- very cold beaten eggs – use fridge cold beaten eggs. You can use
- 2 x whole beaten eggs and use the remaining egg as egg wash
- 1 whole egg and 1 egg yolk. Use the remaining egg white as egg wash
- 1 whole egg and 1 egg white. Use the remaining egg yolk as egg wash
- when you first start making pastry, it is hard to know when you have added enough liquid. Practice makes perfect, but as a guide, I find that 80g or 5 x 15ml tablespoons of beaten egg is sufficient for the quantities in the recipe below. If you are scaling the recipe up or down, this means that for every 100g flour, you need roughly 27g beaten egg
Food processor or by hand?
This pastry can be made in a food processor or by hand; I have made it both ways but tend to choose the food processor. Using a food processor is not just quicker, it has the added benefit of ensuring everything stays as cold as possible – no warm hands warming up the butter! I also find that adding the beaten egg is easier in the food processor as it adds it more throughly and hence reduces the risk of adding too much liquid.
That said, I know a lot of people much prefer to make pastry by hand and find the whole process quite cathartic. As ever – your choice, but if you are new to pastry making and have a food processor, I would use it and progress to making it by hand once you have some experience under your belt.
Method:
The process is very simple:
- Weigh the flour, baking powder, sugar and salt into the food processor and pulse to mix. Alternatively weigh it into a mixing bowl and stir to mix.
- Either using the pulse function on your food processor or using your fingertips, rub the butter into the flour until they resemble fine bread crumbs
- Slowly add the very cold beaten eggs until the mixture just comes together.
- Take out of the food processor or mixing bowl and push (rather than knead) very gently with your hands to bring the dough together. Kneading stretches the gluten in the flour and will make your pastry tough, so handle it as little possible.
- Press into the same shape as you wish to roll the pastry but smaller than the actual size. For example, if you will be rolling it to line a 20cm/8 inch round pastry dish, shape into a 15cm/6inch round shape.
- Wrap in clingfilm and refrigerate for 30 minutes.
- You will need to refrigerate again when you have rolled out the pastry and lined the tin.
- It is very important not to miss the refrigeration steps out as they help to prevent the pastry from shrinking when cooking.
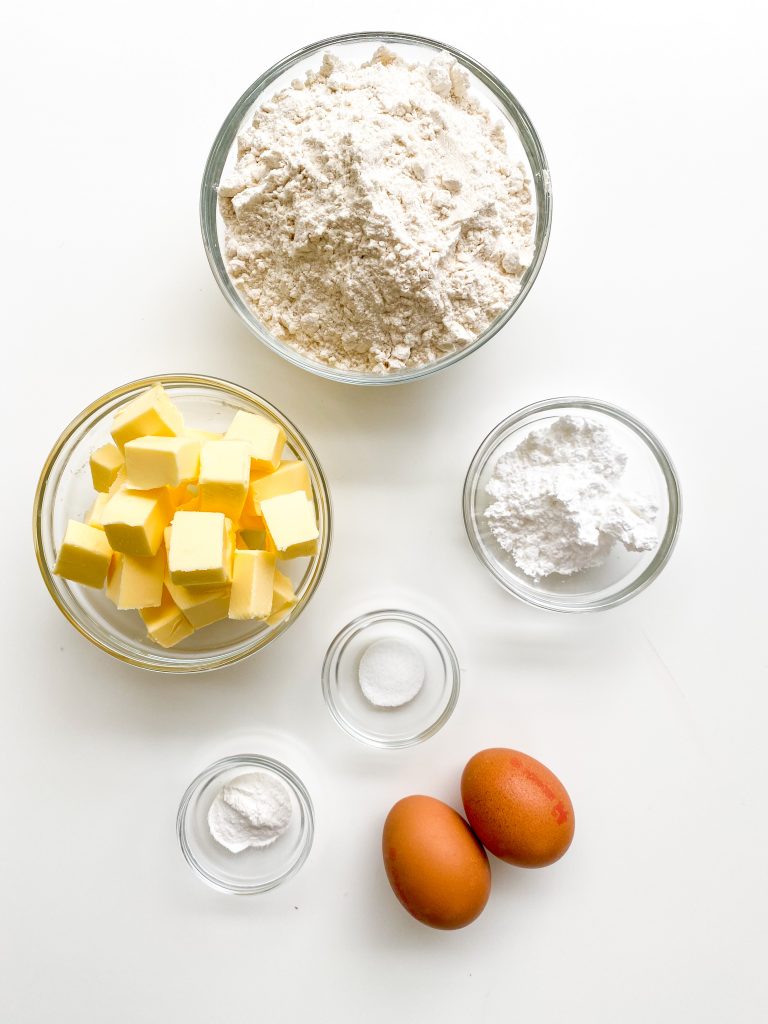
Ingredients 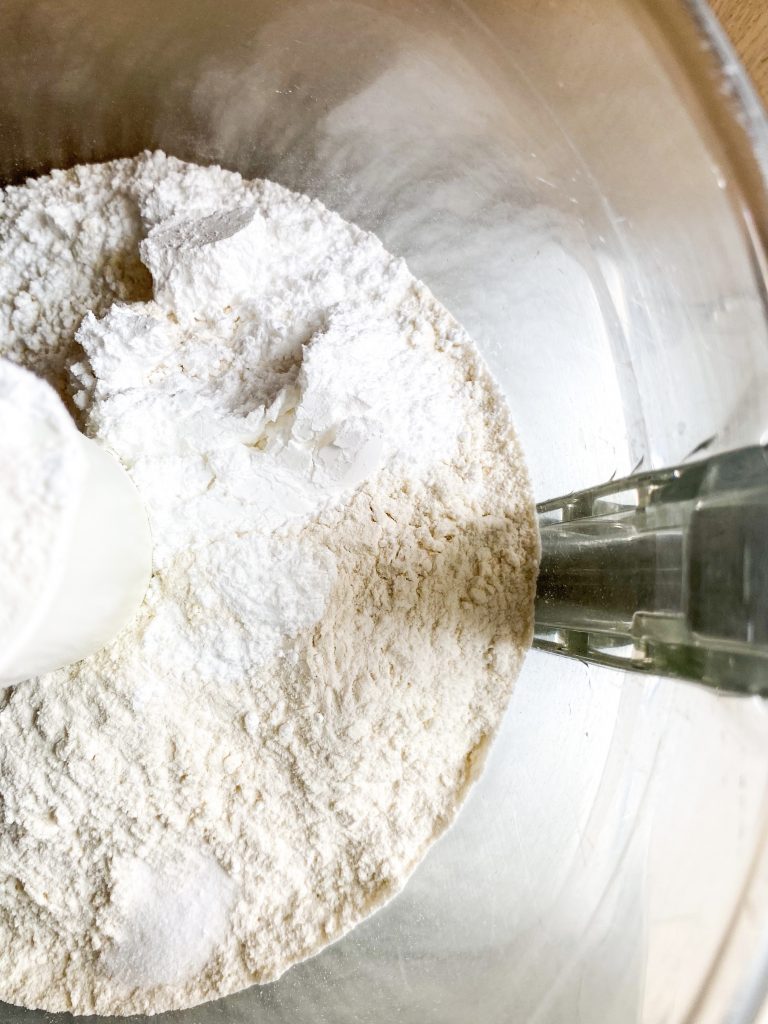
1 Mix flour, bp, salt and sugar 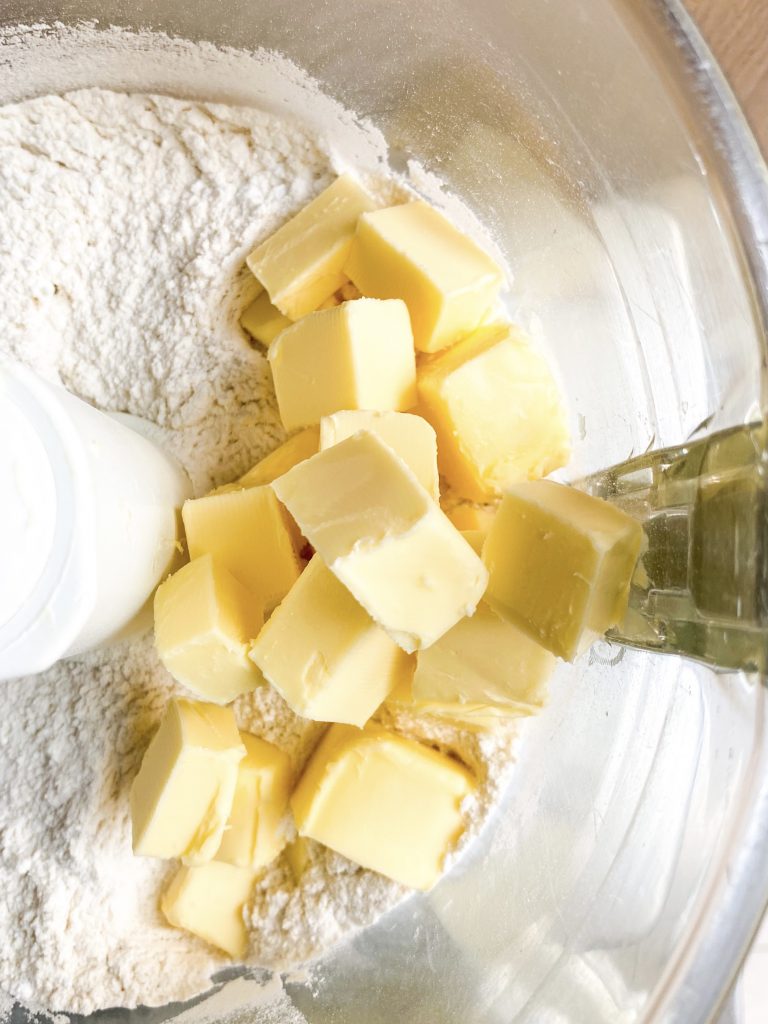
2 Add butter and pulse 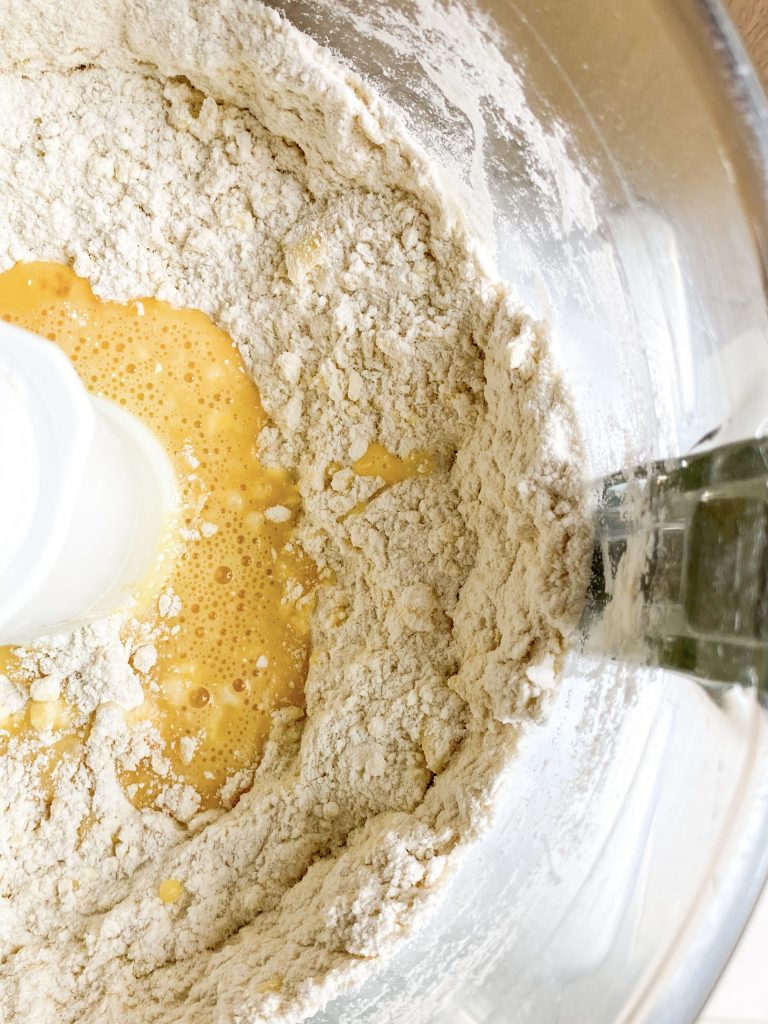
3 Add egg. Pulse until it … 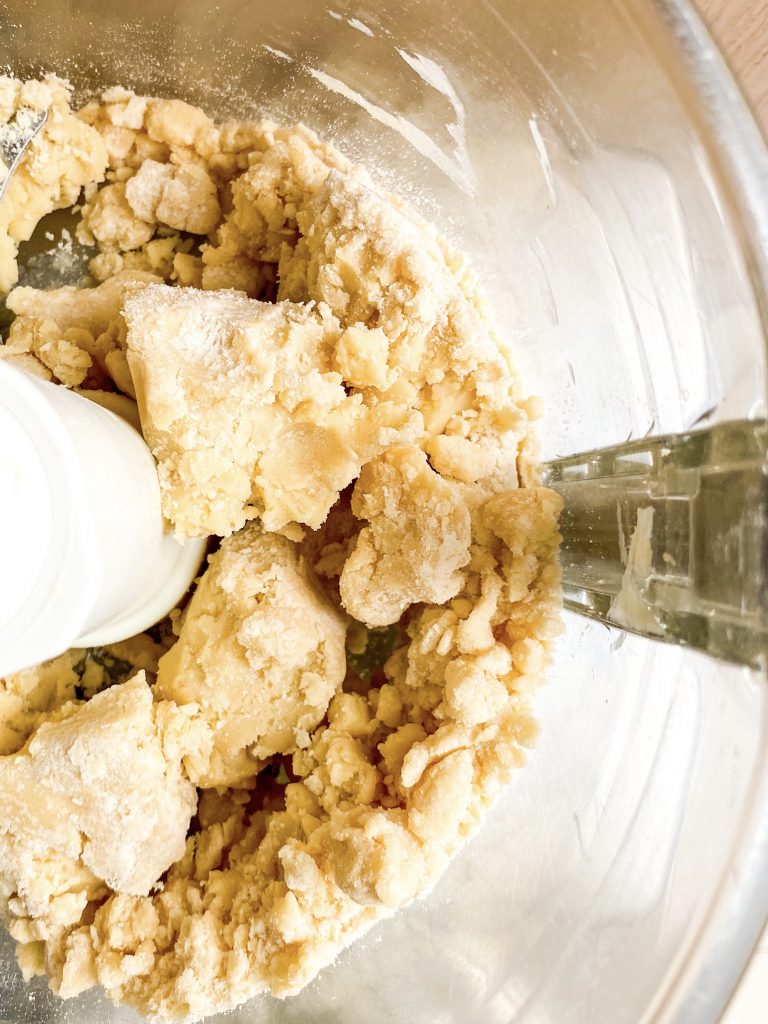
… just comes together 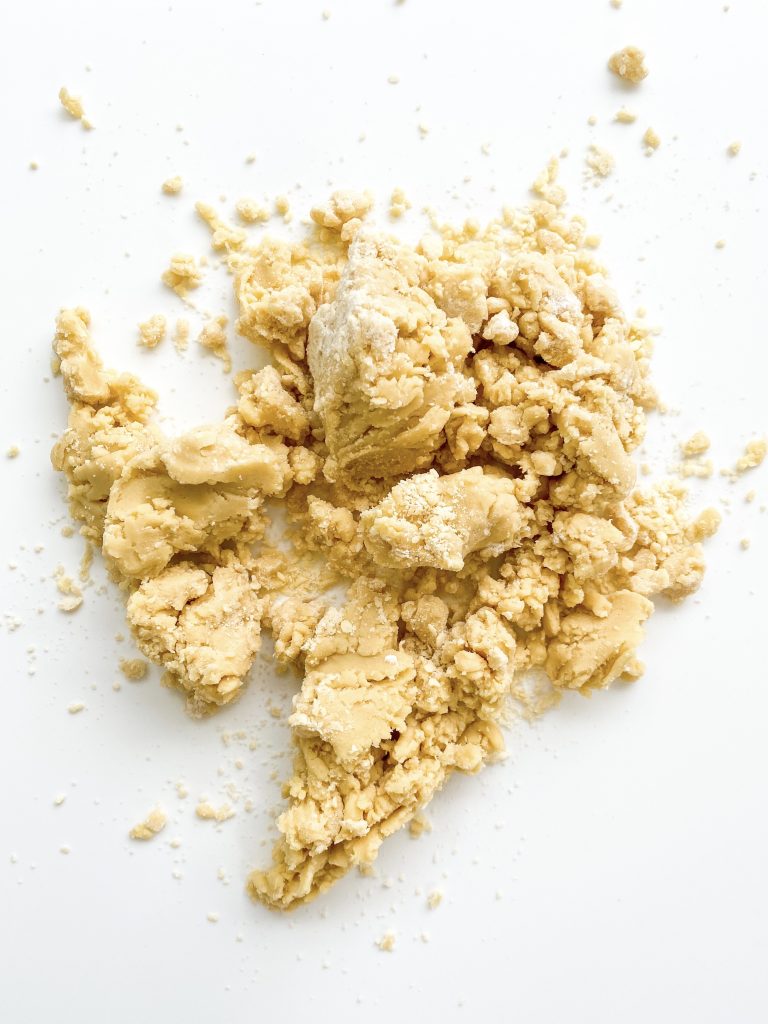
4 Tip out and press together 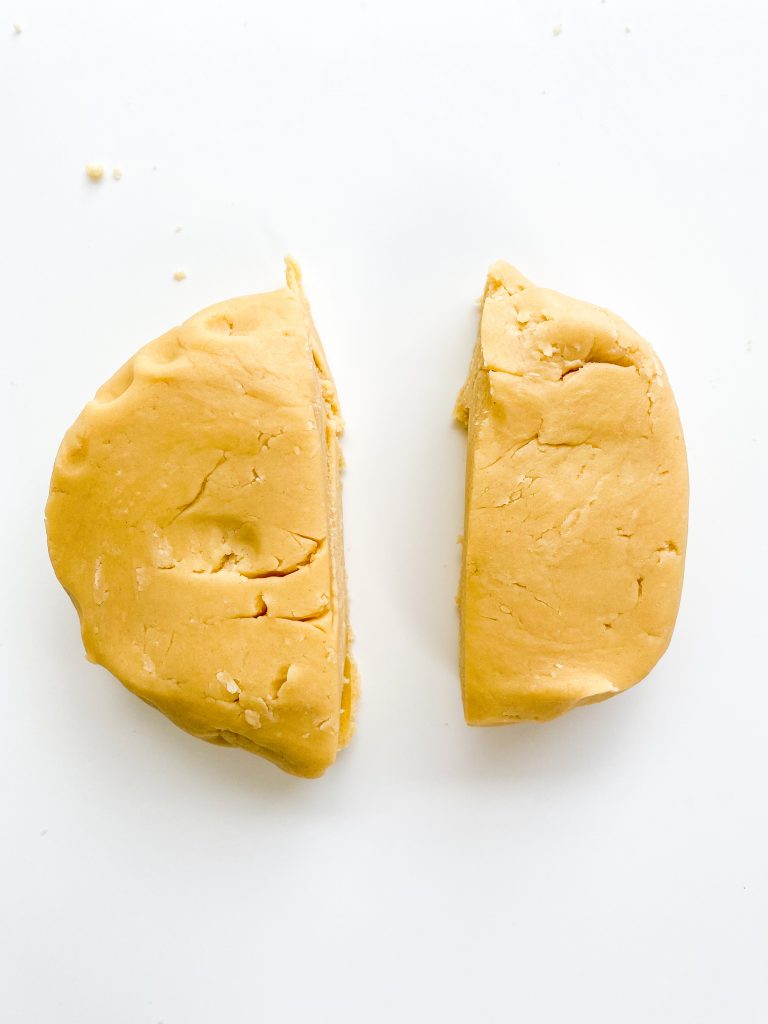
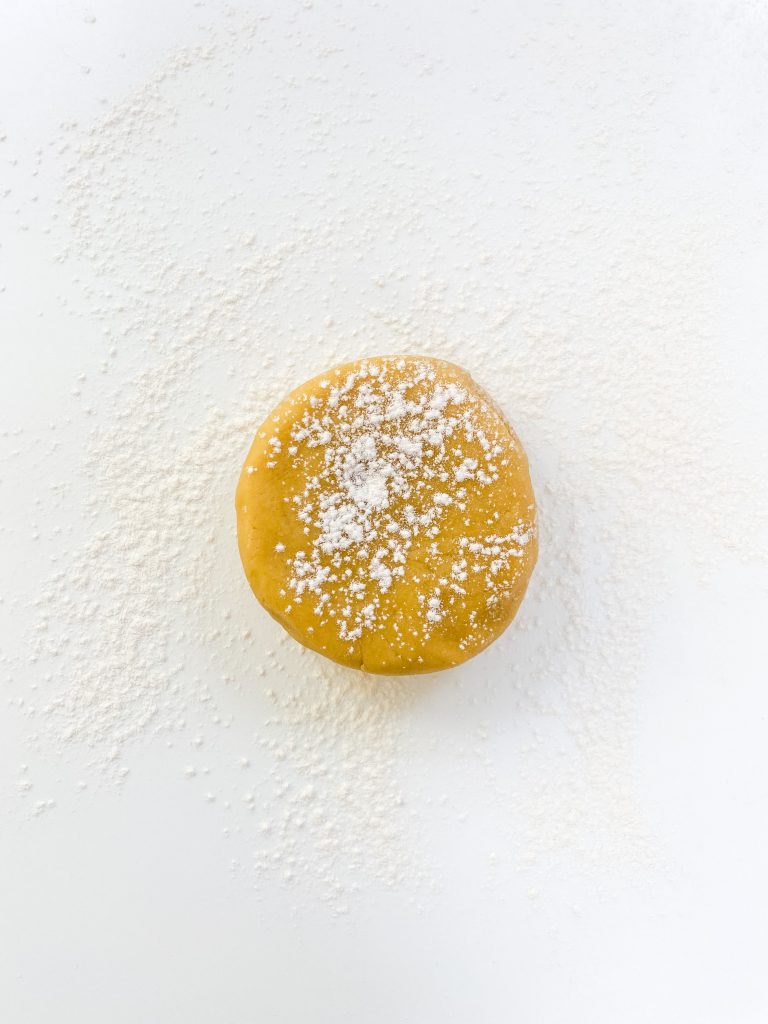
5 Press into shape 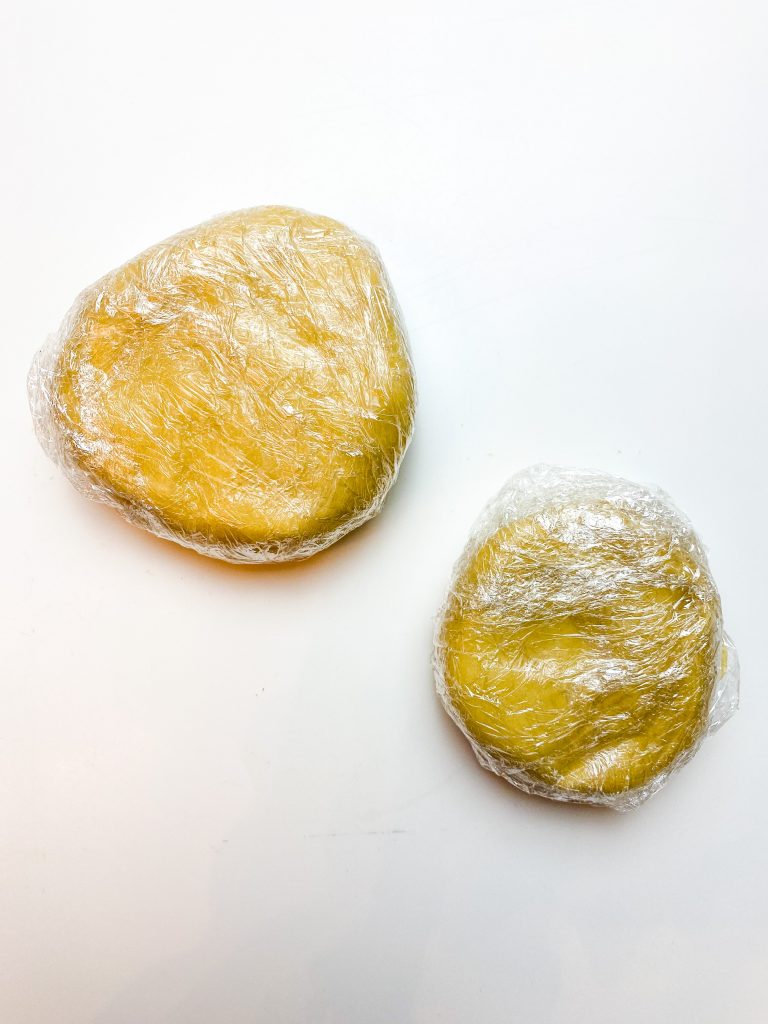
6 Wrap in cling film and refrigerate
Tips on rolling pastry:
Remember to work on a cold and flat surface and use a completely flat rolling pin.
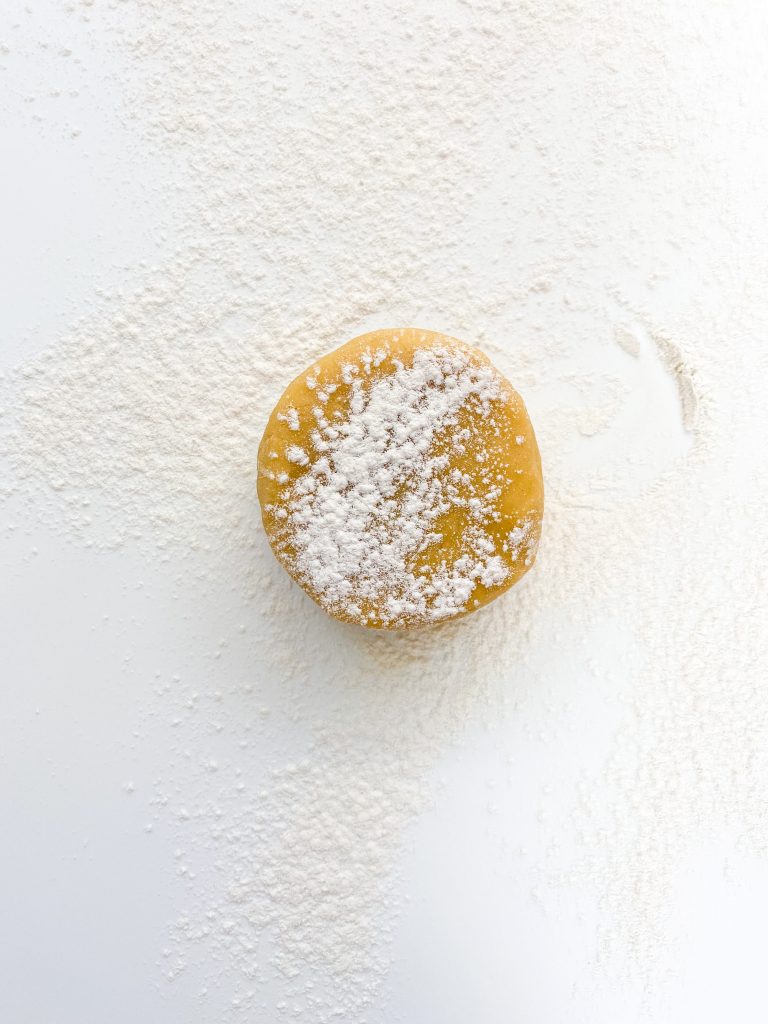
- Lightly dust the surface, the top the pastry and the rolling pin with flour using a flour shaker.
- Put the rolling pin in the middle of the pastry and roll forwards and backwards.
- If the outside edges of the pastry have split a little when rolling, neaten the edges with your hands and add a little more flour, if necessary.
- ¼ turn your pastry and repeat.
- If the pastry is sticking to the work surface, release using a palette knife and re-dust the surface with flour
- Keep repeating at least 4 times or until the pastry is the correct size.
- You may need to re-dust the surface and rolling pin.
- If you only roll forwards and backwards and keep doing ¼ turns, in the same direction, your pastry should keep the shape you require and not shrink when cooked.
1 Dust with flour 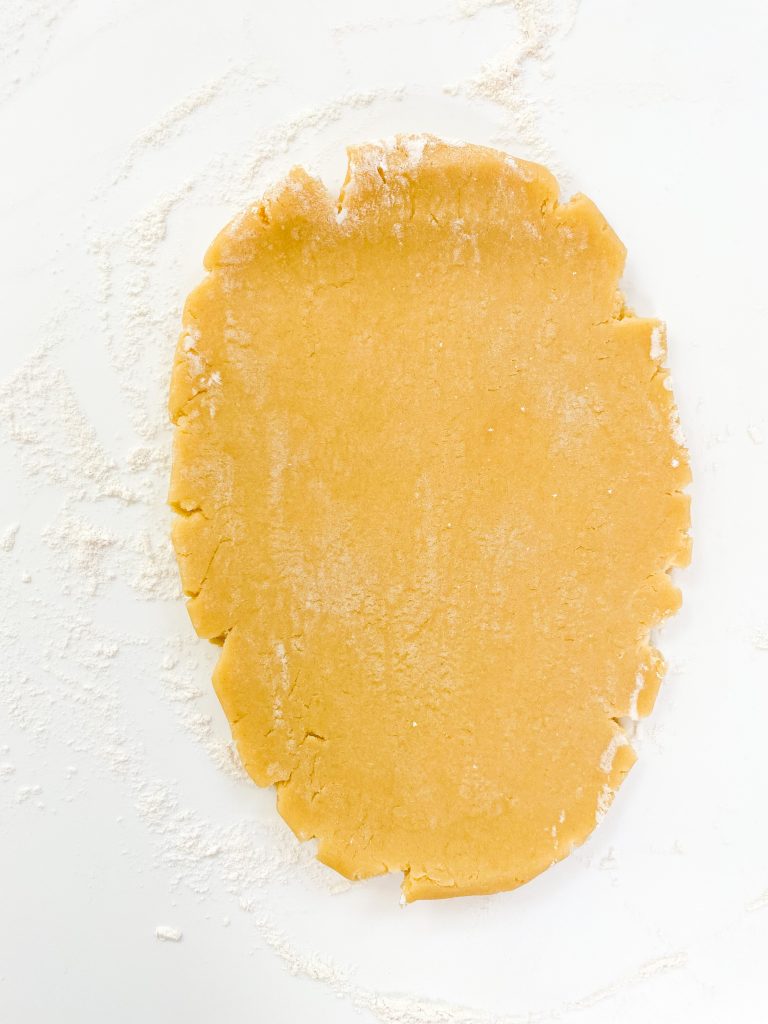
2 Roll 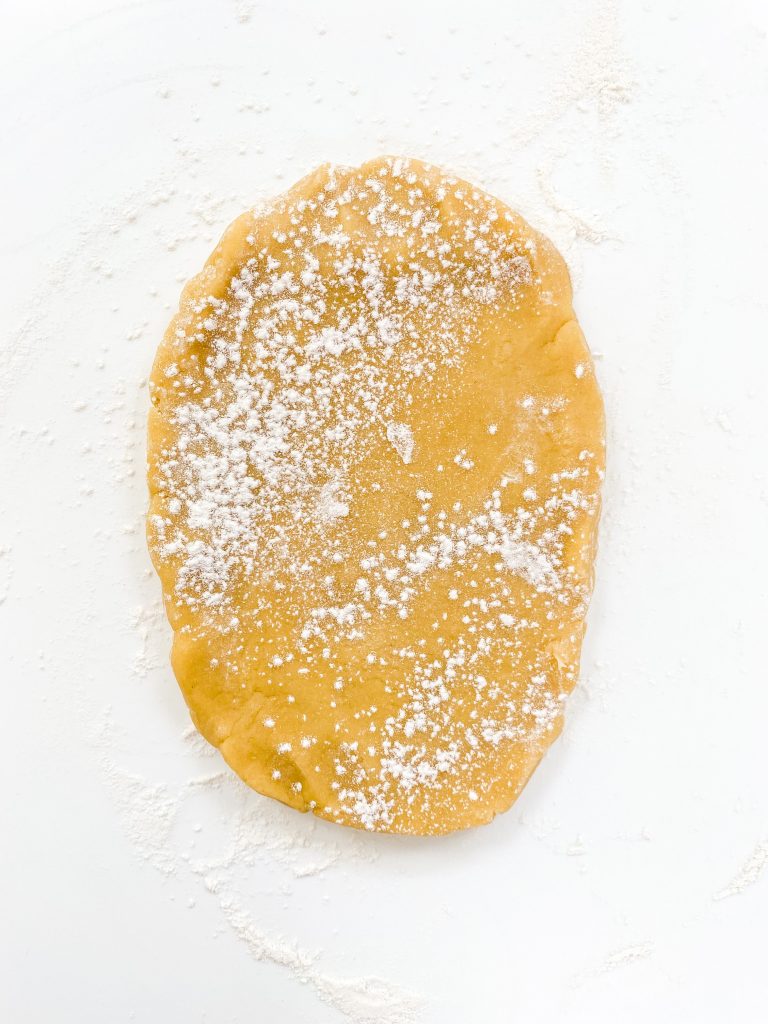
3 Neaten edges. Add flour 
4 ¼ turn pastry. Repeat. 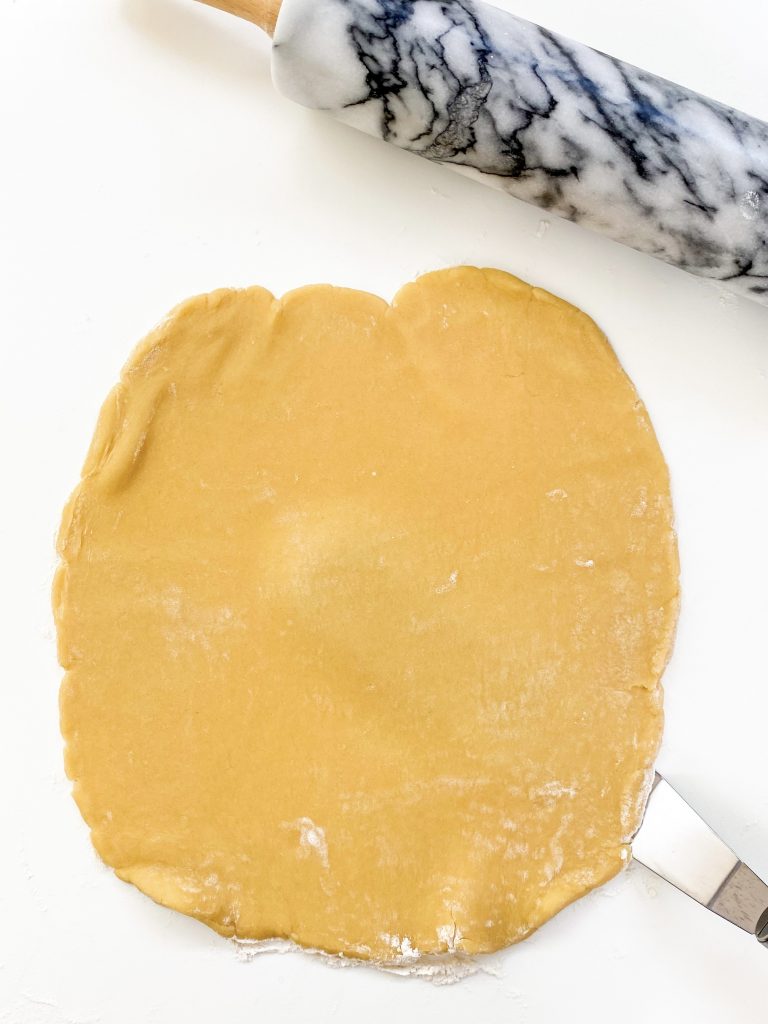
5 Release pastry if sticking 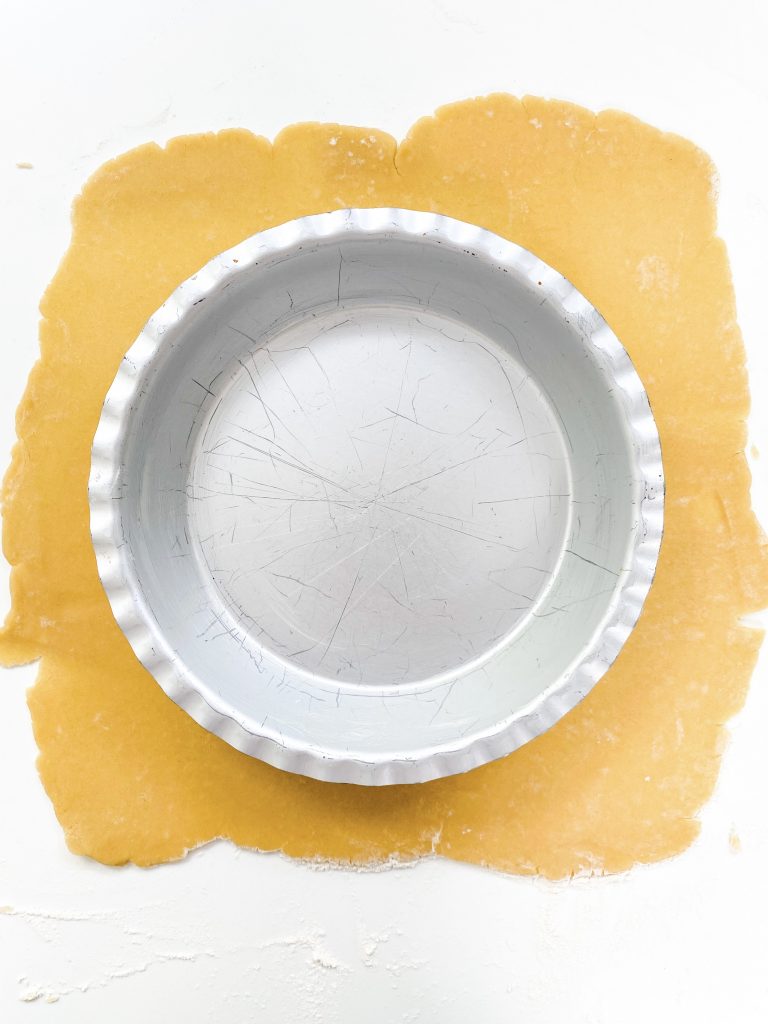
6 Repeat to correct size
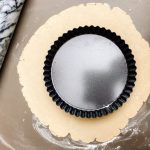
Lining a flan tin:
Please note that pastry cooks best in metal tins rather than ceramic or glass. Metal tins do not need to be greased but glass or ceramic should be very lightly greased first. You can use your flan tin as a guide to ensure your pastry is the correct size.
- Put the rolling pin about 10cms from the edge of the pastry and roll the 10cms over the rolling pin. Gently roll the rest of the pastry onto the rolling pin.
- Lay the pastry over the flan tin and gently unroll so the pastry lies on top.
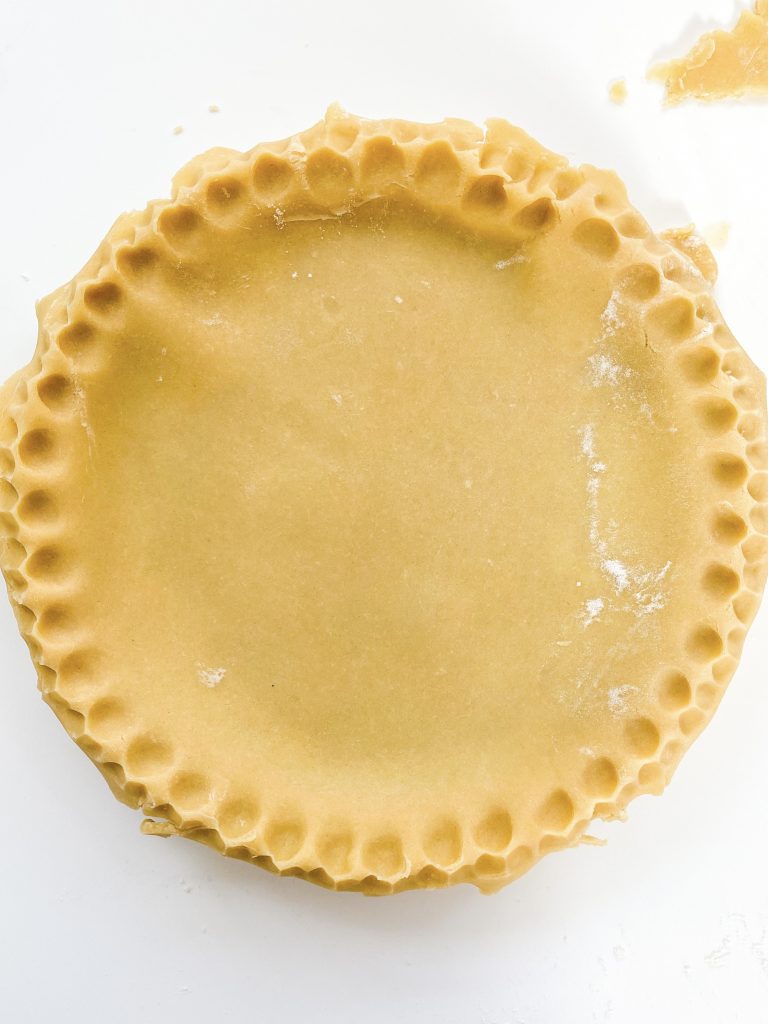
- Very gently, use your fingers to press the pastry into the flan tin ensuring it fits snugly into all the corners and where the base meets the sides, and up the side.
- If there are any splits or holes in the pastry, use the cut offs to patch up: this pastry is very delicate – I always have a few areas I have patched! Don’t worry you won’t notice when the pastry is cooked and filled
- Trim the overhang
- Prick the base of your pastry lined flan tin with a fork – this will release any trapped air and prevent the pastry from rising whilst cooking.
- Put back in the fridge for 60 minutes or in the freezer for 20 minutes before cooking
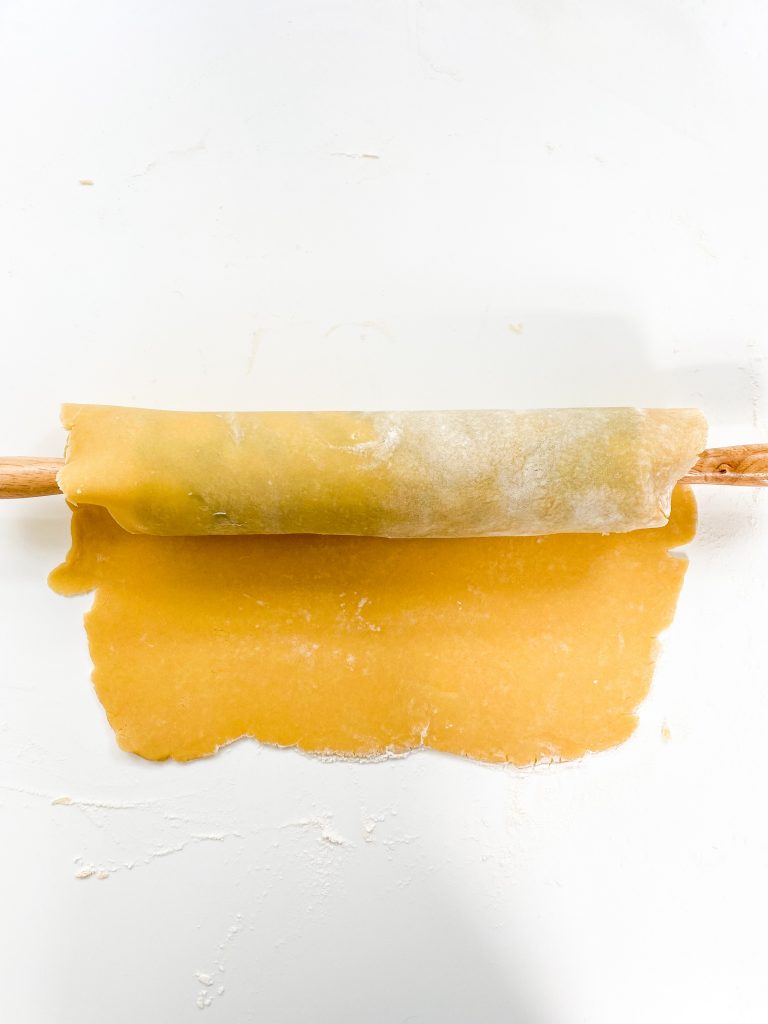
1 Roll pastry over rolling pin 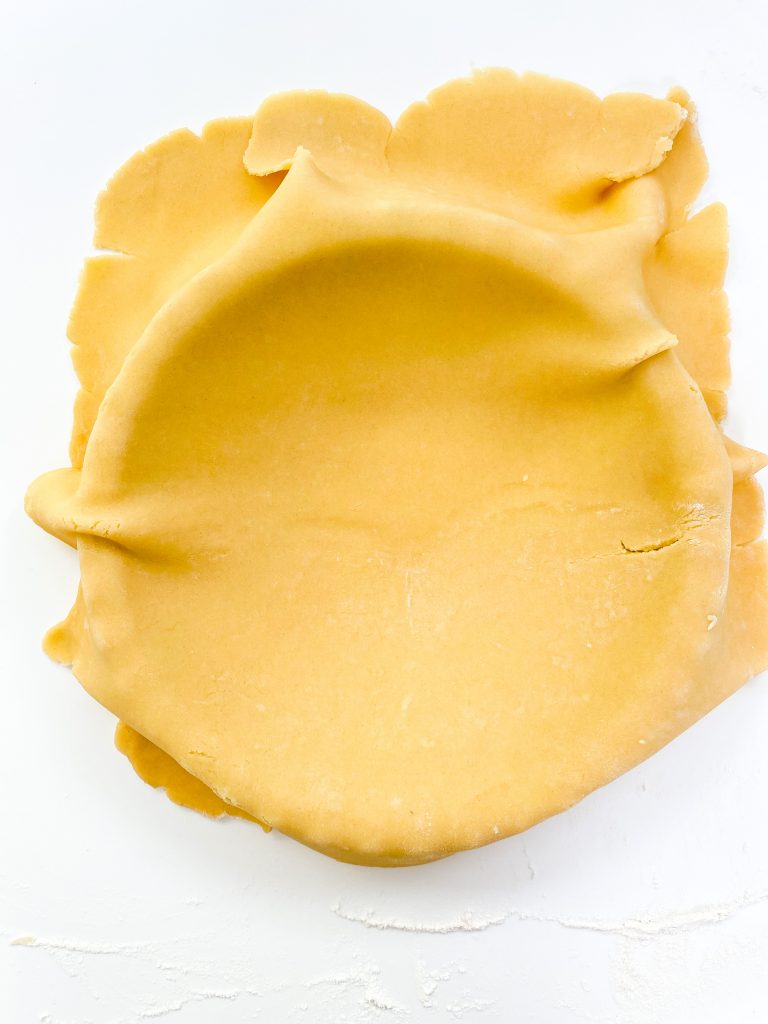
2 Unroll over tin 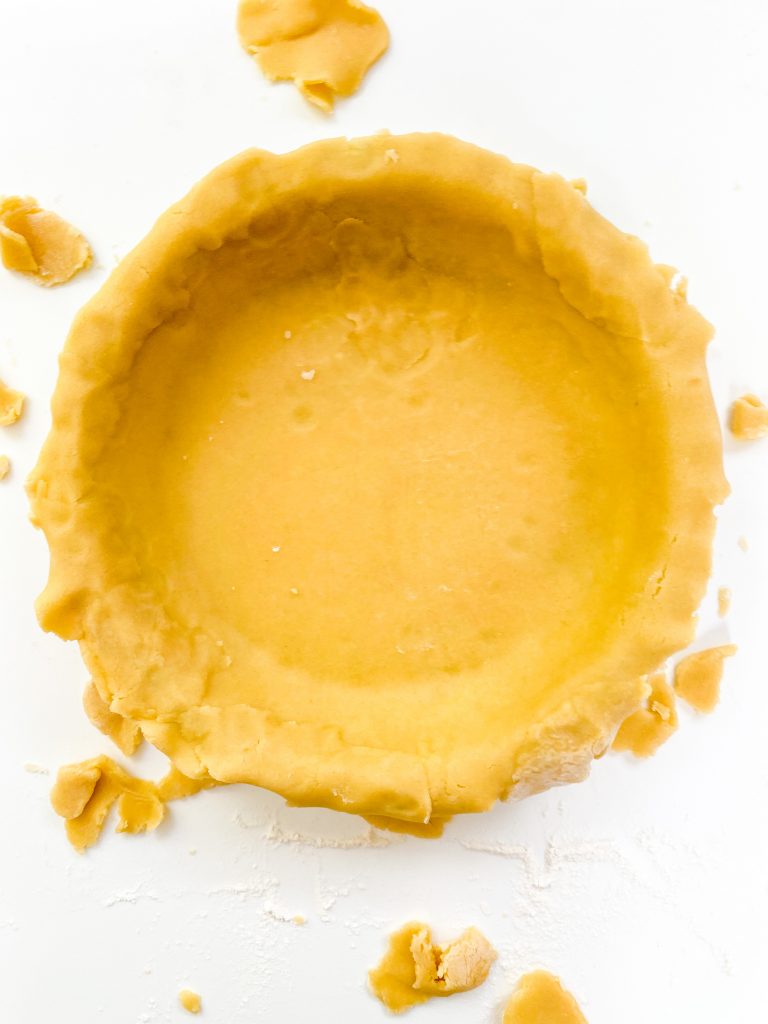
3 Gently press into flan tin 
4, 5 Patch and trim 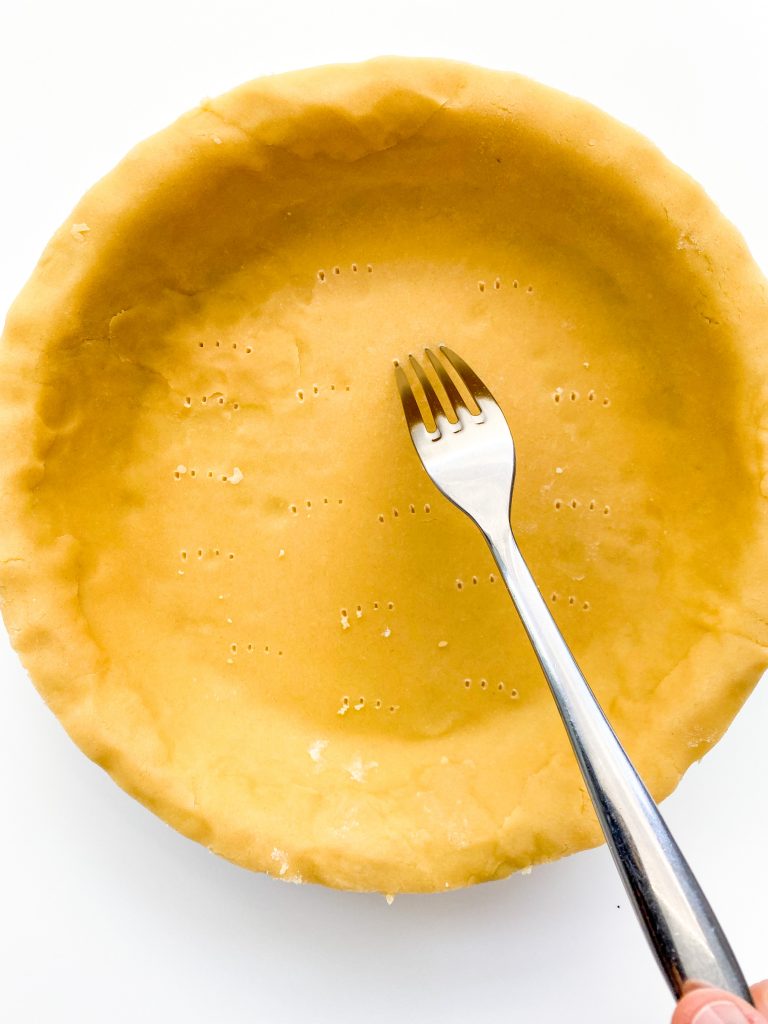
6, 7 Prick base and refrigerate
Adding a pastry top:
- Lightly dust the surface, the top the pastry and the rolling pin with flour using a flour shaker.
- Roll out as described above.
- Use the pie as a guide to ensure you have rolled the pastry to the correct size
- Brush edges pf the pie with water or egg wash to help seal the base pastry and pastry lid.
- Roll the pastry onto rolling pin, as above, and cover the pie with the pastry.
- Seal edges either with your fingers or a fork.
1 Dust with flour 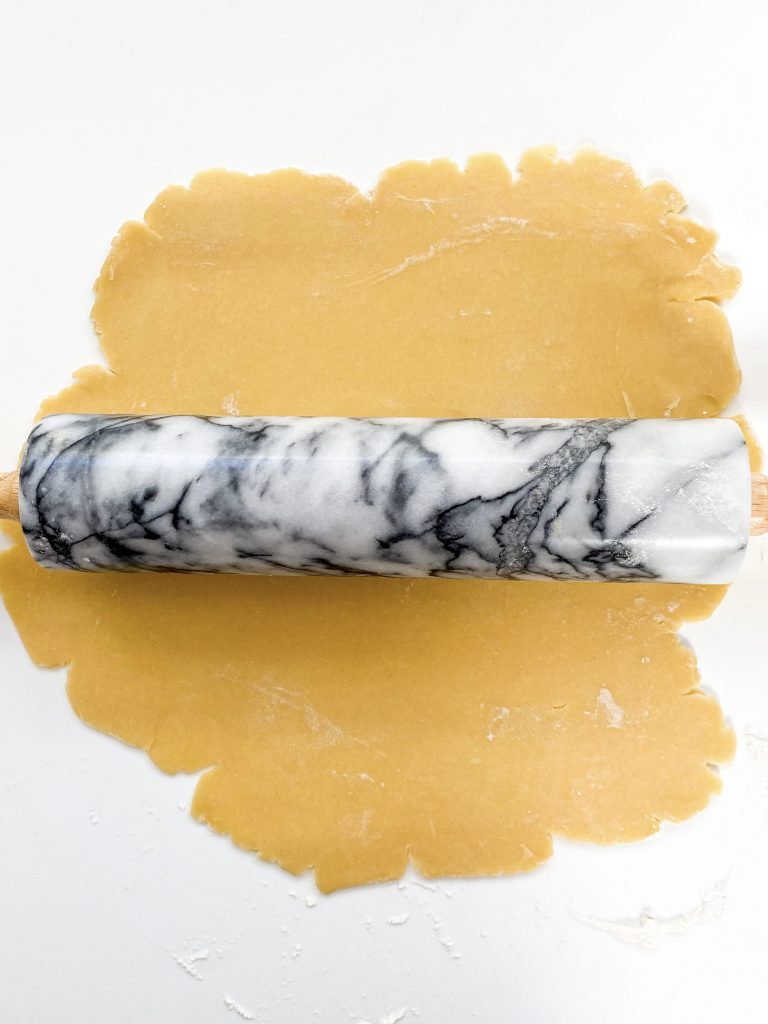
2 Roll 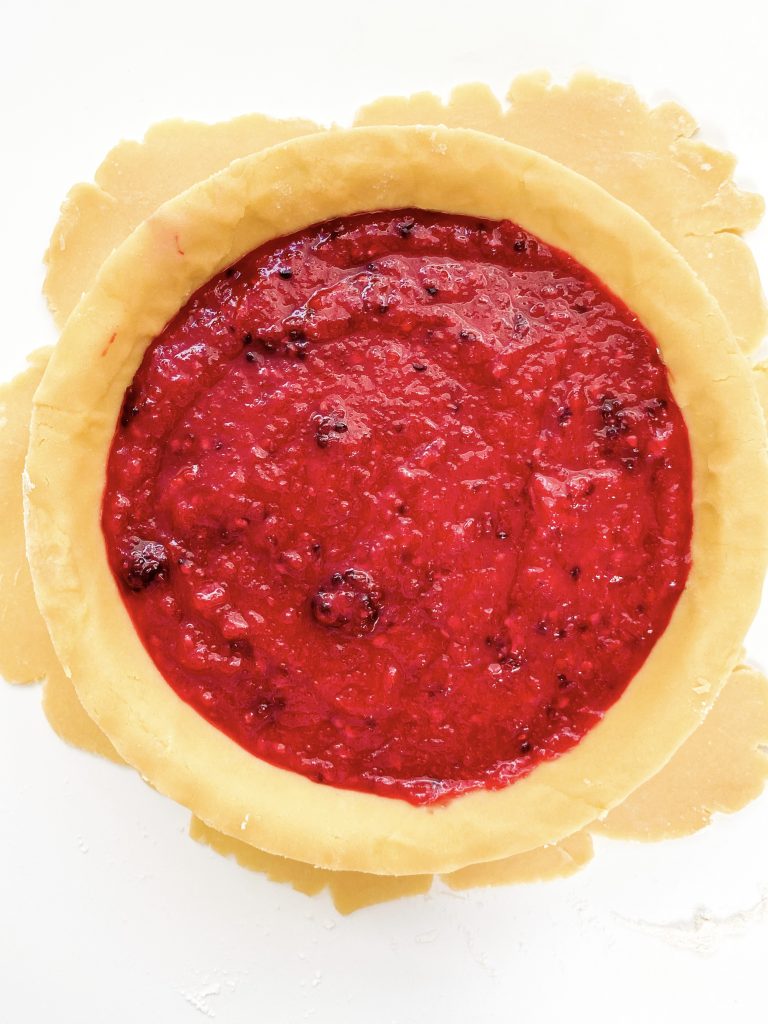
3 Check size 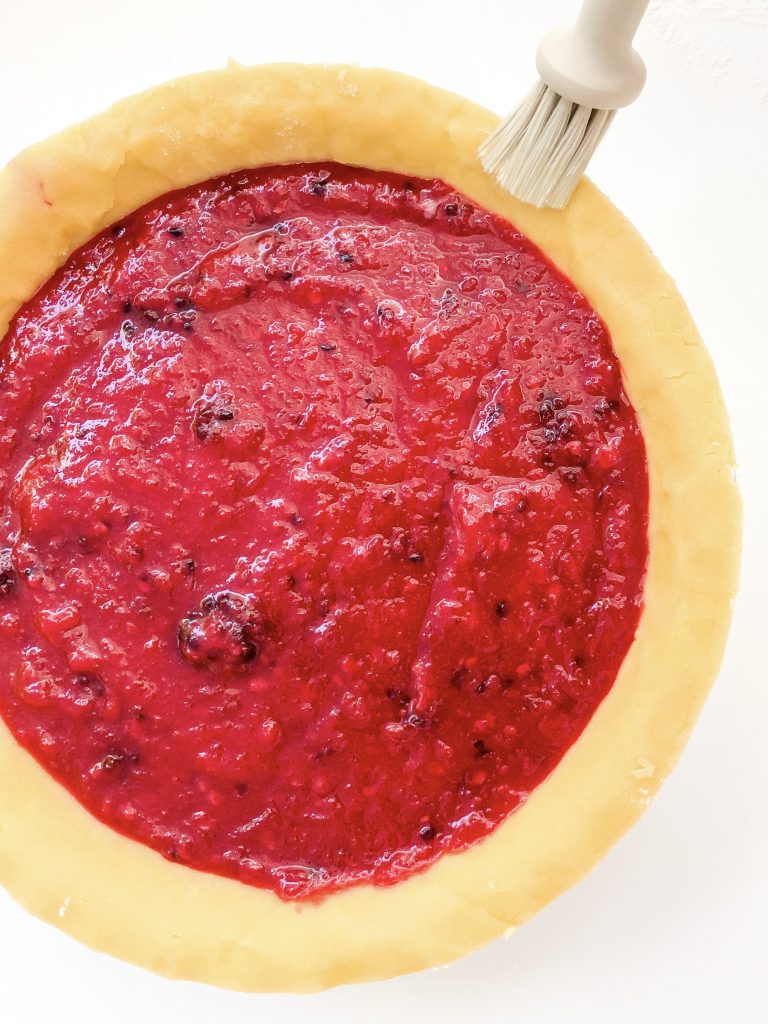
4 Brush edges 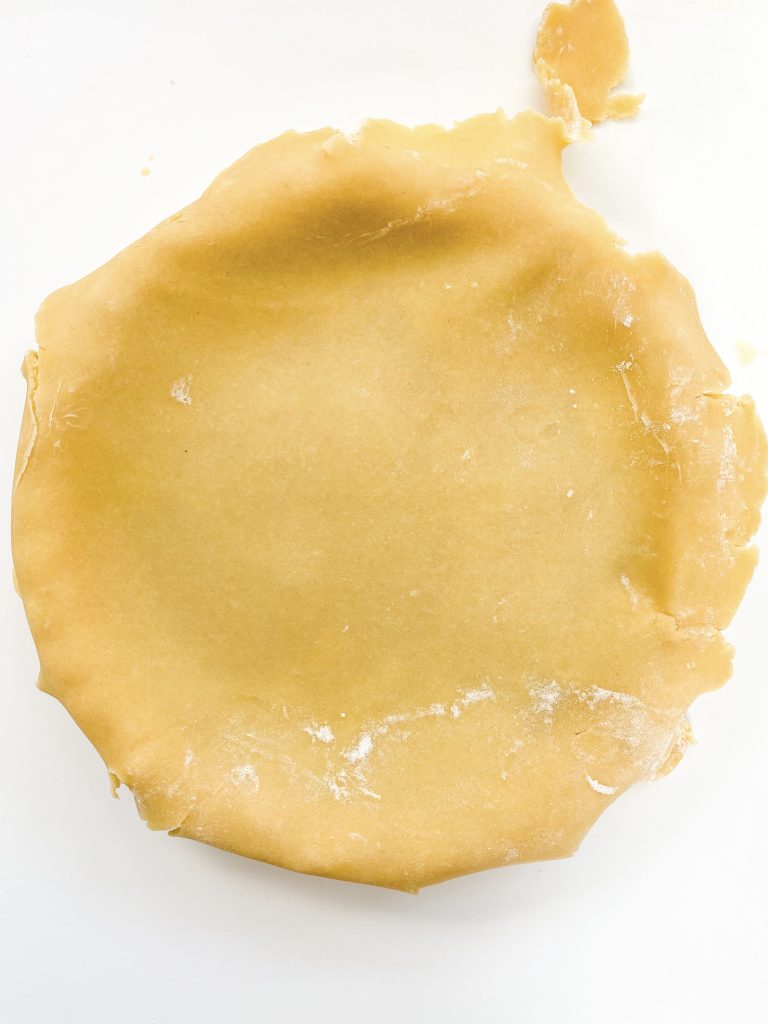
5 Cover pie with pastry 
6 Seal edges
Finishing the top of pies:
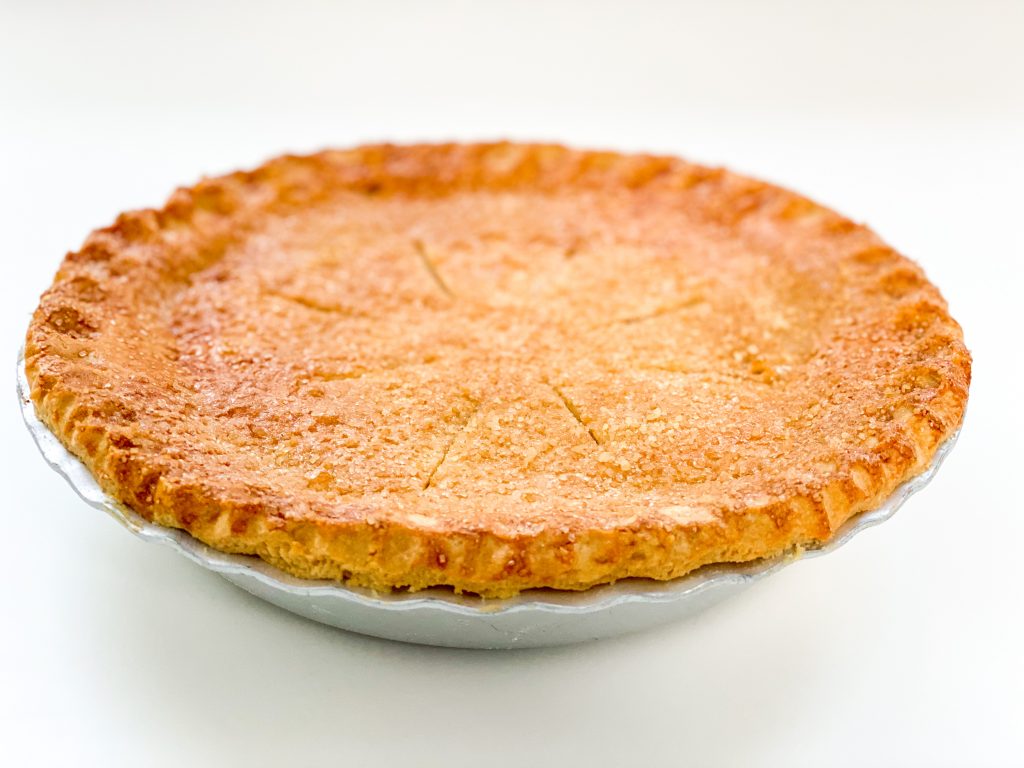
- Brush the top of your pie.
- You can use egg wash, egg white, egg yolk, or milk.
- I like to sprinkle the top of my pies with sugar – either granulated or Demerara.
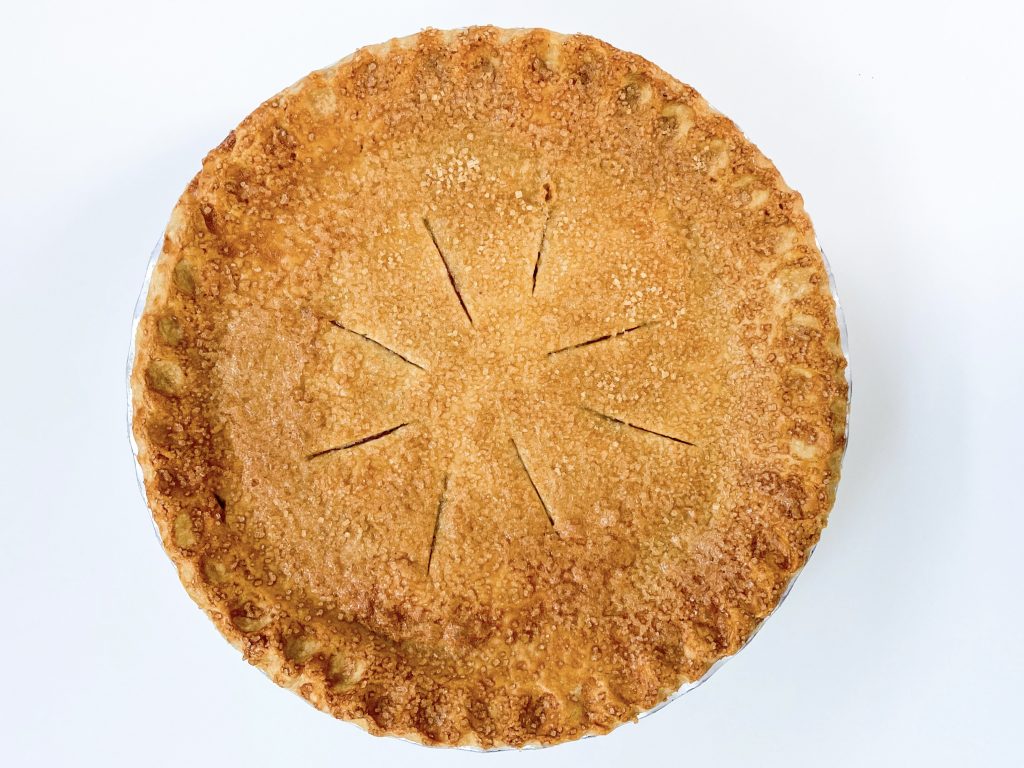
- Use a sharp knife to make some slits in the pastry to allow the steam to escape. You could also decorate the top of the pie with some pastry cut offs. Also brush these with egg/milk and sprinkle with sugar.
- Bake
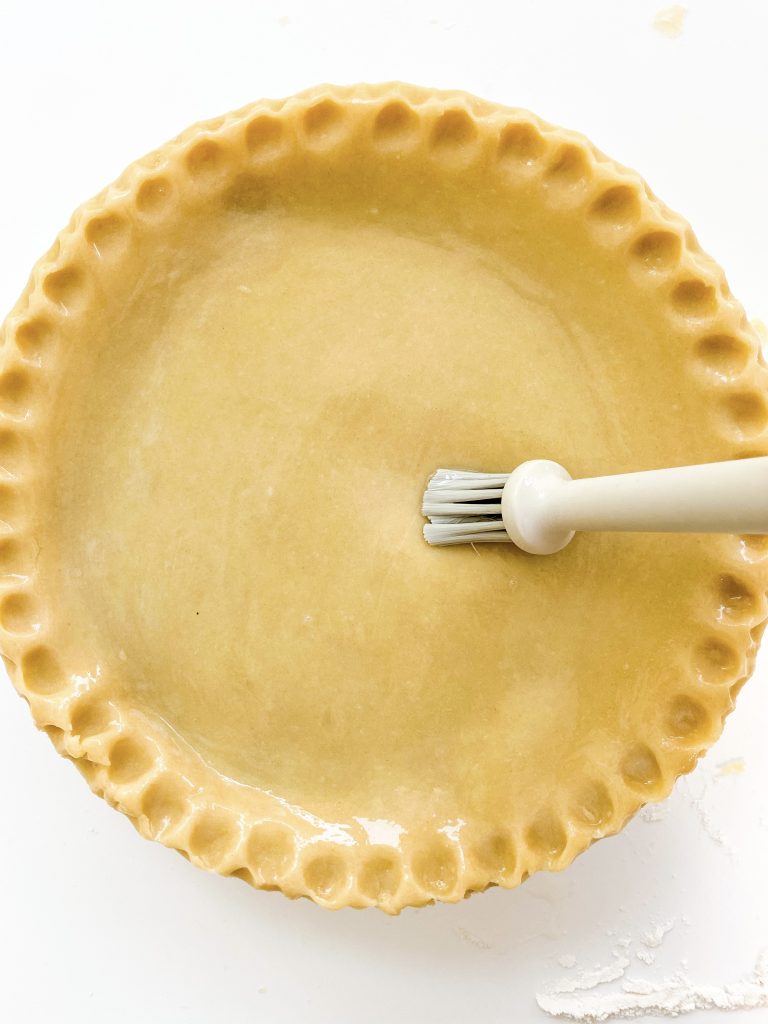
1 Brush top 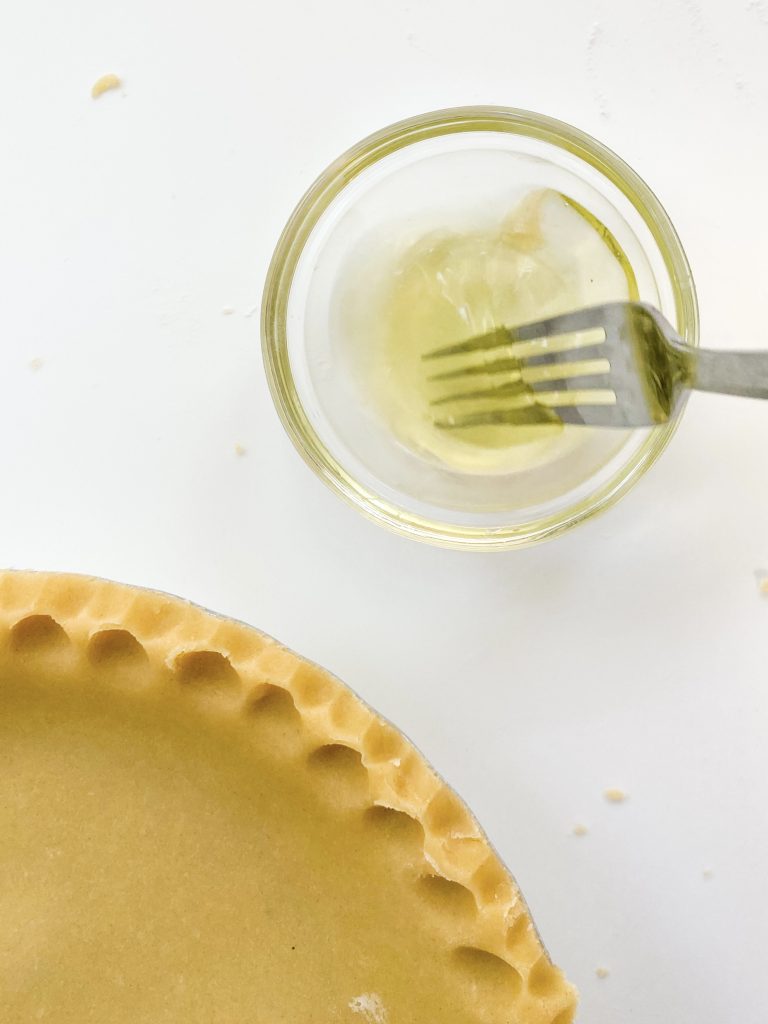
2 Use egg or milk 
3 Sprinkle with sugar 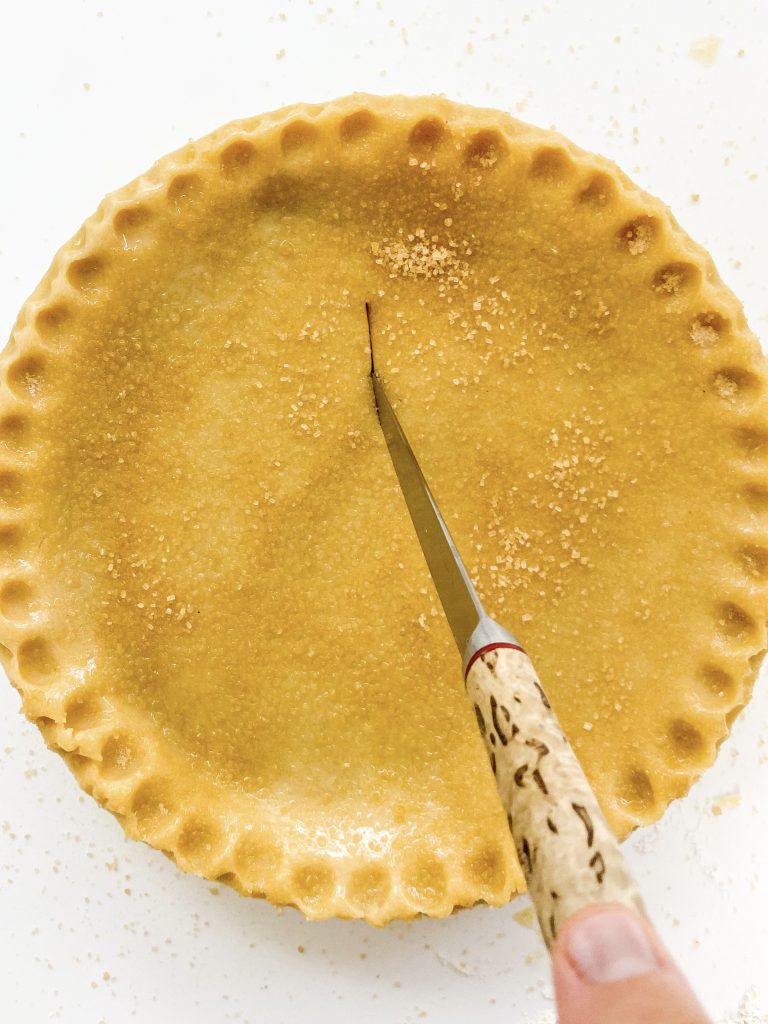
4 Use sharp knife to … 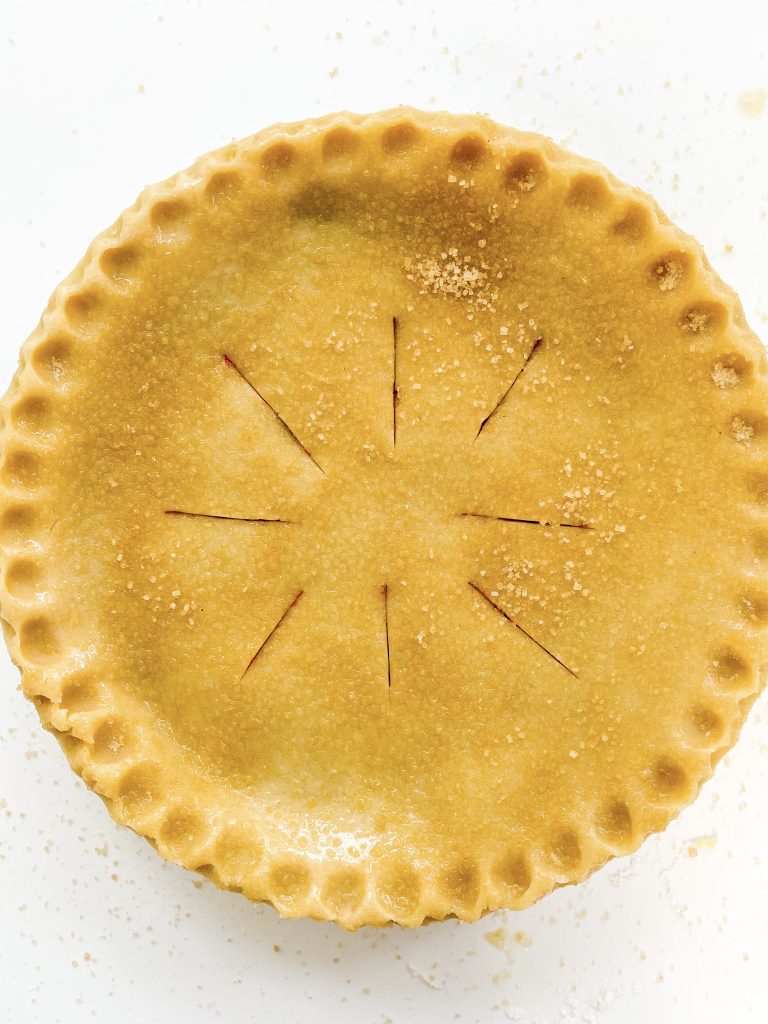
.. make slits. 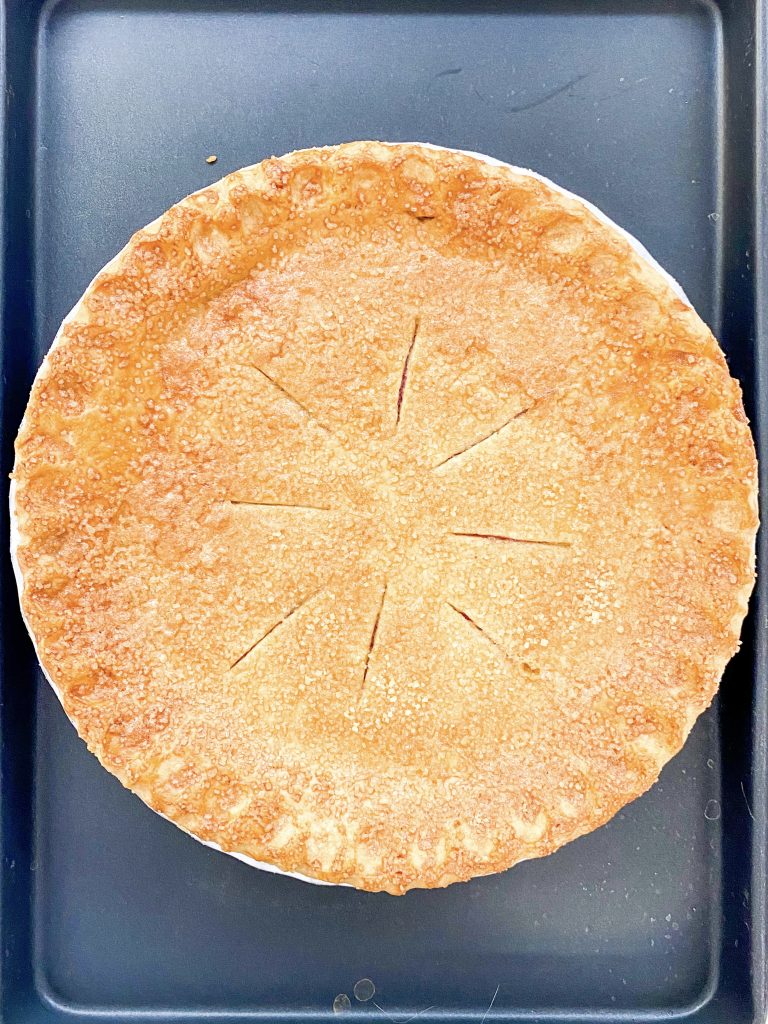
5 Bake
Blind Baking pastry cases and Baking pastry cases with a filling:
For detailed information, please see my post for Shortcrust pastry here.
What is the best way to store pastry?
Cover the pastry in cling film and store in the fridge for up to 3 days.
Can I freeze pastry?
Yes you can! Cover in cling film and freeze for up to 3 months. Defrost overnight in the fridge.
Made this recipe?
If you make this recipe, do please tag me on instagram @daffodil_kitchen. You could also leave a comment in the box directly below the recipe.
Sweet Shortcrust Pastry
Rich, buttery, slightly sweet, flaky and melt in the mouth, this Sweet Shortcrust Pastry is ideal for sweet pies and tarts. It is made in a flash (using a food processor or by hand) and it freezes well, either before cooking or after.
Ingredients
- 300g plain/all-purpose flour
- 1 teaspoon baking powder
- 25g icing sugar
- ¼ teaspoon fine salt
- 180g unsalted butter, very cold, cut into cubes
- 80g fridge cold beaten eggs – you will need 2 eggs. (See Recipe Notes)
Instructions
-
Collect together your equipment (see Recipe Notes below) and ingredients.
-
Weigh the flour, baking powder, sugar and salt into the food processor and pulse to mix. Alternatively weigh it into a mixing bowl and stir to mix.
-
Either using the pulse function on your food processor or using your fingertips, rub the butter into the flour until they resemble fine bread crumbs
-
With the processor running, slowly add the very cold beaten eggs until the mixture just comes together. Or add the beaten egg gradually using a knife to incorporate it into the flour mixture. Stop when it nearly all comes together.
-
Take out of the food processor or mixing bowl and push (rather than knead) very gently with your hands to bring the dough together. Kneading stretches the gluten in the flour and will make your pastry tough, so handle it as little possible.
-
Press into the same shape as you wish to roll the pastry but smaller than the actual size. For example, if you will be rolling it to line a 20cm/8 inch round pastry dish, shape into roughly a 15cm/6inch round shape.
-
Wrap in clingfilm and refrigerate for 30 minutes.
-
It is very important not to miss the refrigeration steps out as they help to prevent the pastry from shrinking when cooking.
Recipe Notes
Equipment
- kitchen scales and measuring spoons
- food processor or mixing bowl and sieve
- rolling pin
Tin sizes:
If making pastry using the quantities above I would expect to:
- line 2 x 20cm/8 inch flan tins, and possibly
- line and top 1 x 20cm/8 inch flan tins
Eggs:
Use fridge cold beaten eggs. You can use
-
- 2 x whole beaten eggs and use the remaining egg as egg wash
- 1 whole egg and 1 egg yolk. Use the remaining egg white as egg wash
- 1 whole egg and 1 egg white. Use the remaining egg yolk as egg wash
- when you first start making pastry, it is hard to know when you have added enough liquid. Practice makes perfect, but as a guide, I find that 80g or 5 x 15ml tablespoons of beaten egg is sufficient for the quantities in the recipe below. If you are scaling the recipe up or down, this means that for every 100g flour, you need roughly 27g beaten egg


Gremolata

Wagon Wheel Brownies
You May Also Like

Hot Goat’s Cheese Canapés with Fresh Figs and Chilli Spiked, Salted, Honeyed Walnuts

Wild Garlic, Tomato and Cheddar Muffins