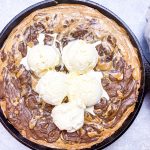
Wagon Wheel Brownies
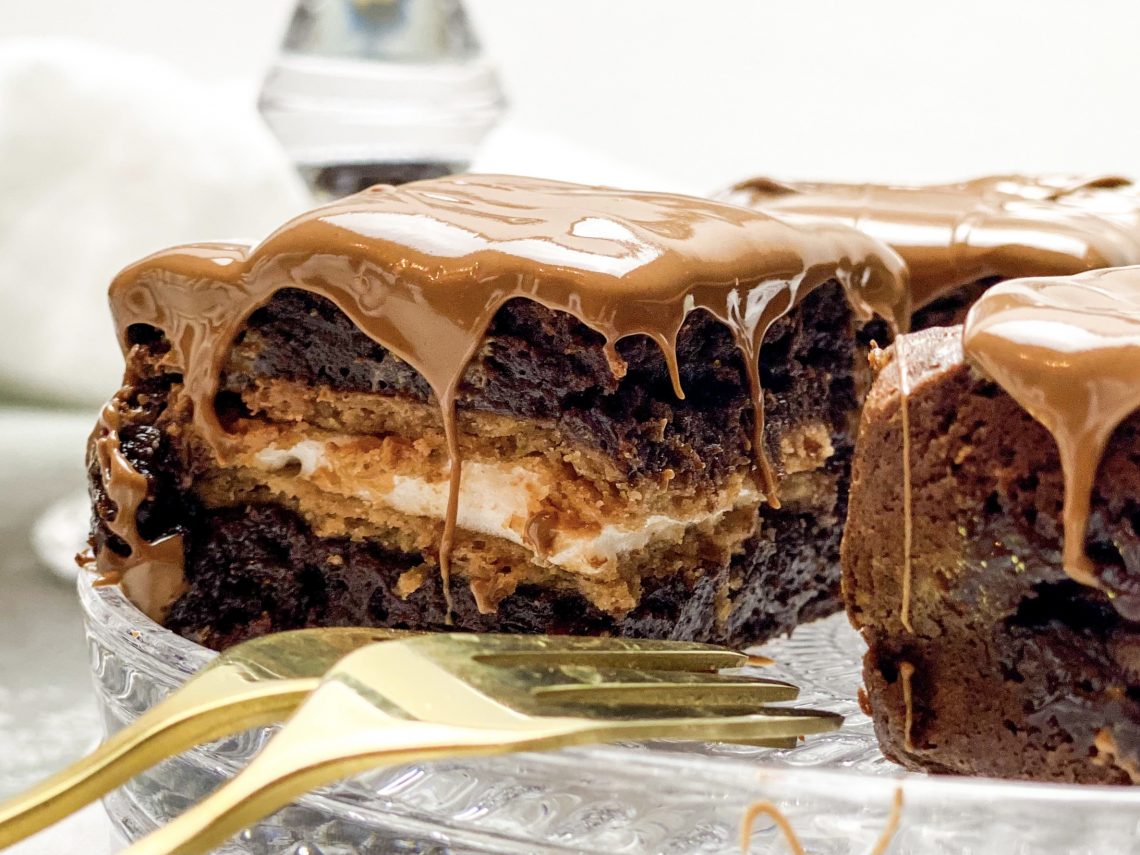
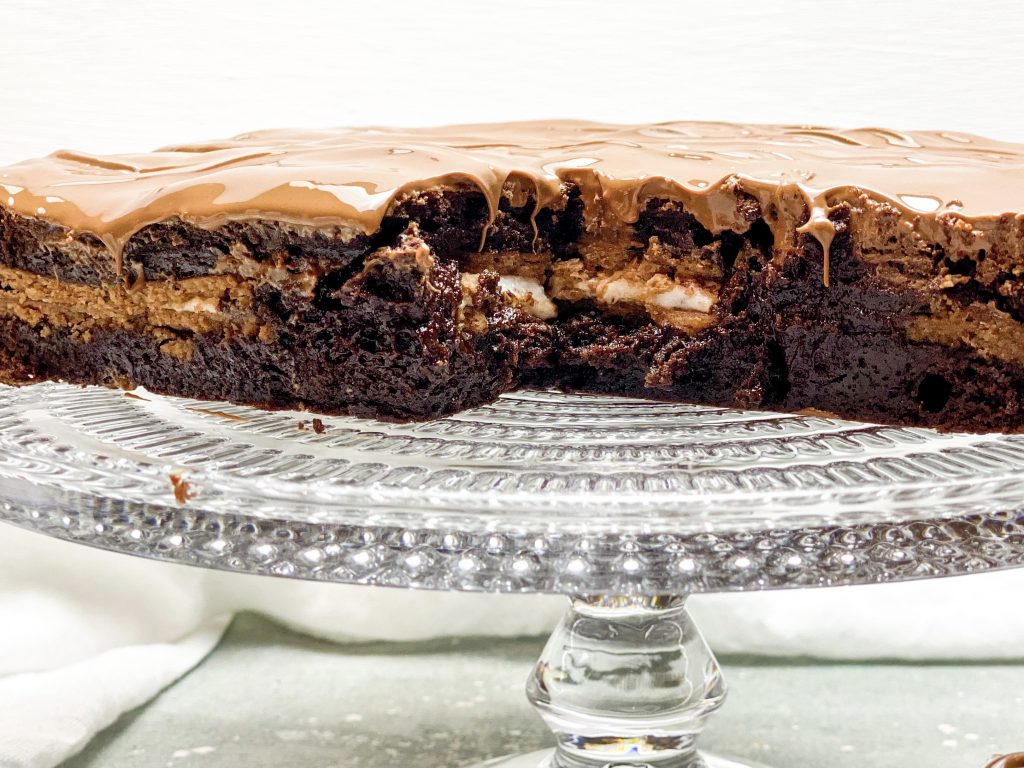
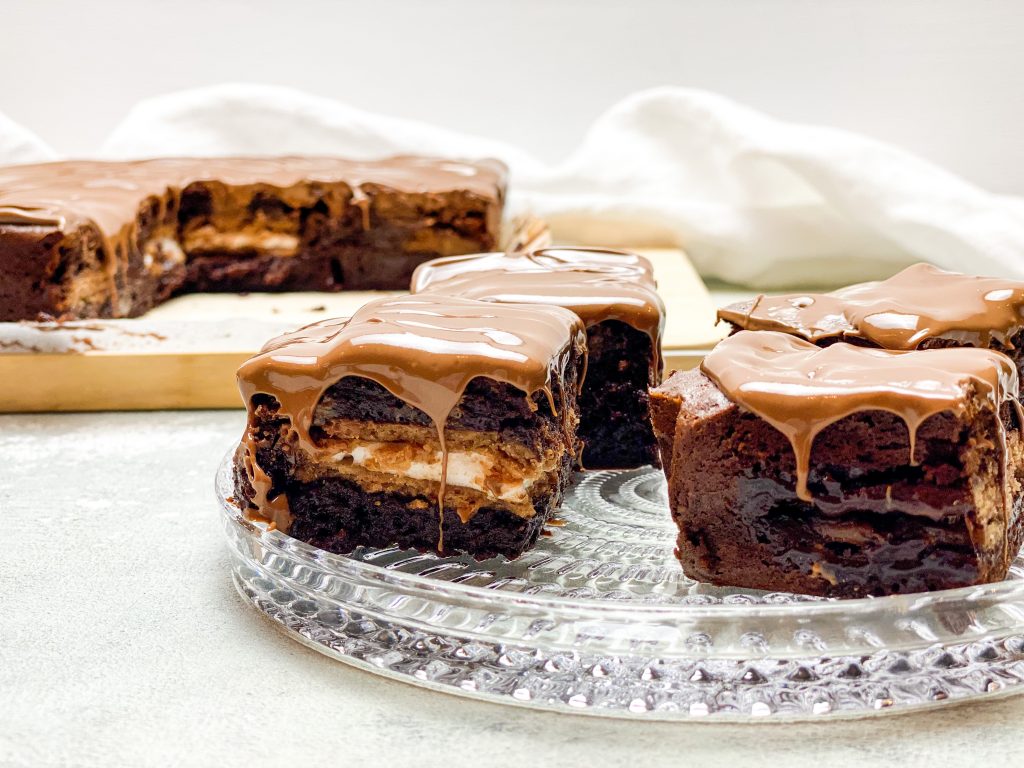
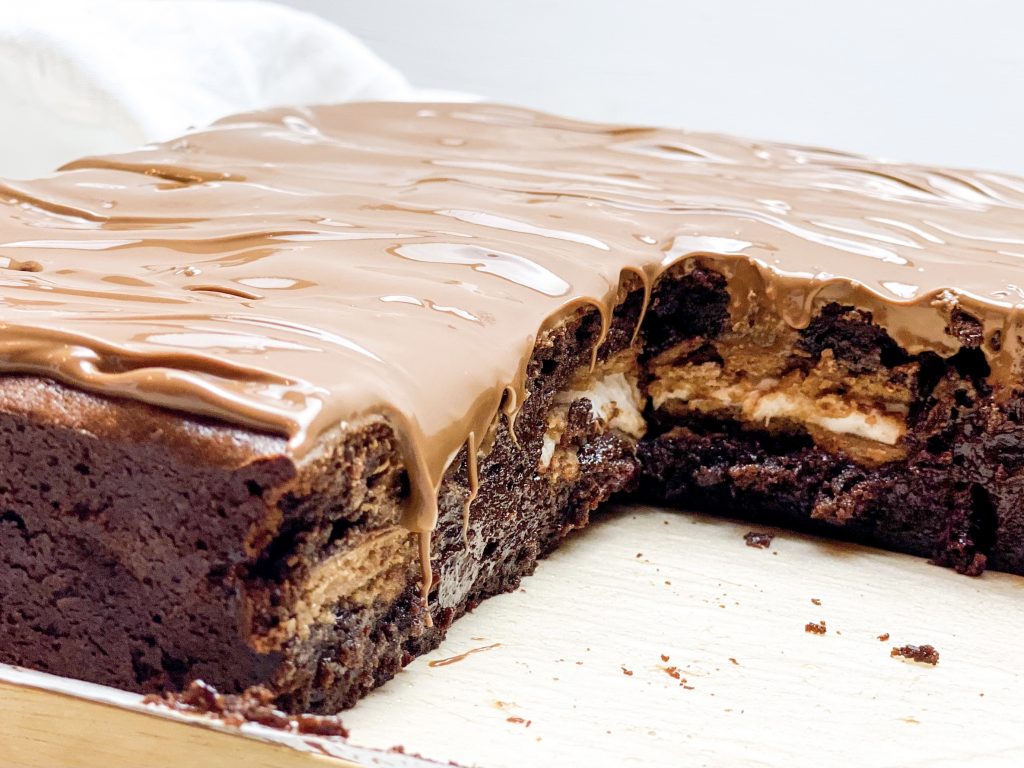
These delicious, fudgy, Wagon Wheel Brownies are soft and gooey on the inside, slightly crispy on the outside and have an incredible layer of Wagon Wheels in the centre. Wagon Wheels are chocolate covered marshmallow biscuit/cookie sandwiches which bring a fabulous flavour and texture contrast to these brownies.
Charlotte and Andrew are huge Wagon Wheel fans and I cannot believe I have not posted these until now. It is very timely though; Wagon Wheels always remind me of celebrating Guy Fawkes Night as a child. We used to eat jacket potatoes, sausages, toffee apples and my brother’s favourite, Wagon Wheels whilst watching the fireworks in front of a huge bonfire. With 5th November around the corner, it is perfect timing!

I have many happy memories of celebrating Guy Fawkes Night, but in reality the actual reason for the celebration is quite gruesome. The celebration focuses on the arrest and death of Guy Fawkes. He was arrested on 5th November 1605 whilst attempting to blow up the Houses of Parliament and in so doing, the king. Guy Fawkes and his co-conspirators were tortured and executed in January 1606.
Bonfires were lit to celebrate the thwarting of the ‘Gunpowder plot’ and the survival of King James 1 and the day has been celebrated since this time, although the celebrations have become more elaborate. Nowadays, there are many incredible organised firework displays, often set to music, taking place around the country. Also, traditionally, children would build effigies of Guy Fawkes and take these from house to house asking for ‘a penny for the Guy?’ These were then burnt on huge bonfires located close to the firework displays.
A popular nursery rhyme we all learnt as school children:
Remember, remember the Fifth of November,
The Gunpowder Treason and Plot,
I know of no reason
Why the Gunpowder Treason
Should ever be forgot.
How to make Wagon Wheel Brownies
This recipe is adapted from my Daffodil Brownies – Core Recipe. For further brownie ideas and inspiration, see here.
Collect all your ingredients together and line the baking tin:
In order to guarantee soft and fudgy brownies, it is important to use the correct size tin – in this case it is a 20cm/8inch square tin. If your tin is larger the depth of your cake batter will be less and the cake will cook more quickly. Equally if the tin is smaller, your cake batter will be deeper and cook more slowly.
- Sit the tin on greaseproof paper making sure the paper is large enough to line the tin, come up the sides and have a little overhang.
- Cut out the corners of the paper so it will fit easily into the tin
- Fold the paper from corner to corner so the size of the centre of the paper matches the base of the tin. Slot inside the tin.
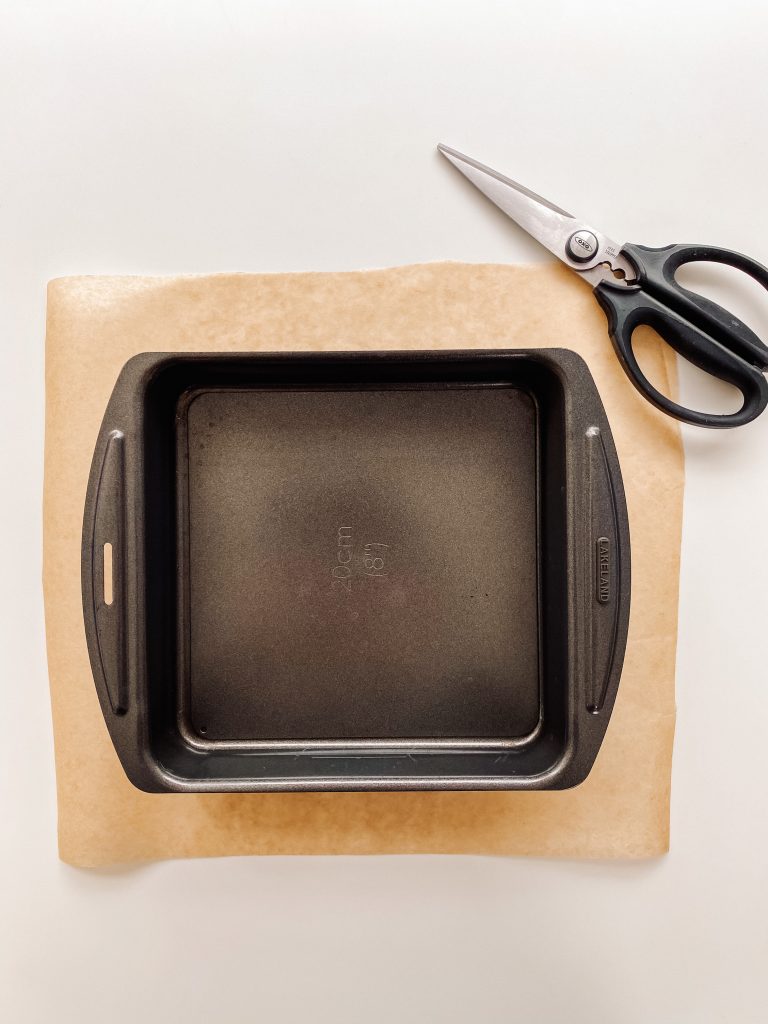
1 Tin and greaseproof paper 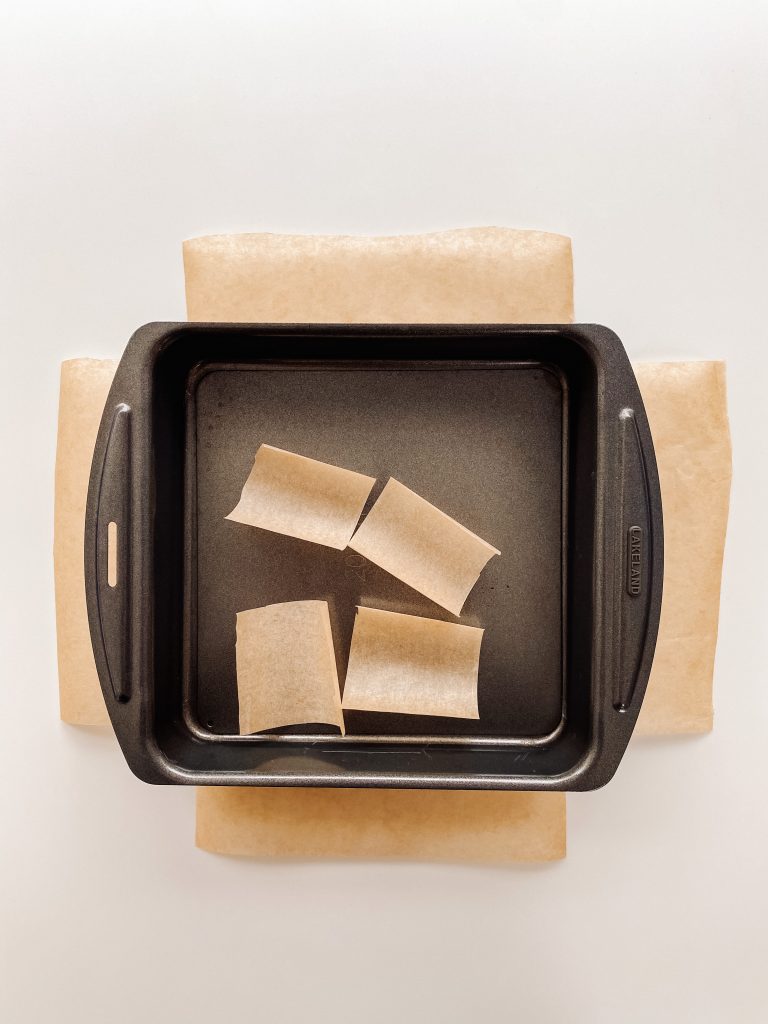
2 Cut out the corners 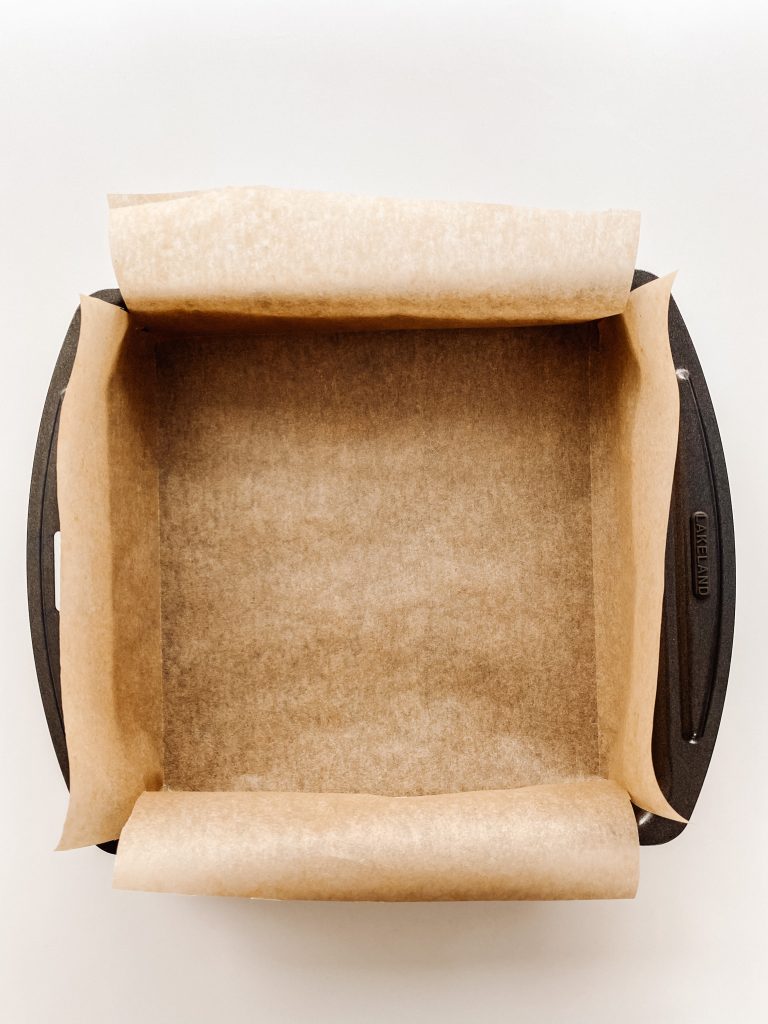
3 Fold, corner to corner, and slot inside the tin
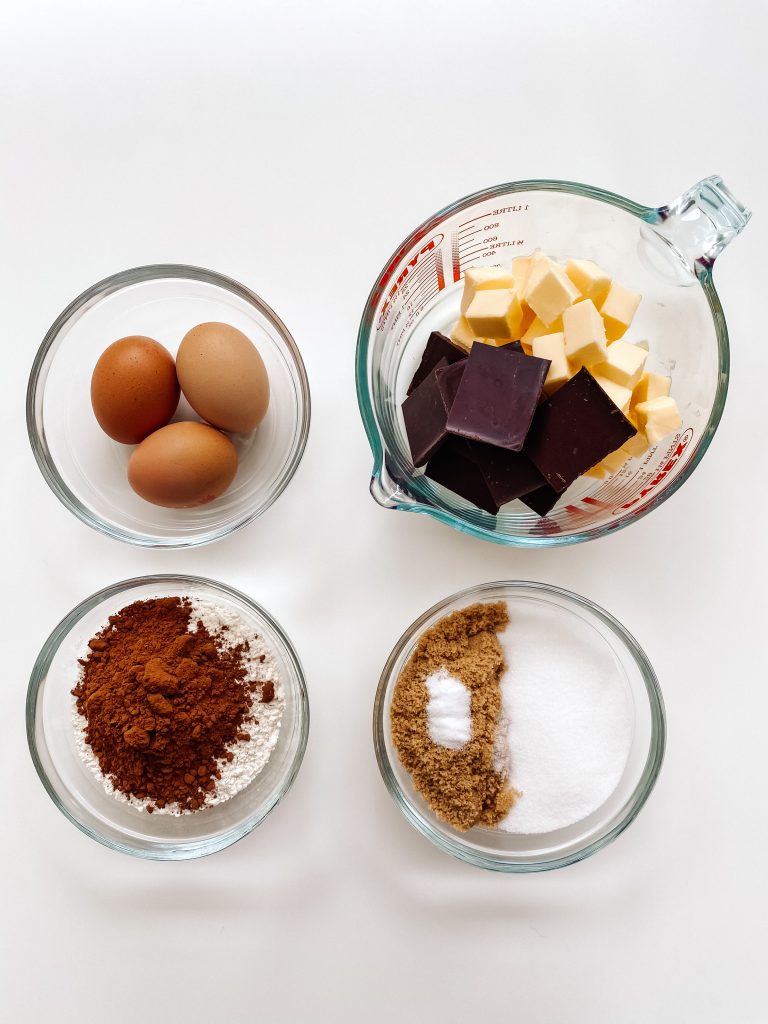
Brownie Ingredients:
- unsalted butter, in cubes
- dark chocolate, 70% cocoa solids, broken into pieces
- soft brown sugar
- caster sugar
- large eggs
- fine salt
- plain/all-purpose flour, sieved
- cocoa, sieved
- instant coffee powder, sieved
- Wagon Wheels
- milk chocolate (I use Cadbury’s)
Make those brownies:
- Chop the butter into squares and place in a microwave safe bowl with the chopped chocolate. Melt in a microwave or a bain marie or and mix until smooth. (See Recipe Notes for details.)
- Meanwhile put the sugars, eggs and salt in a mixing bowl and whisk with an electric whisk until thick and creamy. This will take around 3 minutes.
- Pour the chocolate and butter into the eggs and sugar, whilst whisking, and mix thoroughly with the electric whisk until smooth and glossy.
- Put a sieve over the bowl and add the flour, cocoa and coffee.
- Sift directly over the cake batter.
- Fold until completely mixed in but be careful not to over-mix.
- Transfer half of the mixture to your lined baking tin and level the surface, making sure the cake batter goes all the way into the corners.
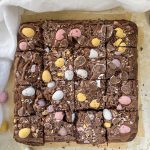
- Layer the Wagon Wheels over the brownie mix, covering as much of the area as possible. You will have to cut up a few to make them fit.
- Next top with the remaining brownie mix, making sure the cake batter goes all the way into the corners.
- Bake in the centre of the pre-heated oven for 20 – 25 minutes, depending on how squidgy you like the centre to be. (I cook mine for 23 minutes in London and 24 minutes in Switzerland.) This gives me a slightly crispy top but a gorgeous gooey centre. The cake will be slightly risen and cracked around the edges but the centre will feel quite soft. Remember the cake will continue to cook after you have taken it out of the oven.
- When the cake is cool, melt the milk chocolate and spread it over the surface of the brownies. I break the chocolate into a microwave safe bowl or jug and melt it in the microwave. I blitz for 1 minute, then leave the chocolate for 4-5 minutes and then stir well. If the chocolate has not fully melted, blitz again, but only for 15 seconds at a time, stirring well in between each blitz.
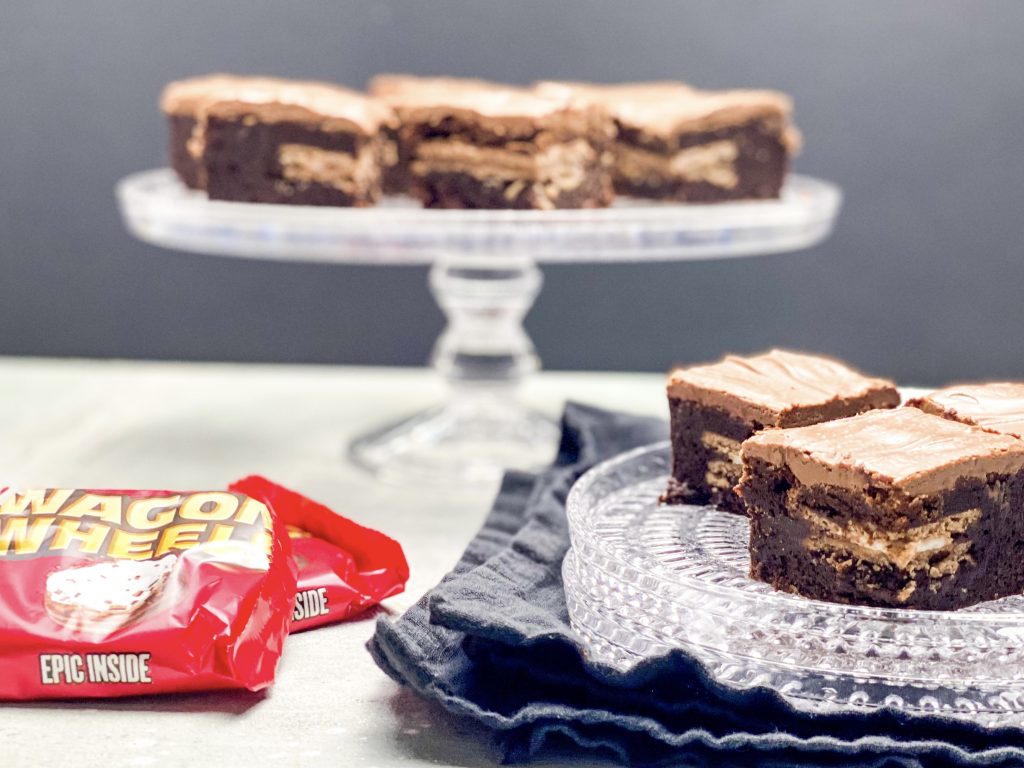
- Normally, I leave the chocolate to set before dividing into 16 Brownie bars, however on this occasion, we wanted to dive right in! The still warm melted chocolate on the top, was heavenly!
Brownie – Core Recipe Ingredients 
Additional ingredients – plus 6 Wagon Wheels 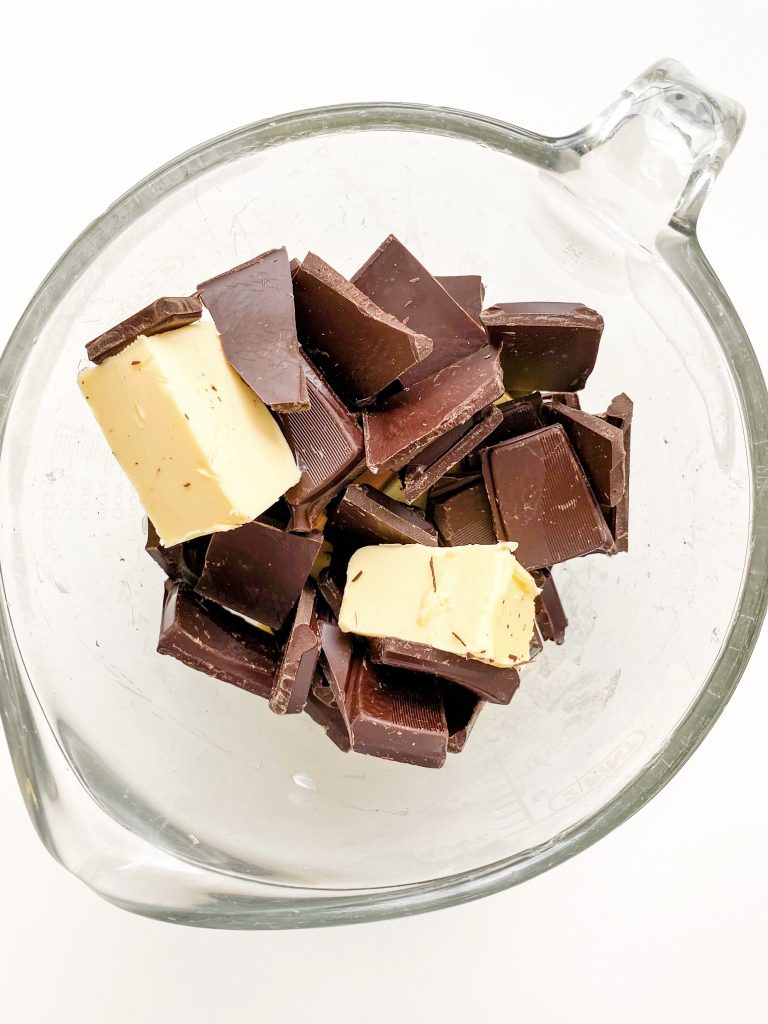
1 Melt chocolate and butter ….. 
… and mix until smooth 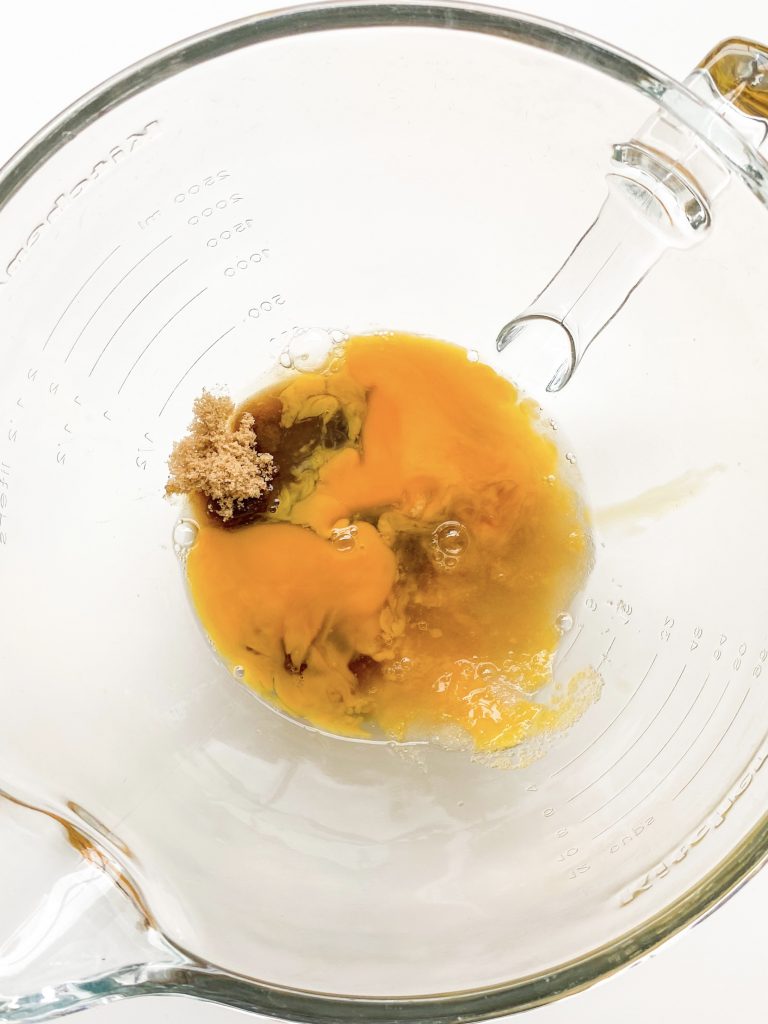
2 Put sugars, eggs and salt in mixing bowl …. 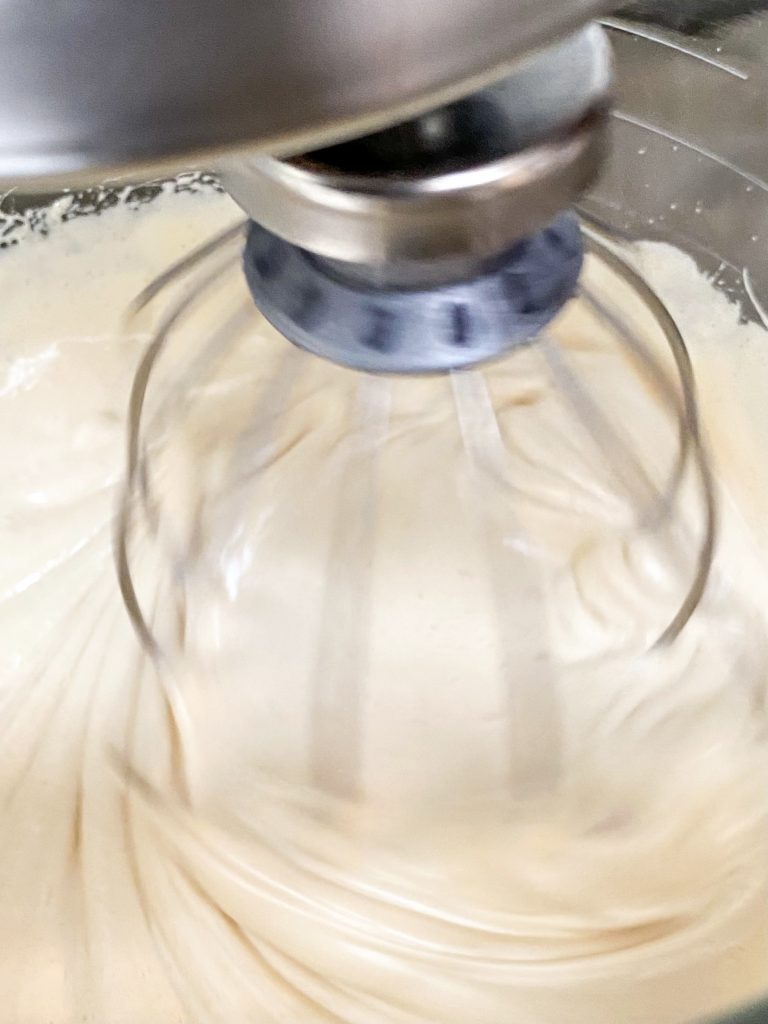
…. and whisk until thick and creamy. 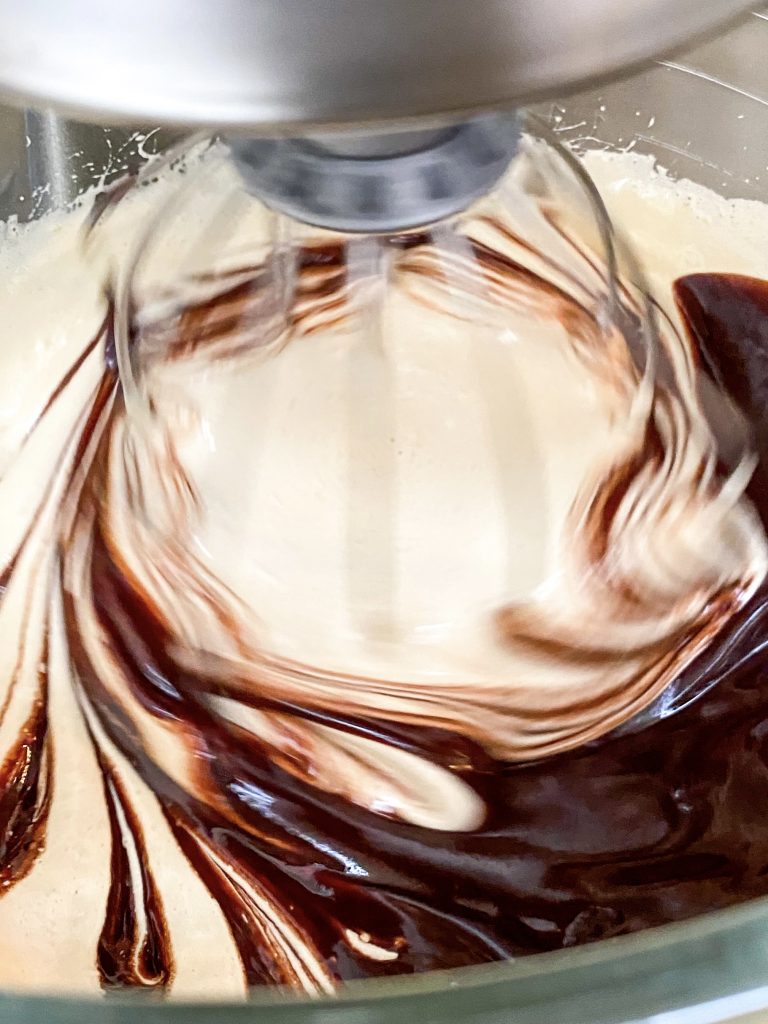
3 Pour chocolate mix into eggs and sugar, whilst whisking…. 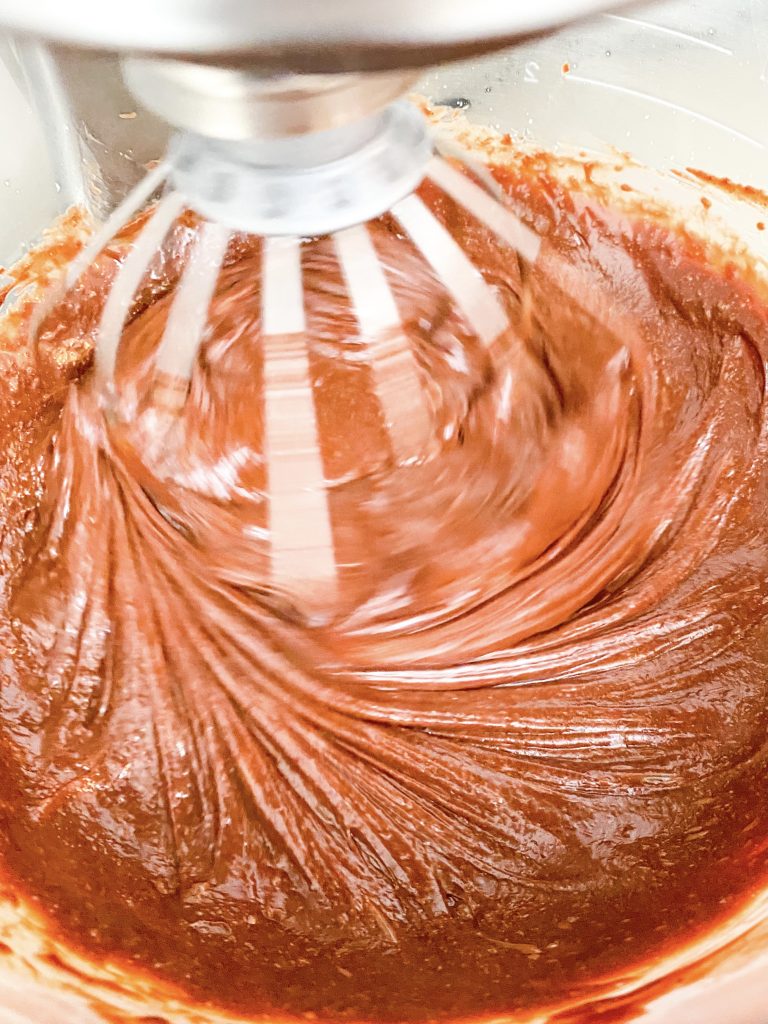
…..whisk until smooth and glossy. 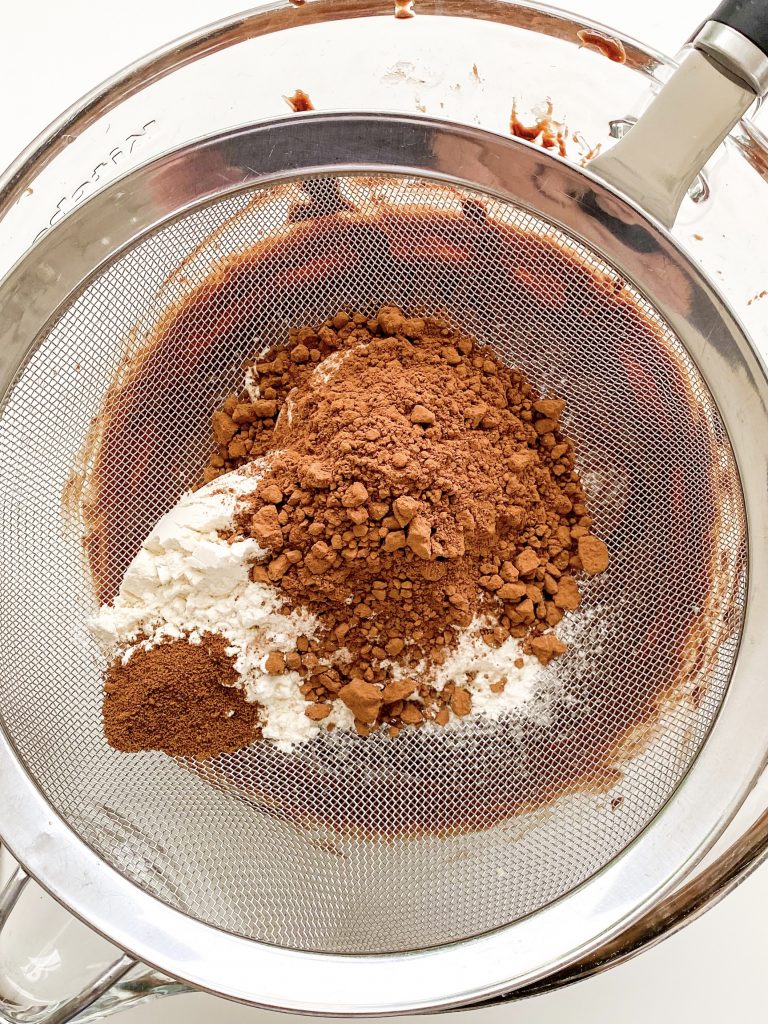
4 Put sieve over bowl, add flour, cocoa & coffee 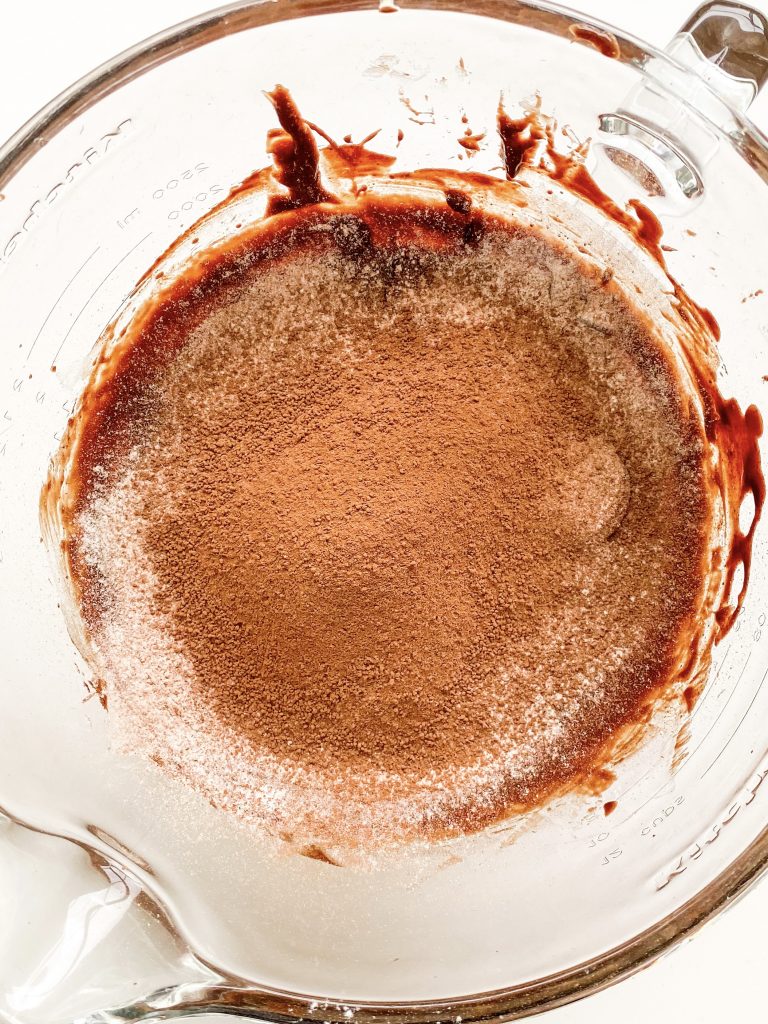
5 Sift directly over batter. 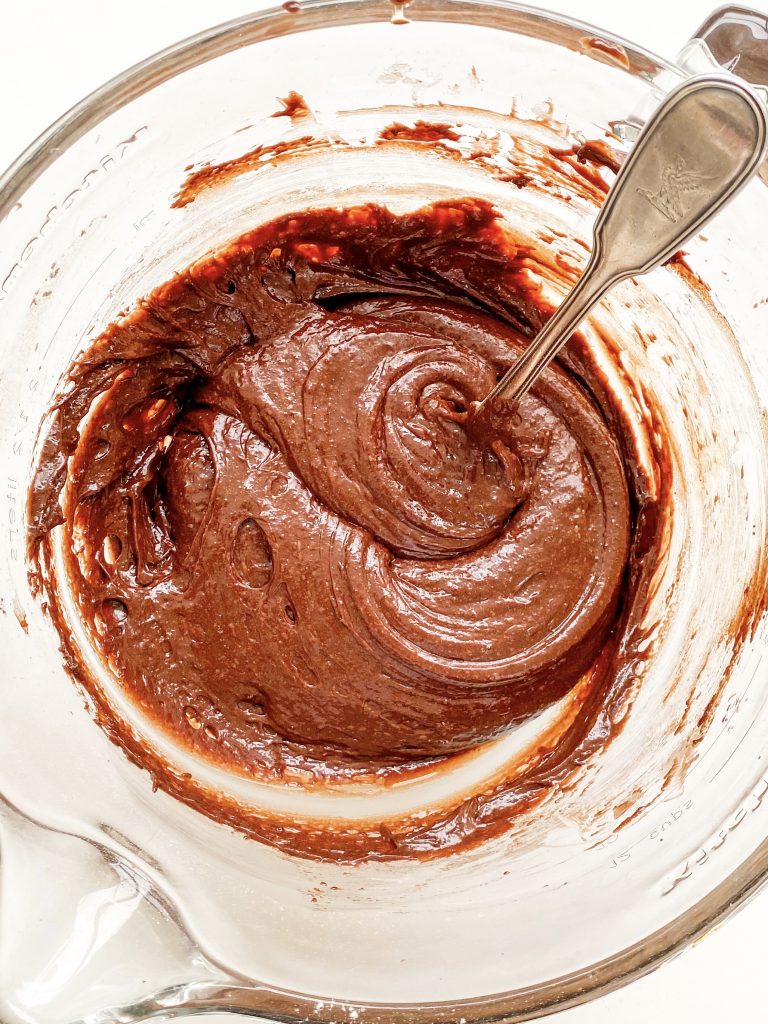
6 Fold until mixed in 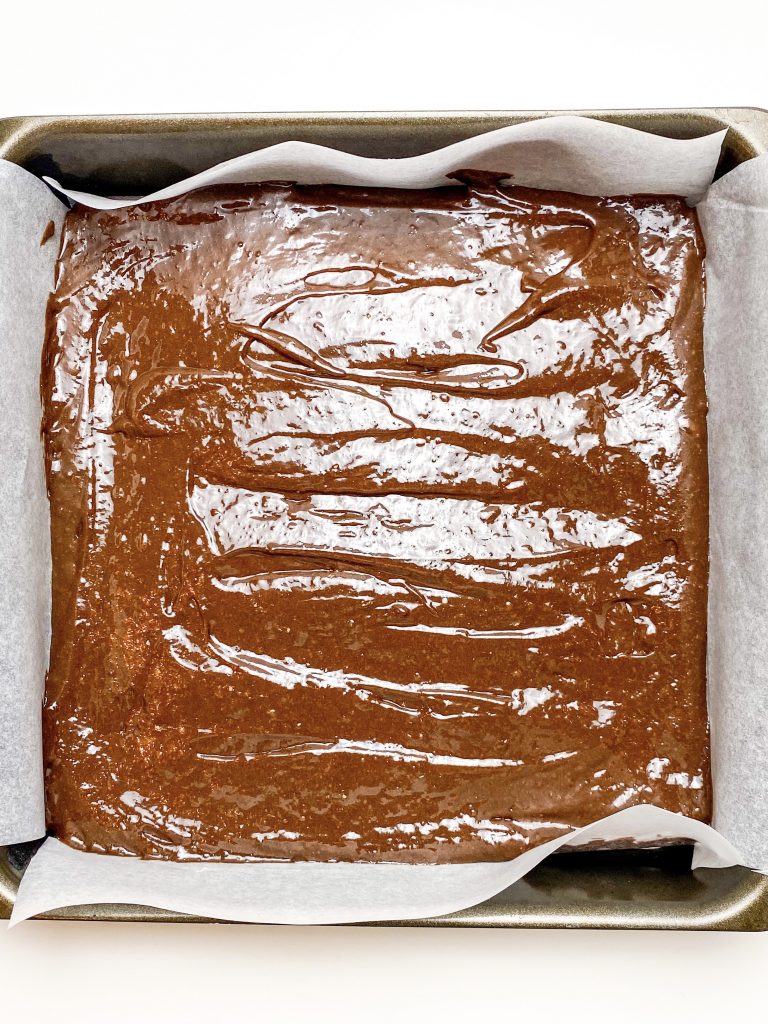
7 Transfer half to baking tin and level surface. 
8 Layer Wagon Wheels 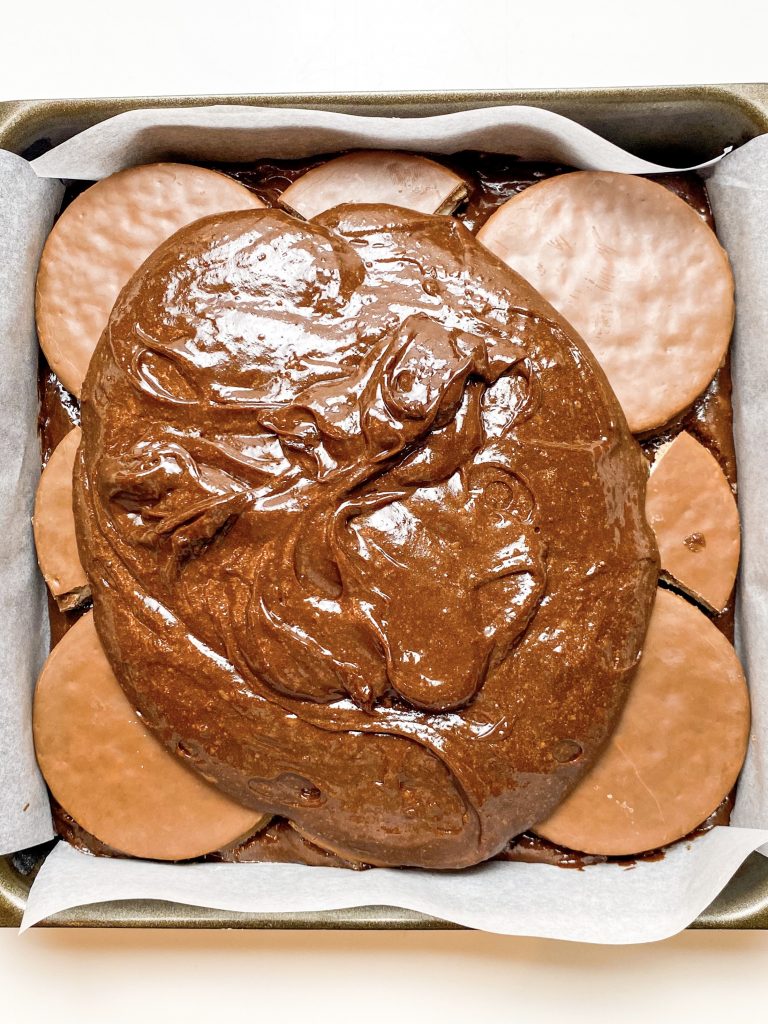
9 Top with remaining brownie mix 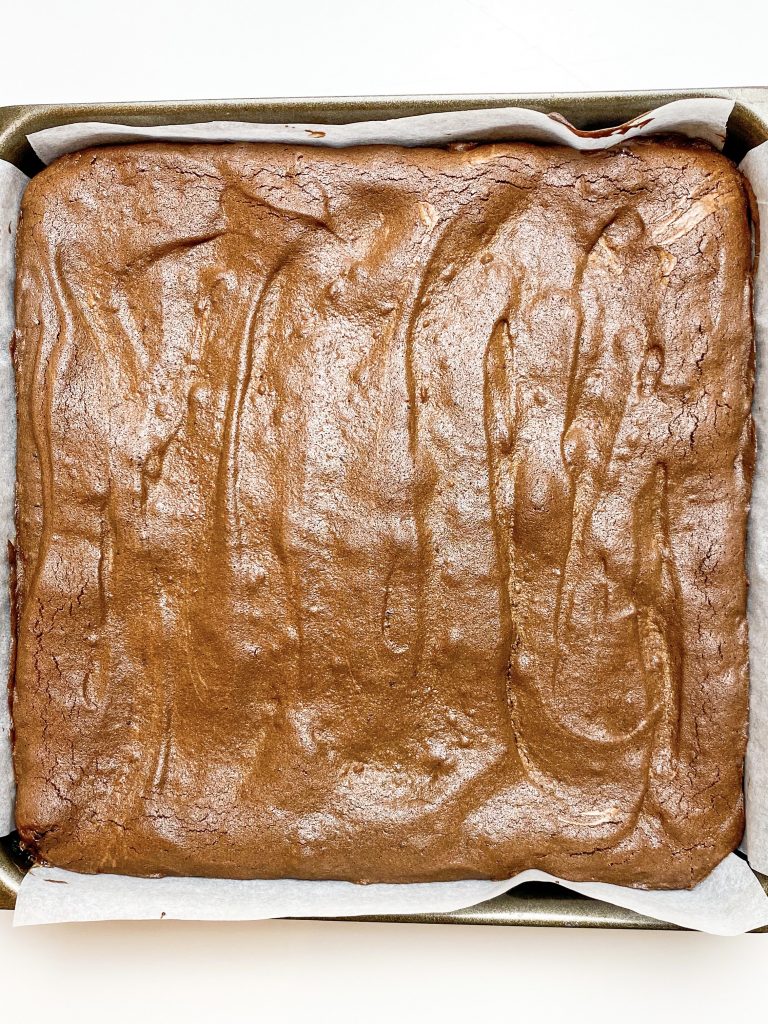
10 Bake 
11 Break chocolate into bowl/jug … 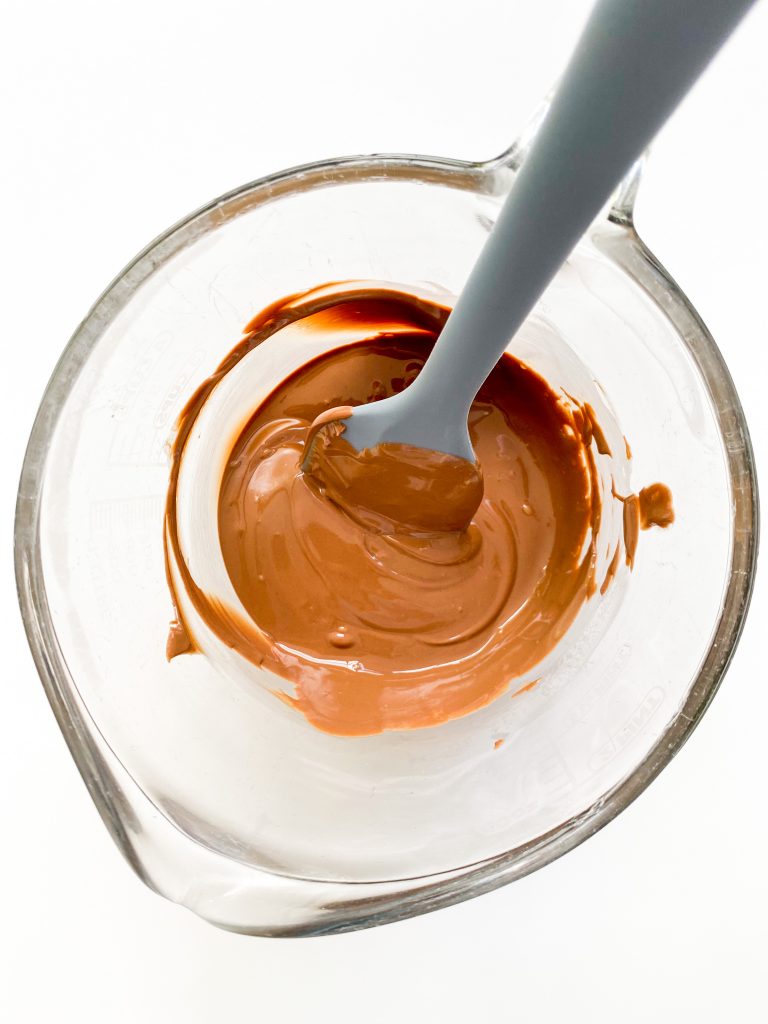
… and melt 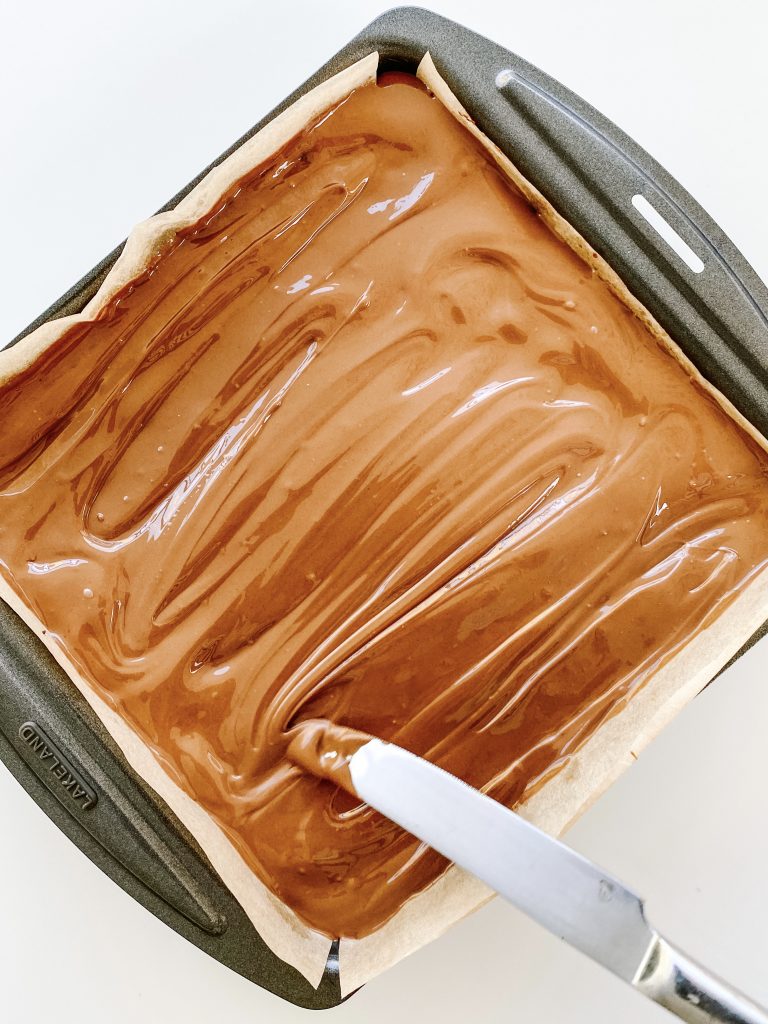
Spread over brownies
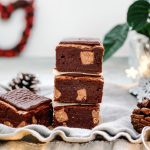
12 Slice
What is the best way to store brownies?
When you store brownies, it is important to cover them. They keep well for up to 3 days at room temperature or up to 5 days in the fridge. However, if you are storing them in the fridge, remember to take them out to warm up to room temperature before you serve them.
What is the best way to warm brownies?
I adore warm brownies for dessert, served with ice cream. If you have made the brownies in advance and want to warm them up, simply zap each brownie in the microwave for 10 – 20 seconds. The time it takes will depend on the temperature of the brownies to start with (ie have they been in the fridge or not?), the power of the microwave and how hot you actually want them. I like mine warm, but not too hot. I recommend heating them in 10 second increments until you are happy with the heat.
If you do not have a microwave, you could warm them in the oven. Cover with foil and place them in an oven preheated to fan oven 150°C/170°C/325°F/Gas 3 for 1 – 3 minutes. (Depending on how many you are heating and how hot you want them.) Check them after 1 minute and be careful not to overheat, as you may over cook them.
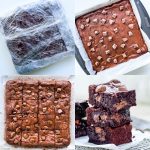
Can I freeze these brownies?
Yes you can! These brownies freeze well, covered, for up to 3 months.
Made this recipe?
If you make this recipe, do please tag me on instagram @daffodil_kitchen. You could also leave a comment in the box directly below the recipe.
Wagon Wheel Brownies
These delicious, fudgy, Wagon Wheel Brownies are soft and gooey on the inside, slightly crispy on the outside and have an incredible layer of Wagon Wheels in the centre.
Makes 9, 12 or 16 – depending on how you cut them!
Ingredients
- 200g unsalted butter, in cubes
- 200g dark chocolate, 70% cocoa solids, broken into pieces
- 150g soft brown sugar
- 50g caster sugar
- 3 eggs
- ¼ teaspoon fine salt
- 100g plain/all-purpose flour, sieved
- 25g cocoa, sieved
- ½ teaspoon instant coffee powder, sieved
- 6 Wagon Wheels
- 200g milk chocolate (I use Cadbury’s)
Instructions
-
Collect together your equipment (see Recipe Notes below) and ingredients.
-
Preheat oven to fan oven 170°C /190°C/375°F/Gas 5
-
Chop the butter into squares and place in a microwave safe bowl with the chopped chocolate. Melt in a microwave or a bain marie or and mix until smooth. (See Recipe Notes for details.)
-
Meanwhile put the sugars, eggs and salt in a mixing bowl and whisk with an electric whisk until thick and creamy. This will take around 3 minutes.
-
Pour the chocolate and butter into the eggs and sugar, whilst whisking, and mix thoroughly with the electric whisk until smooth and glossy.
-
Put a sieve over the bowl and add the flour, cocoa and coffee. Sift directly over the cake batter.
-
Fold until completely mixed in but be careful not to over-mix.
-
Transfer half of the mixture to your lined baking tin and level the surface, making sure the cake batter goes all the way into the corners.
-
Layer the Wagon Wheels over the brownie mix, covering as much of the area as possible. You will have to cut up a few to make them fit.
-
Next top with the remaining brownie mix, making sure the cake batter goes all the way into the corners.
-
Bake in the centre of the pre-heated oven for 20 – 25 minutes, depending on how squidgy you like the centre to be. (I cook mine for 23 minutes in London and 24 minutes in Switzerland.) This gives me a slightly crispy top but a gorgeous gooey centre. The cake will be slightly risen and cracked around the edges but the centre will feel quite soft. Remember the cake will continue to cook after you have taken it out of the oven.
-
When the cake is cool, melt the milk chocolate and spread it over the surface of the brownies. I break the chocolate into a microwave safe bowl or jug and melt it in the microwave. I blitz for 1 minute, then leave the chocolate for 4-5 minutes and then stir well. If the chocolate has not fully melted, blitz again, but only for 15 seconds at a time, stirring well in between each blitz.
-
Normally, I leave the chocolate to set before dividing into 16 Brownie bars, however on this occasion, we wanted to dive right in! The still warm melted chocolate on the top, was heavenly!
Recipe Notes
Equipment
- Large microwave safe jug or heatproof bowl
- Electric whisk and mixing bowl
- Kitchen scales and measuring spoons
- Sieve
- Chopping board and knife
- 20cm/8inch square baking tin lined with baking parchment
Be very careful melting the chocolate. Chocolate can be very difficult to work with. You can overheat it very easily and the mixture will go grainy. When this happens, there is no way to resolve it I’m afraid!
Microwave: I give the chocolate and butter a minute in the microwave, take it out and stir it well, then let it sit for a few minutes to see if it continues melting sufficiently to melt all the chocolate. If not, I then continue with the microwave but in 10 – 15 second bursts.
Bain Marie: if you do not have a microwave, put the chocolate and butter in a heatproof bowl over a saucepan of gently simmering water. Do not let the base of the bowl touch the water. Heat until the chocolate and butter are very nearly melted then take it off the heat and take the bowl off the saucepan. Be very careful not to burn yourself as the bowl will be hot and steam will escape from the saucepan. Allow the mixture to sit for a few minutes for the residual heat to melt the remainder of the mixture. Again, be careful not to over-heat.


2 Comments
Ivy Price
Another big hit Susan.They do look scrumptious.Wonderful photography
Susan
Thank you very much Ivy. You are very kind. Best wishes Susan 💛🌼