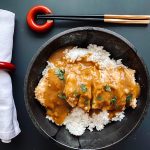
Chicken Katsu
This classic Japanese dish has gained universal popularity and it is not hard to see why. Tender chicken breasts covered in a crispy breadcrumb coating served over sticky Japanese white rice and swathed in a delicious and classic curry sauce. Yum, yum, yum, yes please!!
Unlike the majority of my recipes, this is not made from scratch. I buy the curry sauce from my local Asian food store and, having lived in Japan, I know that this is how the Japanese make their curry sauce. As this is a Japanese dish, if it is good enough for the Japanese, it is most certainly good enough for me! Whilst I have eaten this in Tokyo, most of the katsu I have eaten has been in London and it is a massive favourite in our house.
The crispy coated chicken is typically deep fried and this is where my recipe does vary. I oven bake the chicken but I promise you, it is amazing and very crispy. Quick to make and much healthier, I wouldn’t dream of making it any other way.
I learnt about this way of cooking breaded food on a fabulous and hugely successful Australian blog called Recipe Tin Eats. We love Chicken Katsu (obviously) as well as chicken dippers and other breaded food such as homemade fish fingers. However, I have always been reluctant to make them as they involve frying, which is both unhealthy and my house seems to smell of fried food for ages afterwards. I also found that the breadcrumbs browned really quickly when frying and when cooking chicken, I was concerned that the chicken wasn’t fully cooked, so always seemed to overcook it. This way solves all those problems and works EVERY TIME! I kid you not! I’m not claiming it is a health food but it is way better for you and, in my book, tastes better too.
How to make Chicken Katsu
Collect all your ingredients together:
Breadcrumb coating:
- panko bread crumbs
- vegetable oil
- fine salt
Chicken:
- skinless chicken breasts
Batter:
- eggs
- mayonnaise
- plain/all-purpose flour
- miso paste or extra mayonnaise
- fine salt
Curry Sauce:
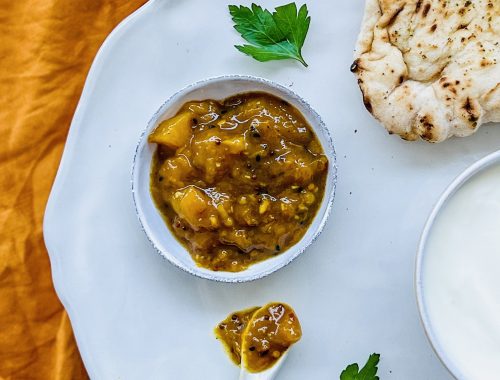
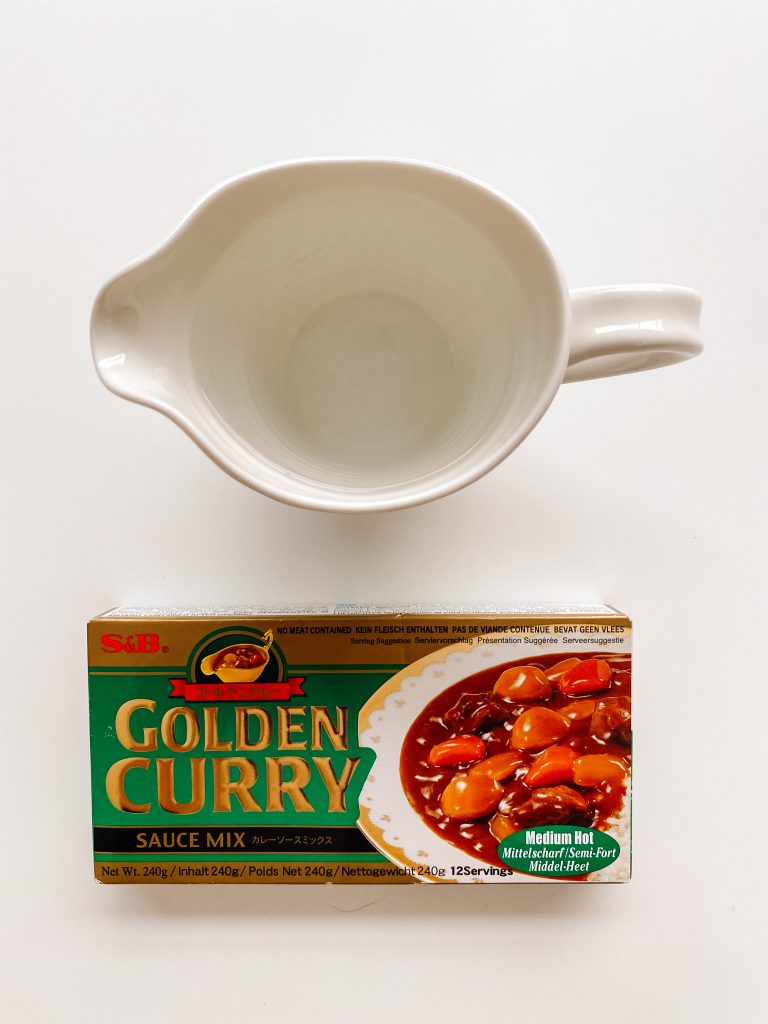
- Japanese curry squares – these are now quite widely available at large supermarkets. You can buy them at Ocado, the Japan Centre and Amazon.
- water
How to make Chicken Katsu:
Breadcrumb coating.
- Mix the breadcrumbs with the oil and salt. Stir to thoroughly mix ensuring all the breadcrumbs are covered in a thin layer of olive oil
- Tip onto a baking tray and cook in a pre-heated oven, stirring every 2 – 3 minutes until golden brown. Around 6 – 9 minutes.
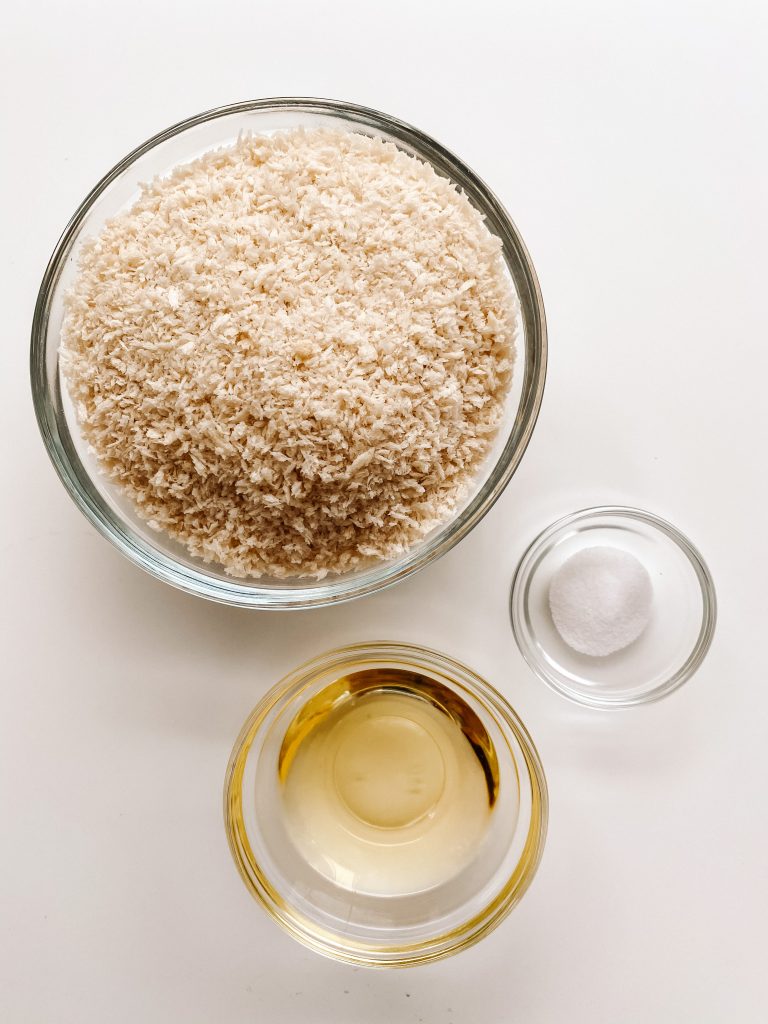
Breadcrumb ingredients 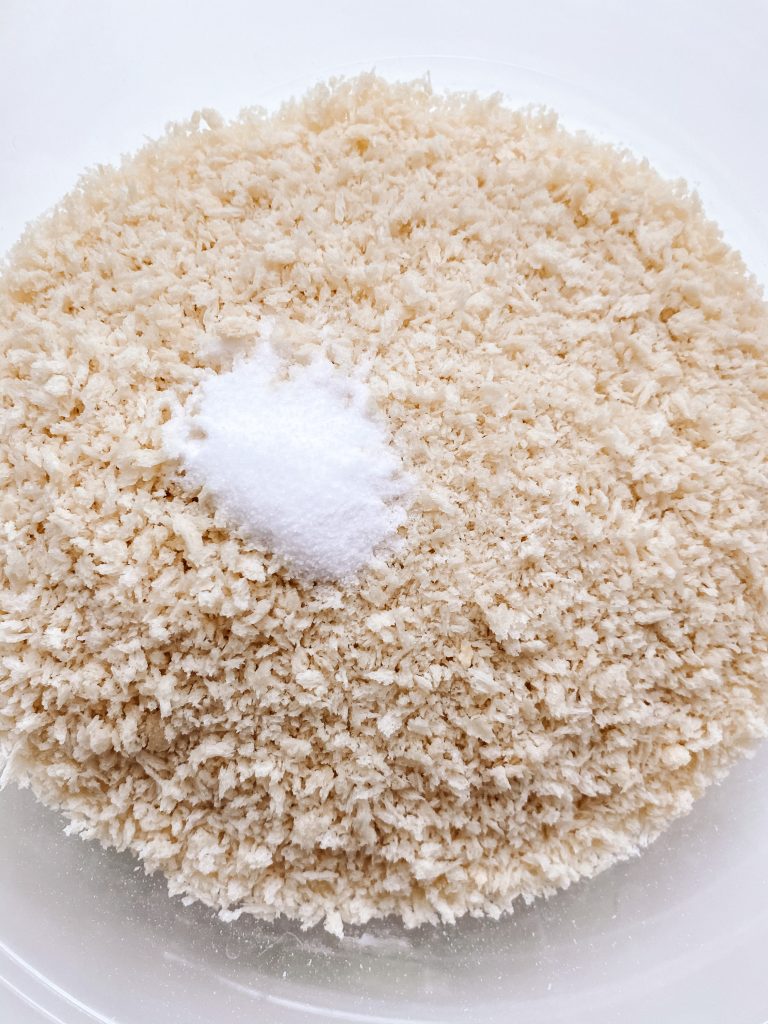
1 Mix the breadcrumbs with the oil and salt 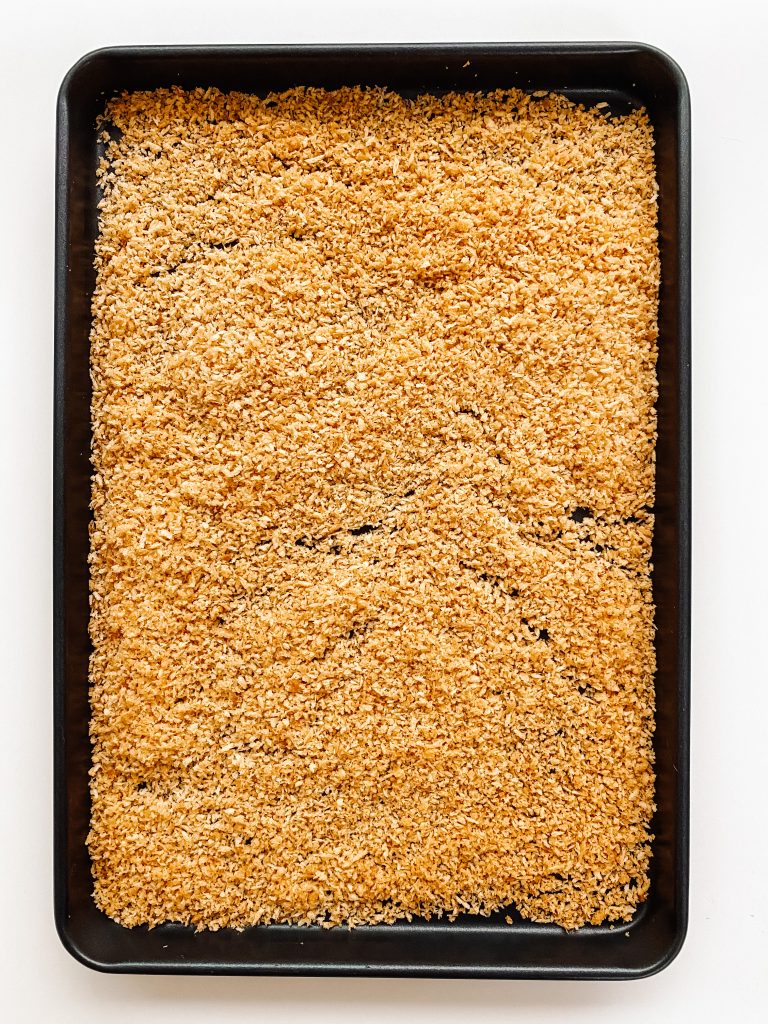
Chicken:
Slice the chicken breasts in half horizontally.
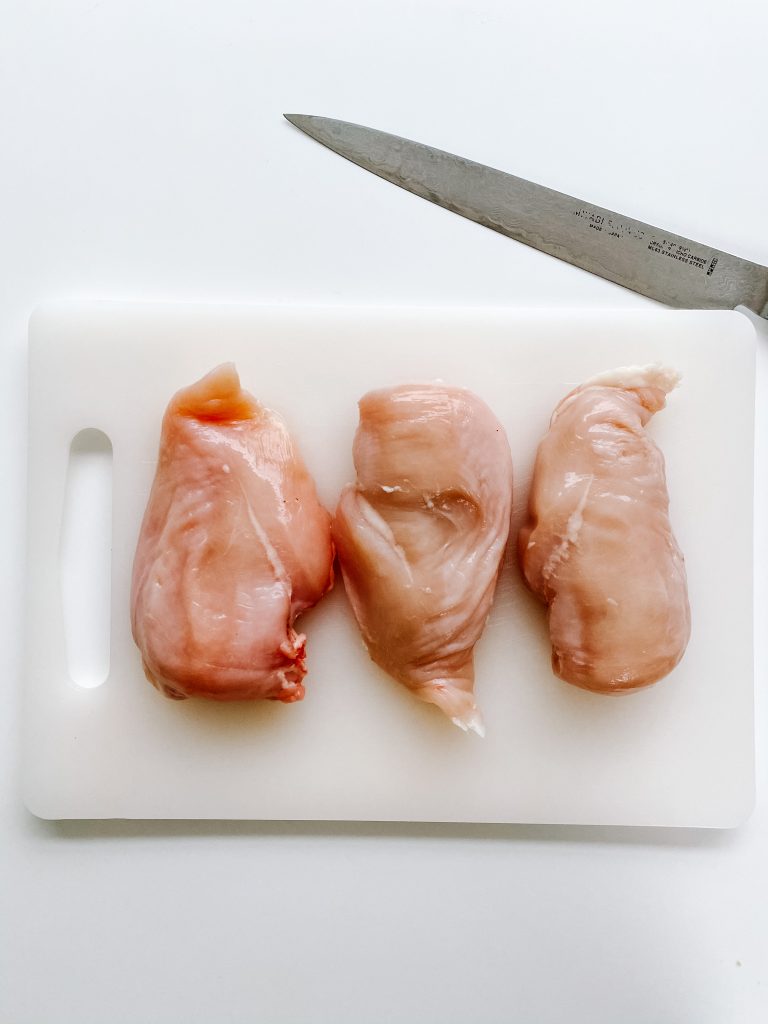
Chicken breasts 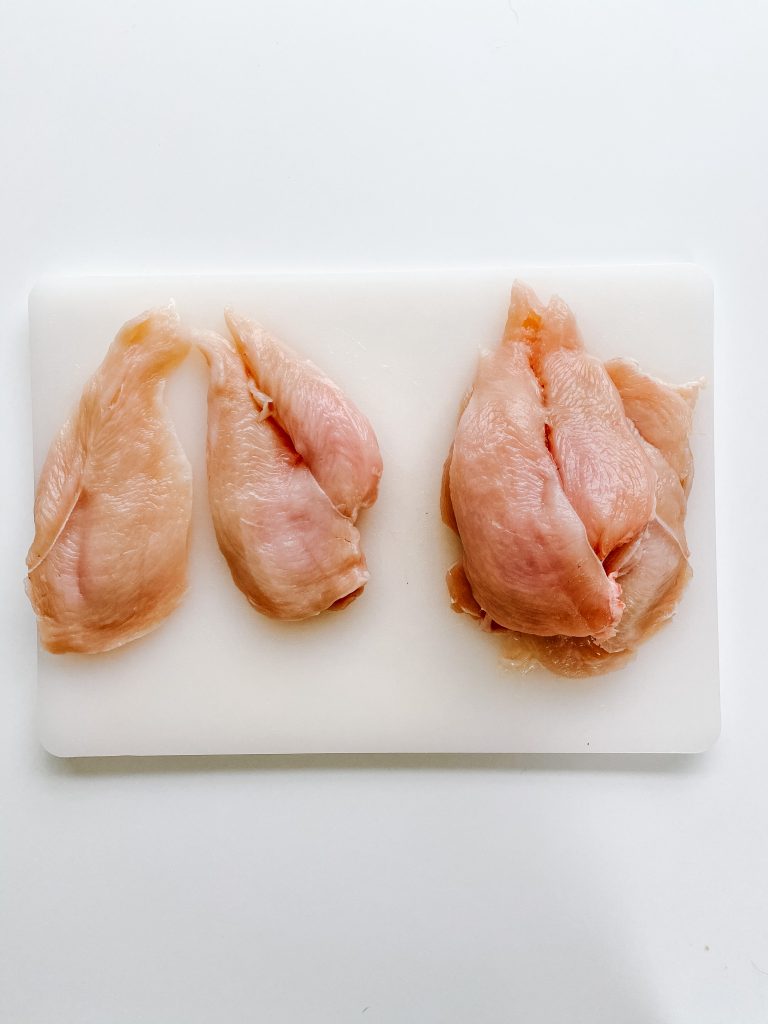
Slice in half horizontally
Batter:
Mix the eggs, mayonnaise, miso, flour and seasoning all in one bowl and beat thoroughly to mix and ensure there are no lumps. I use a balloon whisk.
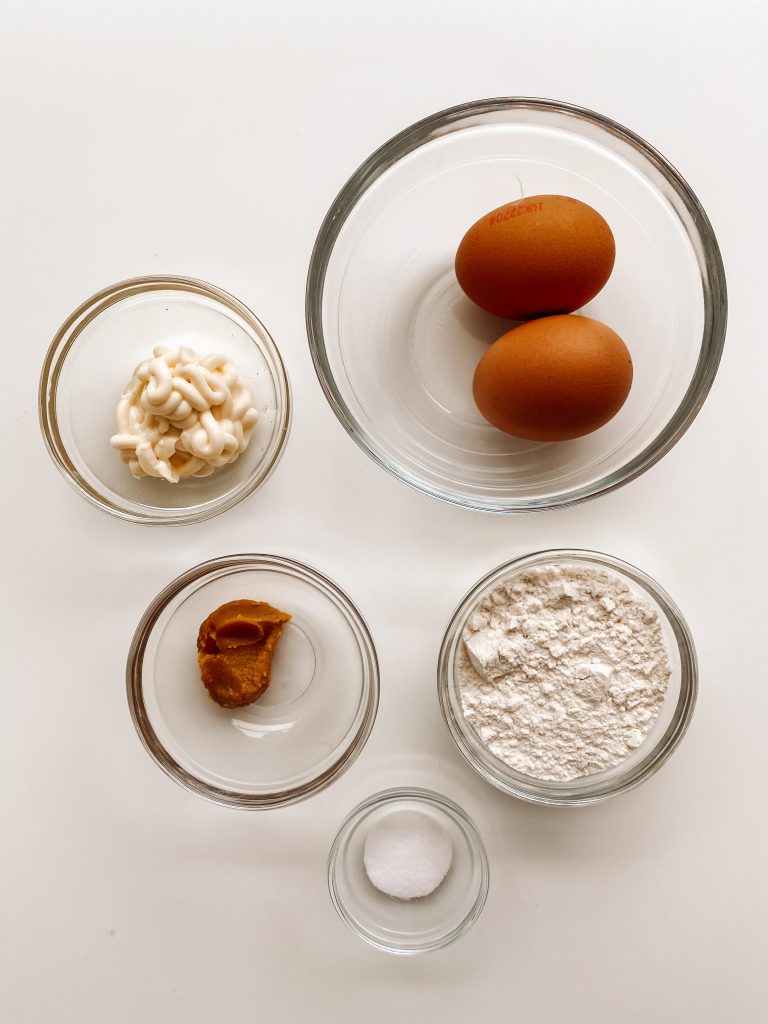
Batter ingredients 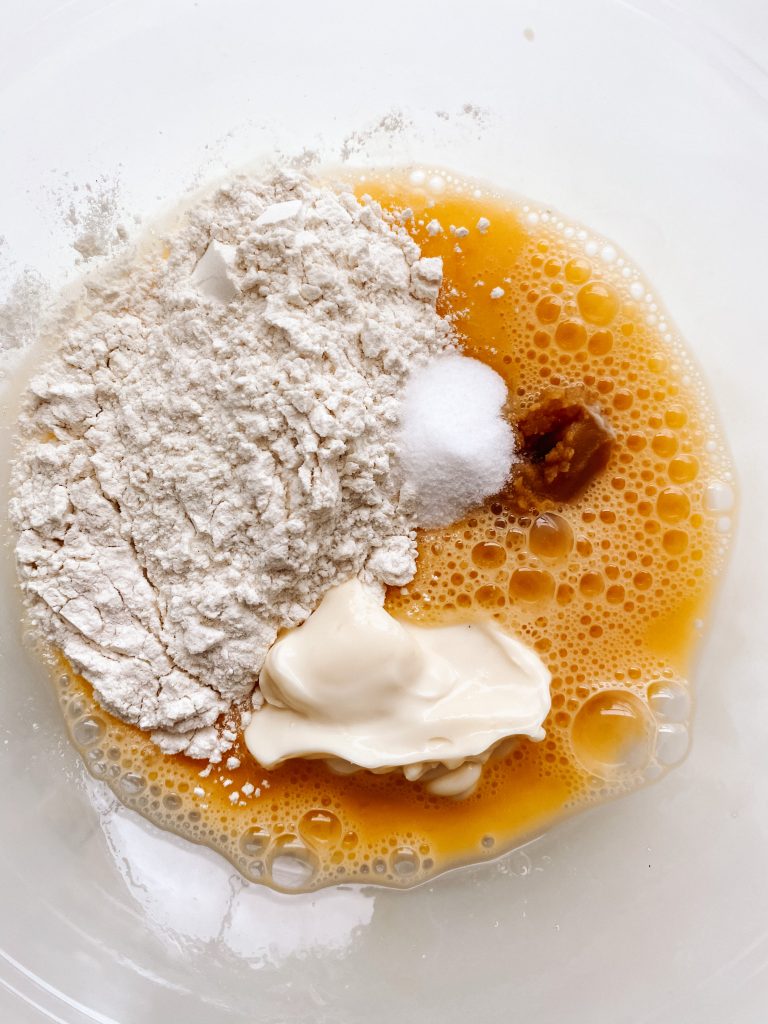
All ingredients in a mixing bowl 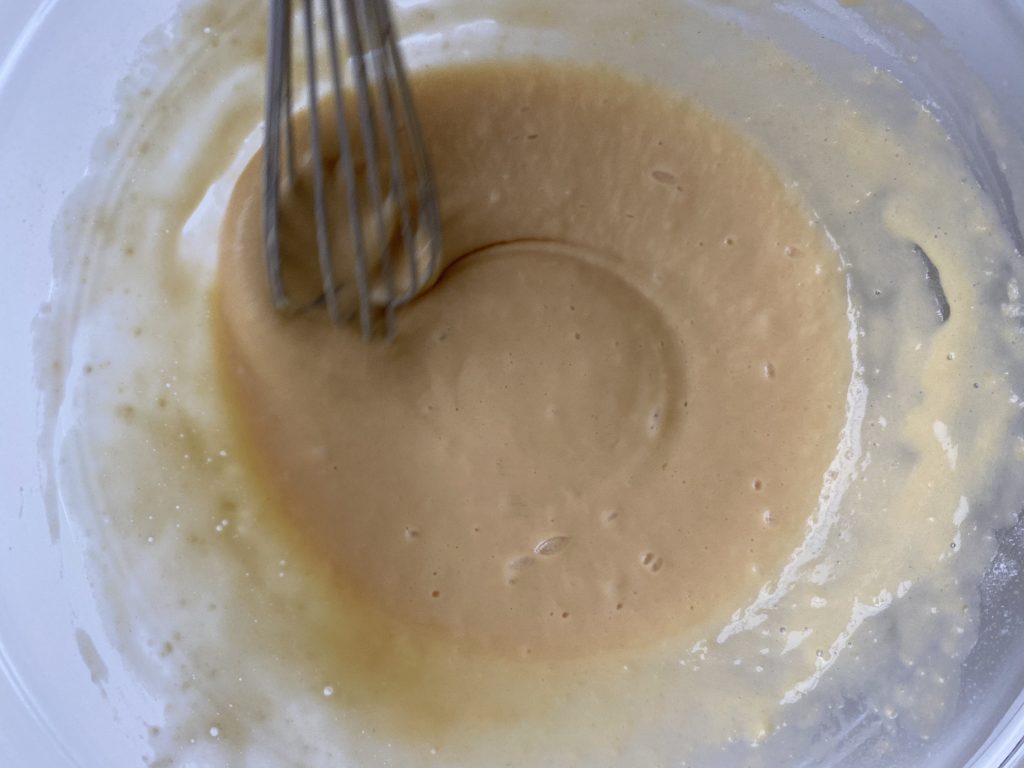
Beat to mix thoroughly
Coat the chicken half fillets in batter and breadcrumbs:
- Place a rack over a baking dish. Pour some oil onto kitchen roll and rub this over the rack.
- Get everything ready – baking tray, chicken, batter and breadcrumbs.
- Coat each piece of chicken in the batter.
- Allow the batter to drip off the chicken.
- Cover each chicken piece in breadcrumbs pressing them on with your hand.
- Place on the rack over a baking tray. Continue with the remaining chicken pieces until all are covered in breadcrumbs and then spray with extra oil.
- Cook in the oven until the chicken is cooked an the breadcrumb topping, is extra crispy.
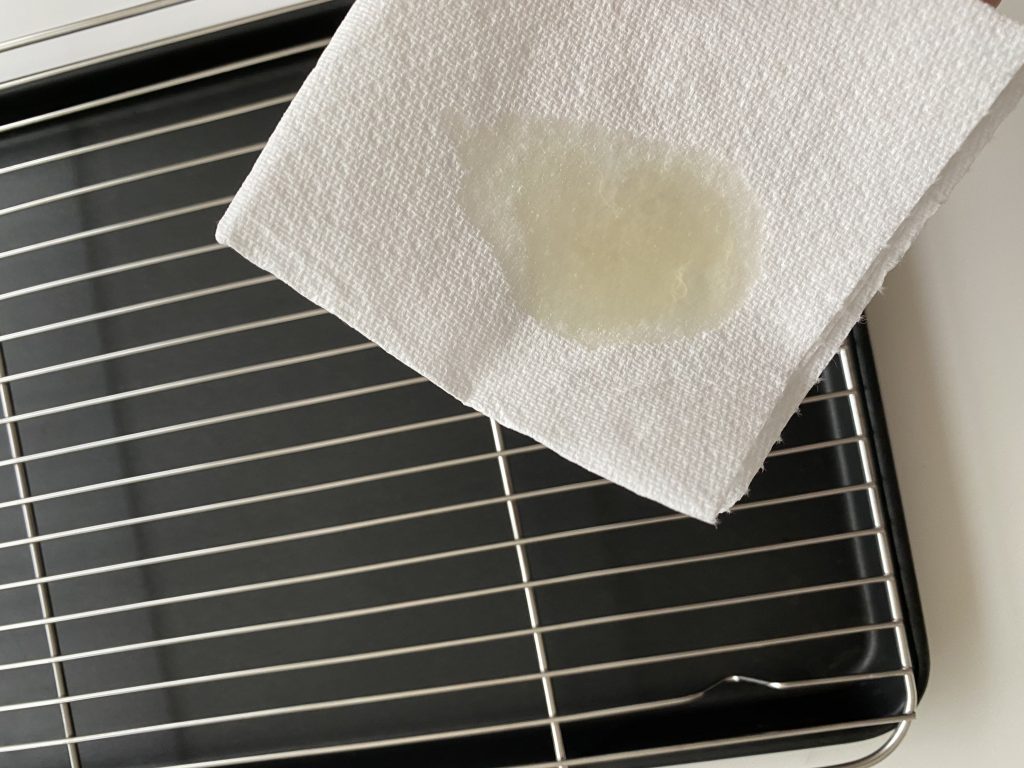
1 Grease the rack 
2 Get everything ready 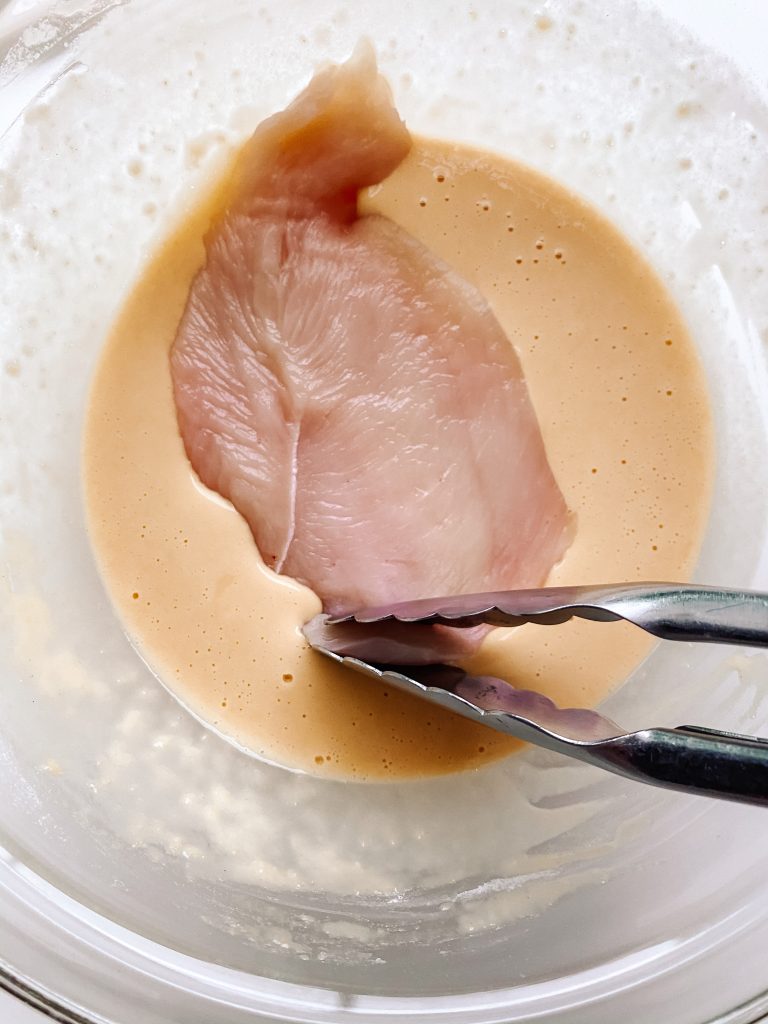
3 Coat each piece of chicken in the batter. 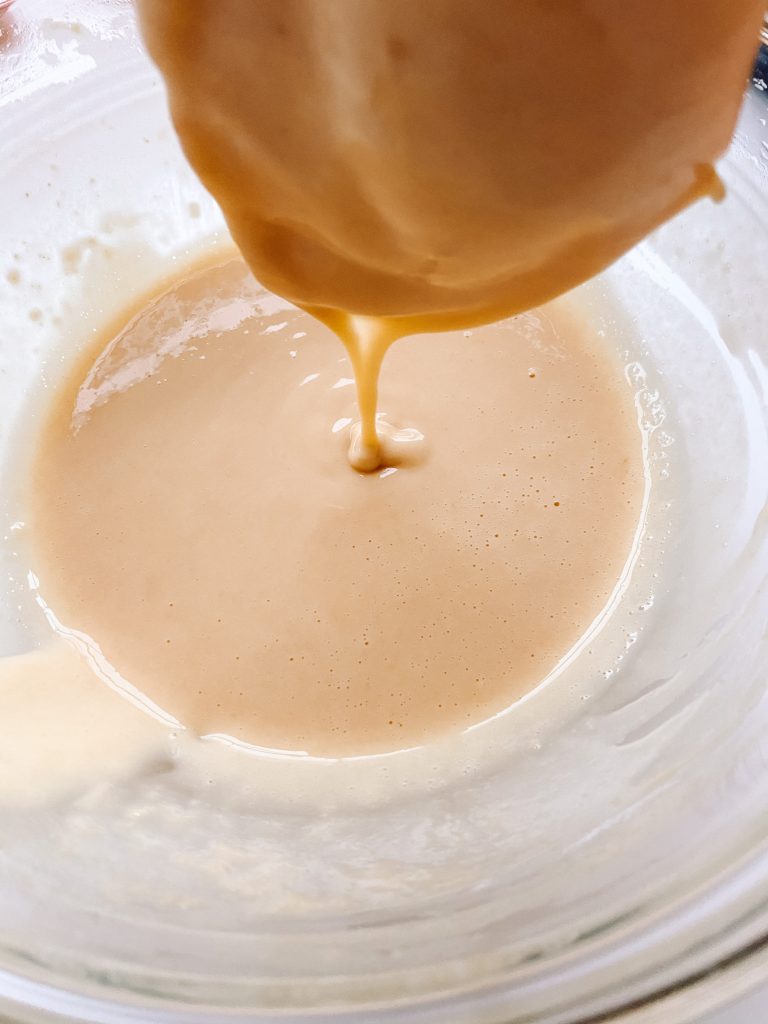
4 Allow batter to drip off the chicken. 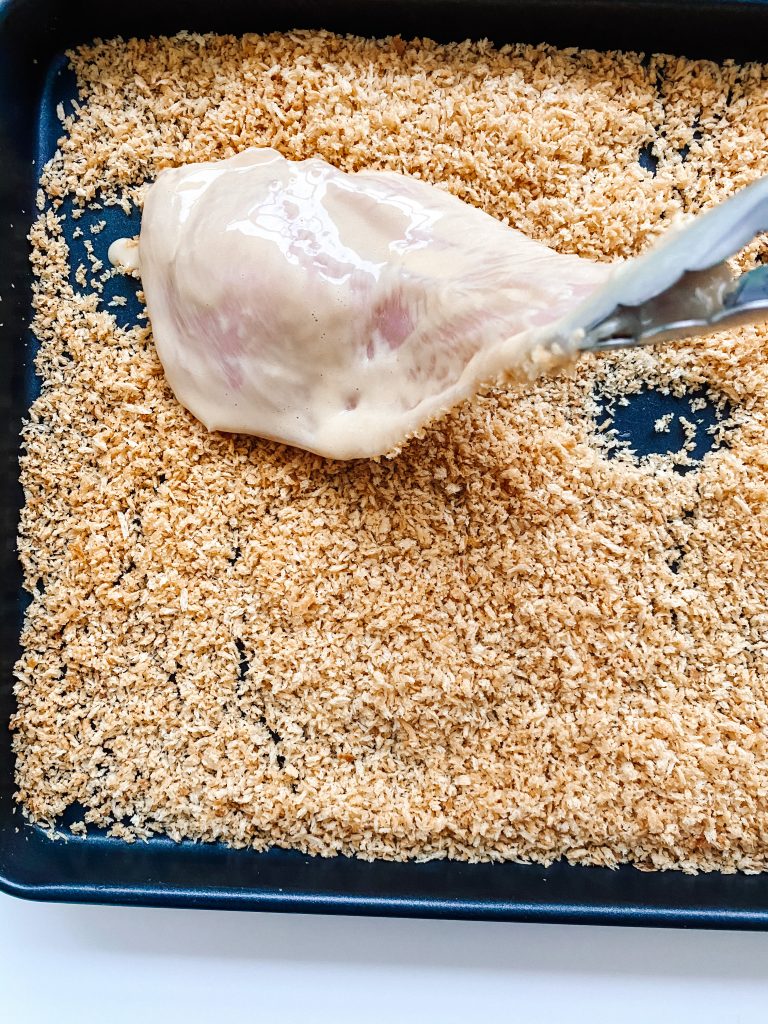
5 Cover each chicken piece in breadcrumbs 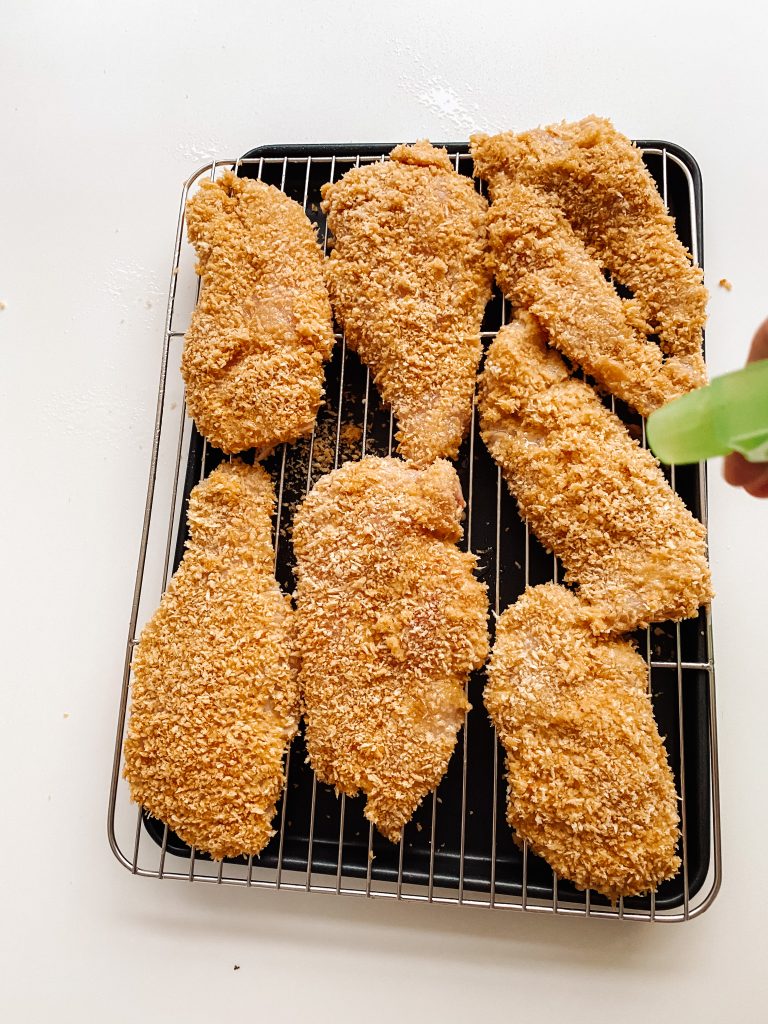
6 Spray chicken with extra oil
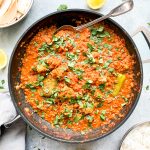
Make the curry sauce:
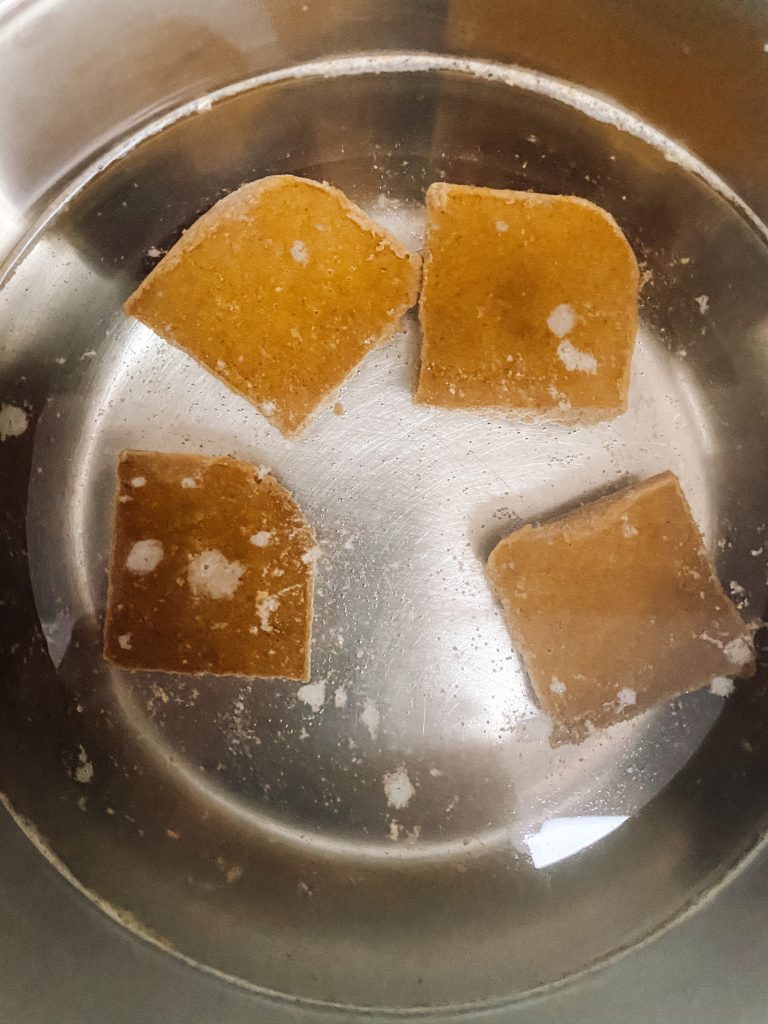
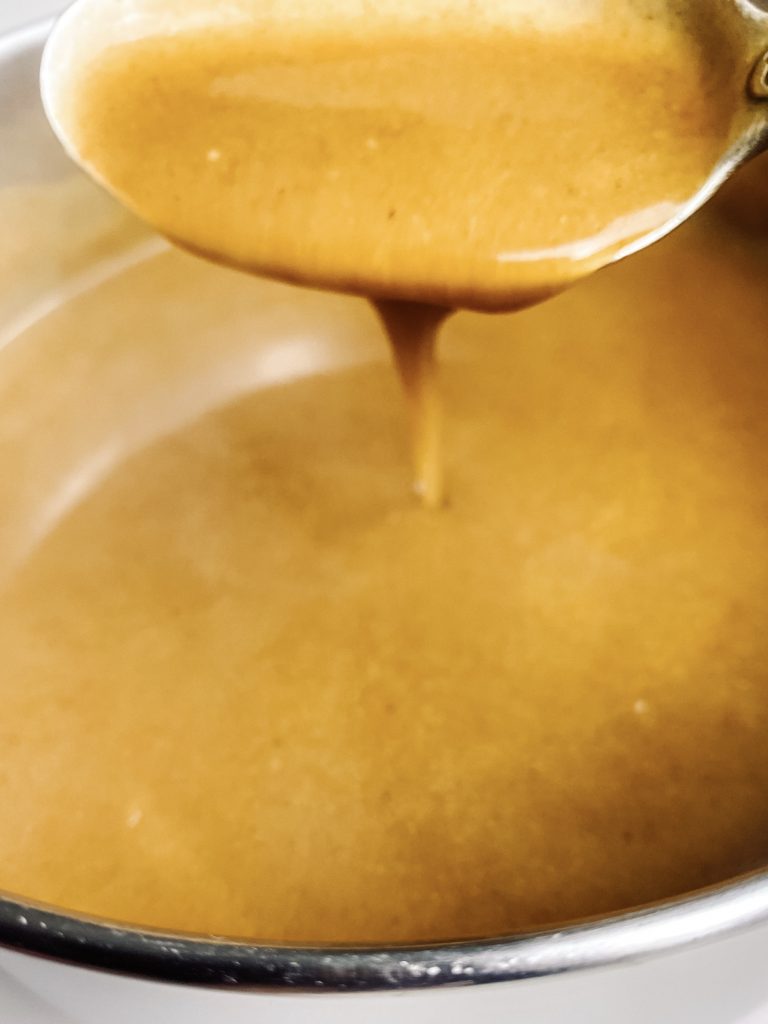
Mix the blocks of curry sauce with water and cook over a moderate heat for around 5 minutes until the curry has dissolved and the sauce has thickened. Mix thoroughly with a balloon whisk to ensure there are no lumps.
Serve:
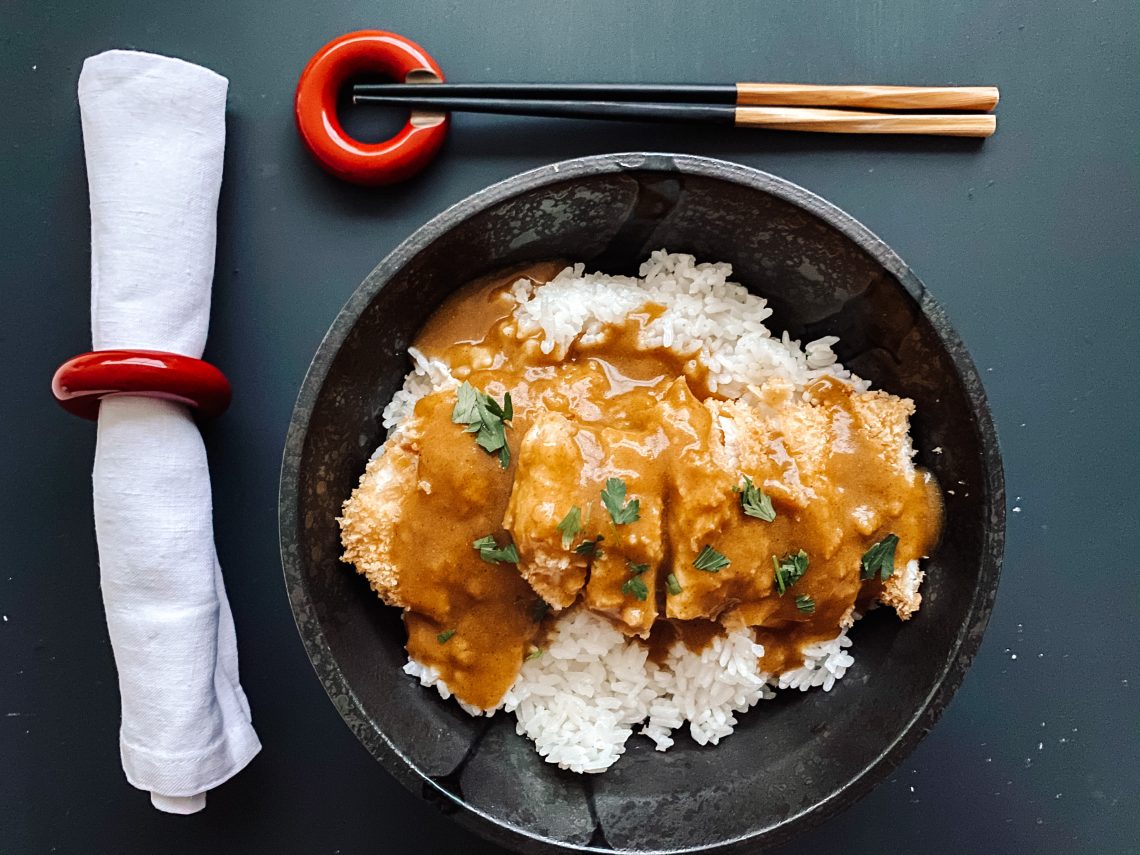
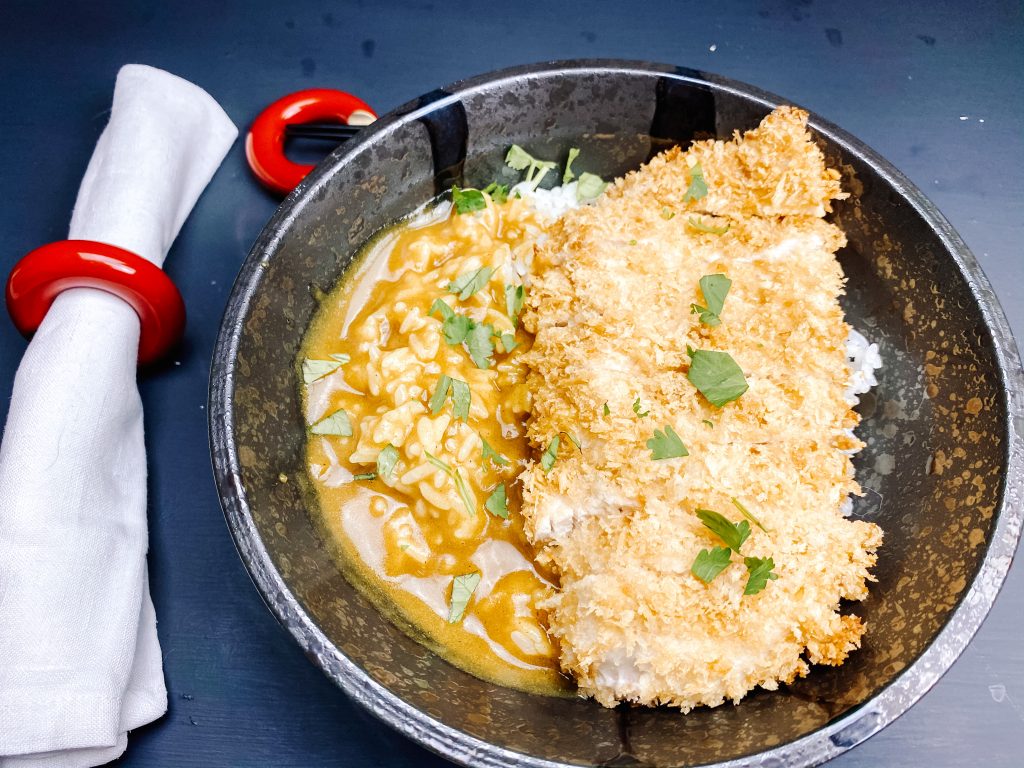
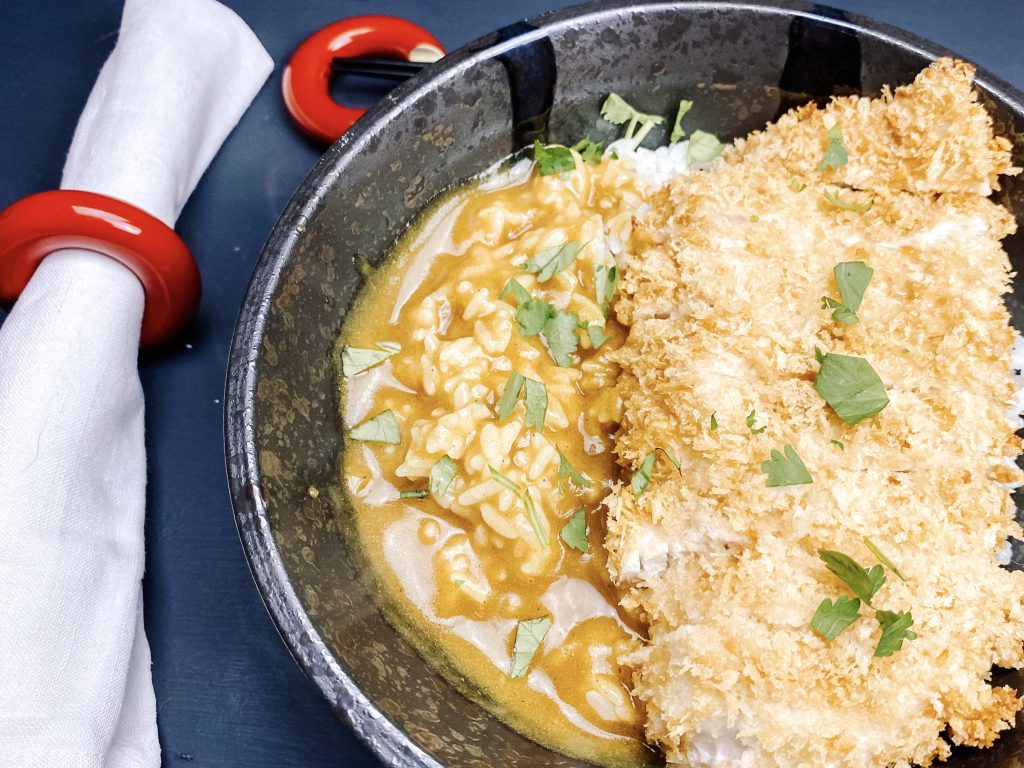
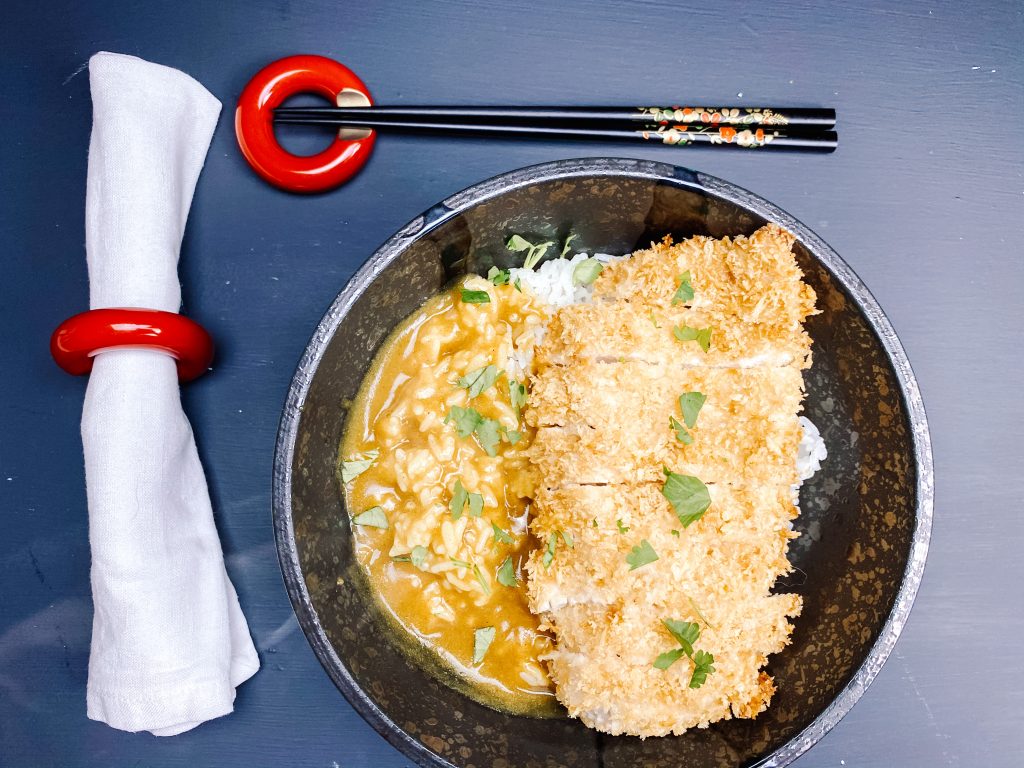
I like to serve the sauce next to the sliced chicken rather than over the chicken. This ensures the crispy coating on the chicken stays as crispy as possible. Sprinkle with chopped parsley.
NB The chicken below has been sliced, although it looks like it hasn’t! This is really important, particularly if eating with chopsticks!

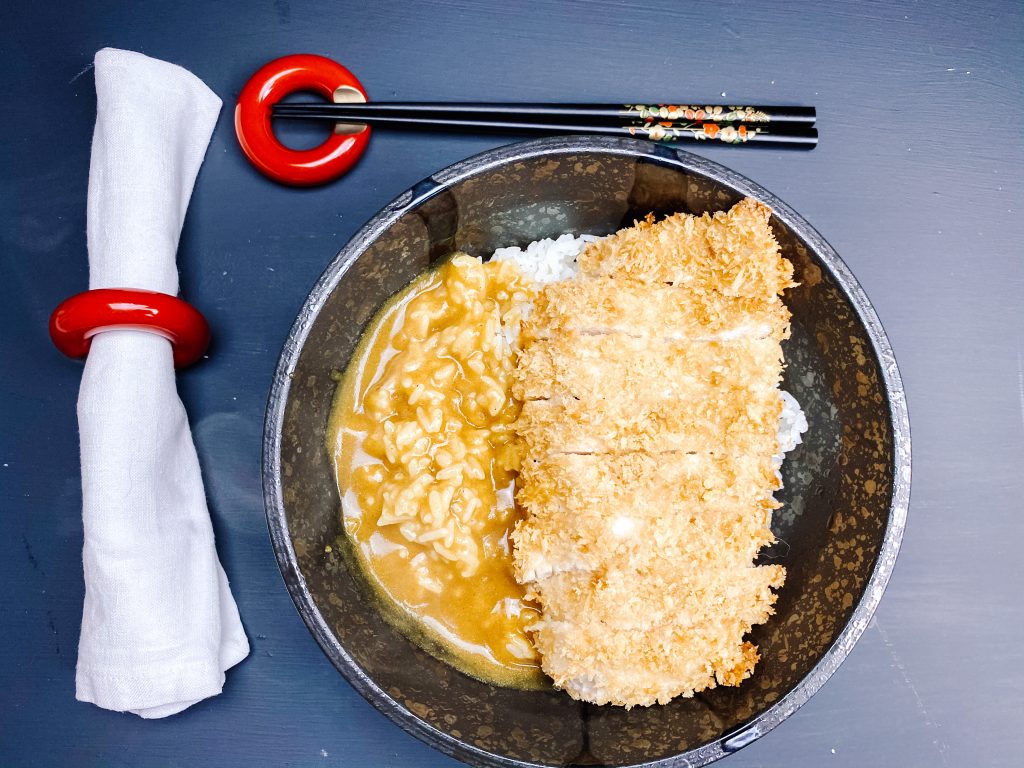
Most commonly the chicken is served sliced and with the curry sauce poured over the chicken.
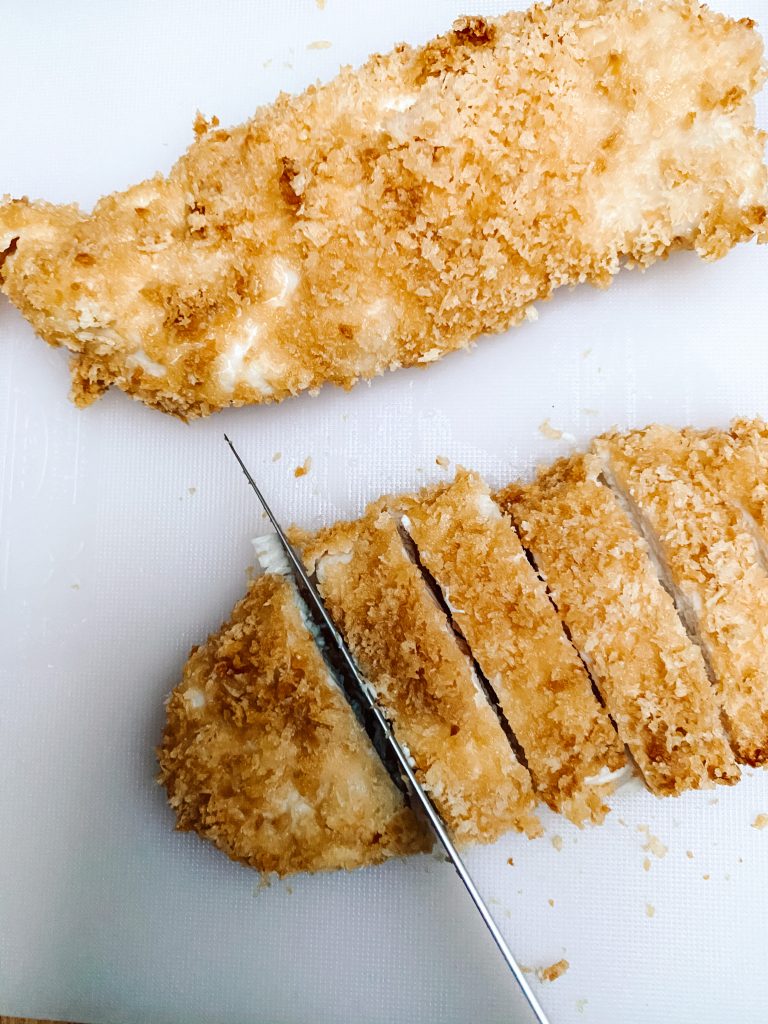
Slice the cooked chciken 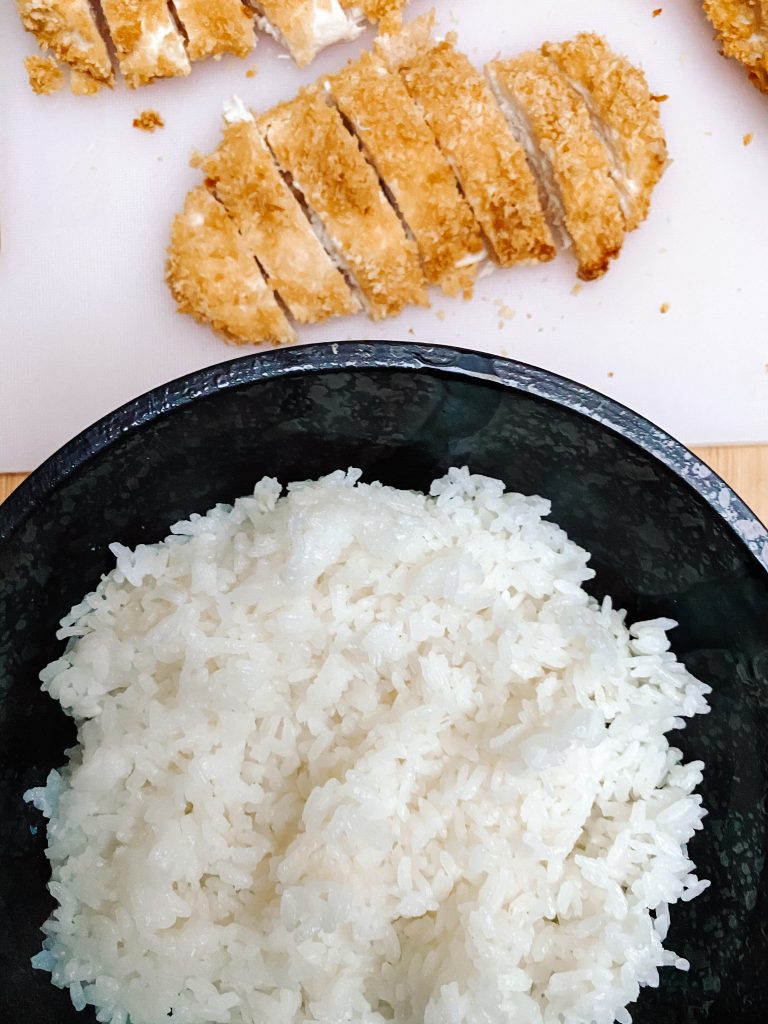
Most typically served in a bowl over rice
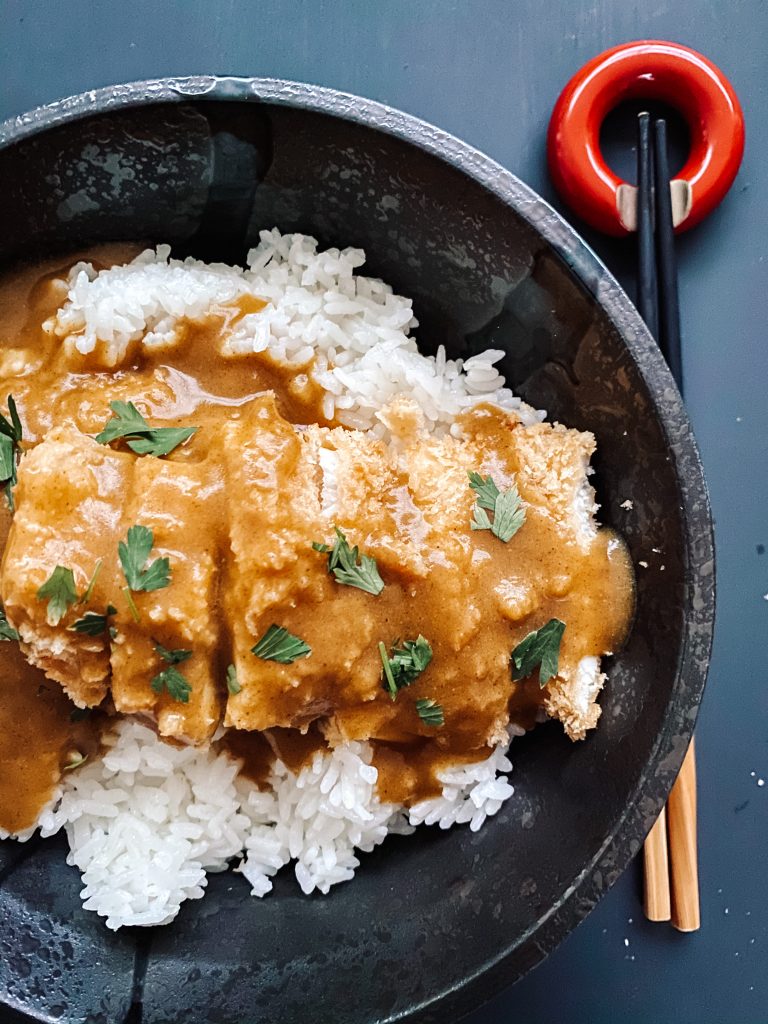
Cover in the delicious curry sauce 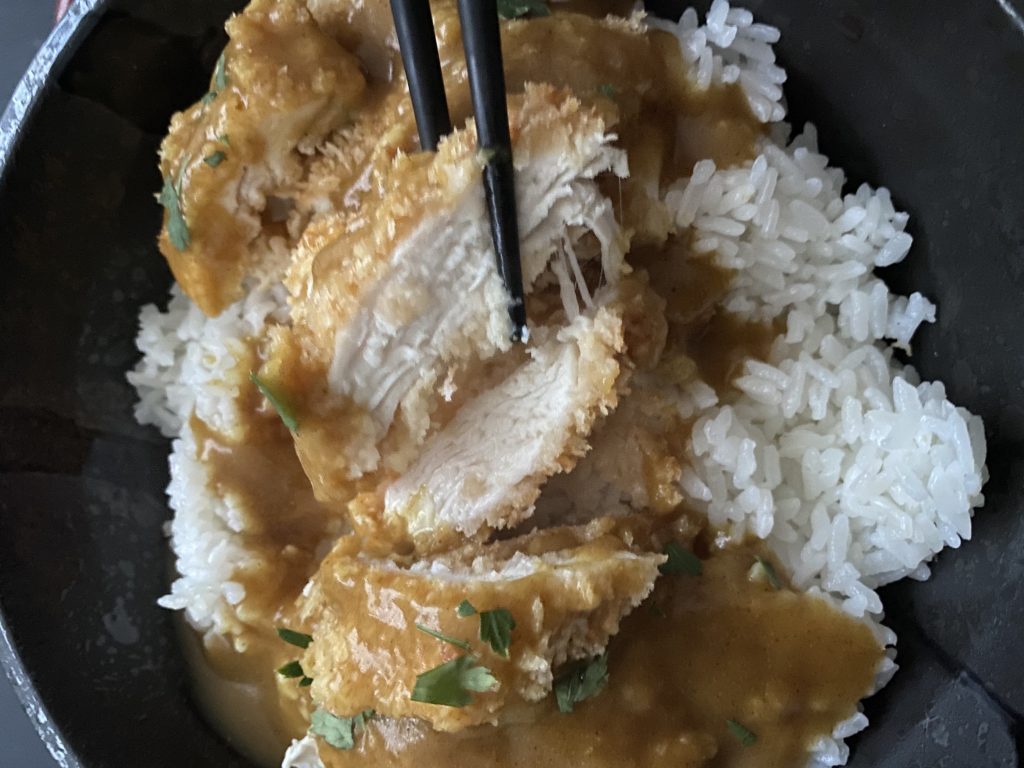
Enjoy!
Made this recipe?
If you make this recipe, do please tag me on instagram @daffodil_kitchen. You could also leave a comment in the box directly below the recipe.
Chicken Katsu
Tender chicken breasts covered in a crispy breadcrumb coating served over sticky Japanese white rice and swathed in a delicious and classic curry sauce. Serves 4.
Ingredients
Breadcrumb coating:
- 120g panko breadcrumbs
- 2 tablespoons/6 teaspoons vegetable oil
- ½ teaspoon salt
Chicken:
- 3 – 4 skinless chicken breasts around 600g – 650g in total
Batter:
- 2 large eggs
- 30g mayonnaise
- 50g plain/all-purpose flour
- 10g miso (or 10g extra mayonnaise)
- ½ teaspoon salt
Curry Sauce – check you packet for instructions – I use:
- 120g curry squares – 4 squares
- 700ml water
Instructions
-
Preheat oven to Fan Oven 180°C /200°C/400°F/Gas mark 6
-
Breadcrumbs: thoroughly mix the breadcrumbs, vegetable oil and salt ensuring all the crumbs are covered in oil. Tip onto a baking tray ensuring they are spread out evenly.
-
Cook in a preheated oven until they are golden brown between 4 – 9 minutes. Stir after 4 minutes and you will have a better idea of exactly how long they will take. (*See comment 2 below)
-
Remove from the oven and leave to cool.
-
Chicken: Slice the chicken in half horizontally.
-
Batter: simply mix all ingredients together well and ensure there are no lumps. If it seems too thick add some milk a teaspoon at a time. It should be the consistency of a thick pouring cream.
-
Prepare the chicken: dip the chicken in the batter ensuring each escallop is coated in a thin layer of batter.
-
Allow excess batter to drip off the chicken.
-
Transfer to the dish with the breadcrumbs and press the chicken into the breadcrumbs on both sides. Further pat the breadcrumbs onto the chicken to ensure they are fully stuck on.
-
Lay on the greased rack on a baking tray and cook for 15 – 20 minutes or until the chicken is cooked.
Recipe Notes
Equipment:
- baking tray for the breadcrumbs
- baking tray with rack for the chicken – grease the rack well with oil to prevent the chicken sticking
- mixing bowl and balloon whisk
- kitchen scales and measuring spoons
- chopping board and knife
Golden brown breadcrumbs – breadcrumbs burn easily and seem to go from white to golden in the blink of an eye. Watch them carefully, particularly the first time you do this. The length of time it takes to cook will depend primarily on:
- The baking tray size you use. The bigger the tray, the more spread out the crumbs will be and the quicker they will cook
- The actual temperature of your oven – this can vary.
- Crumbs burn easily so keep a close eye on them
If you increase the quantities, they may take longer to cook and equally if you decrease them, it may take less time.
Miso – if you do not have any miso simply add an extra 10g mayonnaise. Although miso is quite expensive to buy I urge you to try it. There are a number of recipes on this blog which use it.
Oven Baked Breaded Chicken
Oh my, this is life changing! There are a number of recipes for oven baked breaded chicken/fish out there; this one is a slight adaptation from Nagi at Recipe Tin Eats. We love Chicken Katsu as well as chicken dippers and other breaded food such as homemade fish fingers. However, I have always been reluctant to make them as they involve frying, which is both unhealthy and my house seems to smell of fried food for ages afterwards. I also found that the breadcrumbs browned really quickly when frying and I was concerned that the chicken wasn’t fully cooked so always seemed to overcook it. This way solves all those problems and works EVERY TIME! I kid you not! I’m not claiming it is a health food but it is way better for you and, in my book, tastes better too.
More from my site
 Chicken Dhansak
 One-pot Chicken Tikka with Turmeric Pilau Rice
 Platinum Jubilee Chicken Tikka with a Curried Mayonnaise and Yoghurt Sauce, Fresh Mango, Pomegranate Seeds and Pistachio
 Chicken Breast Roast Dinner with Sausages, Roast Potatoes, Roast Carrots, Shredded Brussels Sprouts and Gravy
 Crab and Chicken Meatballs with a Honey, Soy and Garlic Sauce with Chilli and Lime
 Coronation Chicken

Pan Fried Fish

You May Also Like

Oven-Baked Swedish Meatballs in Cream Sauce
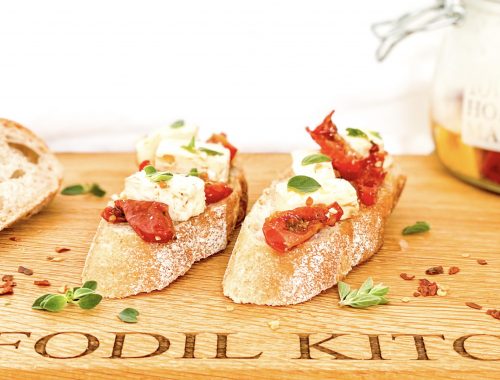
Feta Cheese and Semi Dried Tomatoes Marinated in Olive Oil, Chilli, Garlic and Fresh Oregano