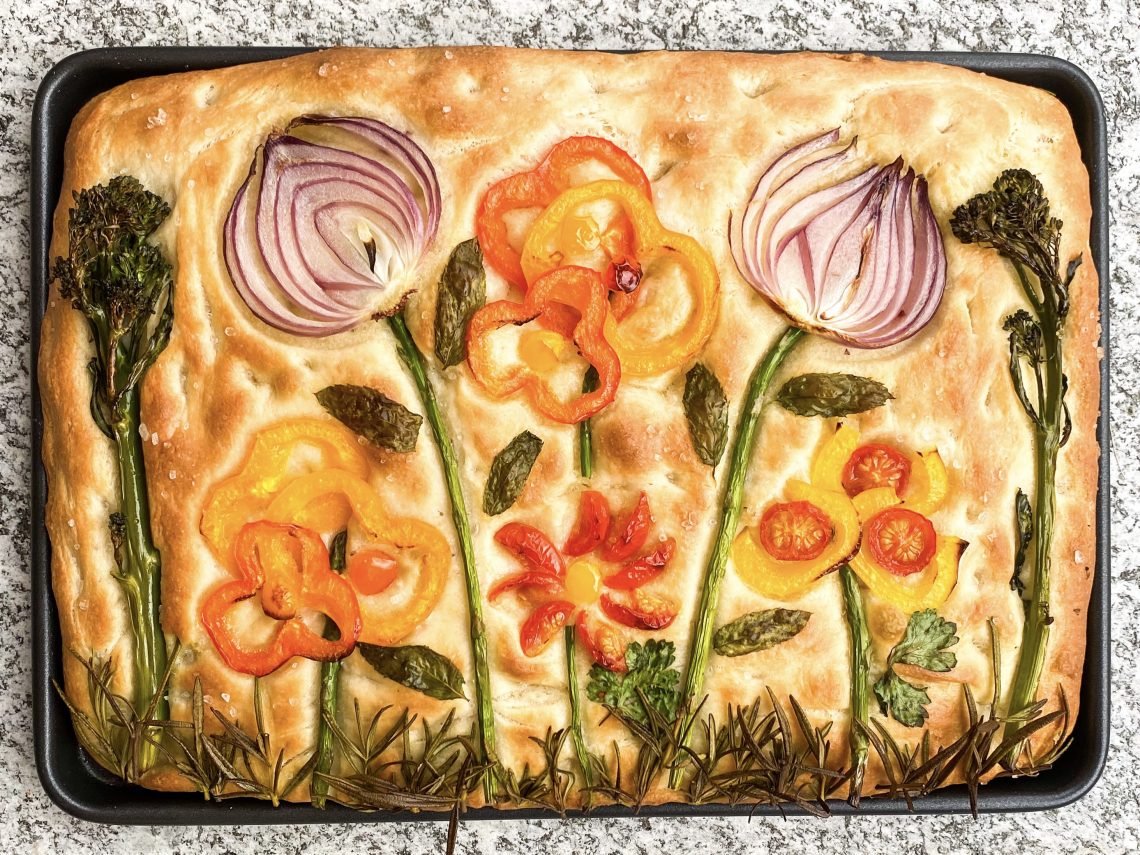
Focaccia Bread with Vegetable and Herb Flowers
Focaccia is a flat oven-baked Italian bread which has become universally popular. There are many variations across Italy, which vary from light and fluffy to a much crisper and flatter version. This fluffier and thicker version is probably more in line with the focaccia we most commonly see outside of Italy.
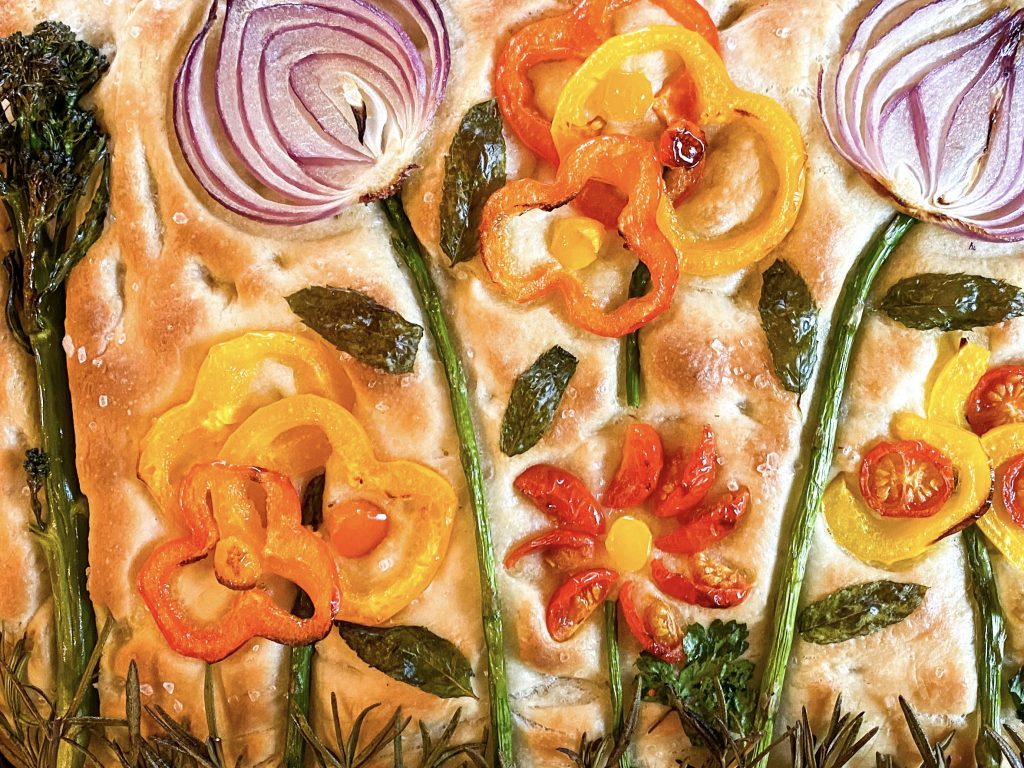
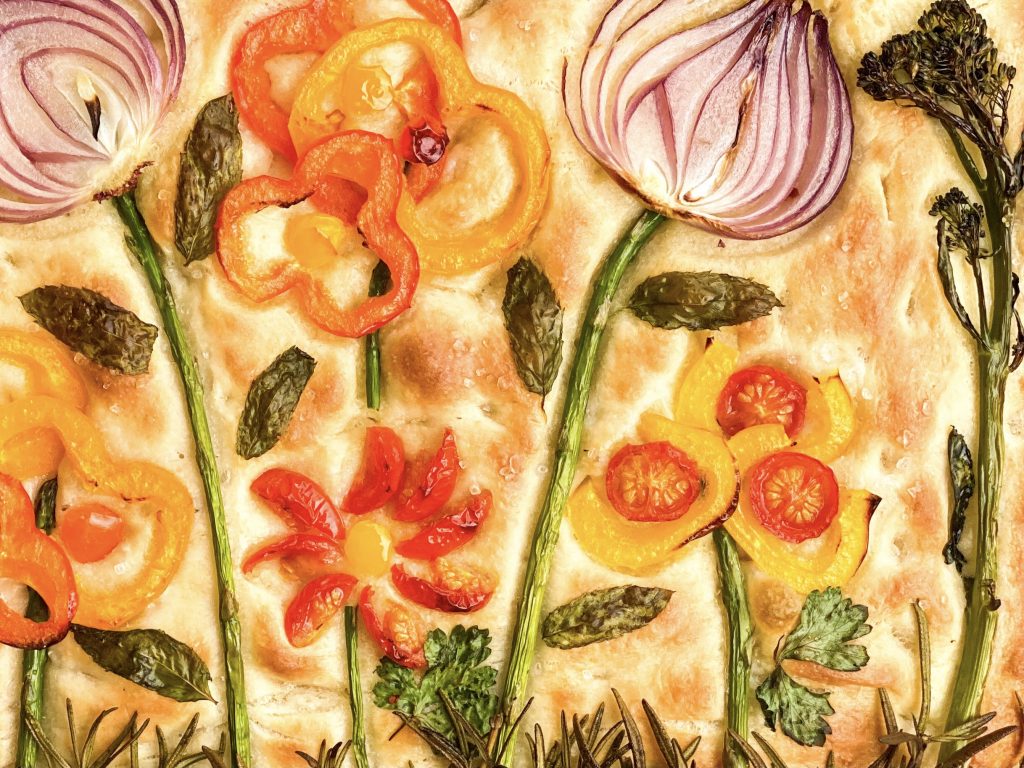
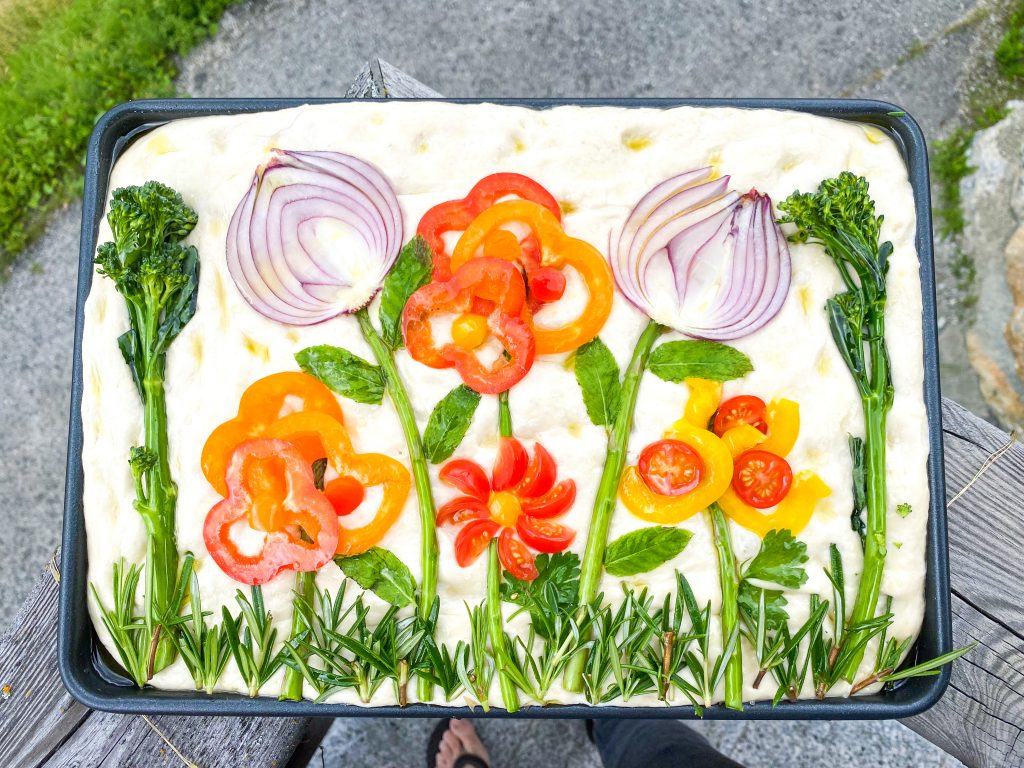
Focaccia can be served as a side dish, used to make fabulous sandwiches, you can even add a topping before cooking or as soon as it comes out of the oven. Today, I opted to add some vegetable flowers before cooking; decorating the dough like this is known as focaccia art.
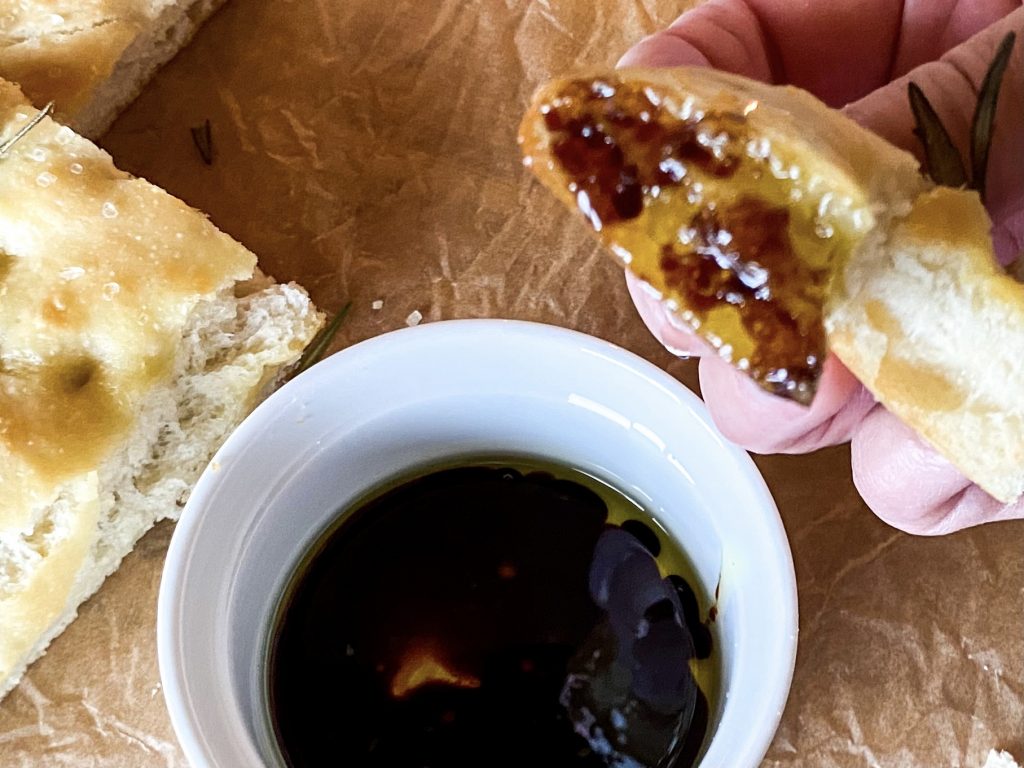
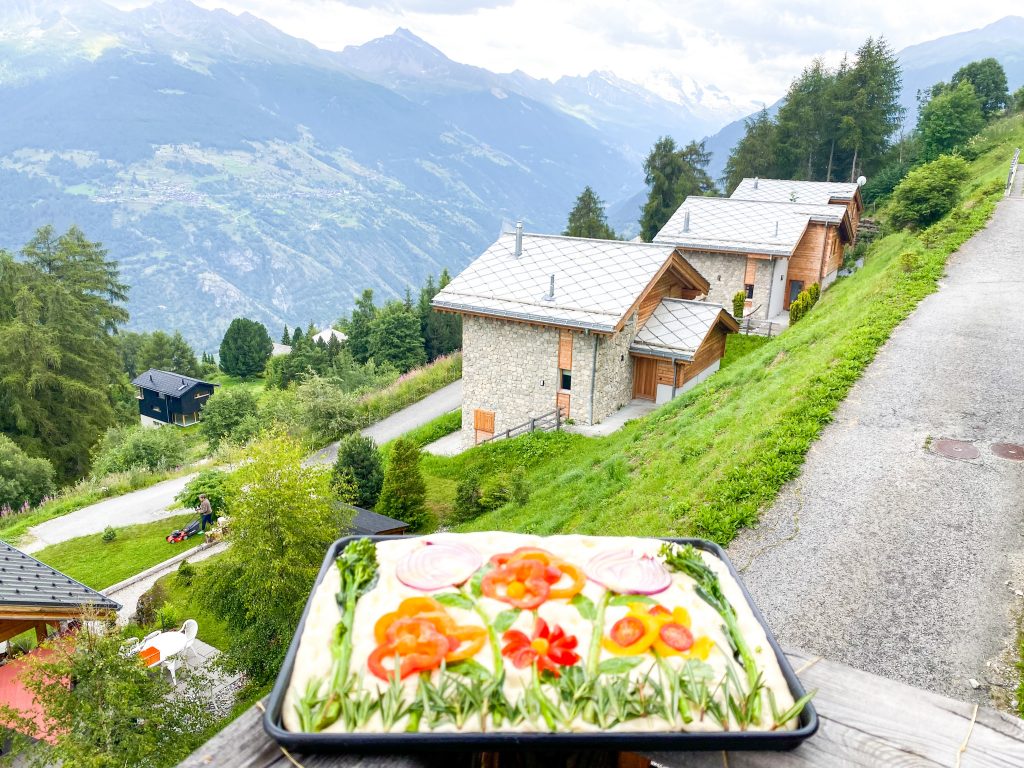
I made this bread whilst Andrew and I were in Switzerland – our first visit in 13 months due to Covid 19 restrictions. A delicious treat to eat whilst we watched the British Lions V South Africa third test and a thunderstorm raged outside. It is also my contribution to an Insta collab called ‘A Night in Rome’. The aim is to post an Italian dish, ideally one which uses balsamic vinegar. Whilst there is no balsamic in this recipe, focaccia is absolutely delicious served simply with a small bowl of good olive oil and balsamic vinegar for dipping.
How to make Focaccia Bread with Vegetable and Herb Flowers
Collect all your ingredients together:
For the bread –
- strong white bread flour
- fine salt
- caster sugar
- easy action dried yeast
- olive oil
- warm water – not hot
For the topping –
- flaky sea salt
- olive oil
- water
- collection of vegetables and herbs –
- peppers/capsicum – red, yellow, orange, green
- chilli peppers – red, green
- tomatoes – I used cherry tomatoes
- onion – I used red onion
- asparagus
- tender stem broccoli
- spring onions
- mushrooms
- radish
- fresh rosemary
- fresh basil
- fresh mint
- fresh parsley
- fresh chives
- capers
- olives
How to make the bread:
- Weigh the flour, salt, sugar and yeast into the bowl of a freestanding mixer or, if making by hand, a mixing bowl.
- Stir to mix and then add the warmed water and olive oil.
- Mix well with a spoon or spatula.
- Attach to your stand mixer and knead on speed 2 for 10 minutes. Alternatively, tip out onto an oiled surface and knead thoroughly with oiled hands. It is meant to be a wet dough which is why you knead with oil and not flour.
- Transfer to a large oiled bowl, cover with cling film and leave to rise until doubled in size. This normally takes between 1- 2 hours depending on how warm it is. If the room temperature is cold, I put mine in the oven set on dough setting at 42°C and it takes around 2 hours.
- Grease a baking tray with olive oil.
- Tip the dough out of the bowl onto the baking tray and stretch out, with your finger tips, to fit the shape of the tray.
- Lay some small glasses around the edge of the tray and lay some cling film over these glasses, making sure that the cling film does not touch the dough.
- Cover with a clean tea towel and leave to rise for 30 minutes.
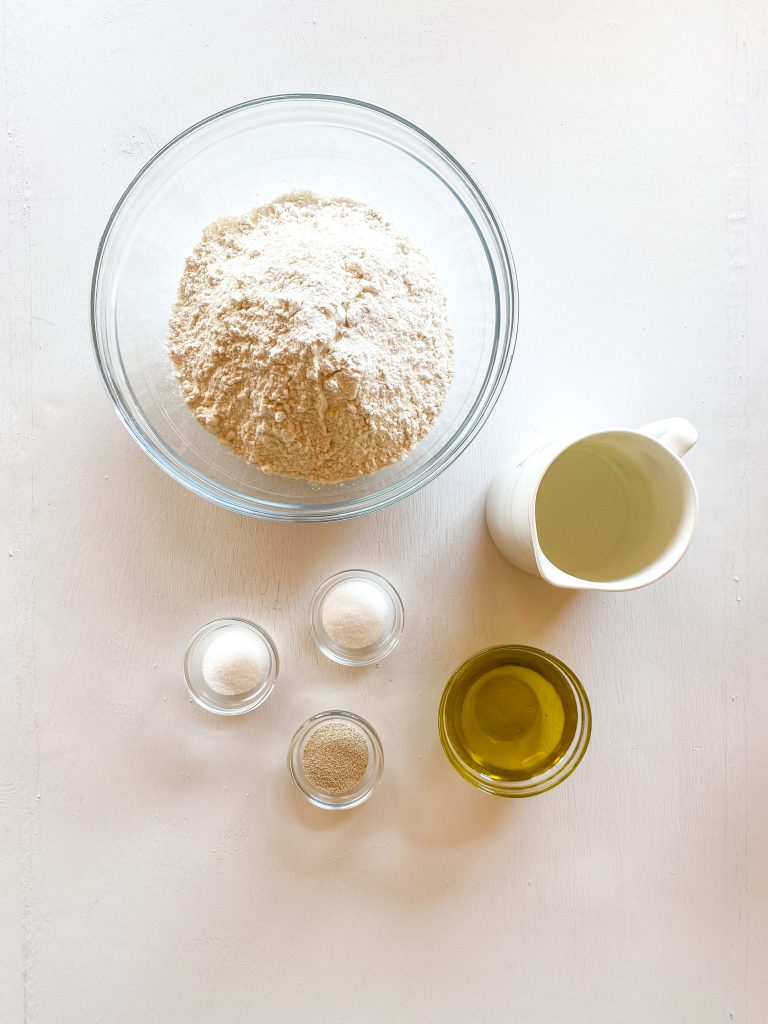
Ingredients 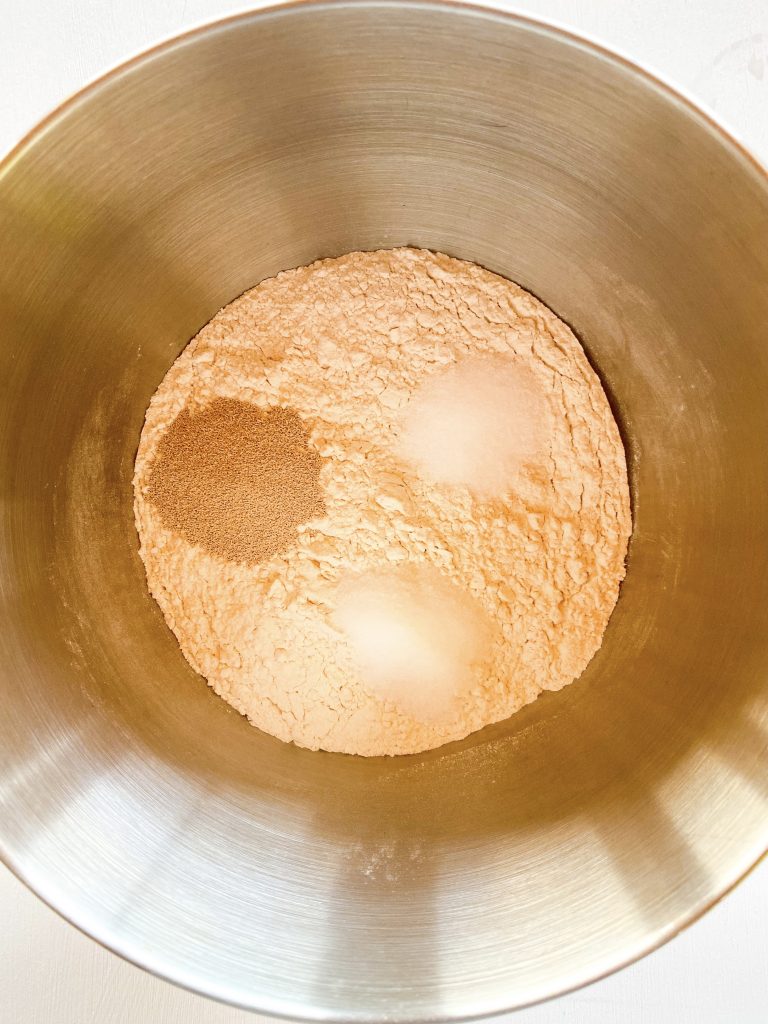
1 Weigh flour, salt, sugar, yeast into bowl 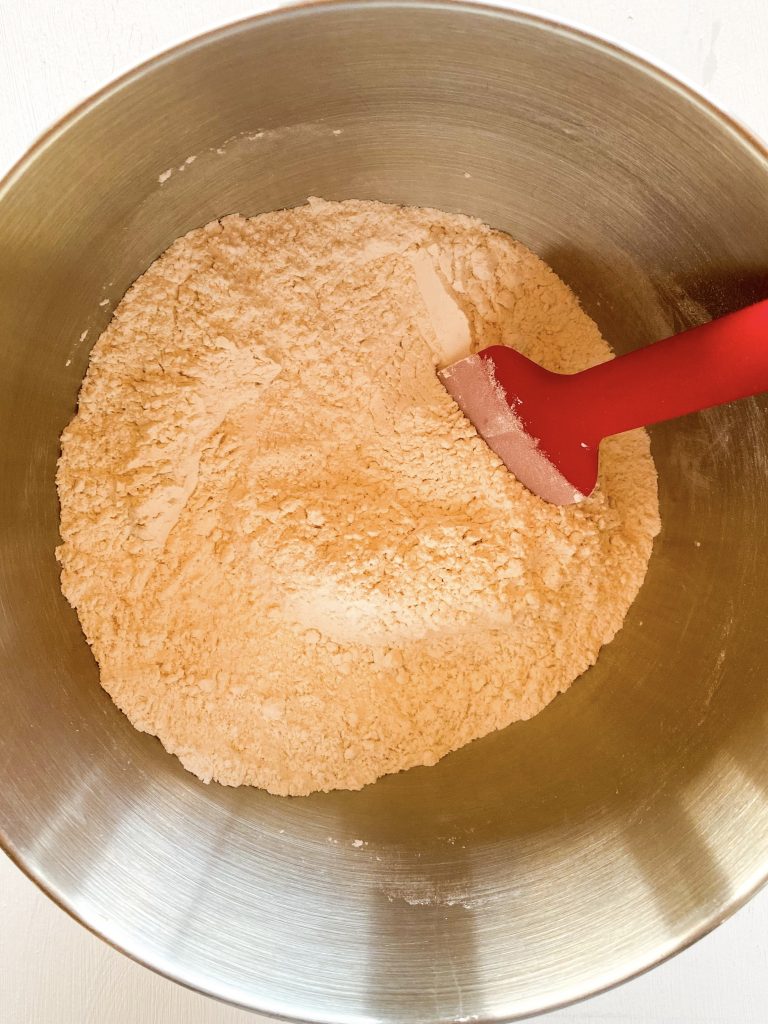
2 Stir to mix and …. 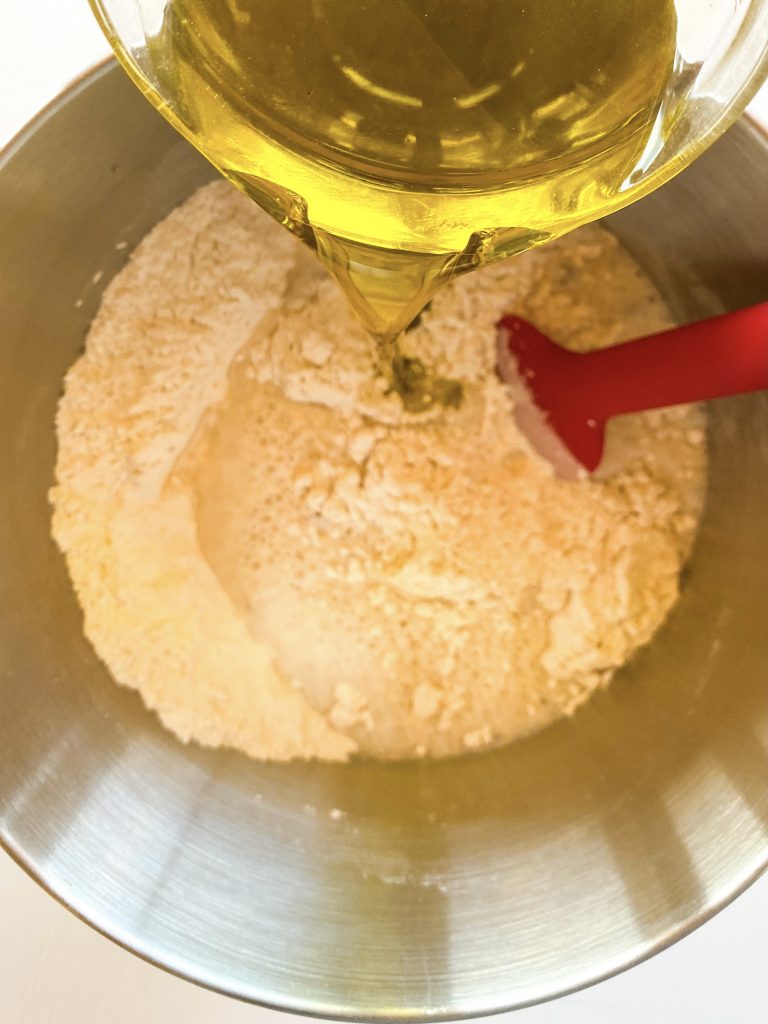
…add warm water and olive oil. 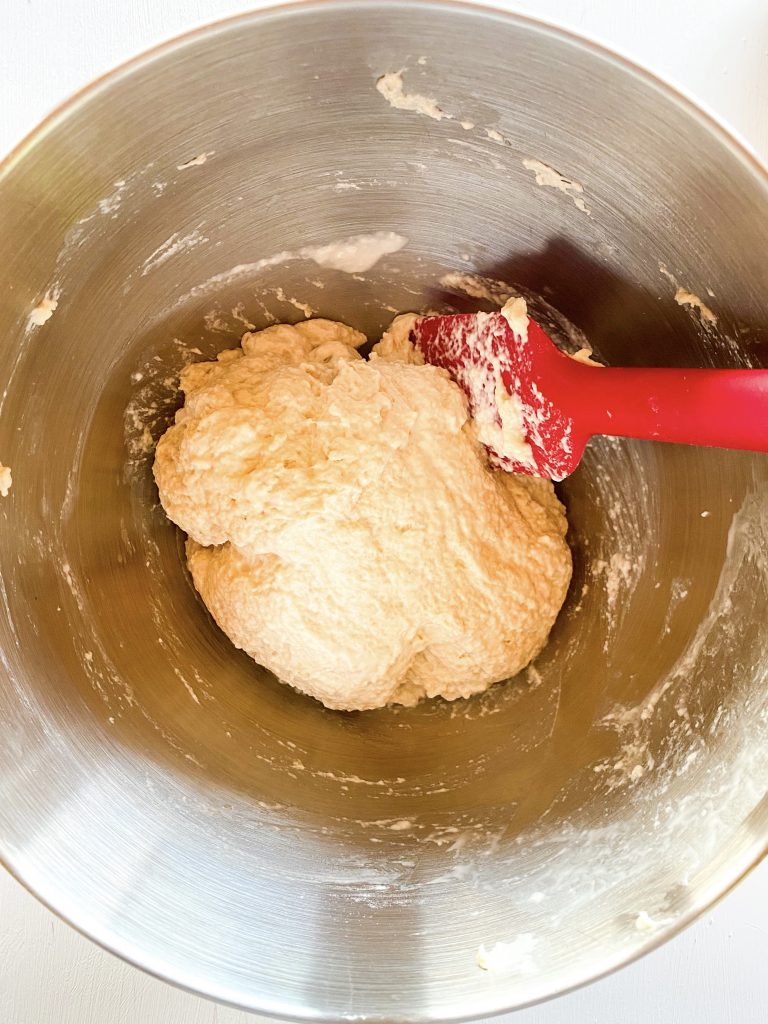
3 Mix well 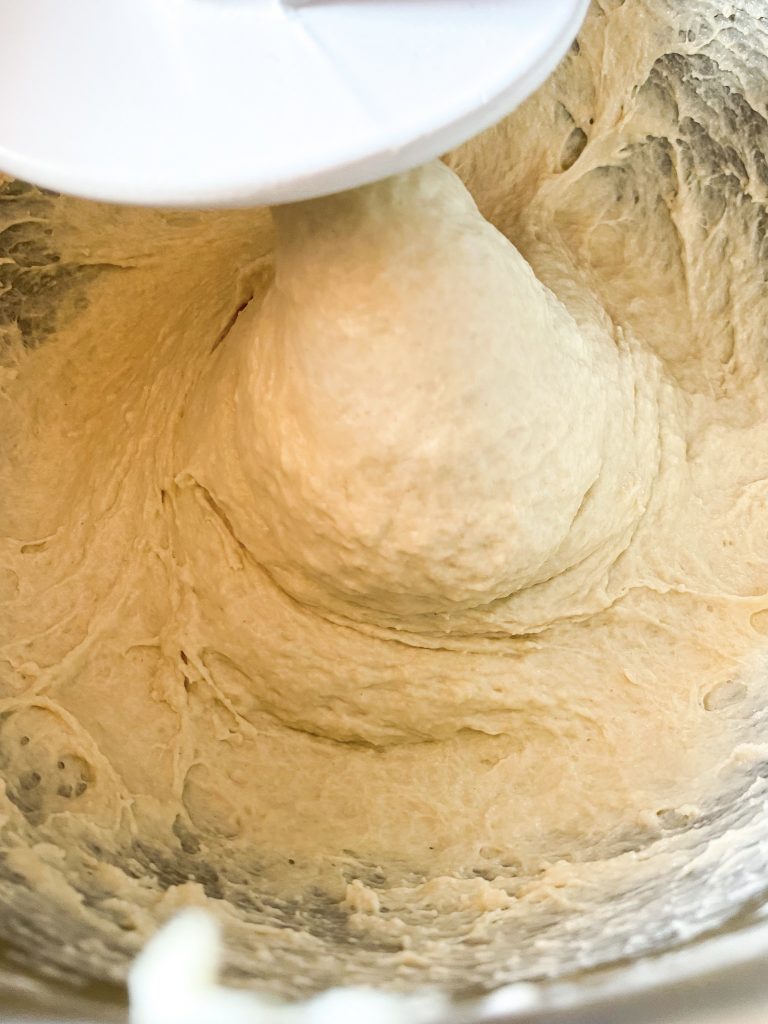
4 Knead for 10 minutes. 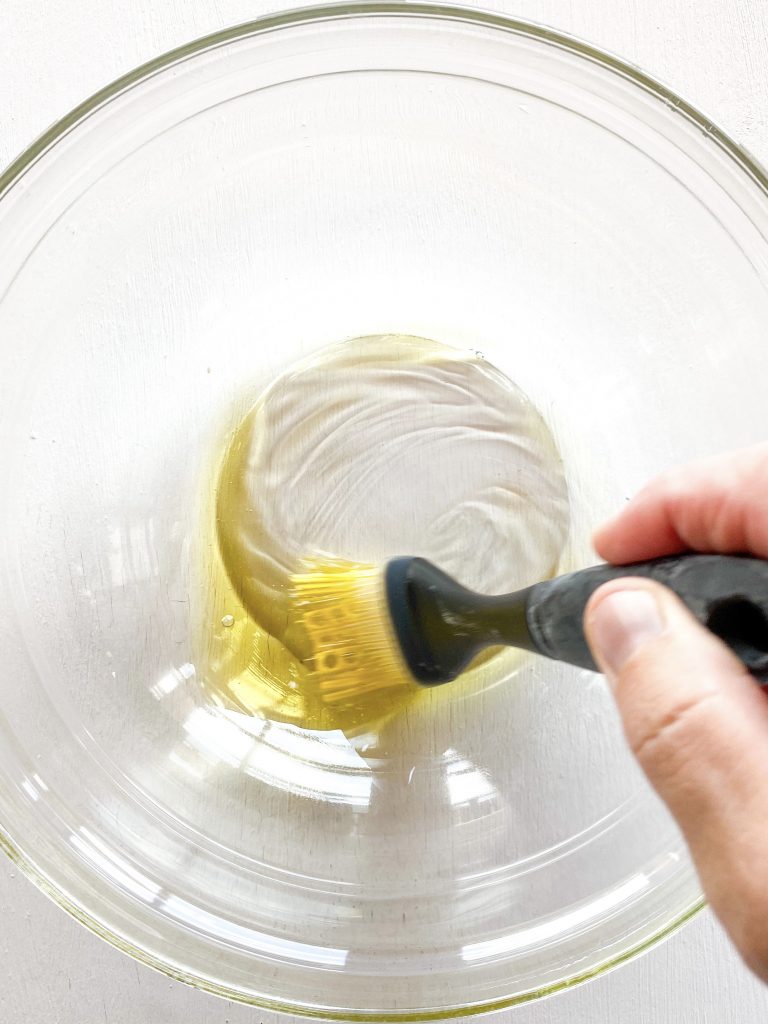
5 Oil mixing bowl and … 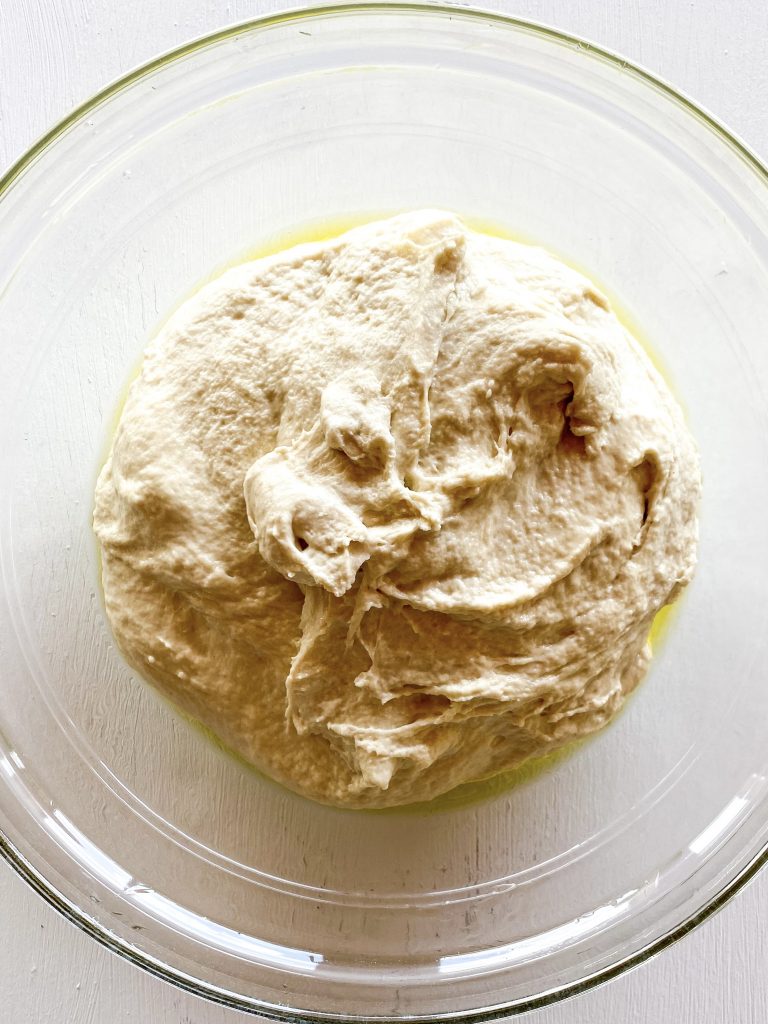
… tip in dough. Cover with cling film. 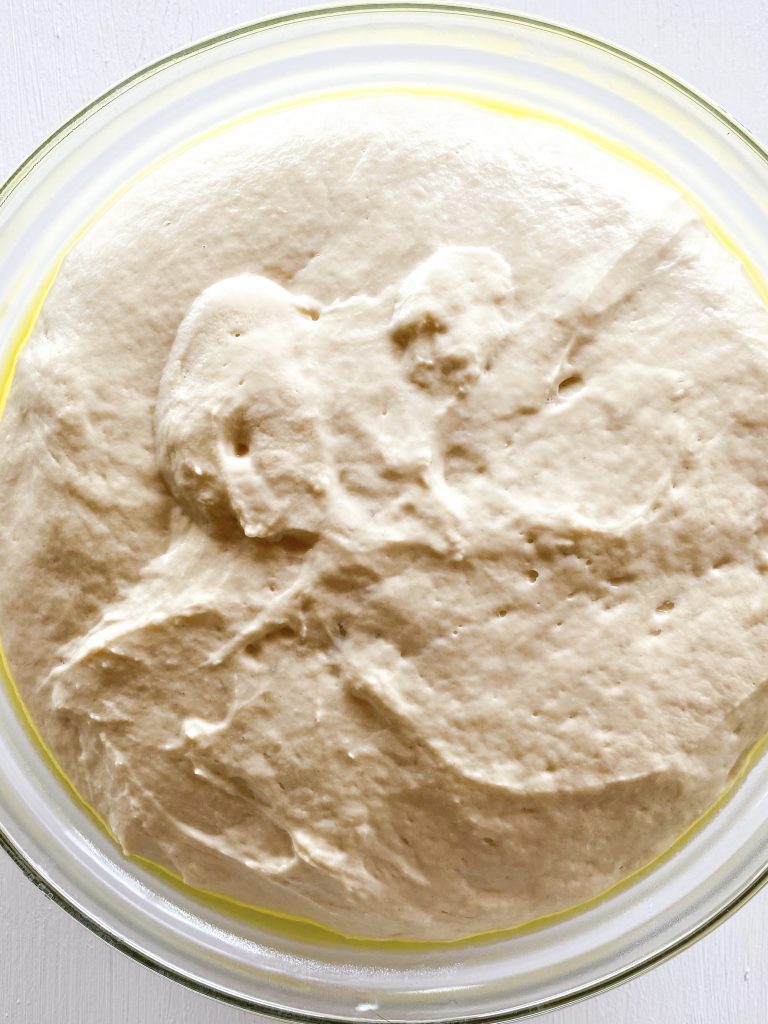
Leave to rise until doubled in size 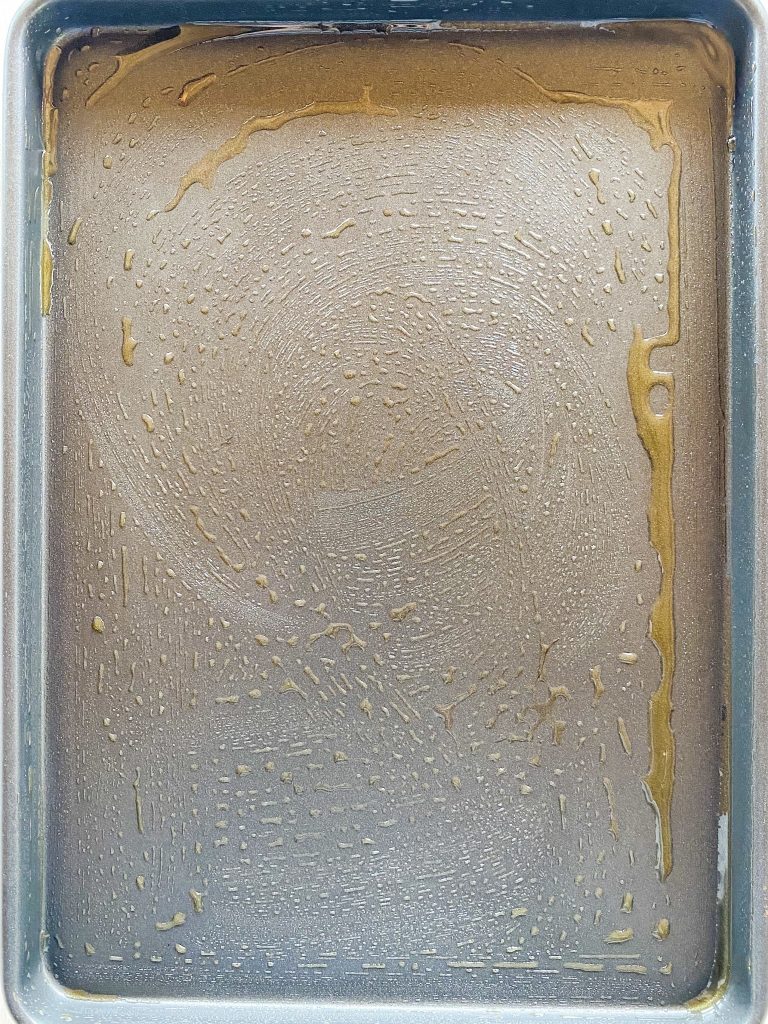
6 Grease baking tray with olive oil. 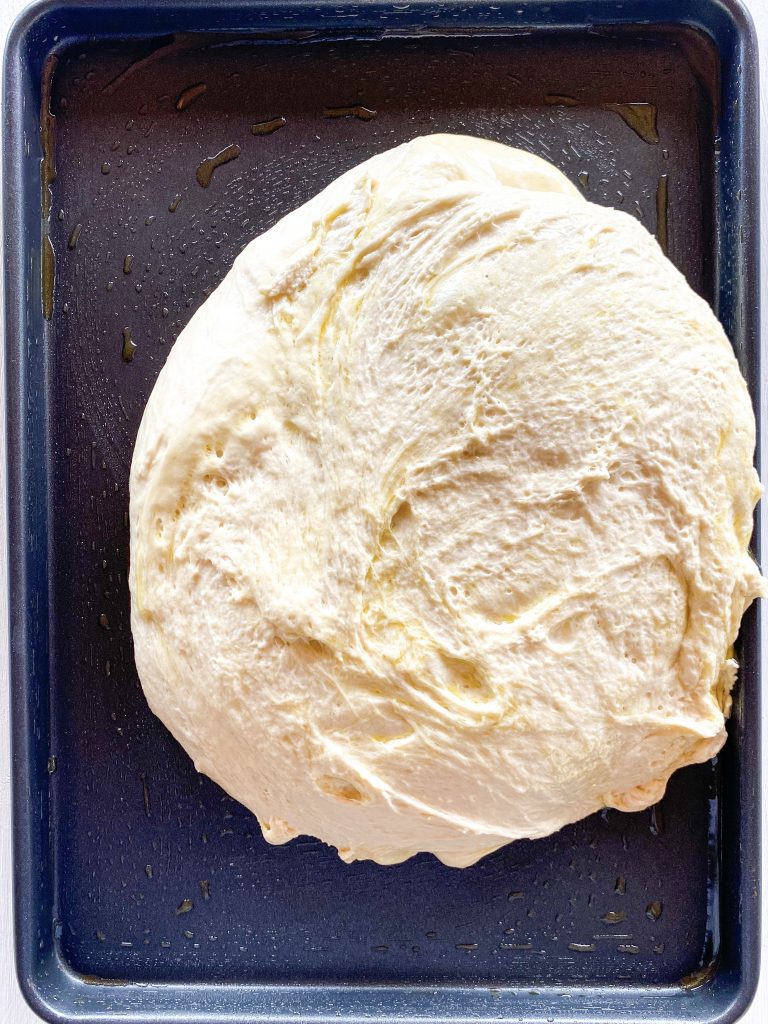
7 Tip dough onto baking tray and … 
… stretch out, with your finger tips … 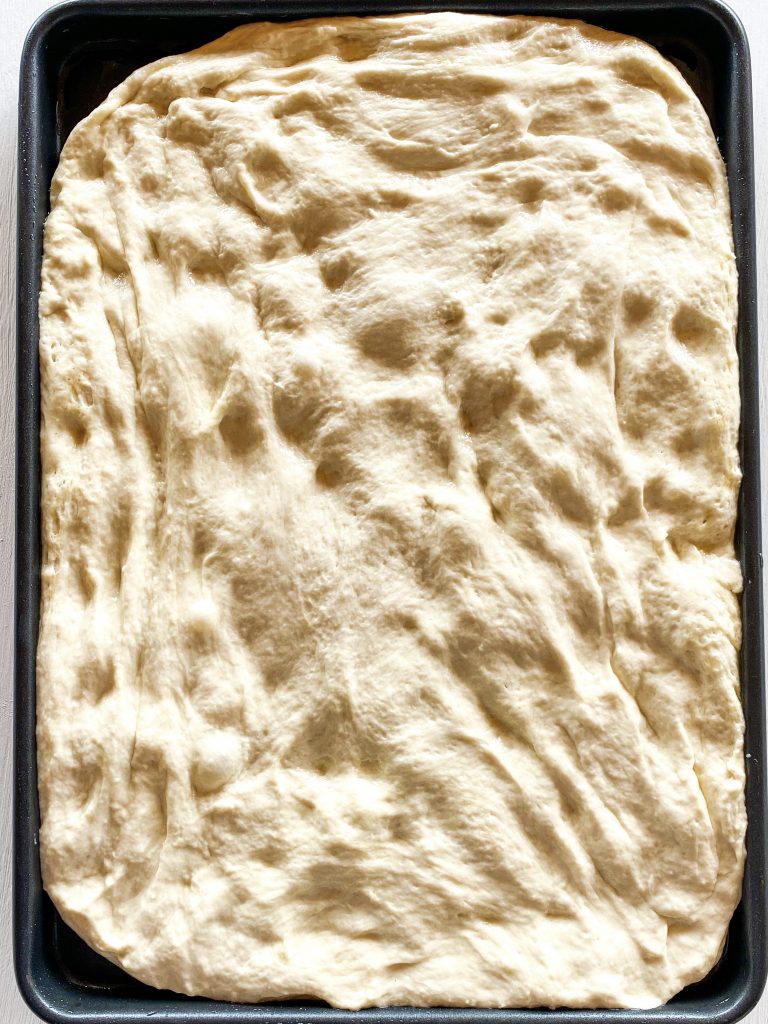
… to fit shape of tray. 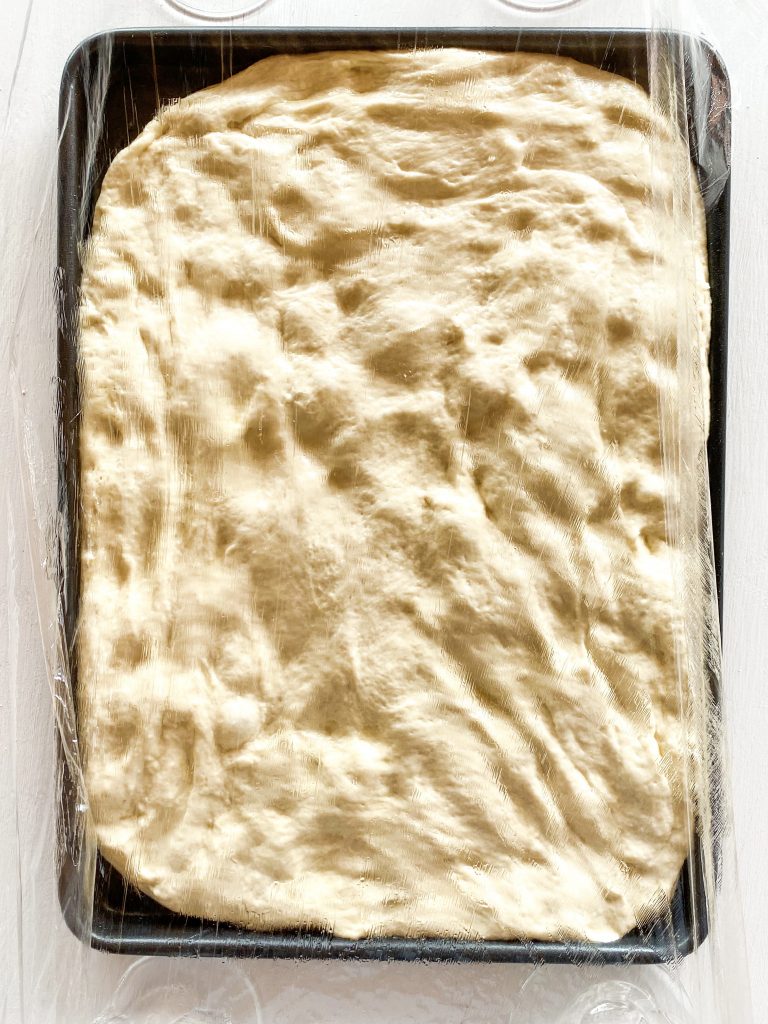
8 Cover with cling film… 
9 Cover with tea towel. Leave for 30 mins.
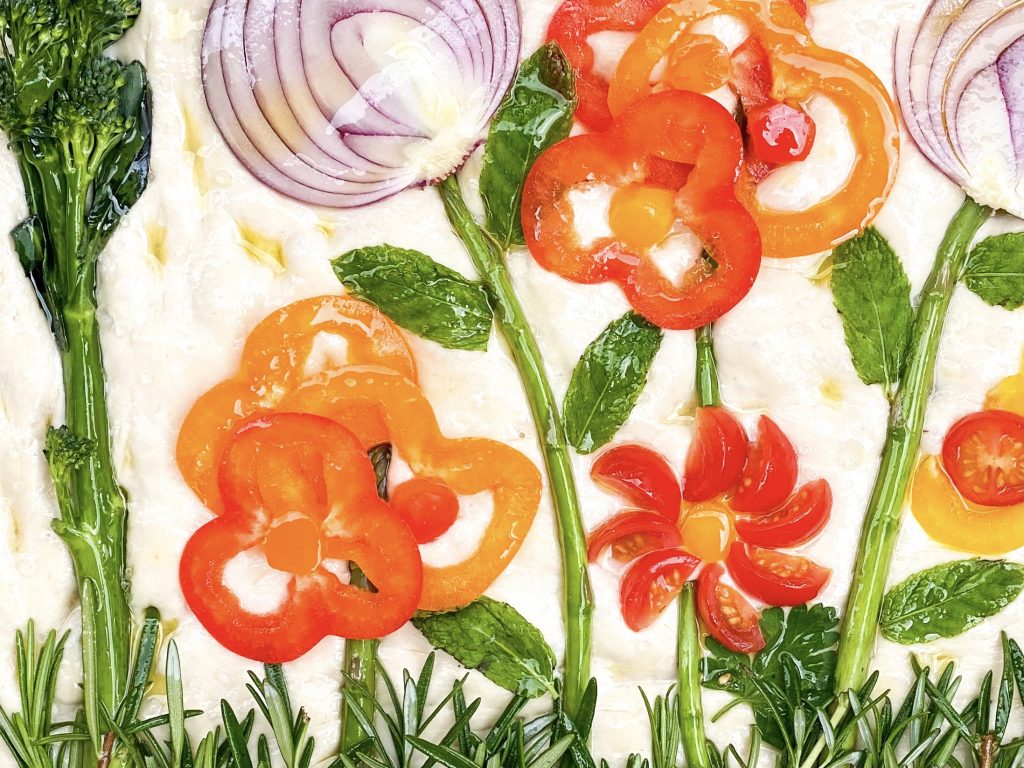
Whilst the dough is resting for 30 minutes, prepare your flower art:
- Collect together a collection of vegetables and herbs you could use.
- Cut your vegetables to size and lay out on a board, similar in size to the bread – I use a chopping board.
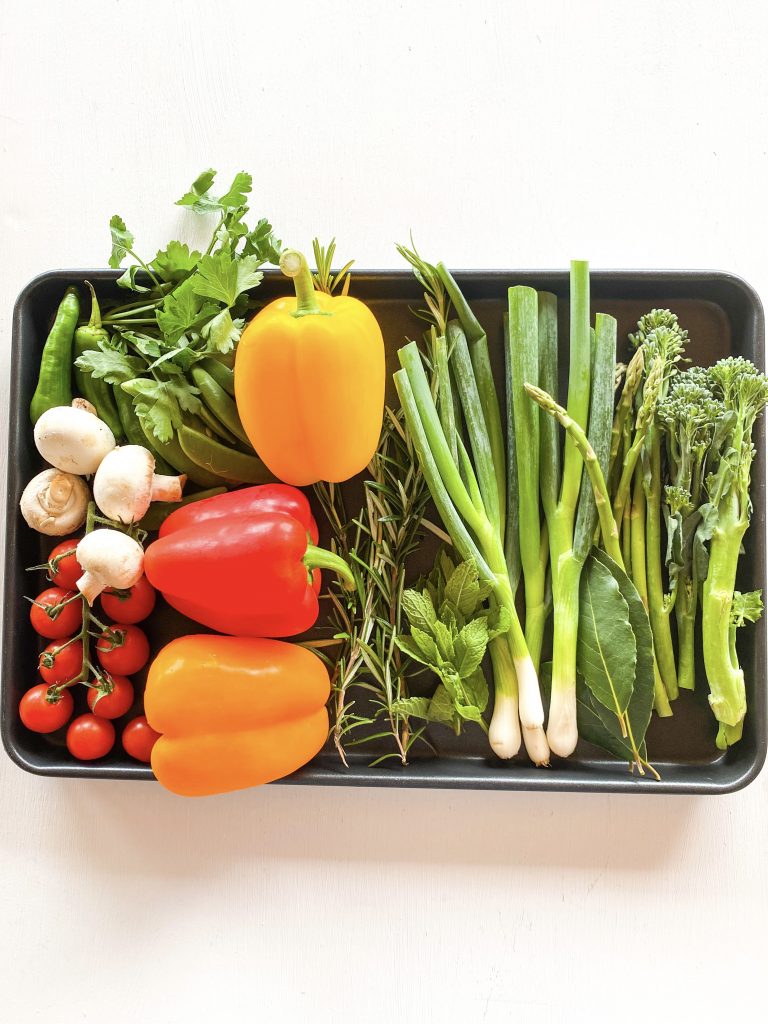
1 Vegetables and herbs 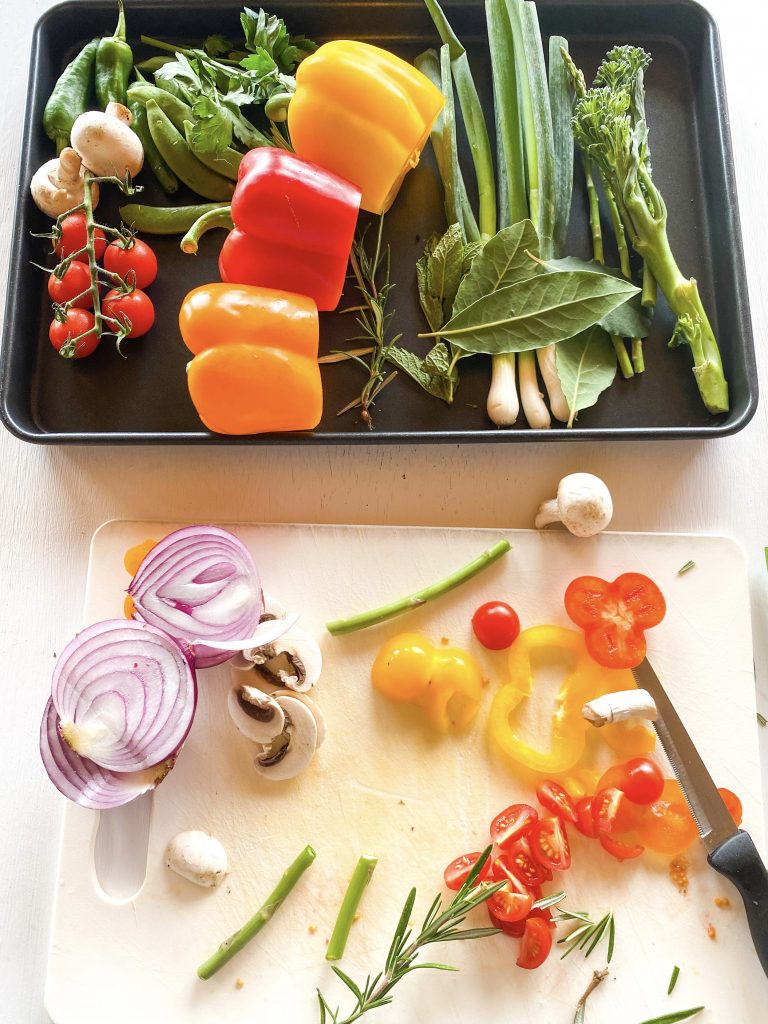
2 Cut to size 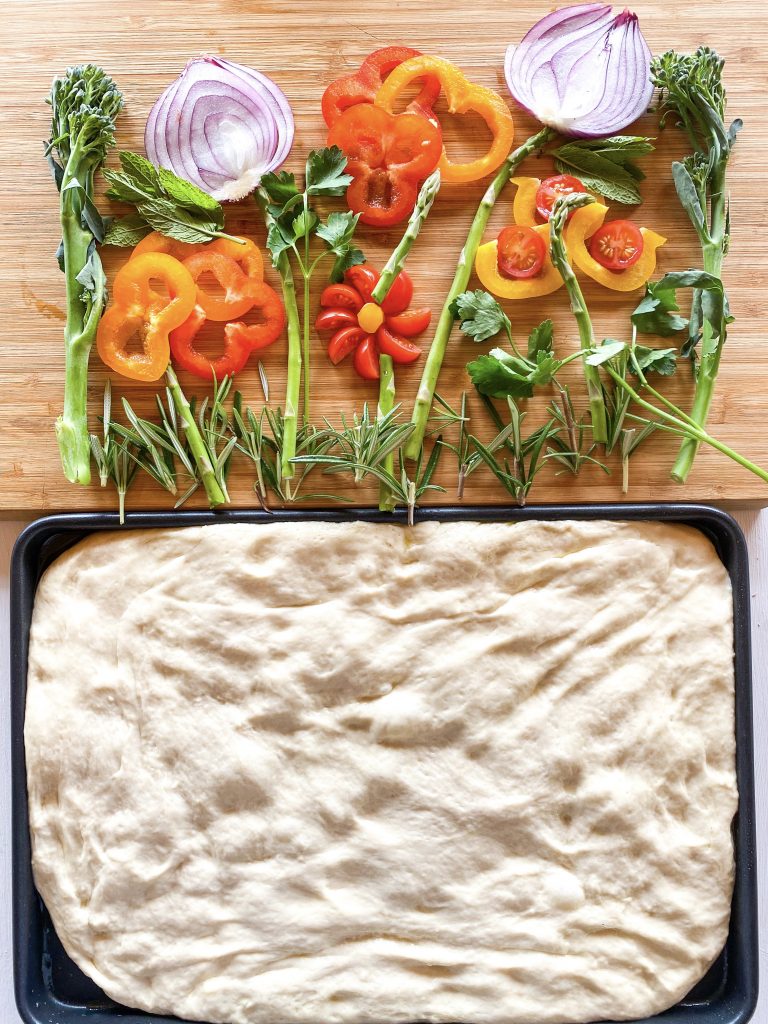
Lay design on a board 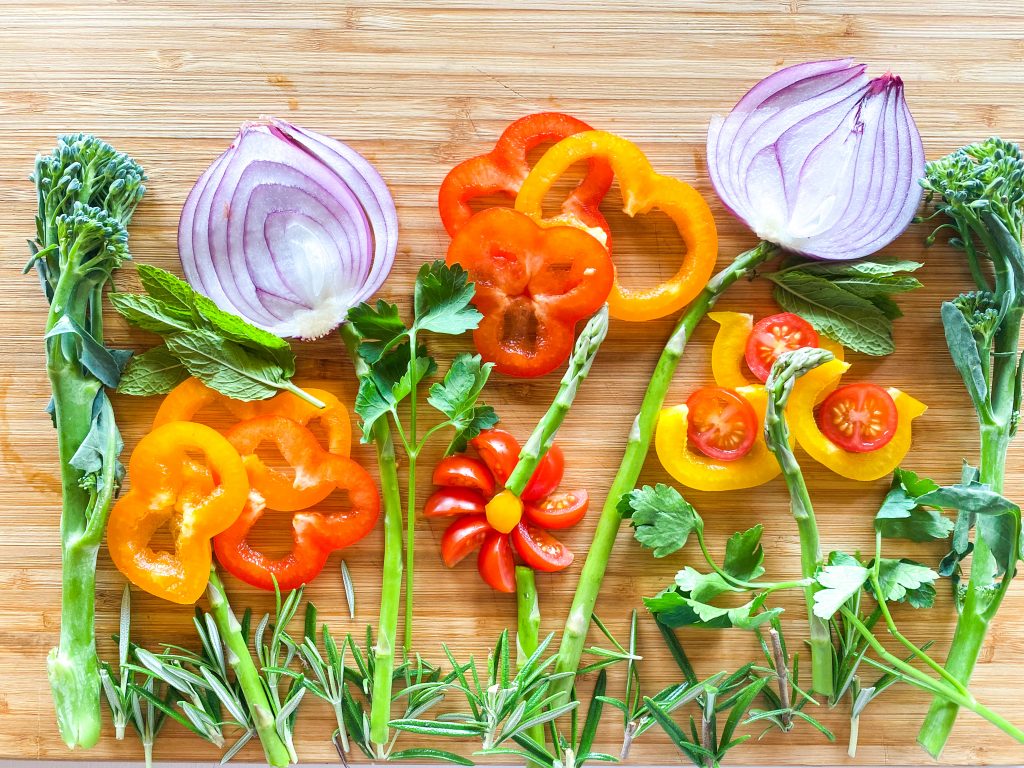
Idea for design
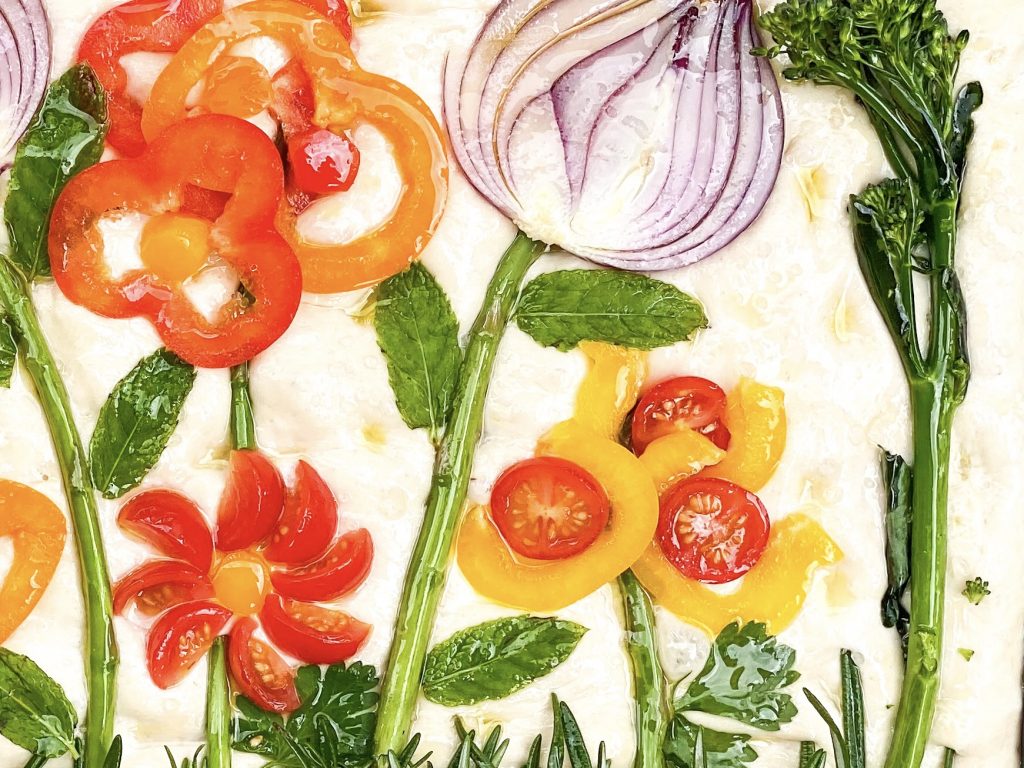
Decorate the dough:
- When the dough is ready, spray or sprinkle the surface with the olive oil and water.
- Use your fingers to make holes in the dough.
- Sprinkle the salt over the surface of the dough.
- Your dough is now ready to decorate.
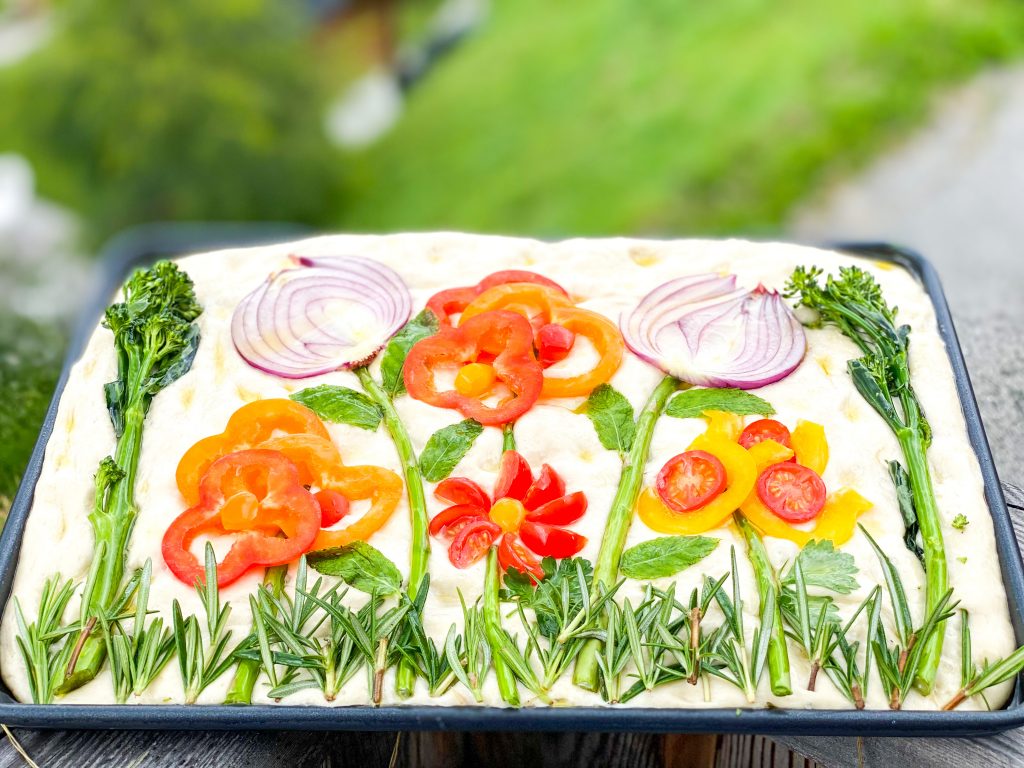
- Transfer the vegetables and herbs from the board and press them down gently into the dough.
- Brush the vegetables and herbs with olive oil – this prevents them from burning when they are cooked.
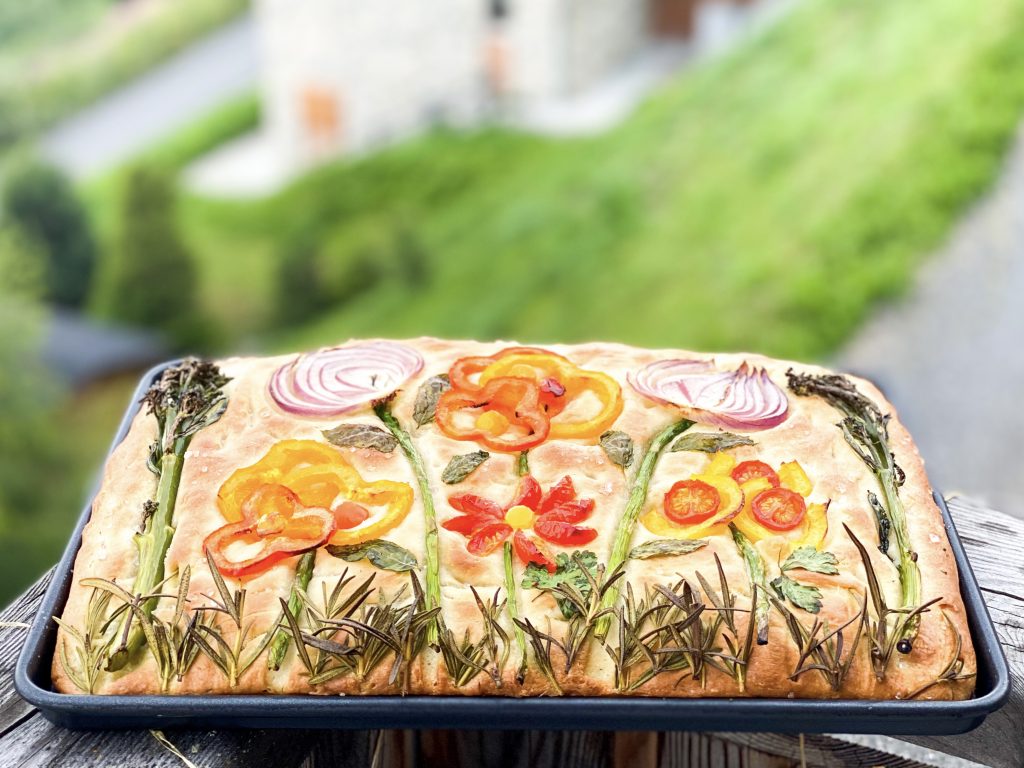
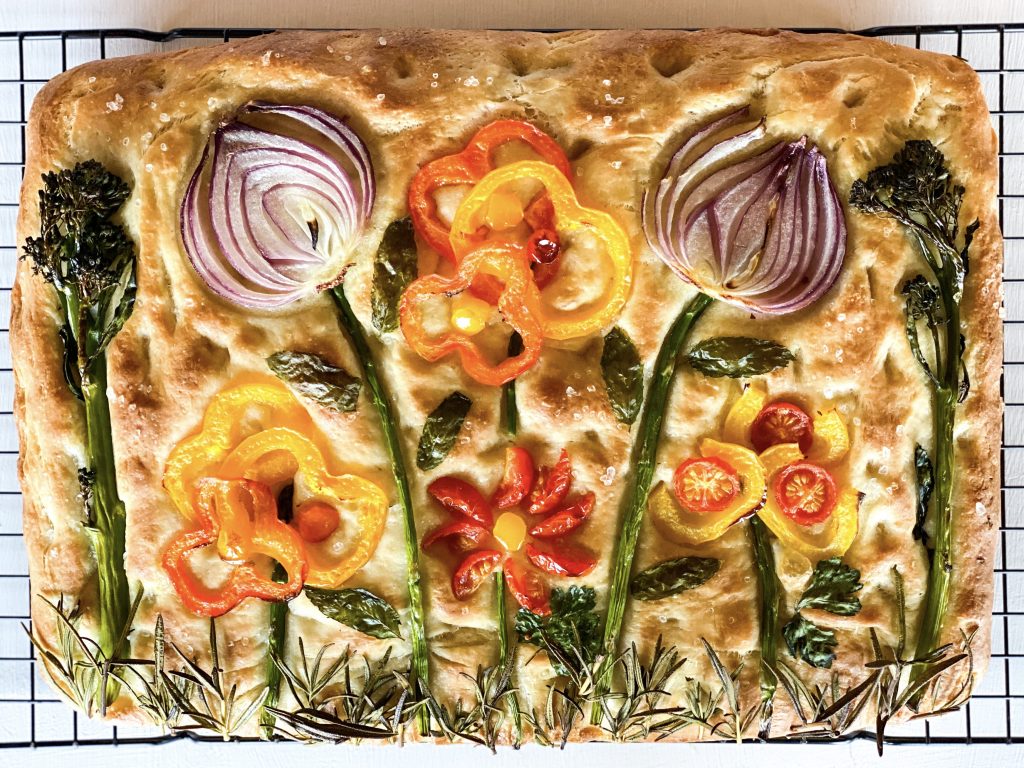
- Bake in the centre of a preheated oven for 15 – 20 minutes until the bread is lightly brown, risen and cooked through.

1 Sprinkle surface with olive oil and water. 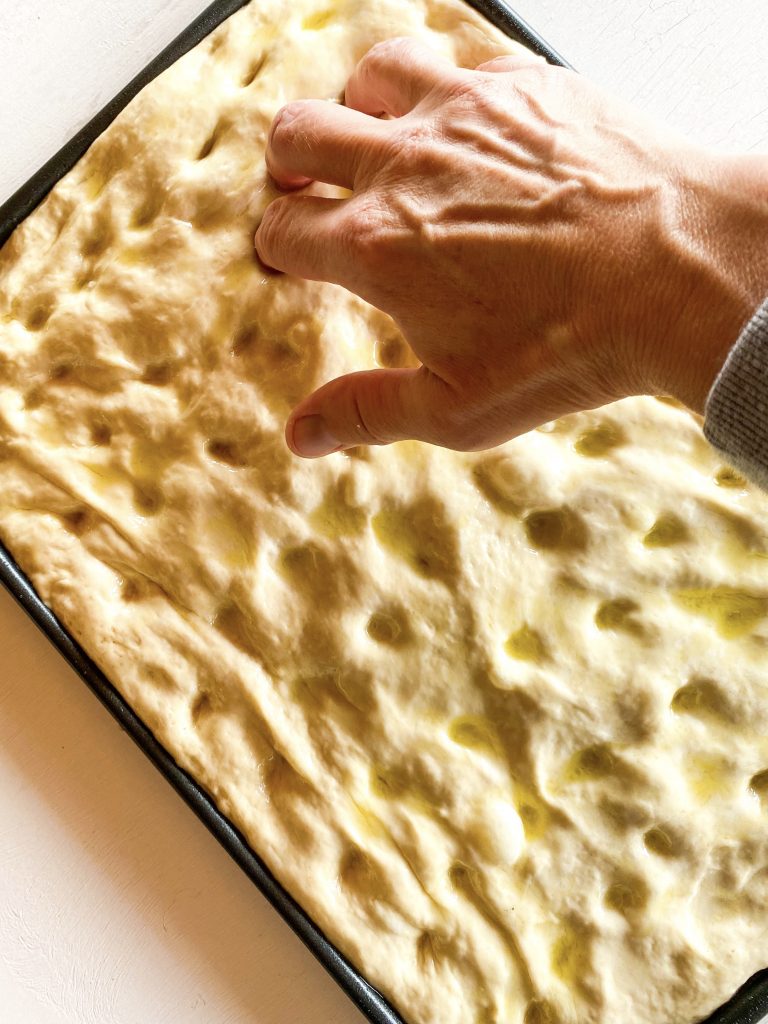
2 Use fingers to make holes. 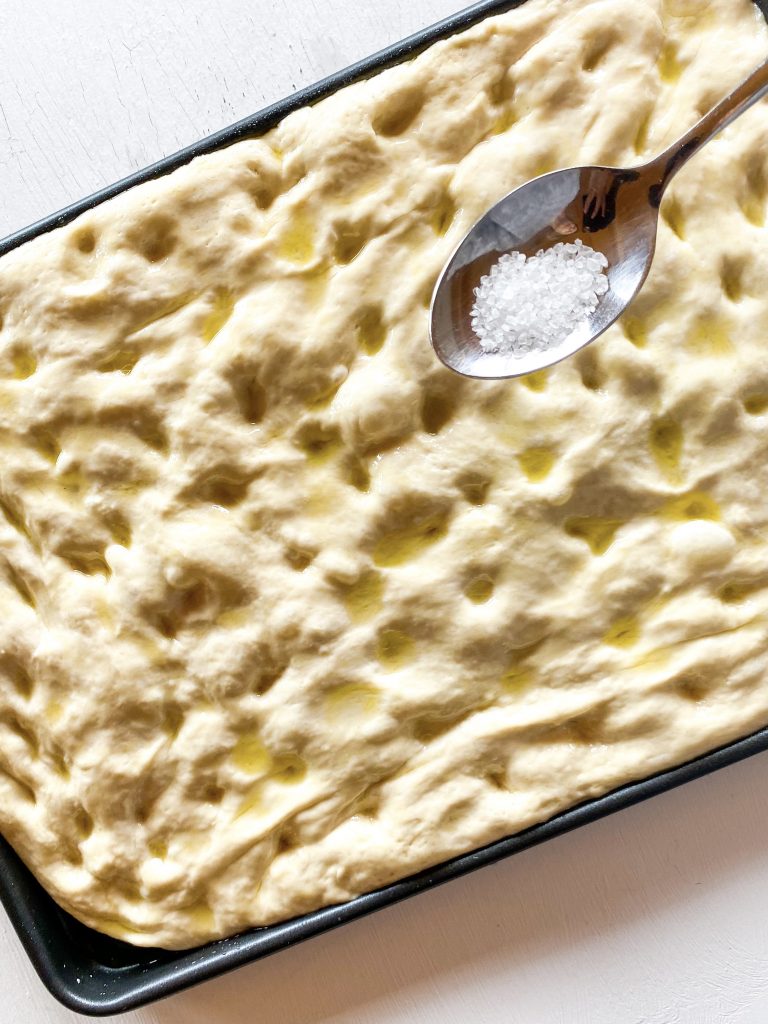
3 Sprinkle salt over 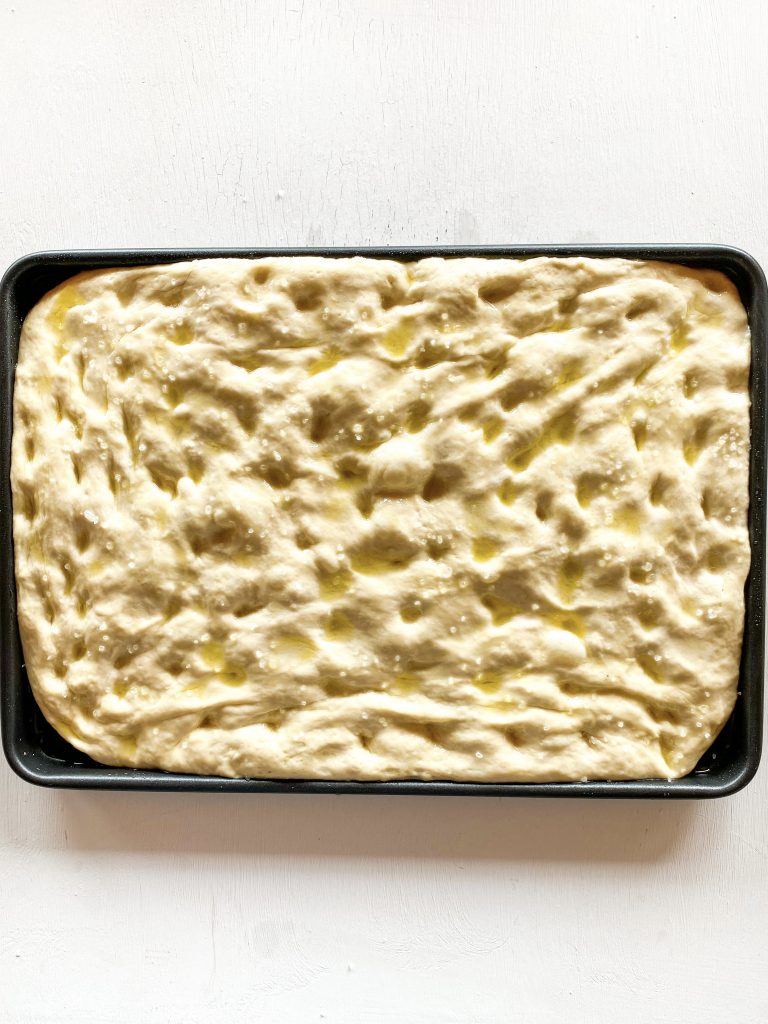
4 Ready to decorate. 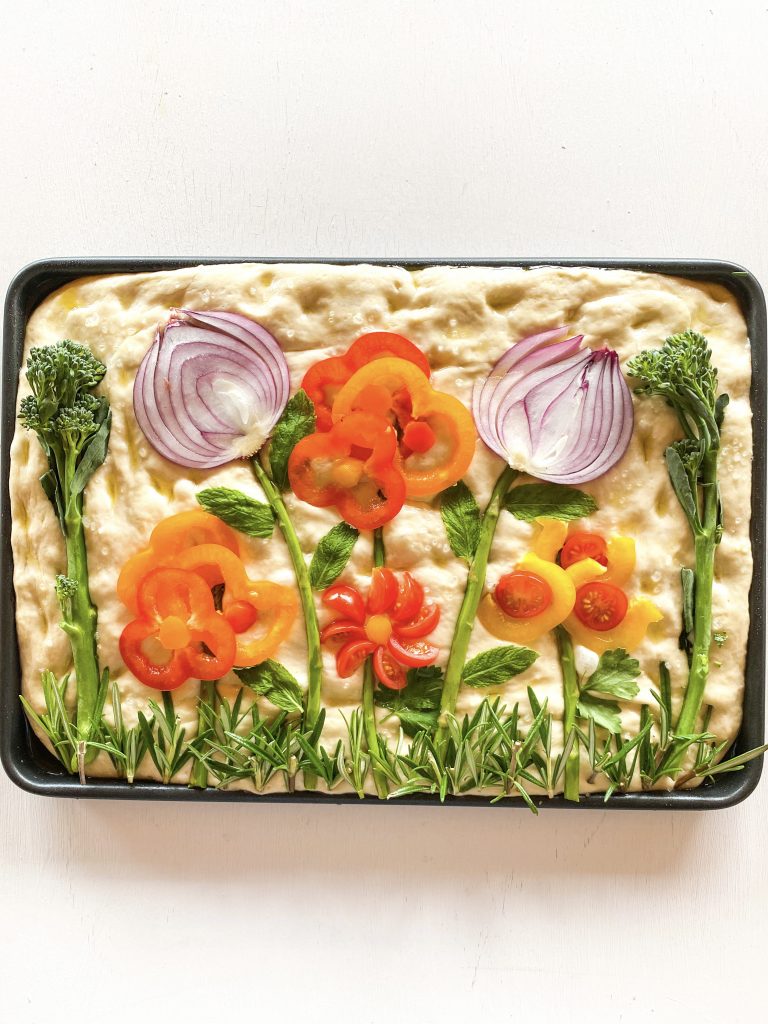
5 Transfer vegetables and herbs from board 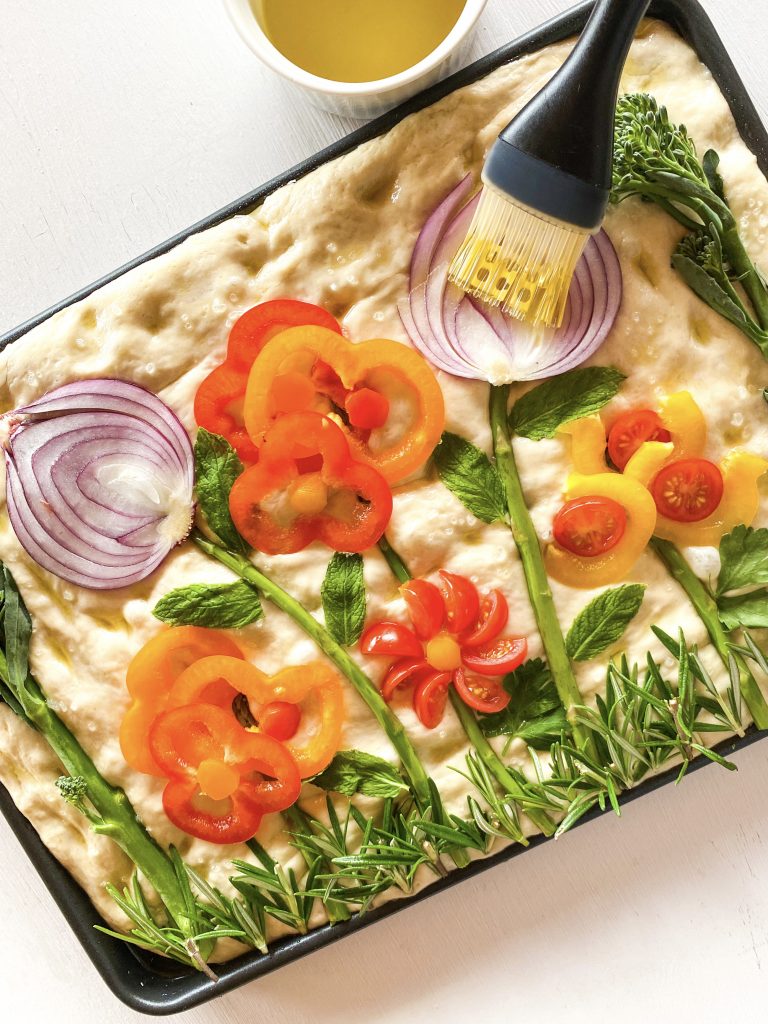
6 Brush vegetables and herbs with olive oil 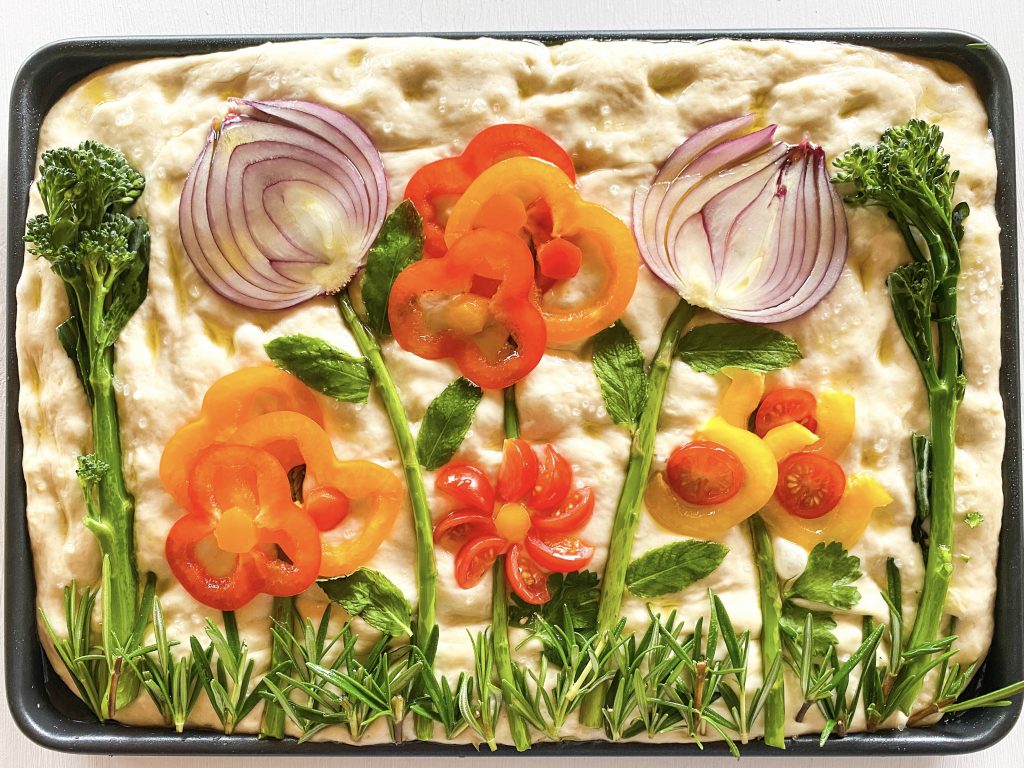
7 Ready to cook

Made this recipe?
If you make this recipe, do please tag me on instagram @daffodil_kitchen. You could also leave a comment in the box directly below the recipe.
Focaccia Bread with Vegetable and Herb Flowers
Focaccia is a flat oven-baked Italian bread which has become universally popular. There are many variations across Italy, which vary from light and fluffy to a much crisper and flatter version. This fluffier and thicker version is probably more in line with the focaccia we most commonly see outside of Italy.
Prep time – 45 minutes
Resting/rising time – up to 2½ hours
Cooking time – 15 – 20 mins
Ingredients
For the bread –
- 500g strong white bread flour
- 1½ teaspoons fine salt
- 2 teaspoons caster sugar
- 2 teaspoons easy action dried yeast
- 60ml/4 tablespoons olive oil
- 340ml warm water – not hot
For the topping –
- 1 teaspoon flaky sea salt
- 1½ tablespoons cooking olive oil
- 1 tablespoon water
- collection of vegetables and herbs, such as –peppers/capsicum – red, yellow, orange, green; chilli peppers – red, green; tomatoes – I used cherry tomatoes; onion – I used red onion; asparagus; tender stem broccoli; spring onions; mushrooms; radish; fresh rosemary; fresh basil; fresh mint; fresh parsley; fresh chives; capers; olives
Instructions
-
How to make the bread: collect together your equipment (see Recipe Notes below) and ingredients.
-
Weigh the flour, salt, sugar and yeast into the bowl of a freestanding mixer or, if making by hand, a mixing bowl.
-
Stir to mix and then add the warmed water and olive oil.
-
Mix well with a spoon or spatula.
-
Attach to your stand mixer and knead on speed 2 for 10 minutes. Alternatively, tip out onto an oiled surface and knead thoroughly with oiled hands. It is meant to be a wet dough which is why you knead with oil and not flour.
-
Transfer to a large oiled bowl, cover with cling film and leave to rise until doubled in size. This normally takes between 1- 2 hours depending on how warm it is. If the room temperature is cold, I put mine in the oven set on dough setting at 42°C and it takes around 2 hours.
-
Grease a 30cm/12in x 20cm/8in baking tray with olive oil.
-
Tip the dough out of the bowl onto the baking tray and stretch out, with your finger tips, to fit the shape of the tray.
-
Lay some small glasses around the edge of the tray and lay some cling film over these glasses, making sure that the cling film does not touch the dough.
-
Cover with a clean tea towel and leave to rise for 30 minutes.
-
Whilst the dough is resting for 30 minutes, prepare your flower art: collect together a collection of vegetables and herbs you could use.
-
Cut your vegetables to size and lay out a design you like on a board, similar in size to the bread – I use a chopping board.
-
Decorate the dough: preheat oven to Fan Oven 210°C/230°C/450°F/Gas 8
-
When the dough is ready, spray or sprinkle the surface with the olive oil and water.
-
Use your fingers to make holes in the dough.
-
Sprinkle the salt over the surface of the dough – your dough is now ready to decorate.
-
Transfer the vegetables and herbs from the board and press them down gently into the dough.
-
Brush the vegetables and herbs with olive oil – this prevents them from burning when they are cooked.
-
Place in the centre of a preheated oven and immediately turn the heat down to Fan Oven 200°C/220°C/425°F/Gas 7
-
Bake for 15 – 20 minutes until the bread is lightly brown, risen and cooked through
-
To serve: best served warm pn the day it is made. Delicious as it is, dipped into balsamic vinegar and olive oil and it also makes wonderful sandwiches.
Recipe Notes
Equipment:
- kitchen scales and measuring spoons
- mixing bowl
- freestanding mixer, if necessary
- baking tray – 30cm/12in x 20cm/8in
- chopping board and knife
- pastry brush and small bowl
- wire rack


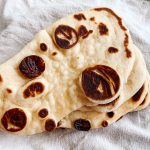

Flatbread

You May Also Like
Yorkshire Pudding
Lemon and Coconut Drizzle Cake – with or without Glacé Cherries