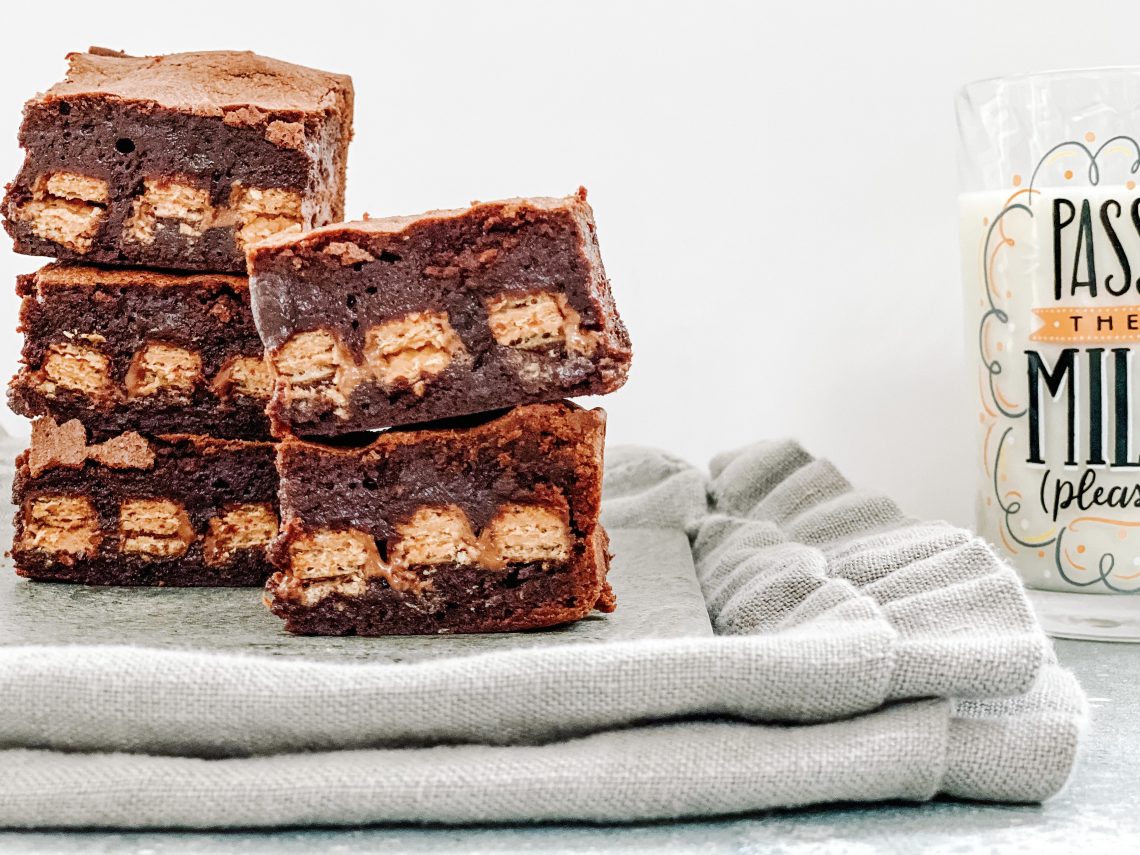
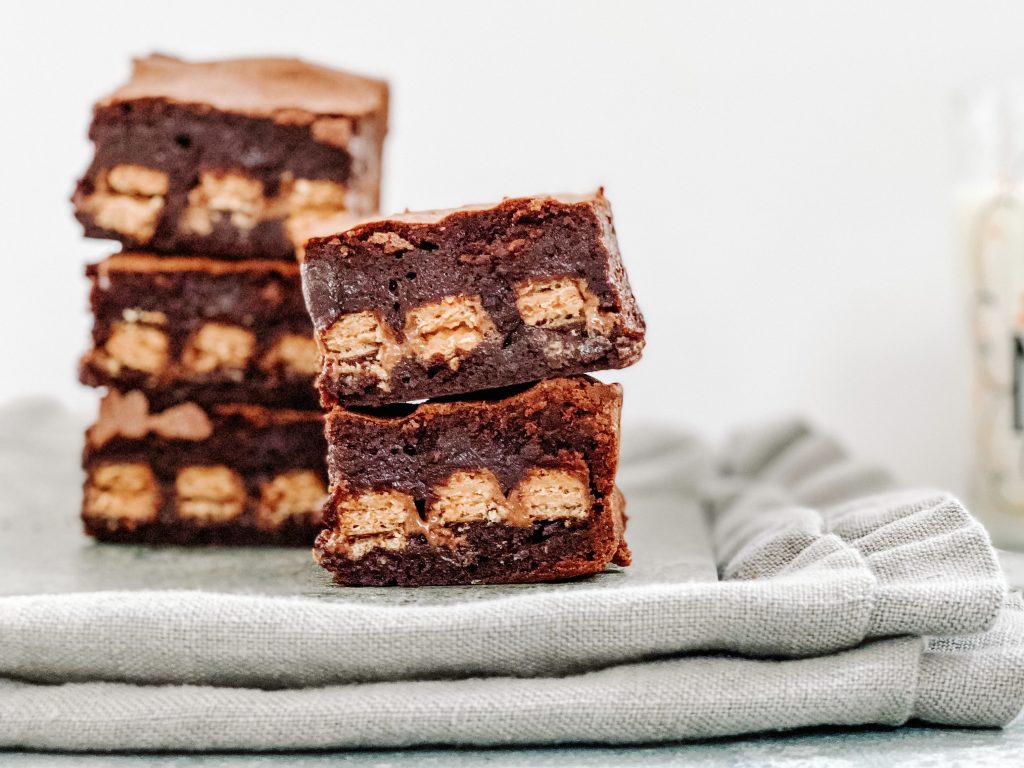
KitKat Brownies
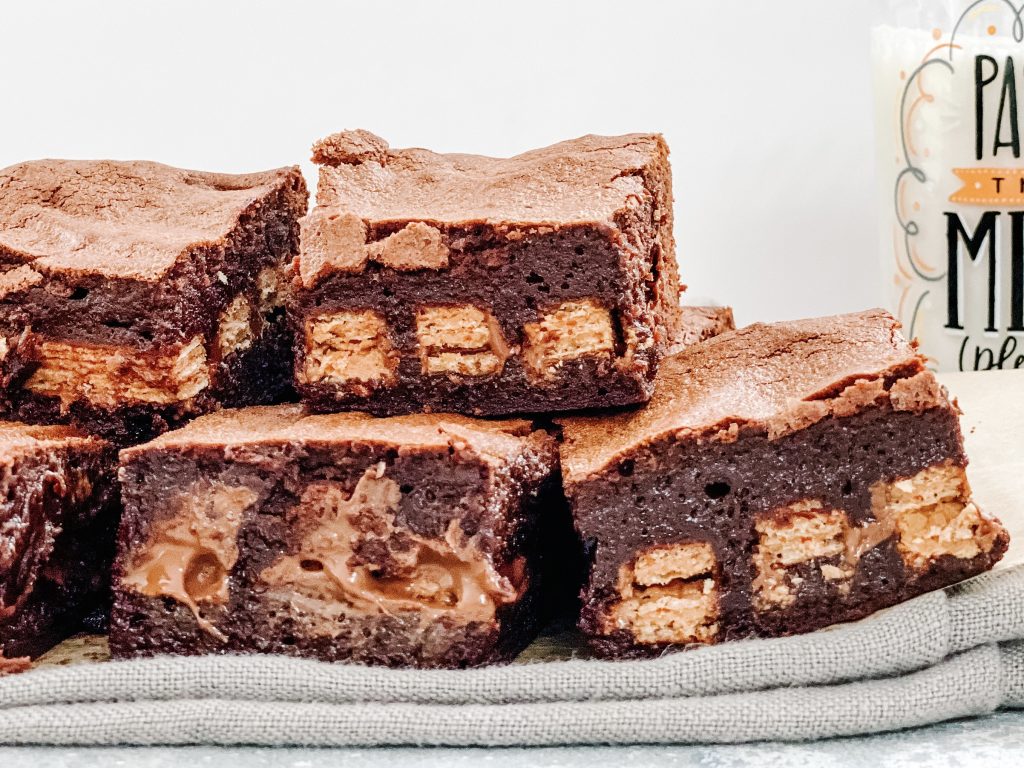
Soft and gooey on the inside, slightly crispy on the outside, these intense chocolate brownies are loaded with the infamous crispy, chocolate wafer biscuit, known world-wide as KitKat.
KitKat were launched in the UK in 1935 after a worker at the Rowntree chocolate factory suggested they should create a snack which “a man could take to work in his pack”. Their famous strapline, ‘Have a break, have a KitKat‘, was first used in 1958, and is purportedly linked to encouraging factory workers to have a KitKat when they ‘take a break’ at 11am – ‘elevenses’ – which were common in British factories at the time. The benefits of taking a break from tiring and stressful situations has resonated and the phrase has stood the test of time. The strapline has been so successful that it still forms the basis of their advertising campaigns in the 80 countries world wide where it is sold.

‘Bake My Day’
The children are back at school (hurrah!) and there is light at the end of the tunnel. I have to say, that I said a little prayer everyday during lockdown, thankful that my children have finished school and, therefore, are well past needing home schooling. I’m sure the girls have said the same prayer! It must have been an unbelievably difficult few months for many people, so why not ‘bake someone’s day’, give them a break and send them some incredible brownies filled with crunchy KitKat! They really deserve to sit down with a cup of tea, a special treat and relax, knowing their children are happily at school; they’ve done their bit and everybody has survived!
How to make KitKat Brownies
This recipe is adapted from my Daffodil Brownies – Core Recipe. For further brownie ideas and inspiration, see here.
Line the baking tin:
In order to guarantee soft and fudgy brownies, it is important to use the correct size tin – in this case it is a 20cm/8inch square tin. If your tin is larger the depth of your cake batter will be less and the cake will cook more quickly. Equally if the tin is smaller, your cake batter will be deeper and cook more slowly.
- Sit the tin on greaseproof paper making sure the paper is large enough to line the tin, come up the sides and have a little overhang.
- Cut out the corners of the paper so it will fit easily into the tin
- Fold the paper from corner to corner so the size of the centre of the paper matches the base of the tin. Slot inside the tin.
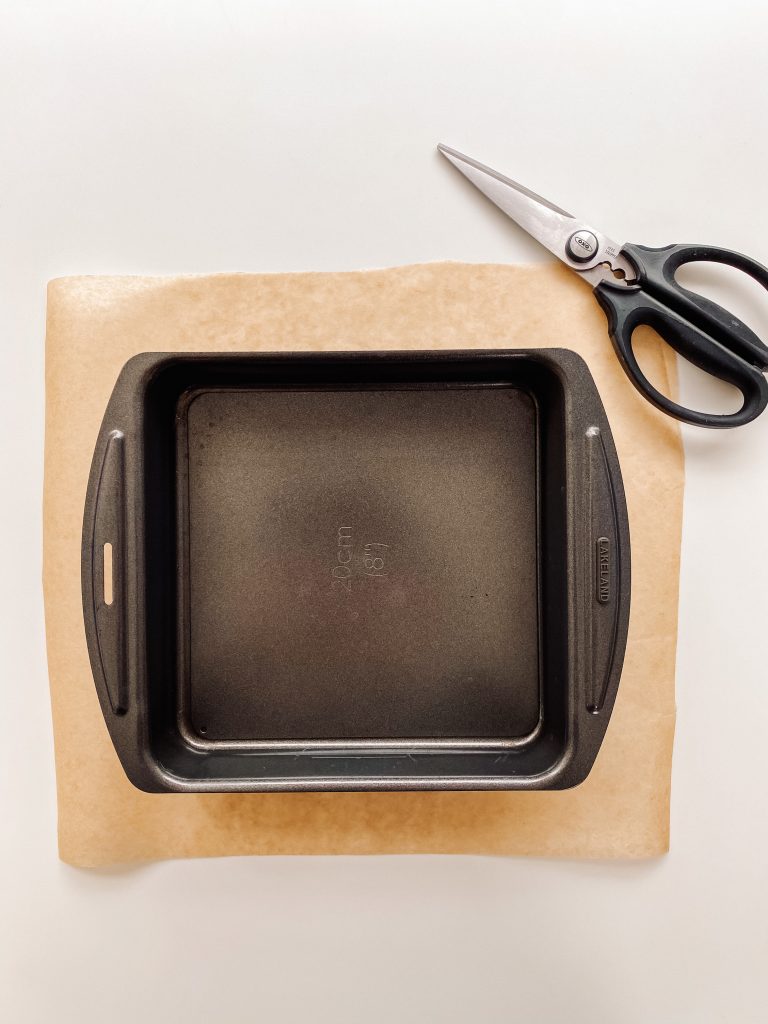
1 Tin and greaseproof paper 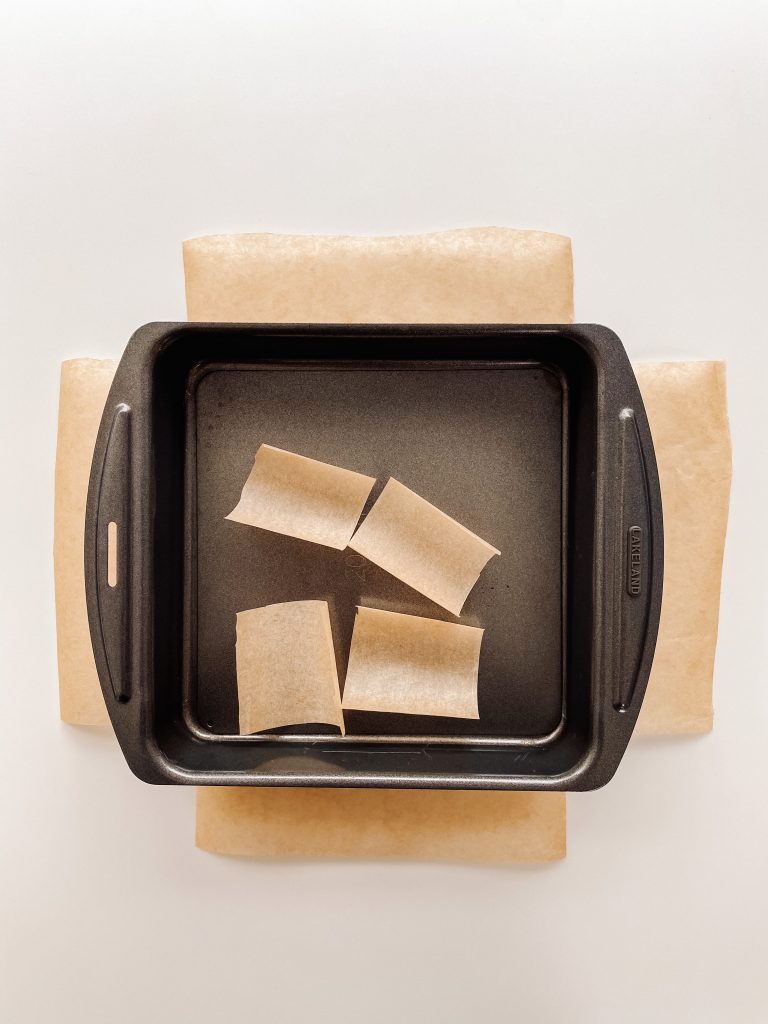
2 Cut out the corners 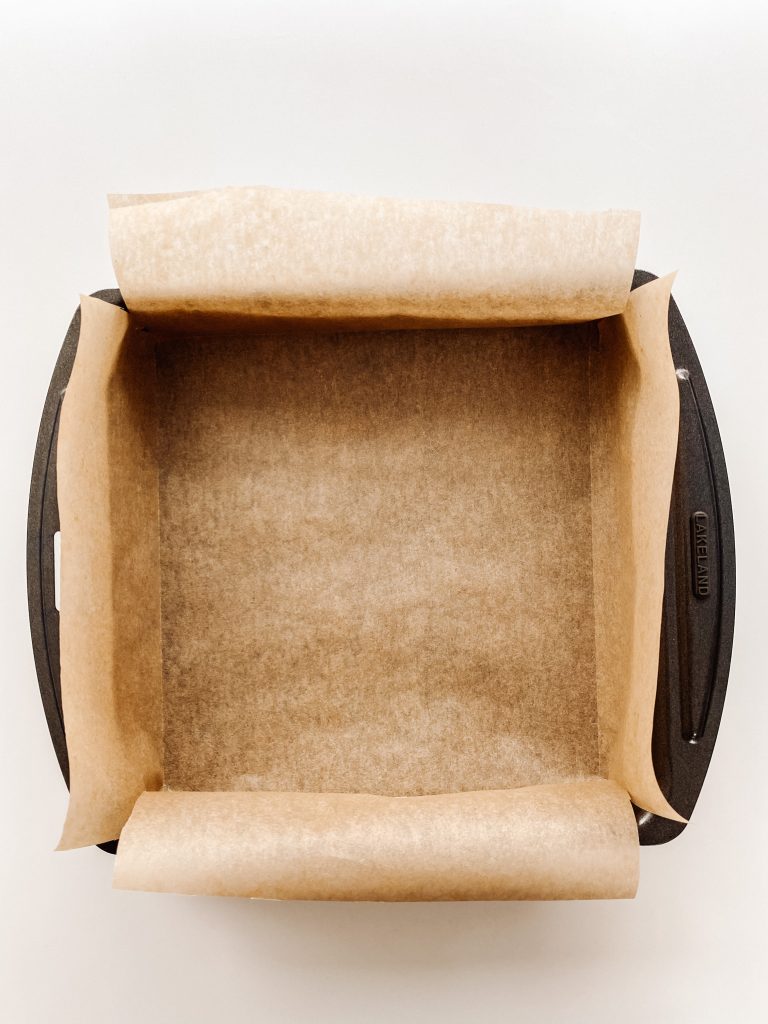
3 Fold, corner to corner, and slot inside the tin
Collect all the ingredients together:
- unsalted butter, in cubes
- dark chocolate, 70% cocoa solids, broken into pieces
- soft brown sugar
- caster sugar
- large eggs
- fine salt
- plain/all-purpose flour, sieved
- cocoa, sieved
- instant coffee powder, sieved
- KitKats
Make those KitKat Brownies:
- Chop the butter into squares and place in a microwave safe bowl with the chopped chocolate. Melt in a microwave or a bain marie or and mix until smooth. (See Recipe Notes for details.)
- Meanwhile put the sugars, eggs and salt in a mixing bowl and whisk with an electric whisk until thick and creamy. This will take around 3 minutes.
- Pour the chocolate and butter into the eggs and sugar, whilst whisking, and mix thoroughly with the electric whisk until smooth and glossy.
- Put a sieve over the bowl and add the flour, cocoa and coffee
- Sift directly over the cake batter.
- Fold until completely mixed in but be careful not to over-mix at this stage.
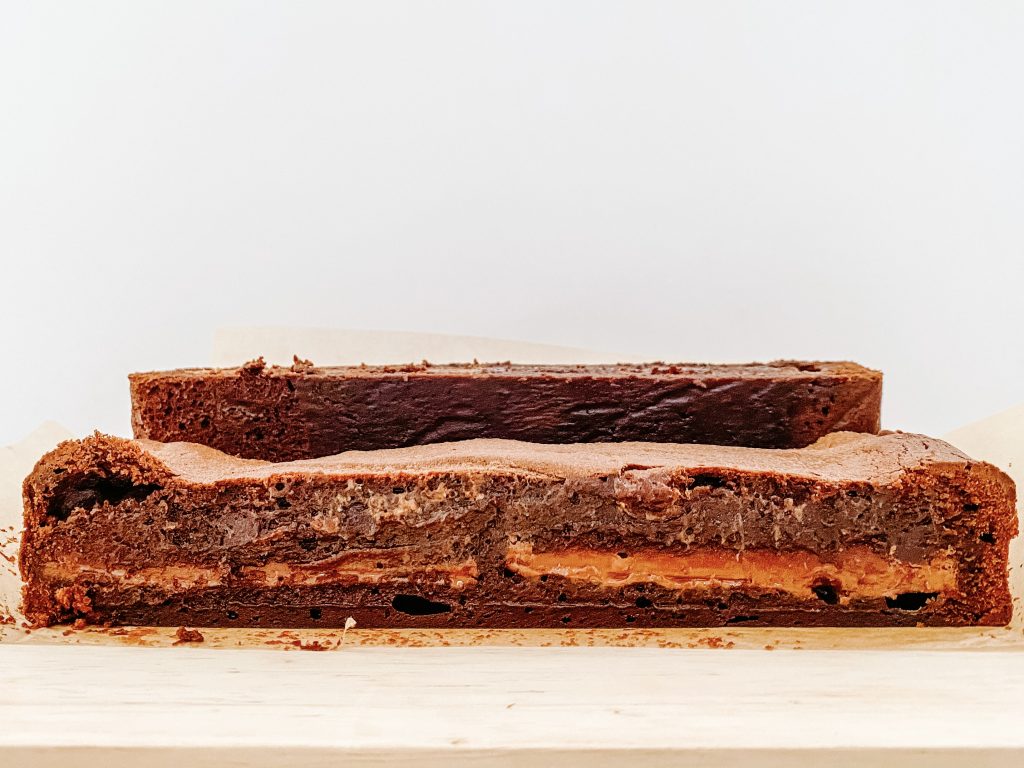
- Transfer half of the mixture to your baking tin and level the surface, making sure the cake batter goes all the way into the corners.
- Top with a layer of KitKats.
- Add the remaining brownie mix, level the surface, making sure the cake batter goes all the way into the corners.
- Cook in the oven for 20 – 25 minutes, depending on how squidgy you like the centre to be. It will carry on cooking when you take it out of the oven so bear this in mind. (I cook mine for 23 minutes in London and 24 minutes in Switzerland.)
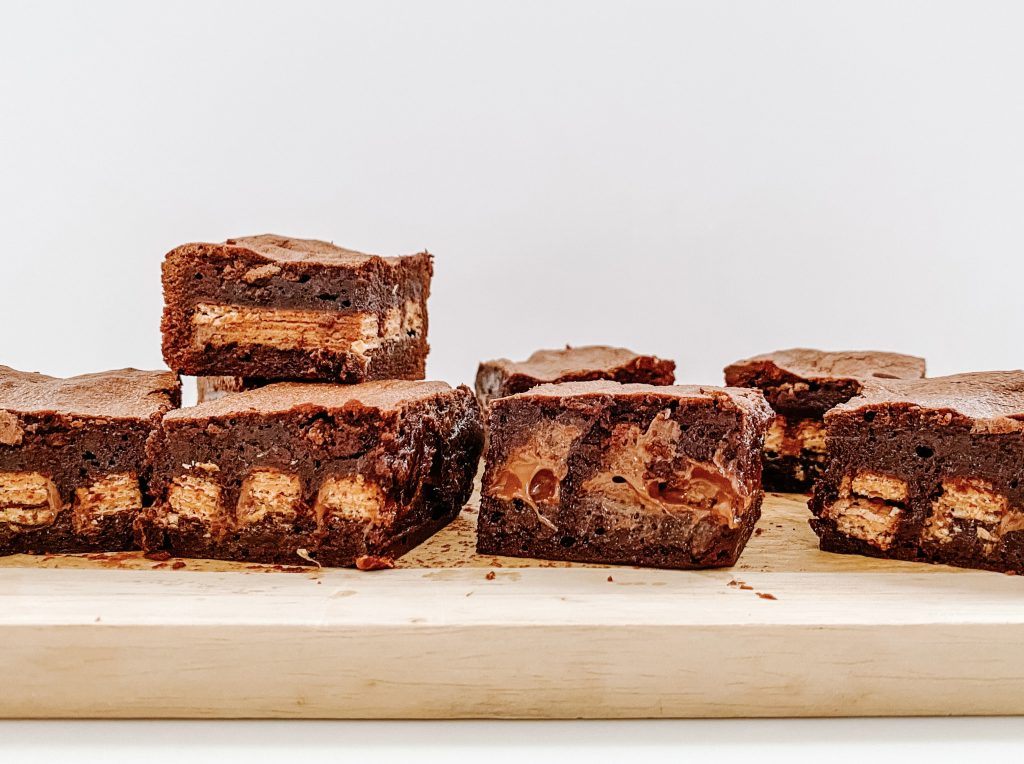
This gives me a slightly crispy top but a gorgeous gooey centre. The cake will be slightly risen and cracked around the edges but the centre will feel quite soft.
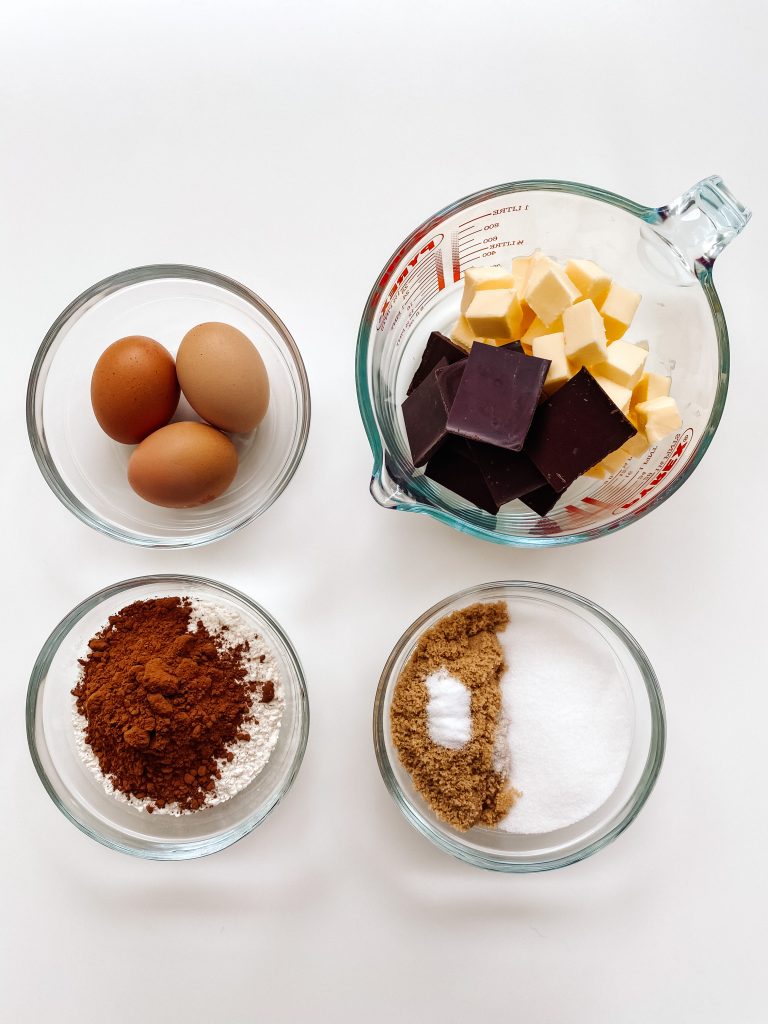
Basic ingredients 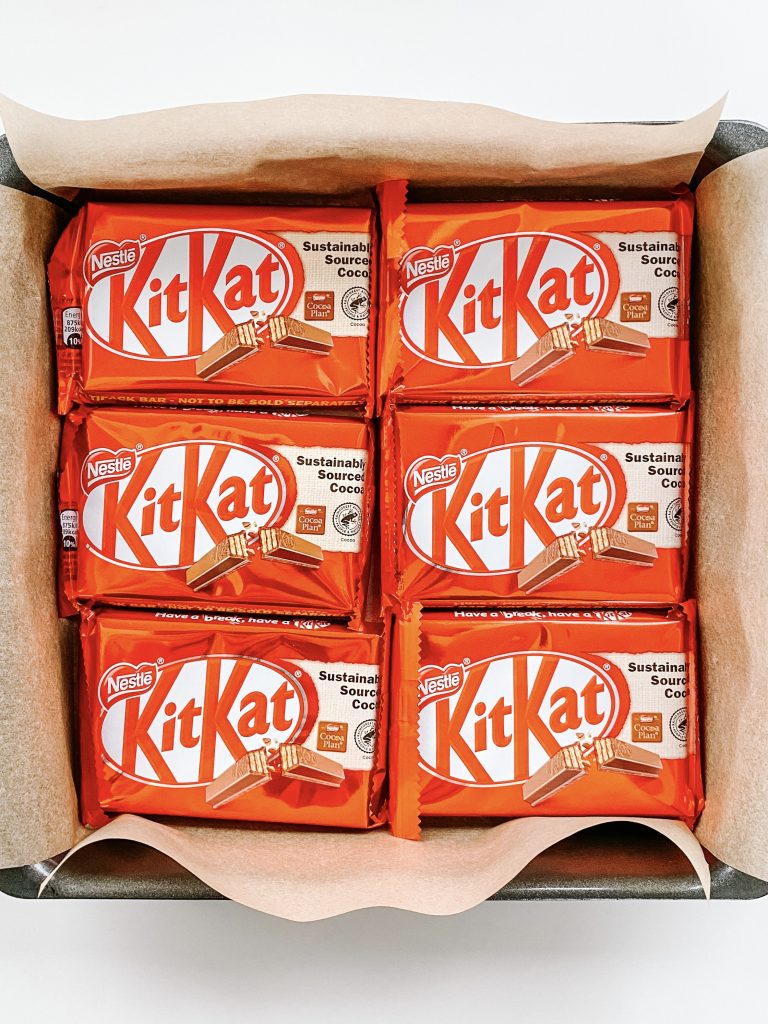
Plus KitKats 
1 Melt the chocolate and butter ….. 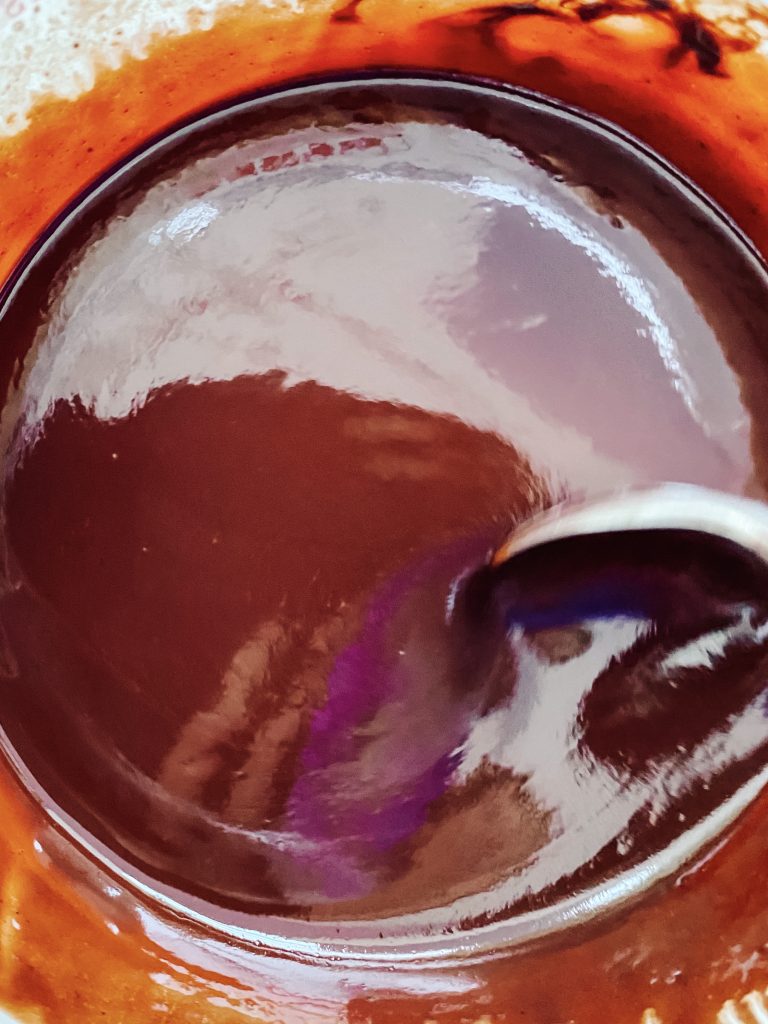
… and mix until smooth 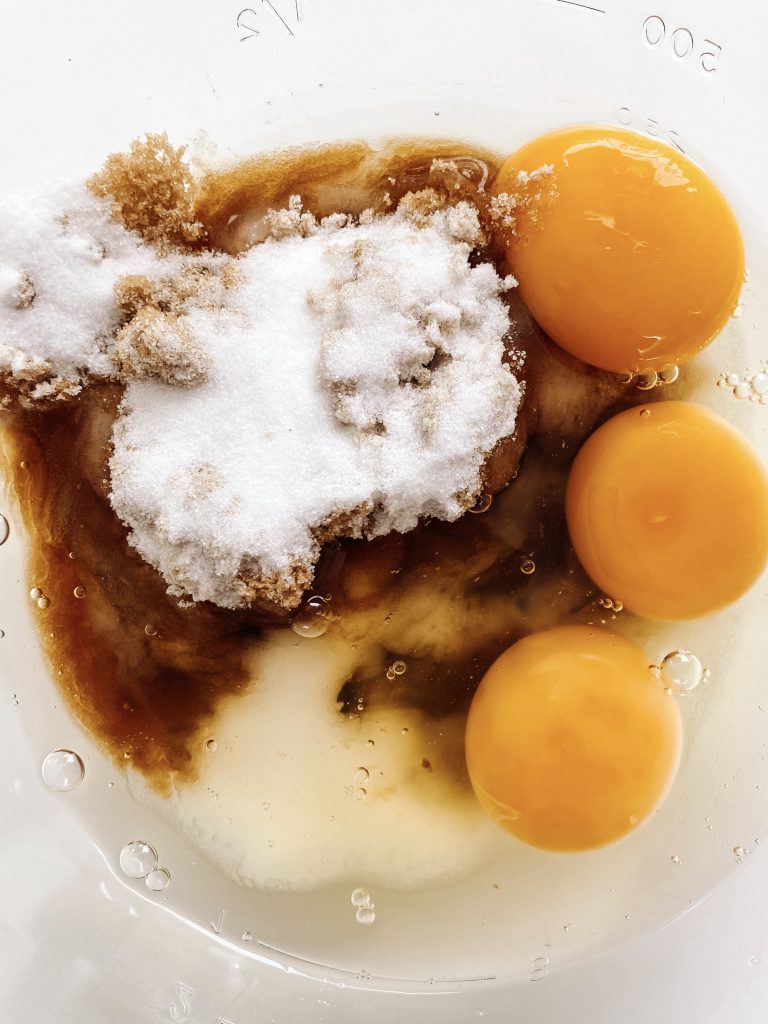
2 Put the sugars, eggs and salt in a mixing bowl …. 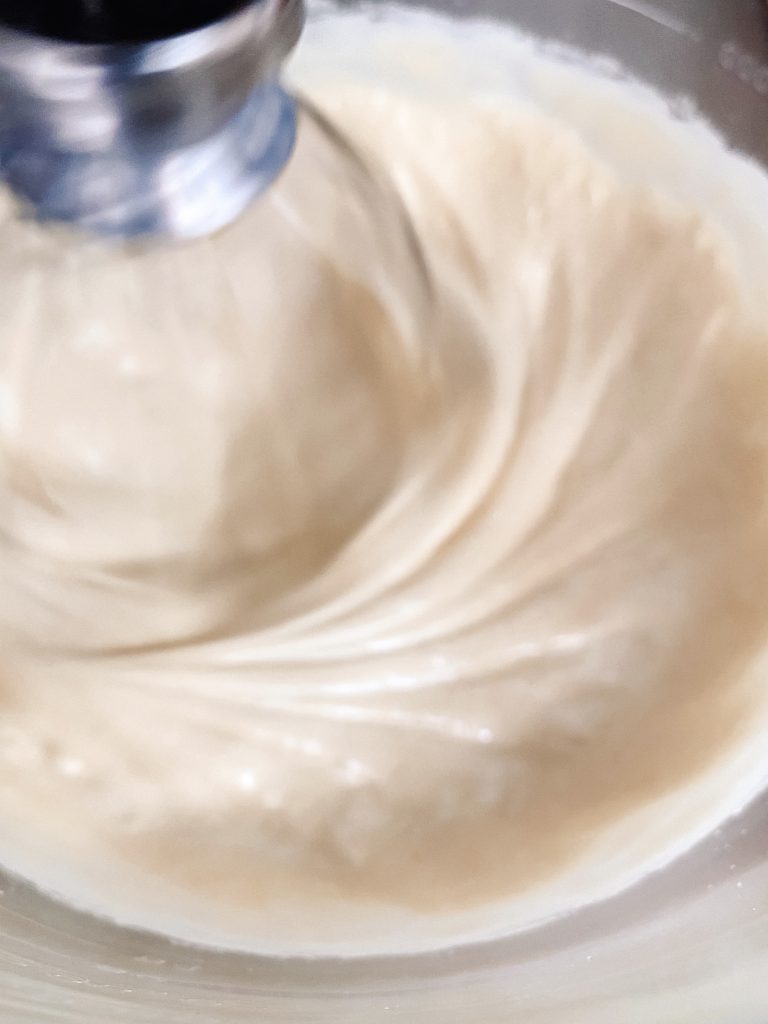
…. and whisk until thick and creamy. 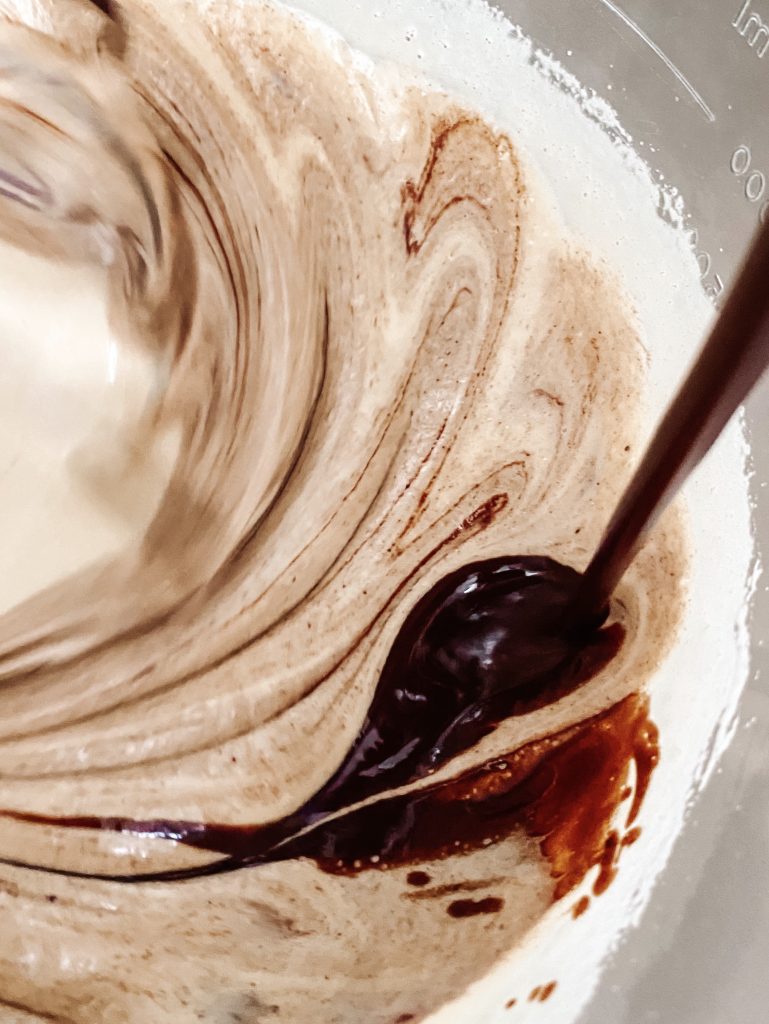
3 Pour chocolate & butter into eggs & sugar. Whisk until smooth & glossy 
4 Put a sieve over the bowl and add the flour, cocoa and coffee 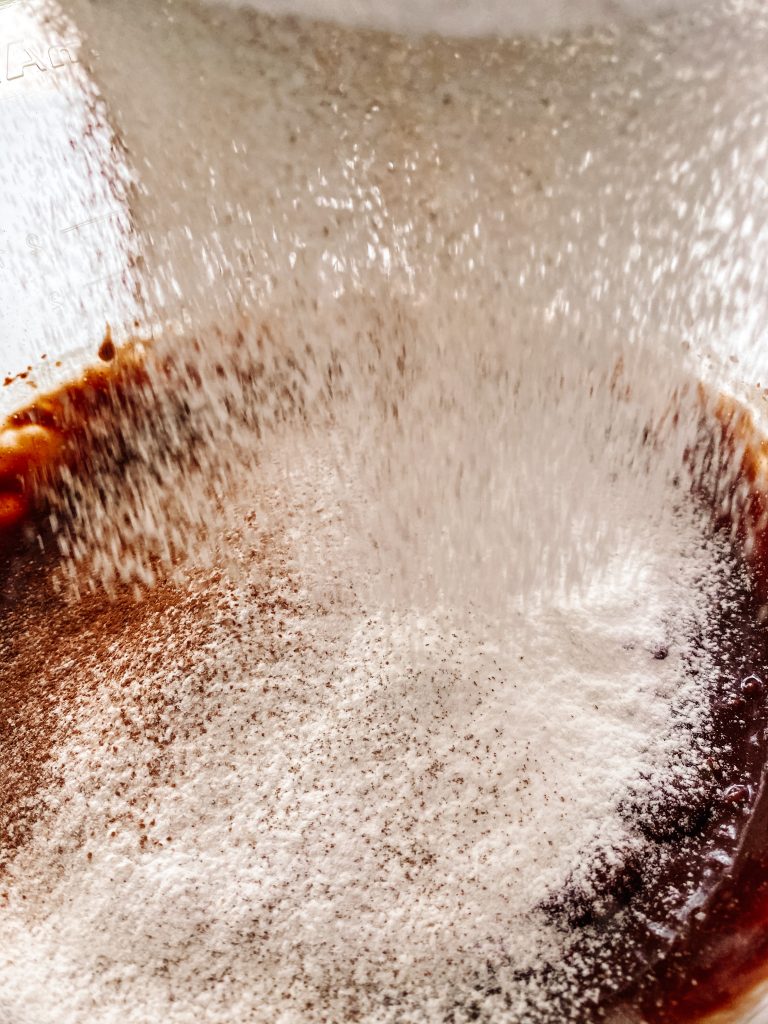
5 Sift directly over the cake batter. 
6 Fold until completely mixed in but be careful .. 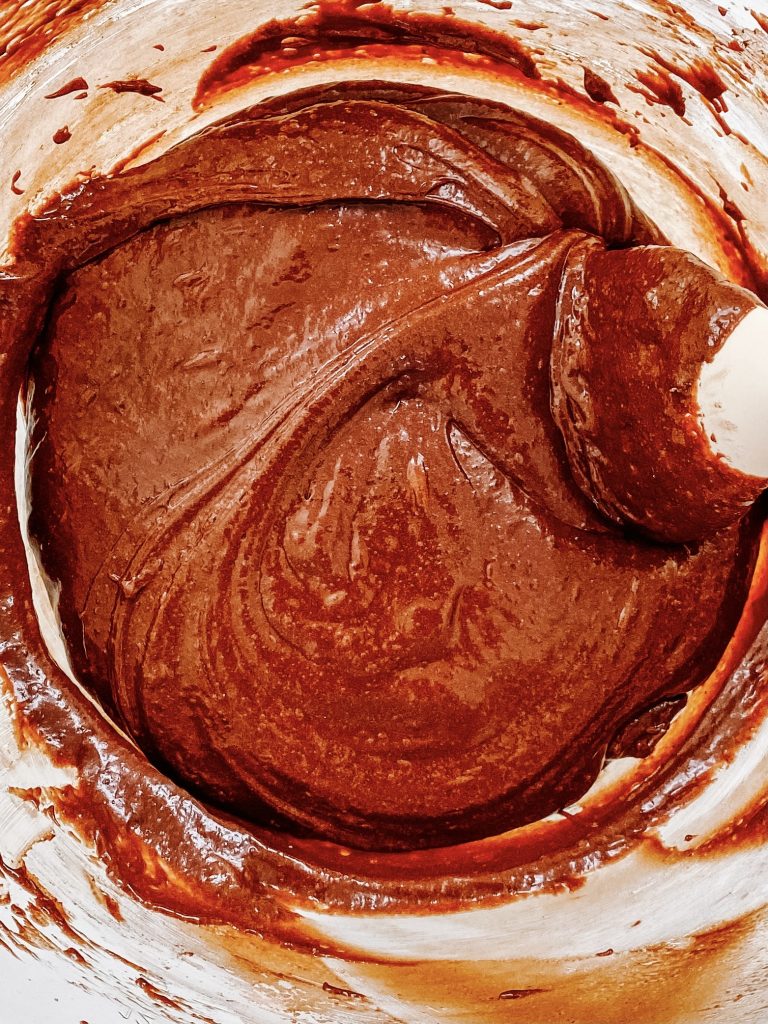
not to over-mix at this stage. 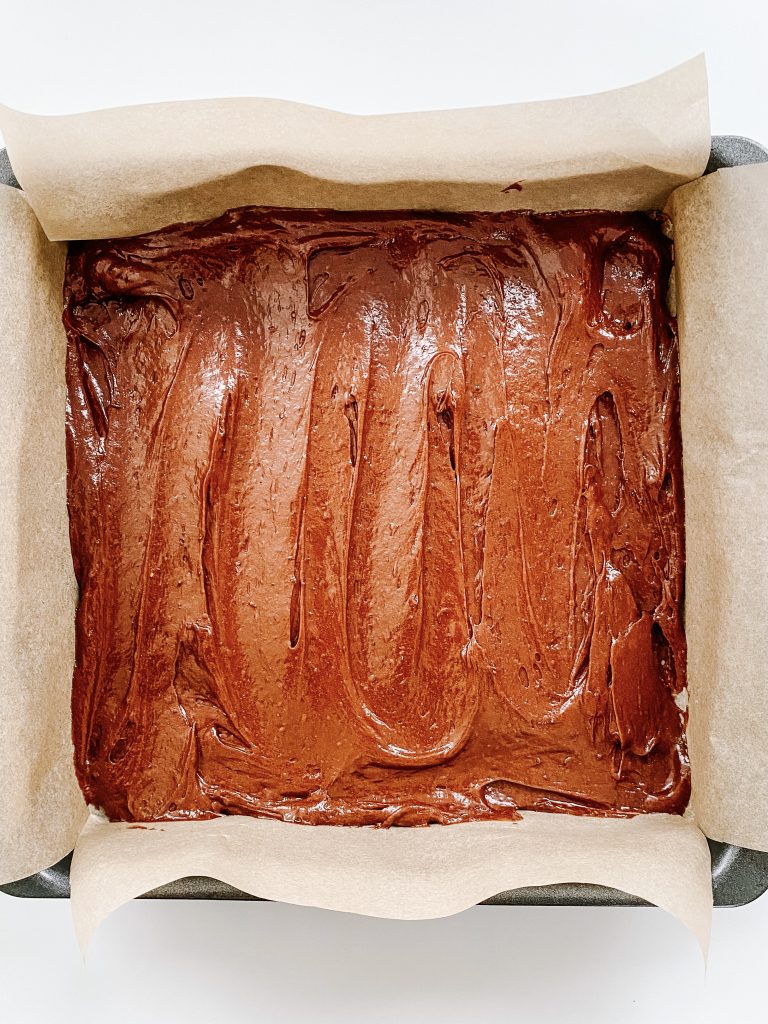
7 Transfer half the mixture to baking tin 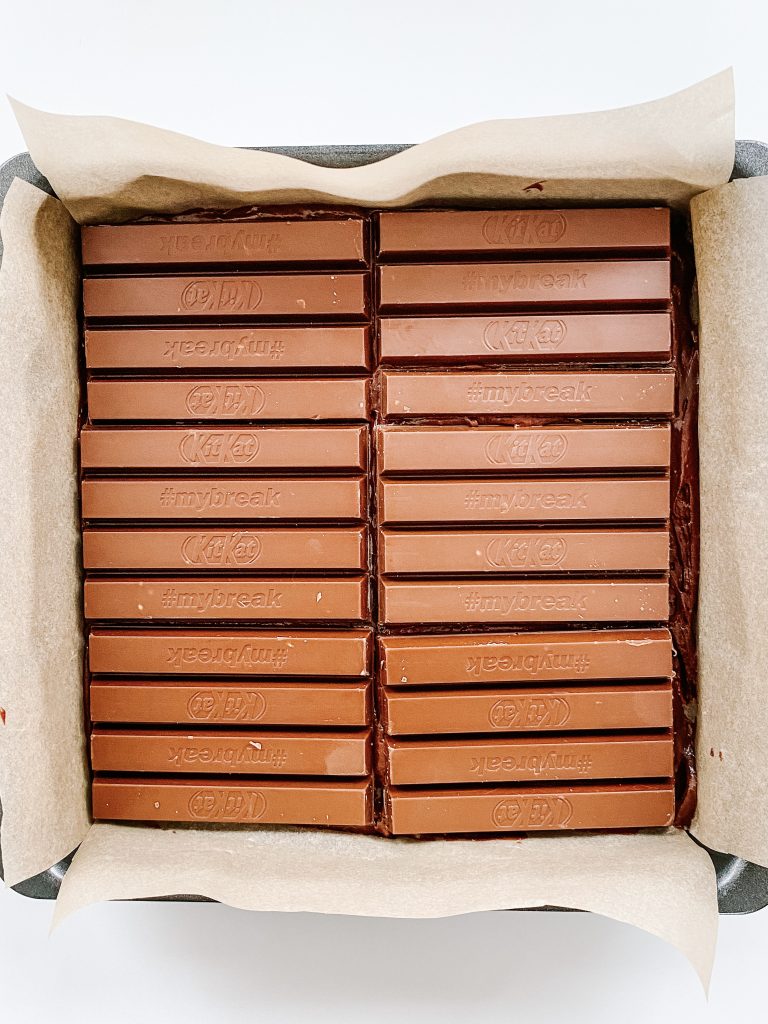
8 Add layer of KitKats 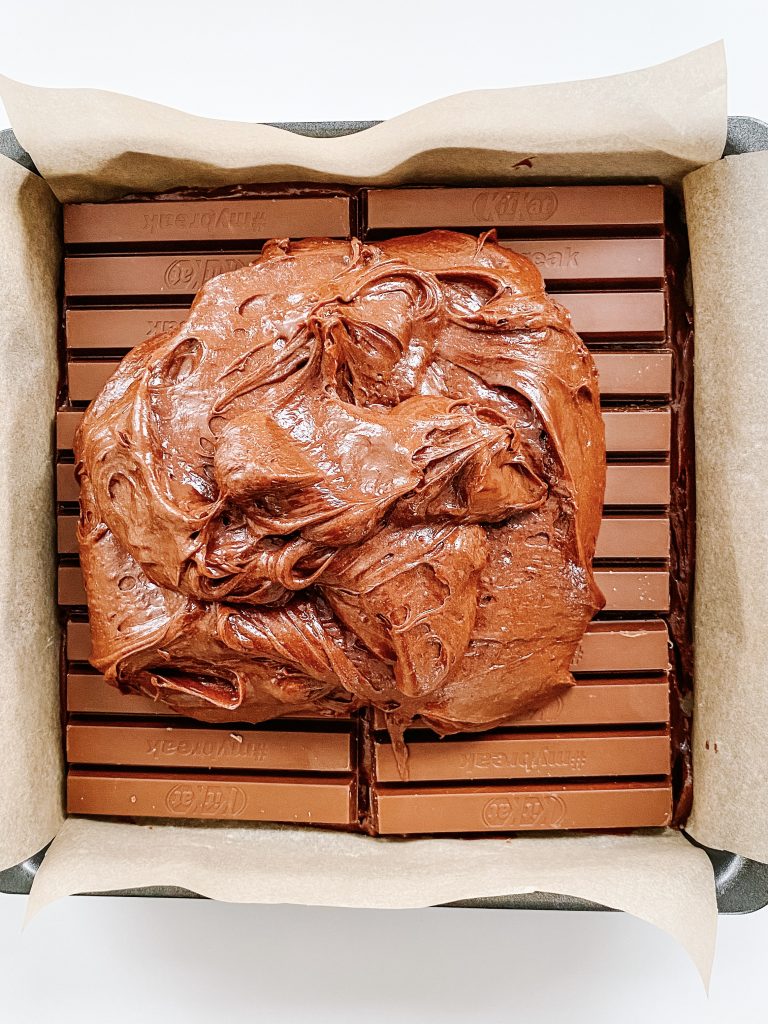
9 Add remaining brownie mix and … 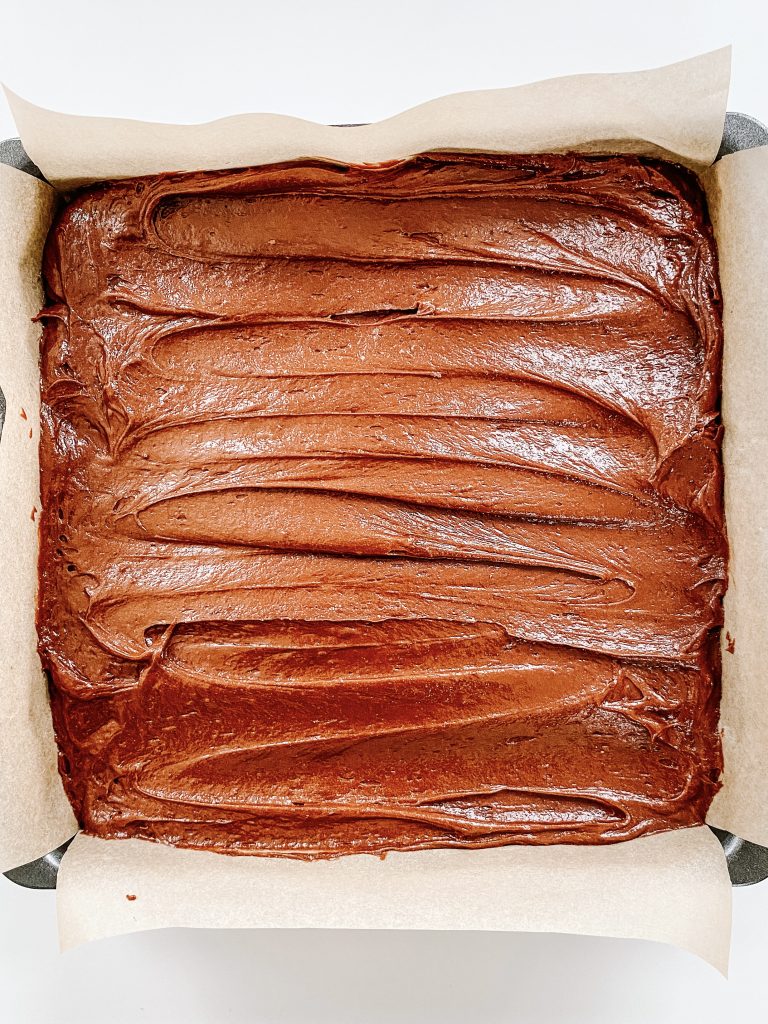
… level the surface. 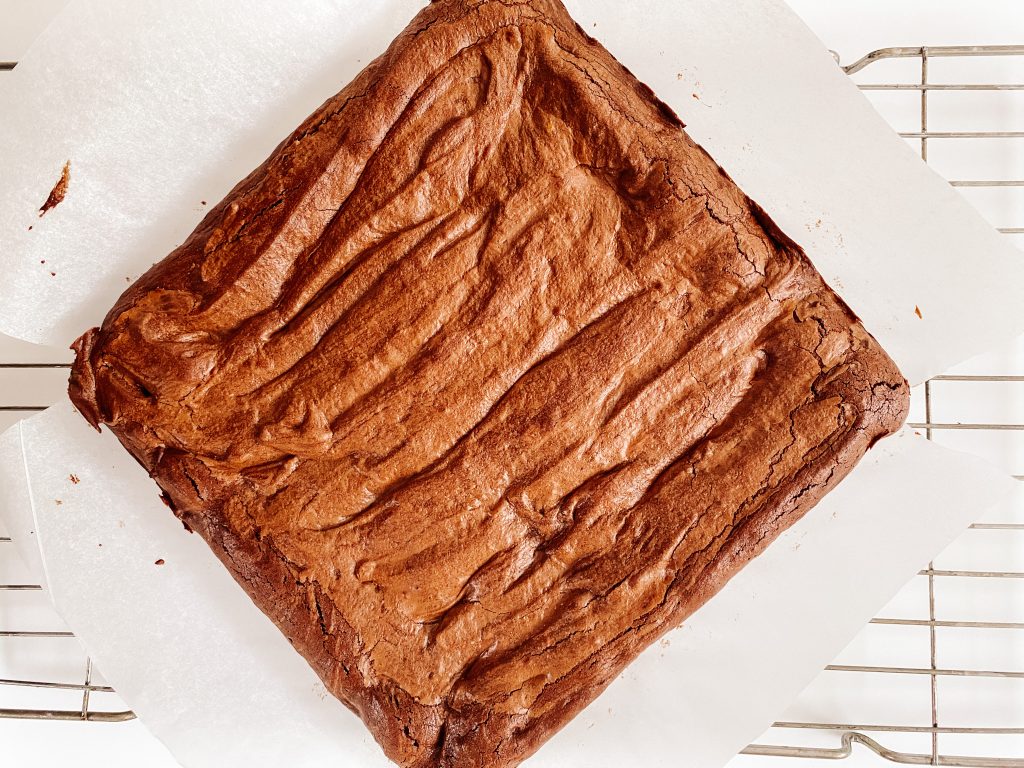
10 Cook
Made this recipe?
If you make this recipe, do please tag me on instagram @daffodil_kitchen. You could also leave a comment in the box directly below the recipe.
KitKat Brownies
Soft and gooey on the inside, slightly crispy on the outside, these intense chocolate brownies are loaded with the infamous crispy, chocolate wafer biscuit, known world-wide as KitKat. Makes 9, 12 or 16
Ingredients
- 200g unsalted butter, in cubes
- 200g dark chocolate, 74% cocoa solids, broken into pieces
- 150g soft brown sugar
- 50g caster sugar
- 3 large eggs
- ¼ teaspoon fine salt
- 100g plain/all-purpose flour, sieved
- 25g cocoa, sieved
- ½ teaspoon instant coffee powder, sieved
- 6 x 4 finger KitKats
Instructions
-
Collect together your equipment (see Recipe Notes below) and ingredients.
-
Preheat oven to fan oven 170°C /190°C/375°F/Gas 5
-
Chop the butter into squares and place in a microwave safe bowl with the chopped chocolate. Melt in a microwave or a bain marie and mix until smooth. (See Recipe Notes for details.)
-
Meanwhile put the sugar, eggs and salt in a mixing bowl and whisk with an electric whisk until thick and creamy. This will take around 3 minutes.
-
Pour the chocolate and butter into the eggs and sugar, whilst whisking, and mix thoroughly with the electric whisk until smooth and glossy.
-
Finally add the flour, sifted cocoa, coffee and chocolate pieces and fold into the chocolate mix. Do not over mix at this stage.
-
Transfer half of the mixture to your baking tin and level the surface, making sure the cake batter goes all the way into the corners.
-
Top with a layer of KitKats.
-
Add the remaining brownie mix, level the surface, making sure the cake batter goes all the way into the corners.
-
Cook in the oven for 20 – 25 minutes, depending on how squidgy you like the centre to be. It will carry on cooking when you take it out of the oven so bear this in mind. (I cook mine for 23 minutes in London and 24 minutes in Switzerland.)
-
Leave to cool in the tin for 30 minutes and then, using the overhanging parchment, transfer the brownies to a cooling rack – do not remove the parchment, they will be too fragile
-
Leave to cool completely before cutting into squares
-
N.B. To speed up the cooling process and/or create particularly neat edges when cutting, transfer to a fridge to cool and slice when very cool. However, they are best served at room temperature.
Recipe Notes
Equipment
- Large microwave safe jug or heatproof bowl
- Electric whisk and mixing bowl
- Kitchen scales and measuring spoons
- Sieve
- Chopping board and knife
- 20cm/8inch square baking tin lined with baking parchment
Be very careful melting the chocolate. Chocolate can be very difficult to work with. You can overheat it very easily and the mixture will go grainy. When this happens, there is no way to resolve it I’m afraid!
Microwave: I give the chocolate and butter a minute in the microwave, take it out and stir it well, then let it sit for a few minutes to see if it continues melting sufficiently to melt all the chocolate. If not, I then continue with the microwave but in 10 – 15 second bursts.
Bain Marie: if you do not have a microwave, put the chocolate and butter in a heatproof bowl over a saucepan of gently simmering water. Do not let the base of the bowl touch the water. Heat until the chocolate and butter are very nearly melted then take it off the heat and take the bowl off the saucepan. Be very careful not to burn yourself as the bowl will be hot and steam will escape from the saucepan. Allow the mixture to sit for a few minutes for the residual heat to melt the remainder of the mixture. Again, be careful not to over-heat.


Crab and Sweetcorn Chowder

You May Also Like
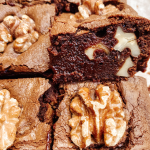
Chicken Risotto with Crispy Sage and Prosciutto
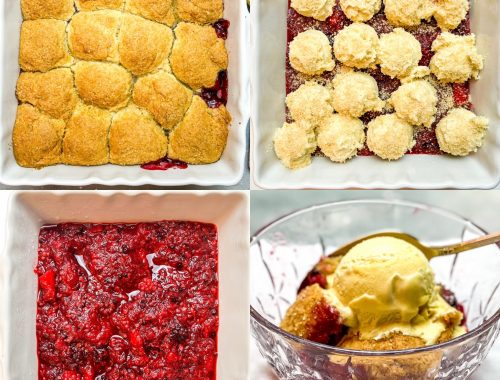
Cobbler – Core Recipe