
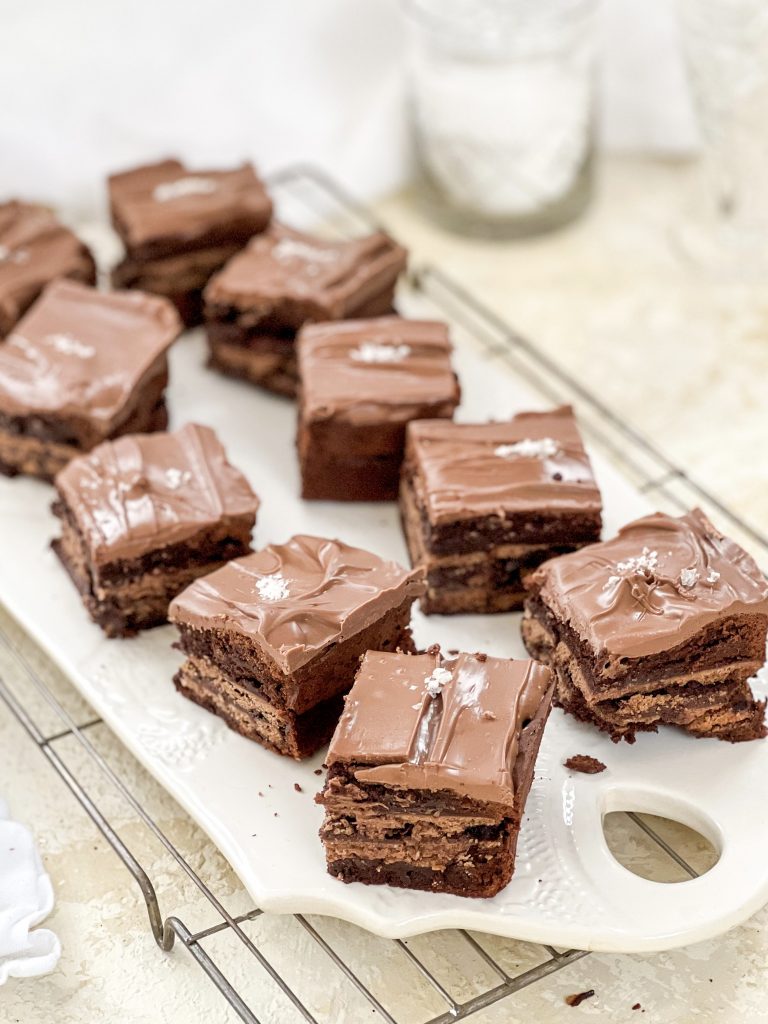
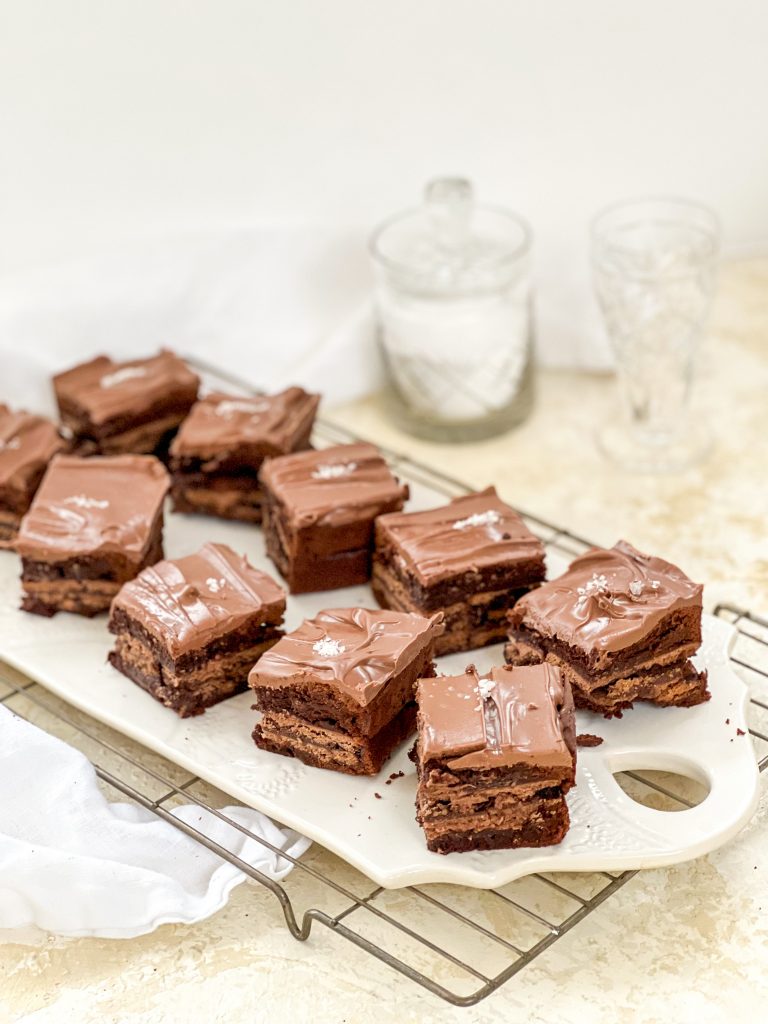
Tim Tam Brownies with Vegemite
Recognising Australia Day today with these Tim Tam Brownies with Vegemite – celebrating two of Australia’s most infamous foods in one delectable creation!
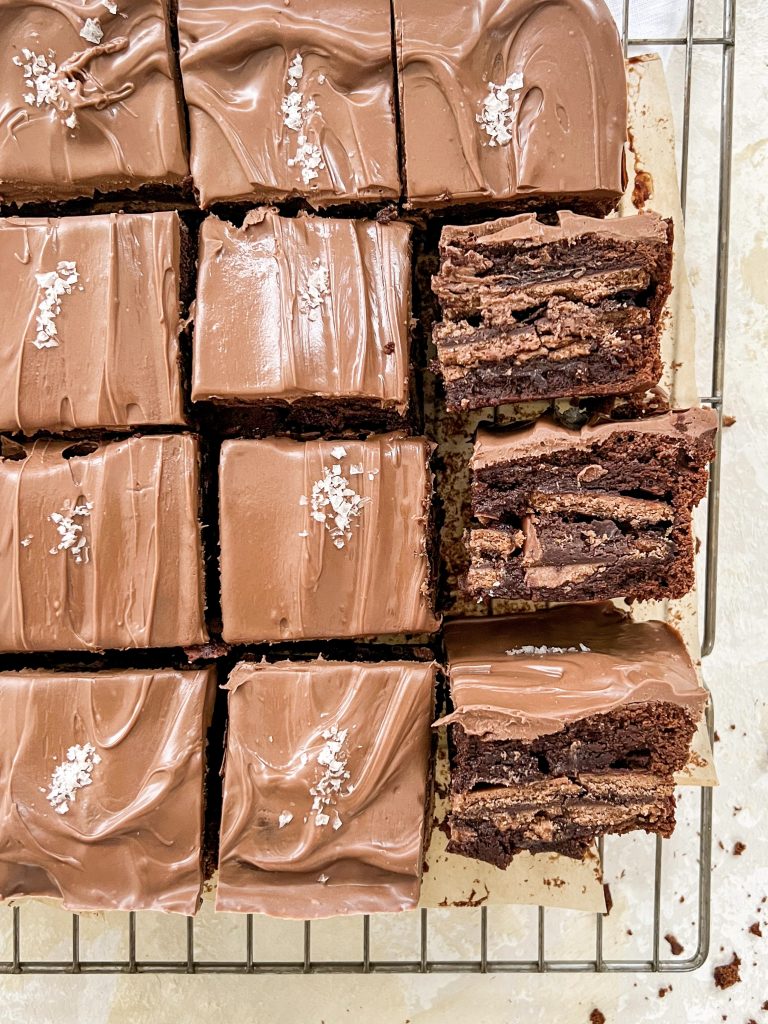
Tim Tams lie in the centre of these soft and gooey chocolatey brownies, adding a contrasting and fabulous change of texture with their wonderful crunch. You can’t actually taste the Vegemite but, a little like adding miso to a sweet dish, it adds an earthy, salty unami and deepens the flavours already there. They are then topped with a thick layer of the chocolate of your choice, I used milk chocolate, and then sprinkled on some glorious, pink Murray River salt flakes.
The eagle eyed Aussies amongst you may notice that the biscuits in these brownies are not actually Tim Tams – sadly I couldn’t find any over here so I used Penguin biscuits instead, which actually make a very similar and fine replacement. If you can’t quite get your head around using Vegemite, (or Marmite!) simply add ¼ teaspoon fine salt instead!

Australia Day
Australia Day celebrates everything to love about Australia from cultural diversity, freedom, democracy, and the incredible landscape to the Aussie sense of fair go. It is celebrated on the anniversary of the 1788 arrival of the First Fleet which led to Captain Arthur Philip proclaiming British sovereignty. Despite enthusiastic annual celebration, a move to change the date has garnered strong support, preferring a day which did not also represent the cultural oppression of indigenous Australians and the loss of their sovereign rights to land.
How to make Tim Tam Brownies with Vegemite
This recipe is adapted from my Daffodil Brownies – Core Recipe. For further brownie ideas and inspiration, see here.
Line the baking tin:
In order to guarantee soft and fudgy brownies, it is important to use the correct size tin – in this case it is a 20cm/8inch square tin. If your tin is larger the depth of your cake batter will be less and the cake will cook more quickly. Equally if the tin is smaller, your cake batter will be deeper and cook more slowly.
- Sit the tin on greaseproof paper making sure the paper is large enough to line the tin, come up the sides and have a little overhang.
- Cut out the corners of the paper so it will fit easily into the tin
- Fold the paper from corner to corner so the size of the centre of the paper matches the base of the tin. Slot inside the tin.
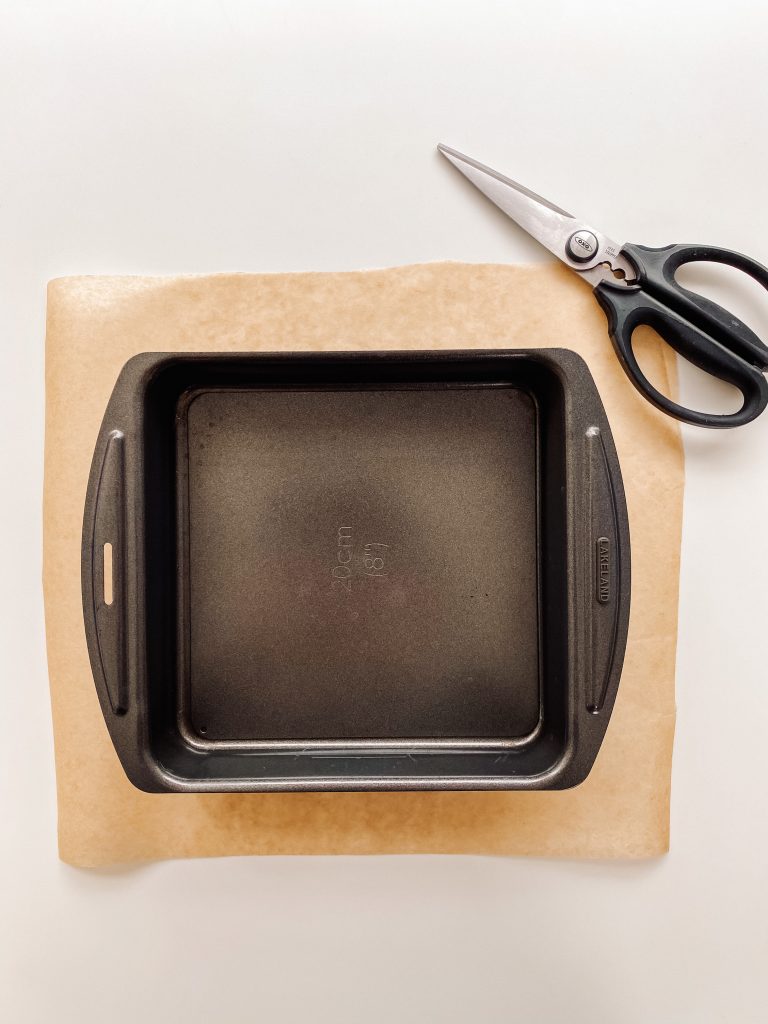
1 Tin and greaseproof paper 
2 Cut out the corners 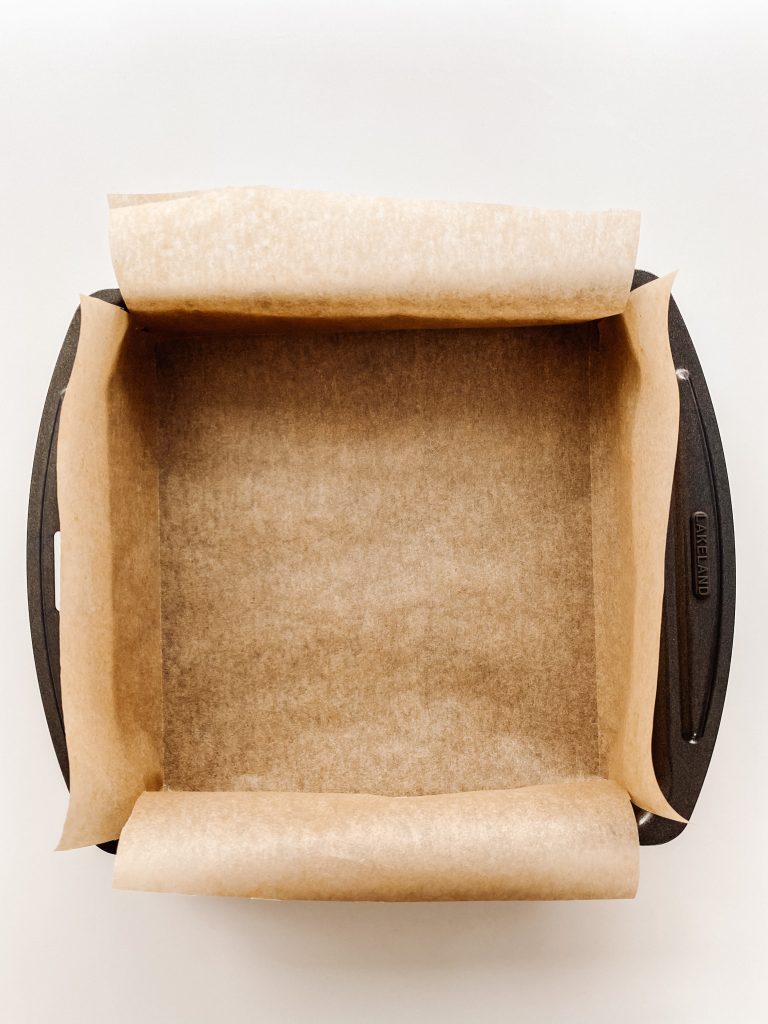
3 Fold, corner to corner, and slot inside the tin
Collect all the ingredients together:
- unsalted butter, in cubes
- dark chocolate, 70% cocoa solids, broken into pieces
- soft brown sugar
- caster sugar
- large eggs
- Vegemite
- fine salt
- plain/all-purpose flour, sieved
- cocoa, sieved
- instant coffee powder, sieved
- Tim Tams or Penguin biscuits
Make those Tim Tam Brownies with Vegemite:
- Chop the butter into squares and place in a microwave safe bowl with the chopped chocolate. Melt in a microwave or a bain marie or and mix until smooth. (See Recipe Notes for details.)
- Meanwhile put the sugars, eggs and Vegemite in a mixing bowl and whisk with an electric whisk until thick and creamy. This will take around 3 minutes.
- Pour the chocolate and butter into the eggs and sugar, whilst whisking, and mix thoroughly with the electric whisk until smooth and glossy.
- Put a sieve over the bowl and add the flour, cocoa and coffee. Sift directly over the cake batter.
- Fold until completely mixed in but be careful not to over-mix at this stage.
- Transfer half of the mixture to your baking tin and level the surface, making sure the cake batter goes all the way into the corners.
- Top with a layer of Tim Tams/Penguin Biscuits
- Add the remaining brownie mix, level the surface, making sure the cake batter goes all the way into the corners.
- Cook in the oven for 20 – 25 minutes, depending on how squidgy you like the centre to be. It will carry on cooking when you take it out of the oven so bear this in mind. (I cook mine for 23 minutes in London and 24 minutes in Switzerland.)
This gives me a slightly crispy top but a gorgeous gooey centre. The cake will be slightly risen and cracked around the edges but the centre will feel quite soft.
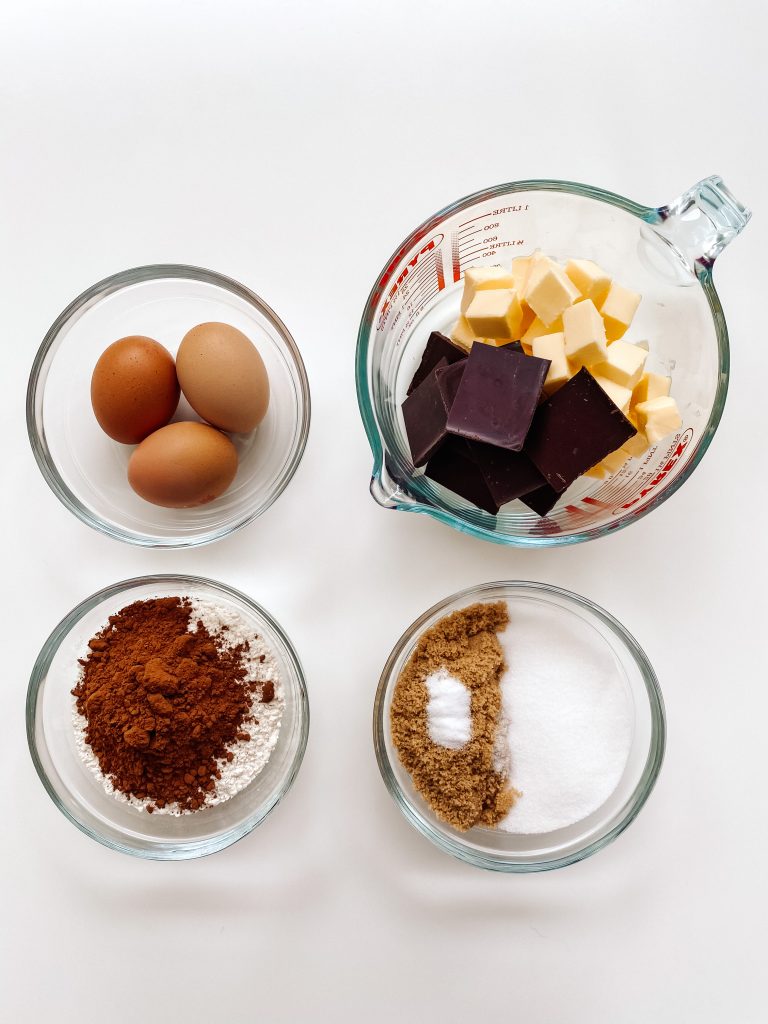
Core ingredients 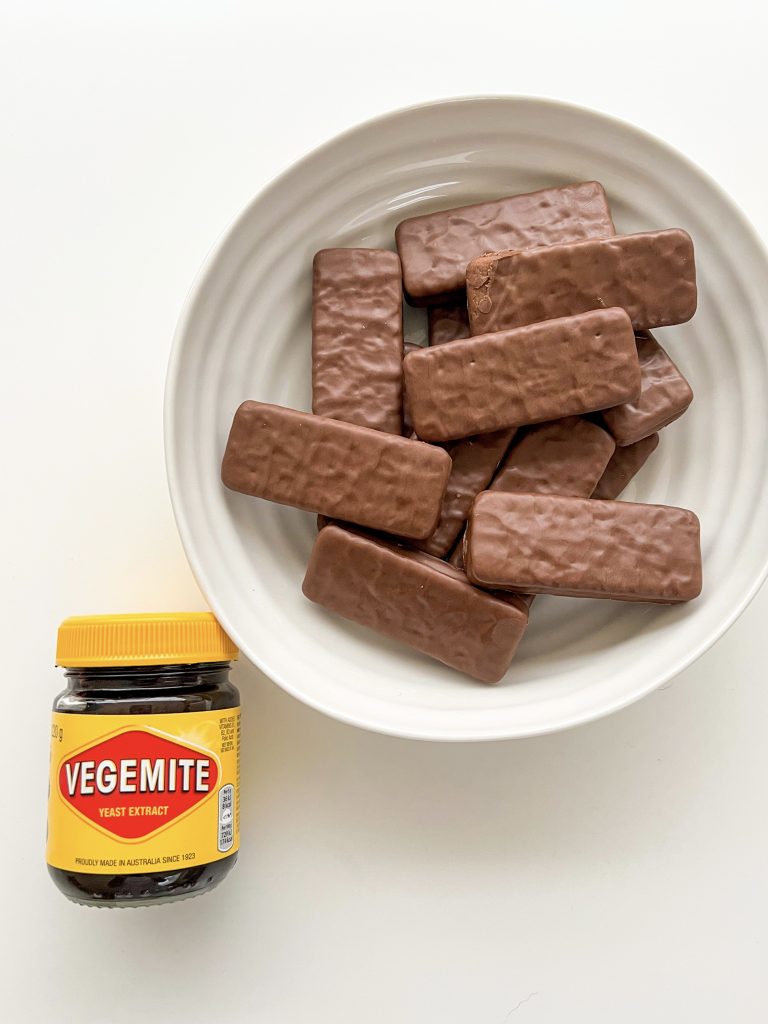
Additional ingredients 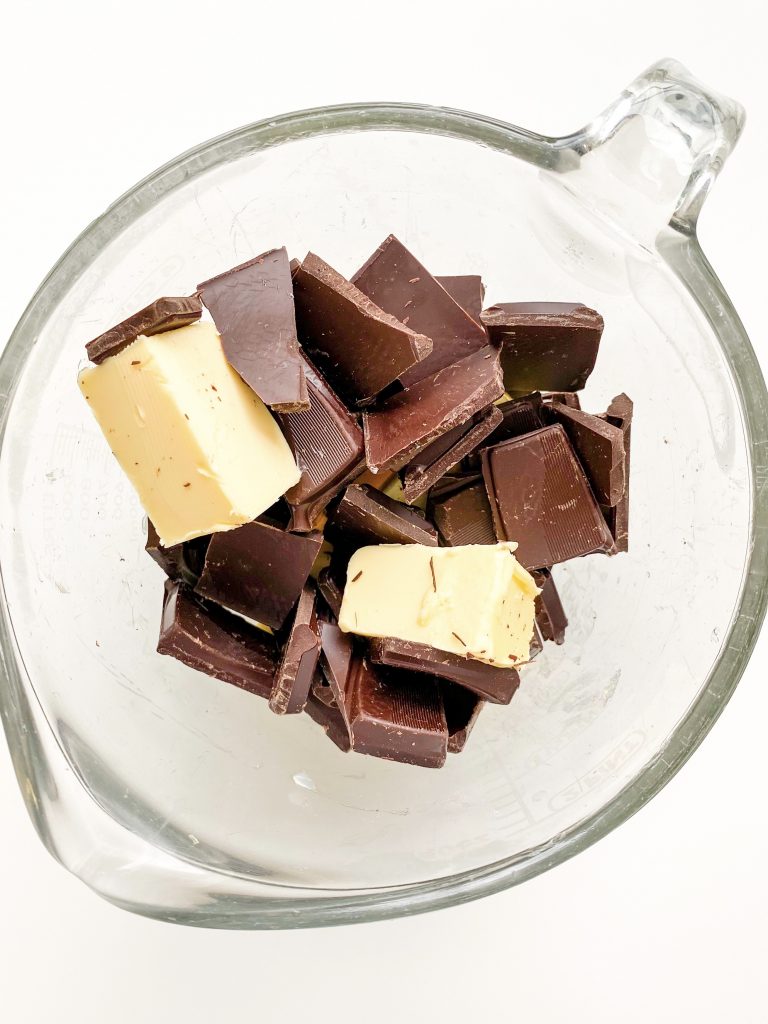
1 Melt chocolate and butter ….. 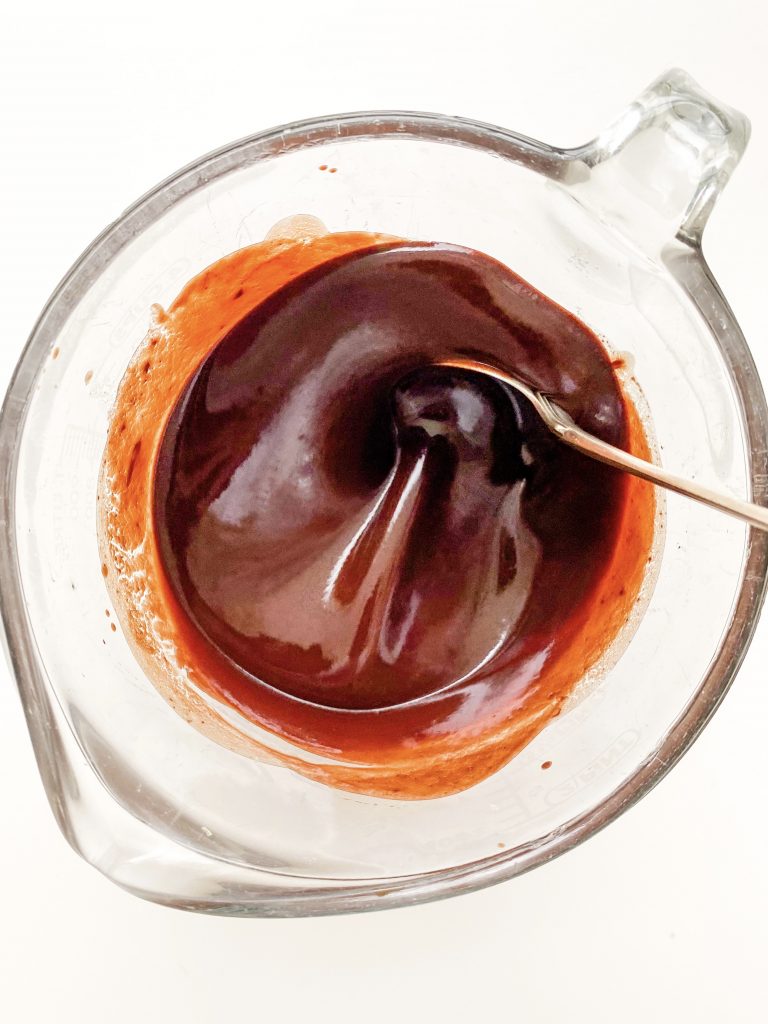
… and mix until smooth 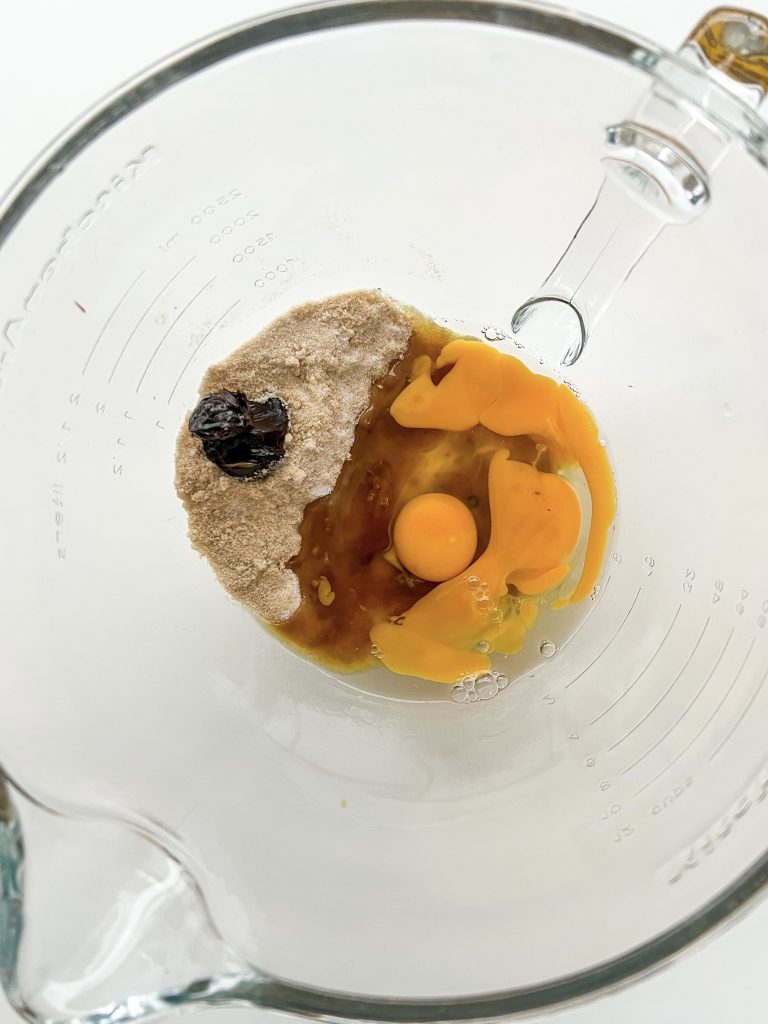
2 Put sugars, eggs and Vegemite in mixing bowl 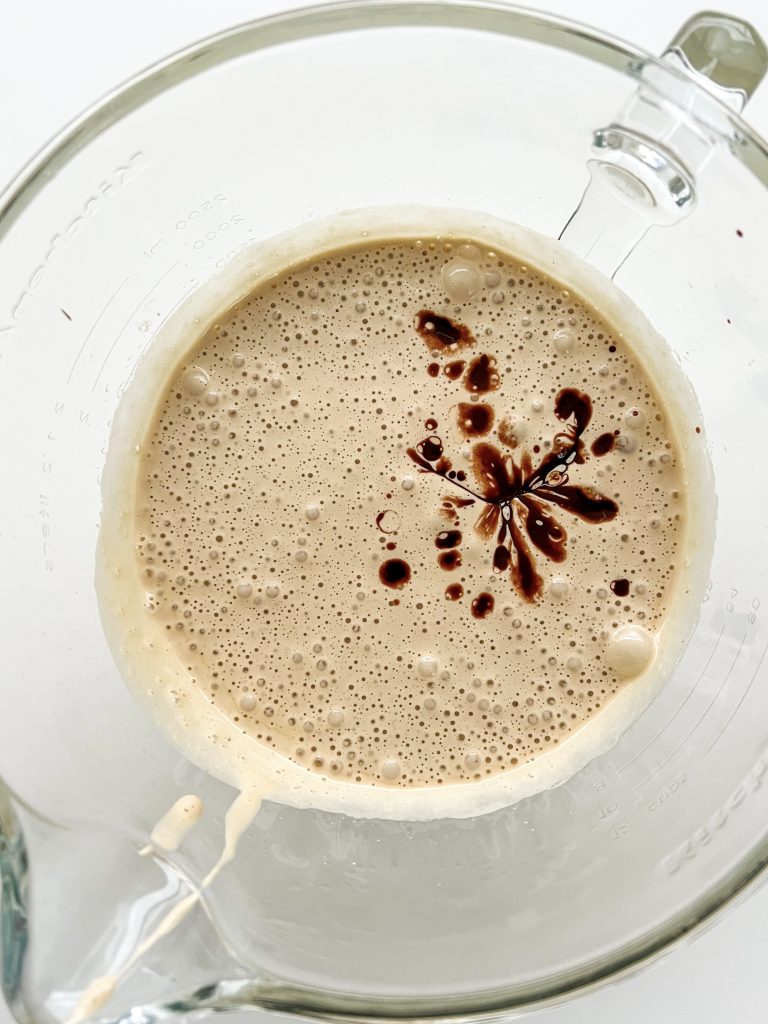
3 Whisk until thick, add melted chocolate 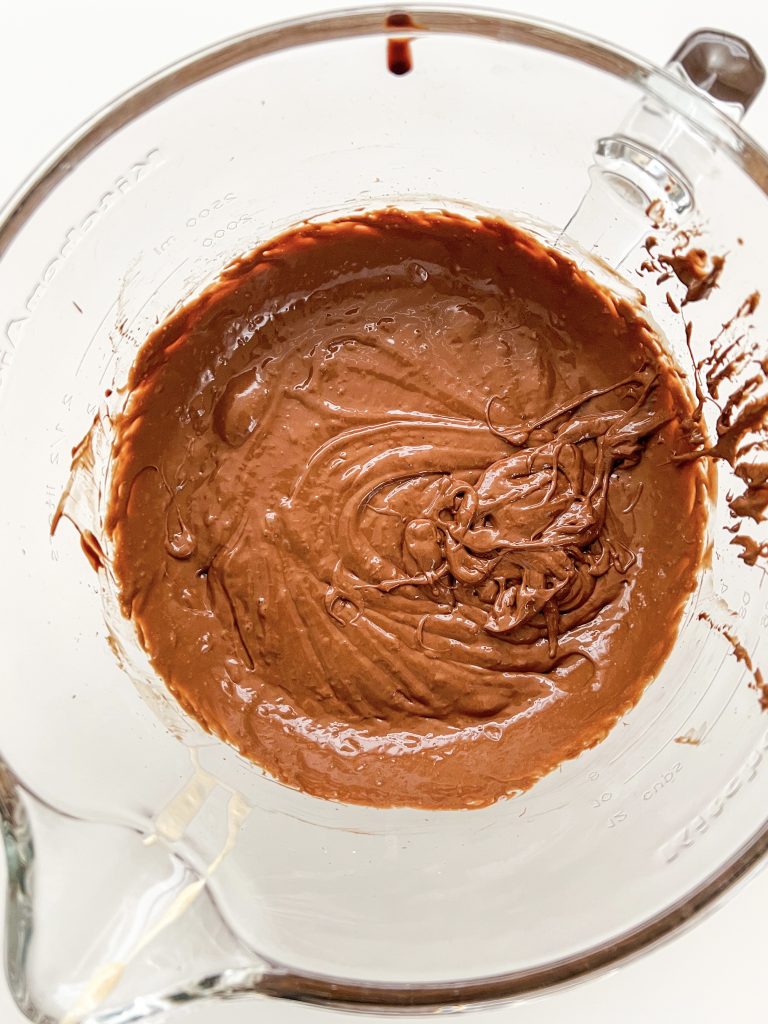
Whisk until smooth & glossy 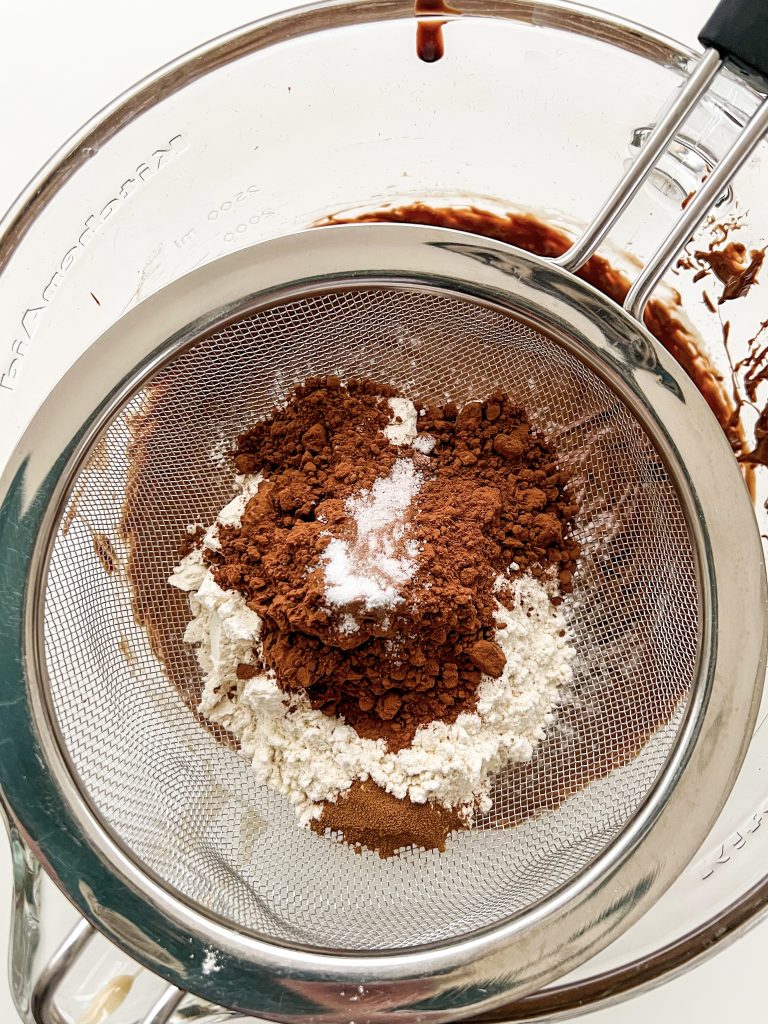
4 Sift dry ingredients directly over cake batter. 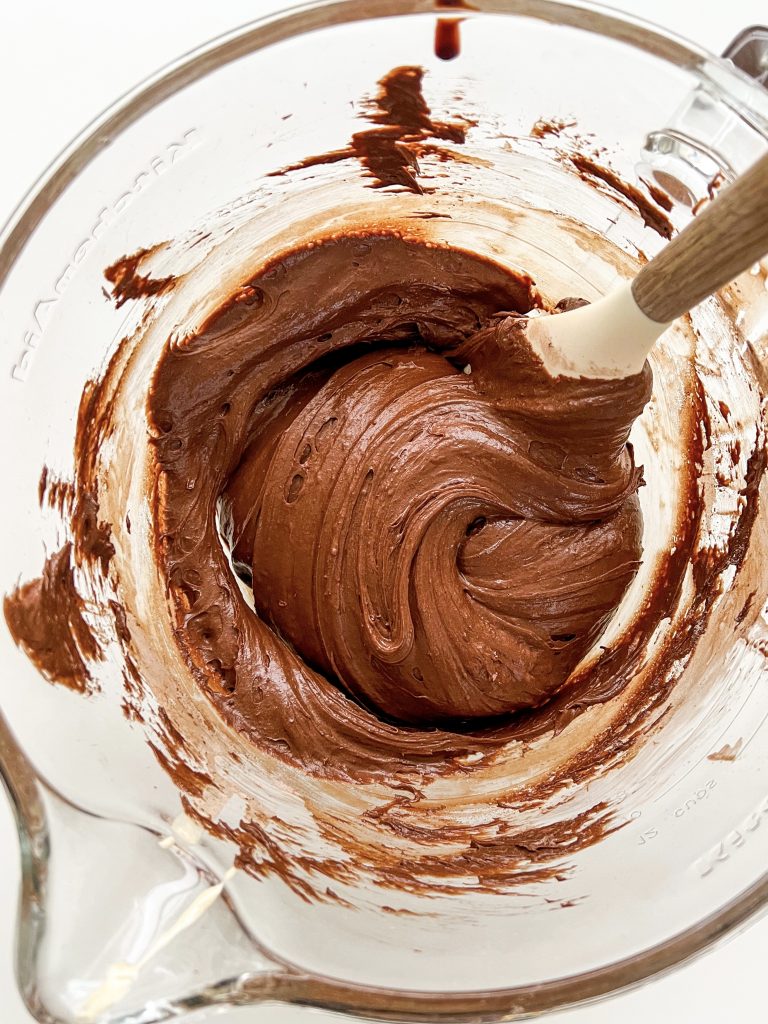
5 Fold in 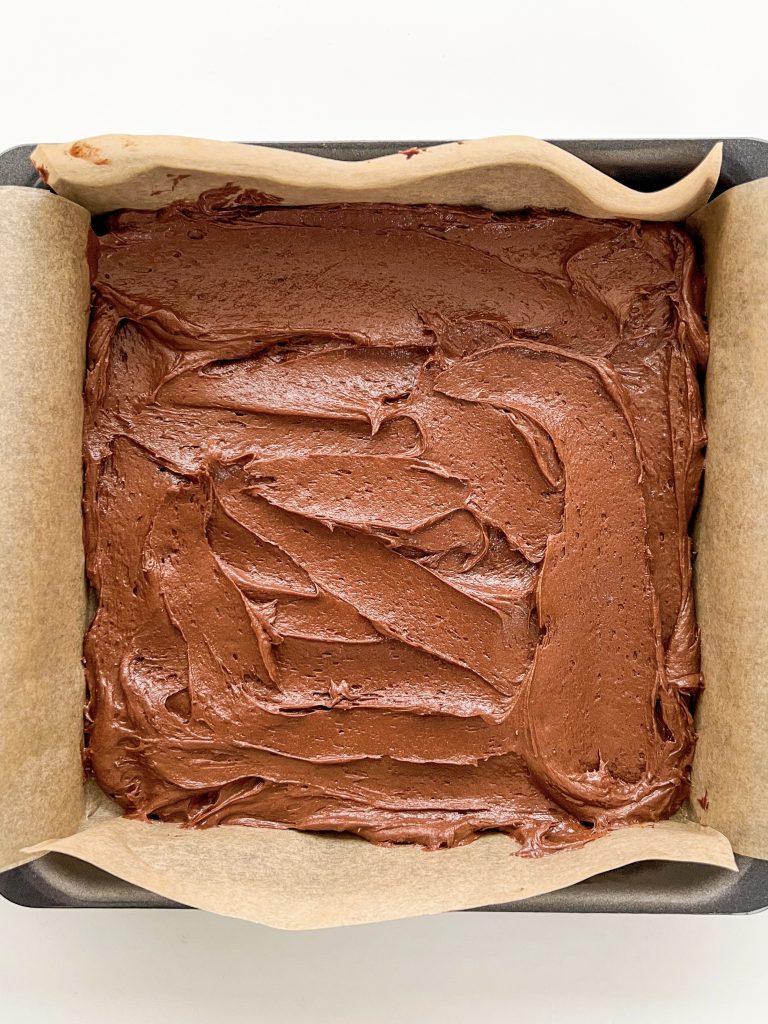
6 Transfer half the mixture to baking tin 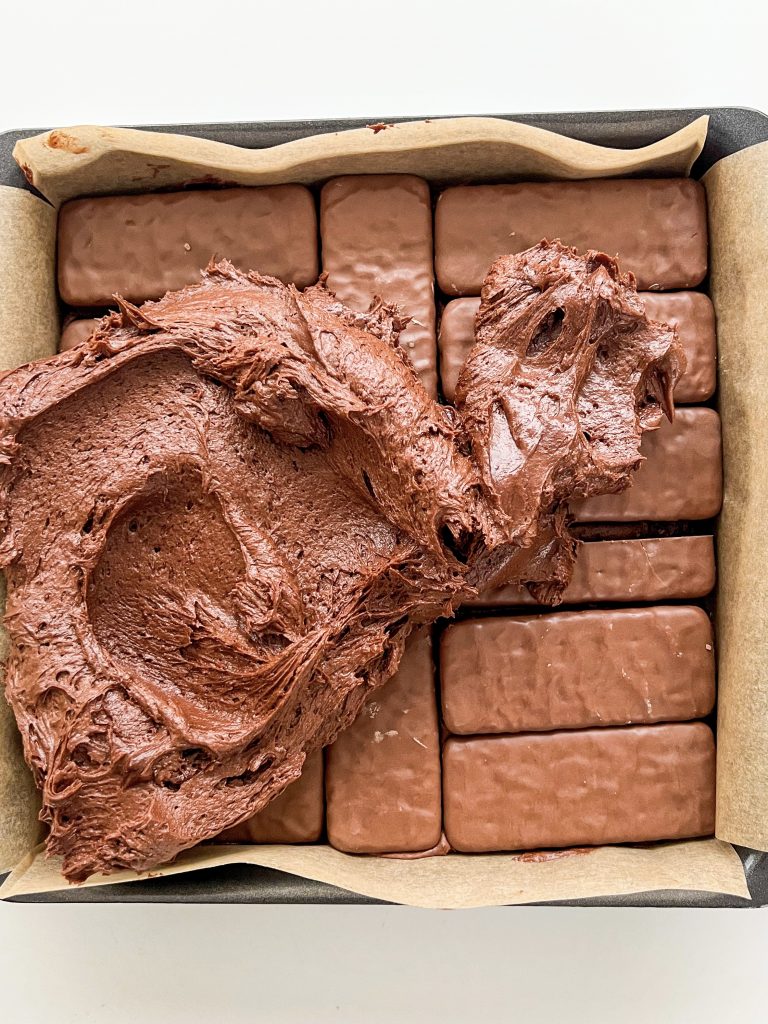
7, 8 Top with Tim Tams and cake batter 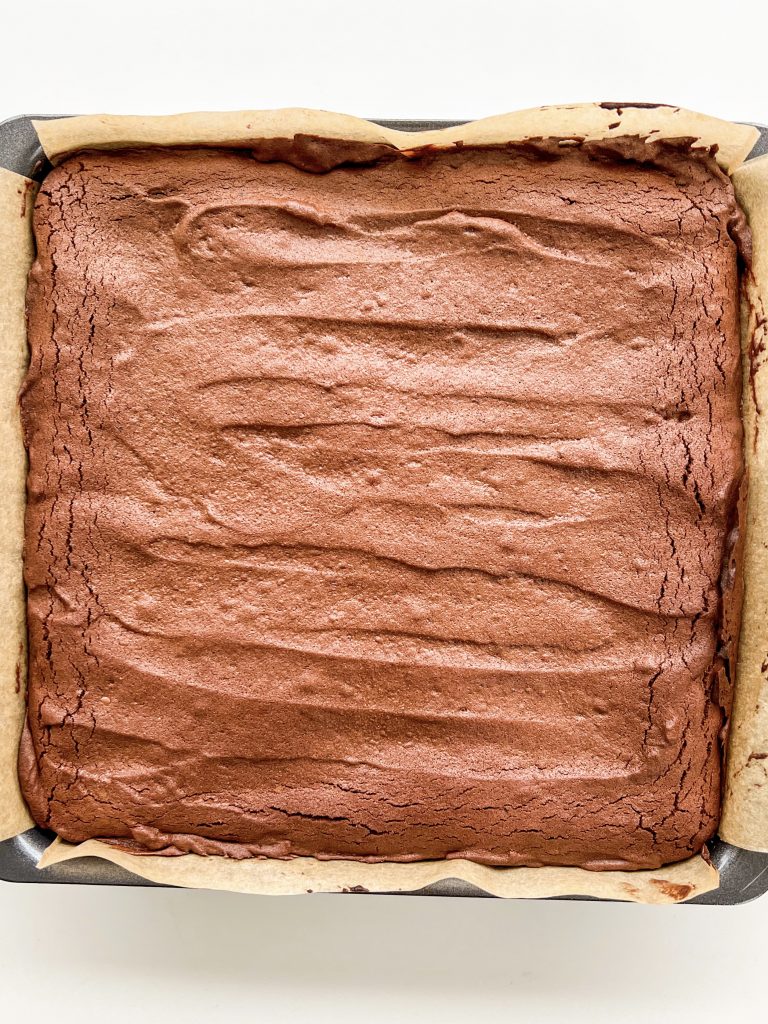
9 Bake
Cover with melted chocolate and some salt:
- When the cake is cool, break up the chocolate and add to a powerful blender. Blitz until it forms a powder-like consistency. If your blender is not very powerful or is small, do this in batches.
- Transfer the chocolate to a plastic, microwave safe bowl.
- Blitz for 15 seconds, take out of the microwave and stir well – it probably won’t look much different at this stage.
- Blitz again for 15 seconds, take out of the microwave and stir again, thoroughly. The chocolate should start clumping together.
- Next, blitz again for 10 seconds and stir well. Set aside for 1 minute to cool a little before heating again.
- Stir again, and if necessary, blitz for a further 10 seconds. Stir well. If it is still not ready, blitz for 10 seconds only at a time, stir well and leave for 30 seconds in between each blitz.
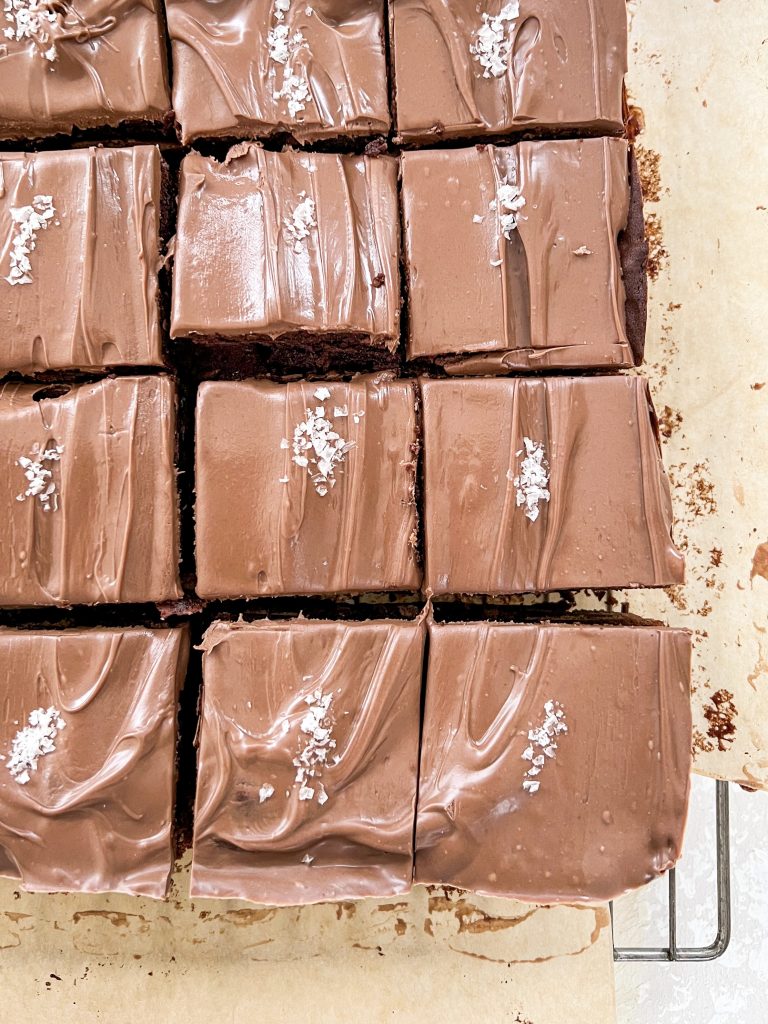
- Spread the melted chocolate over the brownies and sprinkle some sea salt, to taste, where you imagine the centre of each slice will be.
- Set aside to cool and give the chocolate time to harden and set. You can pop it in the fridge to speed up the process. Cut into 16 squares – or 9 if you have a very sweet tooth!
Chocolate 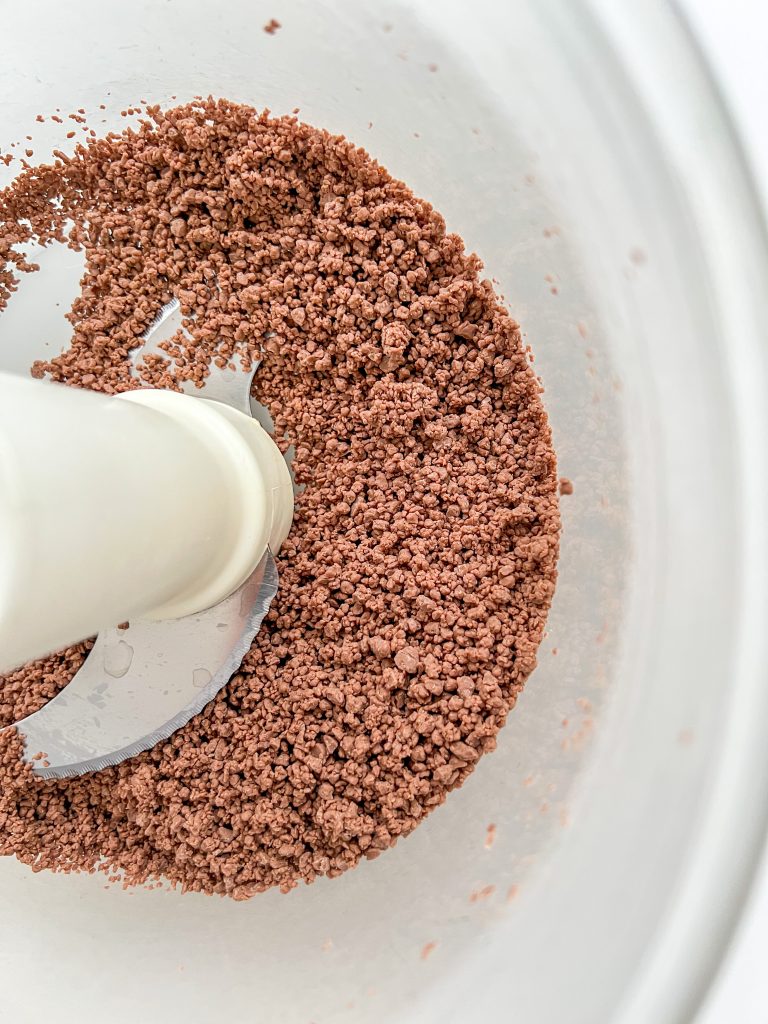
1 Blitz in food processor 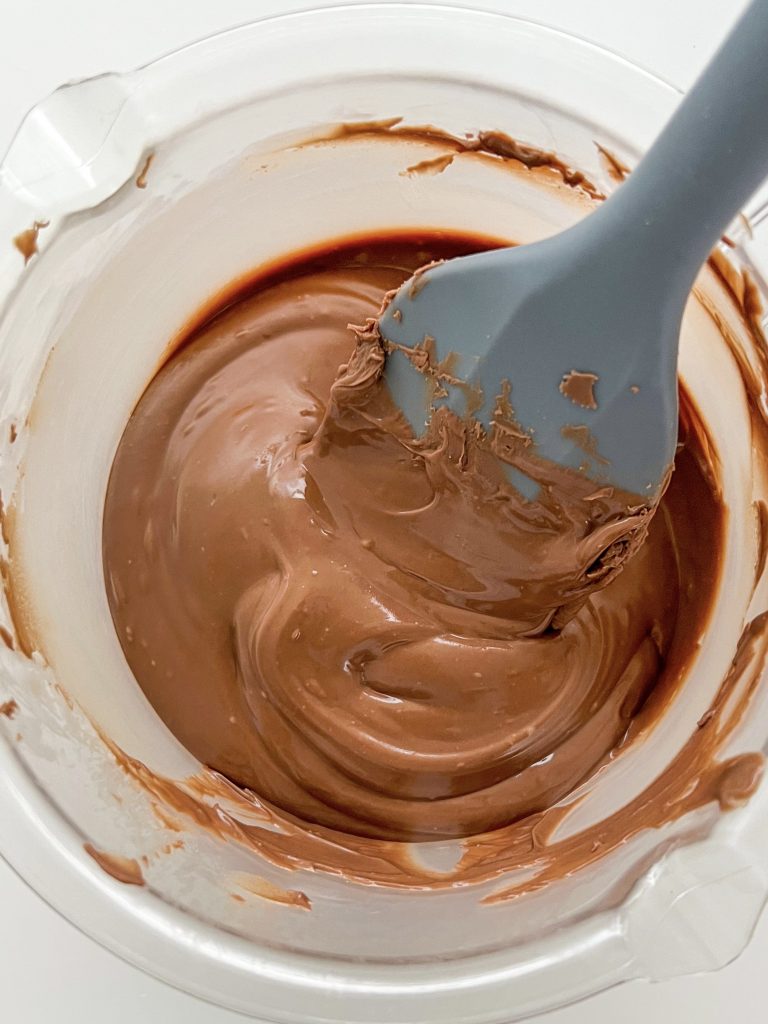
2-6 Melt the chocolate 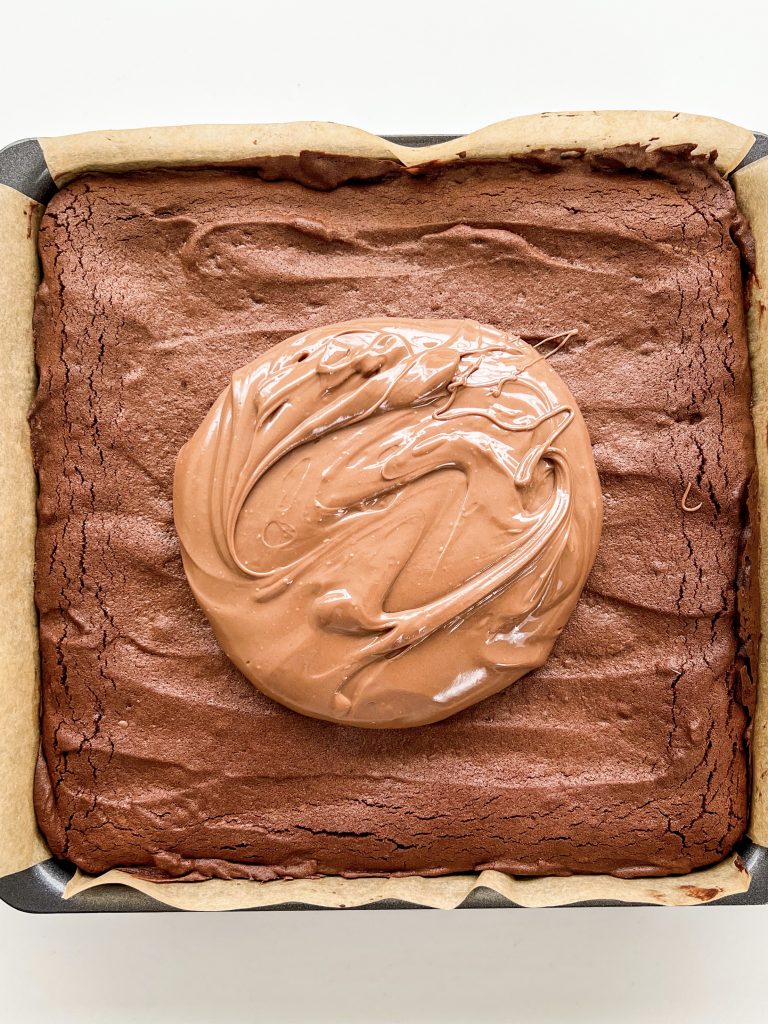
7 Spread chocolate over brownies 
Sea salt 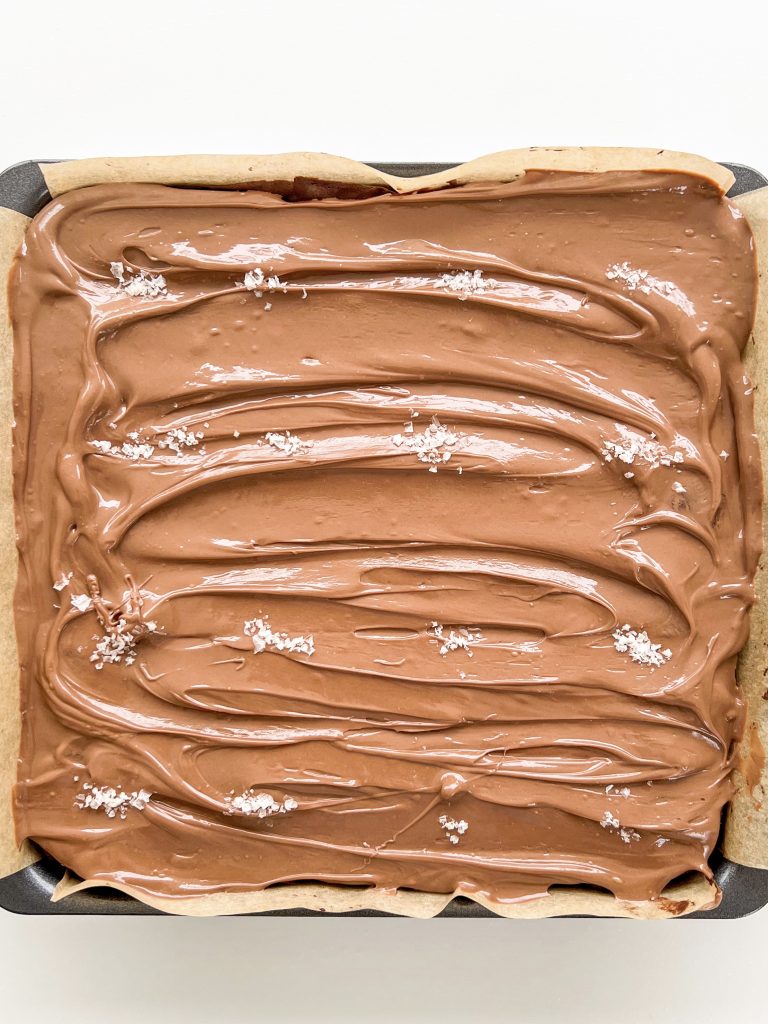
Sprinkle on sea salt
Made this recipe?
If you make this recipe, do please tag me on instagram @daffodil_kitchen. You could also leave a comment in the box directly below the recipe.

Tim Tam Brownies with Vegemite
Recognising Australia Day today with these Tim Tam Brownies with Vegemite – celebrating two of Australia's most infamous foods in one delectable creation!
Makes 9, 12 or 16
Ingredients
- 200g unsalted butter, in cubes
- 200g dark chocolate, 74% cocoa solids, broken into pieces
- 150g soft brown sugar
- 50g caster sugar
- 3 large eggs
- 15g Vegemite or ¼ teaspoon fine salt
- 100g plain/all-purpose flour, sieved
- 25g cocoa, sieved
- ½ teaspoon instant coffee powder, sieved
- small ⅛ teaspoon fine salt
- 14 Tim Tams or Penguin biscuits
For the topping:
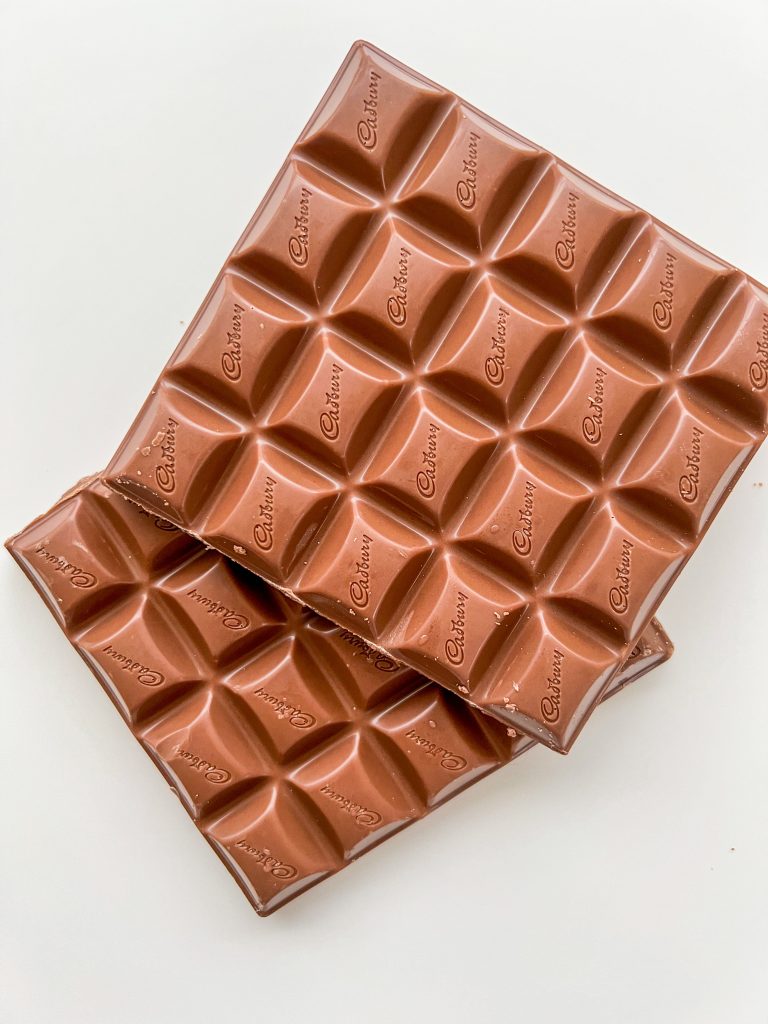
- 200g chocolate of your choice
- sea salt flakes
Instructions
-
Collect together your equipment (see Recipe Notes below) and ingredients.
-
Preheat oven to fan oven 170°C /190°C/375°F/Gas 5
-
Make the brownies: chop the butter into squares and place in a microwave safe bowl with the chopped chocolate. Melt in a microwave or a bain marie and mix until smooth. (See Recipe Notes for details.)
-
Meanwhile put the sugar, eggs and Vegemite or salt in a mixing bowl and whisk with an electric whisk until thick and creamy. This will take around 3 minutes.
-
Pour the chocolate and butter into the eggs and sugar, whilst whisking, and mix thoroughly with the electric whisk until smooth and glossy.
-
Finally add the flour, sifted cocoa, coffee and chocolate pieces and fold into the chocolate mix. Do not over mix at this stage.
-
Transfer half of the mixture to your baking tin and level the surface, making sure the cake batter goes all the way into the corners.
-
Top with a layer of Tim Tams or Penguin Biscuits.
-
Add the remaining brownie mix, level the surface, making sure the cake batter goes all the way into the corners.
-
Cook in the oven for 20 – 25 minutes, depending on how squidgy you like the centre to be. It will carry on cooking when you take it out of the oven so bear this in mind. (I cook mine for 23 minutes in London and 24 minutes in Switzerland.)
-
Leave to cool in the tin for 30 minutes and then, using the overhanging parchment, transfer the brownies to a cooling rack – do not remove the parchment, they will be too fragile.
-
Add a chocolate layer: when the cake is cool, break up the chocolate and add to a powerful blender. Blitz until it forms a powder-like consistency. If your blender is not very powerful or is small, do this in batches.
-
Transfer the chocolate to a plastic, microwave safe bowl.
-
Blitz for 15 seconds, take out of the microwave and stir well – it probably won’t look much different at this stage.
-
Blitz again for 15 seconds, take out of the microwave and stir again, thoroughly. The chocolate should start clumping together.
-
Next, blitz again for 10 seconds and stir well. Set aside for 1 minute to cool a little before heating again.
-
Stir again, and if necessary, blitz for a further 10 seconds. Stir well. If it is still not ready, blitz for 10 seconds only at a time, stir well and leave for 30 seconds in between each blitz.
-
Spread the melted chocolate over the brownies and sprinkle some sea salt, to taste, where you imagine the centre of each slice will be.
-
Set aside to cool and give the chocolate time to harden and set. You can pop it in the fridge to speed up the process. Cut into 16 squares – or 9 if you have a very sweet tooth!
Recipe Notes
Equipment
- Large microwave safe jug or heatproof bowl
- Electric whisk and mixing bowl
- Kitchen scales and measuring spoons
- Sieve
- Chopping board and knife
- 20cm/8inch square baking tin lined with baking parchment
Be very careful melting the chocolate. Chocolate can be very difficult to work with. You can overheat it very easily and the mixture will go grainy. When this happens, there is no way to resolve it I’m afraid!
Microwave: I give the chocolate and butter a minute in the microwave, take it out and stir it well, then let it sit for a few minutes to see if it continues melting sufficiently to melt all the chocolate. If not, I then continue with the microwave but in 10 – 15 second bursts.
Bain Marie: if you do not have a microwave, put the chocolate and butter in a heatproof bowl over a saucepan of gently simmering water. Do not let the base of the bowl touch the water. Heat until the chocolate and butter are very nearly melted then take it off the heat and take the bowl off the saucepan. Be very careful not to burn yourself as the bowl will be hot and steam will escape from the saucepan. Allow the mixture to sit for a few minutes for the residual heat to melt the remainder of the mixture. Again, be careful not to over-heat.


You May Also Like
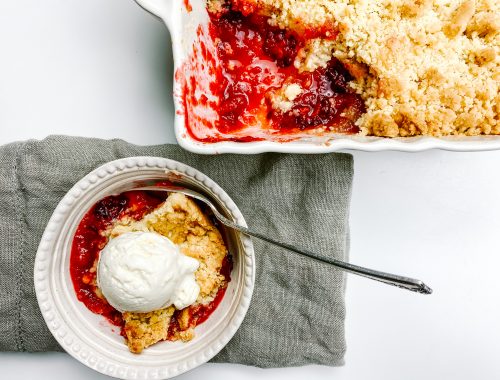
Blackberry and Apple Crumble with Chai Spice and Vanilla

Apple and Fennel Salad with Lemon and Dill