Oreo Chocolate Brownies
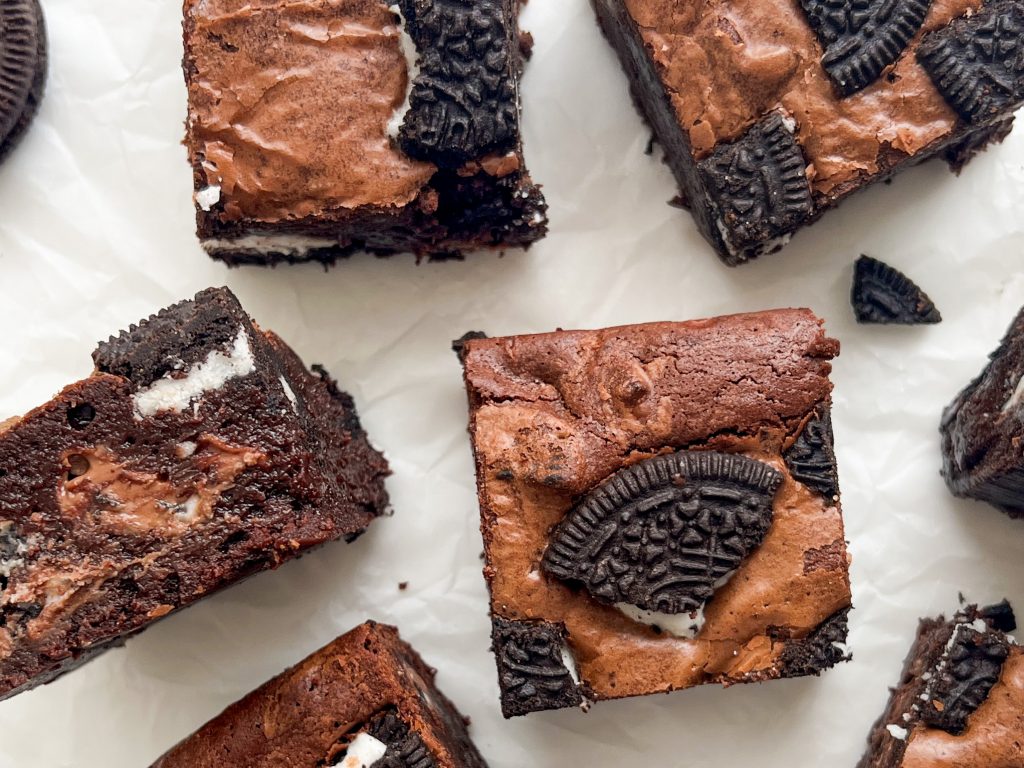
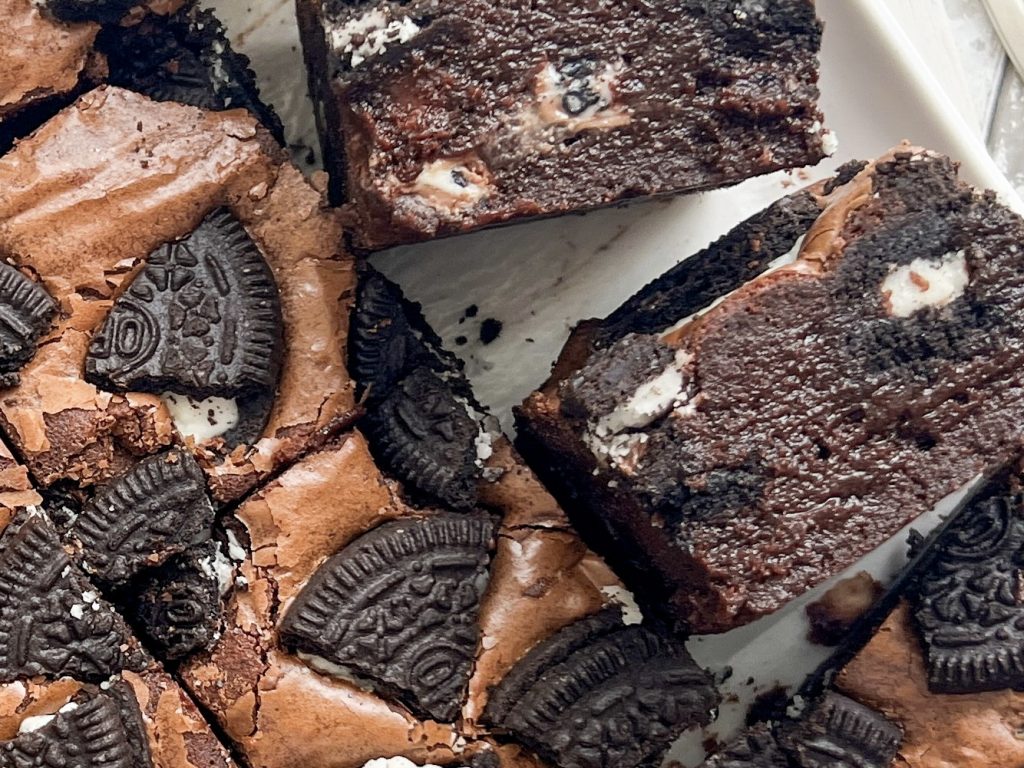
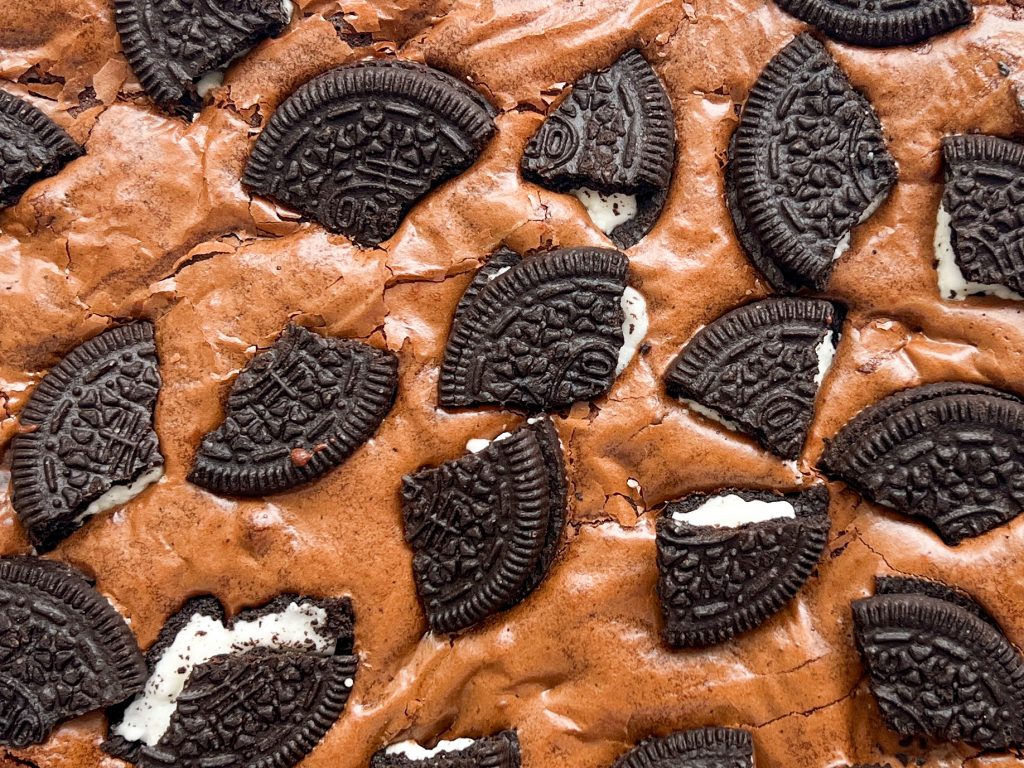
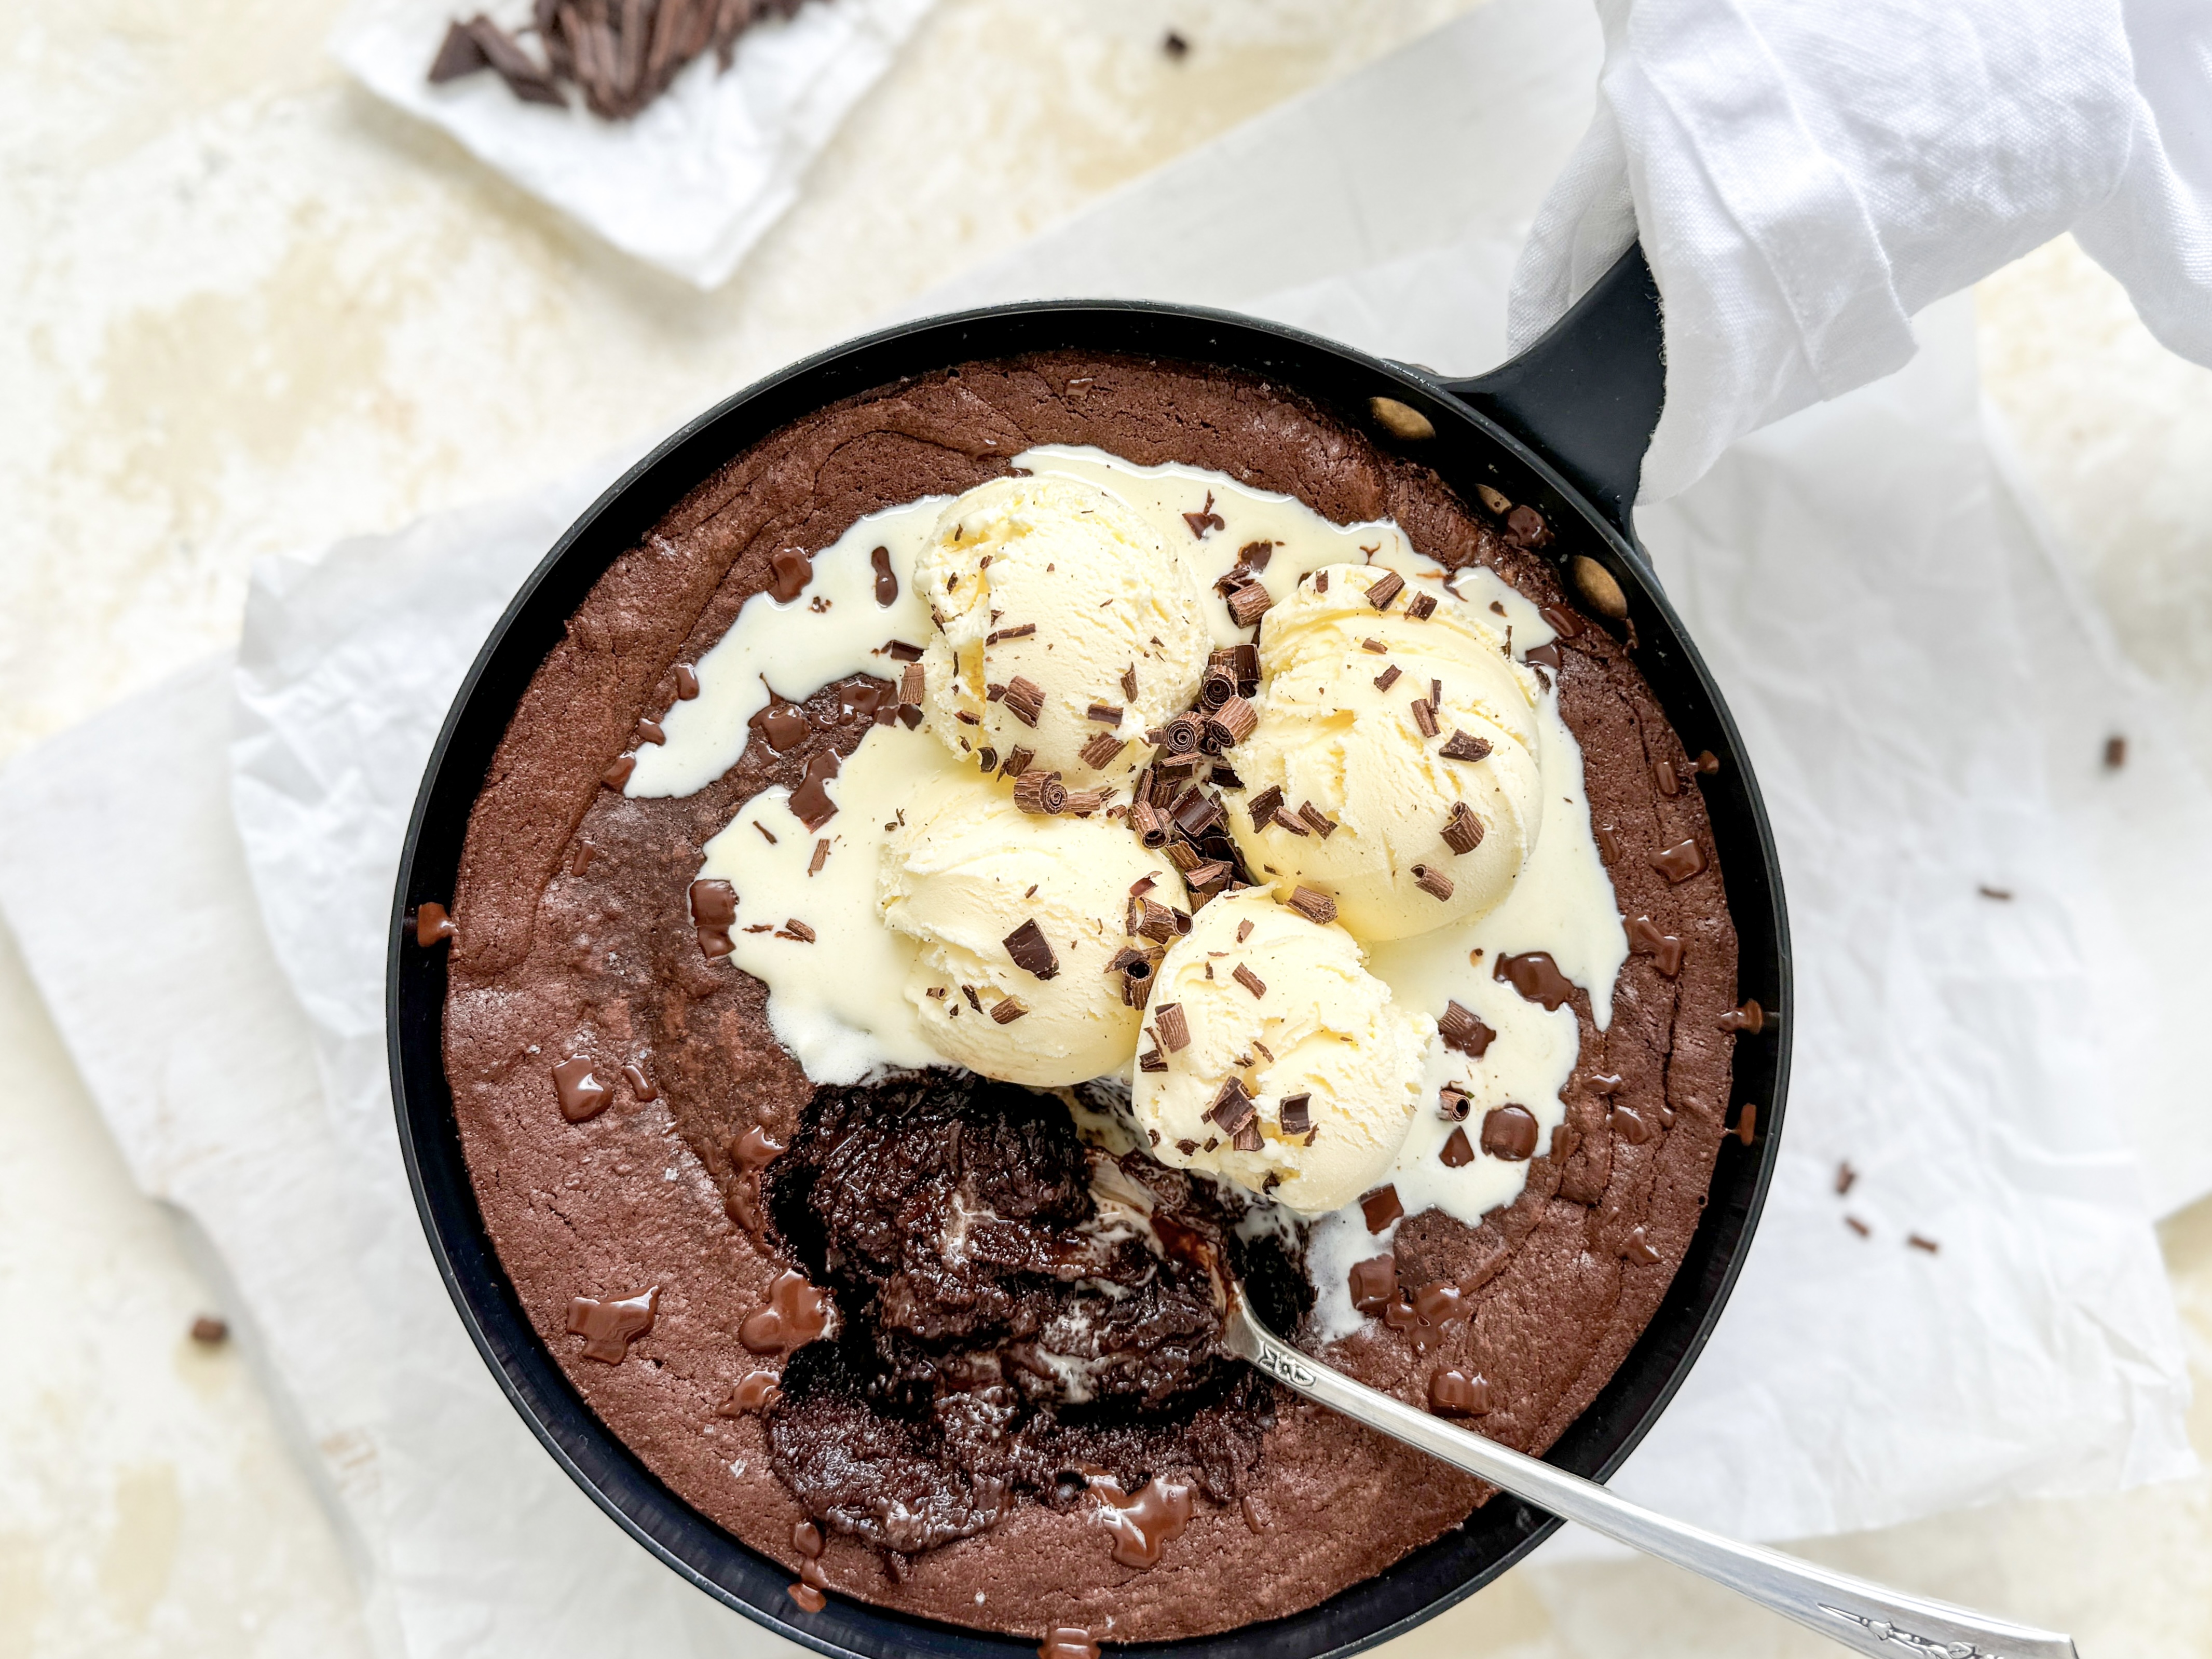
Intense, fudgy, chocolate squares, spiked with vanilla and a hint of salt, are loaded with chunks of crunchy Oreo biscuits and creamy Oreo milk chocolate. An explosion of contrasting textures and chocolate and vanilla flavours, these cakes have the classic crinkly brownie top and an addictive soft and gooey centre. They are delicious served simply with a cup of tea or coffee, and they also make a fabulous dessert with some vanilla ice cream.
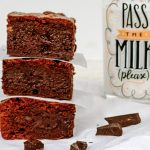
Brownies are wonderfully easy to transport. I made this batch for Charlotte to take and share on a work trip with Fulham Football Club – the Oreo biscuits reminded us of the FFC black and white striped kit.
How to make Oreo Chocolate Brownies
This recipe is adapted from my Daffodil Brownies – Core Recipe. For further brownie ideas and inspiration, see here.
Collect all your ingredients together and line the baking tin:
In order to guarantee soft and fudgy brownies, it is important to use the correct size tin – in this case it is a 20cm/8inch square tin. If your tin is larger, the depth of your cake batter will be less and the cake will cook more quickly. Equally, if the tin is smaller, your cake batter will be deeper and cook more slowly.
- Sit the tin on greaseproof paper making sure the paper is large enough to line the tin, come up the sides and have a little overhang.
- Cut out the corners of the paper so it will fit easily into the tin
- Fold the paper from corner to corner so the size of the centre of the paper matches the base of the tin. Slot inside the tin.
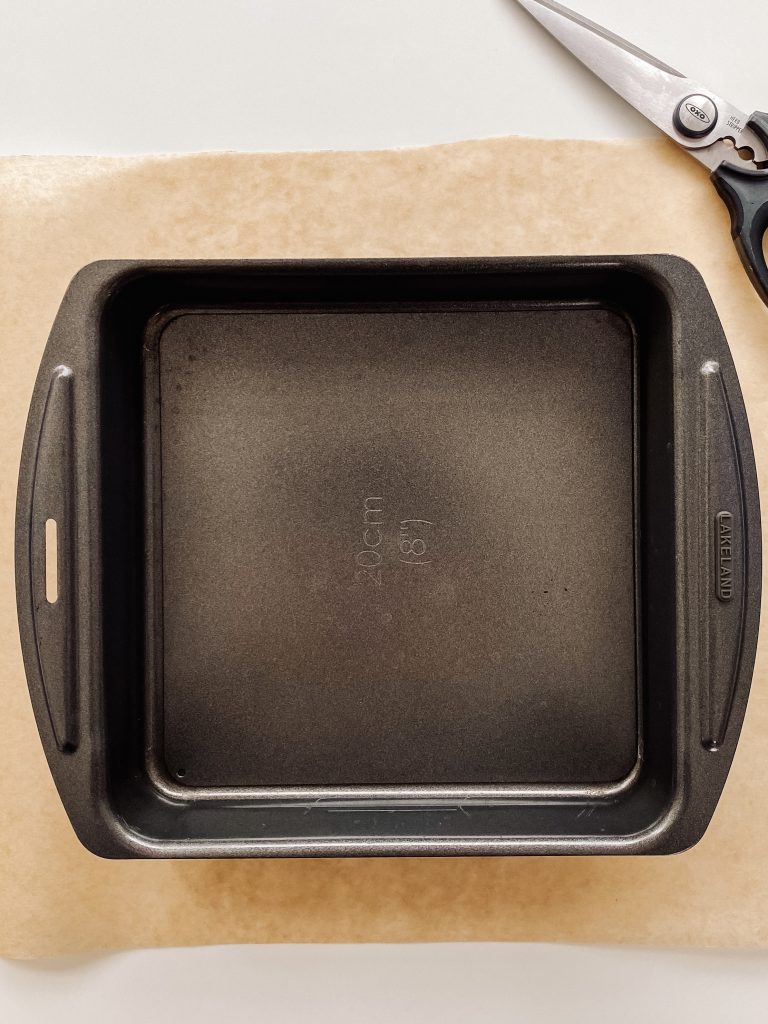
1 Tin and greaseproof paper 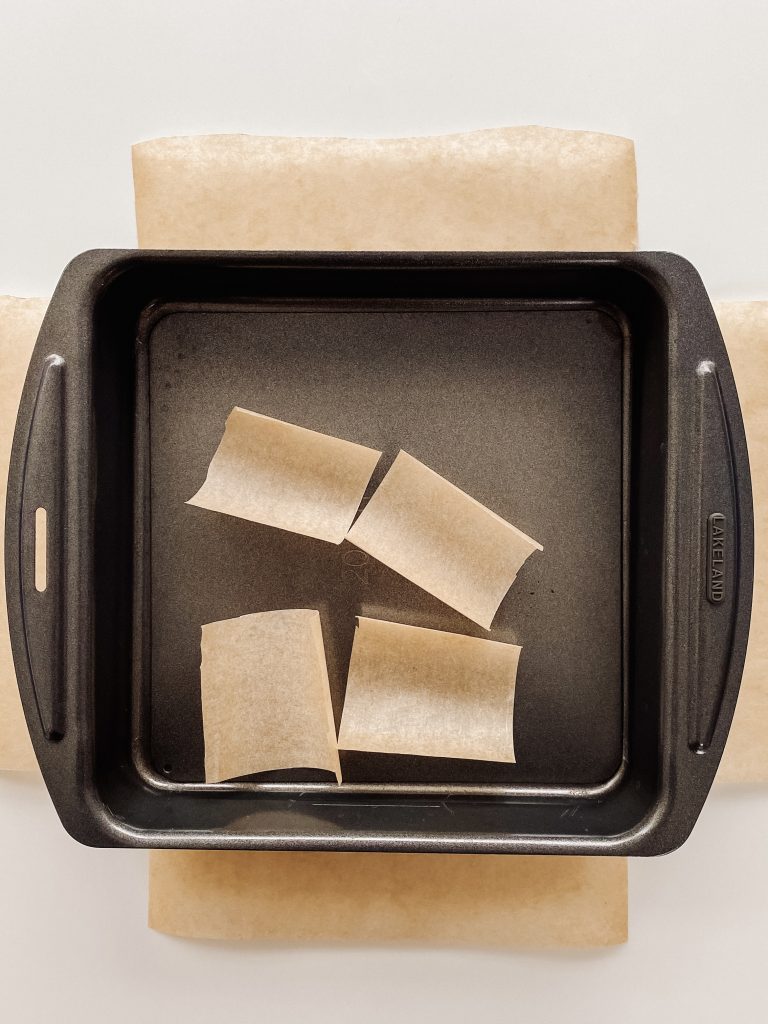
2 Cut out corners 
3 Fold, corner to corner, slot inside tin
Ingredients:
- unsalted butter, in cubes
- dark chocolate, 70% cocoa solids, broken into pieces
- soft brown sugar
- caster sugar
- eggs
- vanilla extract
- fine salt
- plain/all-purpose flour, sieved
- unsweetened cocoa, sieved
- instant coffee powder, sieved
- Oreo Original Sandwich Biscuits, chopped/broken into quarters
- Oreo milk chocolate, chopped. I use Cadburys – if you cannot find it, use your favourite milk chocolate
Make these amazing brownies:
- Chop the butter into squares and place in a microwave safe bowl with the chopped chocolate. Melt in a microwave or a bain marie and mix until smooth. (See Recipe Notes for details.)
- Meanwhile put the sugars, eggs, vanilla and salt in a mixing bowl and beat with an electric whisk until thick and creamy. This will take around 3 – 5 minutes.
- Pour the chocolate and butter into the eggs and sugar, whilst whisking, until smooth and glossy. Another 3 – 4 minutes.
- Put a sieve over the bowl and add the flour, cocoa and coffee. Sift directly over the cake batter and fold until nearly mixed in.
- Chop the chocolate and chop or break the Oreos into quarters.
- Add the chocolate and half of the Oreos to the brownie mix and fold in.
- Transfer to your lined baking tin and level the surface, making sure the cake batter goes all the way into the corners.
- Scatter the remaining Oreos evenly over the brownie mix and press lightly into the batter.
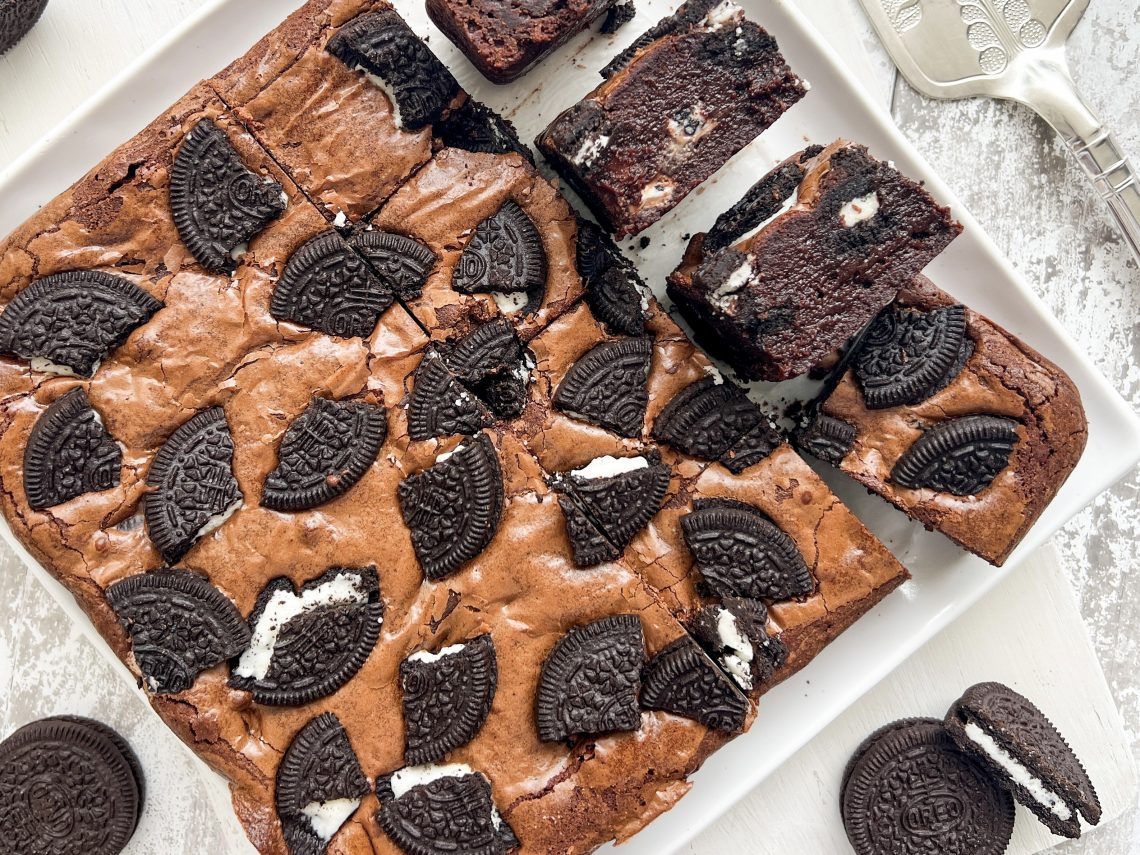
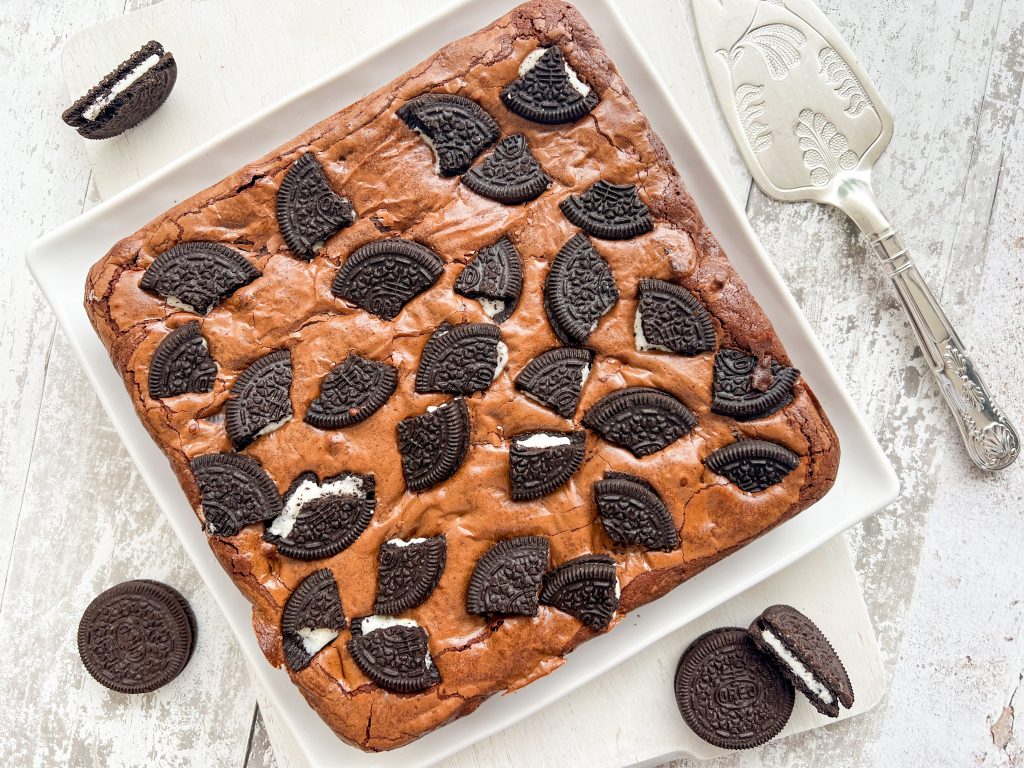
- Bake in the centre of the pre-heated oven for 20 – 25 minutes, depending on how squidgy you like the centre to be. (I cook mine for 24 minutes in London and 25 minutes in Switzerland.) This gives me a slightly crispy top but a gorgeous gooey centre. The cake will be slightly risen and cracked around the edges (see the pictures below) but the centre will feel quite soft. Remember the cake will continue to cook after you have taken it out of the oven.
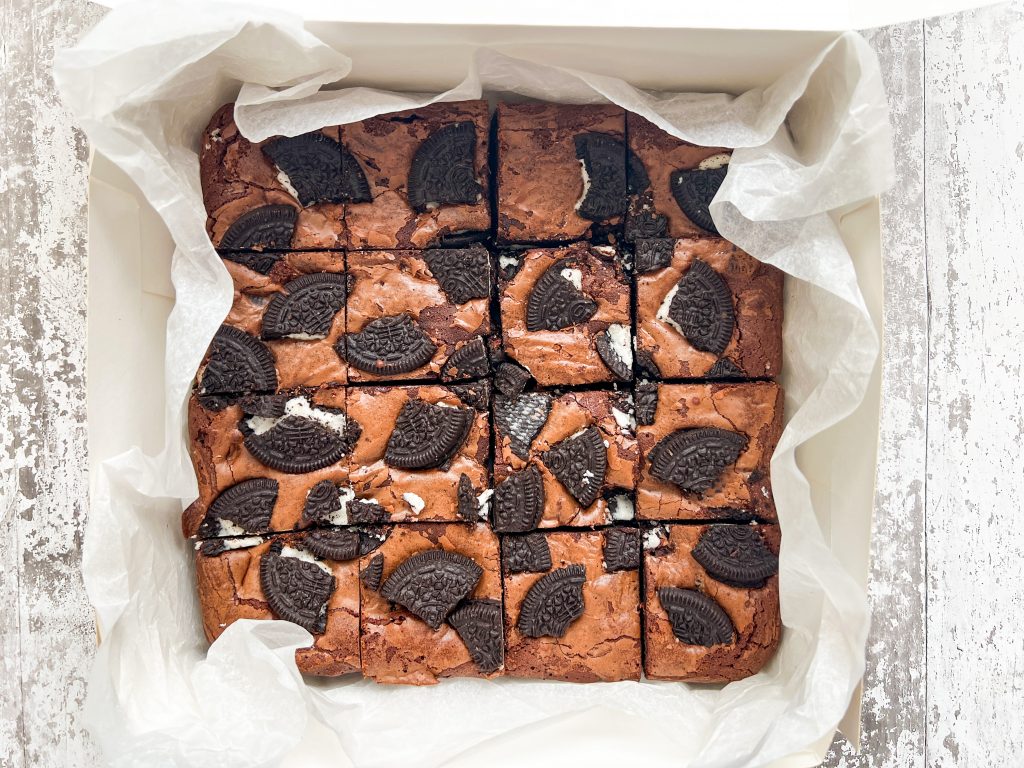
- Leave to cool in the tin for 20 – 30 minutes and then transfer, in the baking parchment, to a cooling rack.
- When the brownies are cool, cut into 16 squares.

Core ingredients 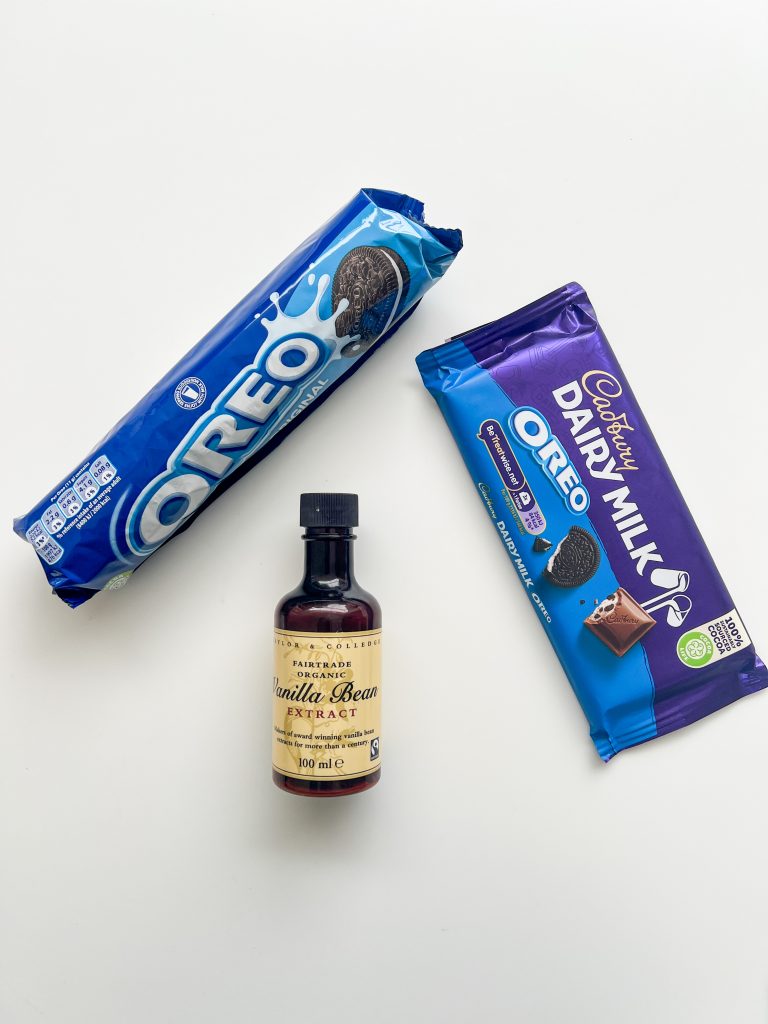
Additional ingredients 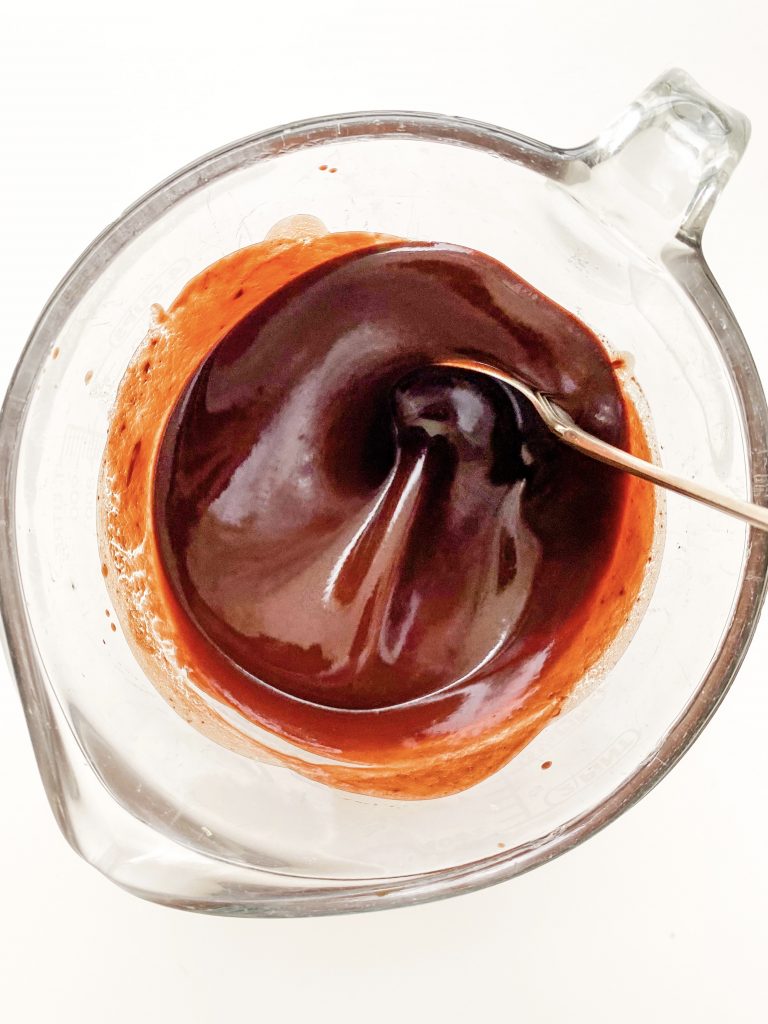
1 Butter, chocolate 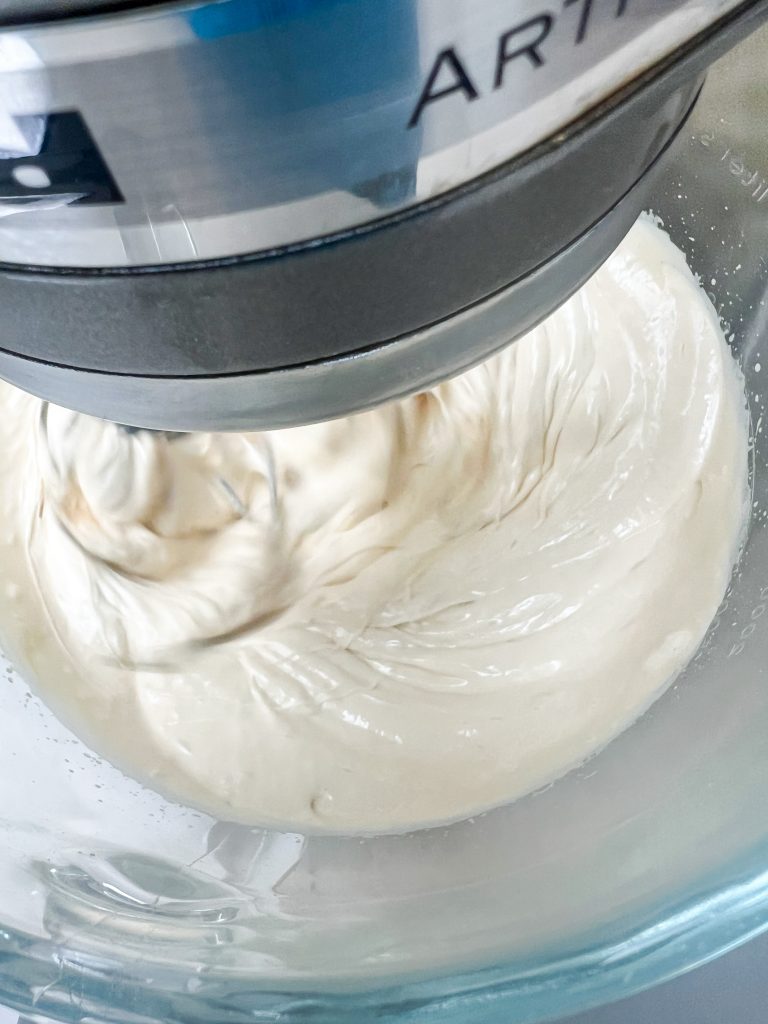
2 Eggs, sugar 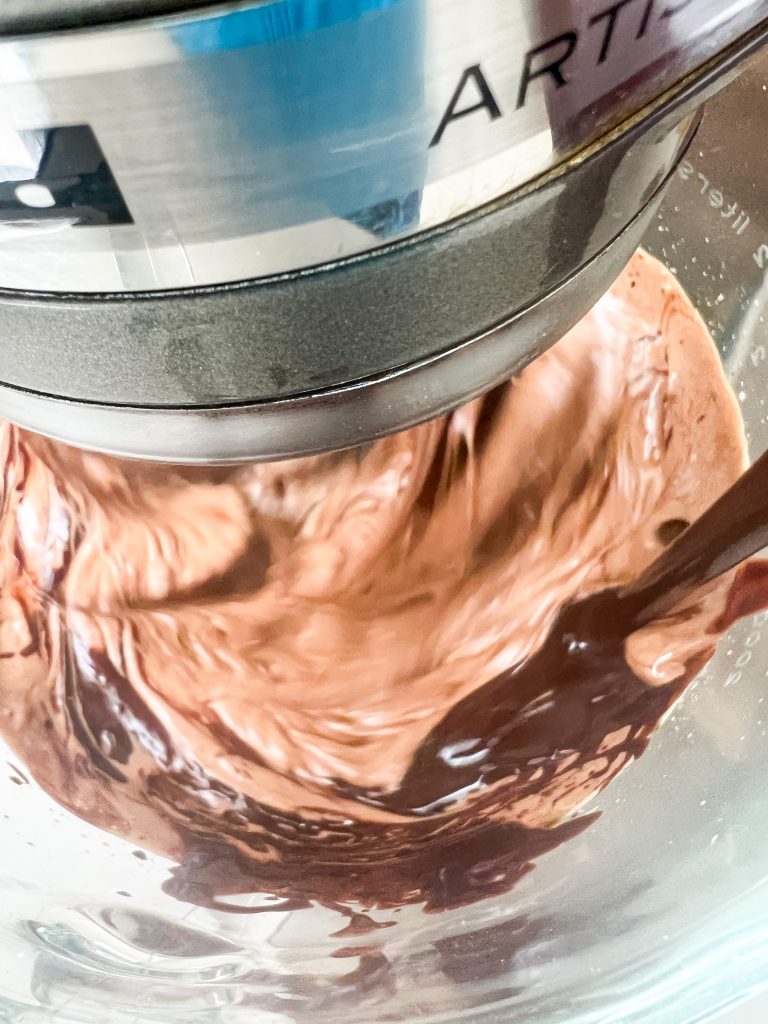
3 Add chocolate & butter 
Smooth & glossy 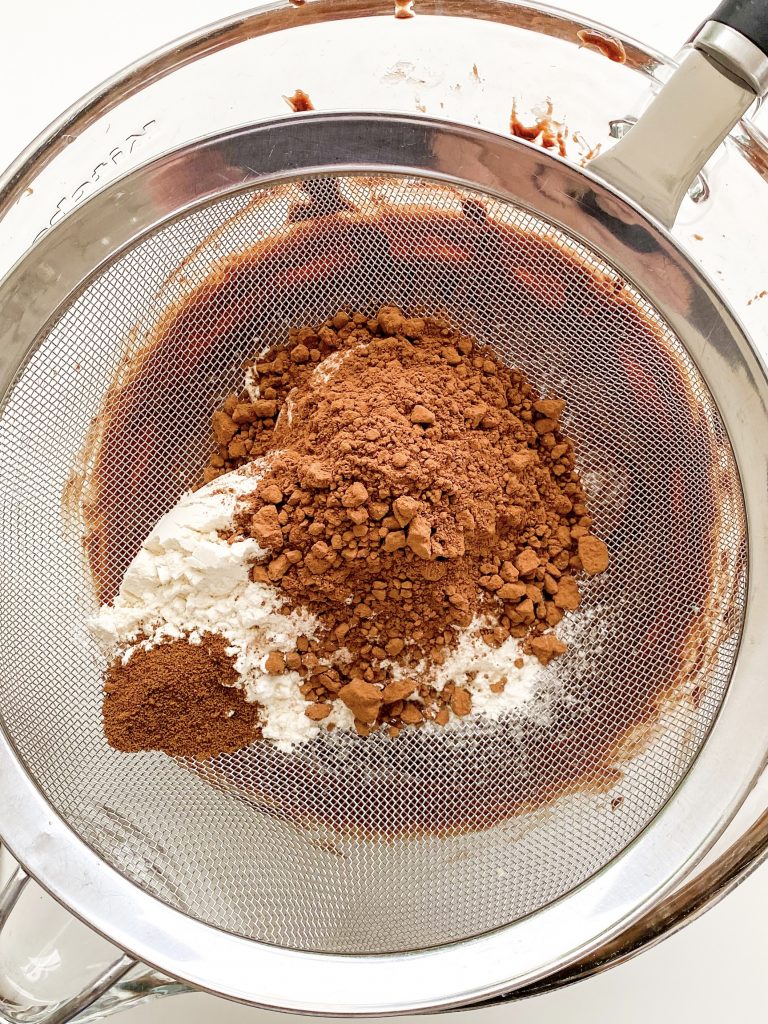
4 Flour, cocoa, coffee 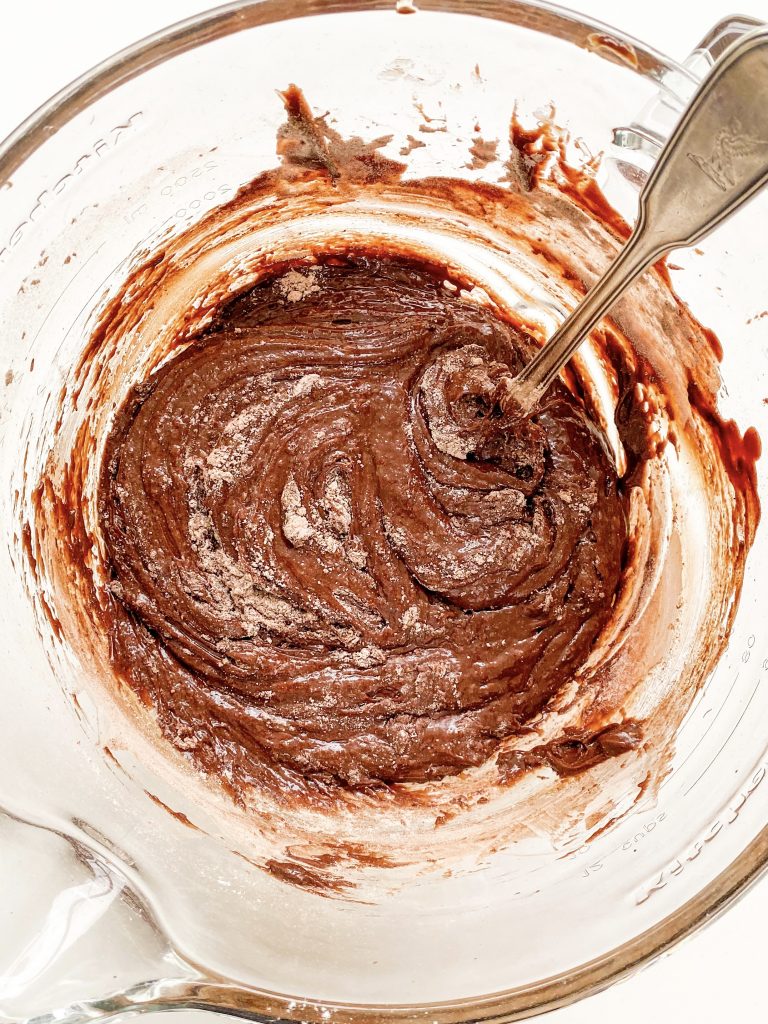
Fold in 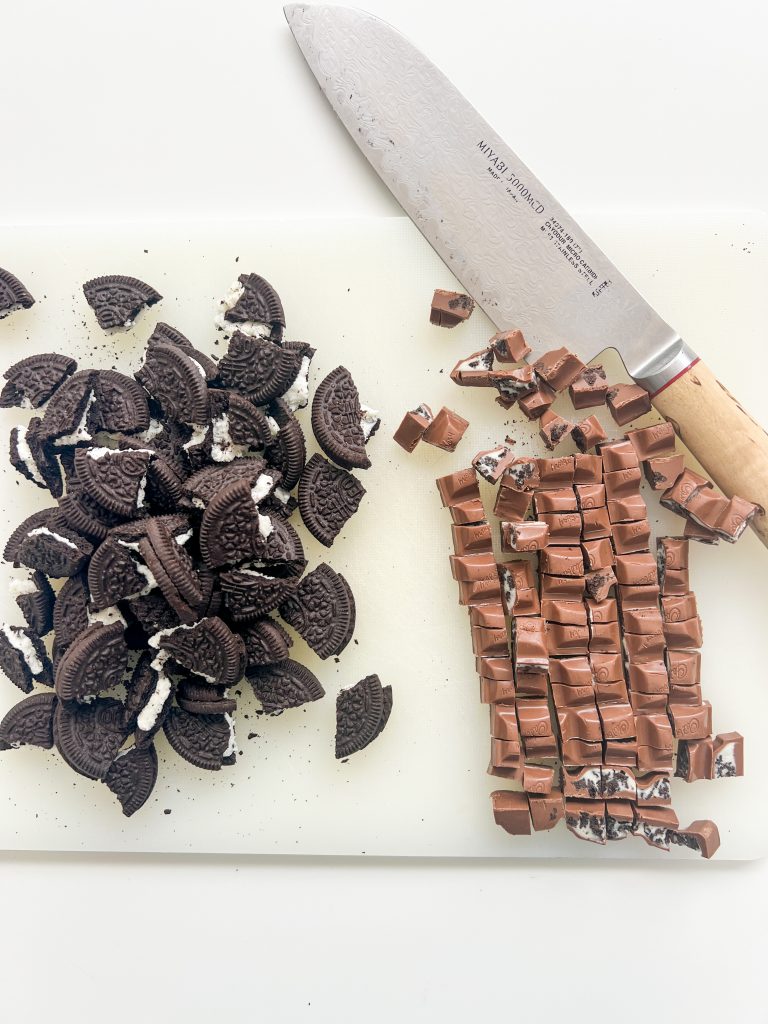
5 Chop chocolate, Oreos 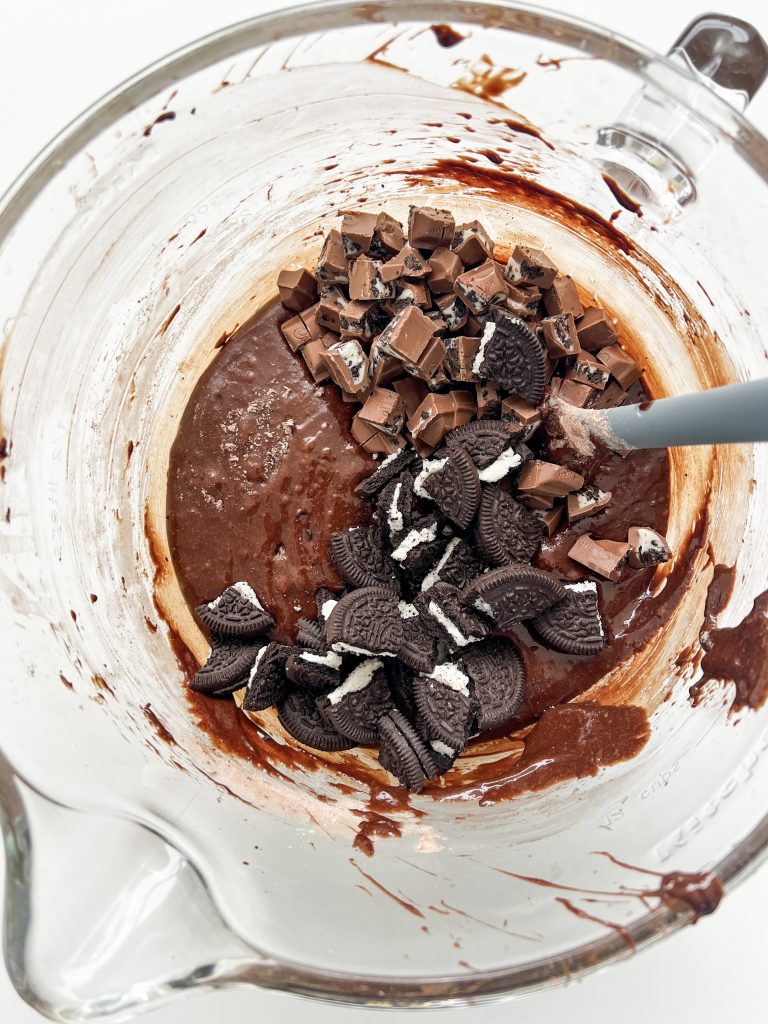
6 Fold in 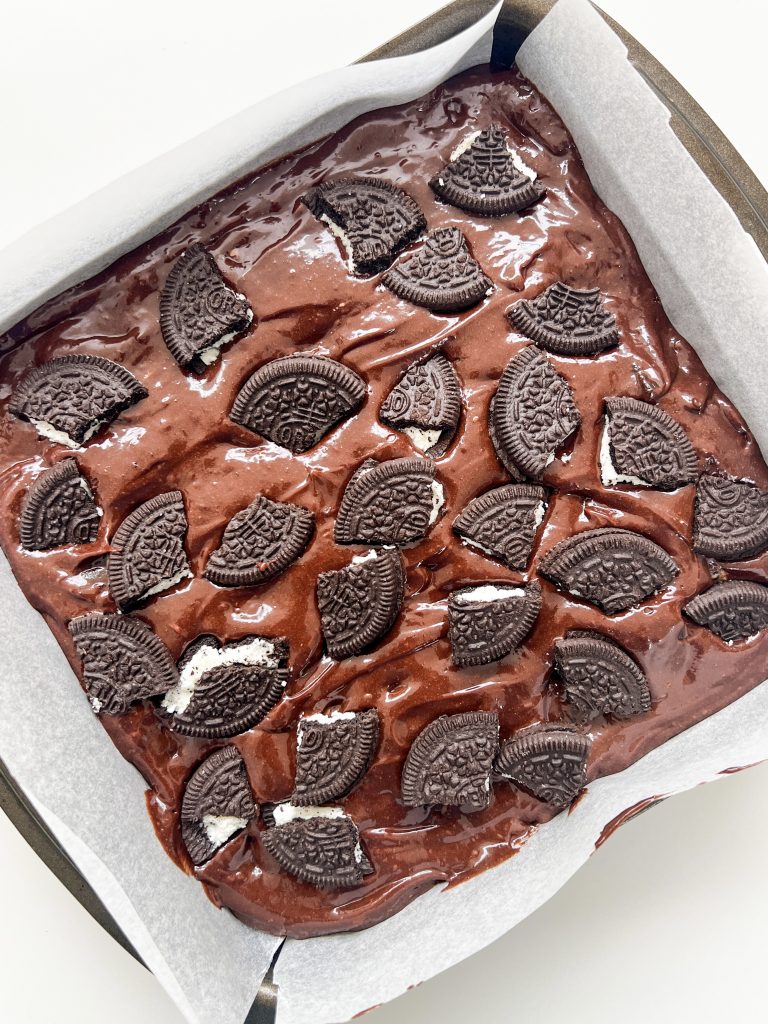
7, 8 Top with Oreos 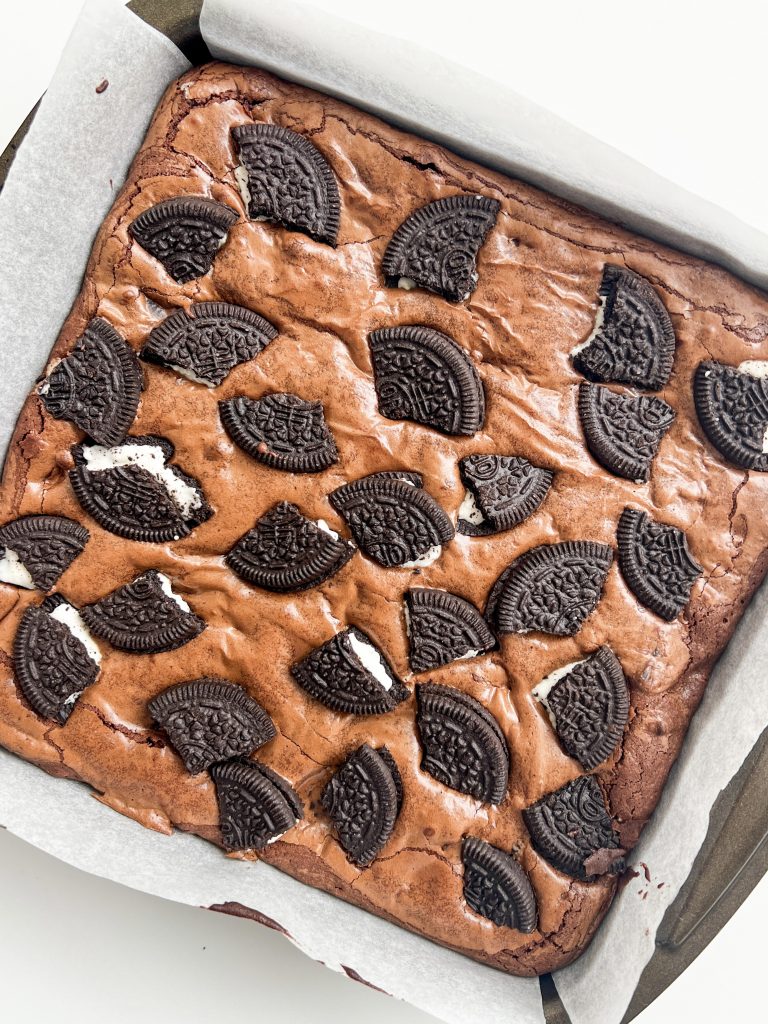
9 Bake
Made this recipe?
If you make this recipe, do please tag me on instagram @daffodil_kitchen. You could also leave a comment in the box directly below the recipe.

Oreo Chocolate Brownies
Intense, fudgy, chocolate squares, spiked with vanilla and a hint of salt, are loaded with chunks of crunchy Oreo biscuits and creamy Oreo milk chocolate. An explosion of contrasting textures and chocolate and vanilla flavours, these cakes have the classic crinkly brownie top and an addictive soft and gooey centre.
Makes 16 squares
Ingredients
- 200g unsalted butter, in cubes
- 200g dark chocolate, 70% cocoa solids, broken into pieces
- 100g soft brown sugar
- 100g caster sugar
- 3 eggs
- 2 teaspoons vanilla extract
- ¼ teaspoon fine salt
- 100g plain/all-purpose flour, sieved
- 25g unsweetened cocoa, sieved
- ¼ teaspoon instant coffee powder, sieved
- 154g/1 packet Oreo Original Sandwich Biscuits, chopped/broken into quarters
- 120g Oreo milk chocolate, chopped. I use Cadburys – if you cannot find it, use your favourite milk chocolate
Instructions
-
Collect together your equipment (see Recipe Notes below) and ingredients.
-
Preheat oven to 190°C/375°F/Gas 5 (fan 170°C) and line a 20cm/8inch square baking tin with baking parchment.
-
Chop the butter into squares and place in a microwave safe bowl with the chopped chocolate. Melt in a microwave or a bain marie and mix until smooth. (See Recipe Notes for details.)
-
Meanwhile put the sugars, eggs, vanilla and salt in a mixing bowl and beat with an electric whisk until thick and creamy. This will take around 3 – 5 minutes.
-
Pour the chocolate and butter into the eggs and sugar, whilst whisking, until smooth and glossy. Another 3 – 4 minutes.
-
Put a sieve over the bowl and add the flour, cocoa and coffee. Sift directly over the cake batter and fold until nearly mixed in.
-
Chop the chocolate and chop or break the Oreos into quarters.
-
Add the chocolate and half of the Oreos to the brownie mix and fold in.
-
Transfer to your lined baking tin and level the surface, making sure the cake batter goes all the way into the corners.
-
Scatter the remaining Oreos evenly over the brownie mix and press lightly into the batter.
-
Bake in the centre of the pre-heated oven for 20 – 25 minutes, depending on how squidgy you like the centre to be. (I cook mine for 24 minutes in London and 25 minutes in Switzerland.) This gives me a slightly crispy top but a gorgeous gooey centre. The cake will be slightly risen and cracked around the edges (see the pictures below) but the centre will feel quite soft. Remember the cake will continue to cook after you have taken it out of the oven.
-
Leave to cool in the tin for 20 – 30 minutes and then transfer, in the baking parchment, to a cooling rack.
-
When the brownies are cool, cut into 16 squares and serve.
Recipe Notes
Equipment:
- Large microwave safe jug or heatproof bowl
- Electric whisk and mixing bowl
- Kitchen scales and measuring spoons
- Sieve
- Chopping board and knife as well as rolling pin or mallet
- 20cm/8inch square baking tin lined with baking parchment
Be very careful melting the chocolate. Chocolate can be very difficult to work with. You can overheat it very easily and the mixture will go grainy. When this happens, there is no way to resolve it I’m afraid!
Microwave: I give the chocolate (and butter) a minute in the microwave, take it out and stir it well, then let it sit for a few minutes to see if it continues melting sufficiently to melt all the chocolate. If not, I then continue with the microwave but in 10 – 15 second bursts.
Bain Marie: if you do not have a microwave, put the chocolate (and butter) in a heatproof bowl over a saucepan of gently simmering water. Do not let the base of the bowl touch the water. Heat until the chocolate and butter are very nearly melted then take it off the heat and take the bowl off the saucepan. Be very careful not to burn yourself as the bowl will be hot and steam will escape from the saucepan. Allow the mixture to sit for a few minutes for the residual heat to melt the remainder of the mixture. Again, be careful not to over-heat.
What size tin shall I use?
In order to guarantee soft and fudgy brownies, it is important to use the correct size tin – in this case it is a 20cm/8inch square tin. If your tin is larger, the depth of your cake batter will be less and the cake will cook more quickly. Equally, if the tin is smaller, your cake batter will be deeper and cook more slowly.
Lining a tin with baking parchment:
- Sit the tin on greaseproof paper making sure the paper is large enough to line the tin, come up the sides and have a little overhang.
- Cut out the corners of the paper so it will fit easily into the tin
- Fold the paper from corner to corner so the size of the centre of the paper matches the base of the tin. Slot inside the tin.
What is the best way to serve brownies?
Brownies are delicious served simply with a cup of tea or coffee, and they also make a fabulous dessert with some vanilla ice cream.
More from my site


You May Also Like
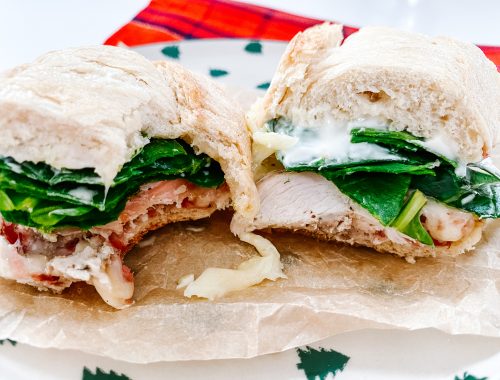
Chicken, Brie, Cranberry and Chilli Sandwich with Spinach and Mayonnaise
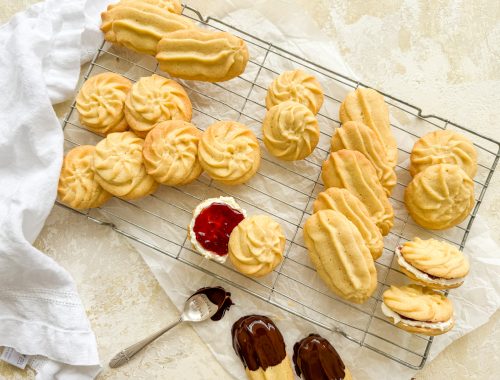
Viennese Biscuits