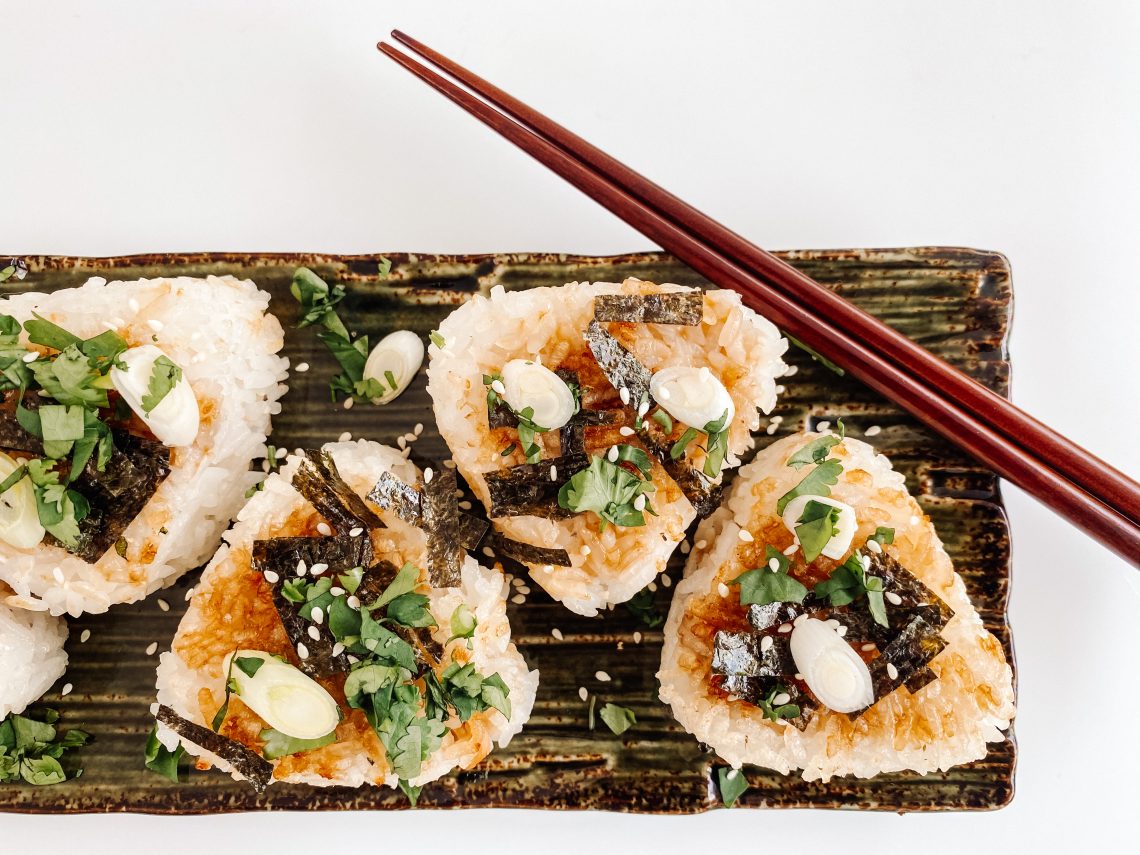
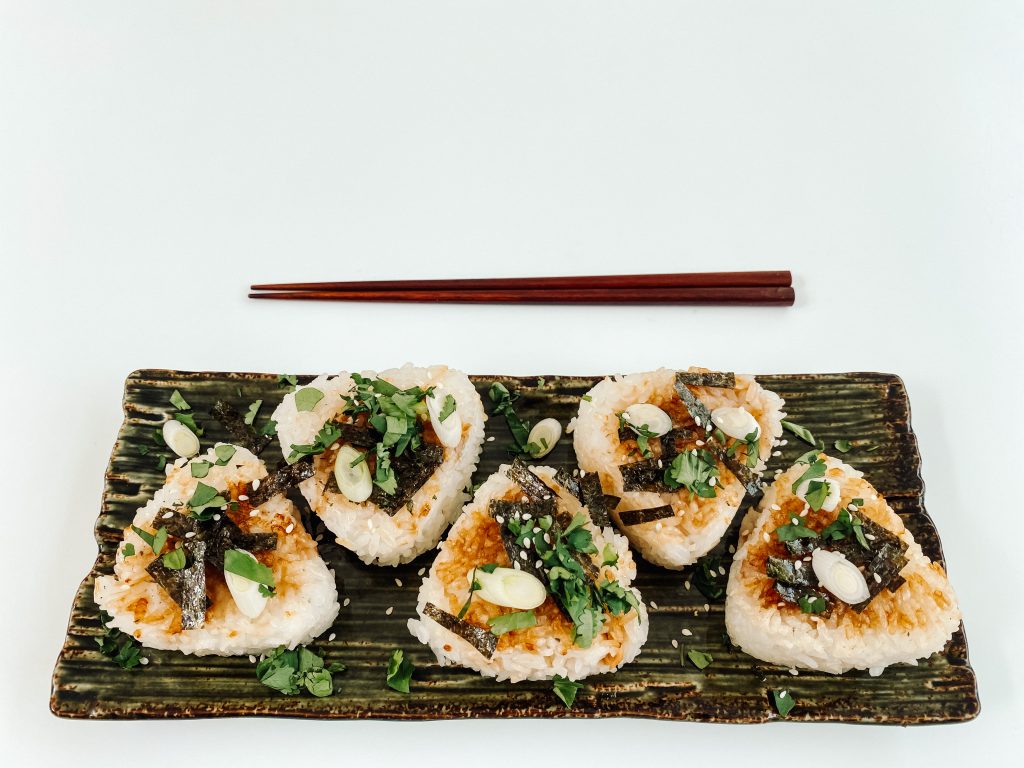
Onigiri with Honey Garlic Salmon and Toasted Seaweed
Onigiri are balls of rice, often wrapped in seaweed and usually with some filling which can be meat, fish or vegetable. Great for food on the run, they are sold in Japan in supermarkets, small takeaway shops and restaurants; a bit like our sandwich!
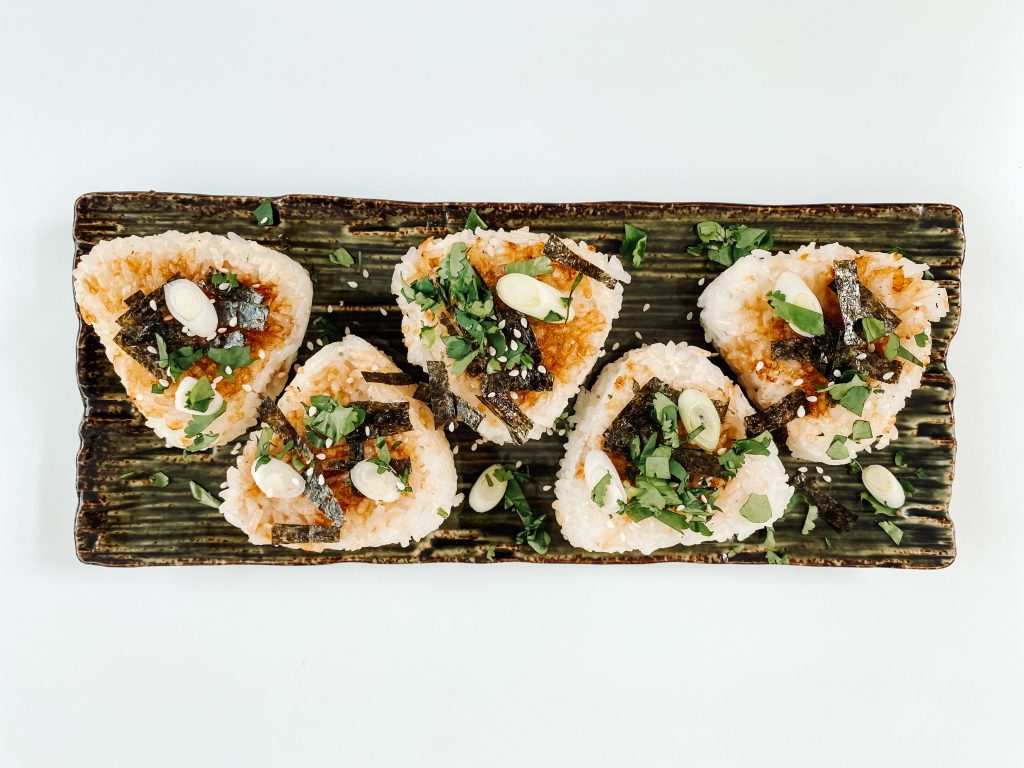
These delicious balls of sticky rice are filled with honey, garlic and soy salmon and served with toasted seaweed, sesame seeds and spring onions. Delicious served warm or at room temperature for lunch at home, on the go, or as part of a larger meal.
I made these particular onigiri with some leftovers from the Honey Garlic Salmon Fillets with Soy, Chilli and Lime which I had served with Japanese sticky rice. I had half a fillet left over and some rice and this is a great way to eek out the salmon and use up the sticky rice. In fact, it is so delicious that I will often make extra rice and throw an extra fillet of salmon in the pan. Lunch the following day – sorted! These can be made with other fillings or indeed without a filling. Try:
- teriyaki salmon, meatballs, chicken, tofu
- miso marinated salmon
- avocado – serve at room temperature and cook quickly, just enough to seal and be crispy
- broccoli with soy and honey
- tuna with a little soy sauce and sesame seeds
How to make Onigiri with Honey Garlic Salmon and Toasted Seaweed
I do not have specific quantities for this dish because I made it with leftovers. The amount you make will depend on how much you have left over! You will need:
Equipment:
- onigiri mould (If you do not have an onigiri mould, try using round cookie cutters as a mould instead
- frying pan
- chopping board and knife
- patry brush
Ingredients:
- sticky rice (this recipe will only work with sticky rice, any other kind and they will fall apart.)
- some Honey, Soy and Garlic Sauce with Chilli and Lime (or filling of your choice.)
- soy sauce
- nori (dried seaweed sheets)
- sesame seeds
- spring onions, trimmed and chopped
- chopped coriander
How to make the onigiri:
- Very important – you have to make these whilst the sticky rice is still warm. I do it straight after I have finished my meal – the rice will have cooled down enough to handle but be warm and sticky enough to stick together.
- Fill a dish with warm water and soak the wooden onigiri mould for a few minutes whilst you collect everything together. This will prevent the rice from sticking to the mould.
- Flake the leftover salmon and mix with some leftover honey and soy sauce.
- Take the mould out of the water and place on the work surface. Half fill each mould with rice and press together tightly filling the base the mould – pictures 1 and 2.
- Make a an indent in the centre of each rice ball for the salmon – picture 3.
- Place a little bit of the salmon mix in the indent – picture 4.
- Take more rice and fill the moulds, packing in the rice and pressing together tightly. Make sure the surface is level and the moulds are full – picture 5.
- Carefully push the onigiri out of the moulds onto a baking parchment lined flat surface such as a chopping board – picture 6.
- Cover with cling film and refrigerate until ready to cook, ideally for a few hours or overnight.
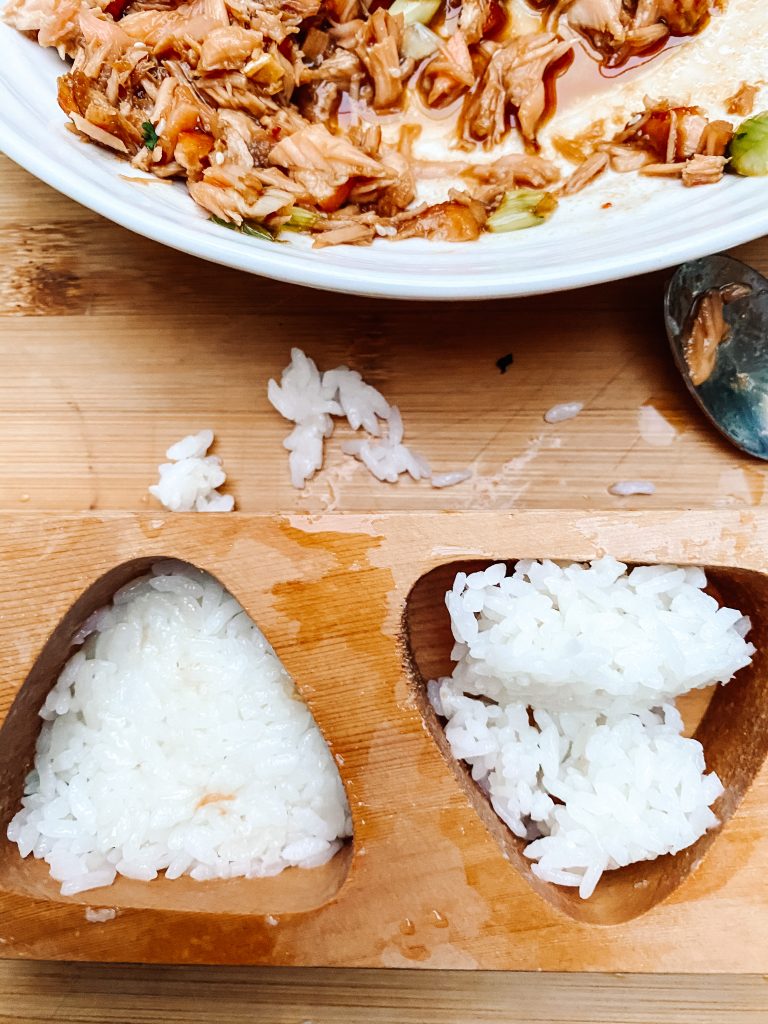
1 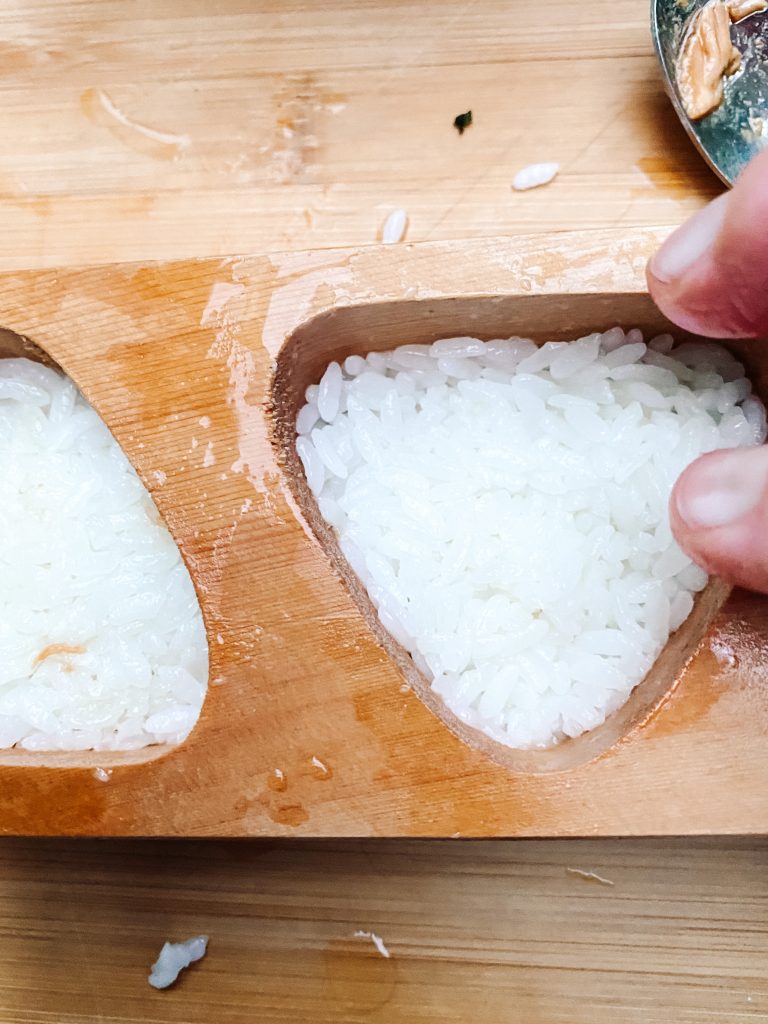
2 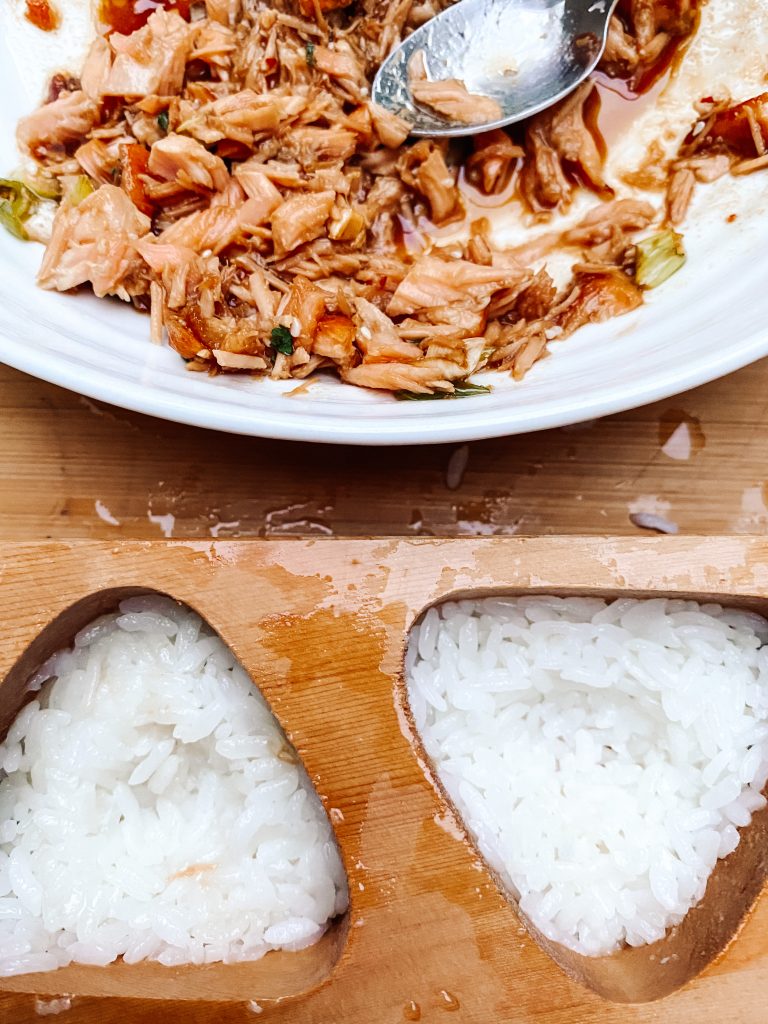
3 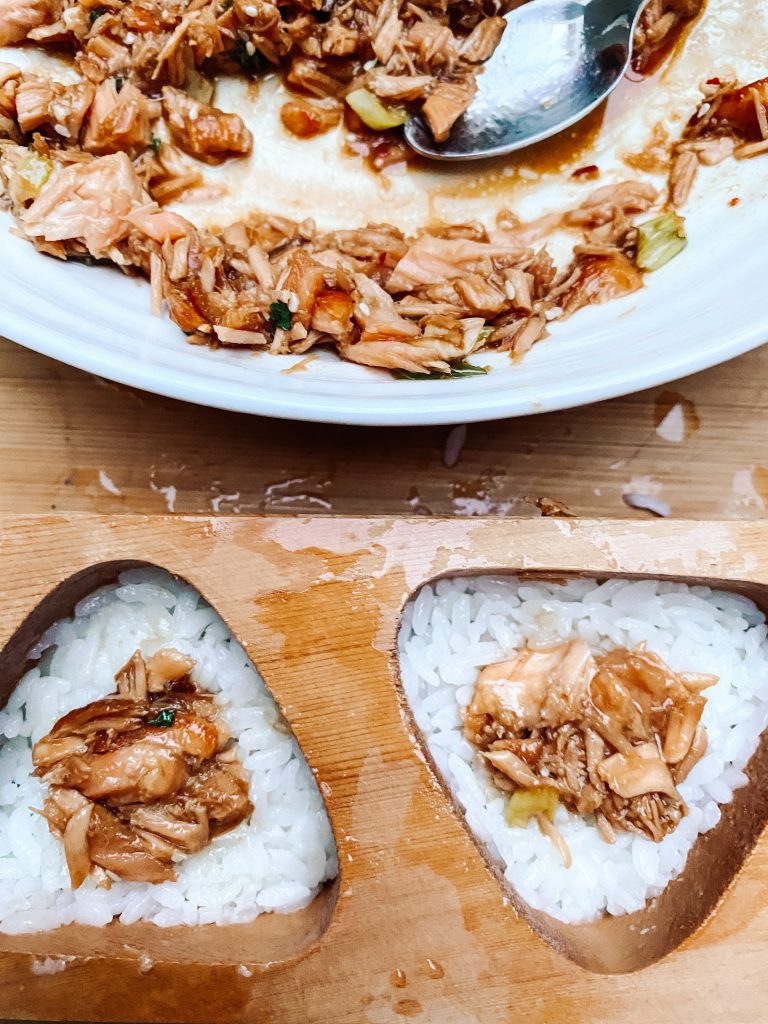
4 
5 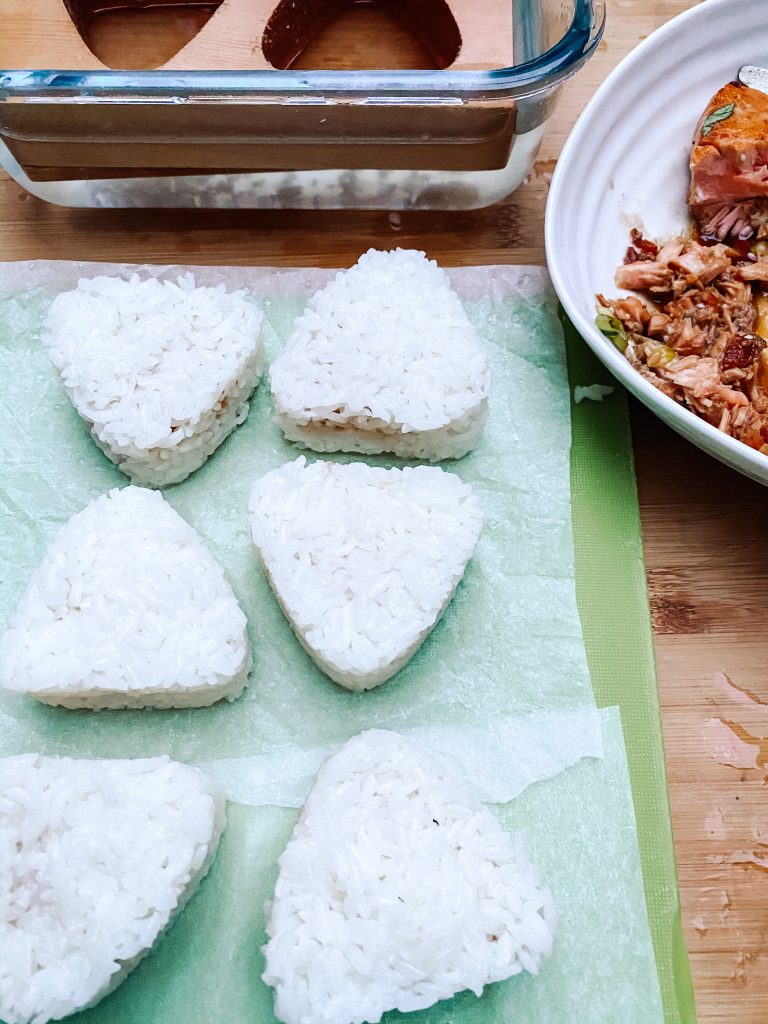
6
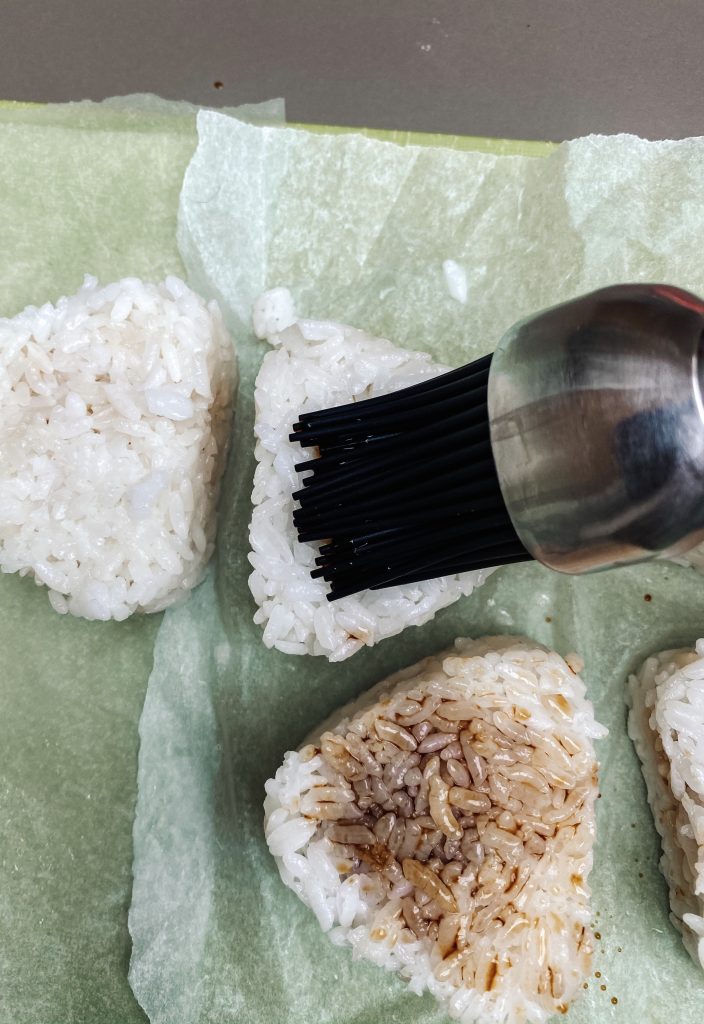
- When you are ready cook, take the onigiri out of the fridge and brush the tops with a little soy sauce – picture 7.
- Heat some oil, either vegetable or sesame oil or a mixture of the two, in a frying pan over a moderate heat. When hot, place one of the onigiri, soy sauce side down, in the oil – picture 8.
- Move the onigiri to the side of the pan to spread out the oil and then add the remaining onigiri to the pan, adding to the oil each time – picture 9.
- While cooking, brush the onigiri with more soy – picture 10.
- When the base of the onigiri is crisp and light brown, turn them over to cook on the other side – picture 11.
- Either:
- whilst the onigiri are cooking push them to one side of the pan and add a small sheet of nori (dried seaweed), cook for 1-2 minutes on each side – also picture 11, OR
- if there is no space in the pan, cook the nori after you have cooked the onigiri.
- Chop the toasted seaweed into small pieces – see picture 12.
- When the onigiri are cooked through and hot and both sides are a little crispy, serve on a warmed plate garnished with sesame seeds, chopped coriander, sliced spring onion and the toasted seaweed – picture 12.
7 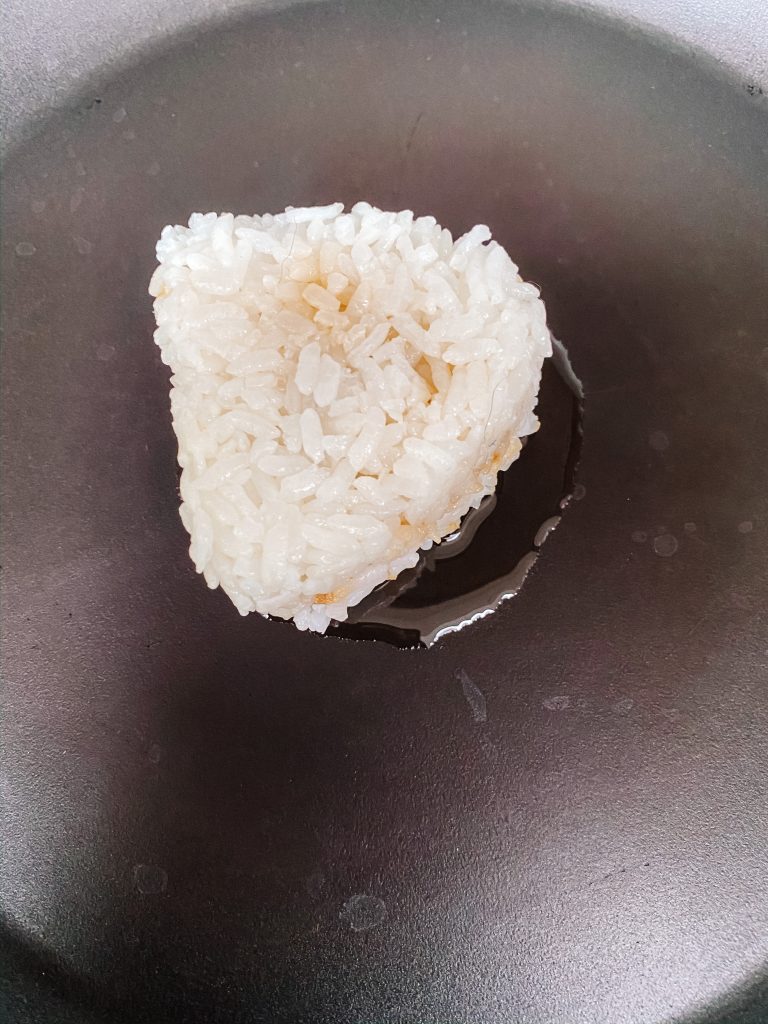
8 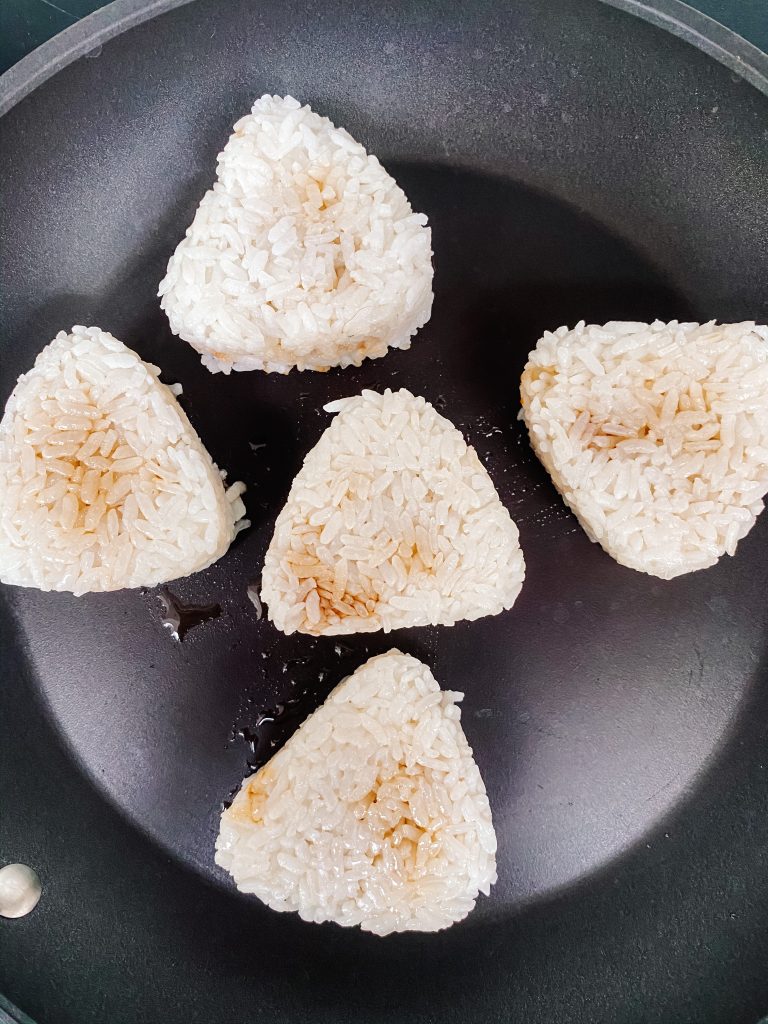
9 
10 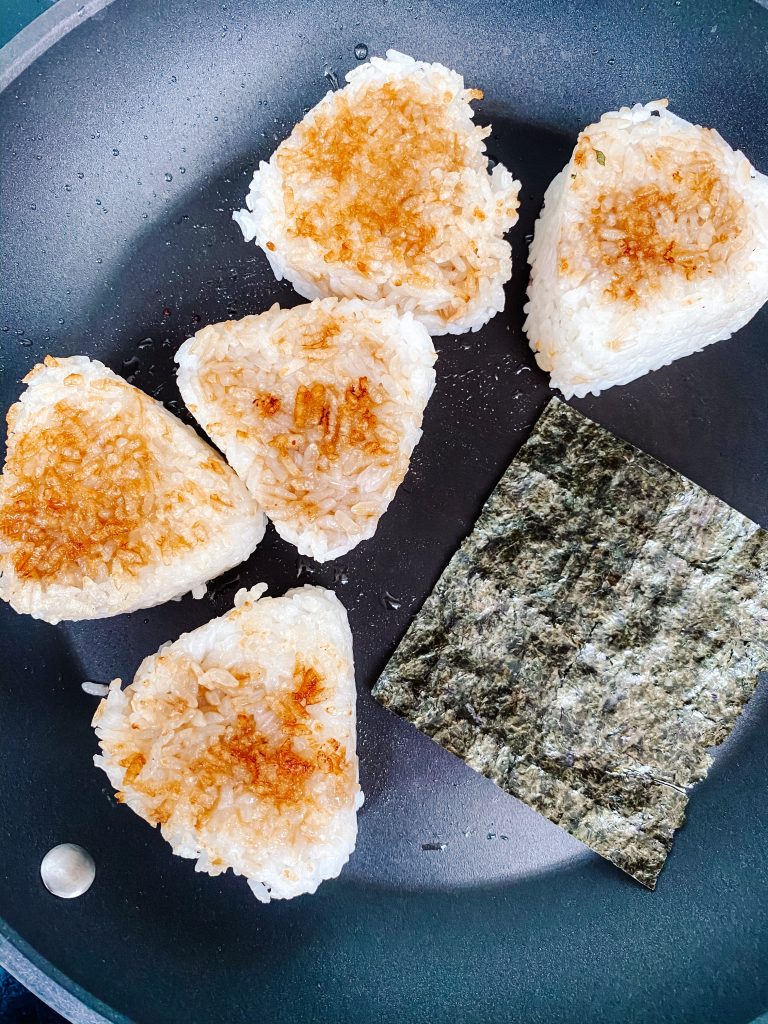
11 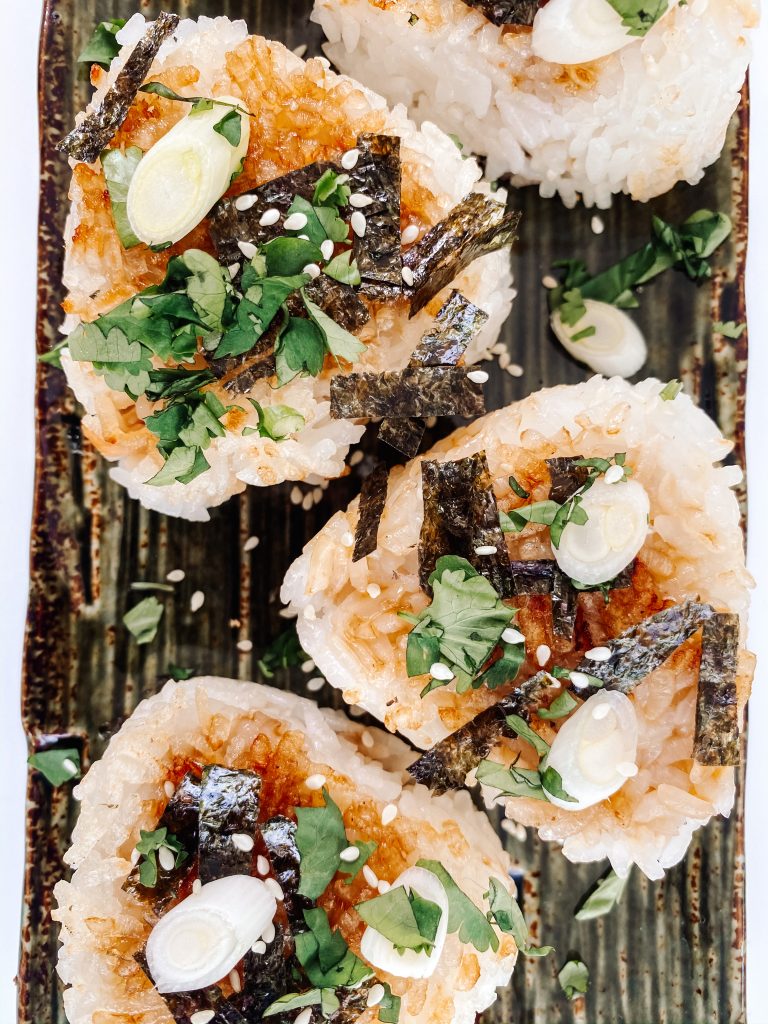
12
Made this recipe?
If you make this recipe, do please tag me on instagram @daffodilkitchen. You could also leave a comment in the box below.


You May Also Like

Norwegian Waffles with Sour Cream and Lingonberry Jam

Lamb Casserole with Garlic and Rosemary