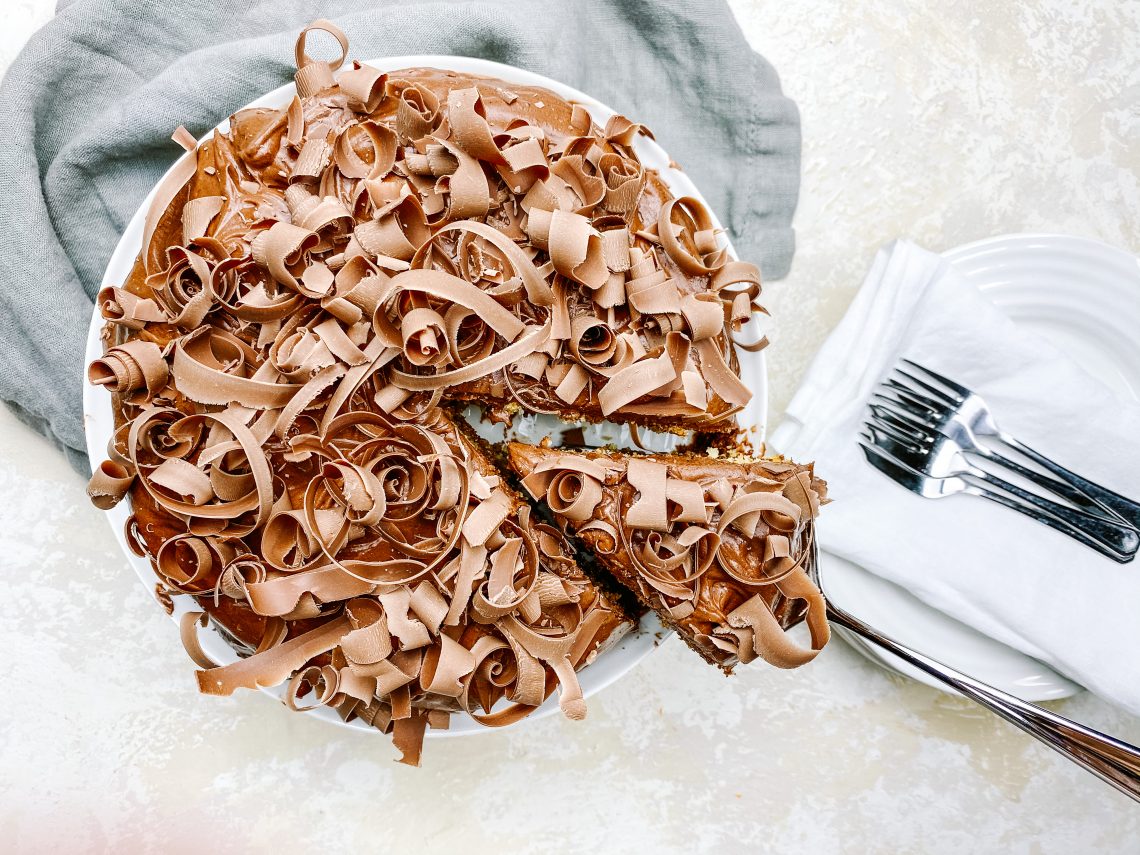
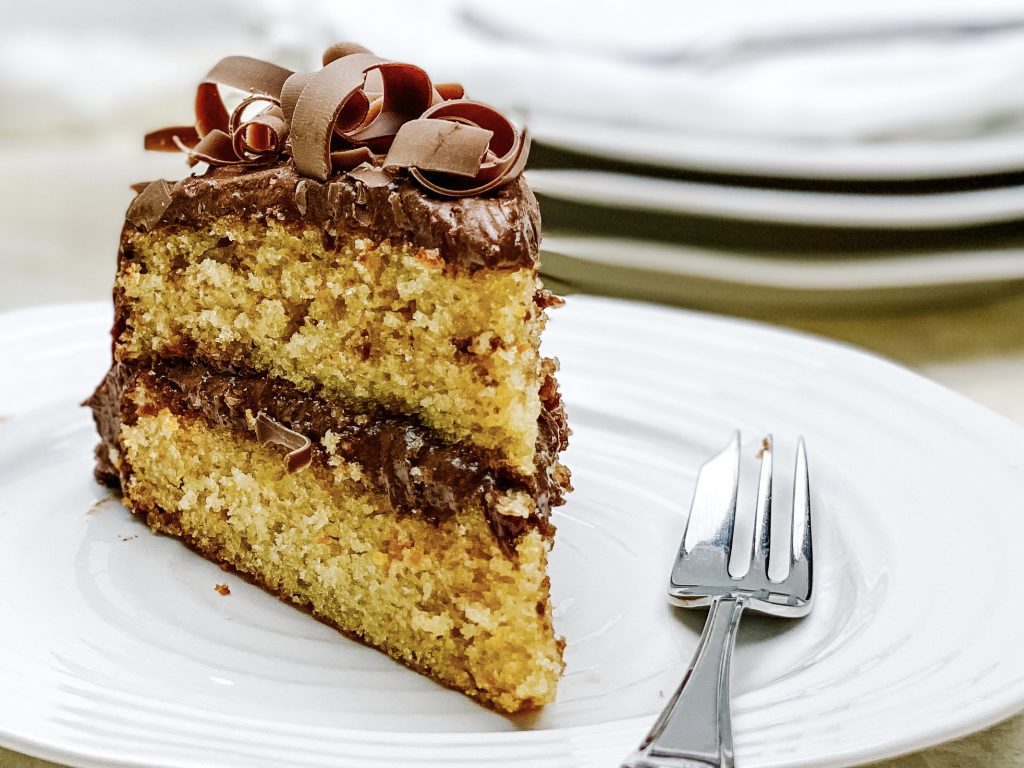
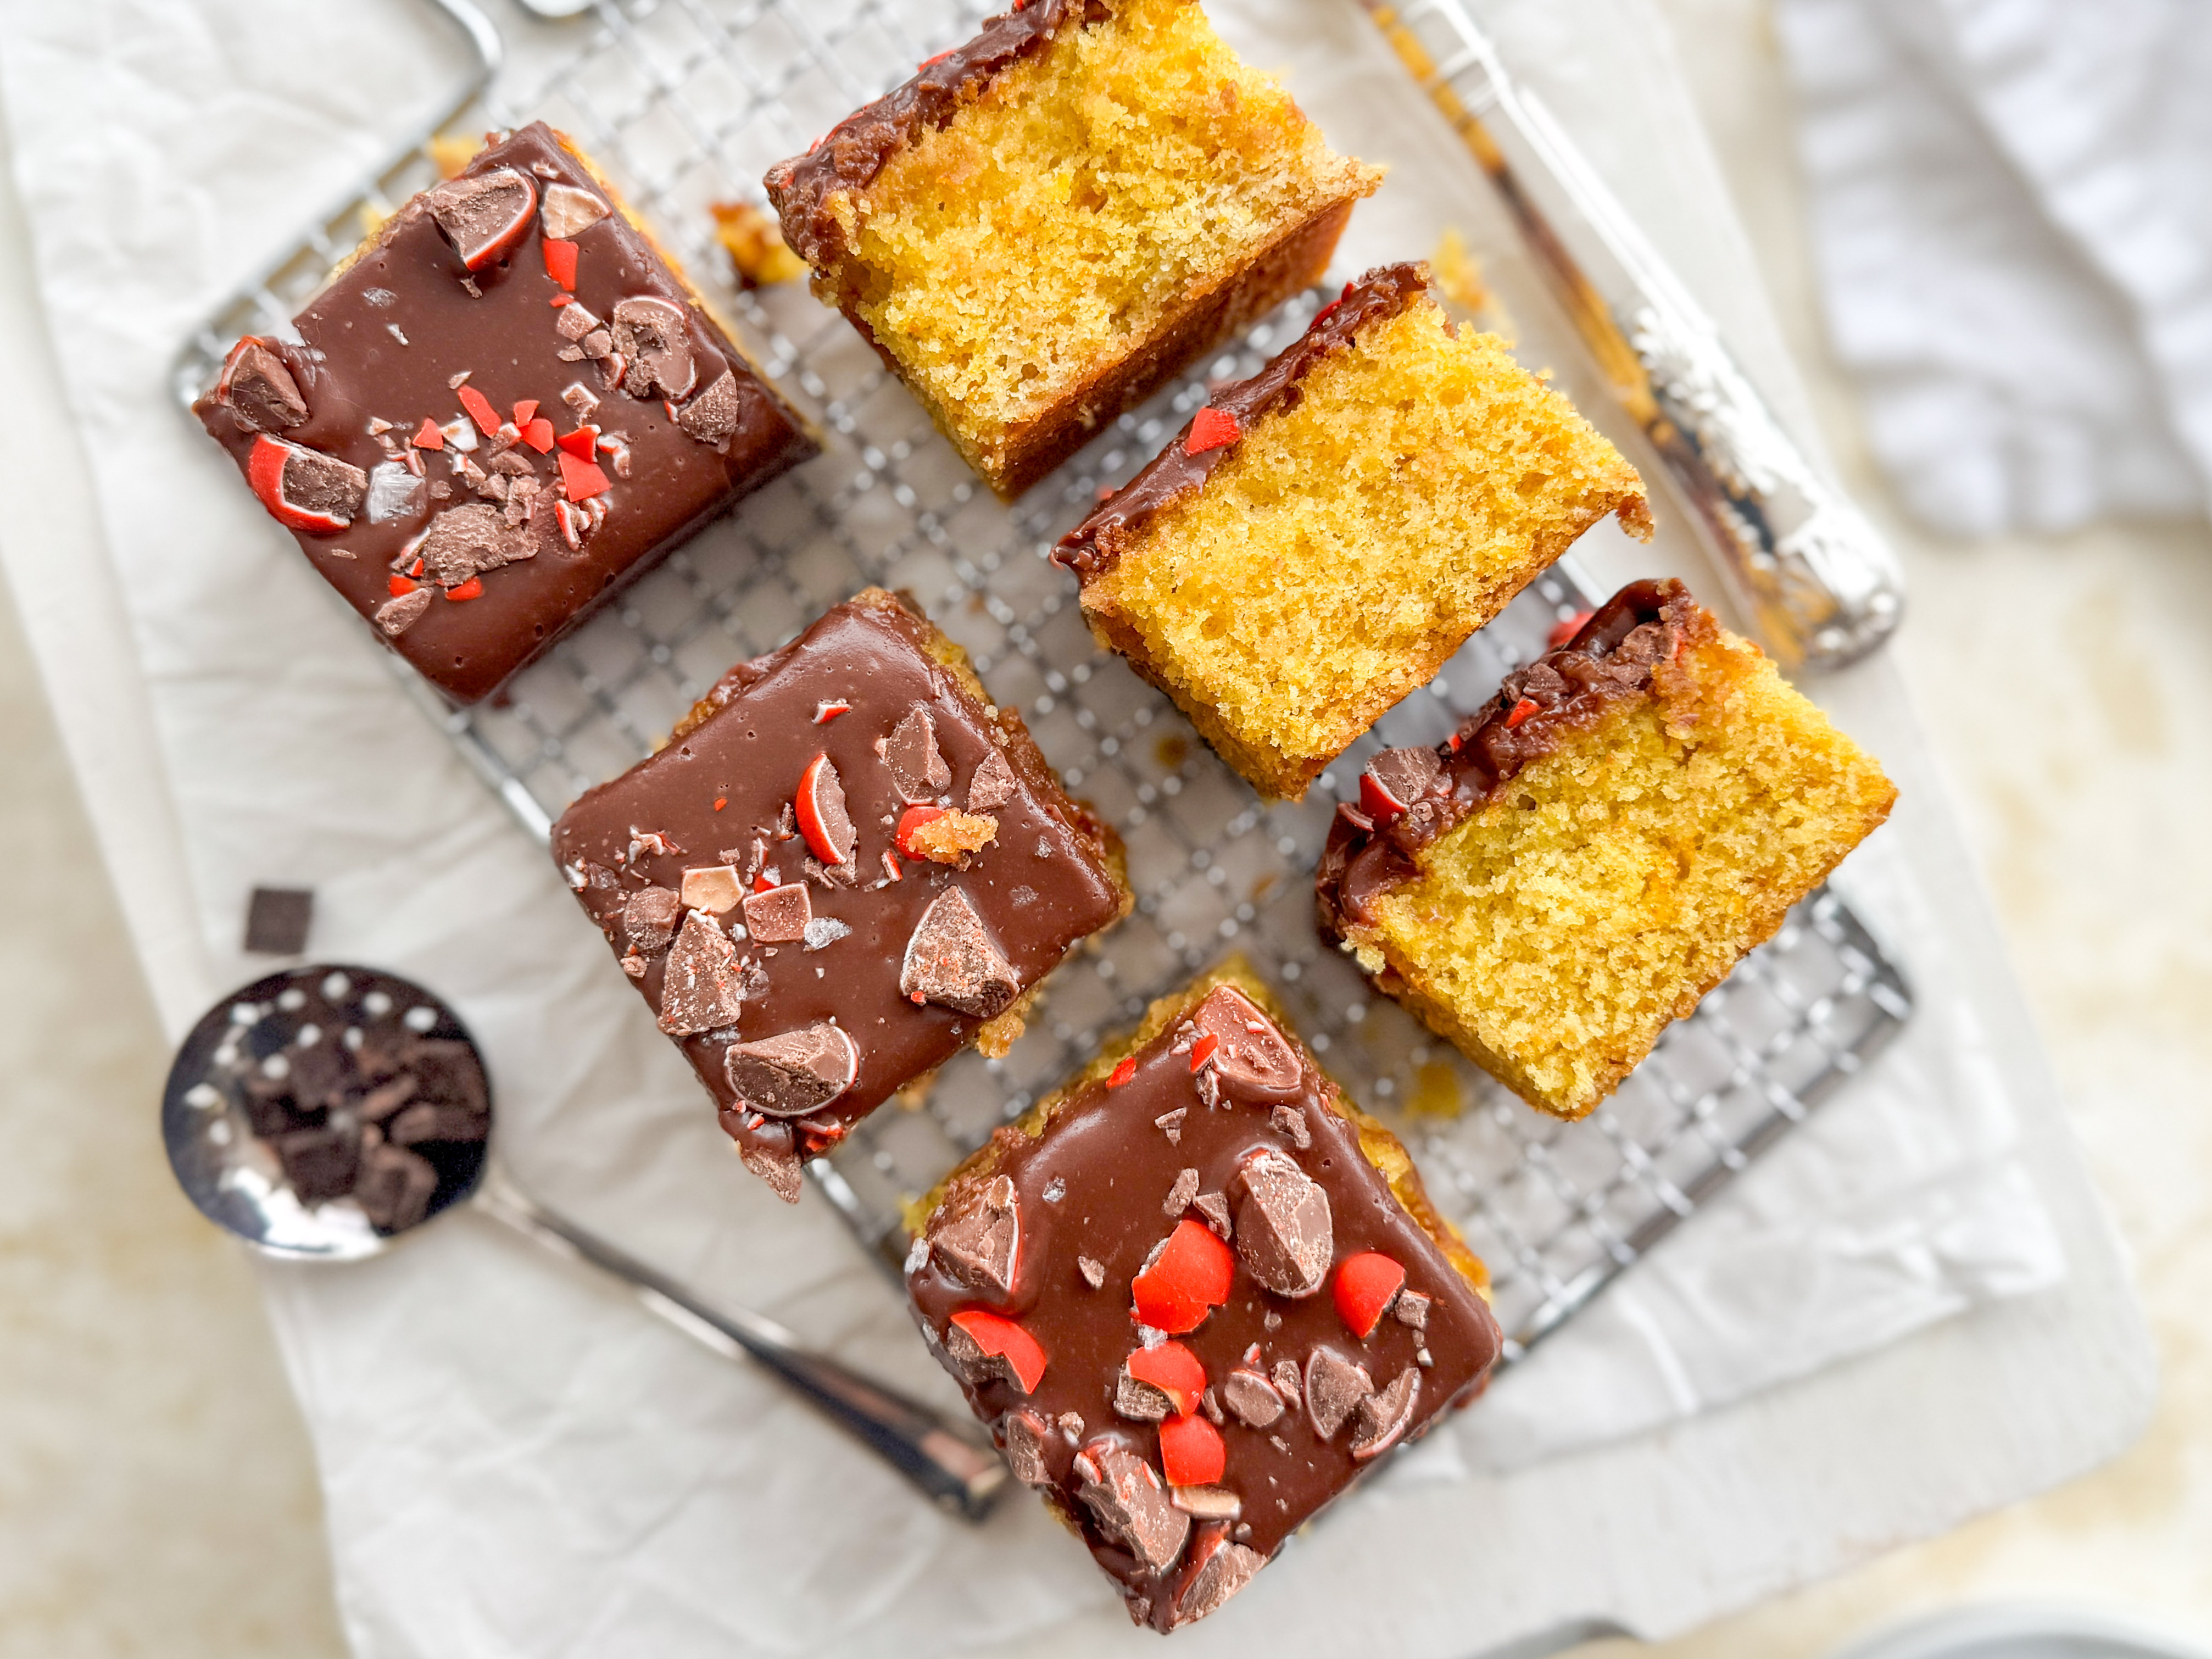
Fresh Orange Cake with Chocolate Sour Cream Frosting
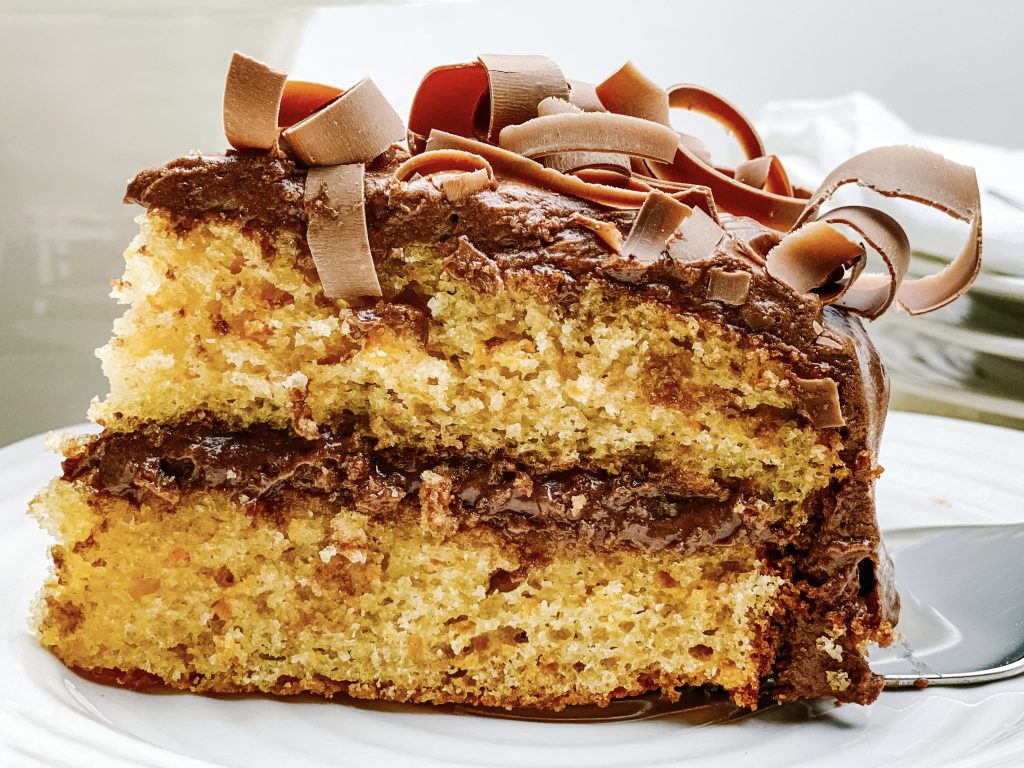
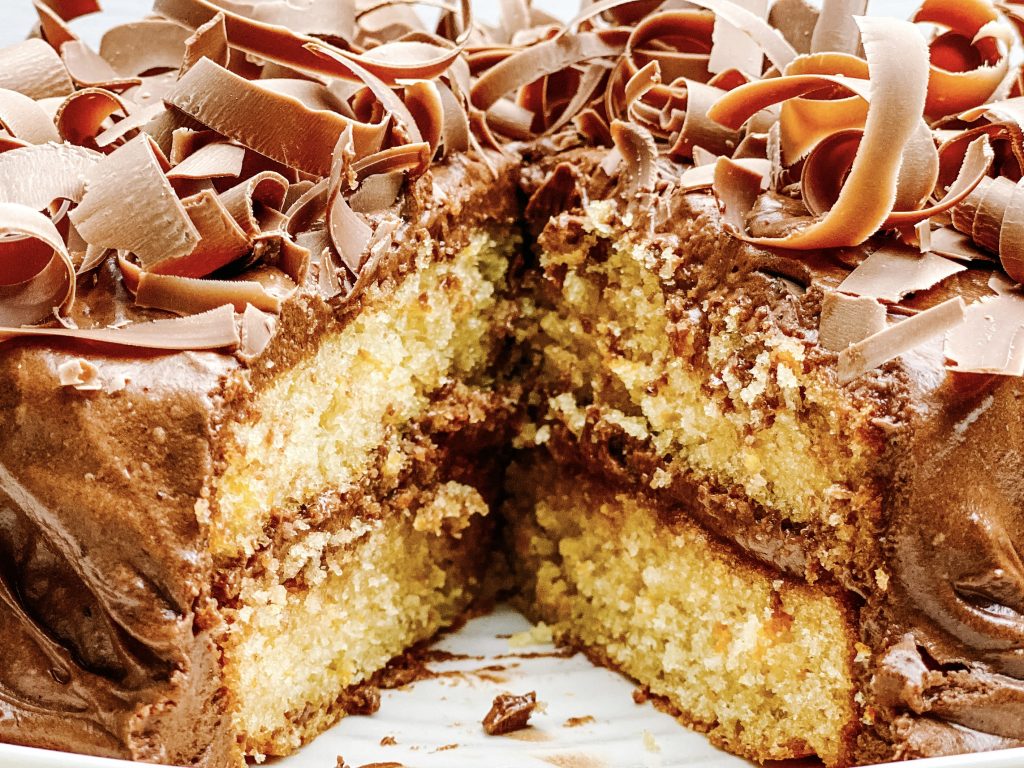
A light, fluffy sponge cake bursting with the sweet, refreshing flavour of fresh orange, covered and layered with an unctuous, yet light, chocolate frosting, elevated by a slight tang from the sour cream. An absolutely magical combination!
My new favourite cake! Yes, I may have said it before, but seriously, this sent Charlotte and me into raptures! Even Mr Daffodil, he who doesn’t like sweet things, (apart from profiteroles, Baba au Rhum, Crème Brûlée, anything with almonds or marzipan, trifle – I could go on!) adored it!
This sponge cake is based on my Butter and Oil Cakes – Core Recipe – a recipe I developed to be able to bake at altitude. Our house in Switzerland is at over 1600m altitude and this makes baking difficult. Some traditional bakes will not rise but cakes made with oil and yoghurt fare better. I love the texture of cakes made with oil but often find they lack the flavour of cake batters which use butter. This cake is the best of both worlds as it has more of the texture of the cakes made with oil but with the benefit of the butter flavour as well. Whilst it works wonderfully well at altitude, I regularly make it in London – I just love the light and airy texture and the fact it can be whipped up so quickly.
How to make Fresh Orange Cake with Chocolate Sour Cream Frosting
Collect all your ingredients together:
- unsalted butter, cubed
- plain/all-purpose flour
- cornflour
- fine salt
- baking powder
- bicarbonate of soda/baking soda
- caster sugar
- vegetable oil
- large egg
- vanilla extract (optional)
- orange juice
- natural yoghurt
- orange zest
How to make the cake:
- Using a microwave safe mixing bowl, melt the butter in a microwave. Alternatively melt the butter in a saucepan over a moderate heat. Leave to cool a little whilst you collect all the remaining ingredients together.
- Add the dry ingredients: first add the flour, cornflour and salt. Add the baking powder and bicarbonate of soda directly on top of the flour and then cover with the sugar.
- Add the remaining ingredients: oil, eggs, vanilla extract, orange juice and yoghurt.
- Beat with a balloon or electric whisk until incorporated – be careful not to over-mix. It should take 30 seconds to a minute and you may need to stop half way to scrape down the sides of the mixing bowl.
- Add the orange zest and fold in. You could mix this in with the other ingredients but I find it gets caught on the whisks and you lose a lot of that delicious flavour; by stirring it in, I ensure it is all added.
- The batter is quite liquidy. The easiest way to transfer the cake batter to the cake tins is by pouring it. I use a mixing bowl with a spout or you could transfer it to a jug. I sit the tins (one at a time) on top of the weighing scales and pour the batter in directly ensuring both tins have the same weight in batter.
- Cook in a preheated oven for 30 – 35 minutes or until cooked.
- Leave in the tin for 5 minutes, remove from the tins and then transfer the cakes to a cooling rack to cool completely before frosting.
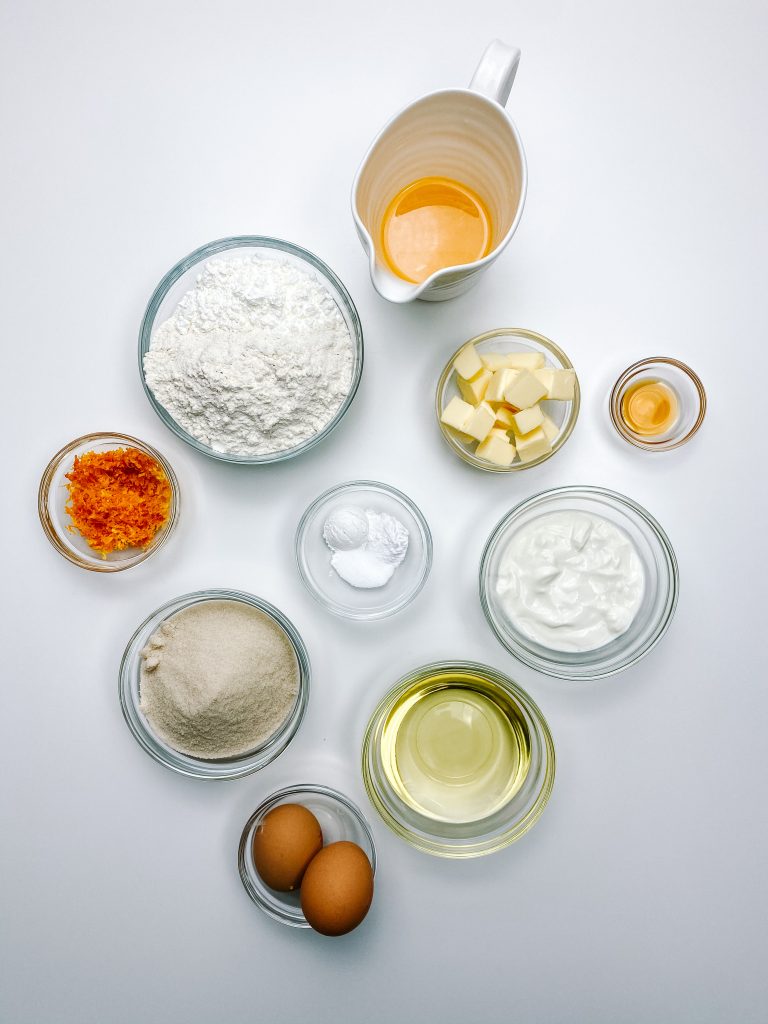
Ingredients 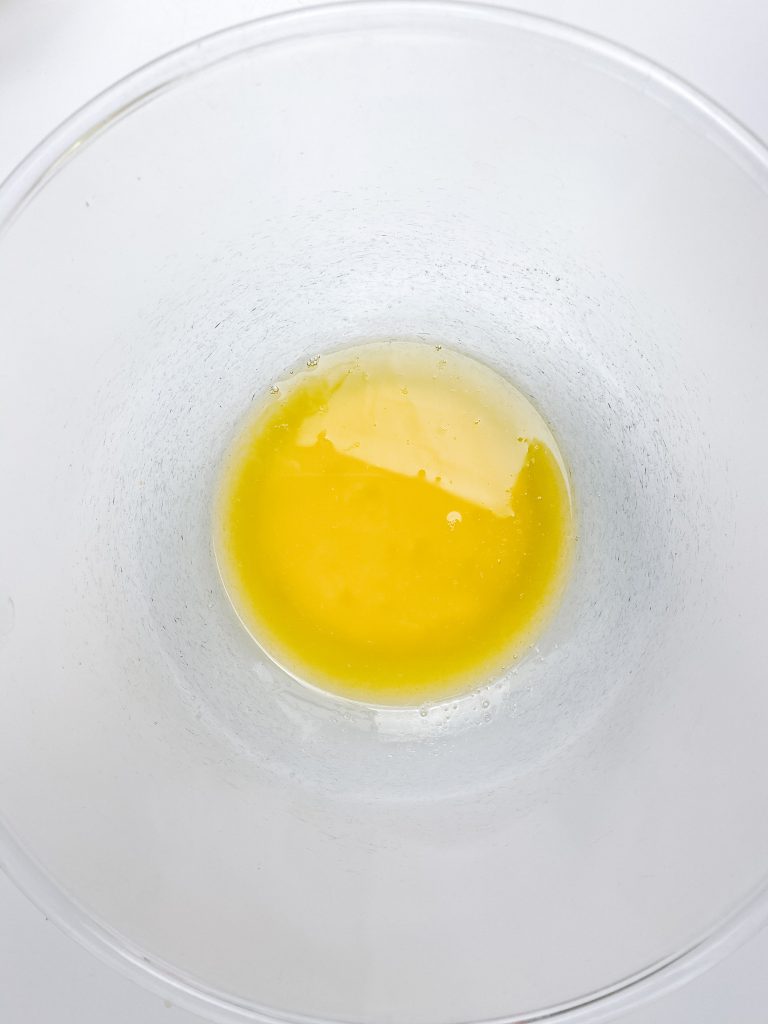
1 Melt the butter 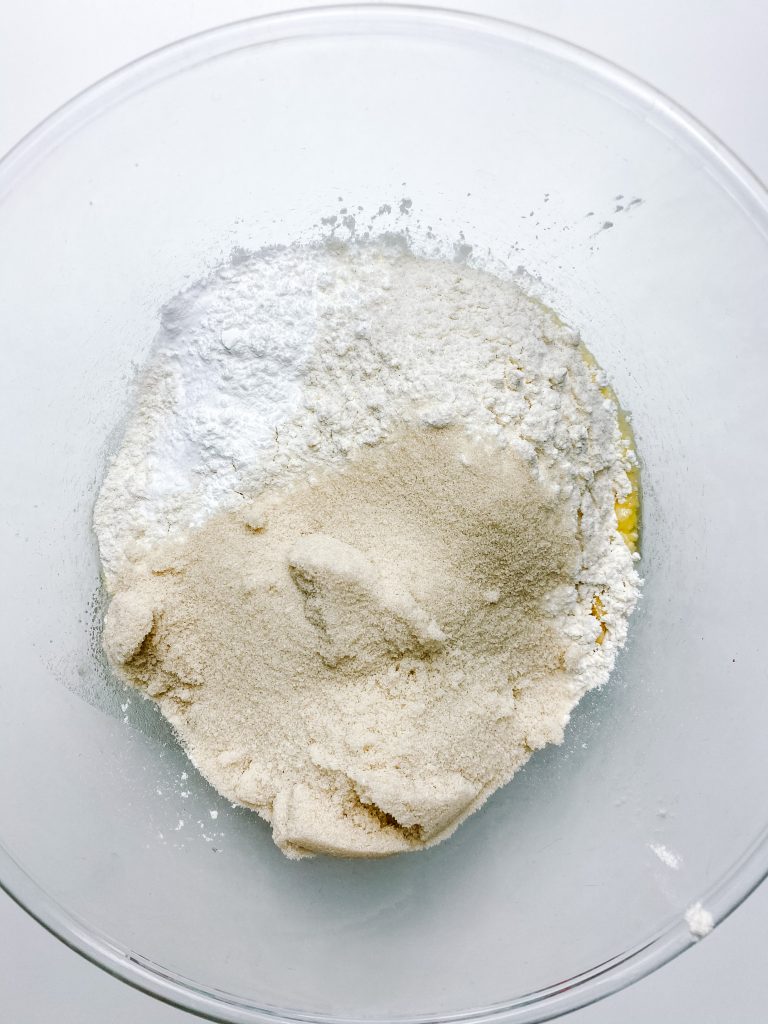
2 Add dry ingredients 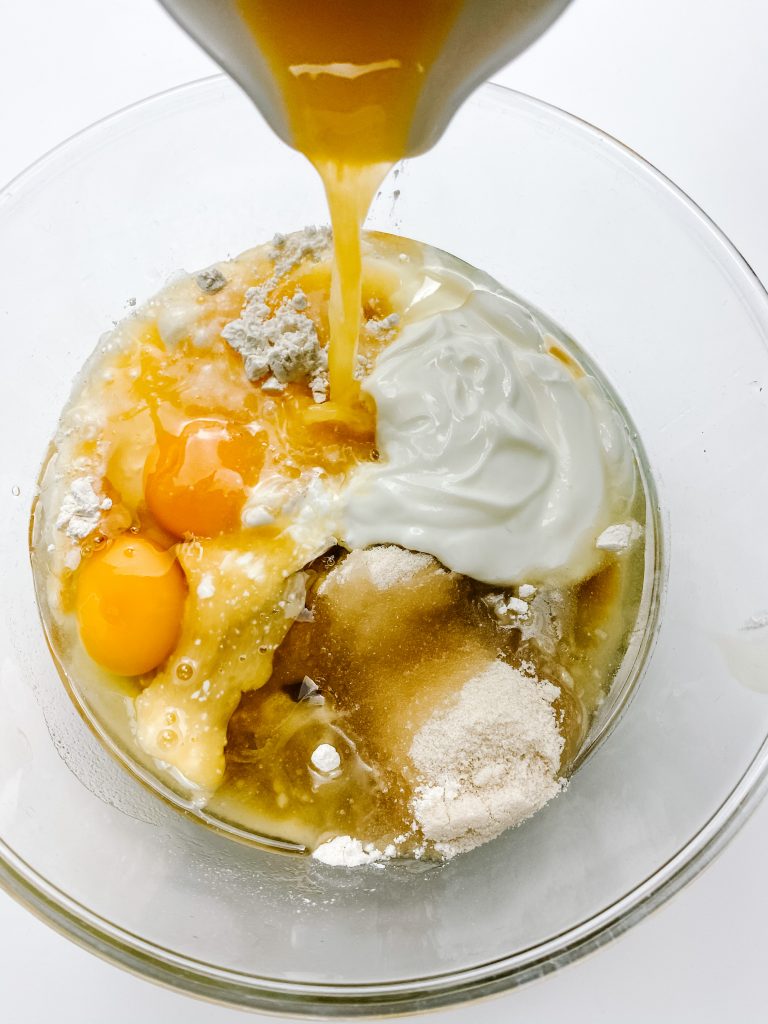
3 Next add the wet ingredients 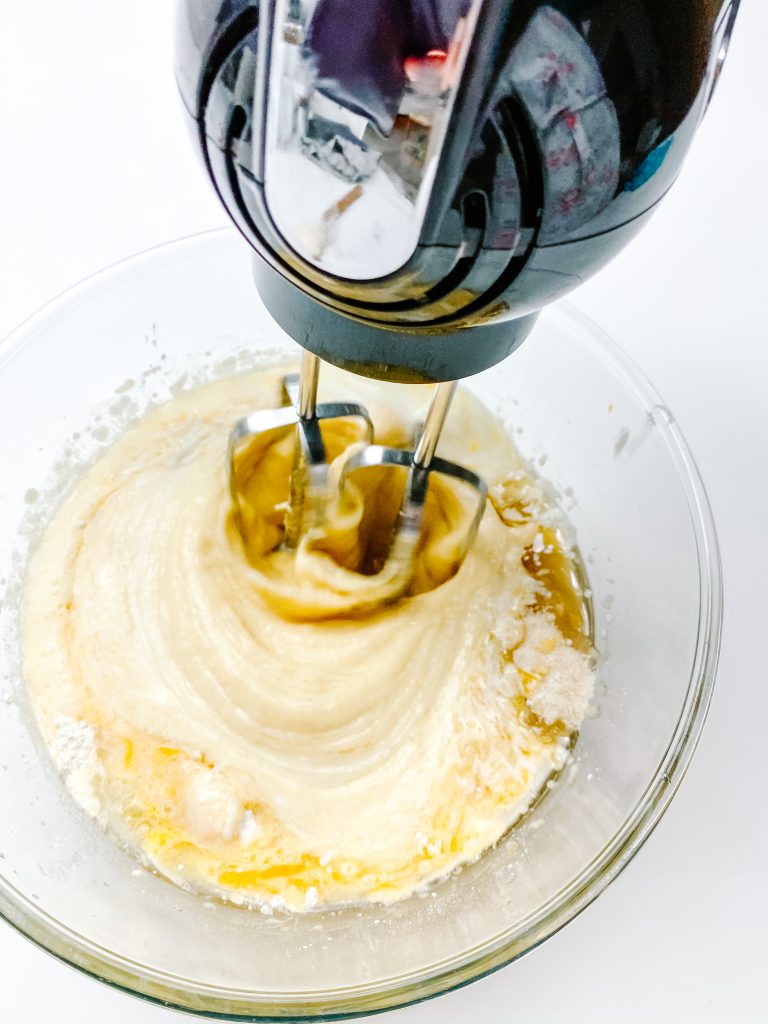
4 Beat 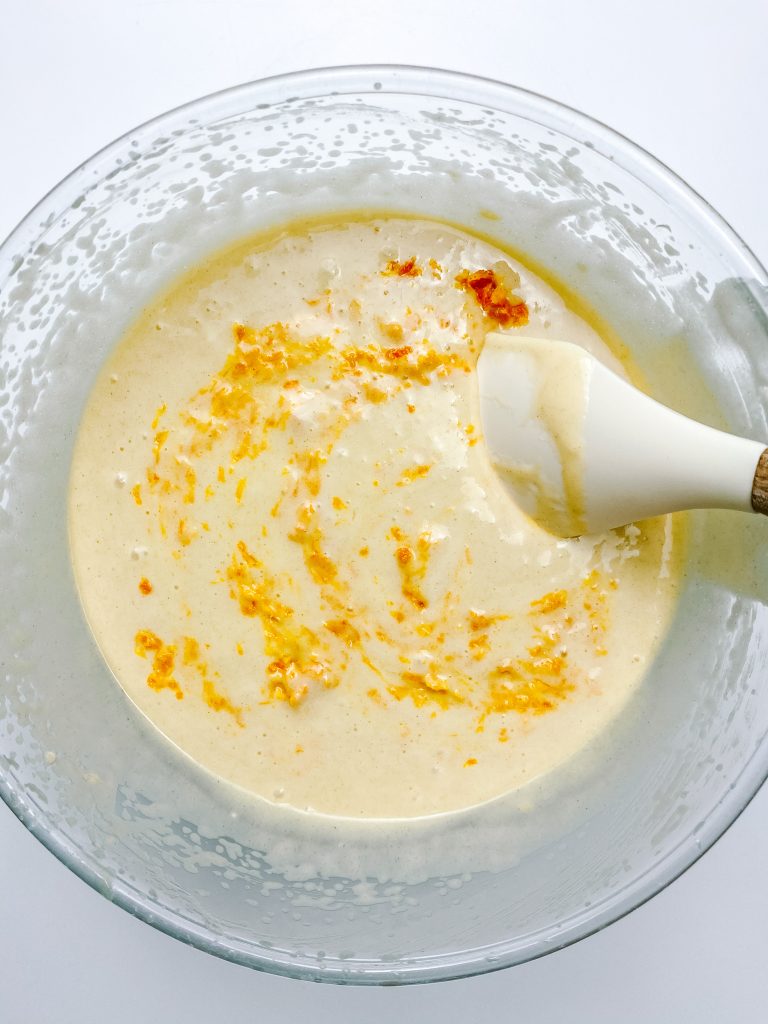
5 Fold in orange zest … 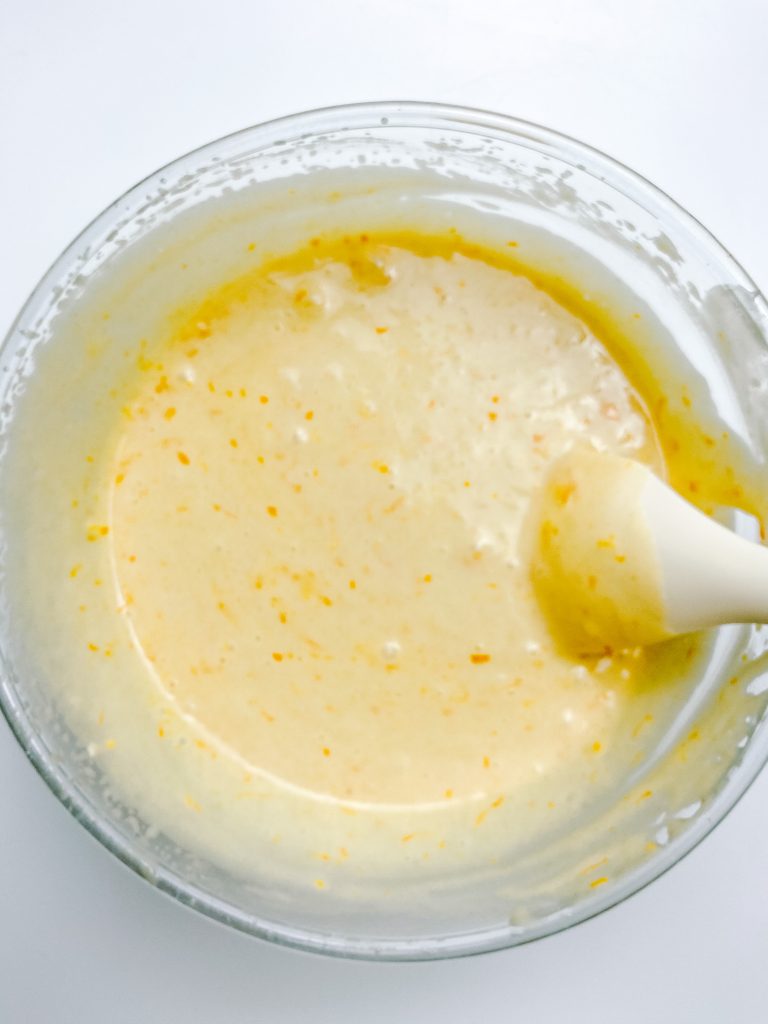
…. until evenly distributed 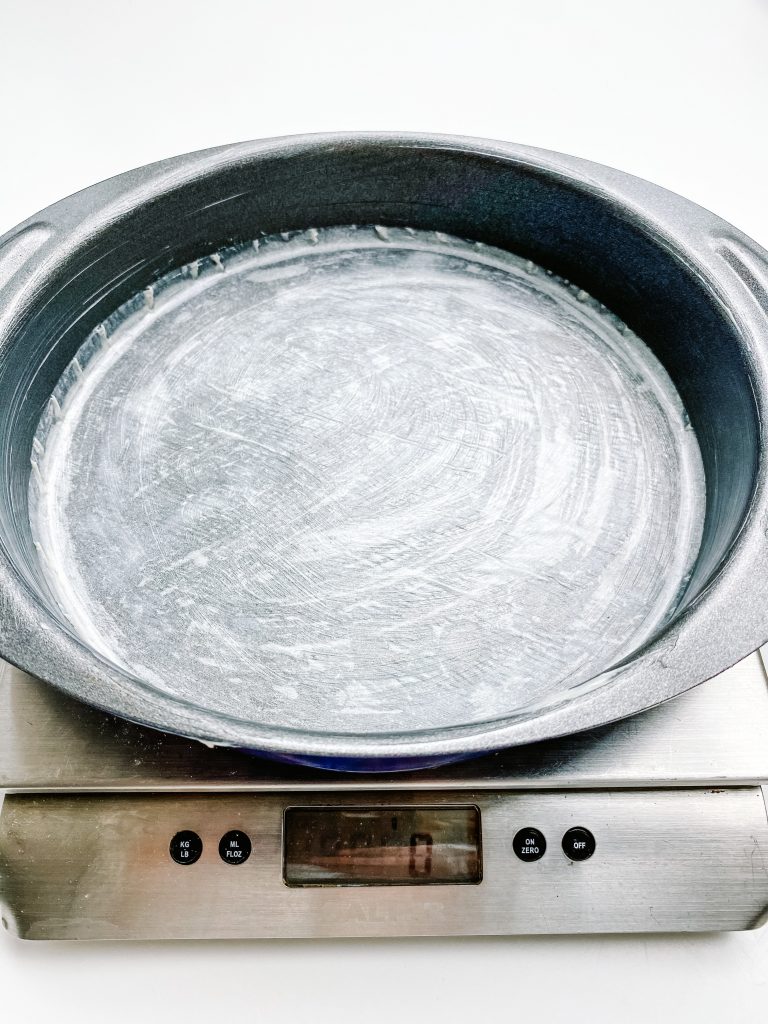
6 Divide between the tins 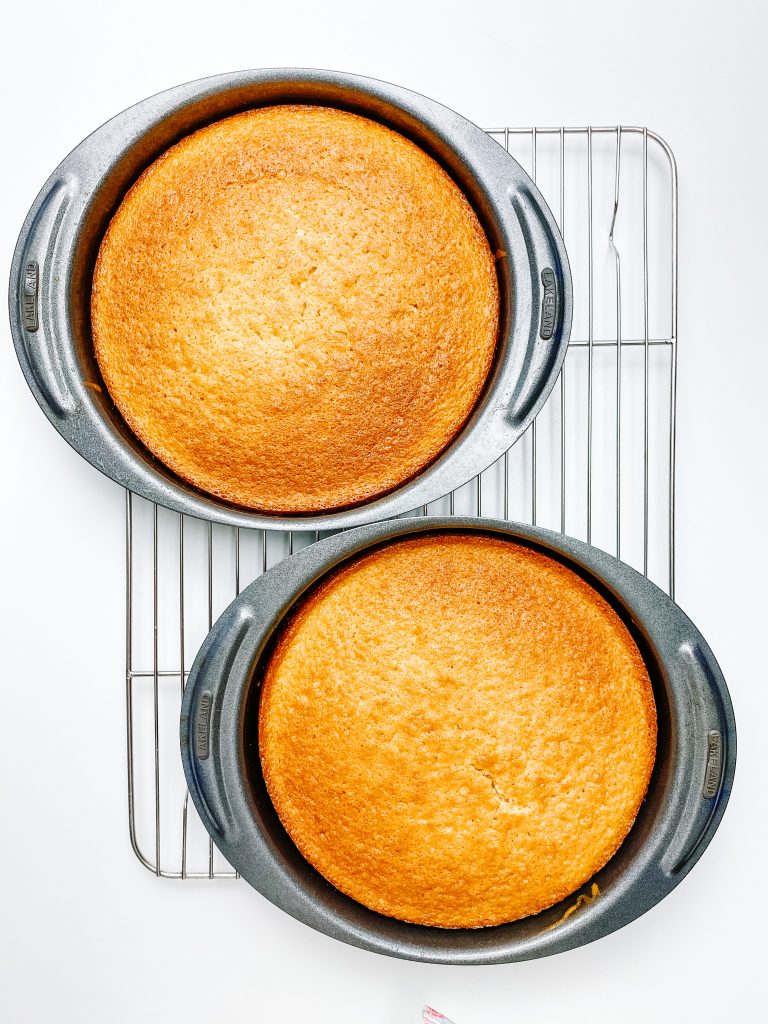
7 Bake
How to make the Chocolate Sour Cream Frosting:
Make the frosting when the cakes have thoroughly cooled.
Collect all your ingredients together:
- unsalted butter, at room temperature
- fine salt
- icing sugar
- cocoa, sieved
- sour cream
- instant coffee powder, sieved
How to make the frosting:
- Beat the butter and salt with an electric whisk until light and fluffy.
- Sieve in half the icing sugar and fold in roughly with a spoon or spatula – this is just to avoid a cloud of icing sugar making a huge mess in the kitchen!
- Beat with an electric whisk until light and fluffy.
- Sieve in the remaining icing sugar, and again, fold in by hand.
- Beat again – it will be quite stiff at this stage.
- Sieve in the cocoa and coffee and then add the sour cream.
- Stir in roughly by hand.
- Beat until thoroughly mixed and light and fluffy but do not over-mix.

Frosting ingredients 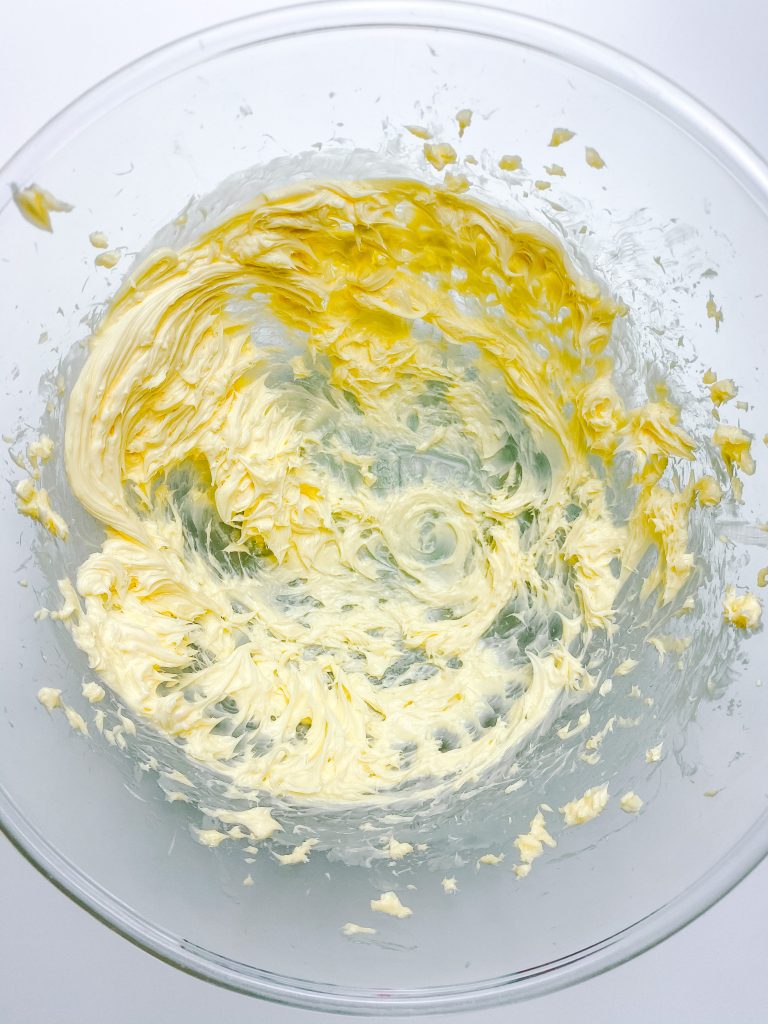
1 Beat butter well 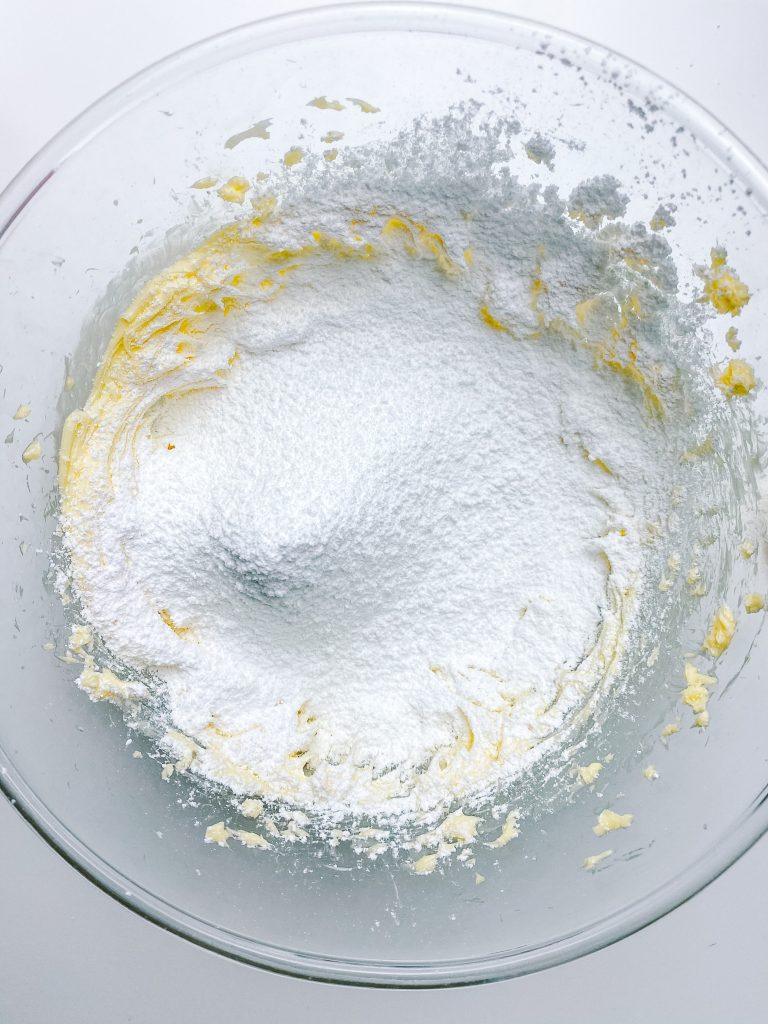
2 Add half the sugar and .. 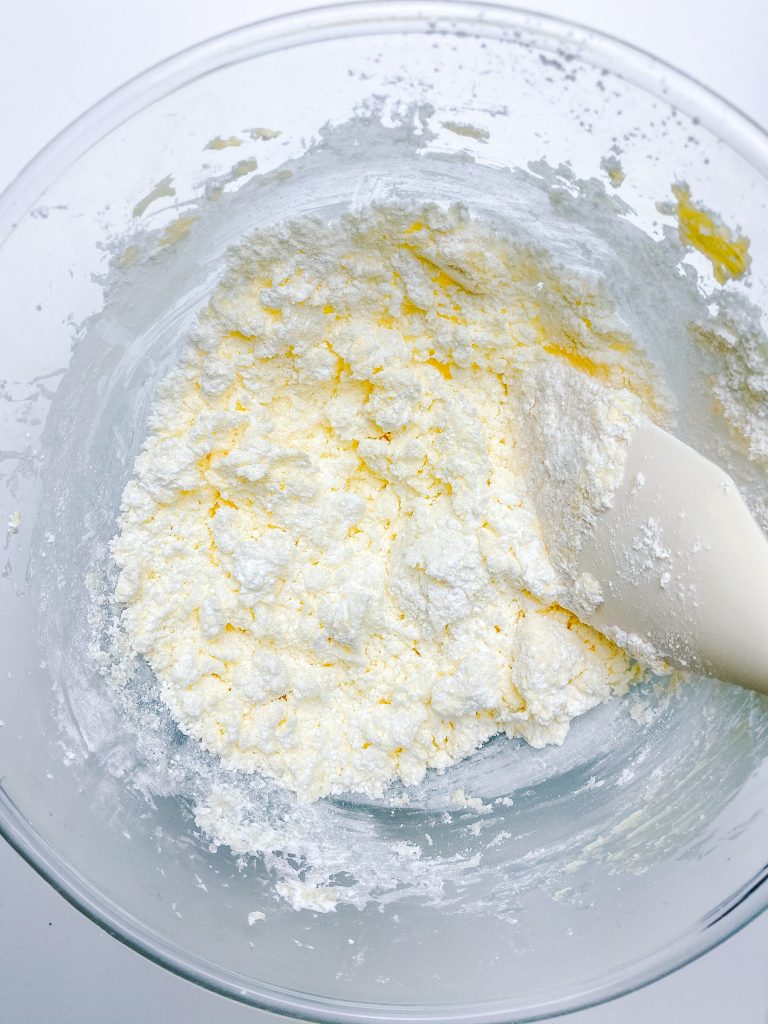
roughly fold in. 
3 Beat again until fluffy 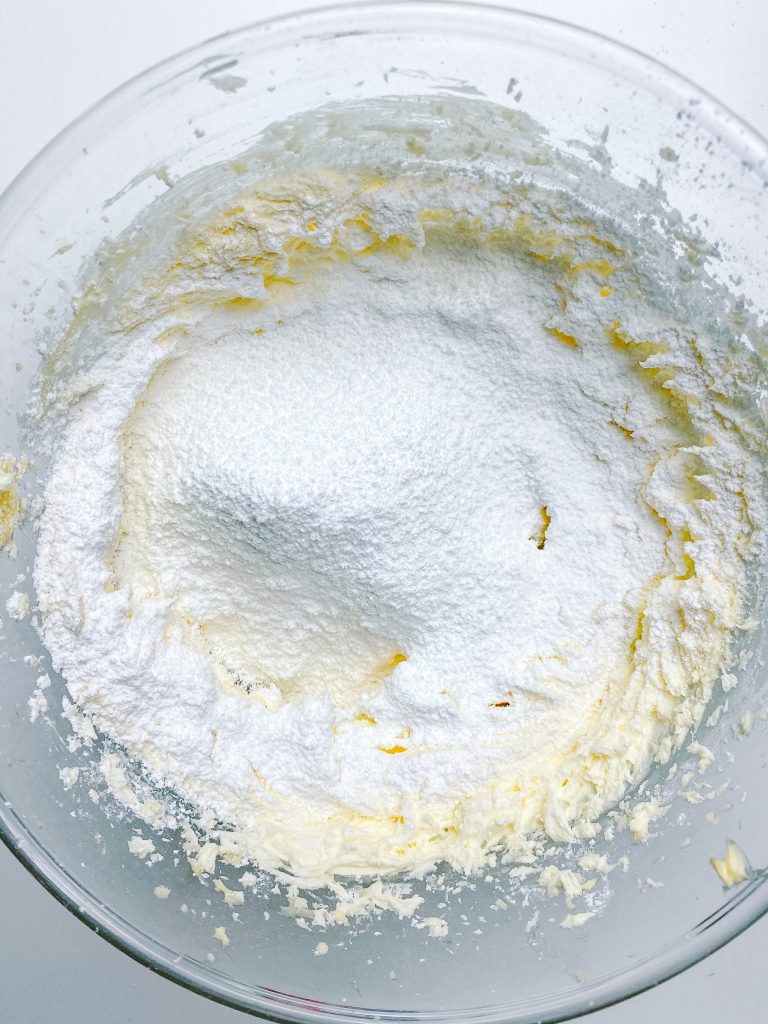
4 Add remaining icing sugar … 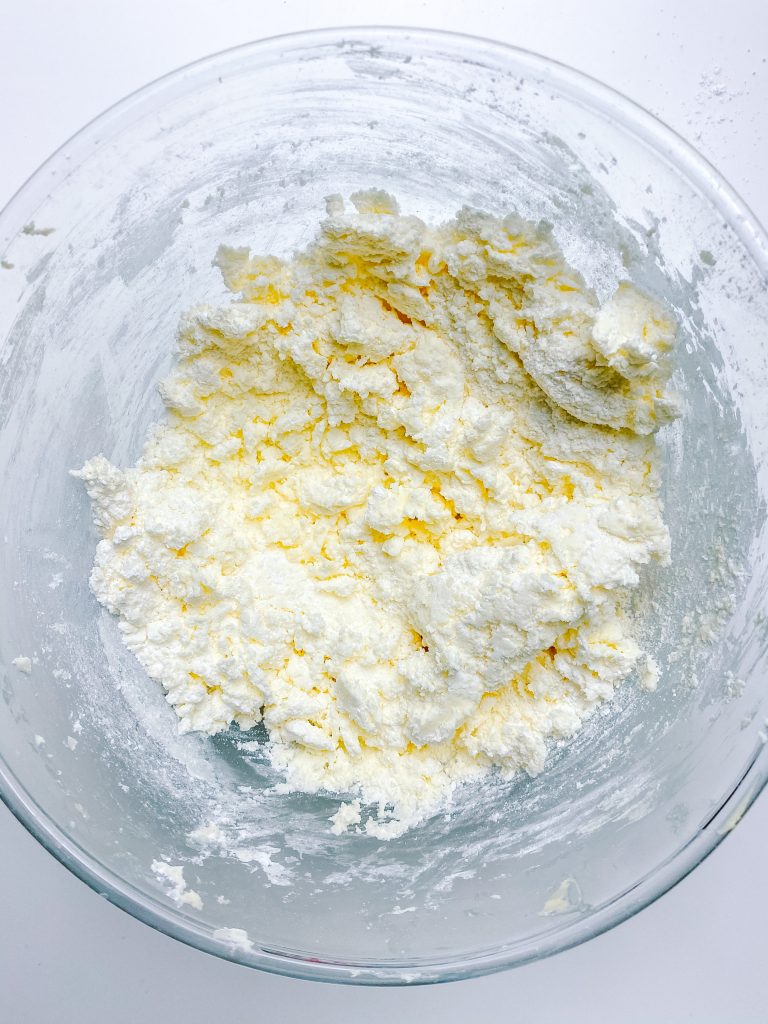
… and fold in by hand 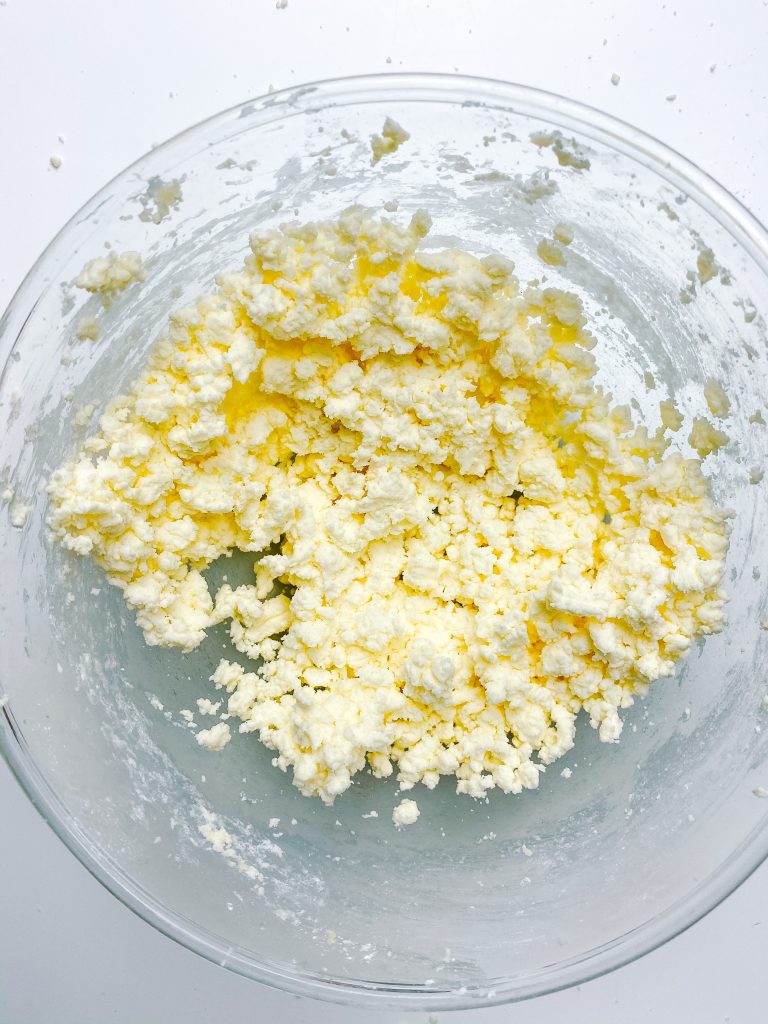
5 Beat again 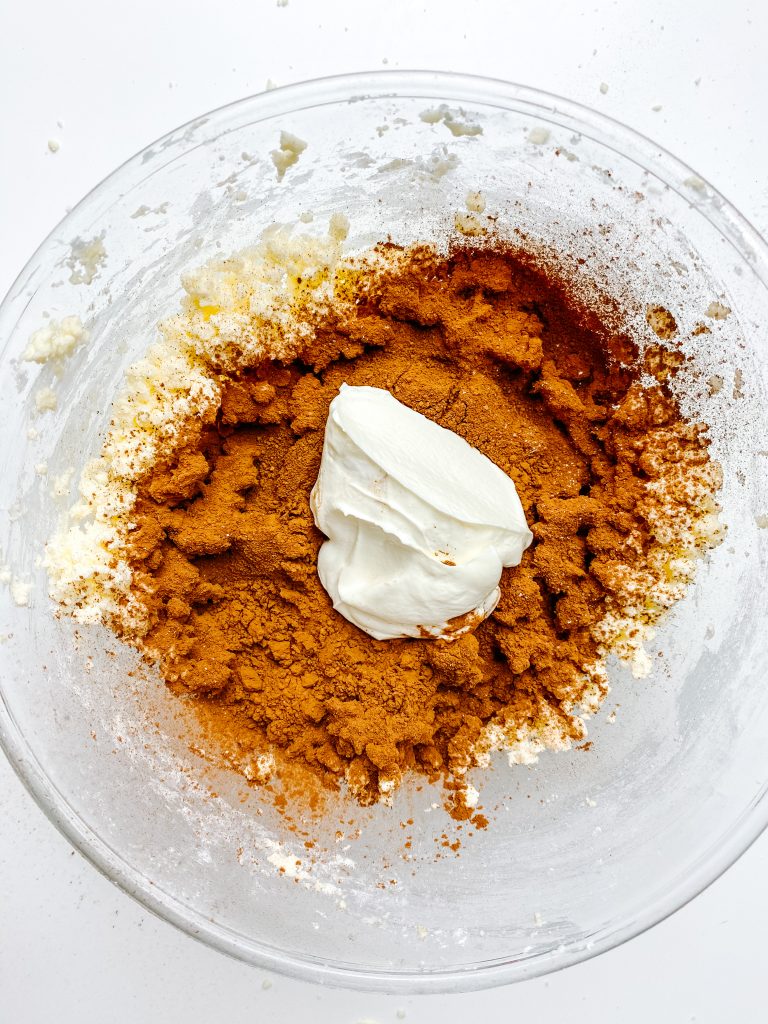
6 Add cocoa, coffee & sour cream 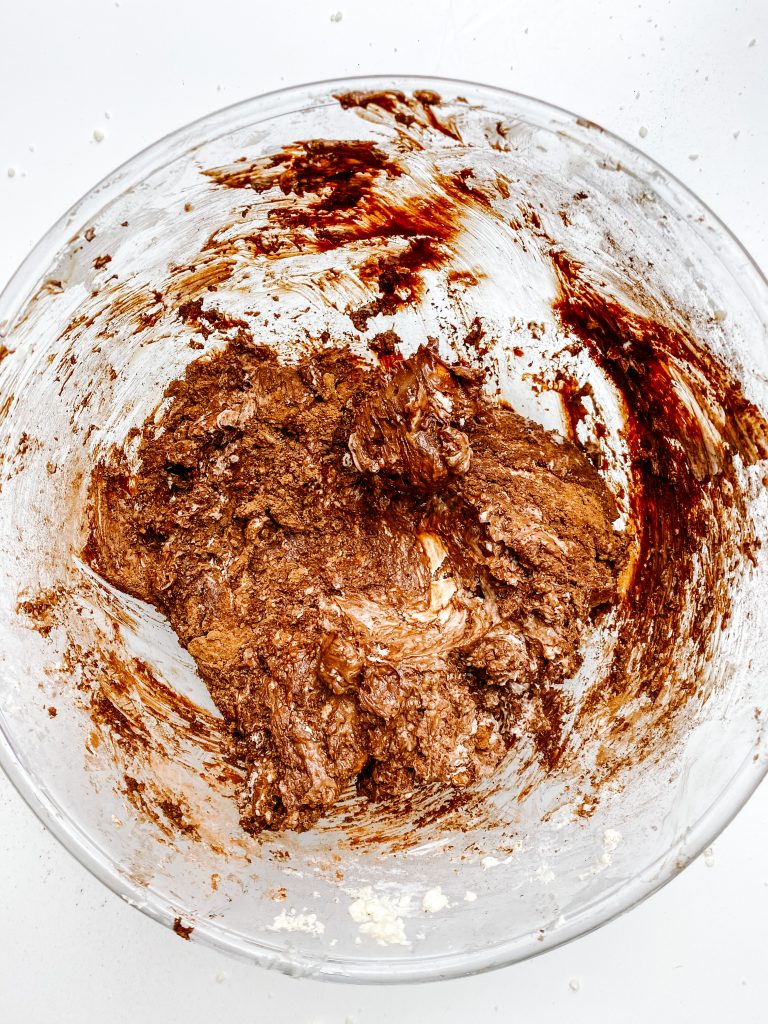
7 Mix by hand 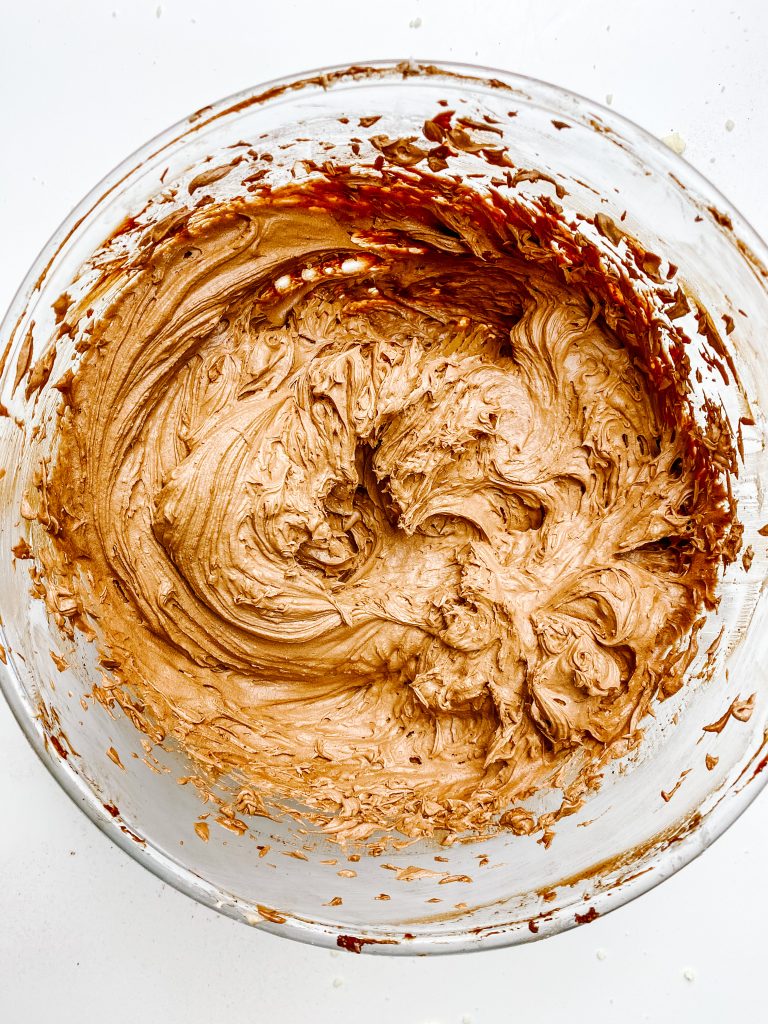
8 Beat until light and fluffy 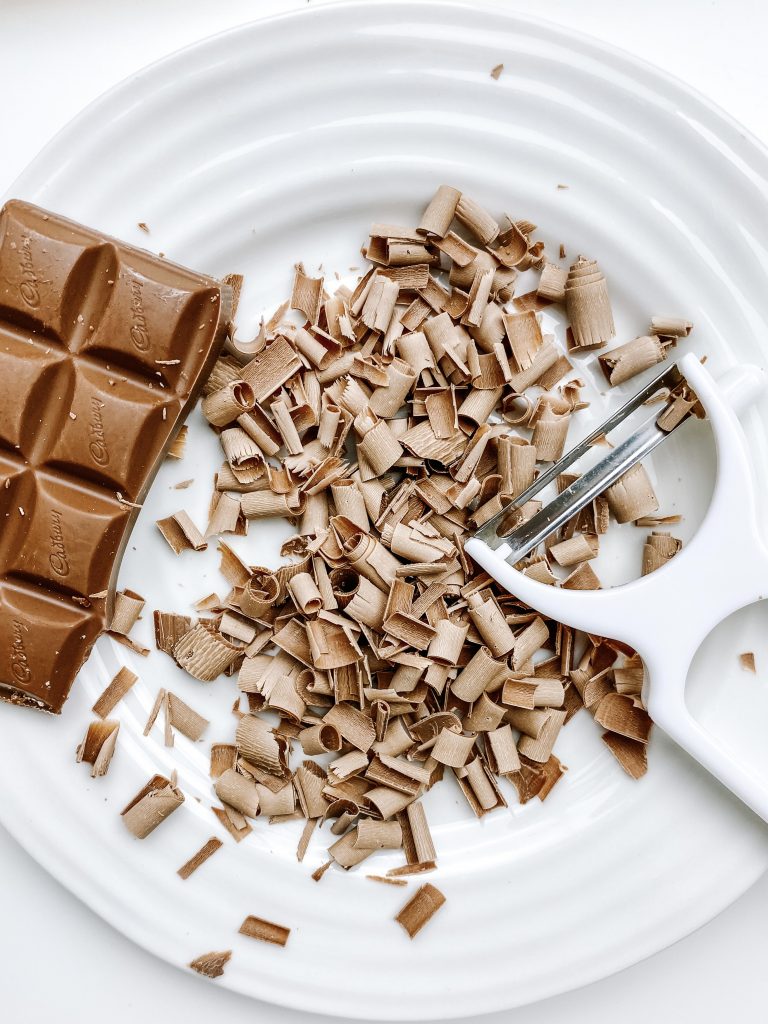
9 Chocolate Curls – when the chocolate is cold! 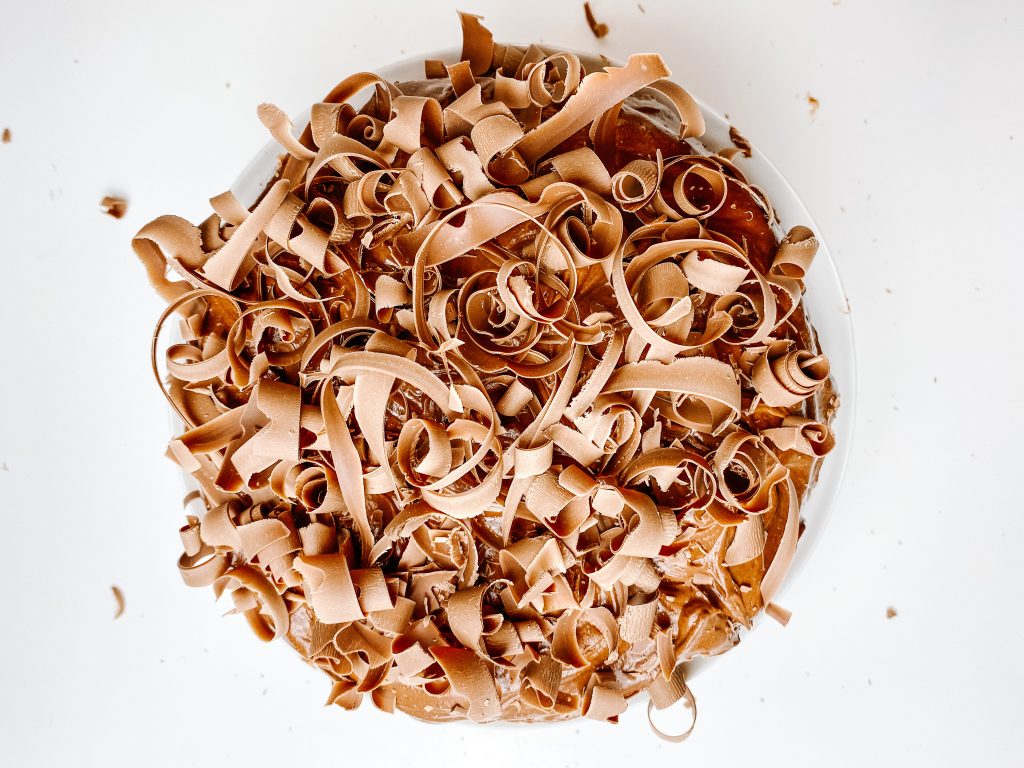
Fabulous chocolate curls
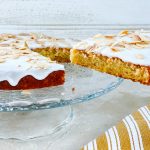
Assemble the cake:
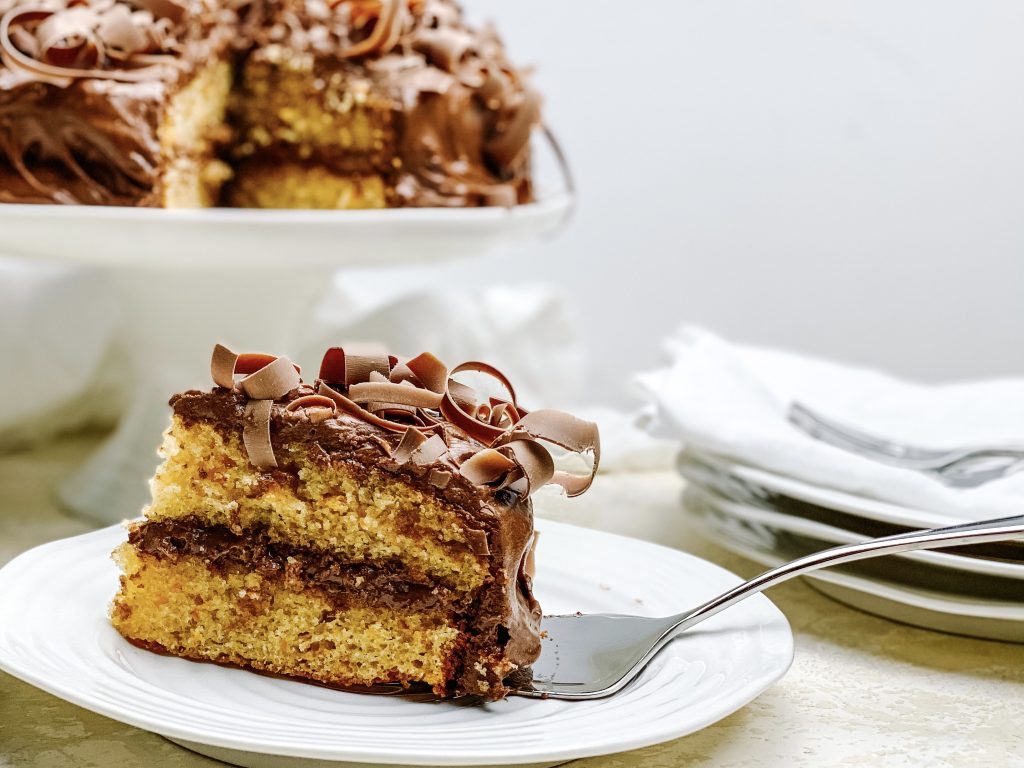
There is sufficient icing to cover the inside, top and sides of the cake with a thick layer of frosting. You can serve it as is, or you can add a layer of chocolate curls.
- Lay one of the cakes, top side down on a serving plate
- Top with ⅓ of the frosting and spread evenly over the surface of the cake.
- Place the second cake on top, top side up.
- Use the remaining icing to cover the top and sides of the cake
- Make a swirly pattern with a knife or the back of a spoon.
- This is a very soft icing – you will not be able to pipe it.
- Serve as is or decorate with chocolate curls.
Milk Chocolate Curls:
I make milk chocolate curls simply using my potato peeler – to get these long fabulous curls, the chocolate should not be cold. It needs to be at room temperature, in a warm room which is around 22-24C. Much warmer, and it will be too soft to work with. Colder, and you will get much smaller curls but they will still be pretty.
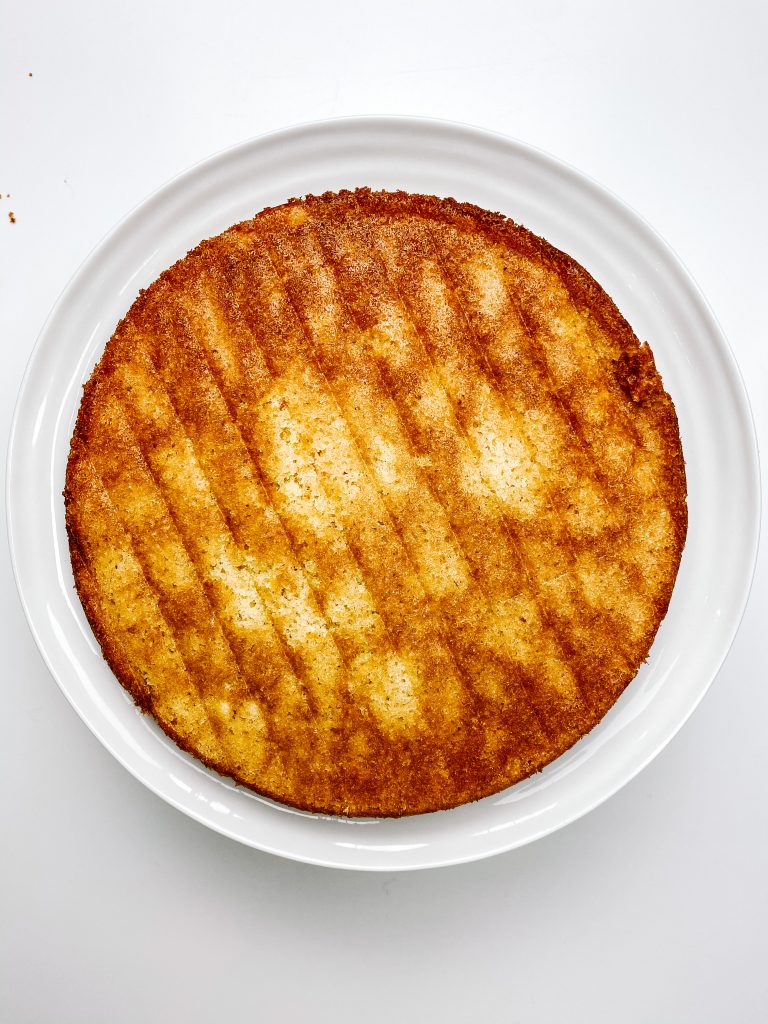
1 Lay one of the cakes, top side down on plate 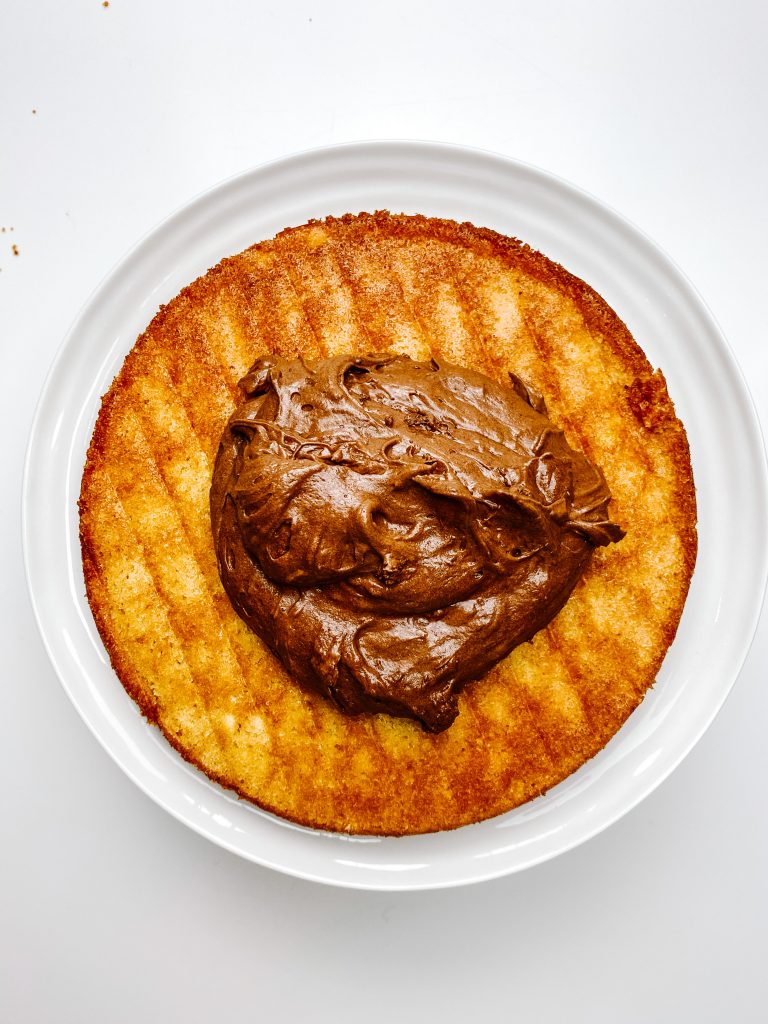
2 Top with ⅓ of the frosting .. 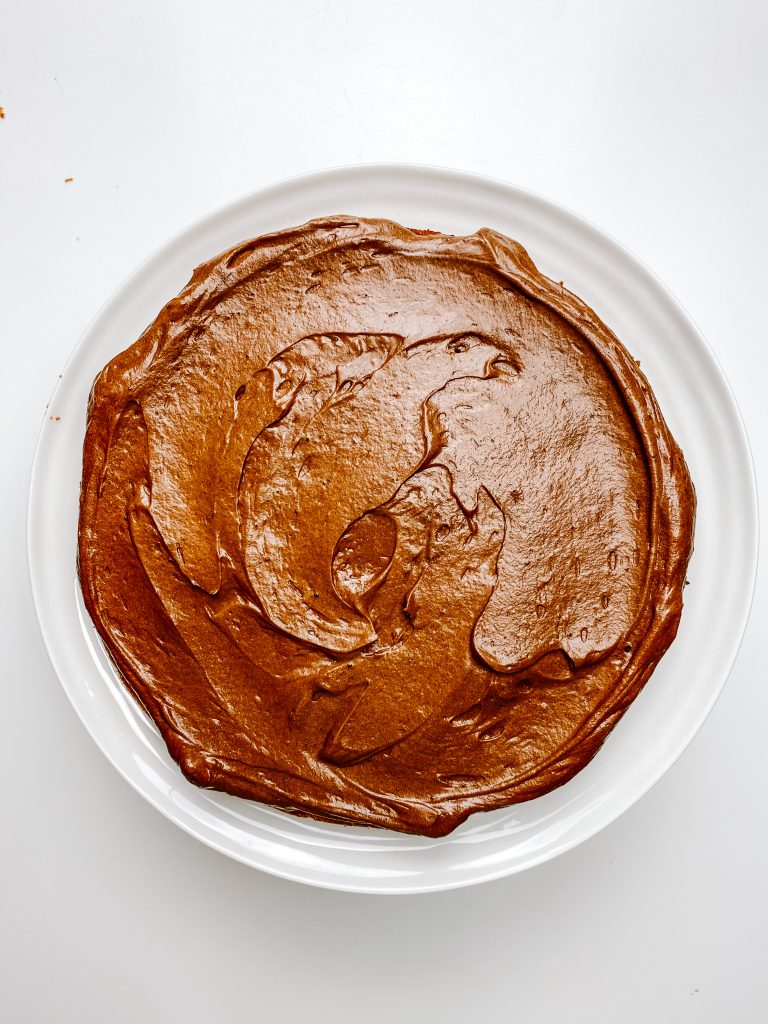
.. and spread evenly 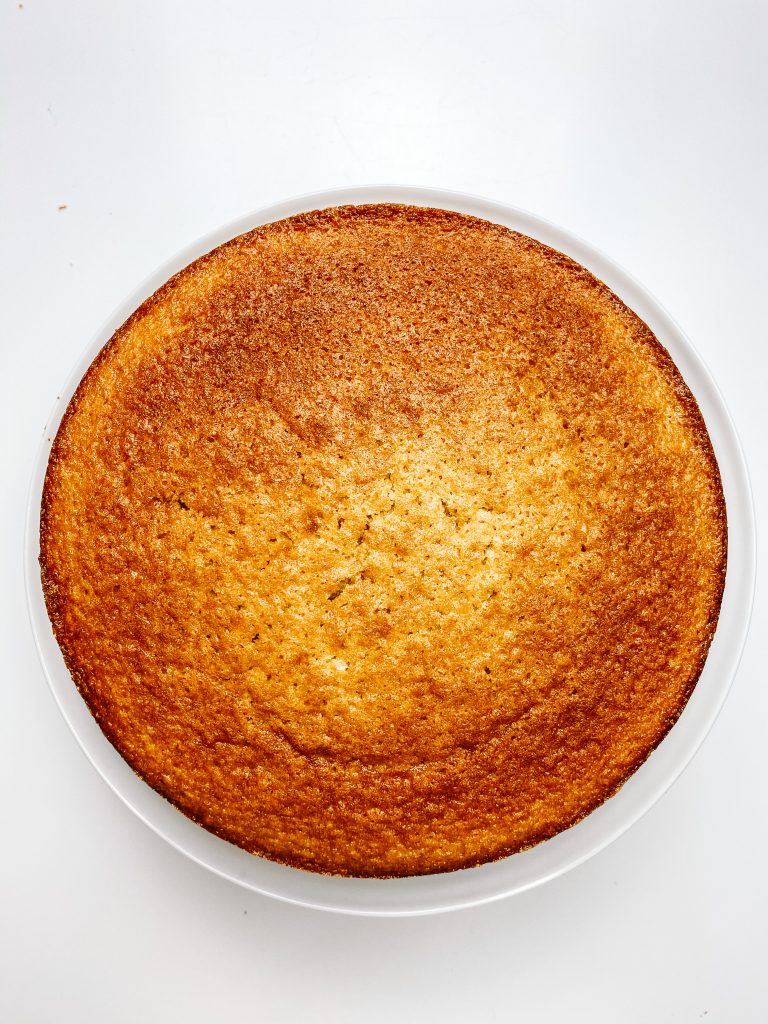
3 Place second cake on top, top side up. 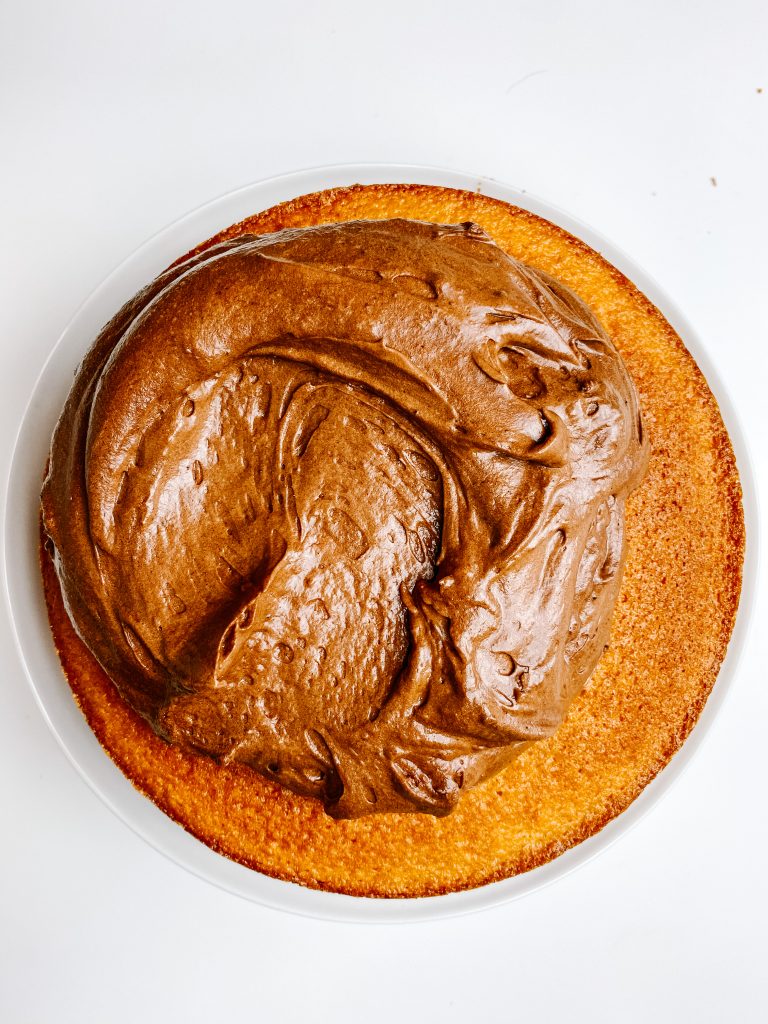
4 Use remaining icing to cover… 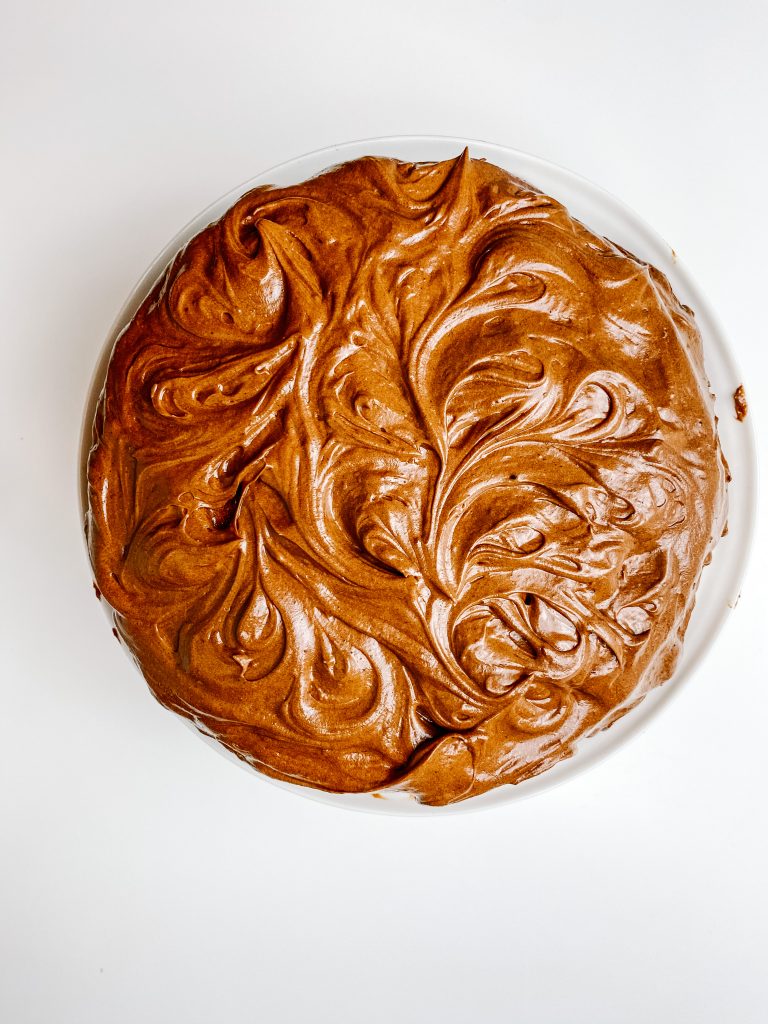
…top and sides of the cake 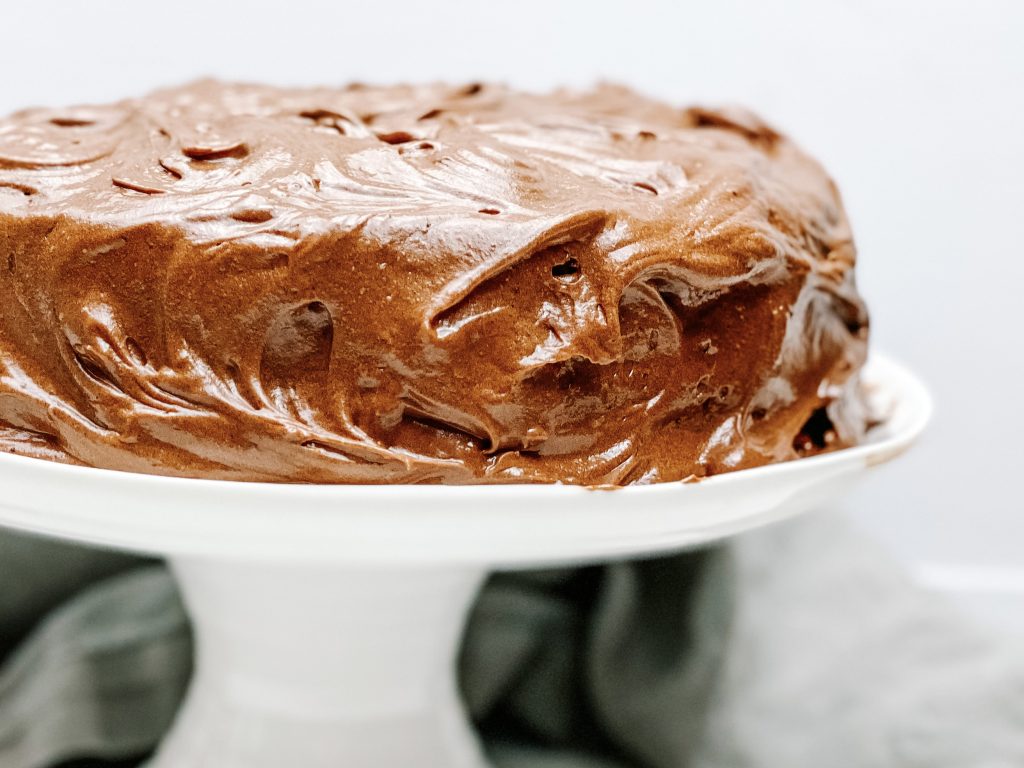
Serve as is or decorate with chocolate curls.
Made this recipe?
If you make this recipe, do please tag me on instagram @daffodil_kitchen. You could also leave a comment in the box directly below the recipe.

Fresh Orange Cake with Chocolate Sour Cream Frosting
A light, fluffy sponge cake bursting with the refreshing flavour of sweet, fresh orange covered and layered with an unctuous, yet light chocolate frosting, elevated by a slight tang from the sour cream. An absolutely magical combination!
Ingredients
For the cake:
- 70g unsalted butter, roughly chopped into cubes
- 190g with plain/all-purpose flour
- 30g cornflour
- 1 teaspoon baking powder
- ½ teaspoon bicarbonate of soda/baking soda
- ¼ teaspoon fine salt
- 170g caster sugar
- 100g vegetable oil
- 2 large eggs
- 1 teaspoon vanilla extract
- 100g/100ml orange juice
- 100g/100ml natural yoghurt
- finely grated zest from 2 oranges
Chocolate Sour Cream Frosting:
- 100g unsalted butter, at room temperature
- ¼ teaspoon fine salt
- 300g icing sugar, sieved
- 50g cocoa, sieved
- 150g sour cream
- ½ teaspoon instant coffee powder
Topping:
- chocolate curls
Instructions
-
Collect together your equipment (see Recipe Notes below) and ingredients.
-
Preheat oven to Fan Oven 160°C /180°C/350°F/Gas 4
-
Using a microwave safe mixing bowl, melt the butter in a microwave. Leave to cool a little whilst you collect all the remaining ingredients together. Alternatively melt in a saucepan over a moderate heat.
-
Zest the oranges and juice them. Measure the juice – you need 100ml. You will probably have extra but if you need more, you can use orange juice from a carton or top up with milk.
-
Add the dry ingredients: flour, cornflour and salt. Add the baking powder and bicarbonate of soda directly on top of the flour and then cover with the sugar.
-
Add the remaining ingredients: oil, eggs, vanilla extract, orange juice and yoghurt.
-
Beat with a balloon or electric whisk until incorporated – be careful not to over-mix. It should take 30 seconds to a minute and you may need to stop half way to scrape down the sides of the mixing bowl.
-
Add the orange zest and fold in. You could mix this in with the other ingredients but I find it gets caught on the whisks and you lose a lot of that delicious flavour; by stirring it in, I ensure it is all added.
-
The batter is quite liquidy. The easiest way to transfer the cake batter to the cake tins is by pouring it. I use a mixing bowl with a spout or you could transfer it to a jug. I sit the tins on top of the weighing scales and pour the batter directly in ensuring both tins have the same weight in batter.
-
Cook in a preheated oven for 25 – 35 minutes or until cooked.
They are cooked when:
– the centre feels springy when lightly touched with your finger and no imprint remains
– a toothpick inserted into the centre of the cake comes out clean
– when the cake is beginning to come away from the sides of the tin.
-
Leave in the tin for 5 minutes, remove from the tins and then transfer the cakes to a cooling rack to cool completely before frosting.
-
How to make the frosting: beat the butter and salt with an electric whisk until light and fluffy.
-
Sieve in half the icing sugar and fold in roughly with a spoon or spatula – this is just to avoid a cloud of icing sugar making a mess all over the kitchen!
-
Beat with an electric whisk until light and fluffy.
-
Sieve in the remaining icing sugar, and again, fold in by hand.
-
Beat again – it will be quite stiff at this stage.
-
Sieve in the cocoa and coffee and then add the sour cream.
-
Stir in roughly by hand.
-
Beat until thoroughly mixed and light and fluffy but do not over-mix.
Assemble the cake: layer one of the cakes, top side down on a serving plate.
-
Top with ⅓ of the frosting and spread evenly over the surface of the cake.
-
Place the second cake on top, top side up.
-
Use the remaining icing to cover the top and sides of the cake
-
Make a swirly pattern with a knife or the back of a spoon. Please note – this is a very soft icing – you will not be able to pipe it.
-
Serve as is or decorate with chocolate curls.
Recipe Notes
Equipment:
- kitchen scales and measuring spoons
- electric whisk and bowl
- greased and lined cake tin(s) and/or muffin tin with paper muffin cases
Order of ingredients: it is important to add the ingredients in this order. This is to ensure the raising agents do not come into contact with the liquid too soon and activate.
Food processor: this cake can also be made in a food processor. Simply place all the ingredients in the processor bowl, in the order stated, and blitz until thoroughly mixed.
Milk Chocolate Curls: I make milk chocolate curls simply using my potato peeler – to get these long fabulous curls, the chocolate should not be cold. It needs to be at room temperature in a warm room which is around 22-24C. Much warmer, and it will be too soft to work with. Colder, and you will get much smaller curls but they will still be pretty.
More from my site


You May Also Like
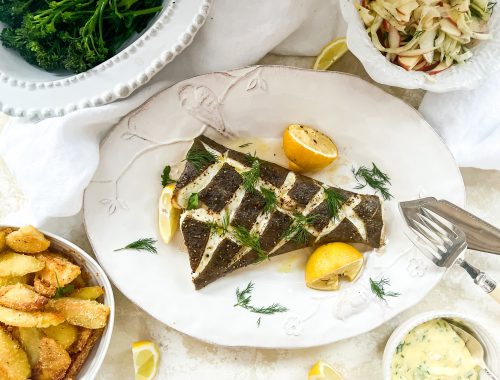
Oven-Baked Halibut with Norwegian Butter Sauce/Sandefjordsmor

Cod Ceviche with Mango and Chilli Salsa, Avocado and Lime Sorbet