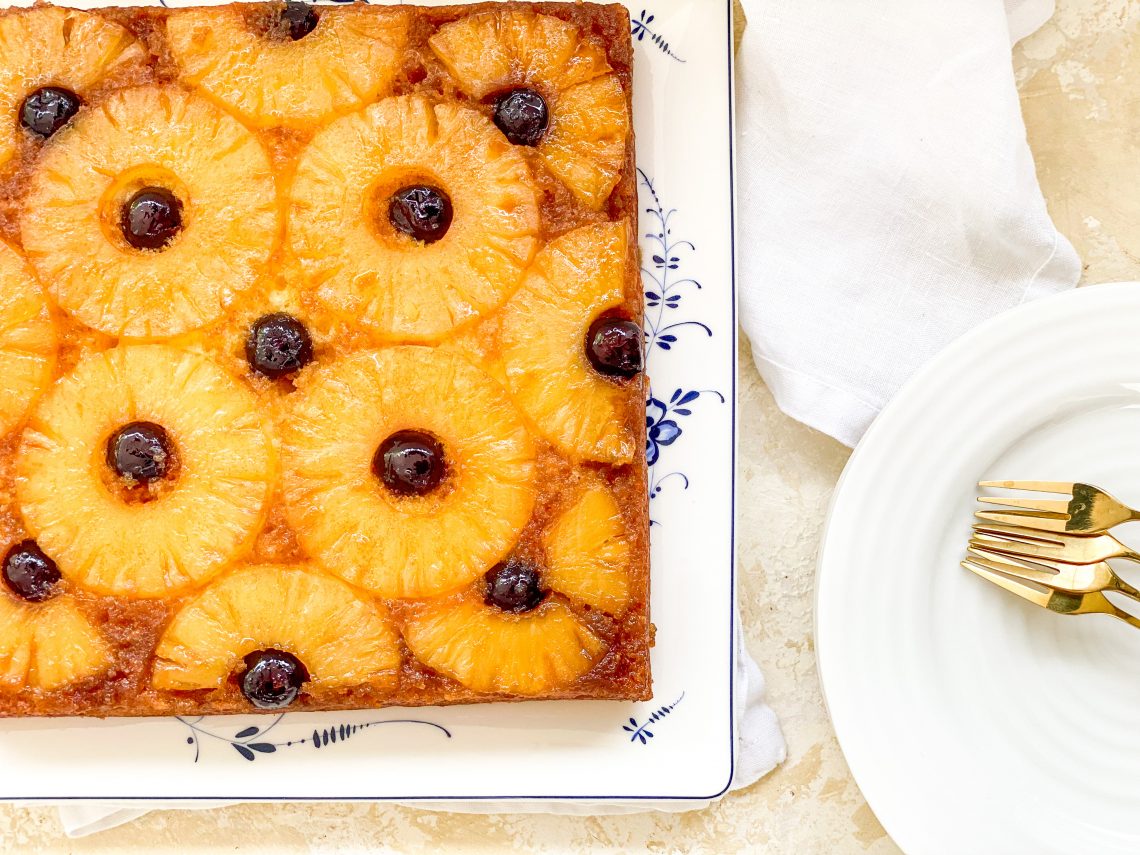
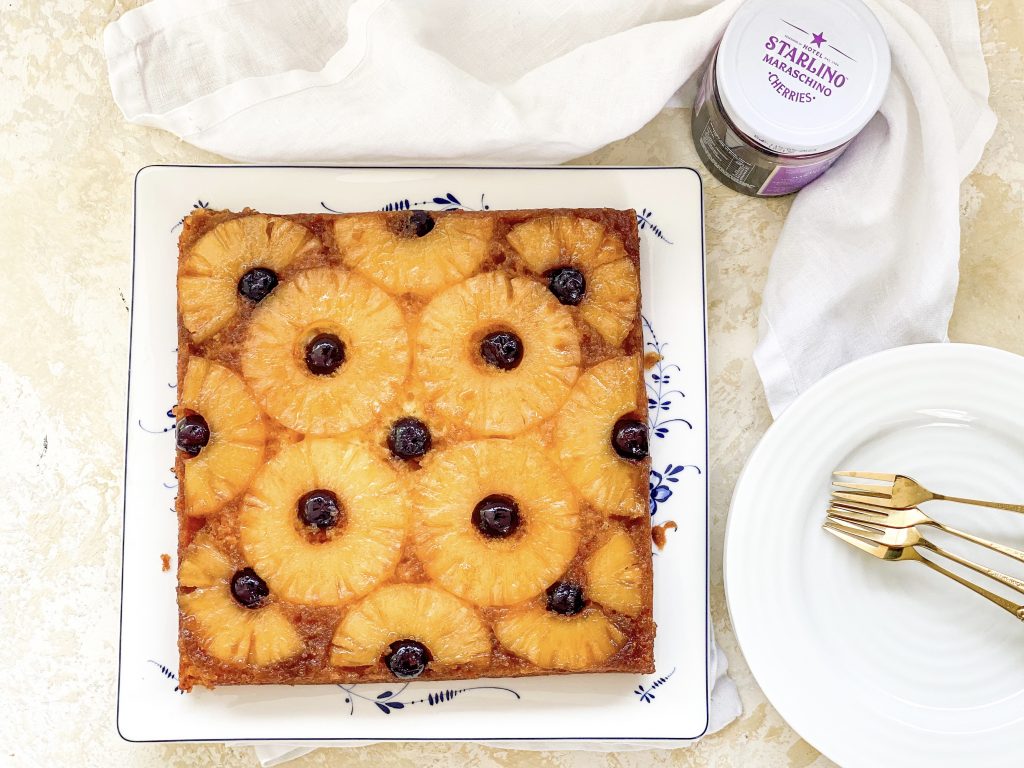
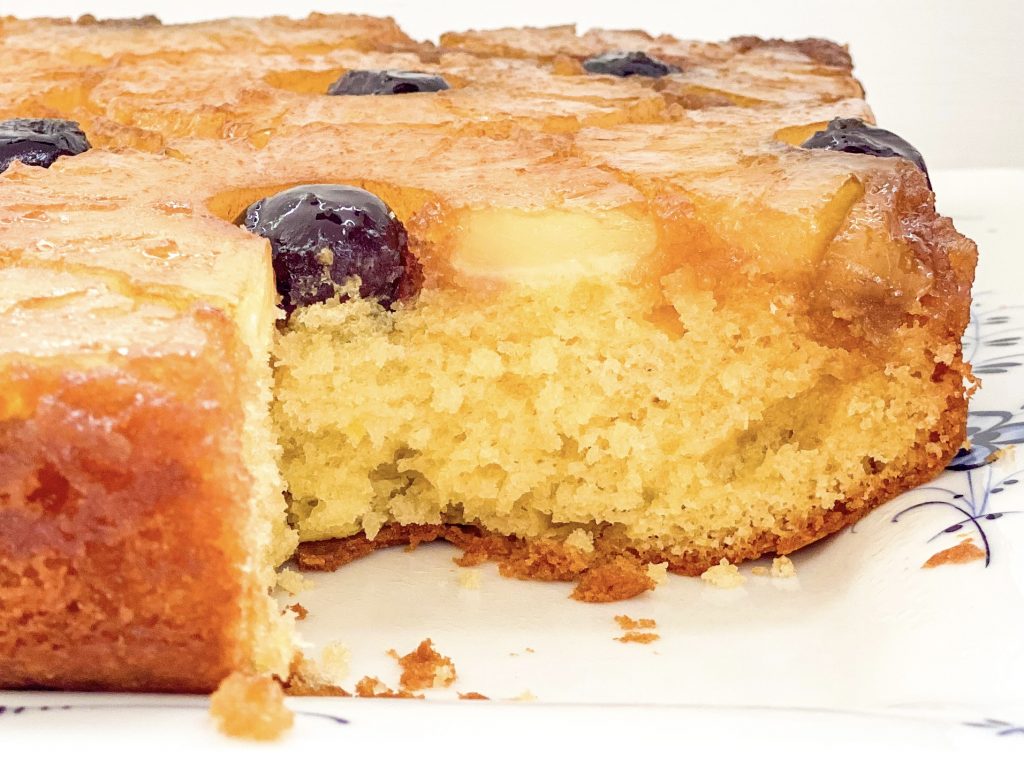
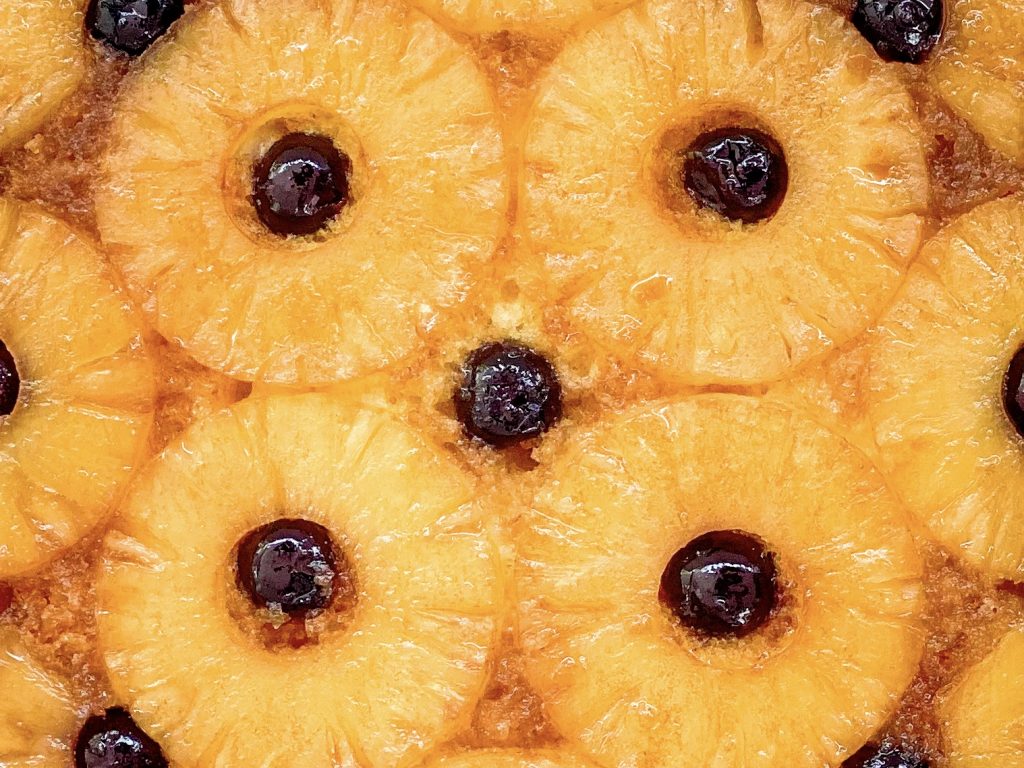
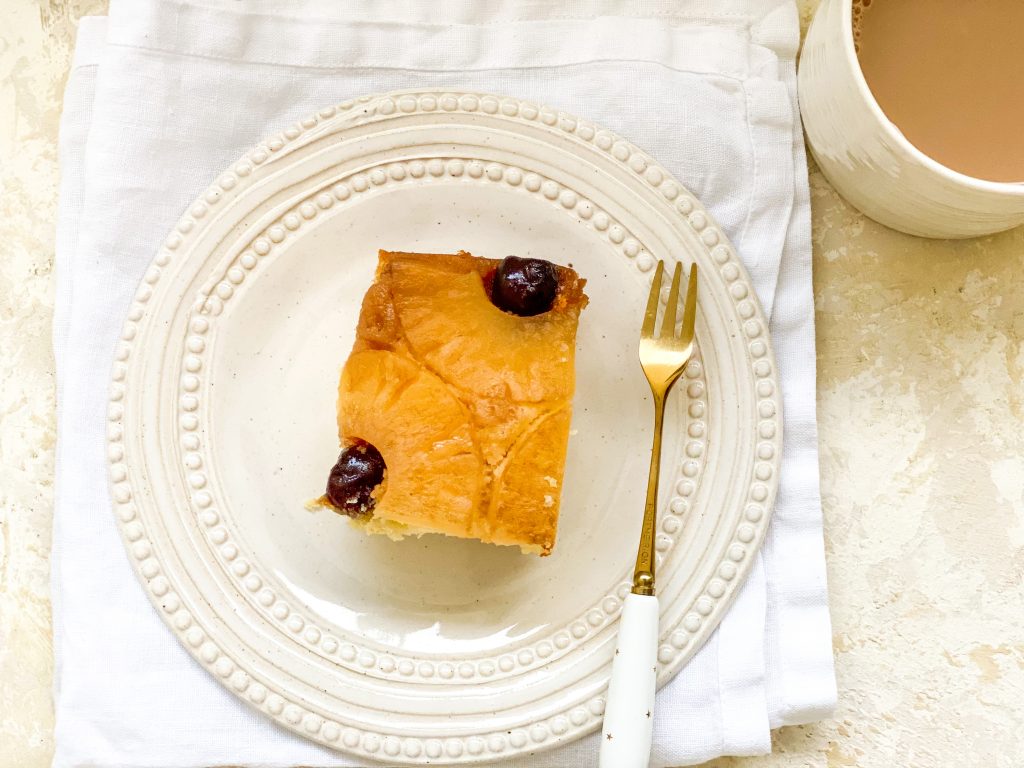
Pineapple Upside Down Cake
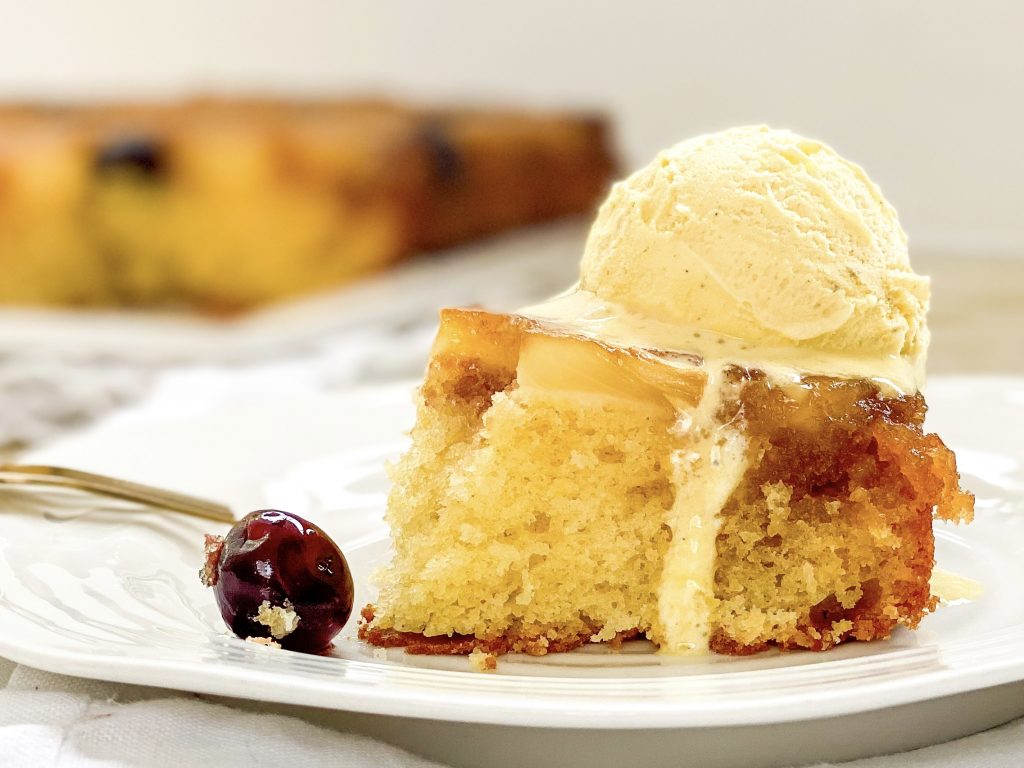
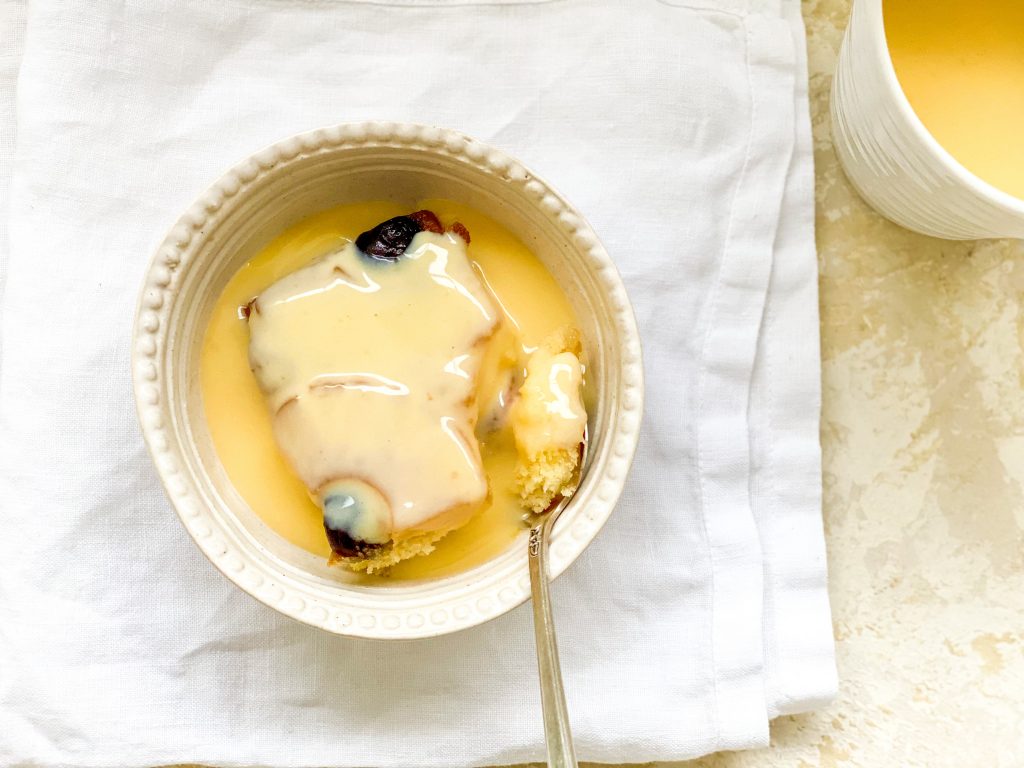
Light and fluffy lemon sponge cake with slices of caramelised pineapple and maraschino cherries, this utterly delicious, retro Pineapple Upside Down Cake is simple and quick to make and easy to serve. Wonderful when served for afternoon tea, it is equally delicious when warmed, the following day, and served with ice cream or custard, for dessert.

Why is it called Upside Down cake?
The ‘upside down’ in the name, refers to how the cake is prepared and cooked. The pineapple, and its sugar and butter coating, is placed at the bottom of the cake tin, it is then covered with the cake batter, cooked and served, flipped over, with the caramelised pineapple on the top of the cake.
It is a pretty fool-proof way of making a stunning looking dessert, with no worries about the fruit sinking into the batter, because it is already at the bottom when you cook it! Just remember to use a cake tin which does not have a loose bottom, or the butter and sugar caramel may leak out. Not only will your cake not be nearly so luscious, you may have a terrible mess to clean in your oven!
Can I use different fruit?
Yes you can! I really love the following combinations –
- pears with chocolate OR a ginger sponge
- peaches with a spice sponge
- apricots with vanilla sponge
- apples with a vanilla and blackberry sponge
How to make Pineapple Upside Down Cake
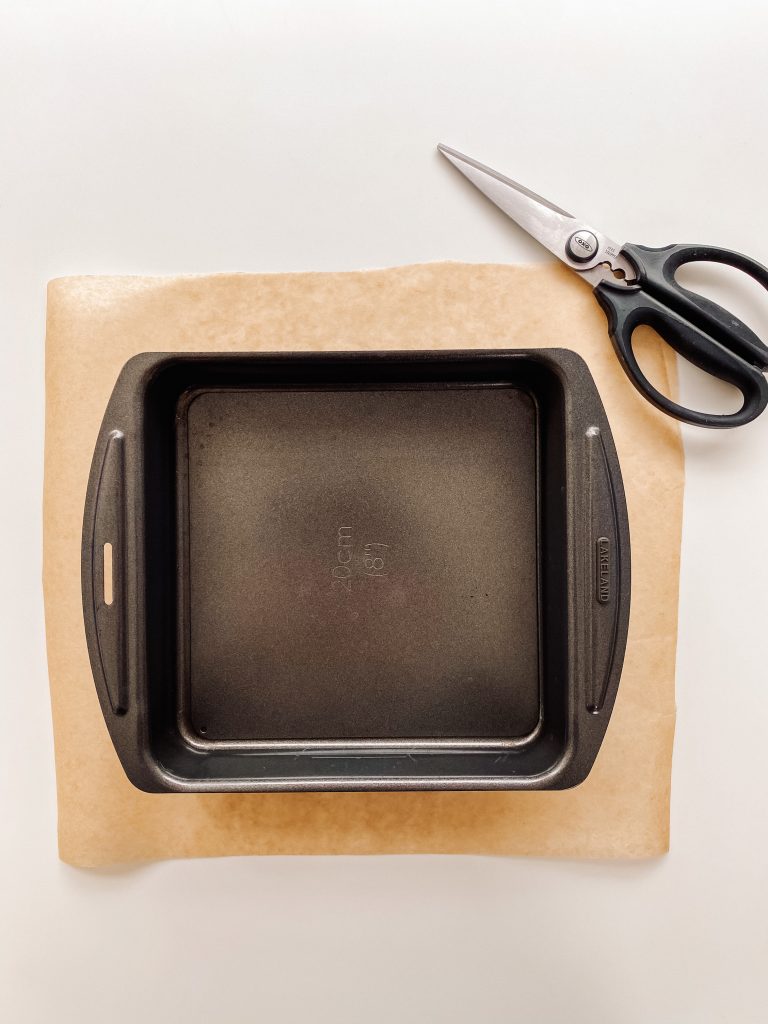
Collect all your ingredients together and line the baking tin:
It is important to use the correct size tin when making this cake – in this case it is either a 20cm/8inch square tin 23cm/9inch round tin. If your tin is larger the depth of your cake batter will be less and the cake will cook more quickly. Equally if the tin is smaller, your cake batter will be deeper and cook more slowly.
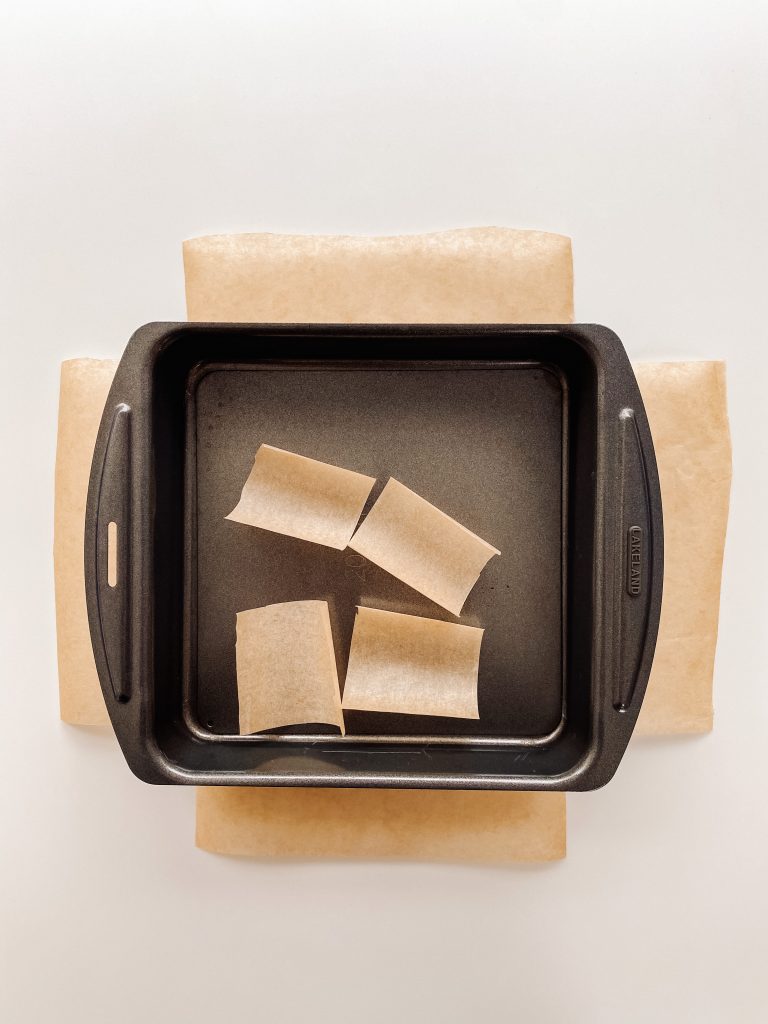
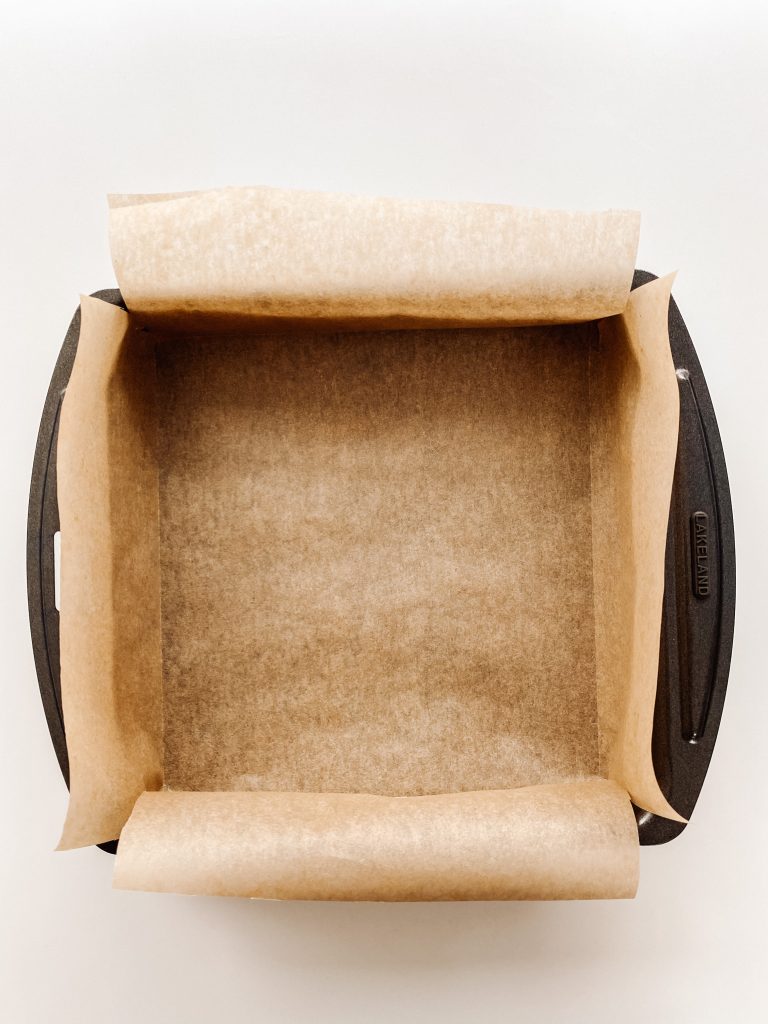
- Sit the tin on greaseproof paper making sure the paper is large enough to line the tin, come up the sides and have a little overhang.
- Cut out the corners of the paper so it will fit easily into the tin
- Fold the paper from corner to corner so the size of the centre of the paper matches the base of the tin. Slot inside the tin.
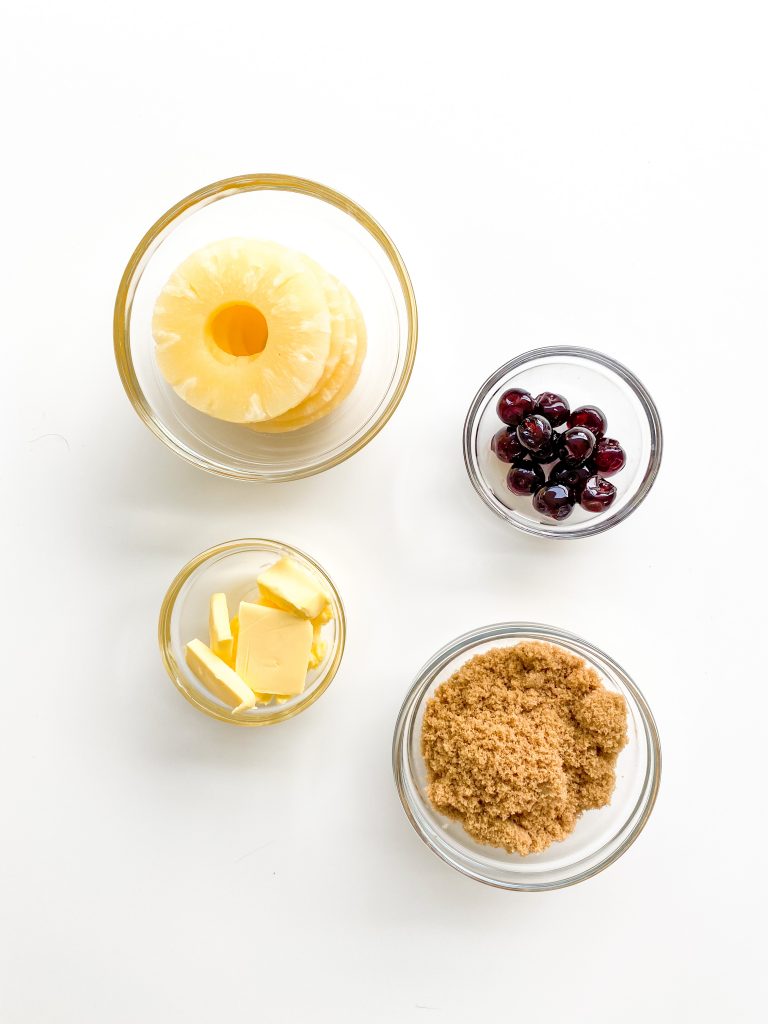
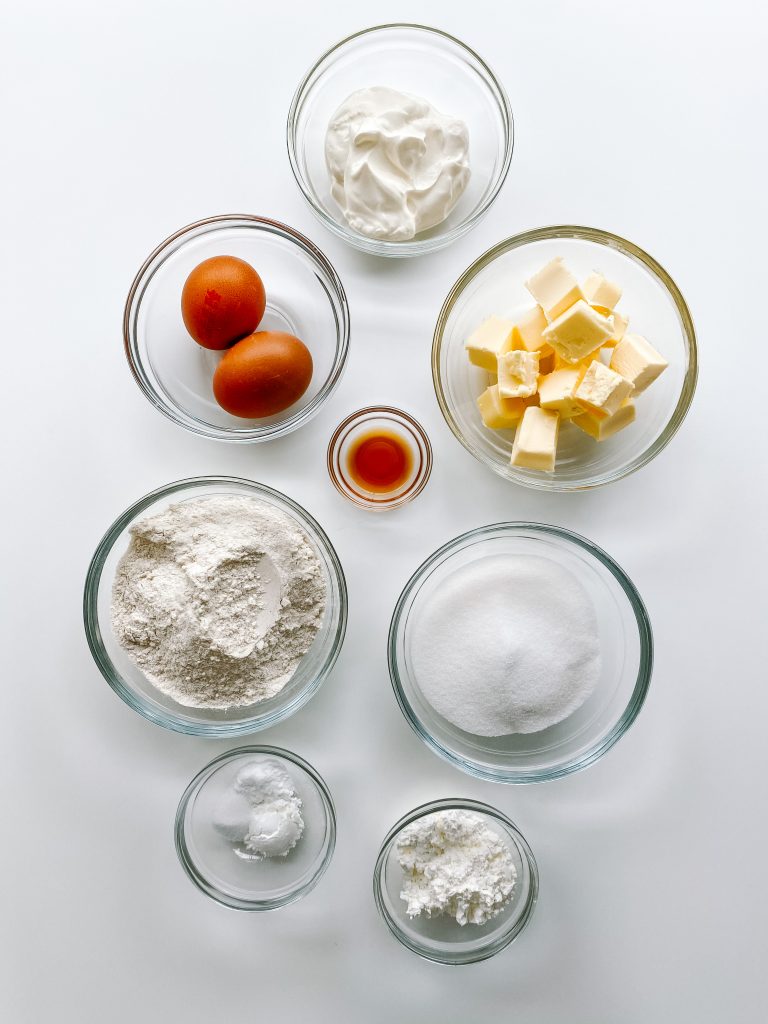
Ingredients:
For the pineapple layer –
- unsalted butter
- fine salt
- soft brown sugar
- pineapple slices – I used 2 x small 220g tins with a combined drained weight of 280g
- 12 maraschino cherries
For the cake –
- unsalted butter, at room temperature
- caster sugar
- eggs
- plain/all-purpose flour
- cornflour
- baking powder
- bicarbonate of soda
- vanilla extract
- fine salt
- sour cream
- lemon zest, optional
Start by preparing your pineapple layer:
- Lay the pineapple pieces on kitchen paper and dab the top of the pineapple with more kitchen paper to dry them.
- Likewise for the maraschino cherries.
- Melt the butter with the salt, either in the microwave or a saucepan, and pour into the base of the cake tin. Use a pastry brush to ensure the base and sides of the lined baking tin are greased.
- Sprinkle over the sugar ensuring an even coverage over the butter.
- Lay the pineapple and cherries over the butter and sugar in a decorative pattern – I work out my pattern before I place the pineapple halves on the sugar. Press the pineapple and cherries down into the butter and sugar.
Pineapple layer ingredients 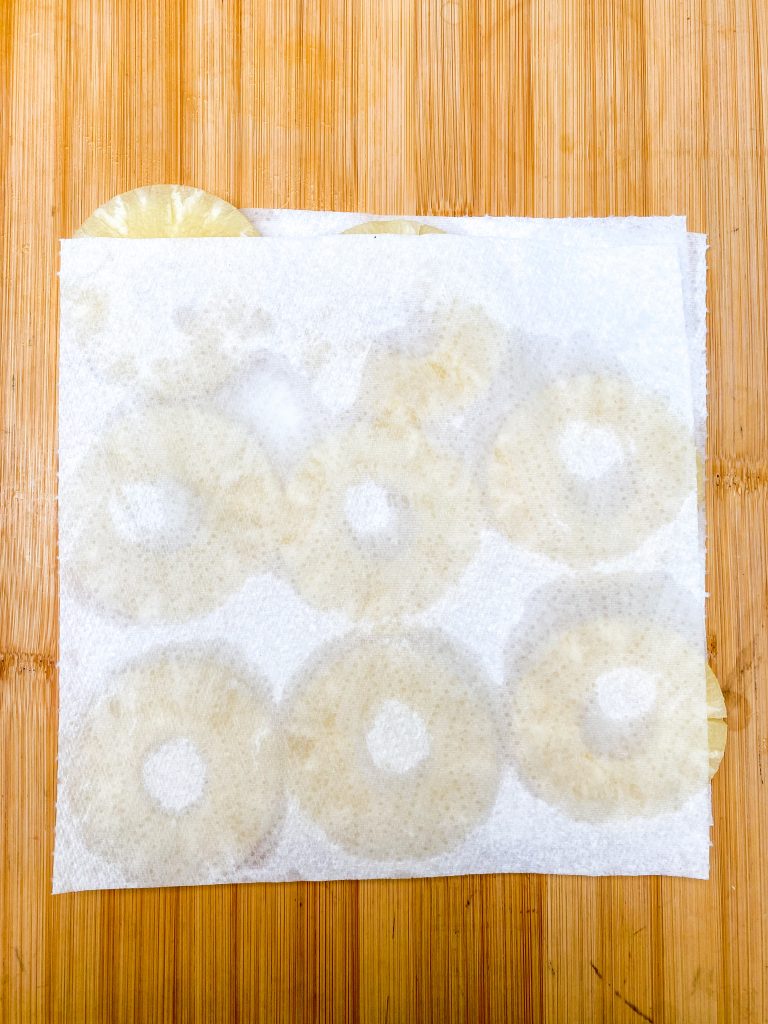
1 Dry pineapple slices 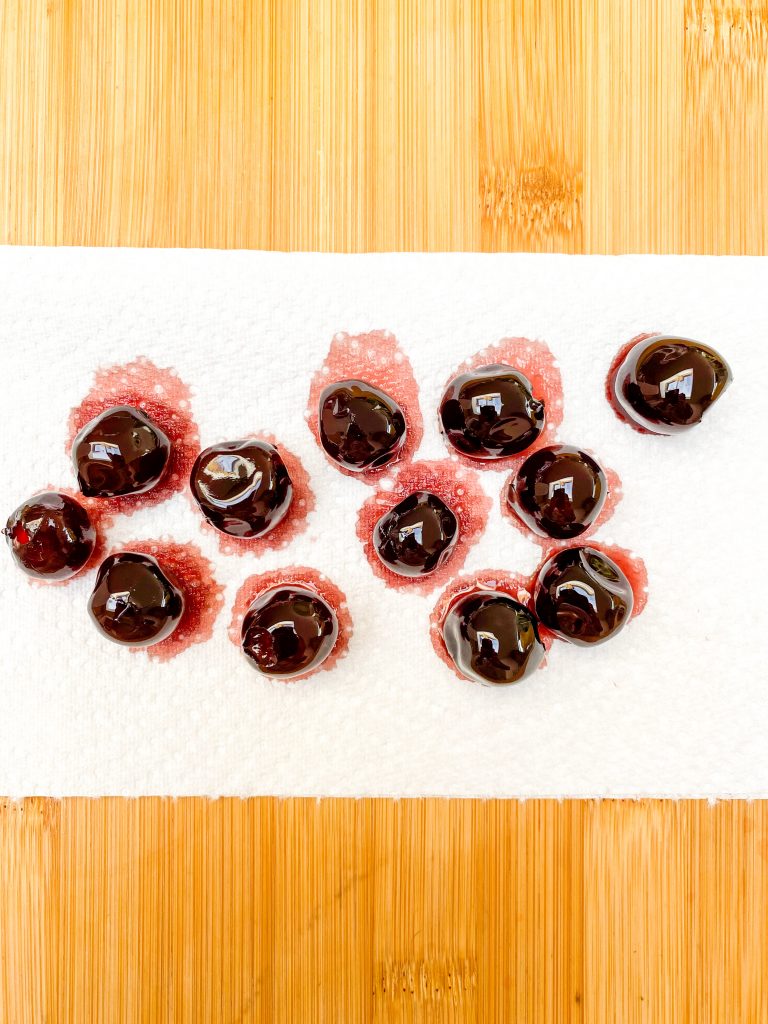
2 Likewise the cherries 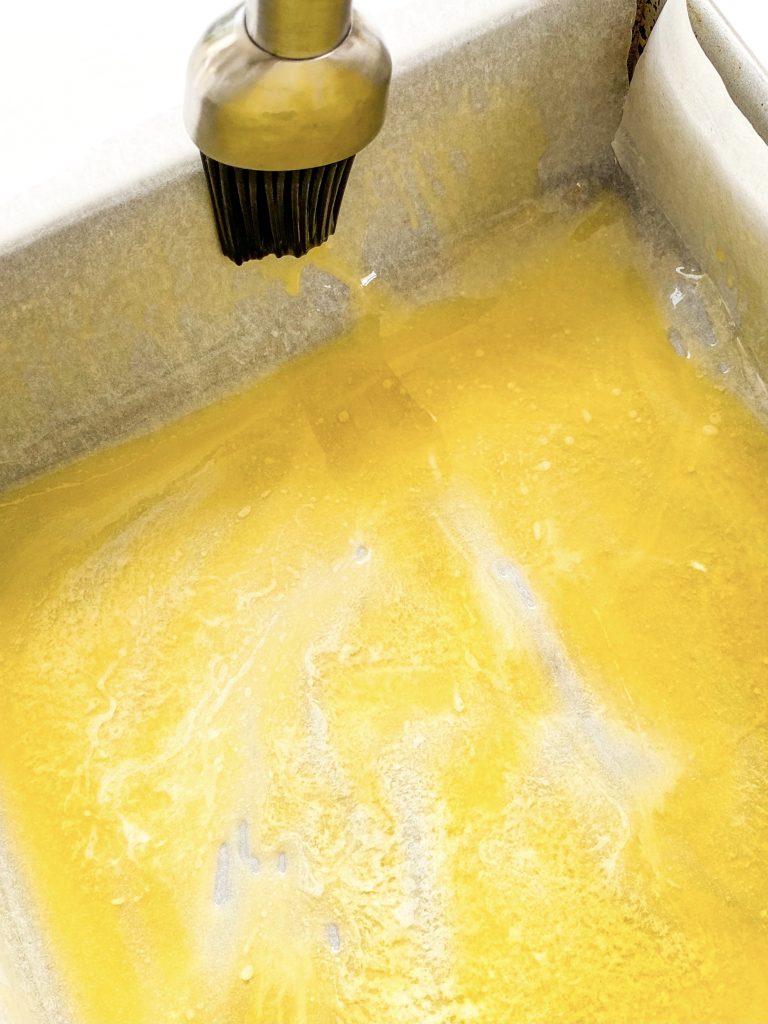
3 Melt butter and grease dish 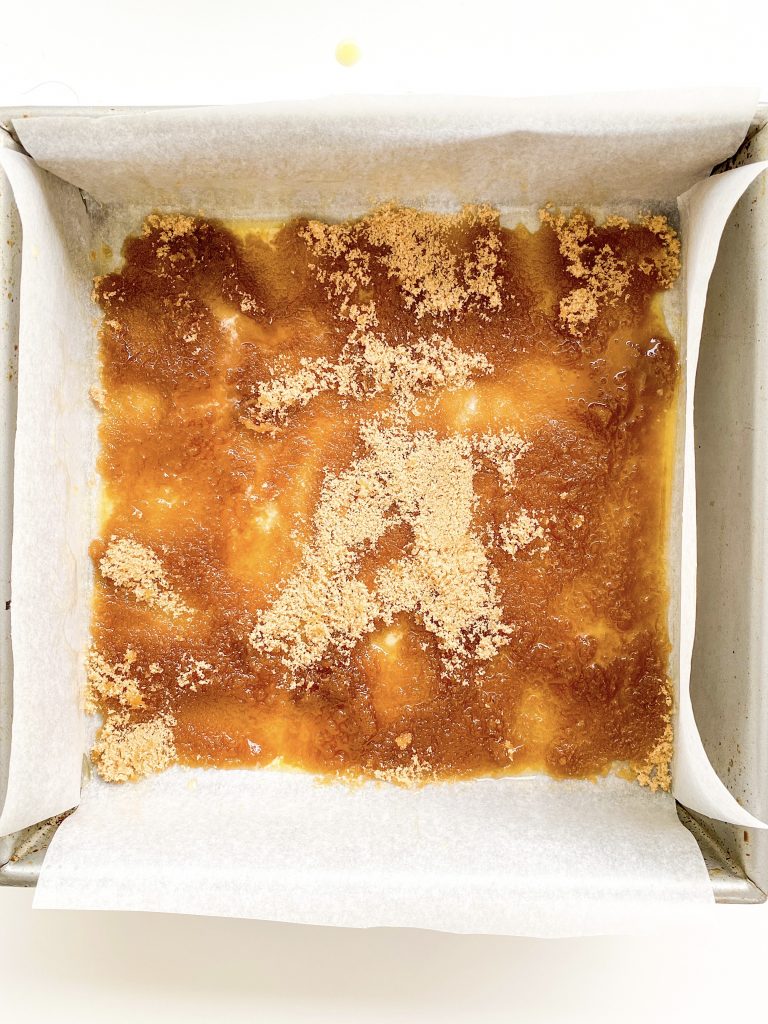
4 Sprinkle over sugar 
5 Add pineapple and cherries
Now make the cake batter:
- It is important that the butter is at room temperature and soft enough to beat. If it is a little hard, beat it with a whisk before adding the other ingredients. If it is already quite soft, you do not need to do this.
- Measure all the remaining ingredients into the mixing bowl with the butter. I place my mixing bowl on top my scales and weigh everything in directly.
- Use an electric whisk to beat until combined. This should take less than a minute.
- Tip the cake batter over the pineapple in the baking tin and gently level the surface, ensuring the cake goes into all the corners.
- Bake in the centre of a preheated oven for 30 – 35 minutes until cooked.
- Leave to sit in the tin for 5 minutes and then invert directly and carefully onto a serving plate. The easiest way to do this is to place your plate, service side down, on top of the cake, and then using kitchen gloves turn the whole thing over. Remove the tin and then slowly remove the baking paper from the cake. Voila!
Basic cake ingredients 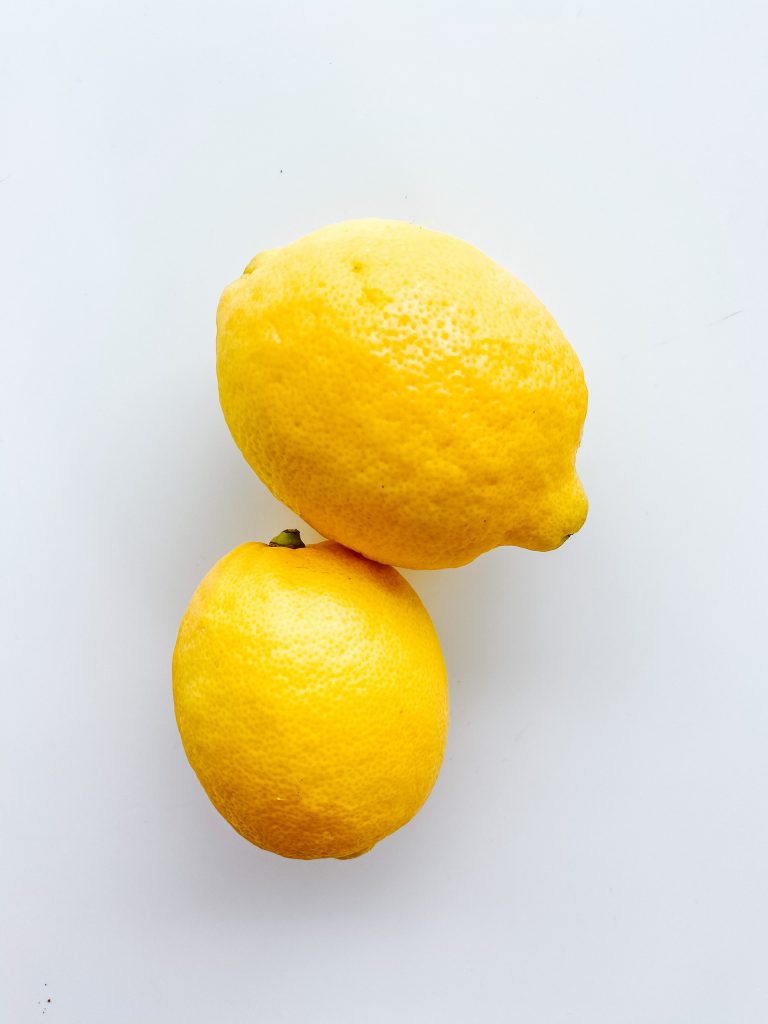
Plus lemon zest (optional) 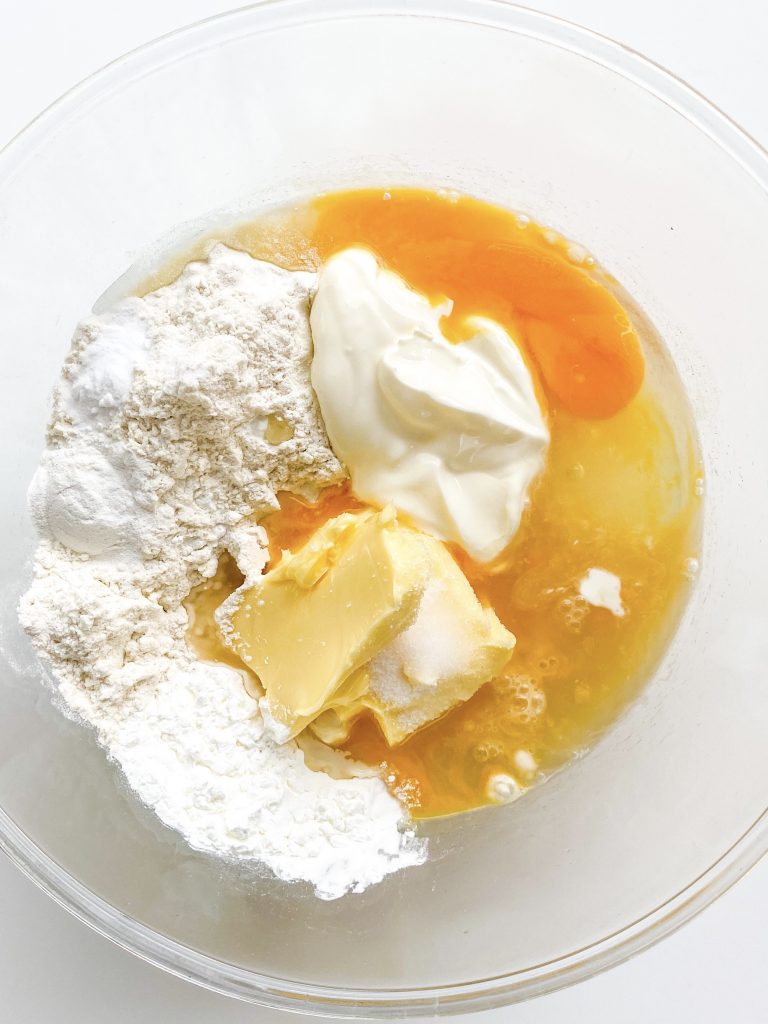
1 Ensure butter is soft 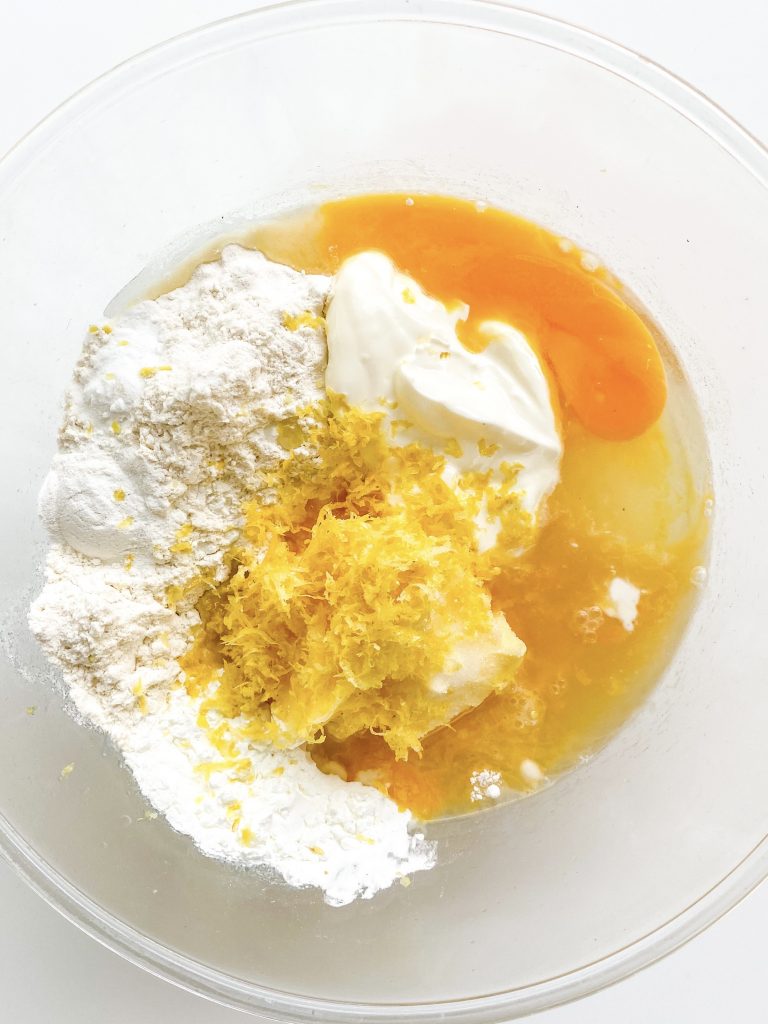
2 Weigh all ingredients into bowl 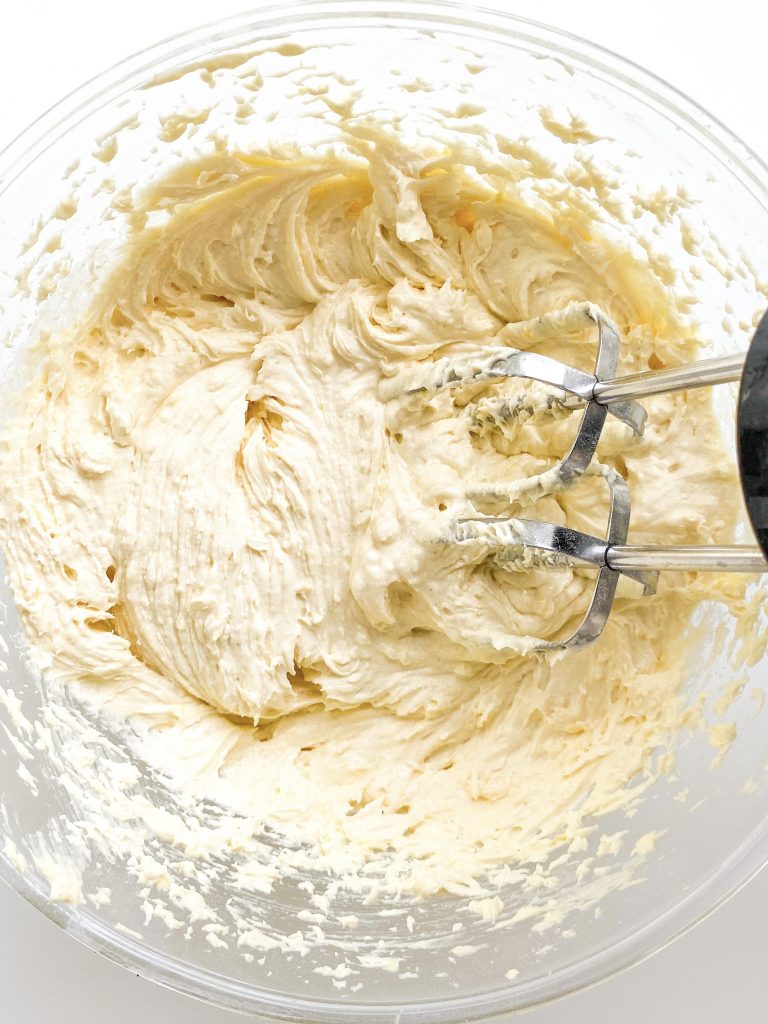
3 Beat to combine 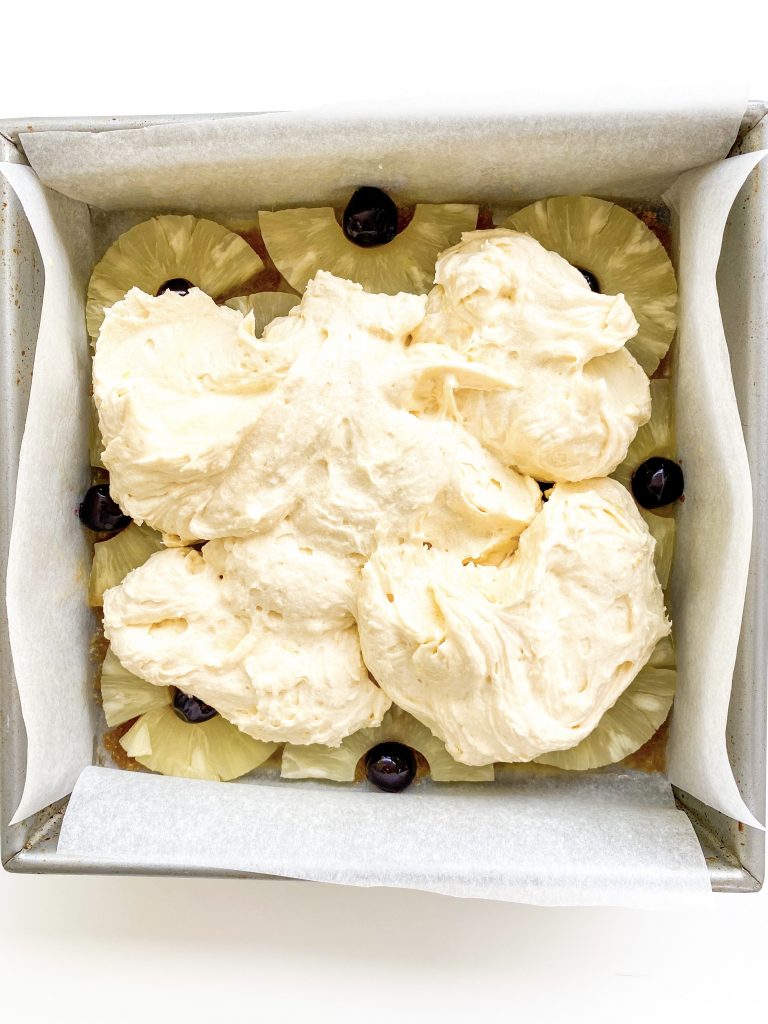
4 Add cake batter to tin … 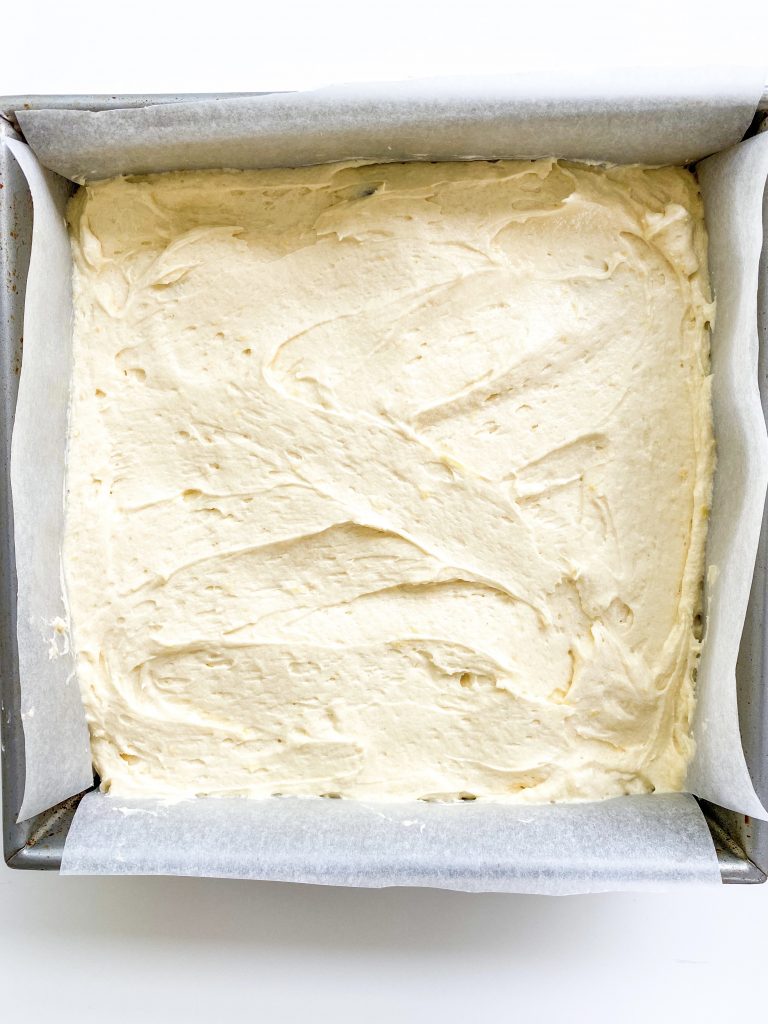
… and level surface. 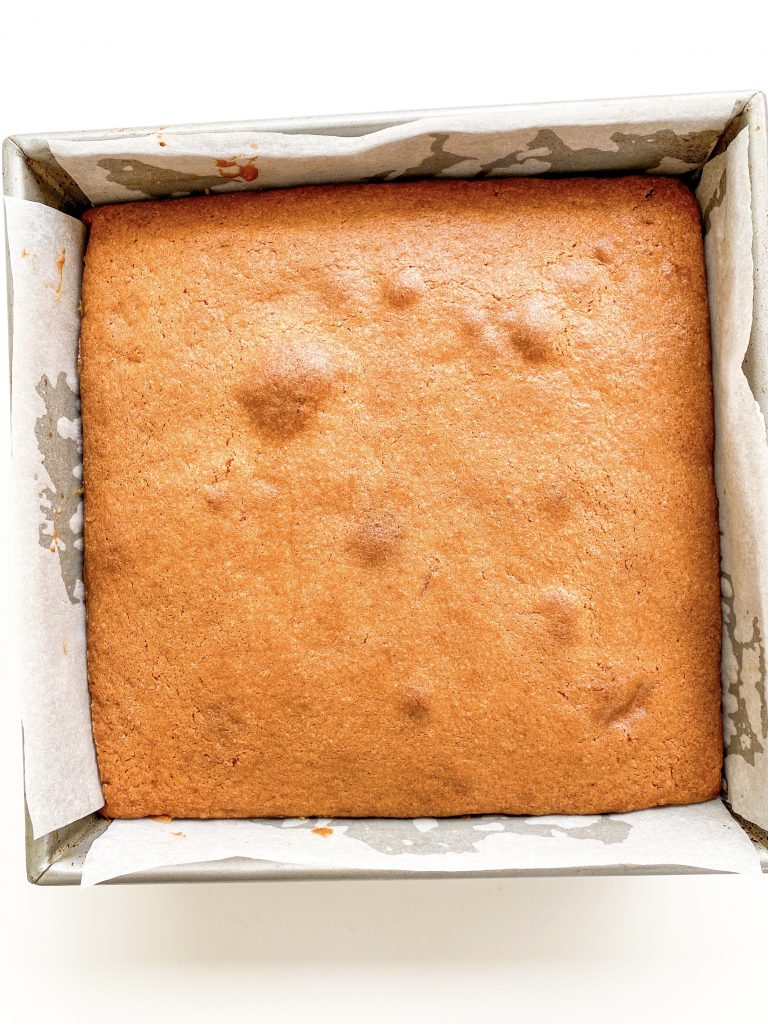
5 Bake 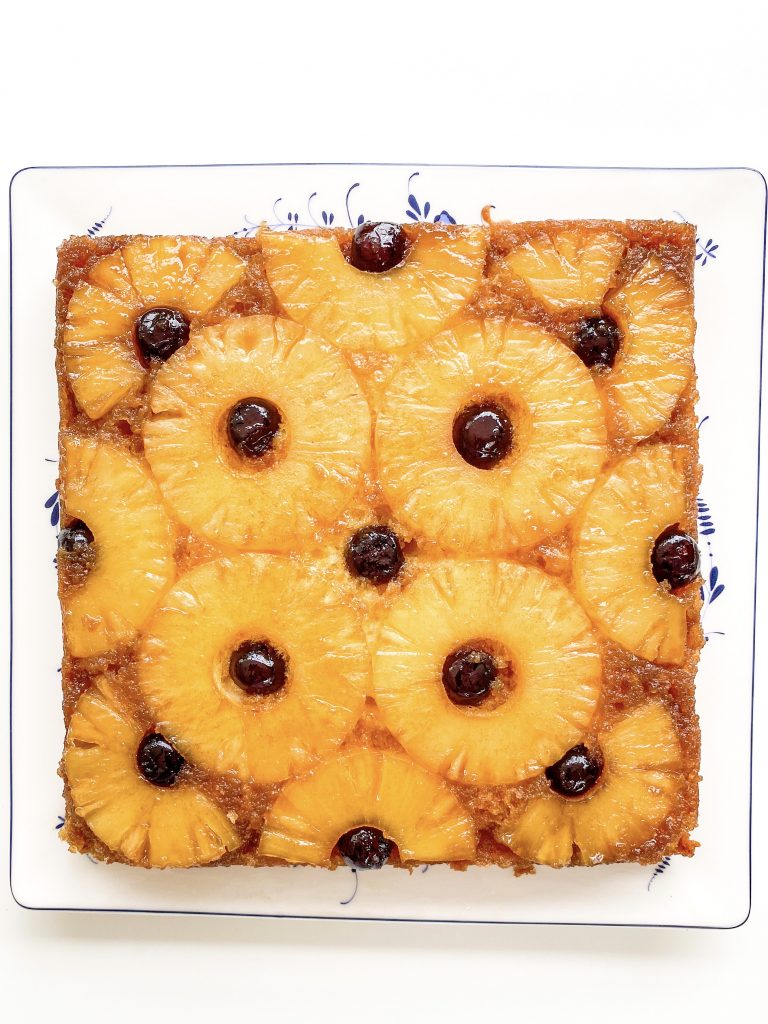
6 Invert 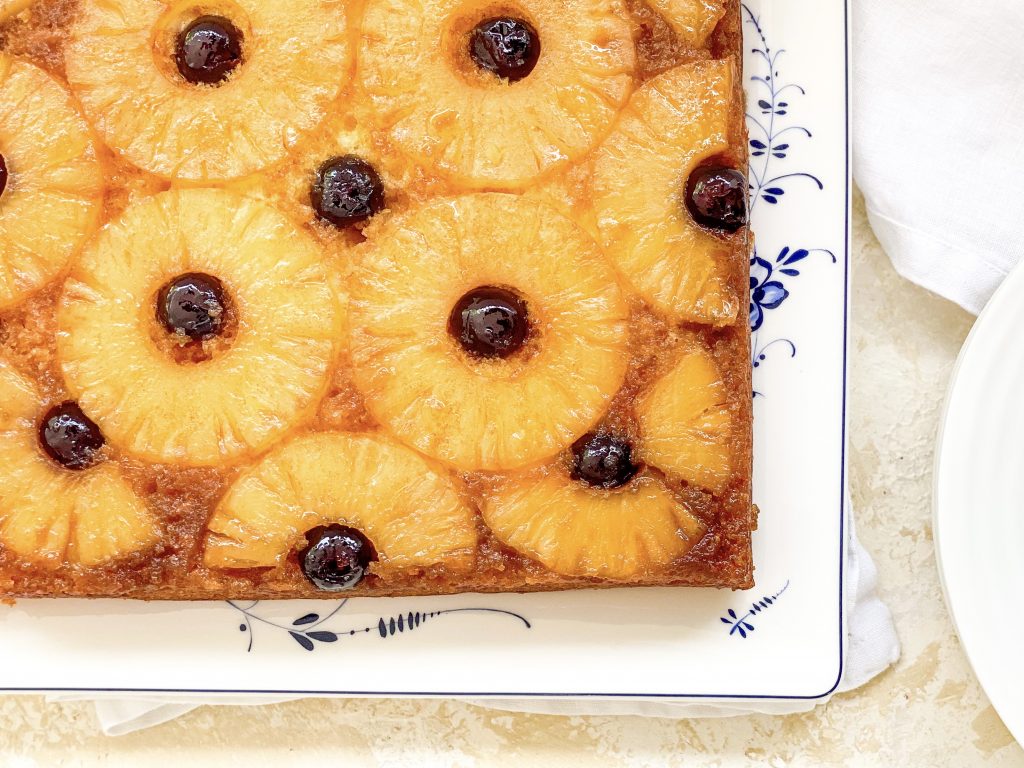
What is the best way to store this cake?
This cake stores well, covered and in the fridge, for 4 – 5 days. However, it is important to take them out of the fridge for them to come to room temperature before eating.
What is the best way to freeze this cake?
Any leftover slices could also be frozen for up to 3 months. Once cooked, and cooled, freeze as soon as possible in an airtight container.The texture of the pineapple may change a little when frozen so this cake is best frozen in slices rather than as a whole cake.
Made this recipe?
If you make this recipe, do please tag me on instagram @daffodil_kitchen. You could also leave a comment in the box directly below the recipe.

Pineapple Upside Down Cake
Light and fluffy lemon sponge cake with slices of caramelised pineapple and maraschino cherries, this utterly delicious, retro Pineapple Upside Down Cake is simple and quick to make and easy to serve.
Makes 9 – 12 slices
Ingredients
For the pineapple layer –
- 60g unsalted butter
- pinch of fine salt
- 100 g soft brown sugar
- 8 pineapple slices – I used 2 x small 220g tins with a combined drained weight of 280g
- 12 – 16 maraschino cherries, as necessary
For the cake –
- 130g unsalted butter, at room temperature
- 130g caster sugar
- 2 eggs, at room temperature
- 160g plain/all-purpose flour
- 20g cornflour
- 1 teaspoon baking powder
- ¼ teaspoon bicarbonate of soda
- 1 teaspoon vanilla extract
- ¼ teaspoon fine salt
- 100g sour cream
- zest from 1-2 lemons, optional
Instructions
-
Collect together your equipment (see Recipe Notes below) and ingredients.
-
Preheat oven to Fan Oven 160°C/180°C/350°F/Gas 4
-
Line baking tin.
-
Start by preparing your pineapple layer: lay the pineapple pieces on kitchen paper and dab the top of the pineapple with more kitchen paper to dry them.
-
Likewise dry the maraschino cherries on kitchen paper.
-
Melt the butter with the salt, either in the microwave or in a saucepan, and pour into the base of the cake tin. Use a pastry brush to ensure the base and sides of the lined baking tin are greased.
-
Sprinkle over the sugar ensuring an even coverage over the butter.
-
Lay the pineapple and cherries over the butter and sugar in a decorative pattern – I work out my pattern before I place the pineapple halves on the sugar. Press the pineapple and cherries down into the butter and sugar.
-
Now make the cake batter: it is important that the butter is at room temperature and soft enough to beat. If it is a little hard, beat it with a whisk before adding the other ingredients. If it is already quite soft, you do not need to do this.
-
Measure all the remaining ingredients into the mixing bowl with the butter. I place my mixing bowl on top my scales and weigh everything in directly.
-
Use an electric whisk to beat until combined. This should take less than a minute.
-
Tip the cake batter over the pineapple in the baking tin and gently level the surface, ensuring the cake goes into all the corners.
-
Bake in the centre of a preheated oven for 30 – 40 minutes (for a 20cm/8in square tin) or 35 – 45 minutes (for a 23cm/9in round tin) until cooked. It is cooked when:
– the centre feels springy when lightly touched with your finger and no imprint remains
– a toothpick inserted into the centre of the cake comes out clean
– the cake is beginning to come away from the sides of the tin/dish.
NB Check the colour of the cake after 30 minutes. If it is getting too dark, place a very loose piece of foil over the top of the cake.
-
Leave to sit in the tin for 5 minutes and then invert directly and carefully onto a serving plate. The easiest way to do this is to place your plate, service side down, on top of the cake, and then using kitchen gloves turn the whole thing over. Remove the tin and then slowly remove the baking paper from the cake. Voila!
Recipe Notes
Equipment:
- kitchen scales and measuring spoons
- mixing bowl and electric whisk
- small mixing bowl or small saucepan to melt the butter
- kitchen paper
- grater, if necessary
- 20cm/8inch or 23cm/9inch square baking tin lined with baking parchment – do not use a loose bottomed tin
What is the best way to store this cake?
This cake stores well, covered and in the fridge, for 4 – 5 days. However, it is important to take them out of the fridge for them to come to room temperature before eating.
What is the best way to freeze this cake?
Any leftover slices could also be frozen for up to 3 months. Once cooked, and cooled, freeze as soon as possible in an airtight container.The texture of the pineapple may change a little when frozen so this cake is best frozen in slices rather than as a whole cake.


You May Also Like

Thai Red Curry with Duck, Lychees, Sweet Basil and Coriander Served with Jasmine Rice

Chocolate Orange Shortbread