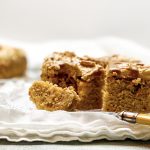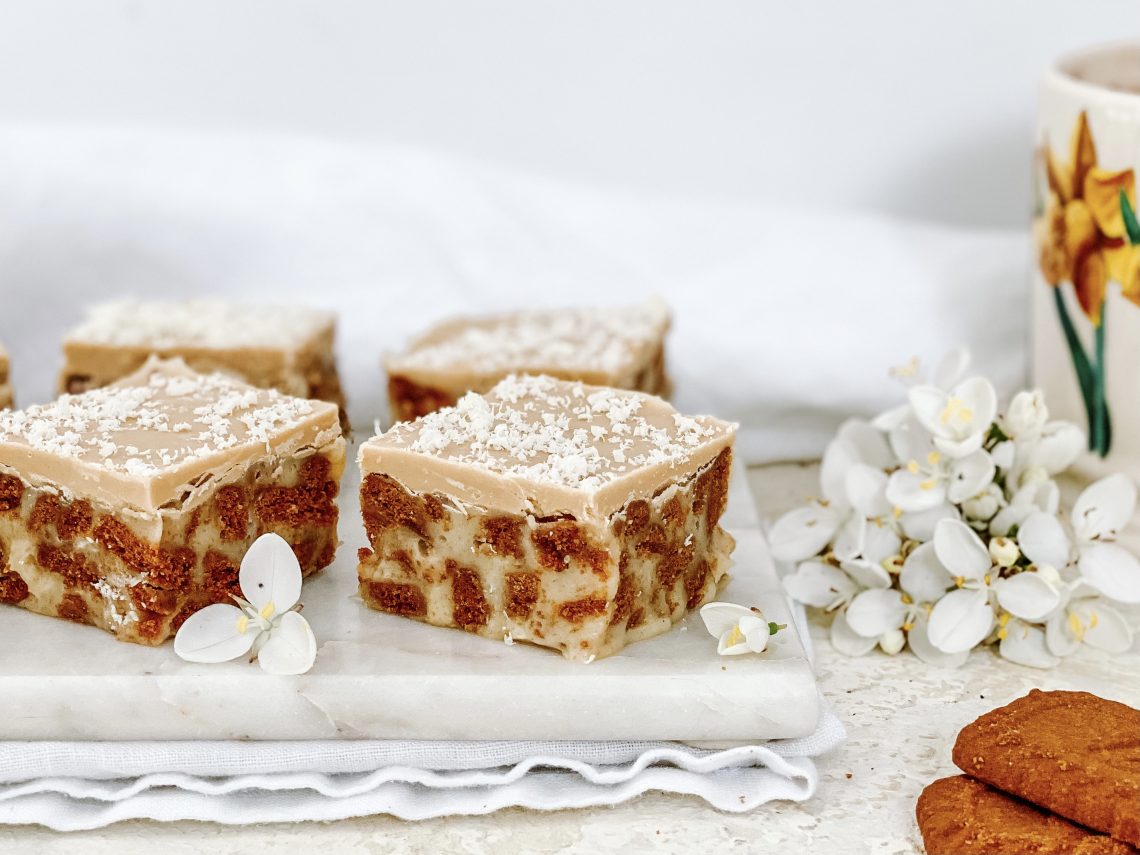
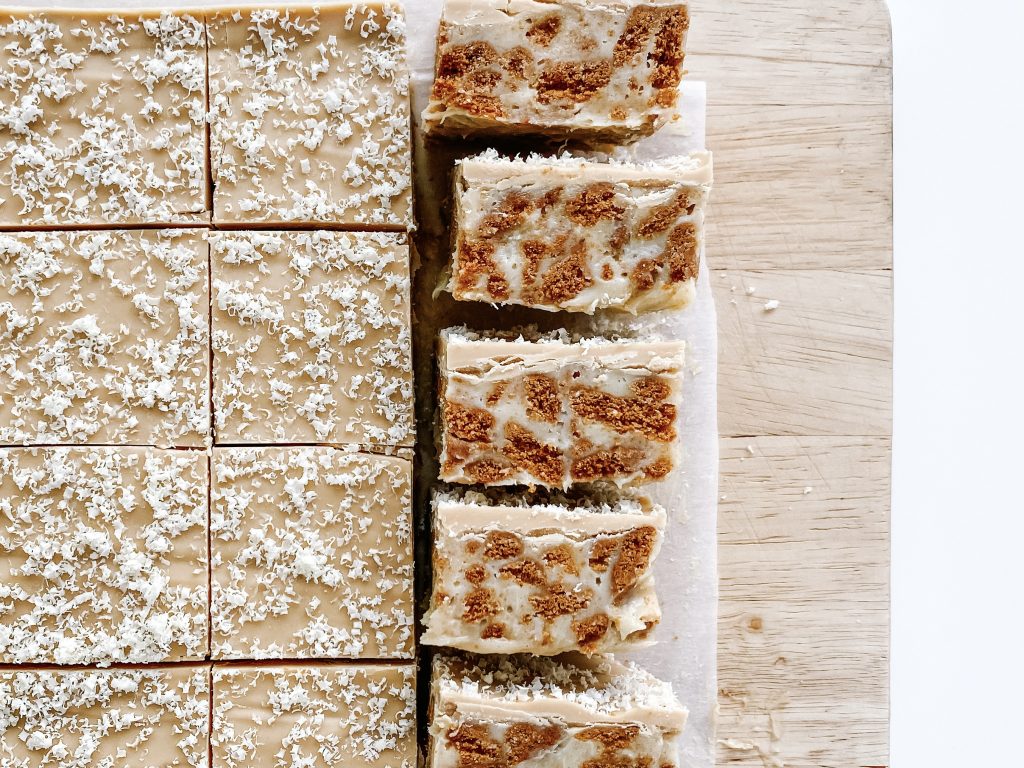
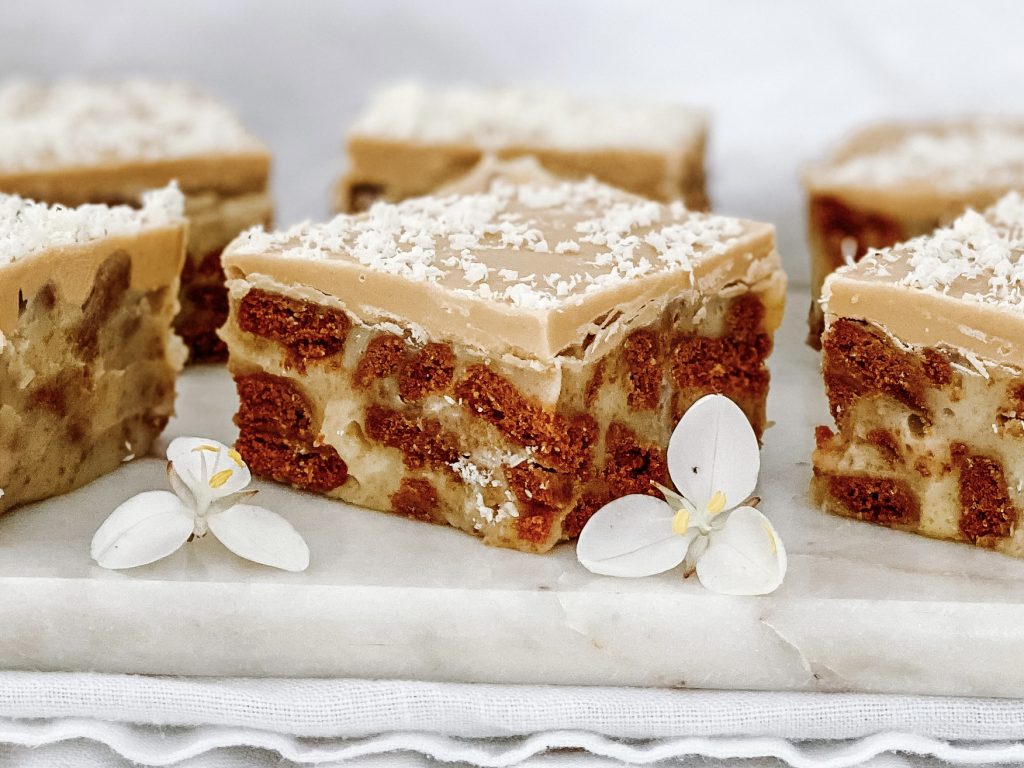
White Chocolate and Biscoff Sticky Squares
Sticky white chocolate squares loaded with crispy Biscoff biscuits and topped with a thick layer of white chocolate and Biscoff spread. With all the incredible flavours of cinnamon, nutmeg, ginger, allspice and cloves and a background of mellow caramel, this fabulous slice is bursting with flavour and texture.
Charlotte informed me recently that I needed some Biscoff recipes in my repertoire; not only is she a huge fan, apparently it is massively trendy at the moment. Accordingly, a couple of weeks ago, I posted the Biscoff Cheesecake recipe and now this! It was incredibly delicious, hugely popular (Charlotte took a tray to work to share) and gorgeously gooey and sticky. It needs to be kept in the fridge or it will be too gooey but this stickiness really adds to the texture, so just keep a napkin handy!
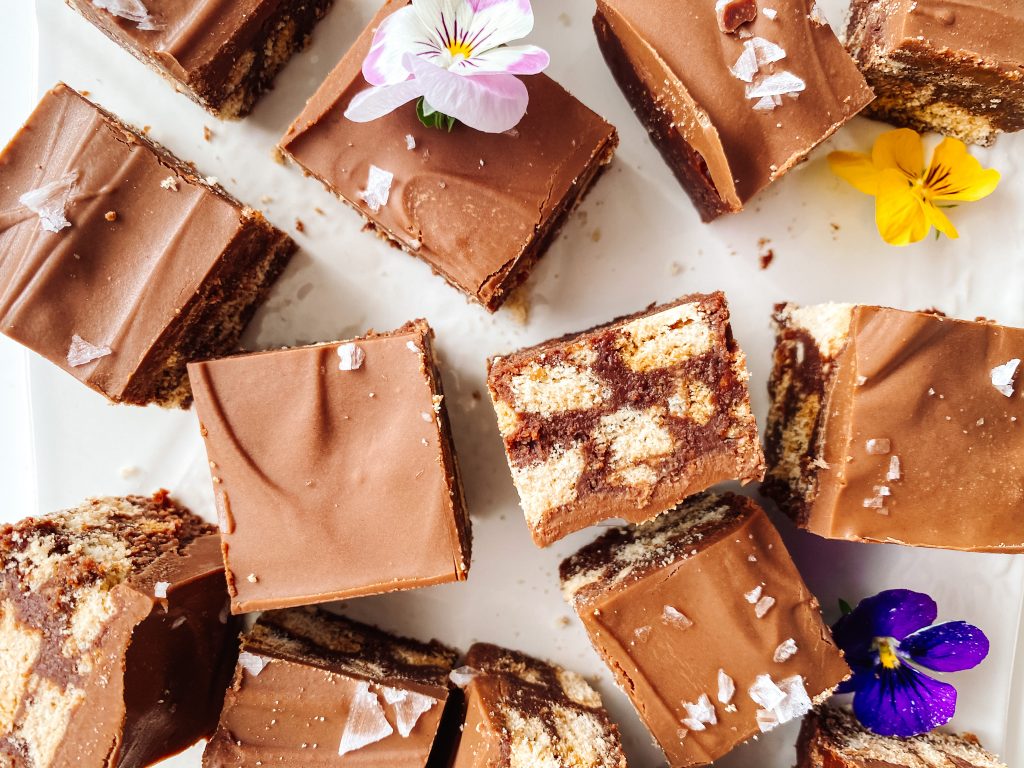
The weather is particularly hot in London at the moment – not a great time to be baking and having the oven on. The good news is – these do not need baking. You just need a microwave and voila – fabulous chocolate squares knocked up in no time. This recipe is adapted from my Sticky Chocolate Squares recipe, see here.
How to make White Chocolate and Biscoff Sticky Squares
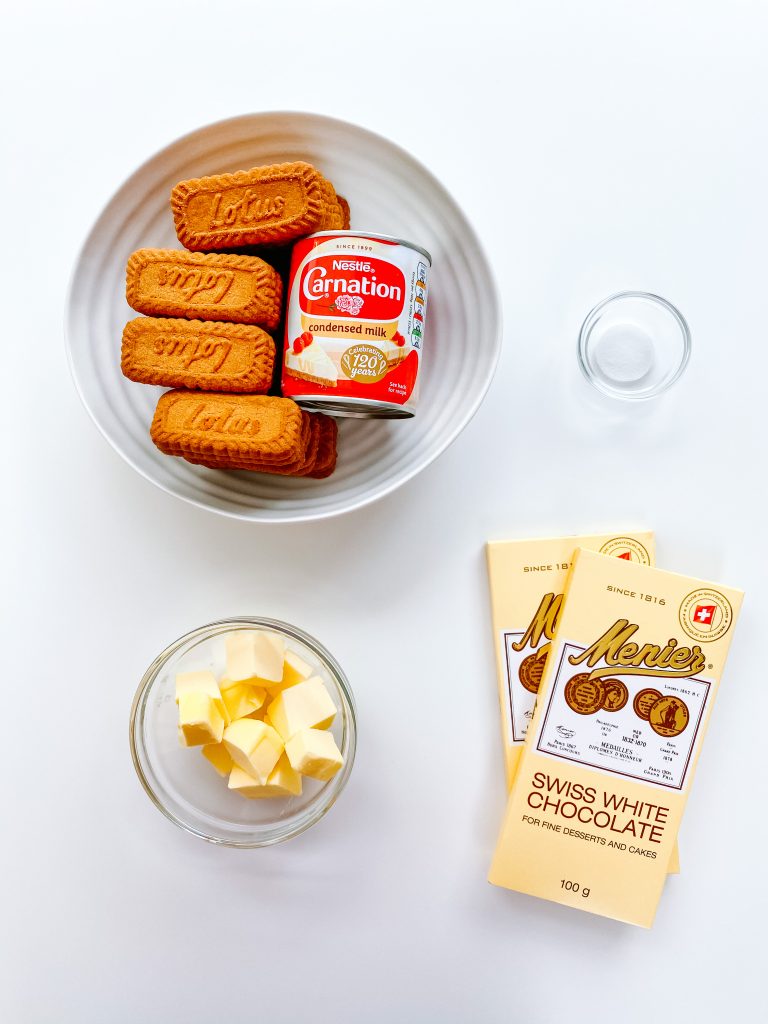
Collect the ingredients together:
- unsalted butter
- white chocolate
- fine salt
- condensed milk
- Biscoff biscuits, broken
Topping:
- white chocolate
- Biscoff spread, smooth
- fine salt

First make the base:
- Chop the butter into squares and place in a large microwave safe bowl with the chopped white chocolate and salt. Melt in a microwave or a bain marie and mix until smooth.
- Add the condensed milk and mix into the melted chocolate and butter until thoroughly mixed.
- Place the Biscoff biscuits into a plastic bag and bash lightly with a rolling pin. You want to break the biscuits up not crush them . You could do this by hand if you prefer.
- Fold in the biscuits until coated in the sticky chocolate mix.
- Tip into a square cake tin and flatten the surface making sure the mixture is in all the corners and level.
- Pop into the fridge for 30 minutes to set a little.
Base ingredients 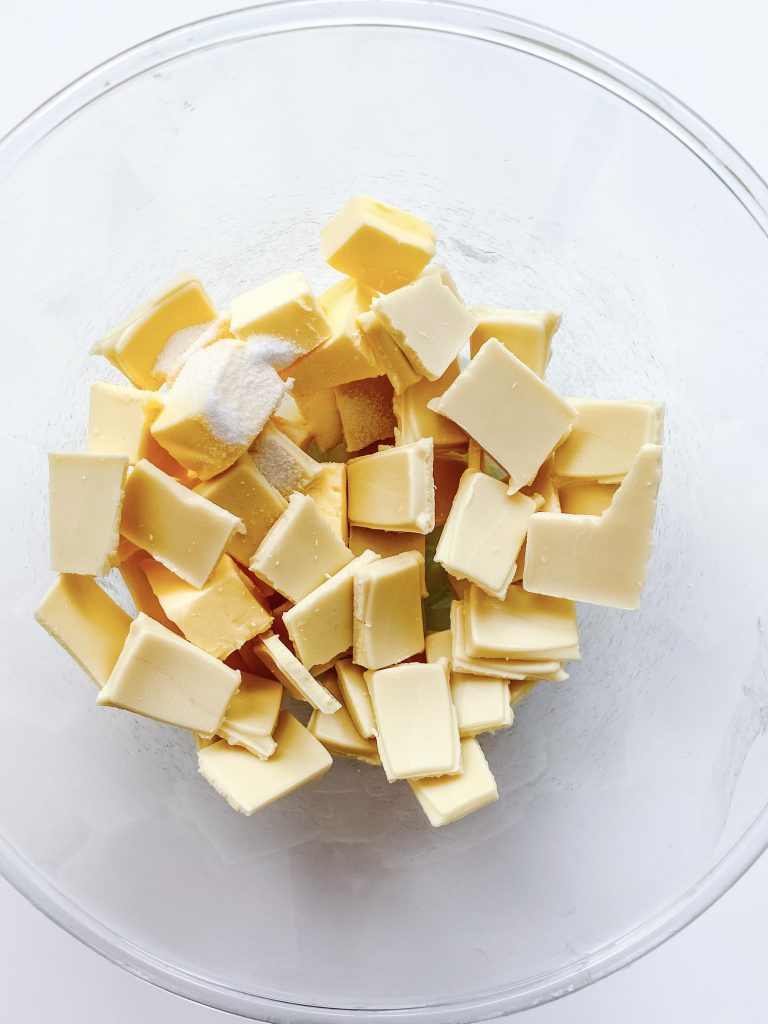
1 Mix butter, white chocolate and salt. 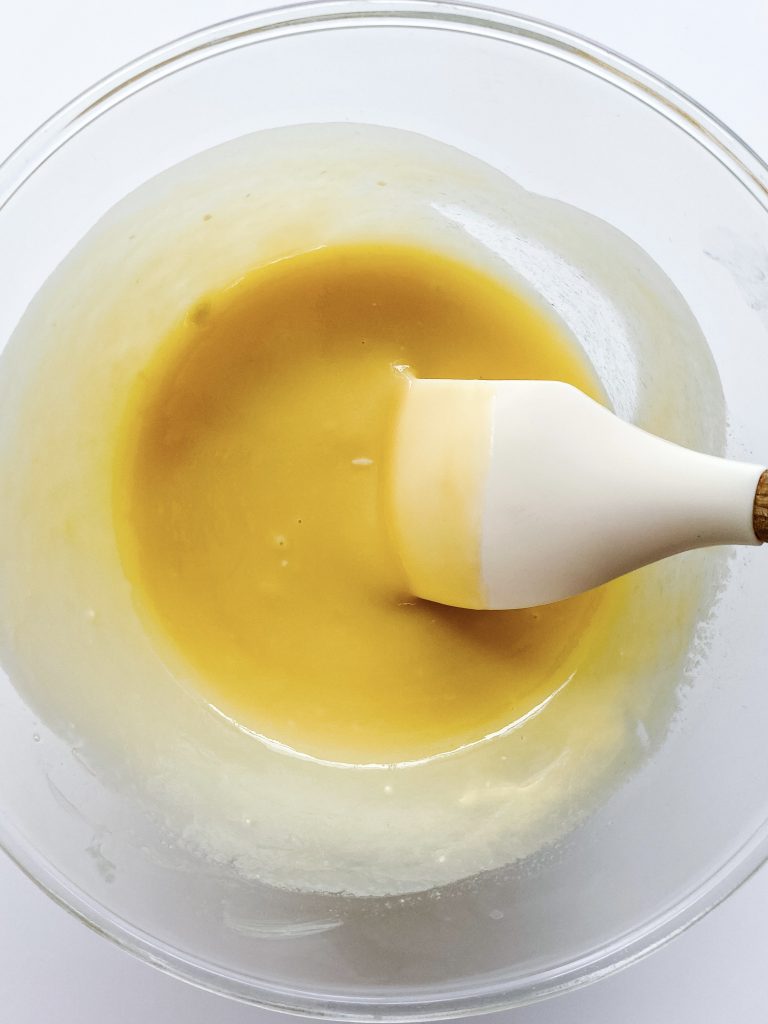
Melt and mix until smooth. 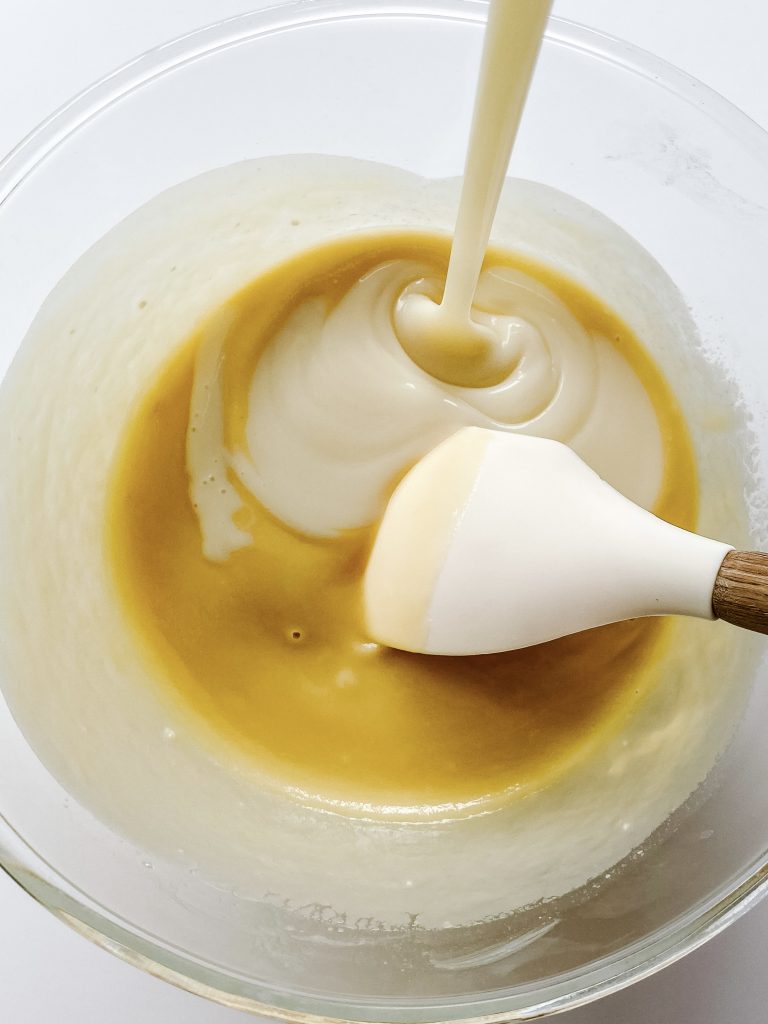
2 Add condensed milk … 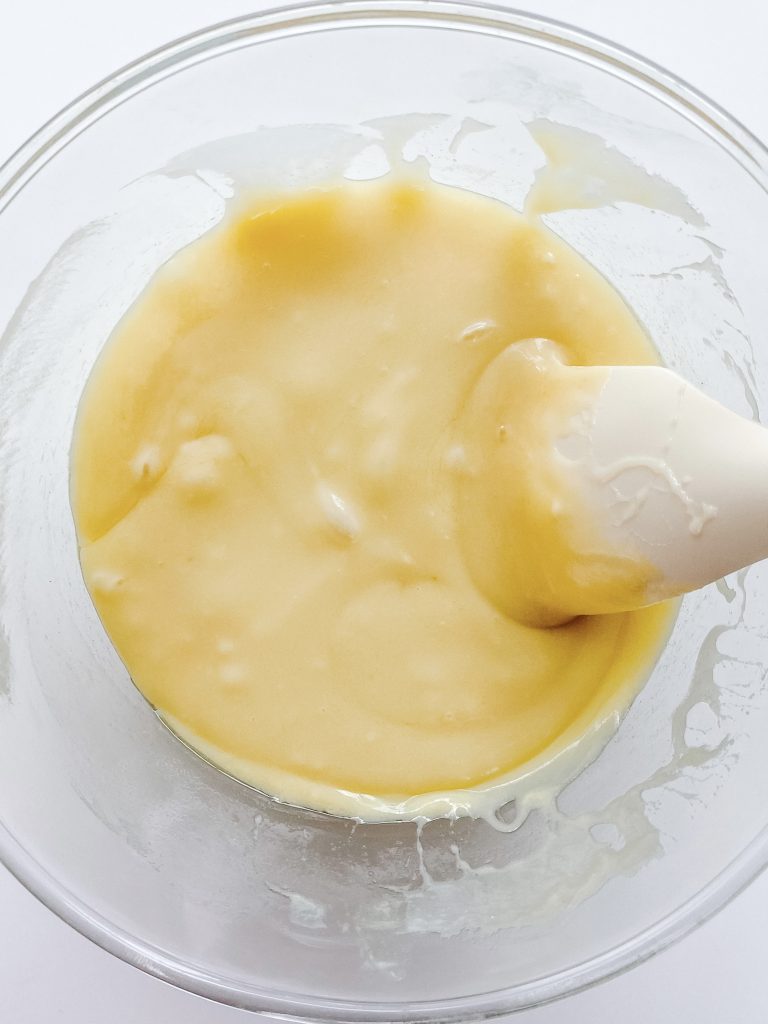
and mix 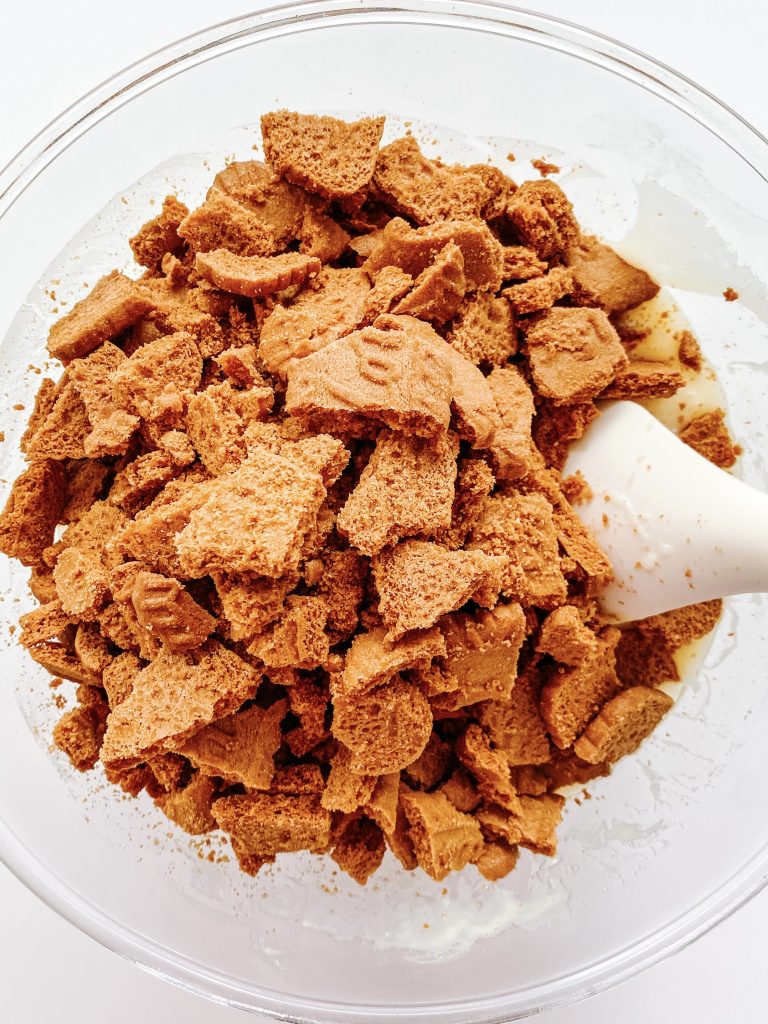
3 Add broken Biscoff biscuits 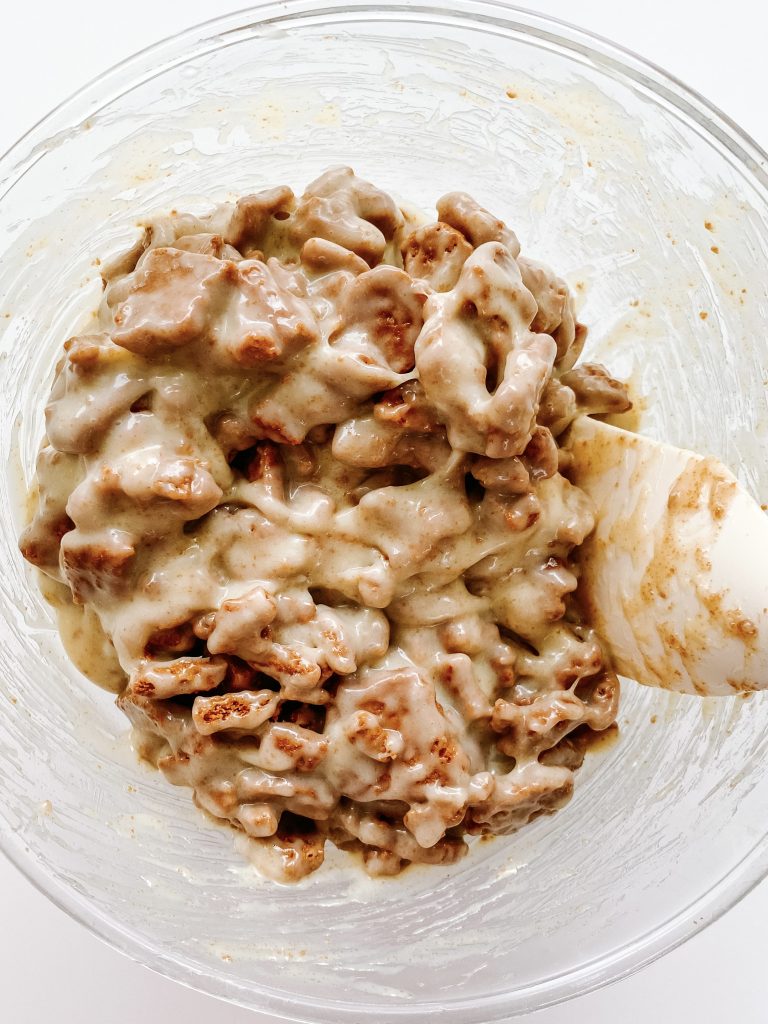
4 Fold together 
5 Tip into tin and flatten .. 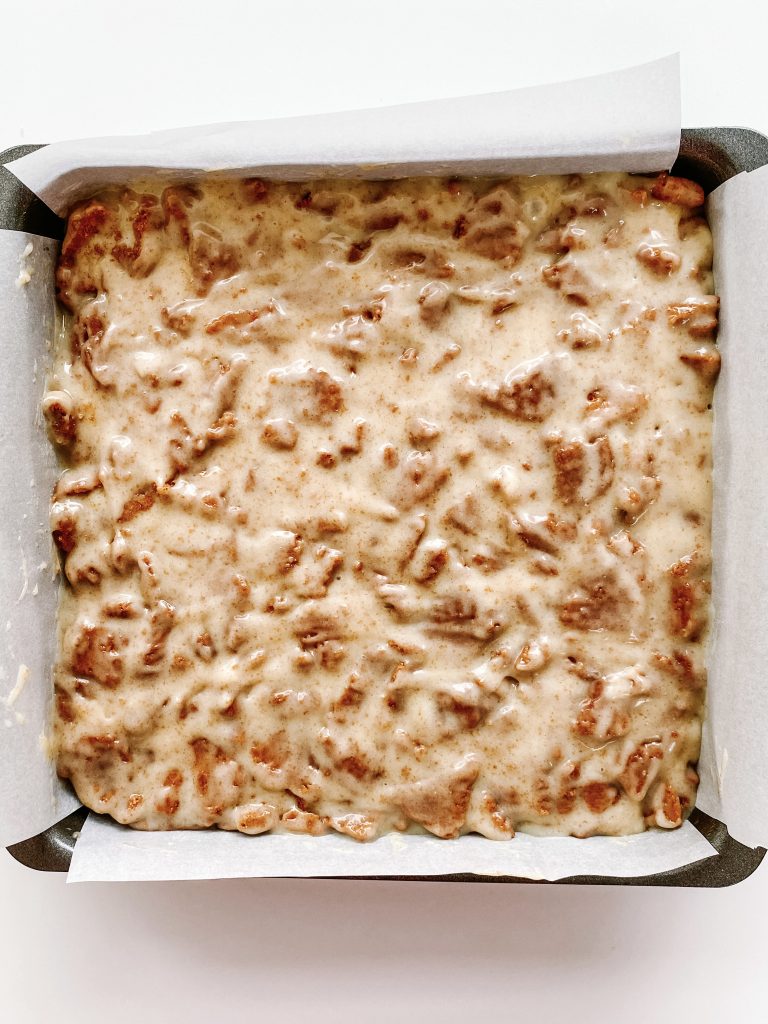
.. surface. Refrigerate for 30 mins
Top with the white chocolate and Biscoff:
- Melt the white chocolate and Biscoff spread in the microwave or over a bain marie and mix until smooth.
- Tip onto the base layer and level the surface.
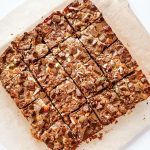
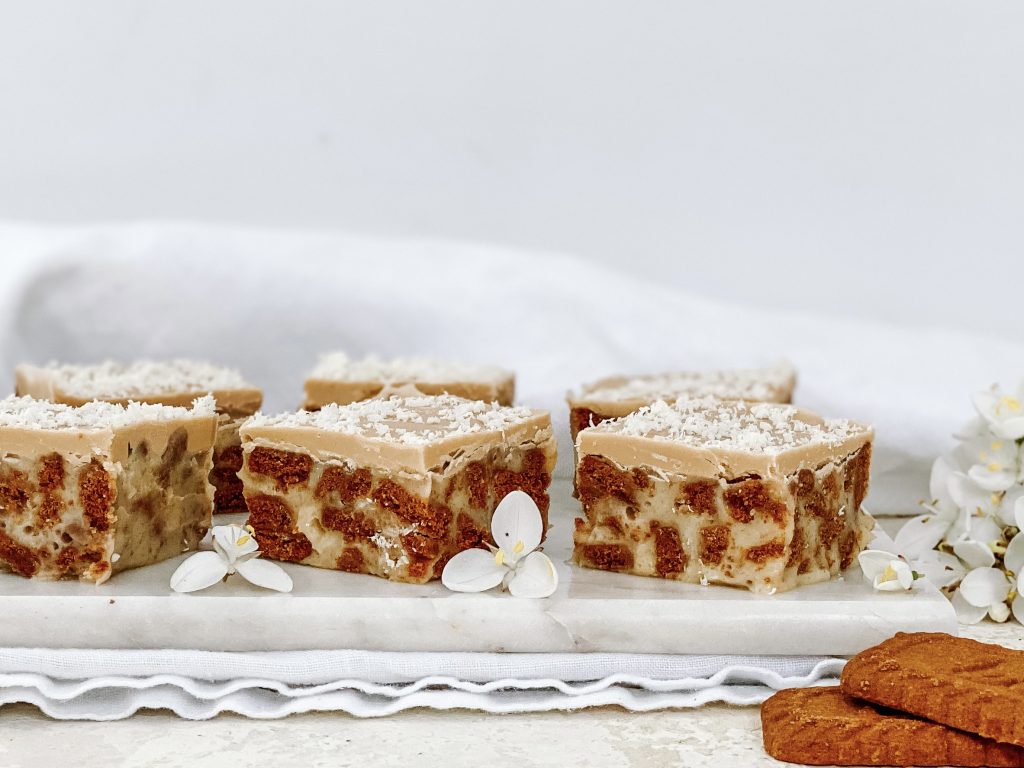
- Grate over some additional white chocolate
- Cut into squares when the chocolate topping has hardened. (NB The chocolate will not harden to chocolate solid because of the addition of Biscoff.)

Topping ingredients 
1 Melt white chocolate and Biscoff spread … 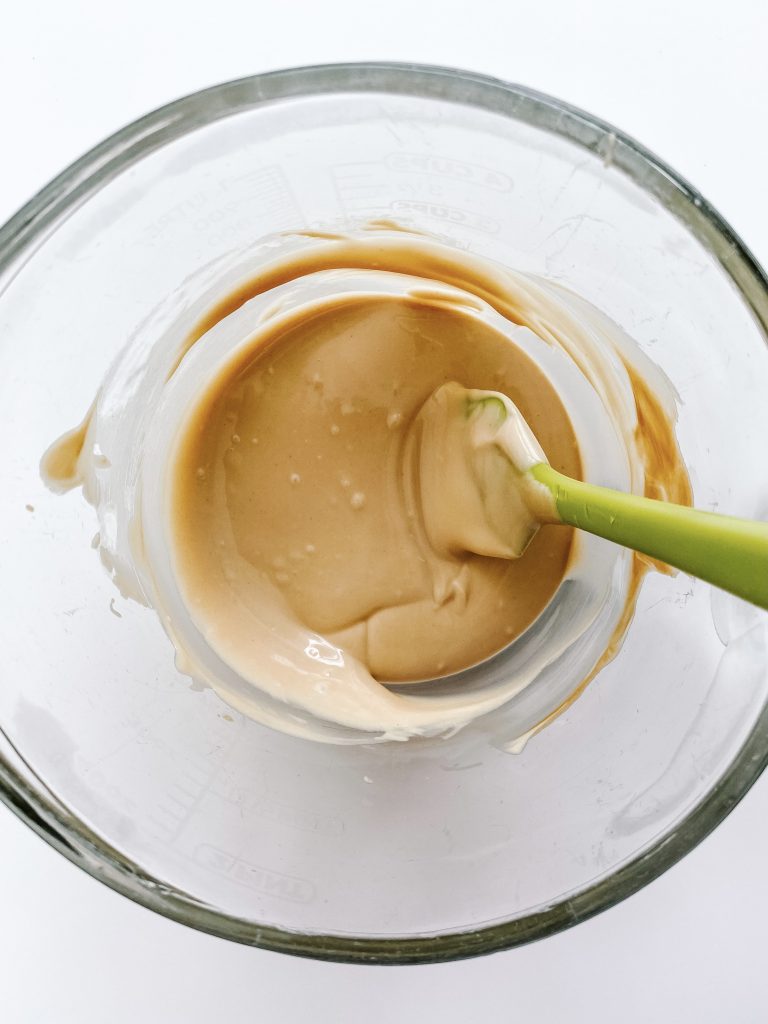
… mix until smooth. 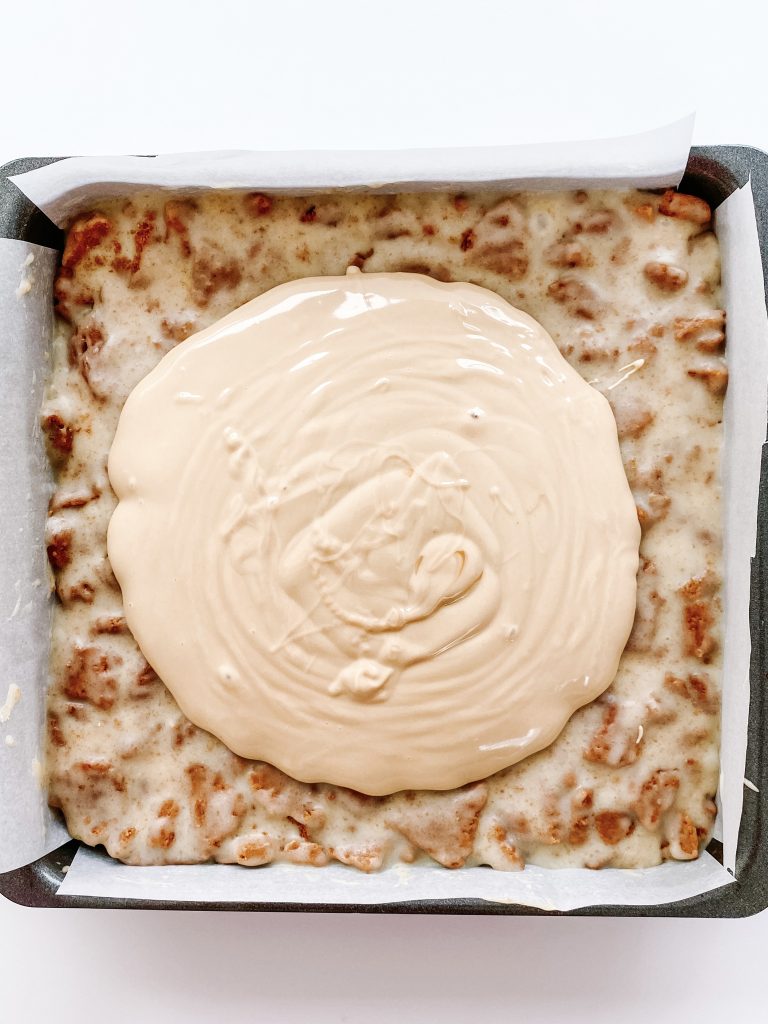
2 Tip onto base and level the surface. 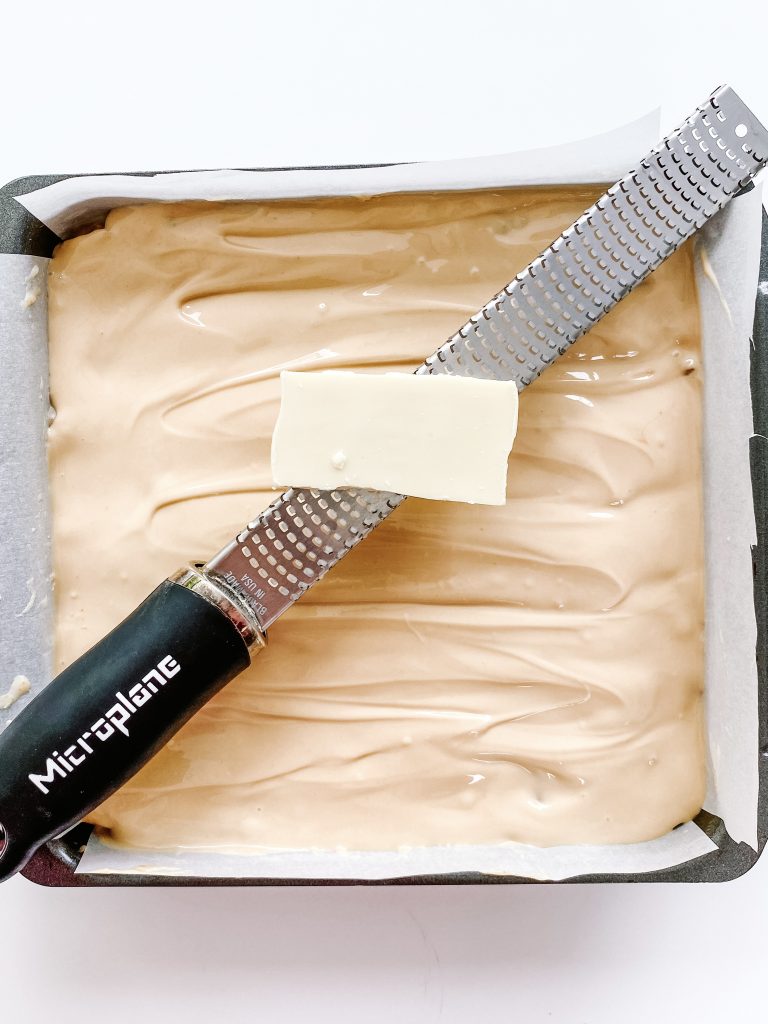
3 Grate over white chocolate 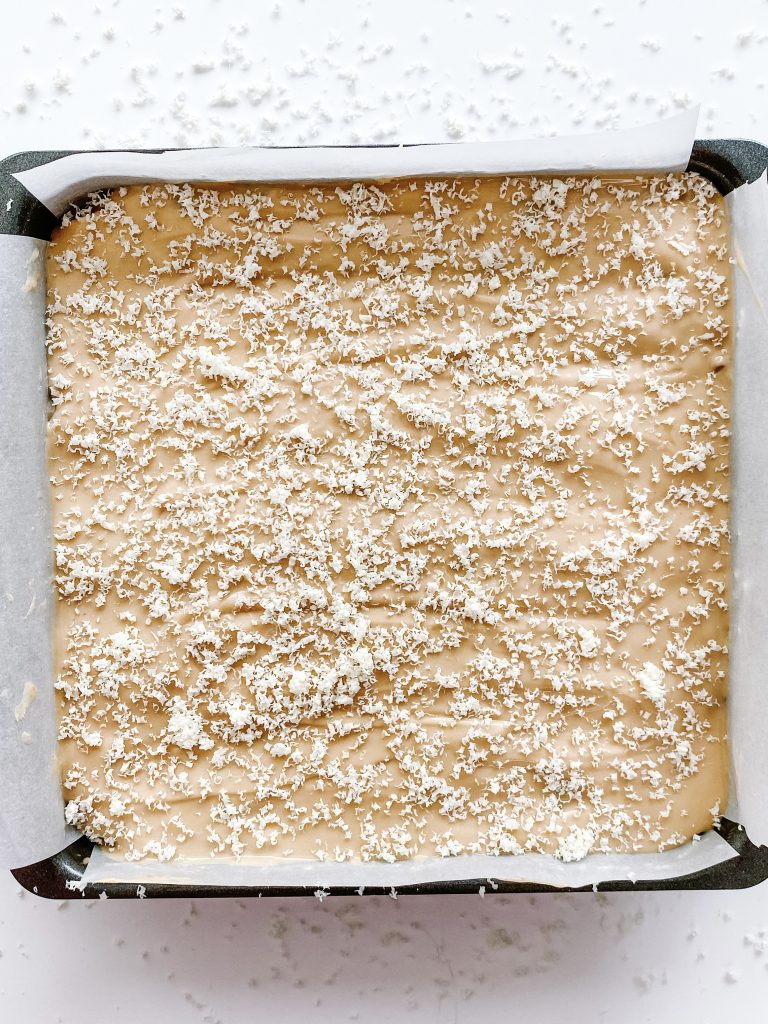
4 Leave to set
Made this recipe?
If you make this recipe, do please tag me on instagram @daffodil_kitchen. You could also leave a comment in the box directly below the recipe.

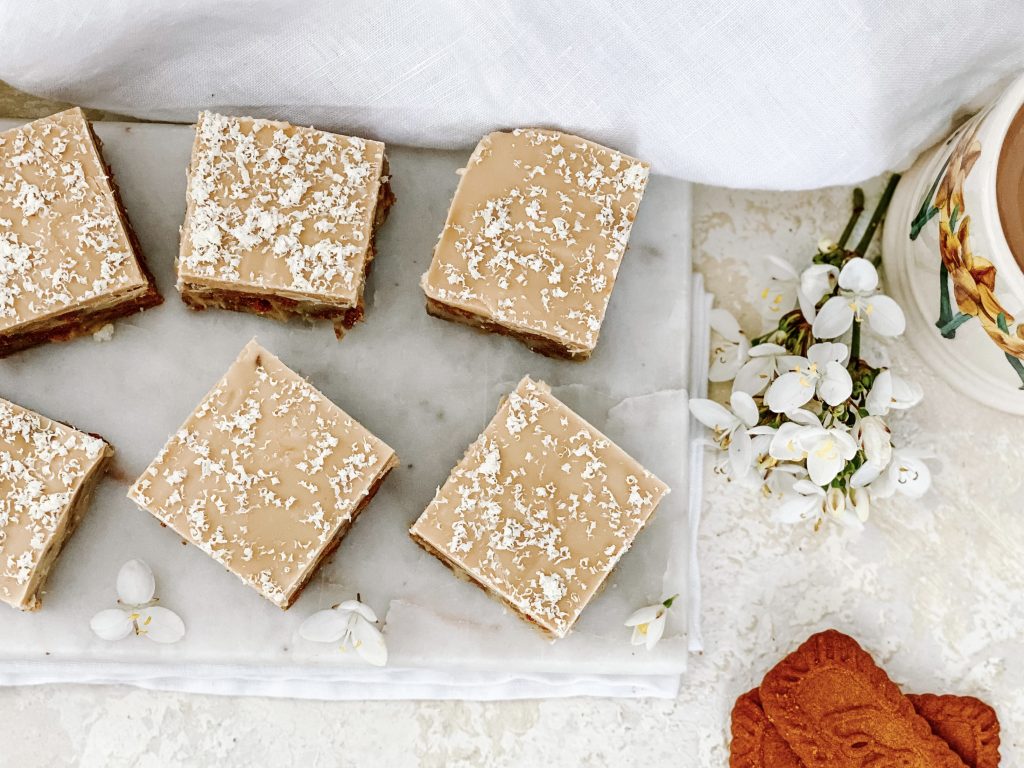
White Chocolate and Biscoff Sticky Squares
Sticky white chocolate squares loaded with crispy Biscoff biscuits and topped with a thick layer of white chocolate and Biscoff spread.
Ingredients
Base:
- 100g unsalted butter
- 200g white chocolate
- ¼ teaspoon fine salt
- 1 x 400g can of condensed milk
- 300g Biscoff biscuits, broken
Topping:
- 200g white chocolate
- 50g smooth Biscoff spread
- pinch of fine salt, to taste (optional)
Instructions
-
Collect together your equipment (see Recipe Notes below) and ingredients.
-
First make the base: chop the butter into squares and place in a large microwave safe bowl with the chopped white chocolate and salt. Melt in a microwave or a bain marie and mix until smooth. (See Recipe Notes for details.)
-
Add the condensed milk and mix into the melted chocolate and butter until thoroughly mixed.
-
Either place the Biscoff biscuits into a plastic bag and bash lightly with a rolling pin or you could do this by hand if you prefer. You want to break the biscuits up not crush them .
-
Fold in the biscuits until coated in the sticky chocolate mix.
-
Tip into a square cake tin and flatten the surface making sure the mixture is in all the corners and level.
-
Pop into the fridge for 30 minutes to set a little.
-
Top with the white chocolate and Biscoff: melt 195g white chocolate and Biscoff spread in the microwave or over a bain marie and mix until smooth. (See Recipe Notes for details.)
-
Tip onto the base layer and level the surface.
-
Grate over the remaining white chocolate.
-
Cut into squares when the chocolate topping has hardened. (NB The chocolate will not harden to chocolate solid because of the addition of Biscoff.)
-
I cut into either 16 or 25 squares depending on how many people I plan to share this with!
Recipe Notes
Equipment:
- Large microwave safe jug or heatproof bowl
- Kitchen scales and measuring spoons
- Plastic bag and rolling pin – if necessary
- 20cm/8 inch square baking tin or 23cm/9 inch square baking tin lined with baking parchment
Be very careful melting the chocolate. Chocolate can be very difficult to work with. You can overheat it very easily and the mixture will go grainy. When this happens, there is no way to resolve it I’m afraid!
Microwave: I give the chocolate and butter or Biscoff a minute in the microwave, take it out and stir it well, then let it sit for a few minutes to see if it continues melting sufficiently to melt all the chocolate. If not, I then continue with the microwave but in 10 – 15 second bursts.
Bain Marie: if you do not have a microwave, put the chocolate and butter or Biscoff in a heatproof bowl over a saucepan of gently simmering water. Do not let the base of the bowl touch the water. Heat until the chocolate and butter/Biscoff are very nearly melted then take it off the heat and take the bowl off the saucepan. Be very careful not to burn yourself as the bowl will be hot and steam will escape from the saucepan. Allow the mixture to sit for a few minutes for the residual heat to melt the remainder of the mixture. Again, be careful not to over-heat.