Australian Crunchy Bars
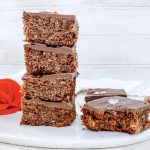
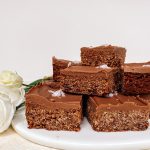
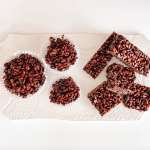
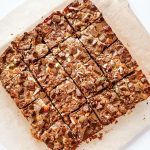
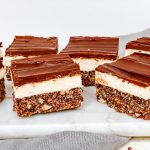
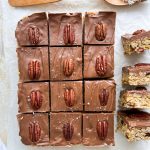
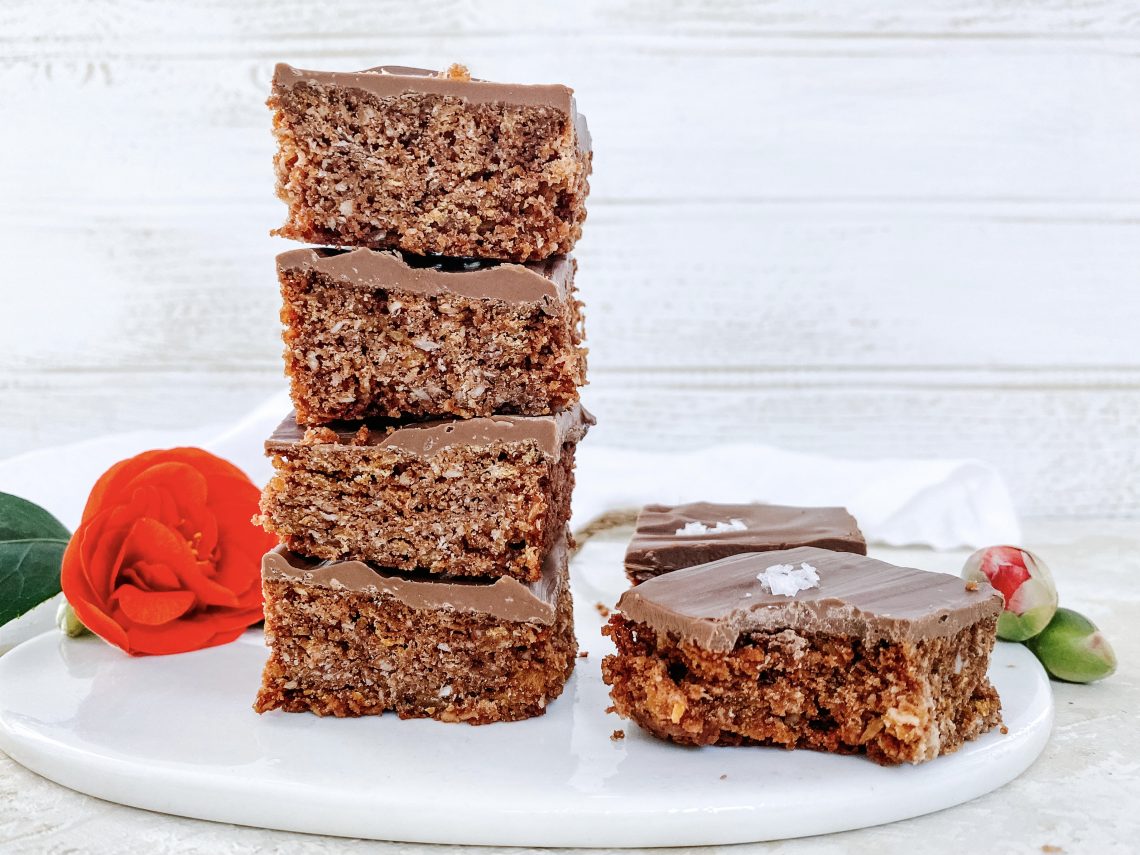
Chocolatey, crunchy, chewy, coconuty bites of deliciousness. When you are not sure if you want a crispy, chewy cookie or a slice of cake and if you love a crunchy texture – then this is your absolute go to!
I came across Aussie Crunch Bars whilst surfing the net. It’s a dangerous habit – I start looking for one recipe and end up losing an hour or two, finding a range of recipes I want to try. Too much food and not enough time! I came across a range of recipes for these fabulous bars but found very little about their history. I am not sure why they are called Australian Crunchy Bars but, interestingly, they are virtually identical to the Chocolate Coconut Crunch on this site, which is a British recipe I found on Nicky Corbishley’s blog, Kitchen Sanctuary.
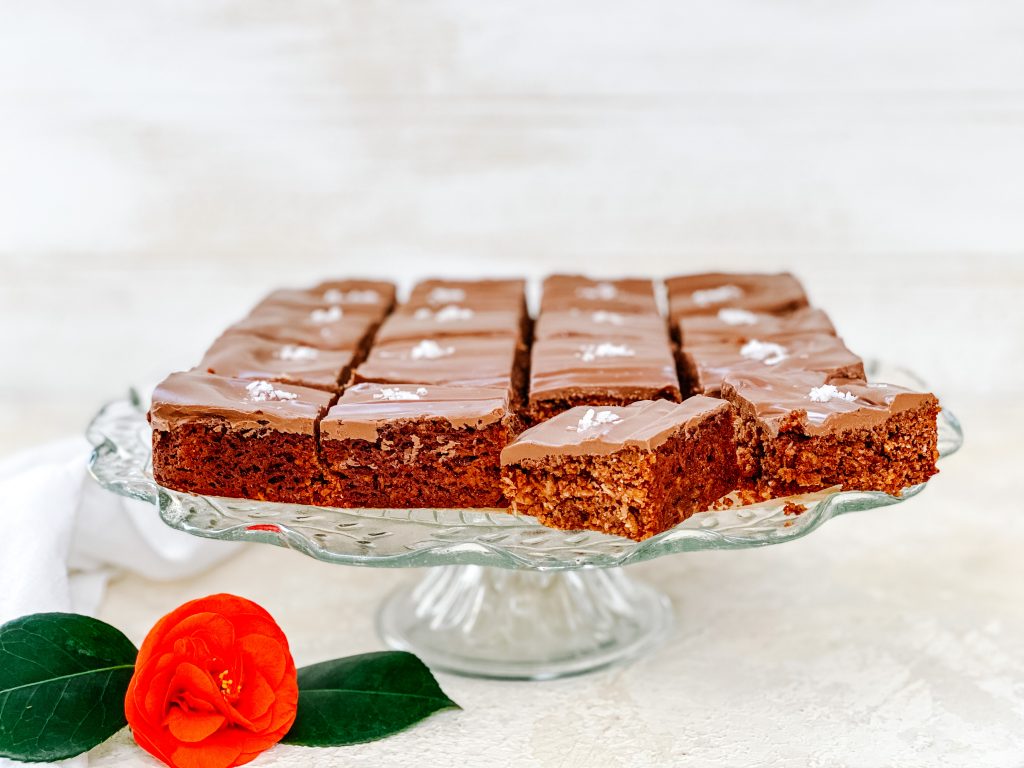
We love the Coconut Crunch Bars so much, I thought I’d give this Aussie Crunch version a whirl. I couldn’t decide which recipe to use, so I returned to the one we love, made some slight adjustments based on a very similar recipe on a wonderful Australian site called Wandercooks, and ended up with this utterly moreish slice. They were so good I made Charlotte take them to work to get them out of the house – I simply could not trust myself not to scoff the whole lot!
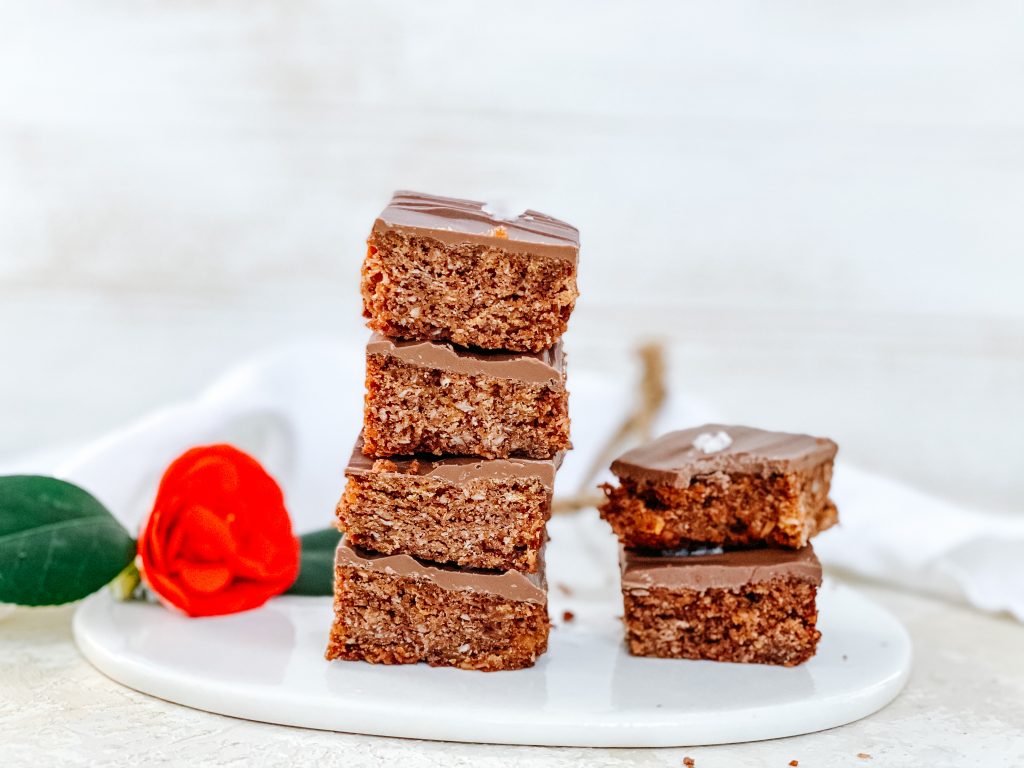
How to make Australian Crunchy Bars
Collect all your ingredients together:
For the base:
- unsalted butter
- golden syrup
- caster sugar
- unsweetened desiccated coconut
- cornflakes
- unsweetened cocoa powder
- plain/all-purpose flour
- baking powder
- vanilla extract
- fine salt
Topping:
- milk chocolate (I use Cadbury’s)
- unsalted butter (optional – if you prefer a harder chocolate topping, omit the butter)
- flakes of sea salt (optional)
Make the base:
- Melt the butter and golden syrup in a saucepan over a moderate heat.
- At the same time, lightly crush the cornflakes with a potato masher. Do not over-crush them though, you want small crunchy pieces and not powder.
- Add the cornflakes, with the remaining dry ingredients, to the butter and syrup.
- Mix thoroughly and tip into a lined 20cm/8 inch square baking tin. Flatten and level the surface, making sure you push the mixture into all the corners.
- Cook in the centre of a preheated oven for 25 minutes. Take out of the oven and leave to cool completely in the tin.
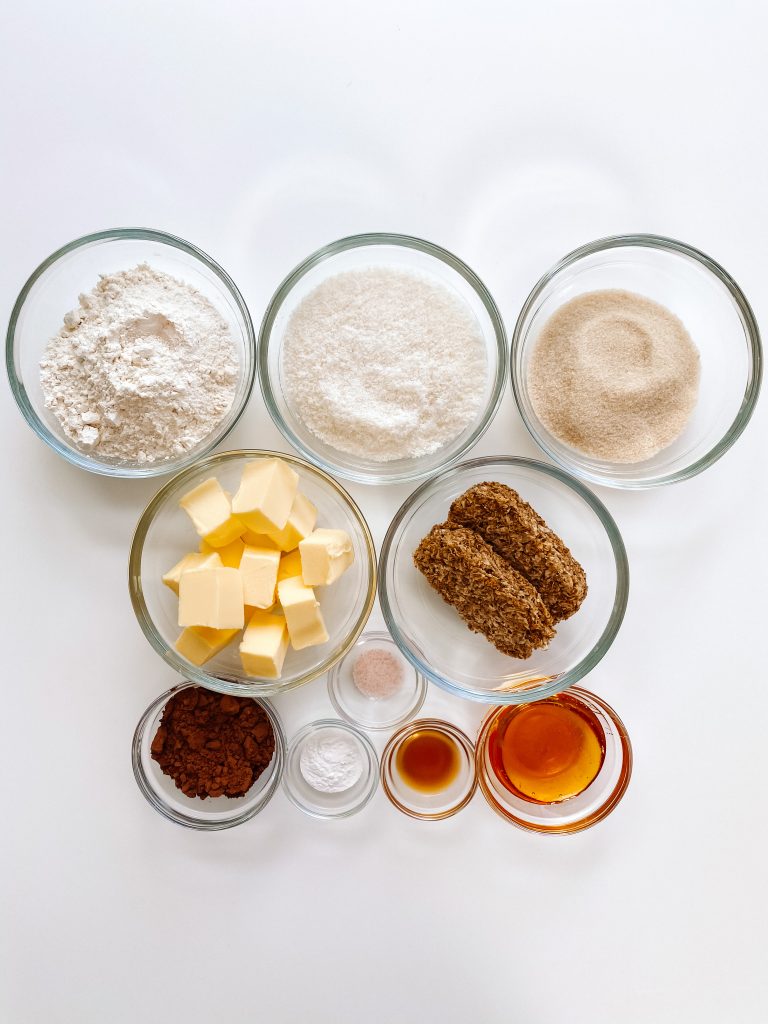
Chocolate Coconut Crunch Ingredients 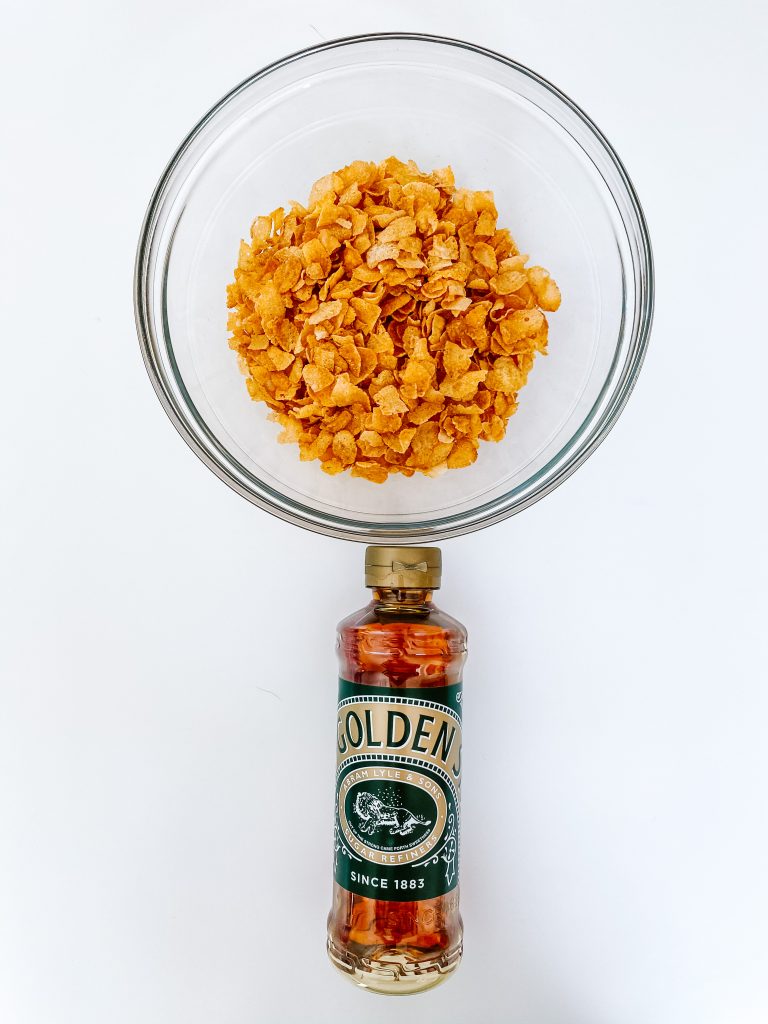
Replace Weetabix with cornflakes. Add extra syrup. 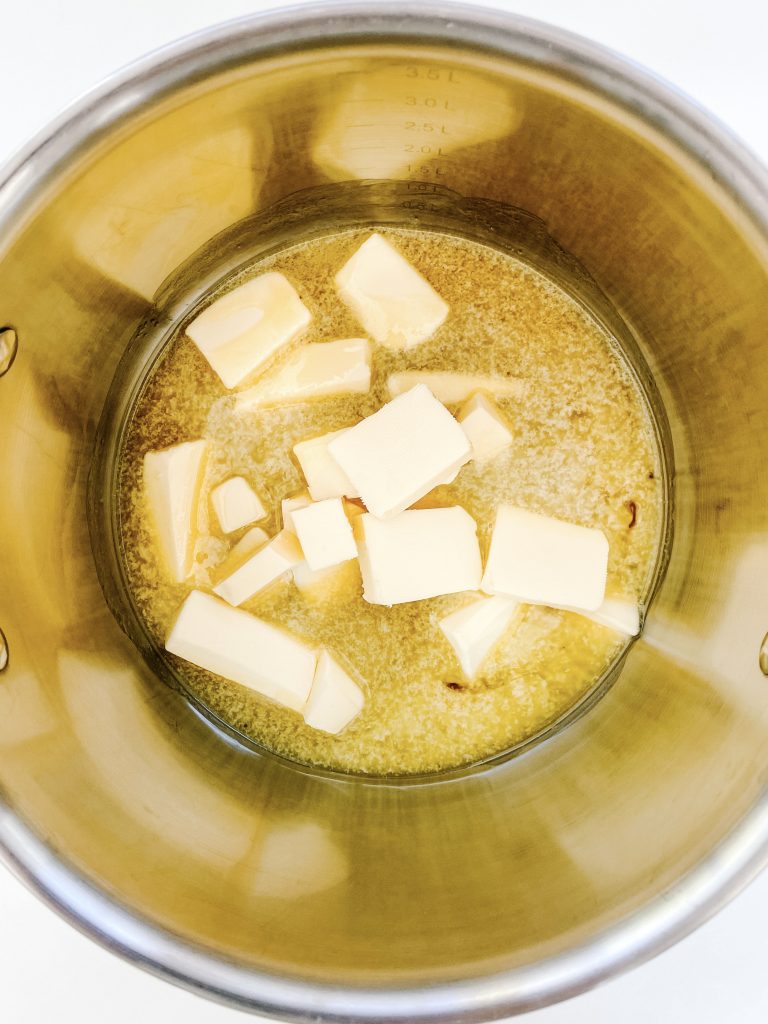
1 Melt butter and golden syrup 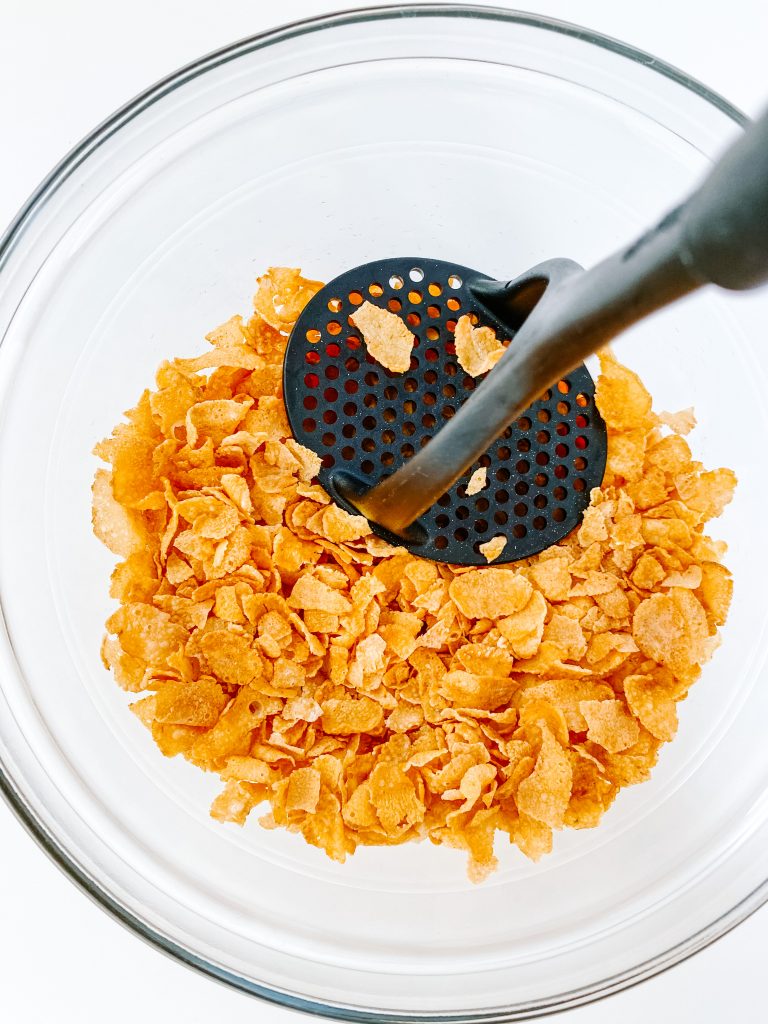
2 Lightly crush cornflakes. Do not over-crush them. 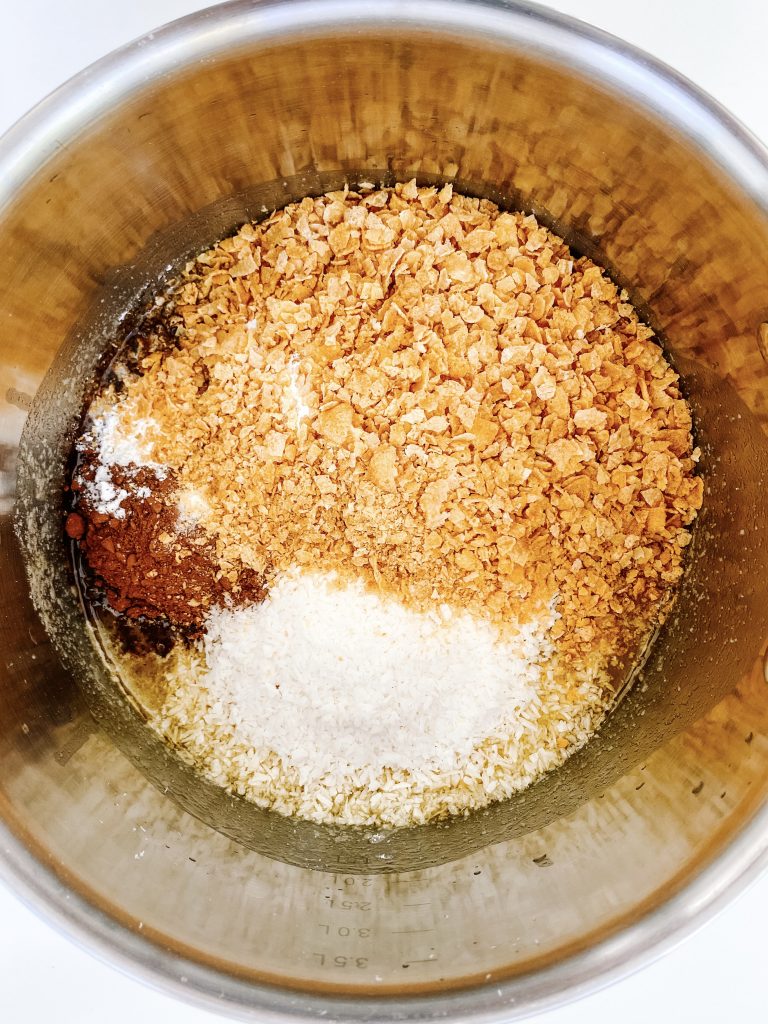
3 Add dry ingredients to butter and syrup. 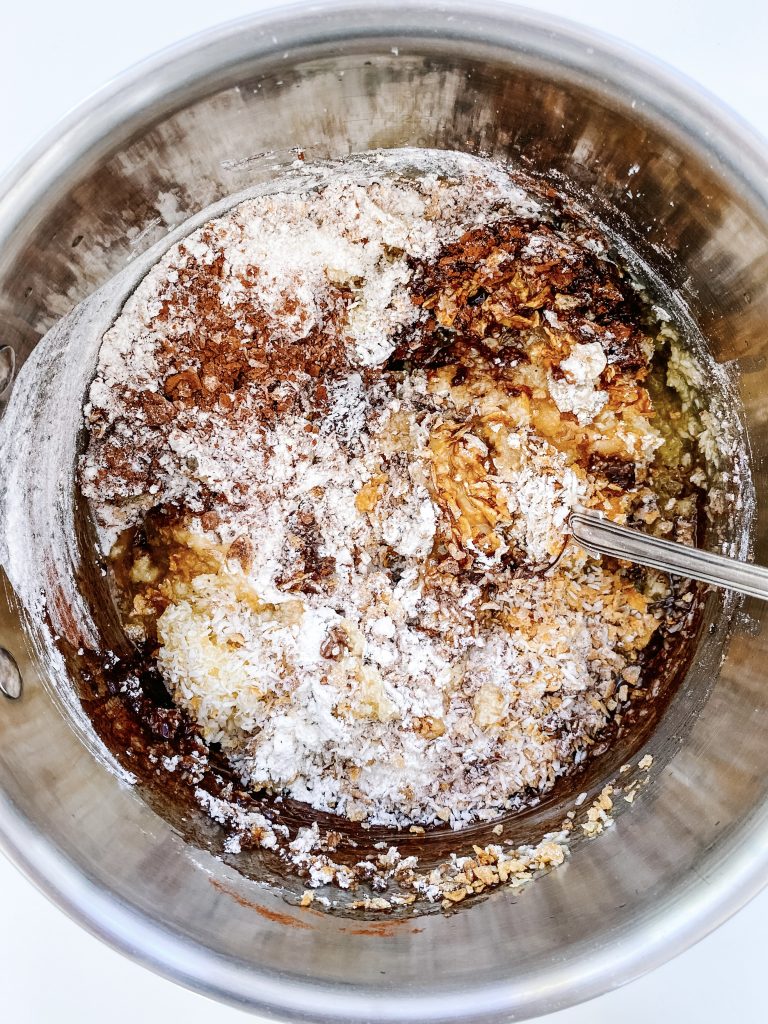
4 Mix well and tip … 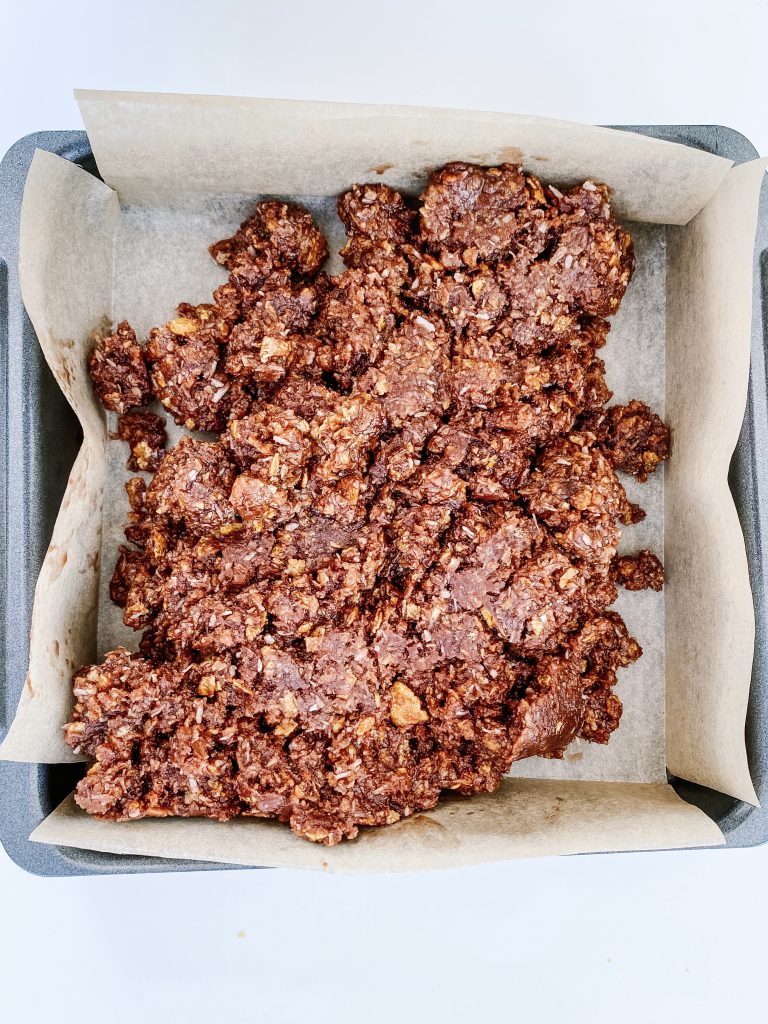
… into lined baking tin 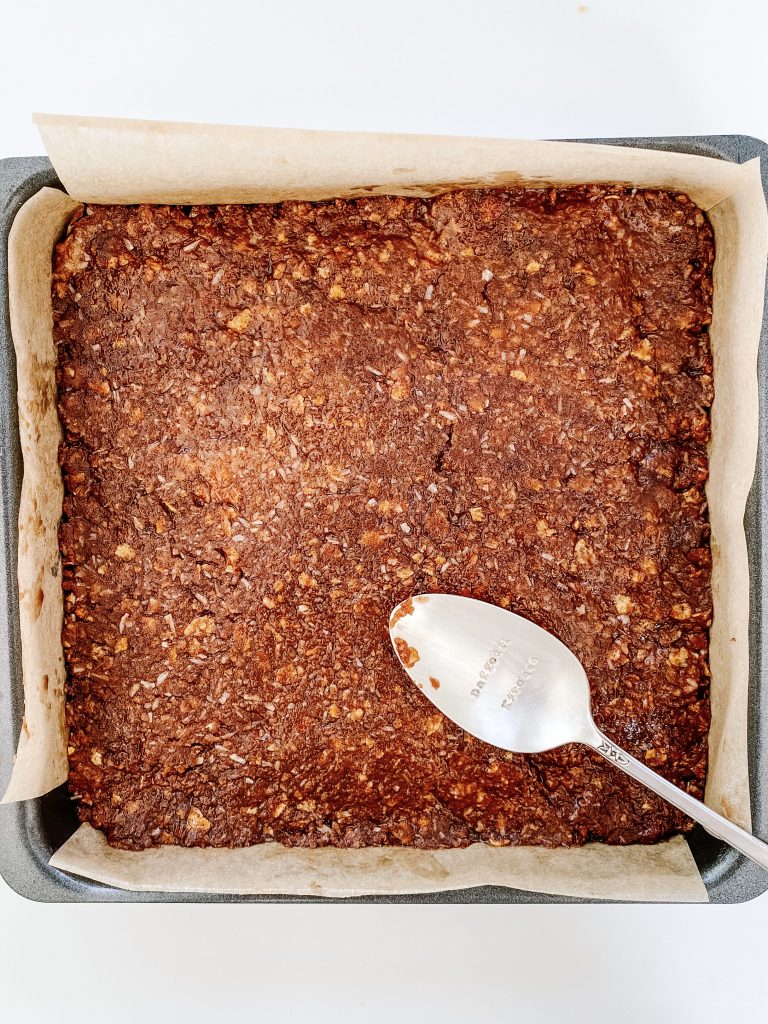
5 Flatten and level surface 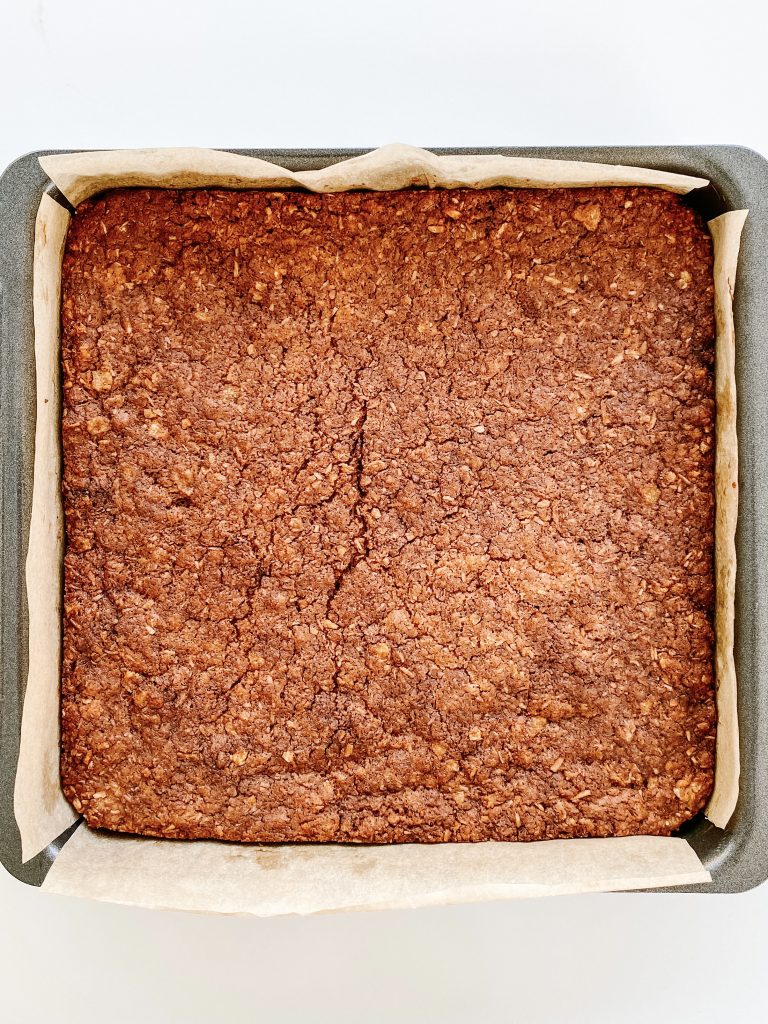
6 Bake. Cool in tin
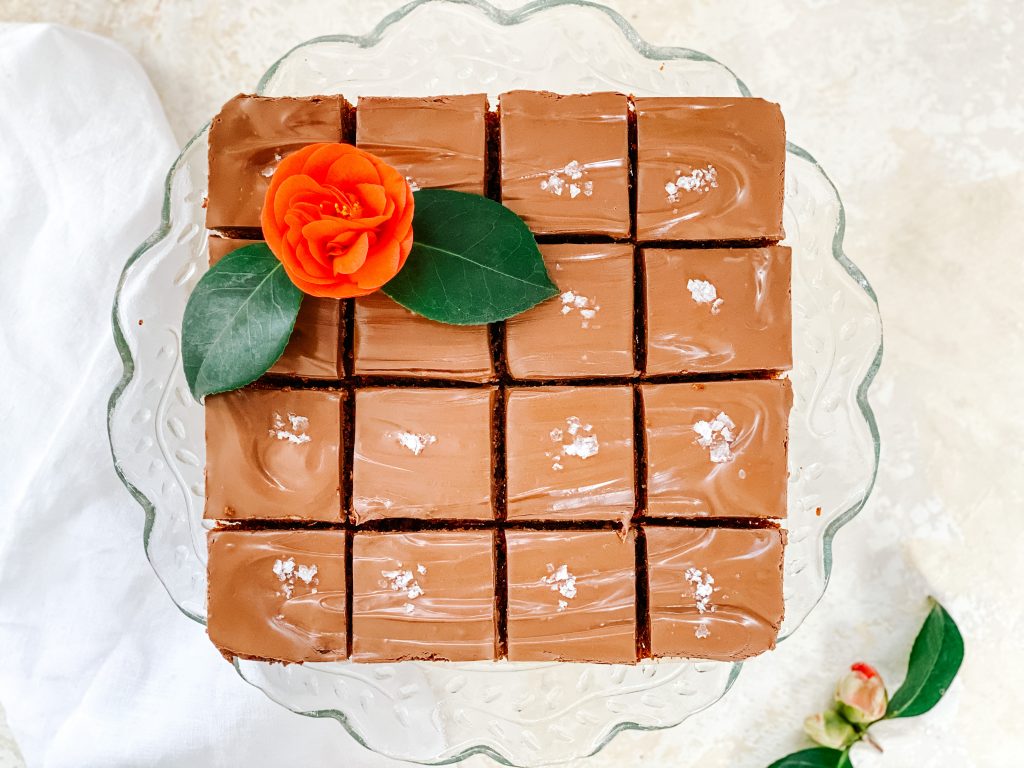
When cool, top with chocolate:
- Melt the chocolate and butter slowly in a microwave or a bain marie. (See Recipe Notes)
- Spread evenly over the base.
- If using, sprinkle some sea salt where you imagine the centre of each square will be.
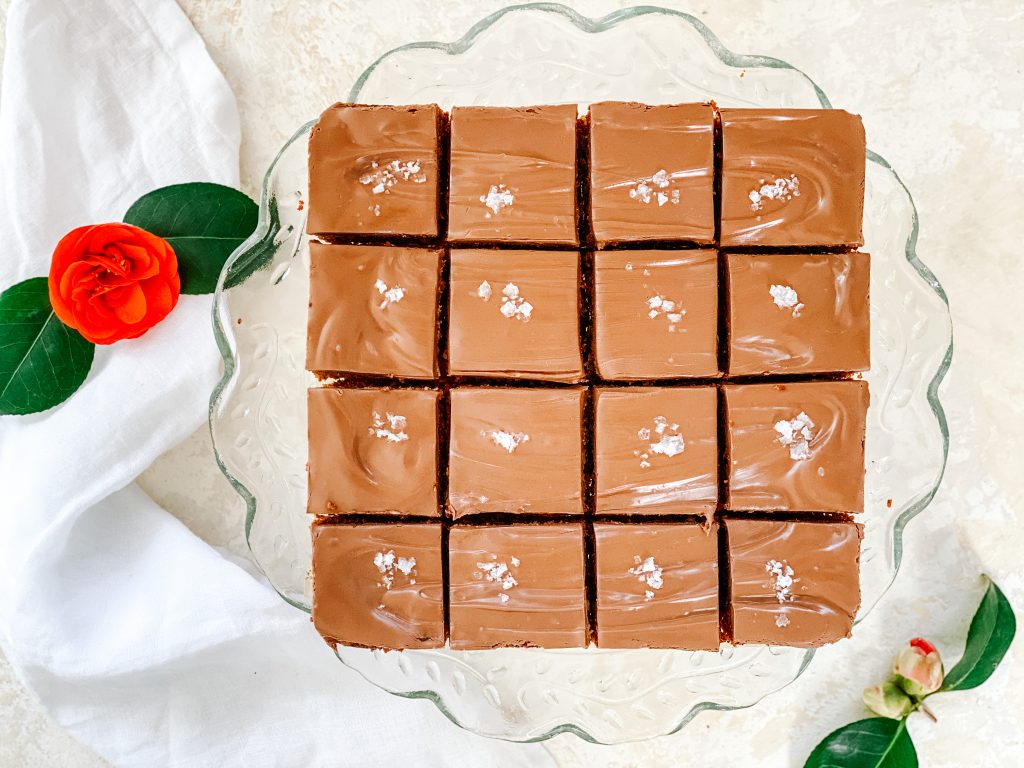
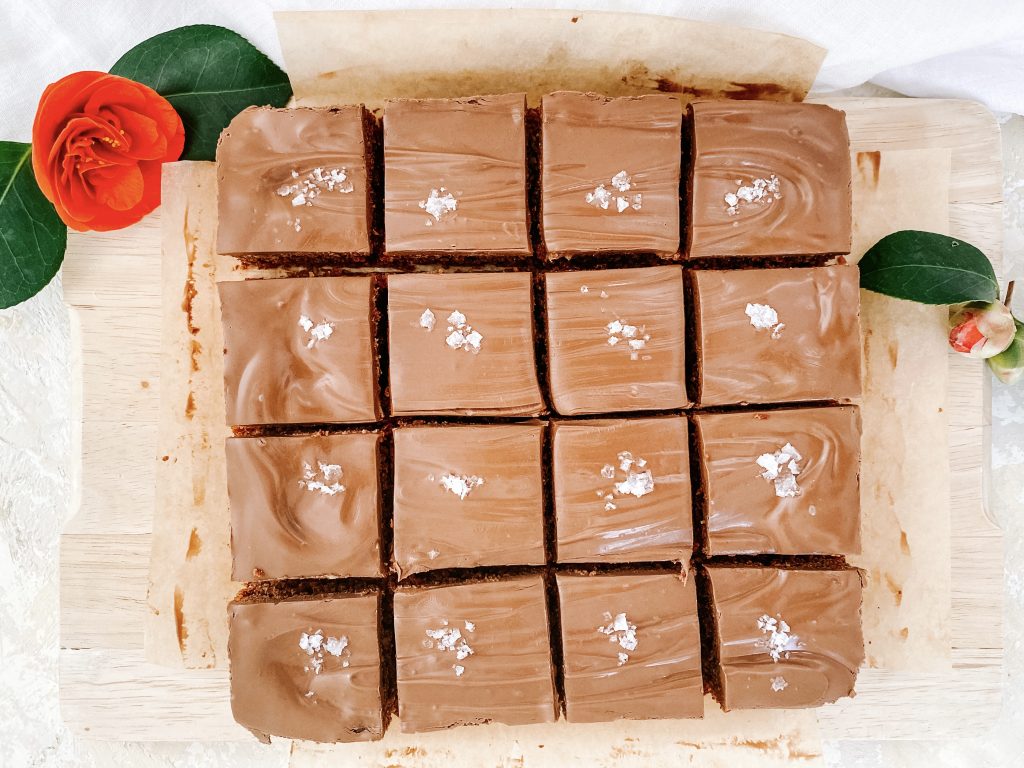
- Leave to set in the baking tray and put it in the fridge for roughly an hour. Cut into 16 squares.
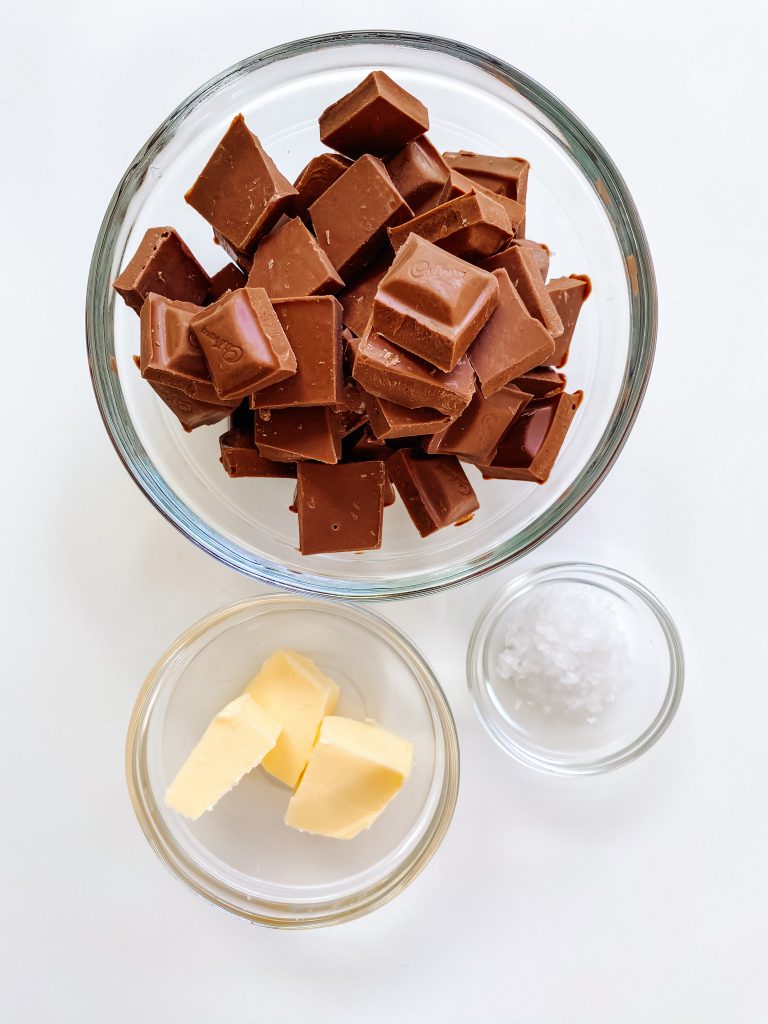
Topping ingredients 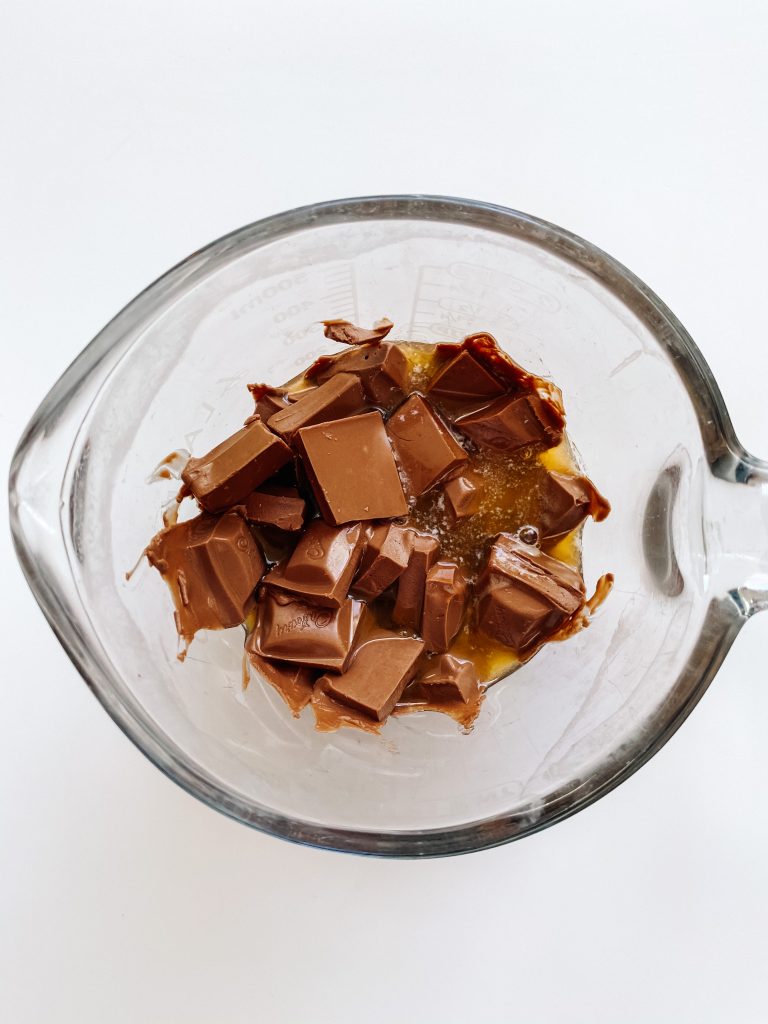
1 Melt chocolate and butter 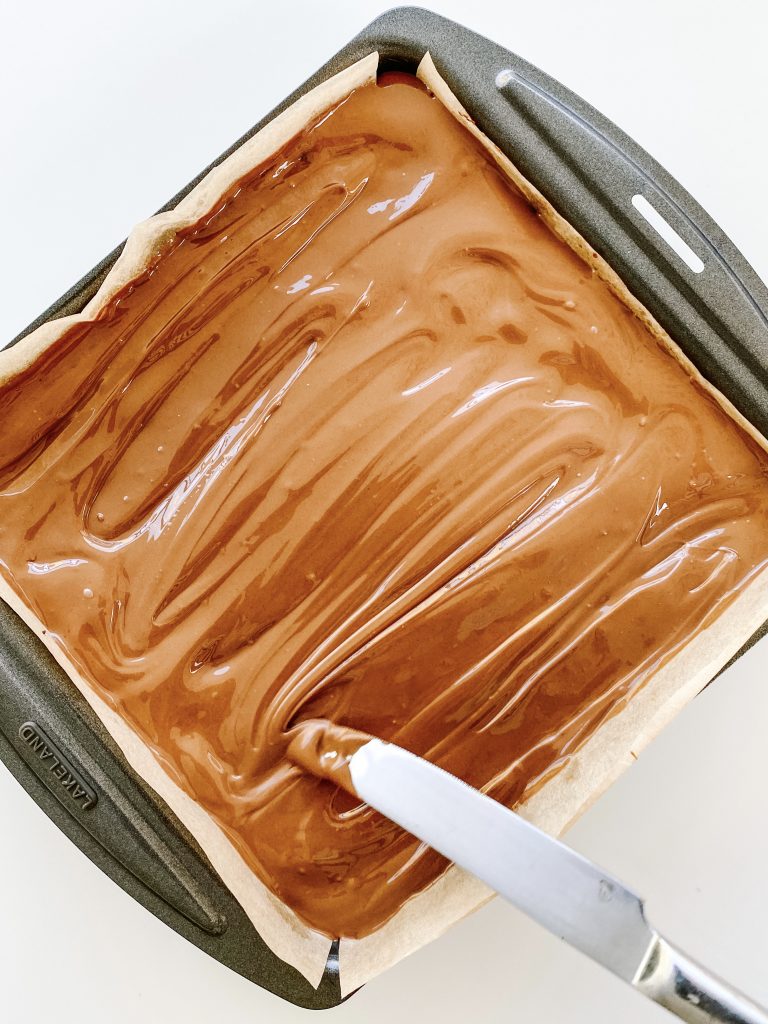
2 Spread over base 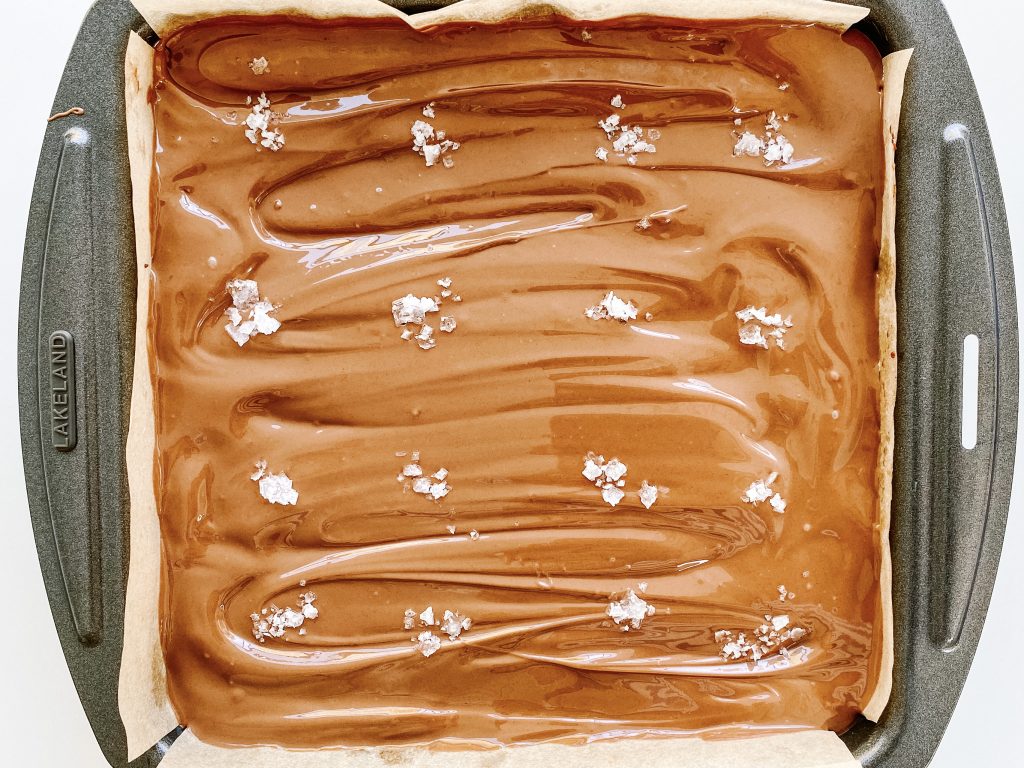
3 Sprinkle on sea salt 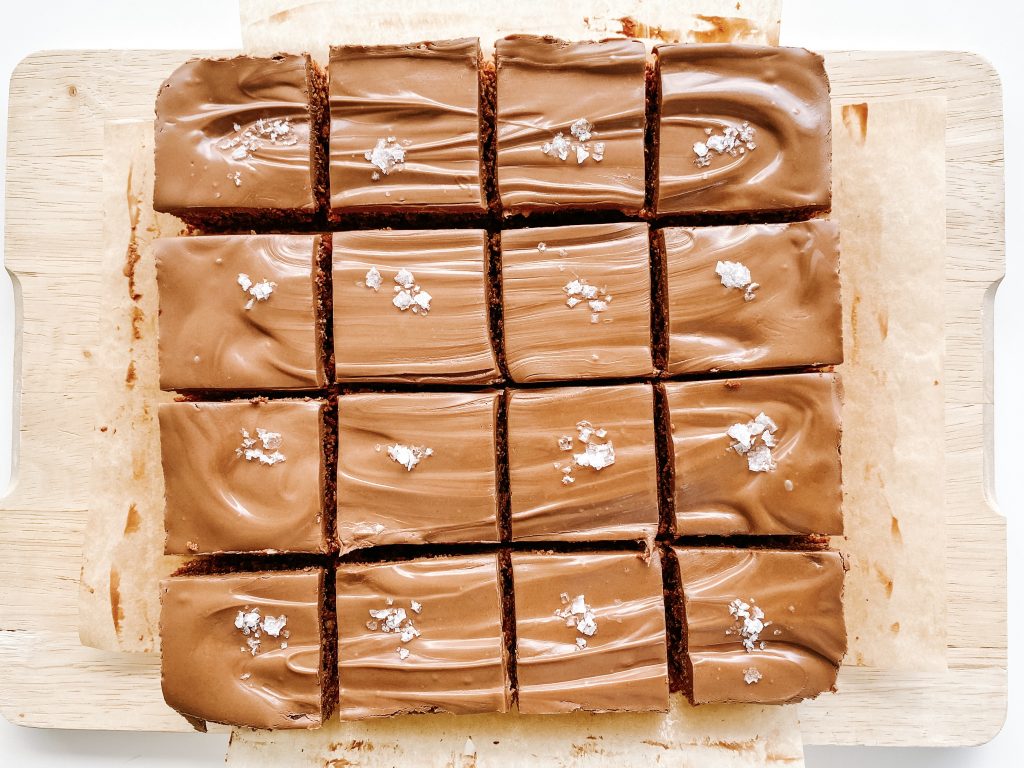
4 When set, cut into 16 squares.
Made this recipe?
If you make this recipe, do please tag me on instagram @daffodil_kitchen. You could also leave a comment in the box directly below the recipe.
Australian Crunchy Bars
Chocolatey, crunchy, chewy, coconuty bites of deliciousness. When you are not sure if you want a crispy, chewy cookie or a slice of cake and love a crunchy texture – then this is your absolute go to!
Ingredients
For the base:
- 200g unsalted butter
- 65g golden syrup
- 80g cornflakes
- 100g caster sugar
- 85g unsweetened desiccated coconut
- 24g/3 tablespoons cocoa powder
- 135g plain/all-purpose flour
- 1 teaspoon baking powder
- 1 teaspoon vanilla extract
- ¼ teaspoon salt
Topping:
- 250g milk chocolate (I use Cadbury’s)
- 25g unsalted butter (optional – if you prefer a harder chocolate topping, omit the butter)
- ½ – 1 teaspoon sea salt flakes (optional)
Instructions
-
Collect together your equipment (see Recipe Notes below) and ingredients.
-
Preheat oven to Fan Oven 160°C /180°C/350°F/Gas 4
-
For the base: melt the butter and syrup in a large saucepan over a moderate heat, until melted.
-
At the same time, lightly crush the cornflakes with a potato masher. Do not over-crush them though, you want small crunchy pieces and not powder.
-
Add the cornflakes, with the remaining dry ingredients, to the butter and syrup.
-
Mix thoroughly and tip into a lined 20cm/8 inch square baking tin. Flatten and level the surface, making sure you push the mixture into all the corners.
-
Cook in the centre of a preheated oven for 25 minutes. Take out of the oven and leave to cool completely in the tin.
-
Top with Chocolate: melt the chocolate and butter in a bain marie or in the microwave. (See comments below). Spread evenly over the base.
-
Optional: sprinkle some sea salt where you imagine the centre of each square will be.
-
Leave to set in the baking tray and put it in the fridge for roughly an hour. Cut into 16 squares.
Recipe Notes
Equipment:
- kitchen scales and measuring spoons
- 20cm/8-inch square tin, lined with baking parchment
- bowl to crush the cornflakes
- thick based saucepan
- microwave safe jug or medium size mixing bowl
Be very careful melting the chocolate. Chocolate can be very difficult to work with. You can overheat it very easily and the mixture will go grainy.
Microwave: I give the chocolate and butter a minute in the microwave, take it out and stir it well, then let it sit for a few minutes to see if it continues melting sufficiently to melt all the chocolate. If not, I then continue with the microwave but in 10 – 15 second bursts.
Bain Marie: if you do not have a microwave, put the chocolate and butter in a heatproof bowl over a saucepan of gently simmering water. Do not let the base of the bowl touch the water. Heat until the chocolate and butter are very nearly melted then take it off the heat and take the bowl off the saucepan. Be very careful not to burn yourself as the bowl will be hot and steam will escape from the saucepan. Allow the mixture to sit for a few minutes for the residual heat to melt the remainder of the mixture. Again, be careful not to over-heat.

Lemon Drizzle Cake
You May Also Like
Mashed Potatoes
27th October 2020
Cadbury’s Cream Egg Brownies
26th March 2021