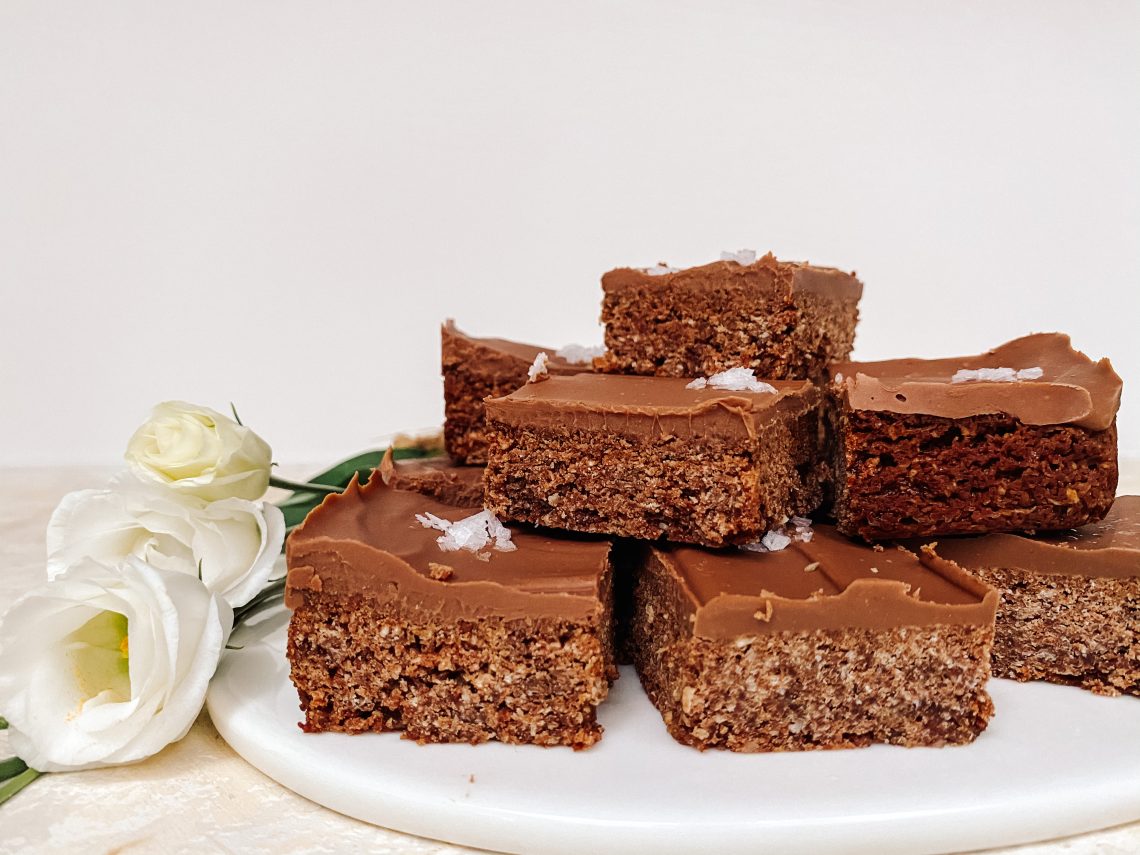
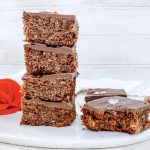
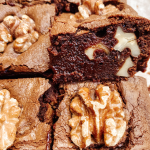
Chocolate Coconut Crunch
We love, love, love this recipe. I have been making these utterly delectable Coconut Chocolate Crunch bars for a few years now; as soon as I made them, they became a firm family favourite.
The recipe is from Nicky Corbishley’s blog, Kitchen Sanctuary. Nicky’s food is seriously tasty, rarely uses hard to find ingredients and is all beautifully presented. Nicky has a wonderful writing style which makes you want to make her dishes, without even seeing the tantalising photographs. Take a look at her blog directly here or read more about it here, at Daffodil Kitchen.
Nicky describes these bars as ‘crunchy, chewy, very chocolatey and so addictive.’ I cannot improve on that so am quoting directly. When I made these for my friend Sam, she messaged me and simply wrote ‘omg, that coconut choccie yumminess, heaven!’
Chocolatey, crunchy yet chewy at the same time, and stuffed with coconut – they’re lethal; you cannot stop at one! This recipe also proved a massive hit at my daughters’ boarding school when either they or I would whip up a batch for the termly boarders who often missed home cooked baking. (Fortunately for me, my daughters boarded weekly so came home every weekend and we often baked together.)
Both girls now regularly make these scrumptious treats and they have graced the ‘treats’ table at many an NHS hospital – my elder daughter is a physiotherapist and my younger daughter is a medical student. I wouldn’t be surprised though, if a few batches never made it out of the student accommodation!
How to make Chocolate Coconut Crunch
Collect all your ingredients together:
For the base:
- unsalted butter
- golden syrup
- unsweetened cocoa powder
- Weetabix
- caster sugar
- unsweetened desiccated coconut
- plain/all-purpose flour
- baking powder
- vanilla extract
- fine salt
Topping:
- milk chocolate (I use Cadbury’s)
- unsalted butter
- flakes of sea salt
Make the base:
- Melt the butter and syrup in a large saucepan over a moderate heat, until melted.
- Add the cocoa and beat with a balloon whisk until no lumps remain.
- Crush the Weetabix to make fine crumbs (I just use my hands) and add to the butter mix with all the remaining ingredients.
- Mix thoroughly and tip into your lined baking tin. Level and flatten the surface, making sure you push the mixture into all the corners. Prick the base allover with a fork. The butter often separates from the mixture; don’t worry about this. It will re-absorb as it cooks.
- Cook in the centre of the pre-heated oven for 25 – 30 minutes.
- Take out of the oven and leave to cool in the tin.
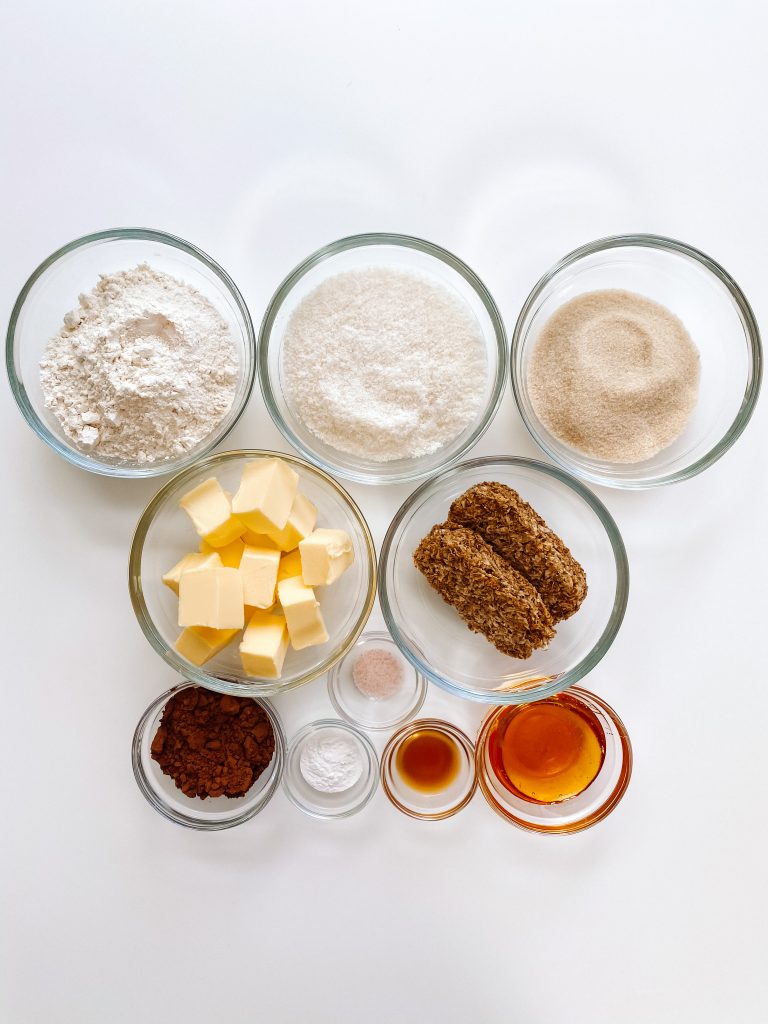
Ingredients 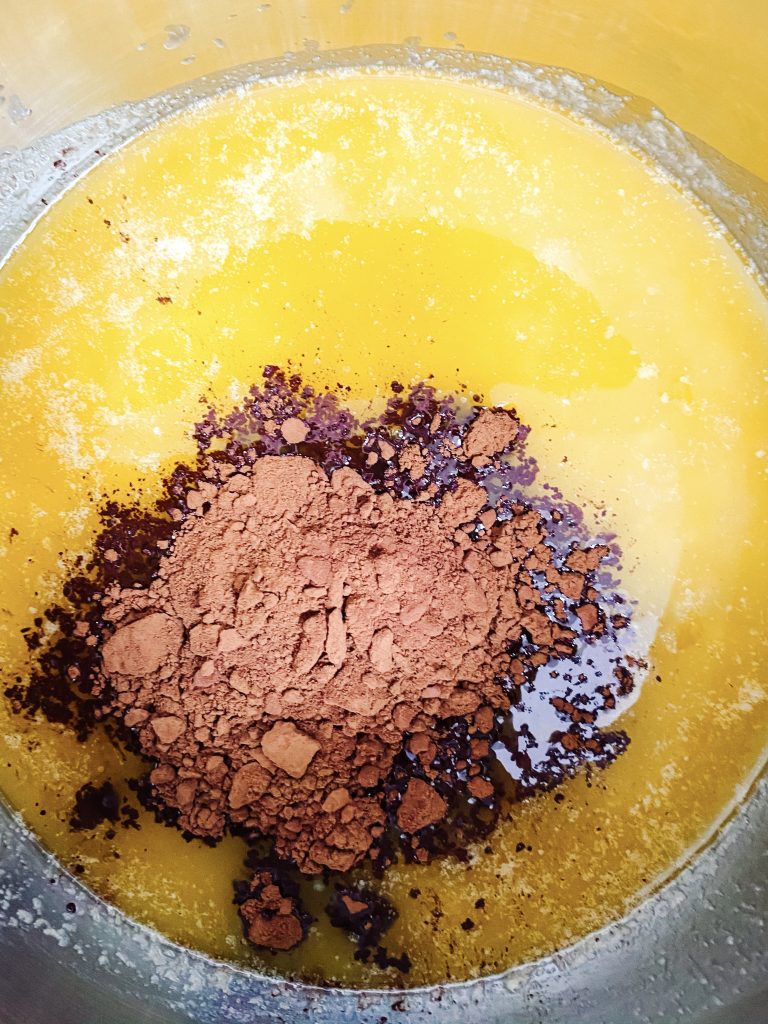
1, 2 Butter, syrup, cocoa 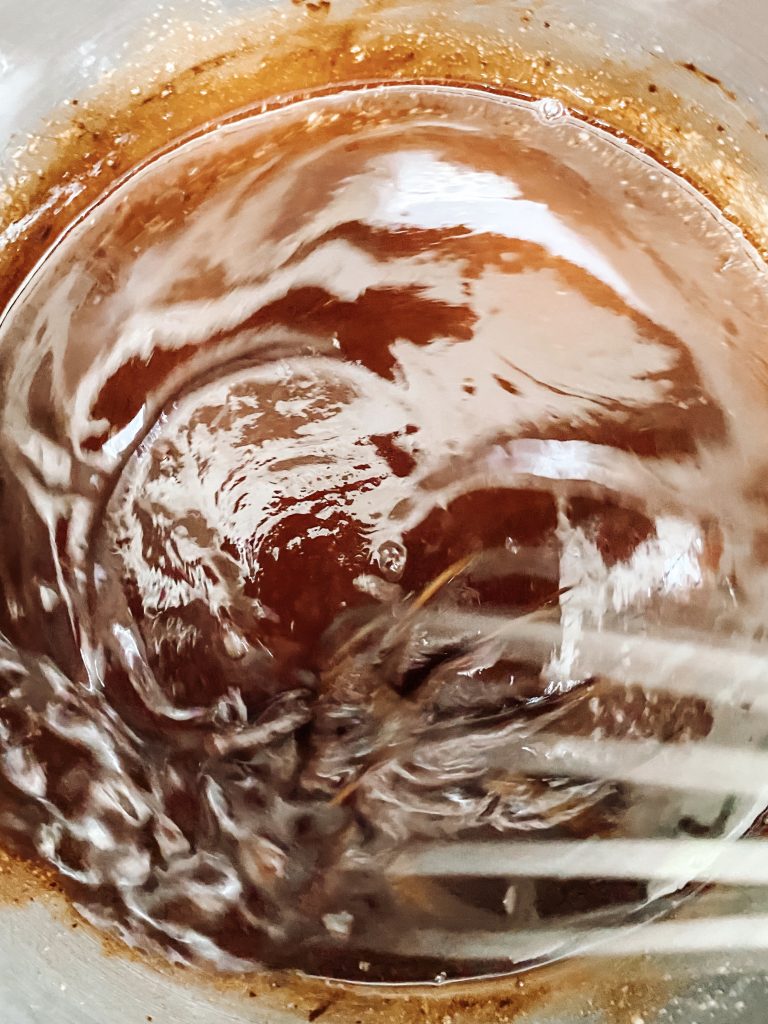
Mix 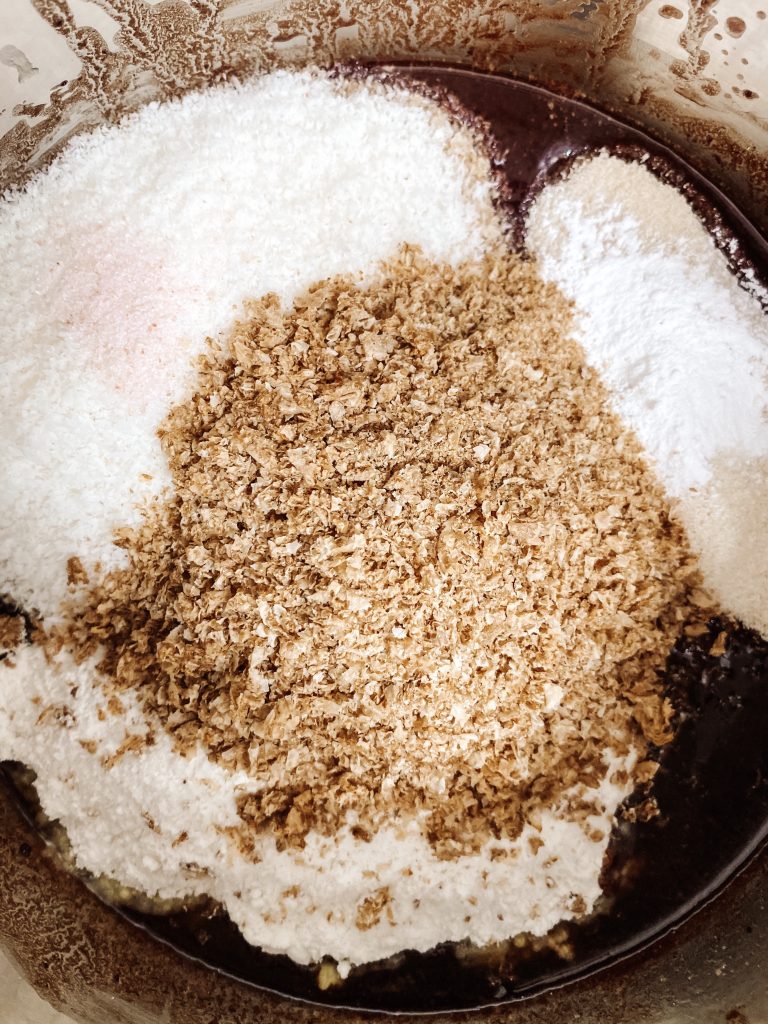
3 Remaining ingredients 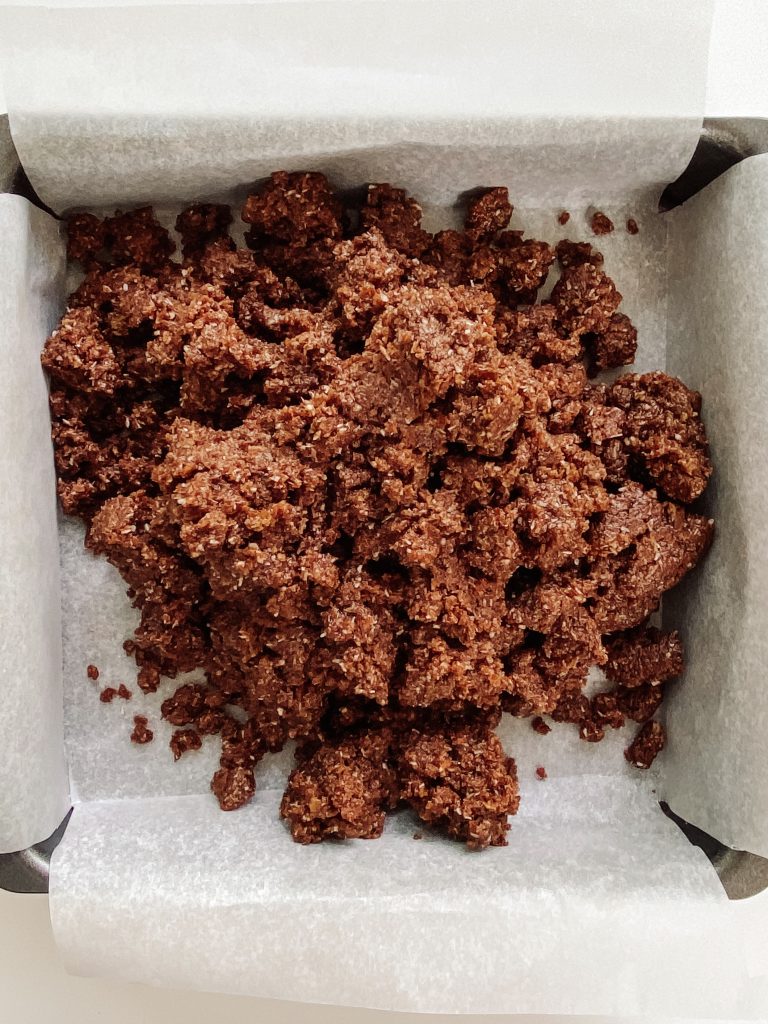
4 Baking tin 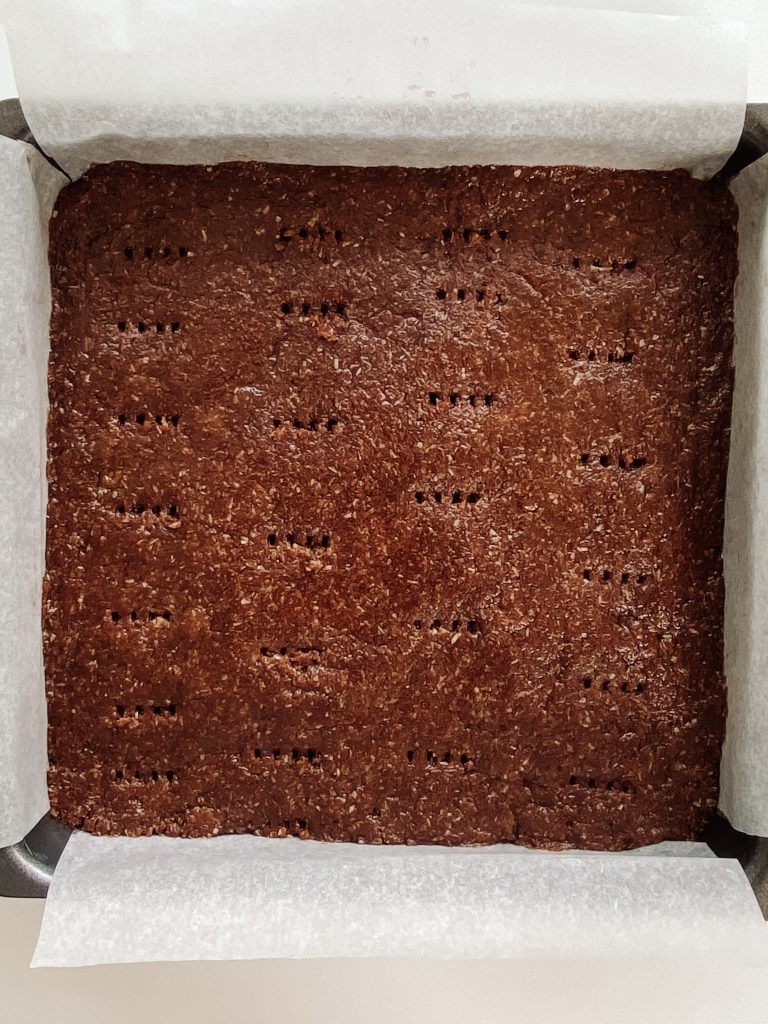
5 Bake
Chocolate topping:
- Melt the chocolate and butter in a bain marie or in the microwave. (See comments below). Spread evenly over the coconut base.
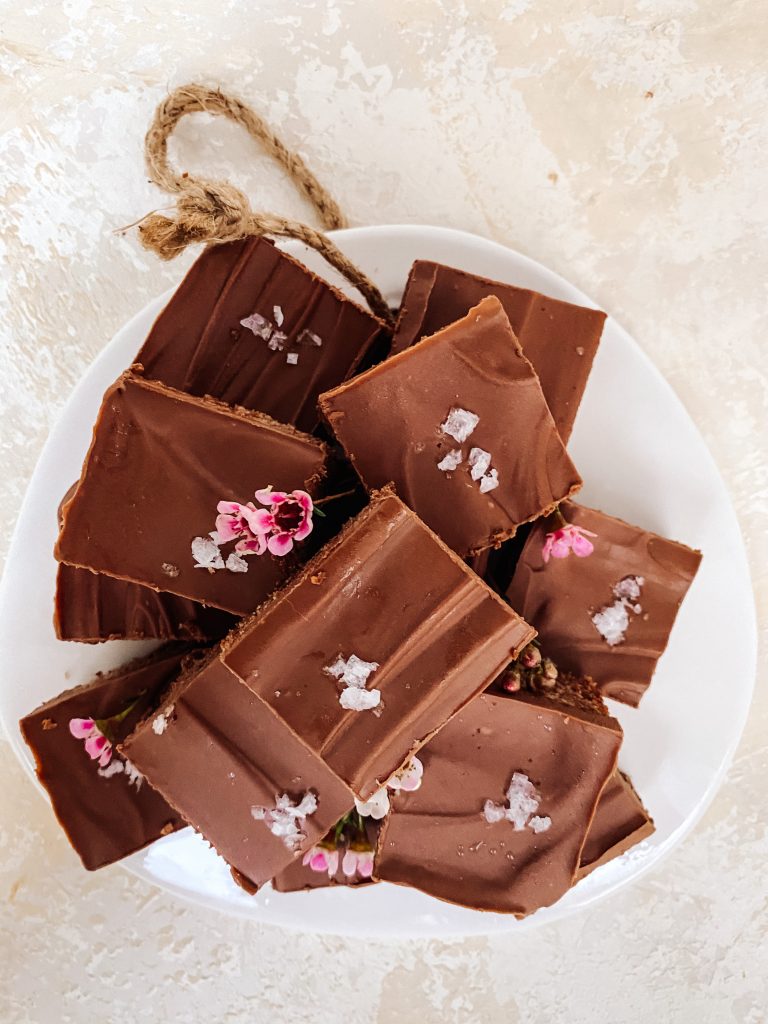
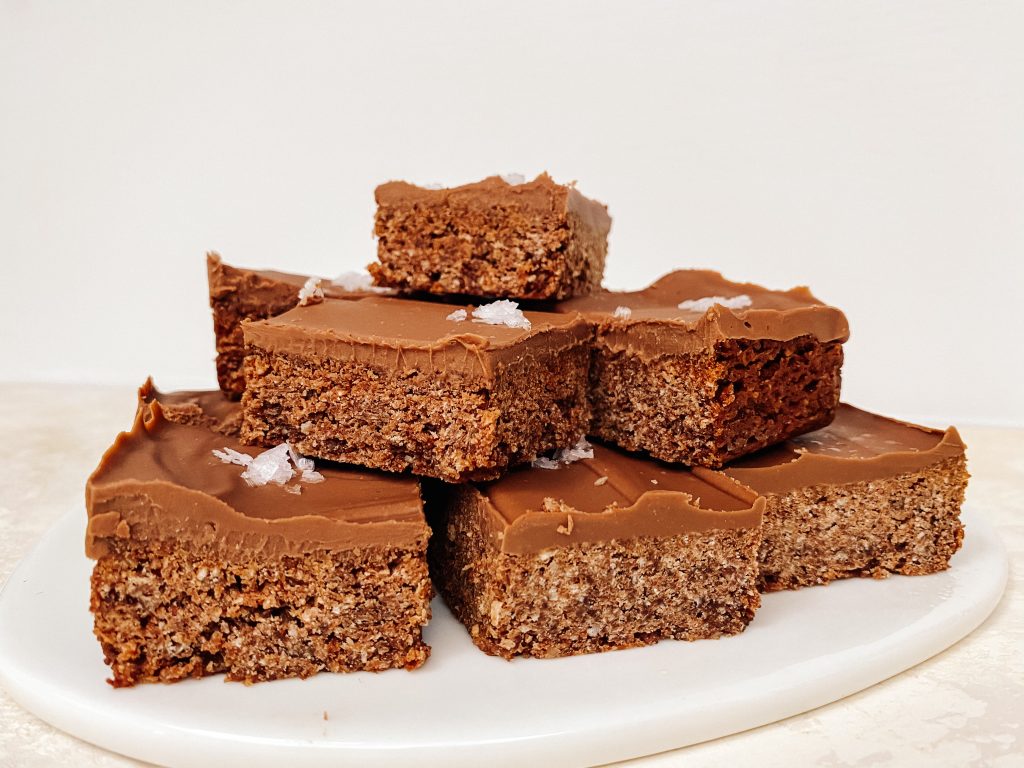
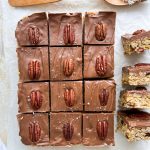
- Optional: sprinkle some sea salt where you imagine the centre of each square will be.
- Leave to set in the baking tin and put it in the fridge for roughly an hour. Cut into 16 squares.
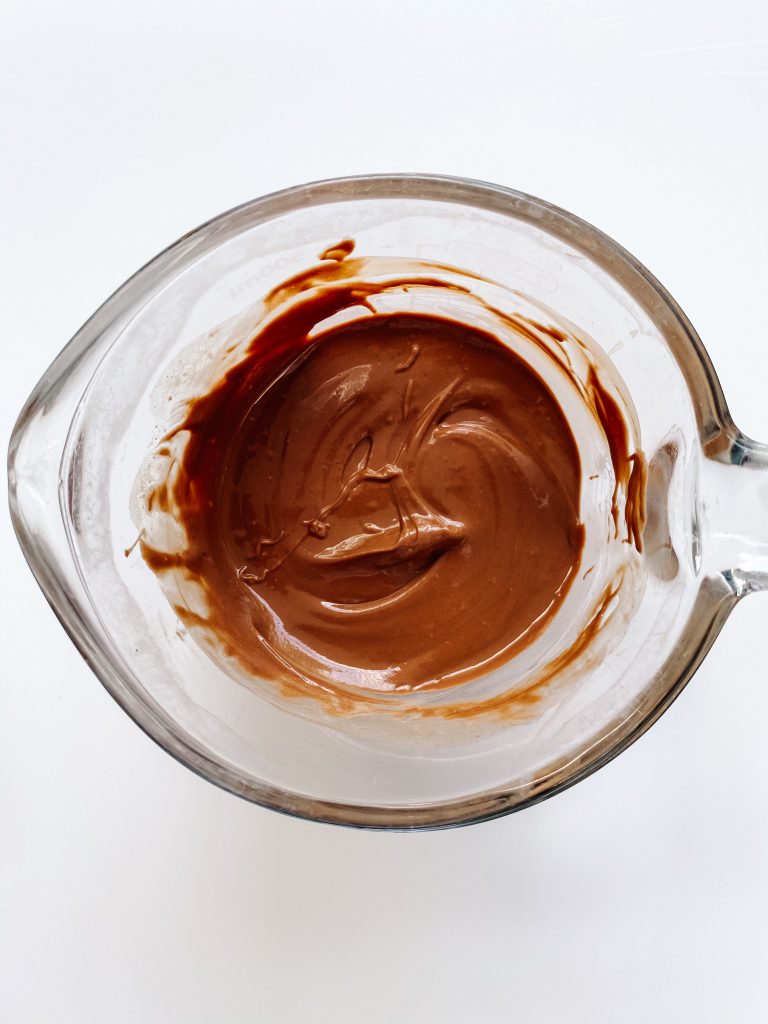
1 Melt 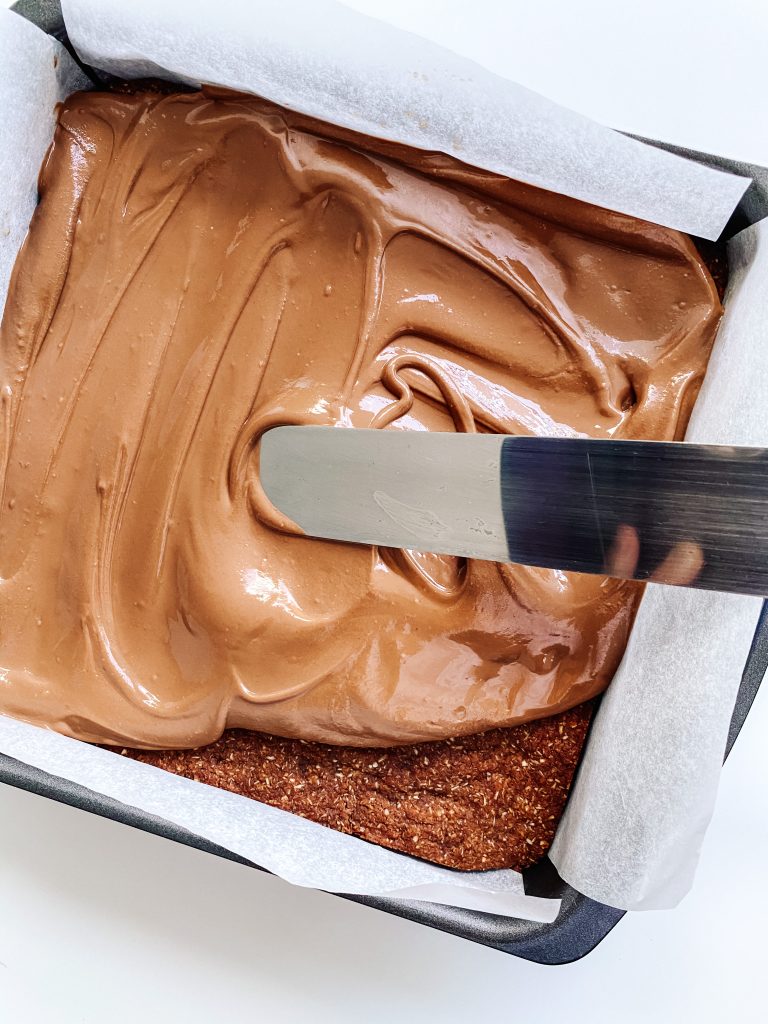
Spread 
2, 3 Salt, slice
Made this recipe?
If you make this recipe, do please tag me on instagram @daffodil_kitchen. You could also leave a comment in the box directly below the recipe.
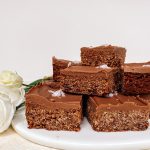
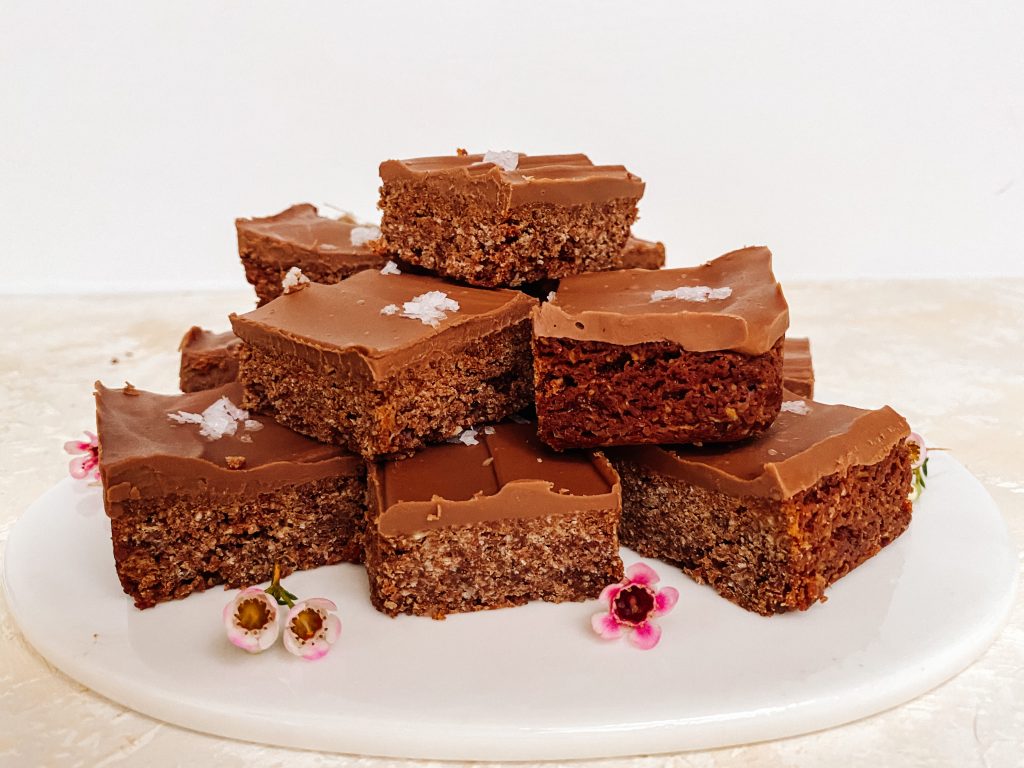
Chocolate Coconut Crunch
Chocolatey, crunchy yet chewy at the same time and stuffed with coconut – they're lethal as you cannot stop at one!
Ingredients
For the base:
- 200g unsalted butter
- 50g golden syrup
- 24g/3 tablespoons cocoa powder
- 40g/2 crushed Weetabix
- 100g caster sugar
- 85g unsweetened desiccated coconut
- 135g plain/all-purpose flour
- 1 teaspoon baking powder
- 1 teaspoon vanilla extract
- ¼ teaspoon salt
Topping:
- 250g milk chocolate (I use Cadbury’s)
- 25g unsalted butter
- ½ – 1 teaspoon sea salt flakes
Instructions
-
Collect together your equipment (see Recipe Notes below) and ingredients.
-
Preheat oven to Fan Oven 160°C /180°C/350°F/Gas 4
-
For the base: melt the butter and syrup in a large saucepan over a moderate heat, until melted.
-
Add the cocoa and beat with a balloon whisk until no lumps remain.
-
Crush the Weetabix to make fine crumbs (I just use my hands) and add to the butter mix with all the remaining ingredients.
-
Mix thoroughly and tip into your lined baking tin. Level and flatten the surface, making sure you push the mixture into all the corners. Prick the base allover with a fork.
-
Cook in the centre of the pre-heated oven for 25 – 30 minutes.
-
Take out of the oven and leave to cool in the tin.
-
Top with Chocolate: melt the chocolate and butter in a bain marie or in the microwave. (See comments below). Spread evenly over the coconut base.
-
Optional: sprinkle some sea salt where you imagine the centre of each square will be.
-
Leave to set in the baking tin and put it in the fridge for roughly an hour. Cut into 16 squares.
Recipe Notes
Equipment:
- kitchen scales and measuring spoons
- 20cm/8-inch square tin, lined with baking parchment
- thick based saucepan
- microwave safe medium size mixing bowl
Be very careful melting the chocolate. Chocolate can be very difficult to work with. You can overheat it very easily and the mixture will go grainy.
Microwave: I give the chocolate and butter a minute in the microwave, take it out and stir it well, then let it sit for a few minutes to see if it continues melting sufficiently to melt all the chocolate. If not, I then continue with the microwave but in 10 – 15 second bursts.
Bain Marie: if you do not have a microwave, put the chocolate and butter in a heatproof bowl over a saucepan of gently simmering water. Do not let the base of the bowl touch the water. Heat until the chocolate and butter are very nearly melted then take it off the heat and take the bowl off the saucepan. Be very careful not to burn yourself as the bowl will be hot and steam will escape from the saucepan. Allow the mixture to sit for a few minutes for the residual heat to melt the remainder of the mixture. Again, be careful not to over-heat.


You May Also Like
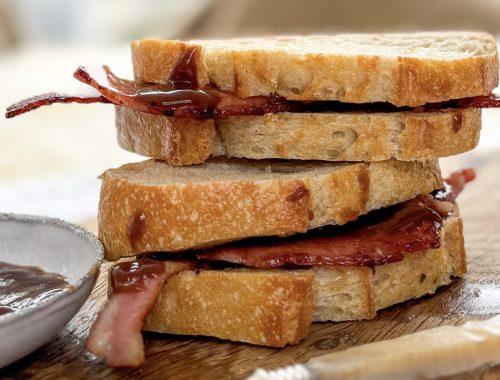
Bacon Sandwich
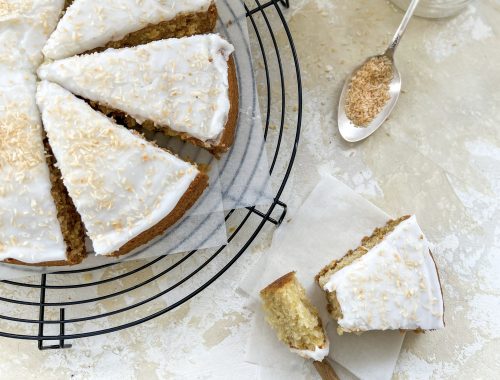
Coconut Cake with Coconut and Vanilla Icing

