Crunchy Oat Chocolate Chip Biscuits
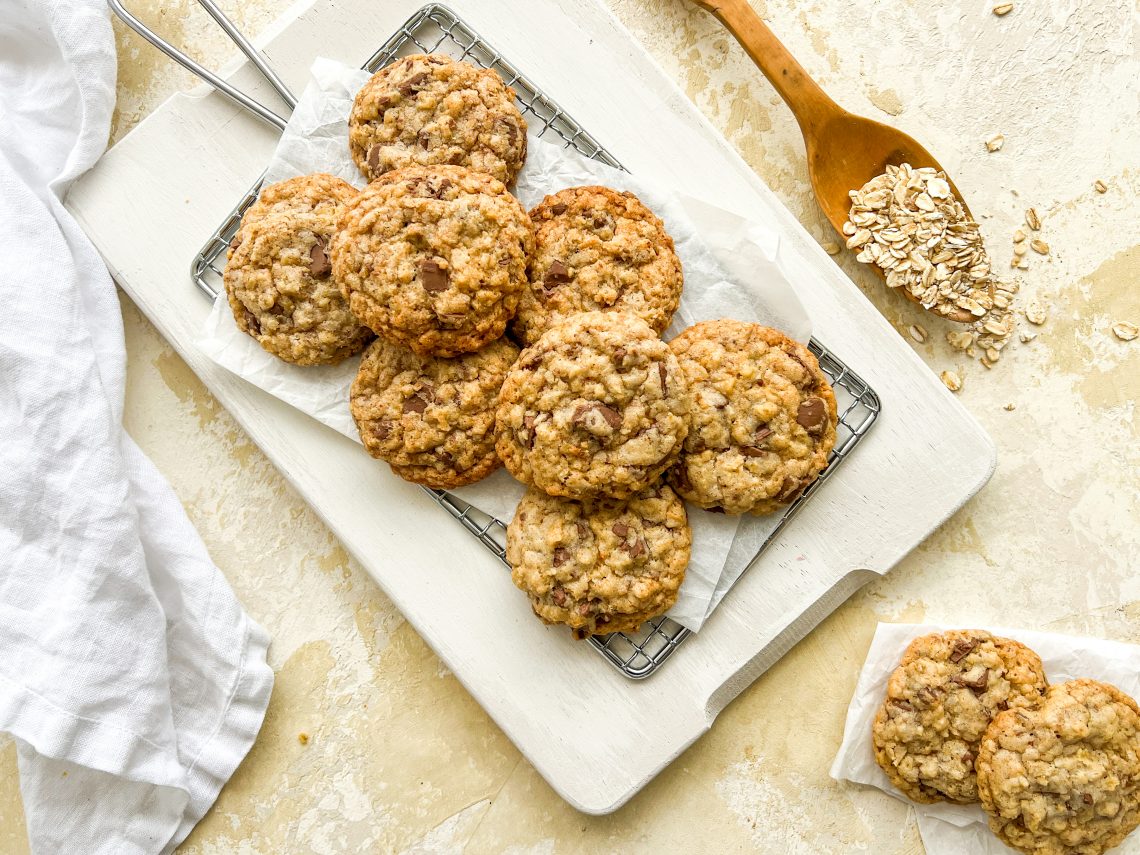
Growing up in the 1960s and 1970s in the UK, biscuits (or cookies) were small and, with the exception of Jaffa Cakes, they were normally crunchy. It wasn’t until I was an adult that I tried American style large chocolate chip cookies with a gorgeous gooey centre. I genuinely love both, but recently I have been craving the small, crispy biscuits from my youth. Although these are somewhat bigger by comparison, they are deliciously crispy and crunchy and are the perfect accompaniment to a cup of tea or coffee. Equally, if you live over the pond, they work wonderfully well with a glass of milk!
These particular biscuits are loaded with chunks of milk chocolate, oats and coconut. Bringing them into the 21st century, I have made them with brown butter, which adds a wonderfully nutty taste to these otherwise nut-free biscuits.
To dunk or not to dunk?
Are you a dunker? I’m not but apparently these biscuits are perfect for dunking. Your choice!
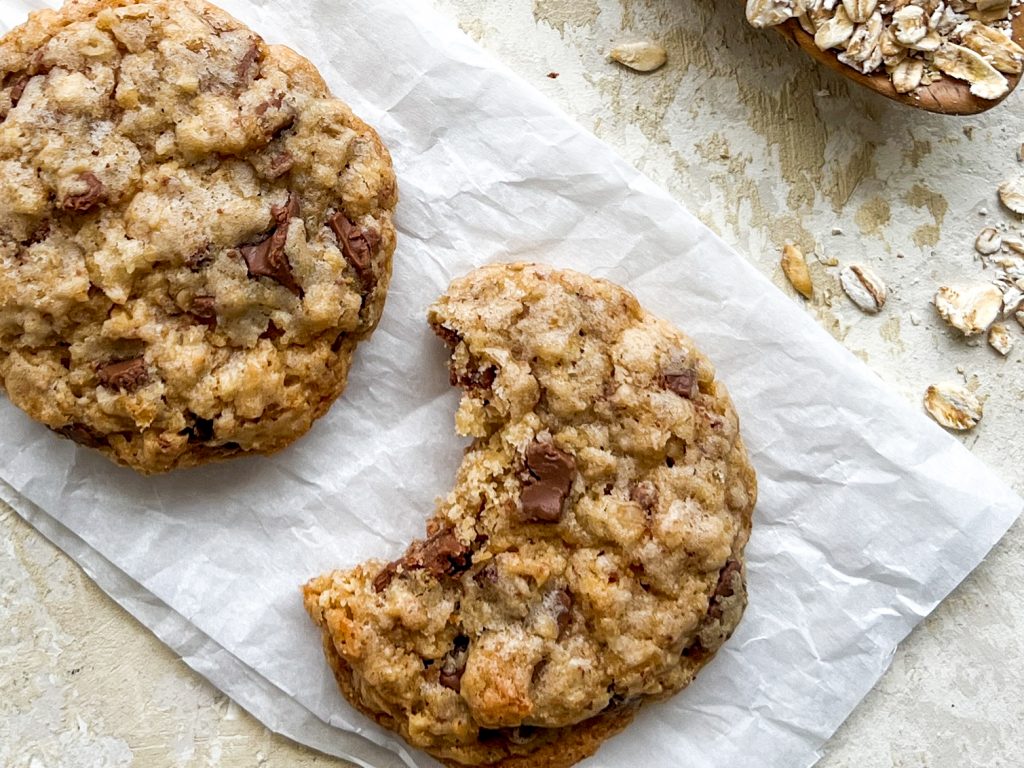
How to make these Crunchy Oat Chocolate Chip Biscuits
Collect all the ingredients together:
- unsalted butter
- caster sugar
- soft brown sugar
- fine salt
- egg
- milk
- vanilla extract
- plain/all-purpose flour
- porridge oats
- desiccated coconut
- baking powder
- milk chocolate, chopped into chunks (I use Cadburys)
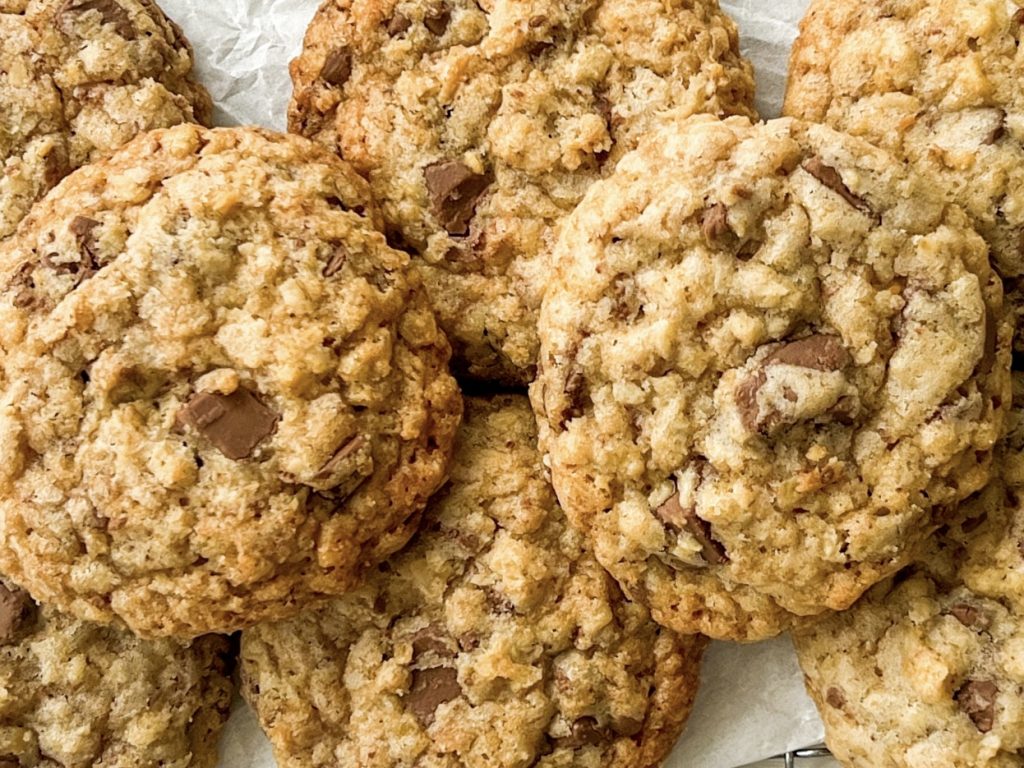
How to make these fabulous crunchy cookies:
- Brown the butter: chop the butter into cubes and place in a saucepan. Heat over a moderate heat, stirring from time to time, until the butter turns brown and smells nutty. Decant into a mixing bowl (large enough to make the cookies) to prevent further browning, and set aside to cool. To read more about browning butter, please see here.
- Make the biscuit dough: add the salt and sugars to the butter and mix thoroughly.
- Mix in the egg, milk and vanilla extract/paste.
- Fold the flour, oats, coconut and baking powder into the butter mixture.
- Finally, fold in the chopped chocolate until evenly mixed throughout. (NB Hold a few chunks of chocolate back, just 4-5, to add into the last cookie.)
- Divide the dough into 30g balls – you should make around 25 – 27. I use an ice cream scoop. Add the 4-5 remaining chunks of chocolate to the final cookie, if necessary. (If not, eat them!) Roll gently into a neater shape and place spread out on a baking sheet – I get 6 – 8 per sheet depending on the size of the baking sheet.
- Baking one tray at a time: bake in the centre of a preheated oven for 13 – 16 minutes. The length of time will depend on how crunchy you want them to be and your individual oven. (I cook mine for 15 minutes.)
- Baking two trays at a time: add one minute to the total time to cook. Bake for half this time and then quickly swap the trays over i.e. put the top tray on the lower shelf and the tray from the lower shelf and on the higher shelf and cook for the remaining time.
- The cookies are cooked when: they have spread out, are starting to brown on the edges and look ever so slightly underdone. They should still be a little soft in the centre as they will continue to cook and crisp up when you take them out of the oven.
- Optional shaping hack: as soon as the cookies come out of the oven, take a cookie cutter/bowl/mug the diameter of which is slightly larger than the cookies. One biscuit at a time, place the cutter/mug over the cookie and gently swirl the cookies to neaten the edges and give you a regular and more perfect round shape.
- Let them cool on the baking sheet for 10 minutes and then transfer to a cooling rack.
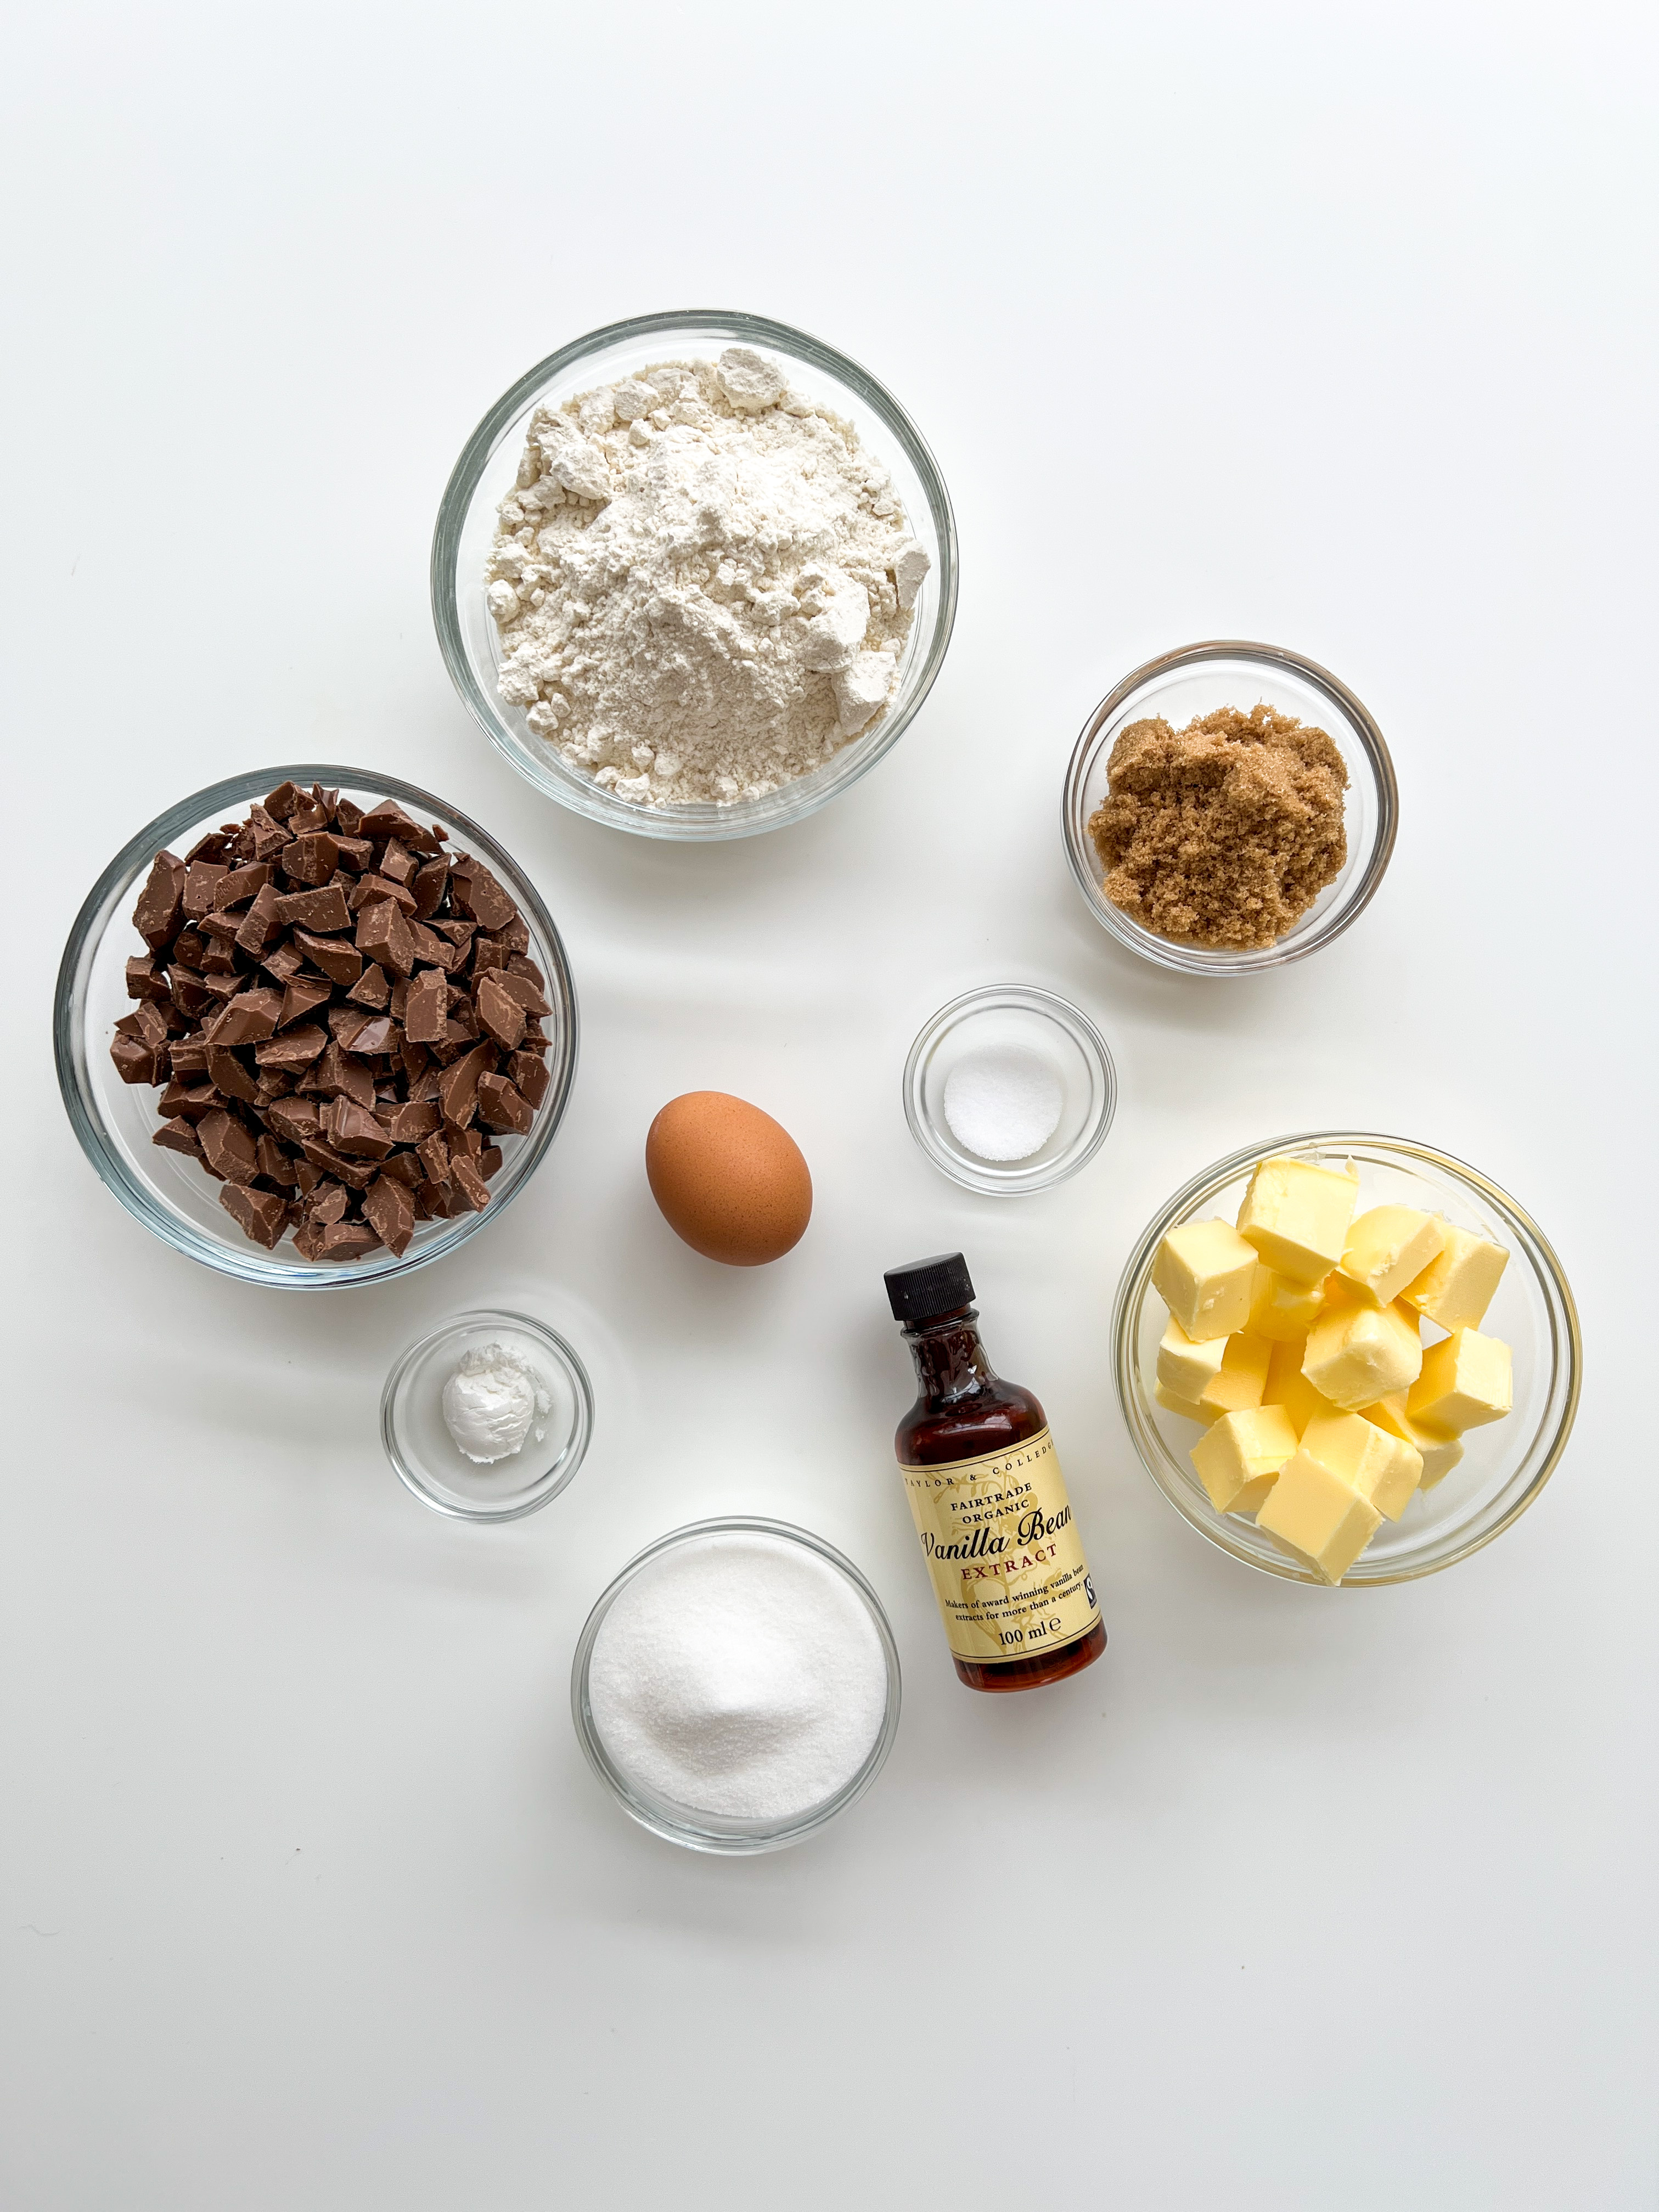
Basic ingredients 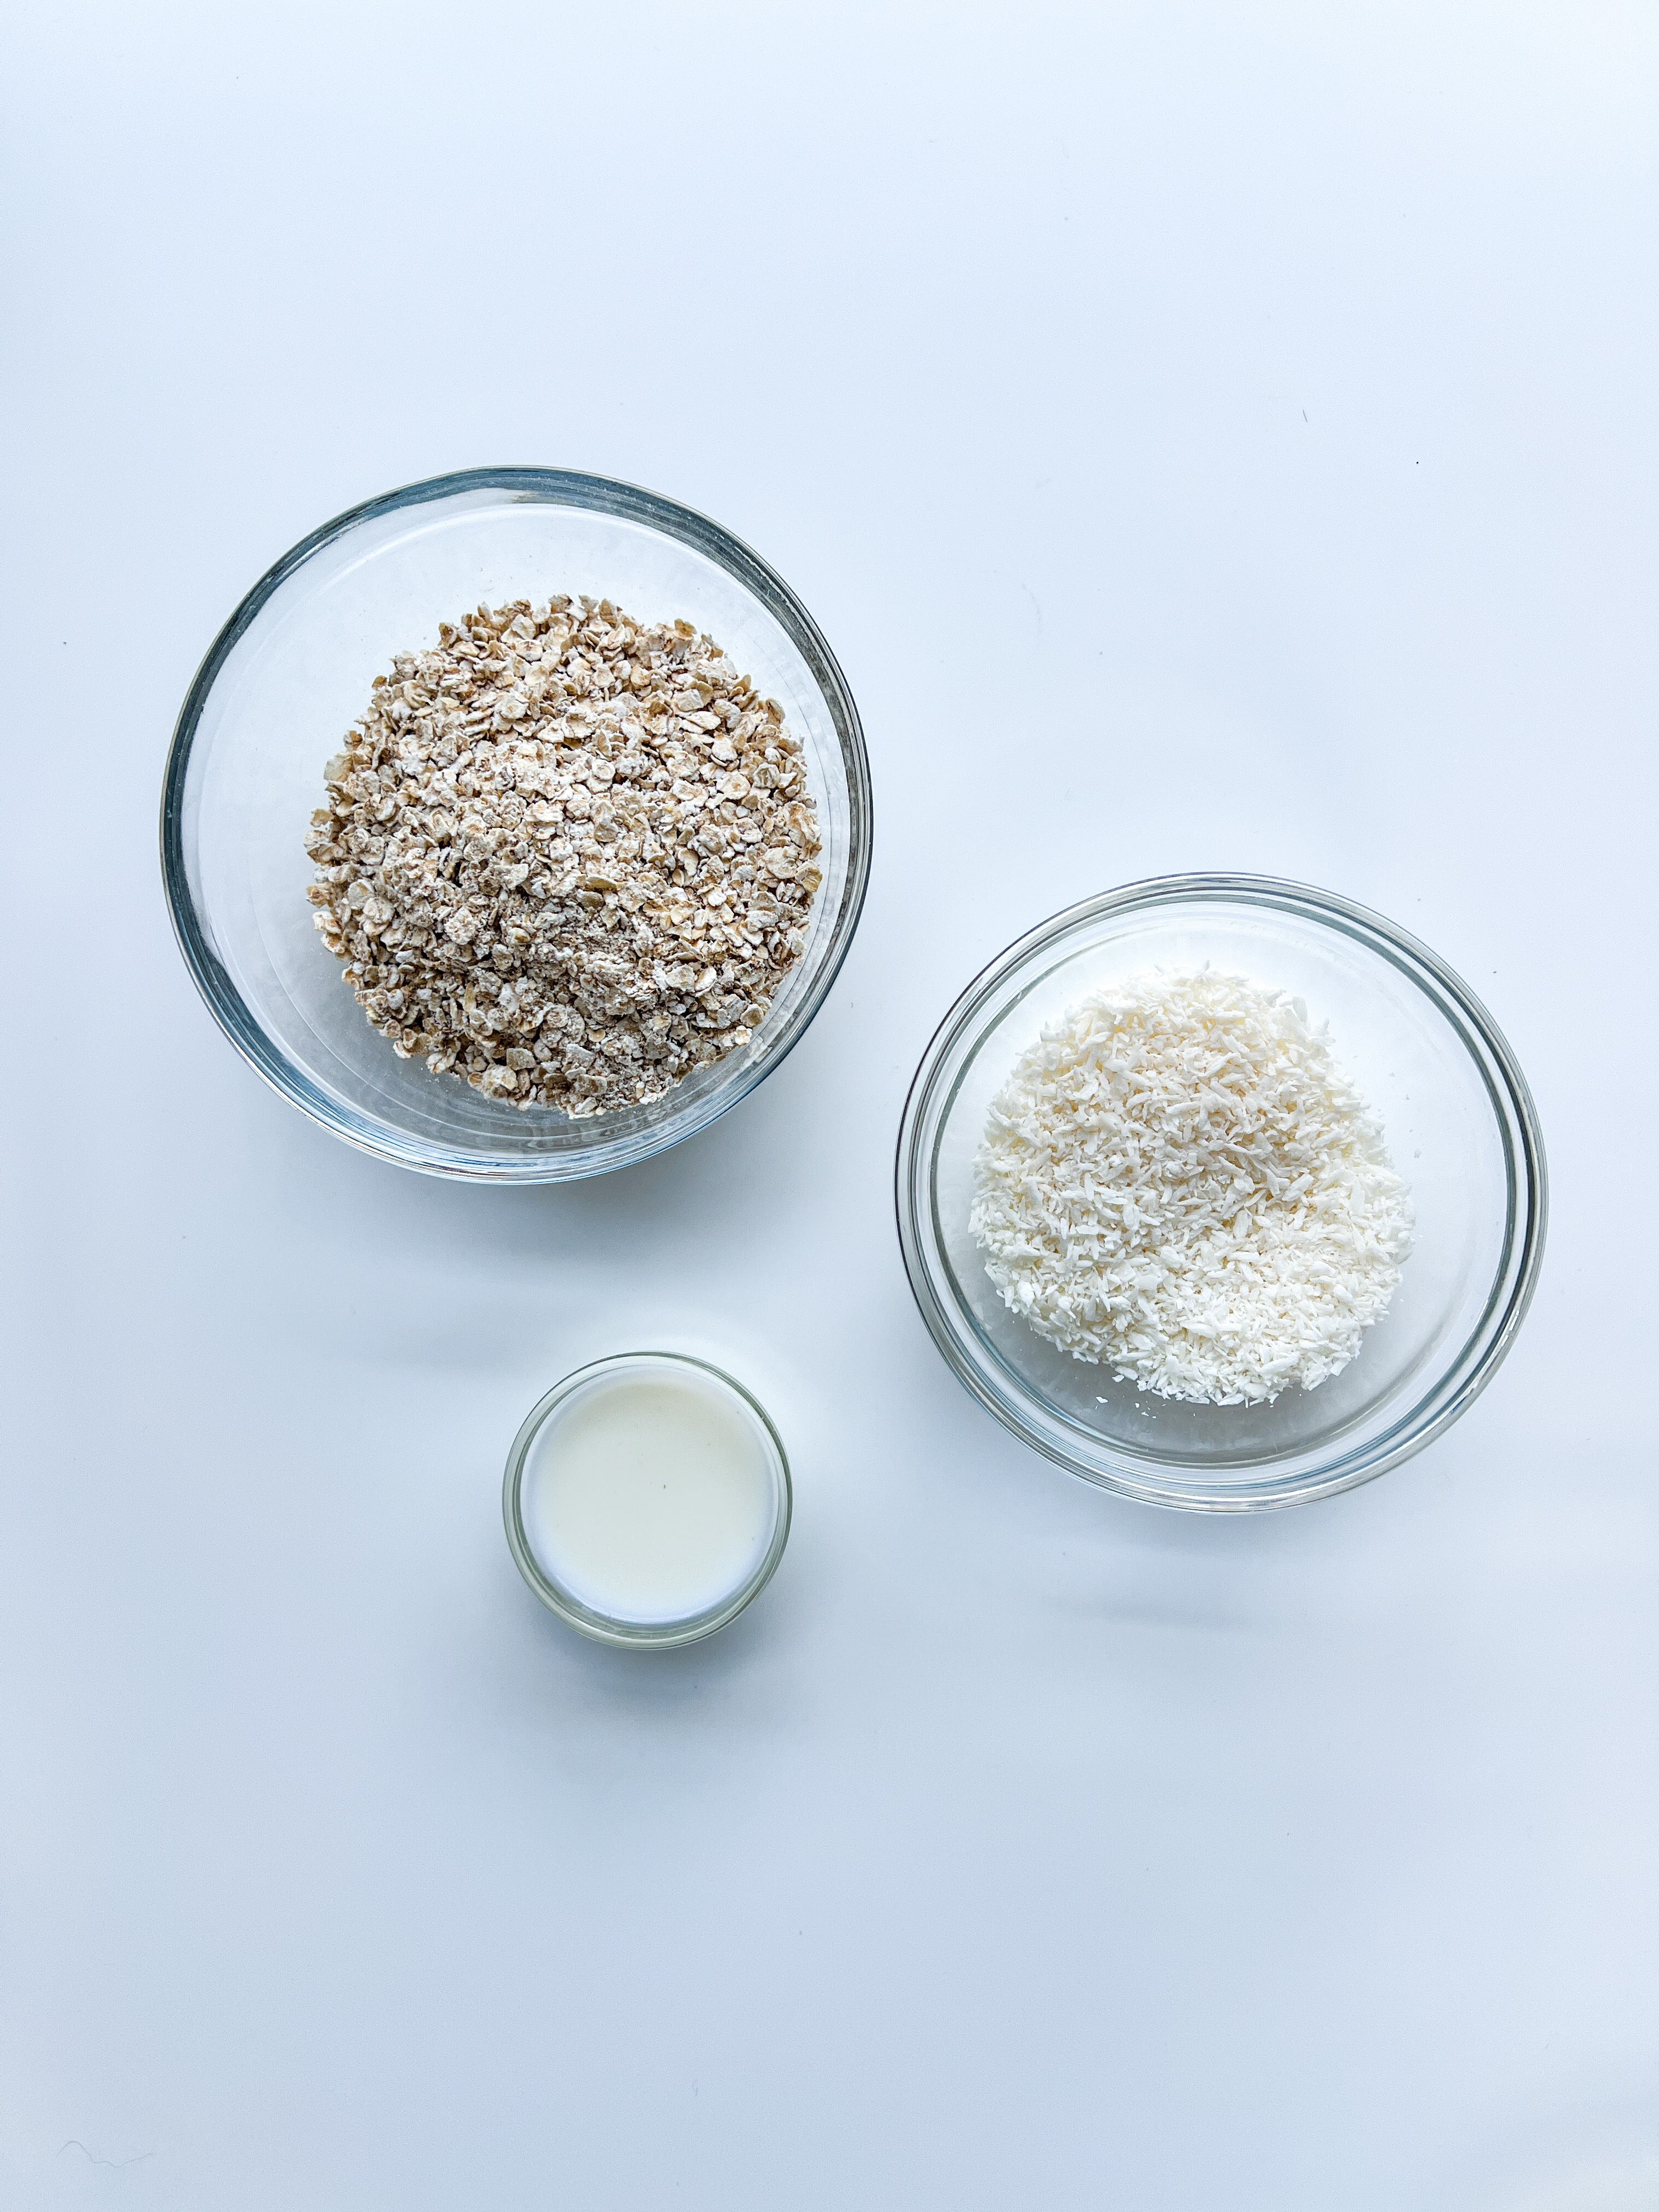
Additional ingredients 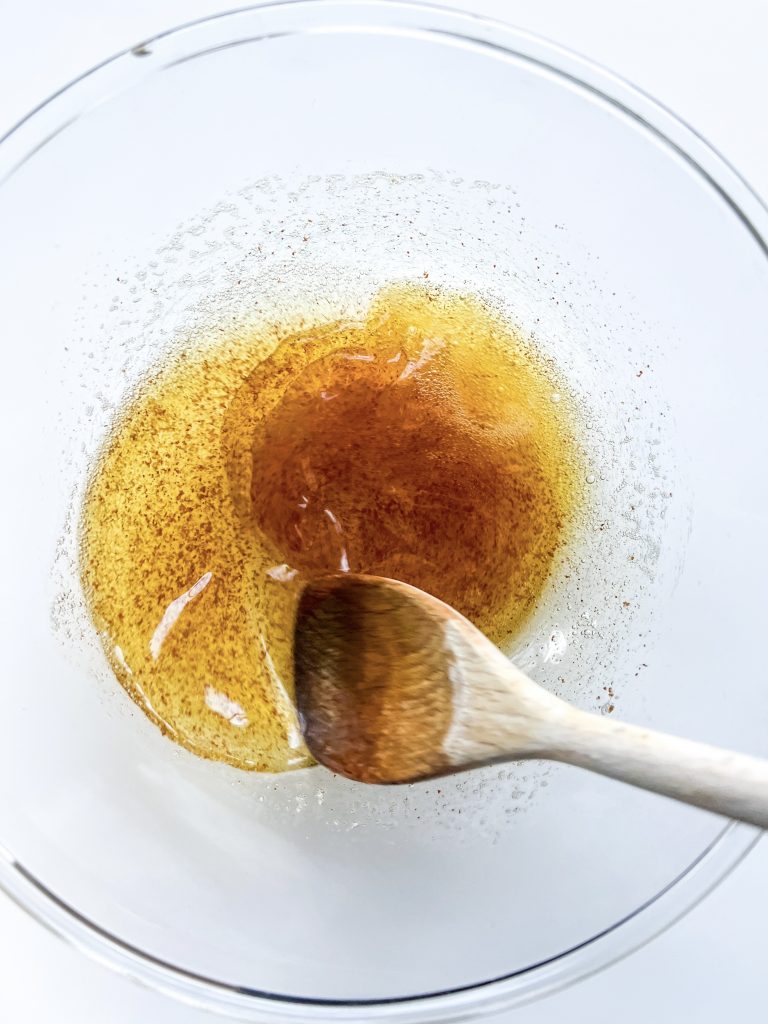
1 Brown butter 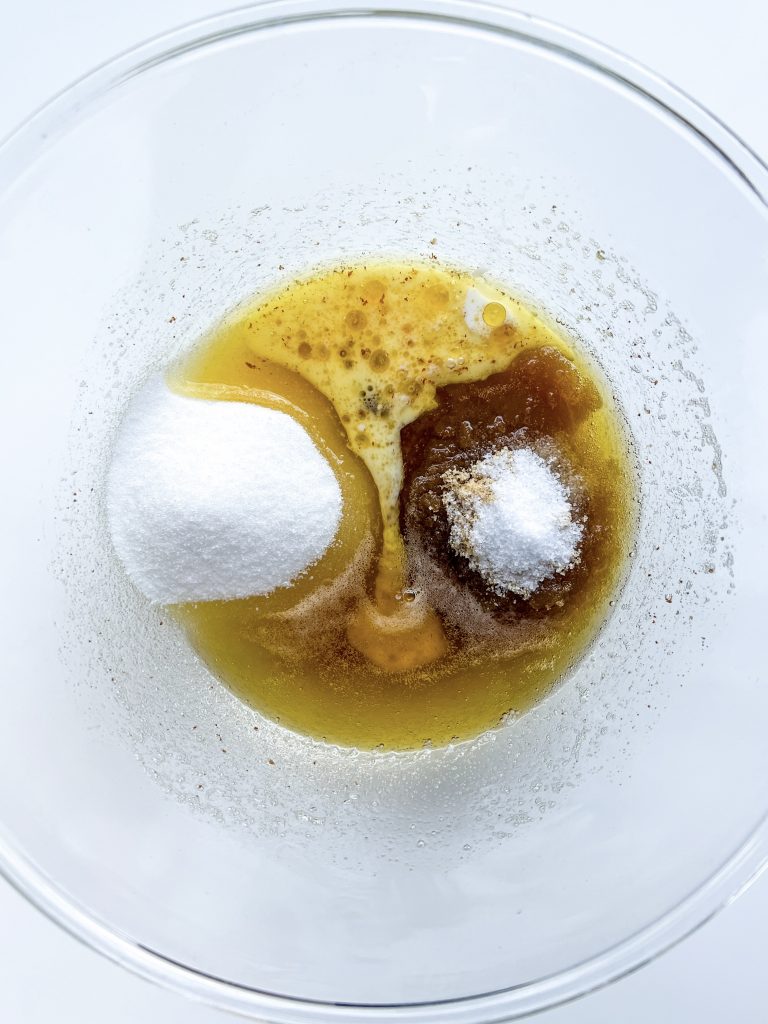
2 Butter, salt sugars 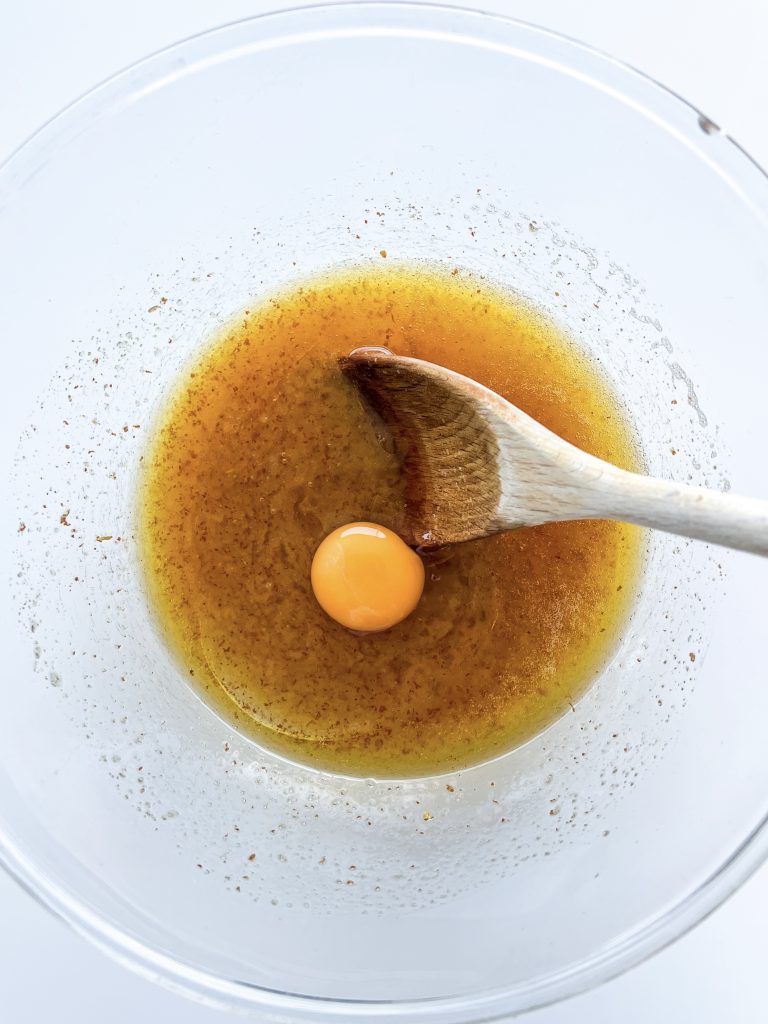
3 Egg, milk, vanilla 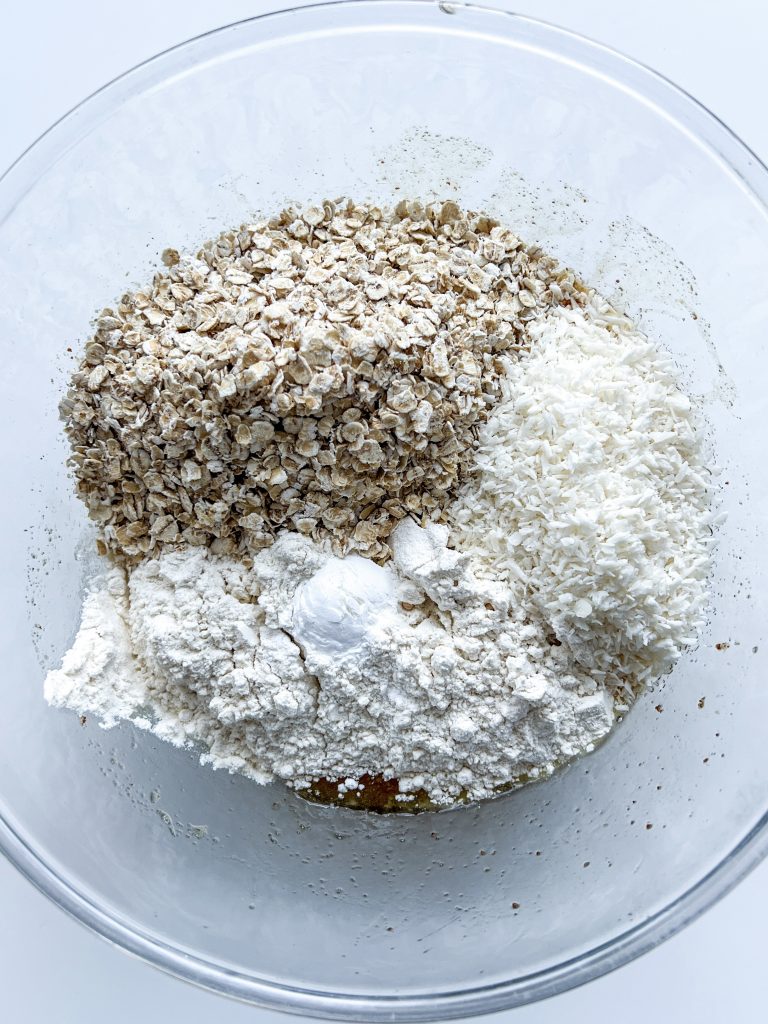
4 Flour, bp, oats, coconut 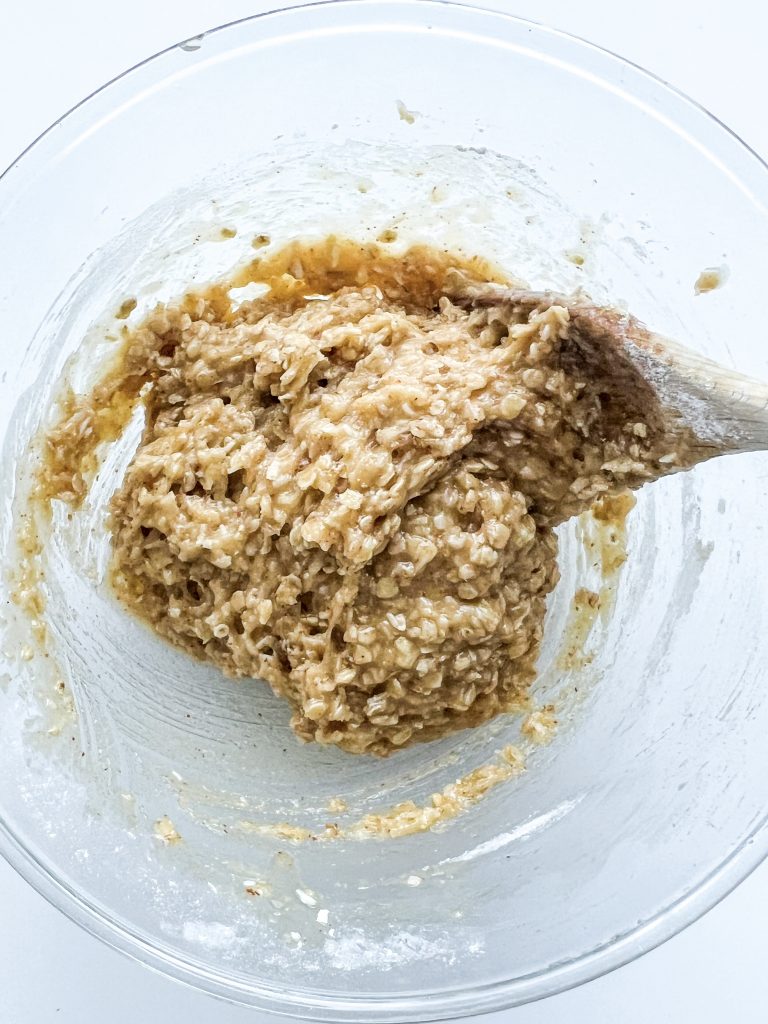
Fold in 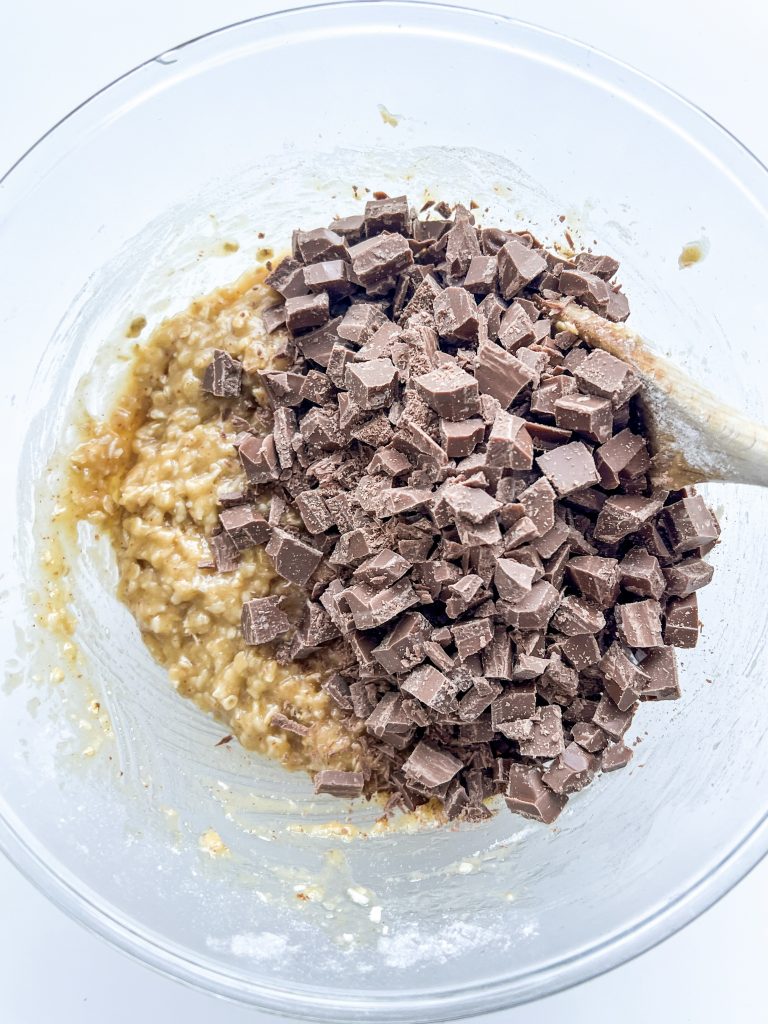
5 Chopped chocolate 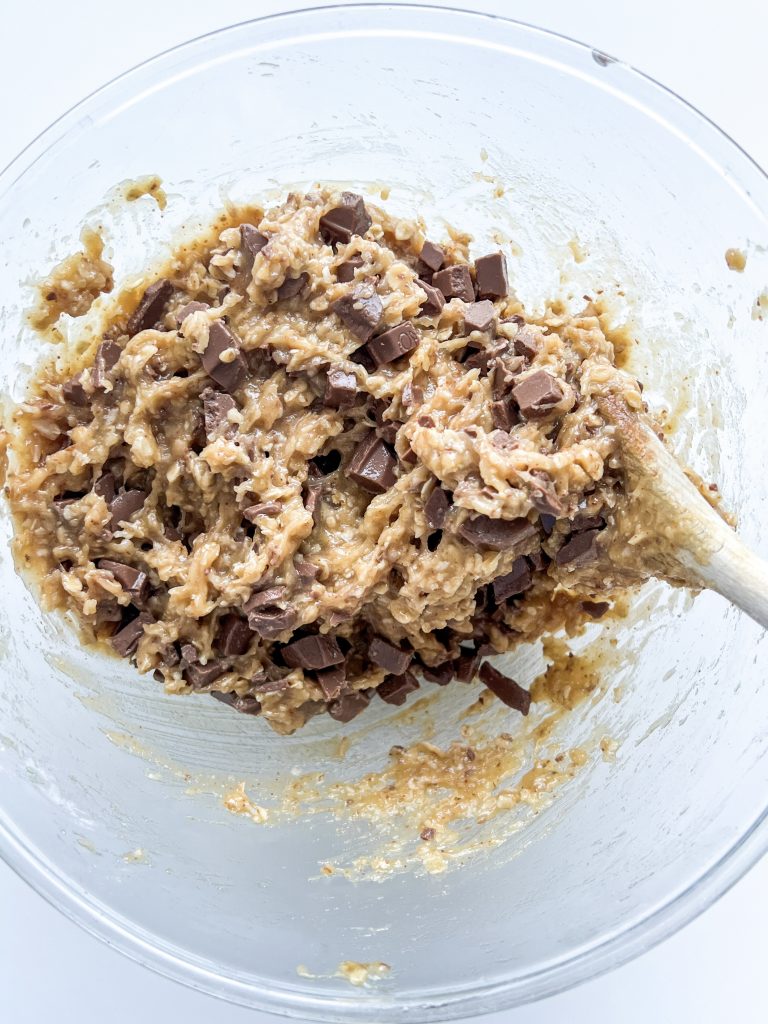
Fold in 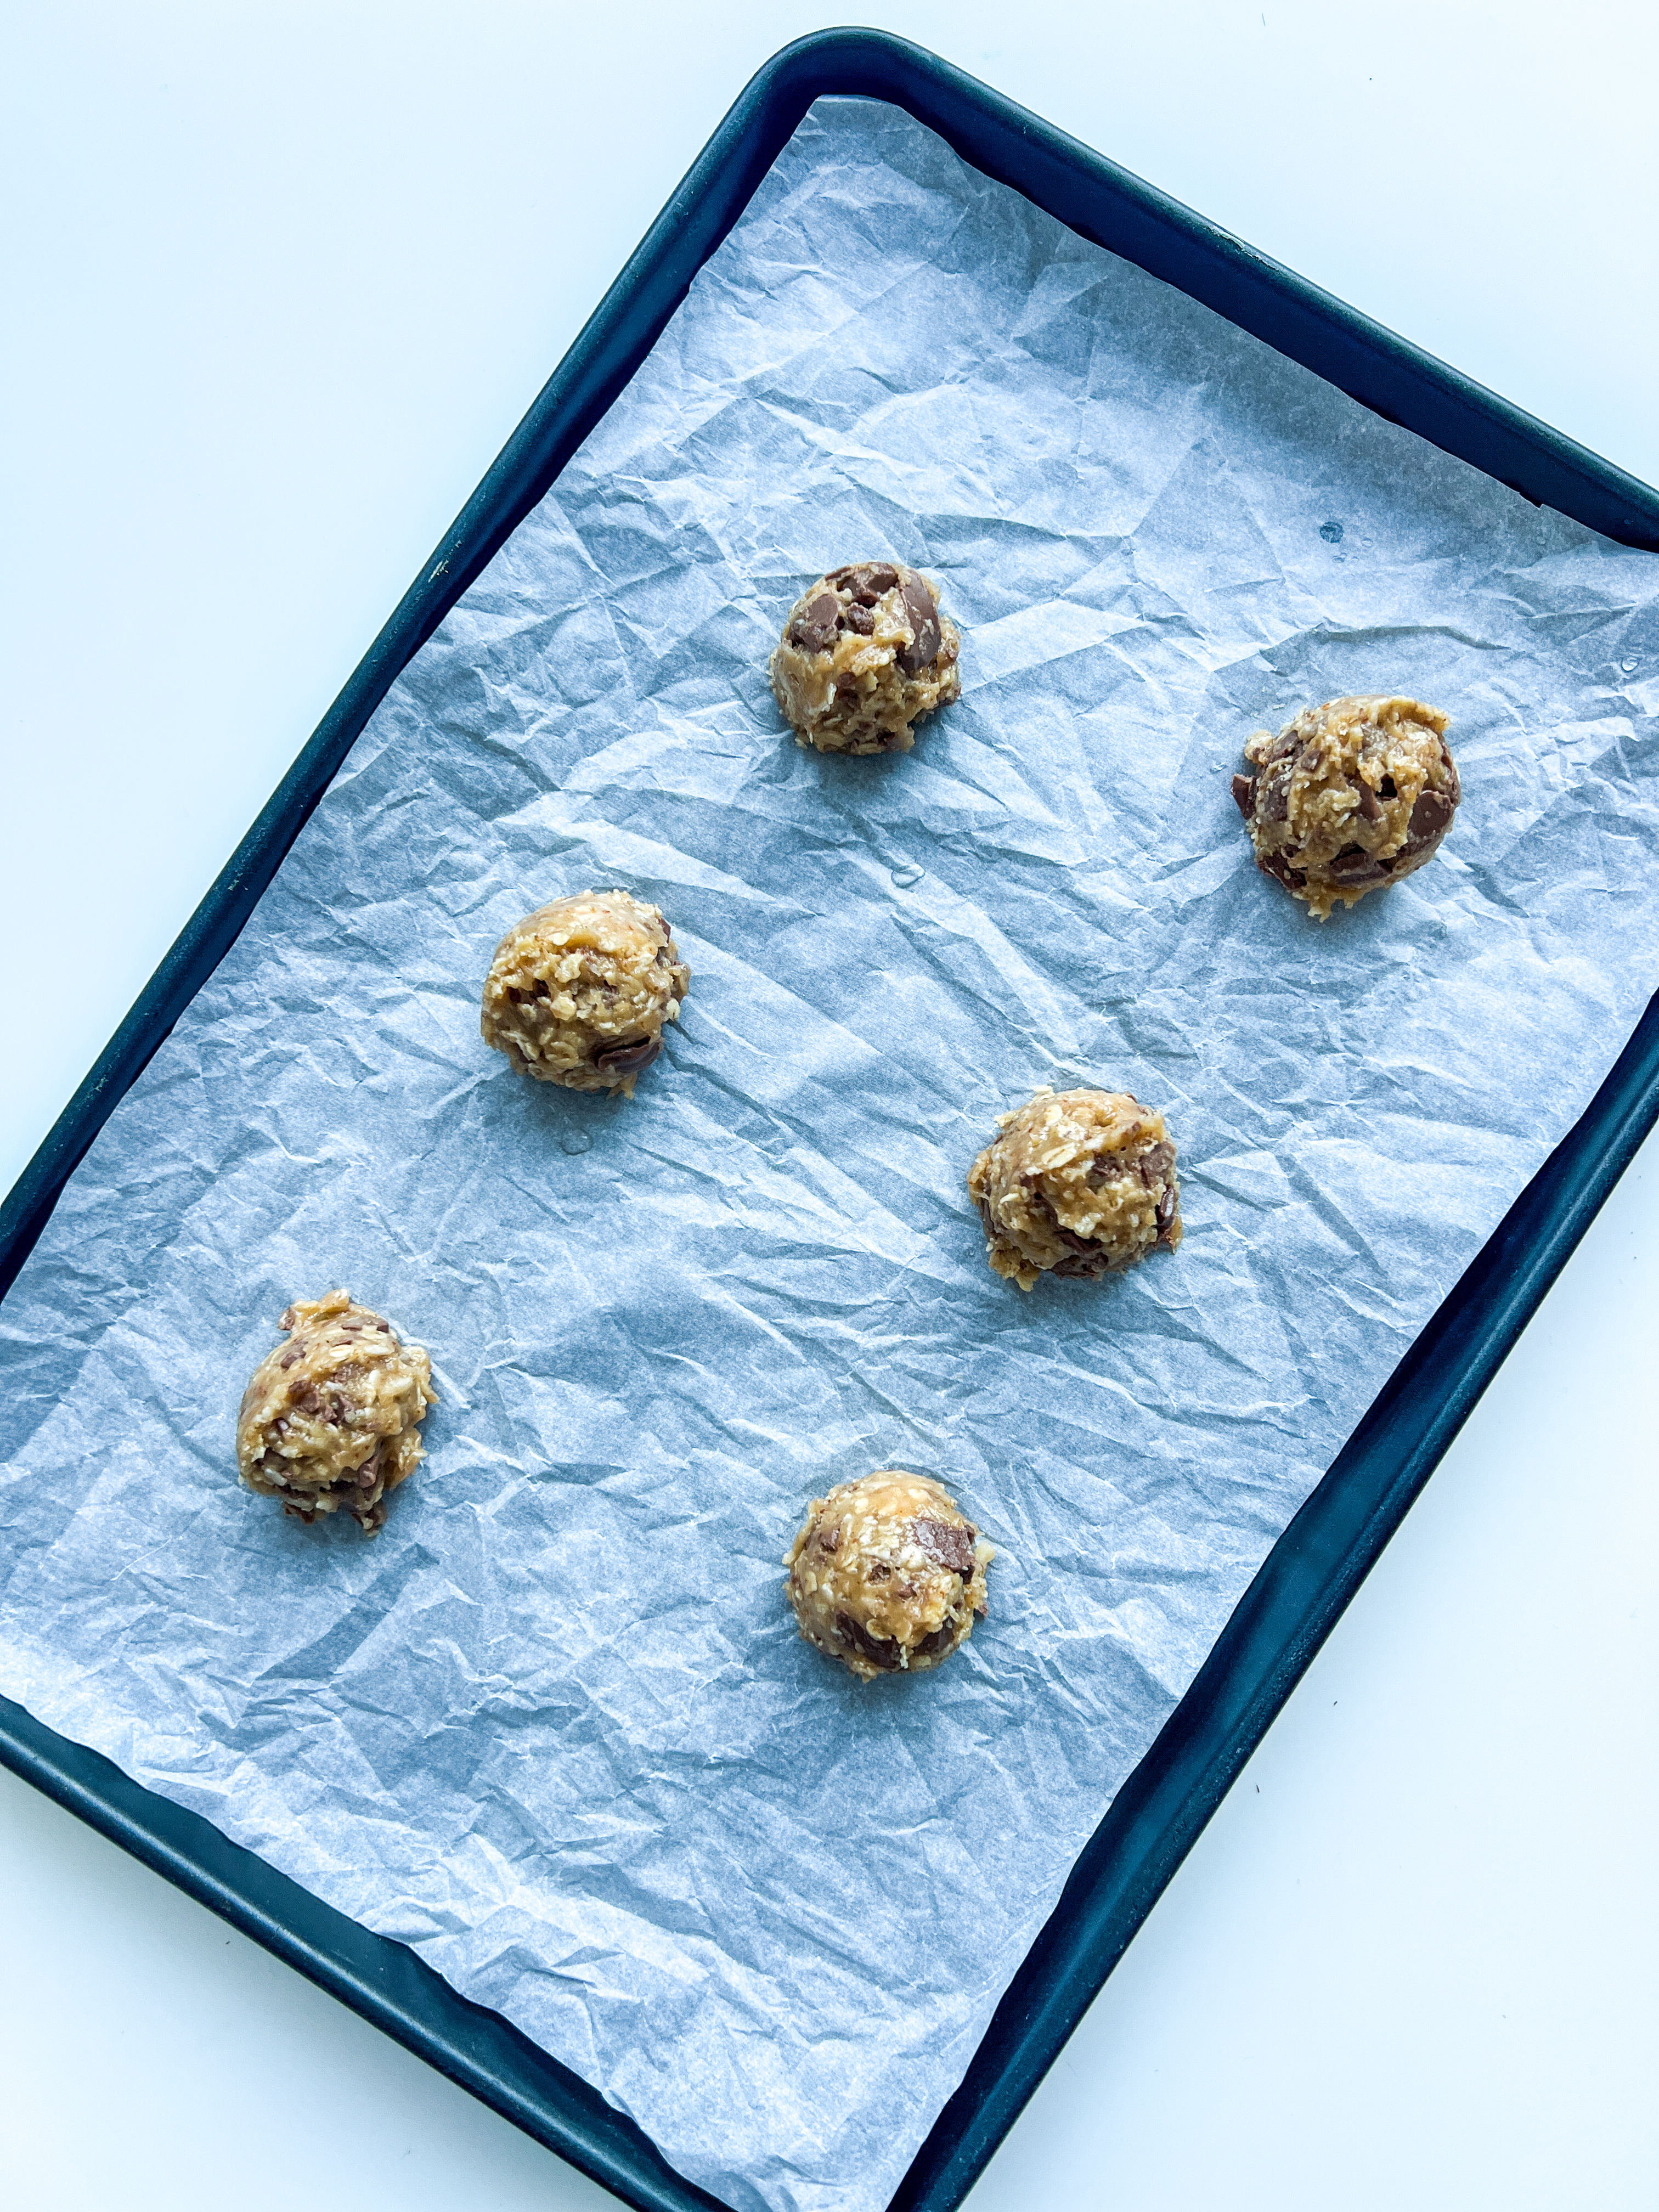
6 Divide 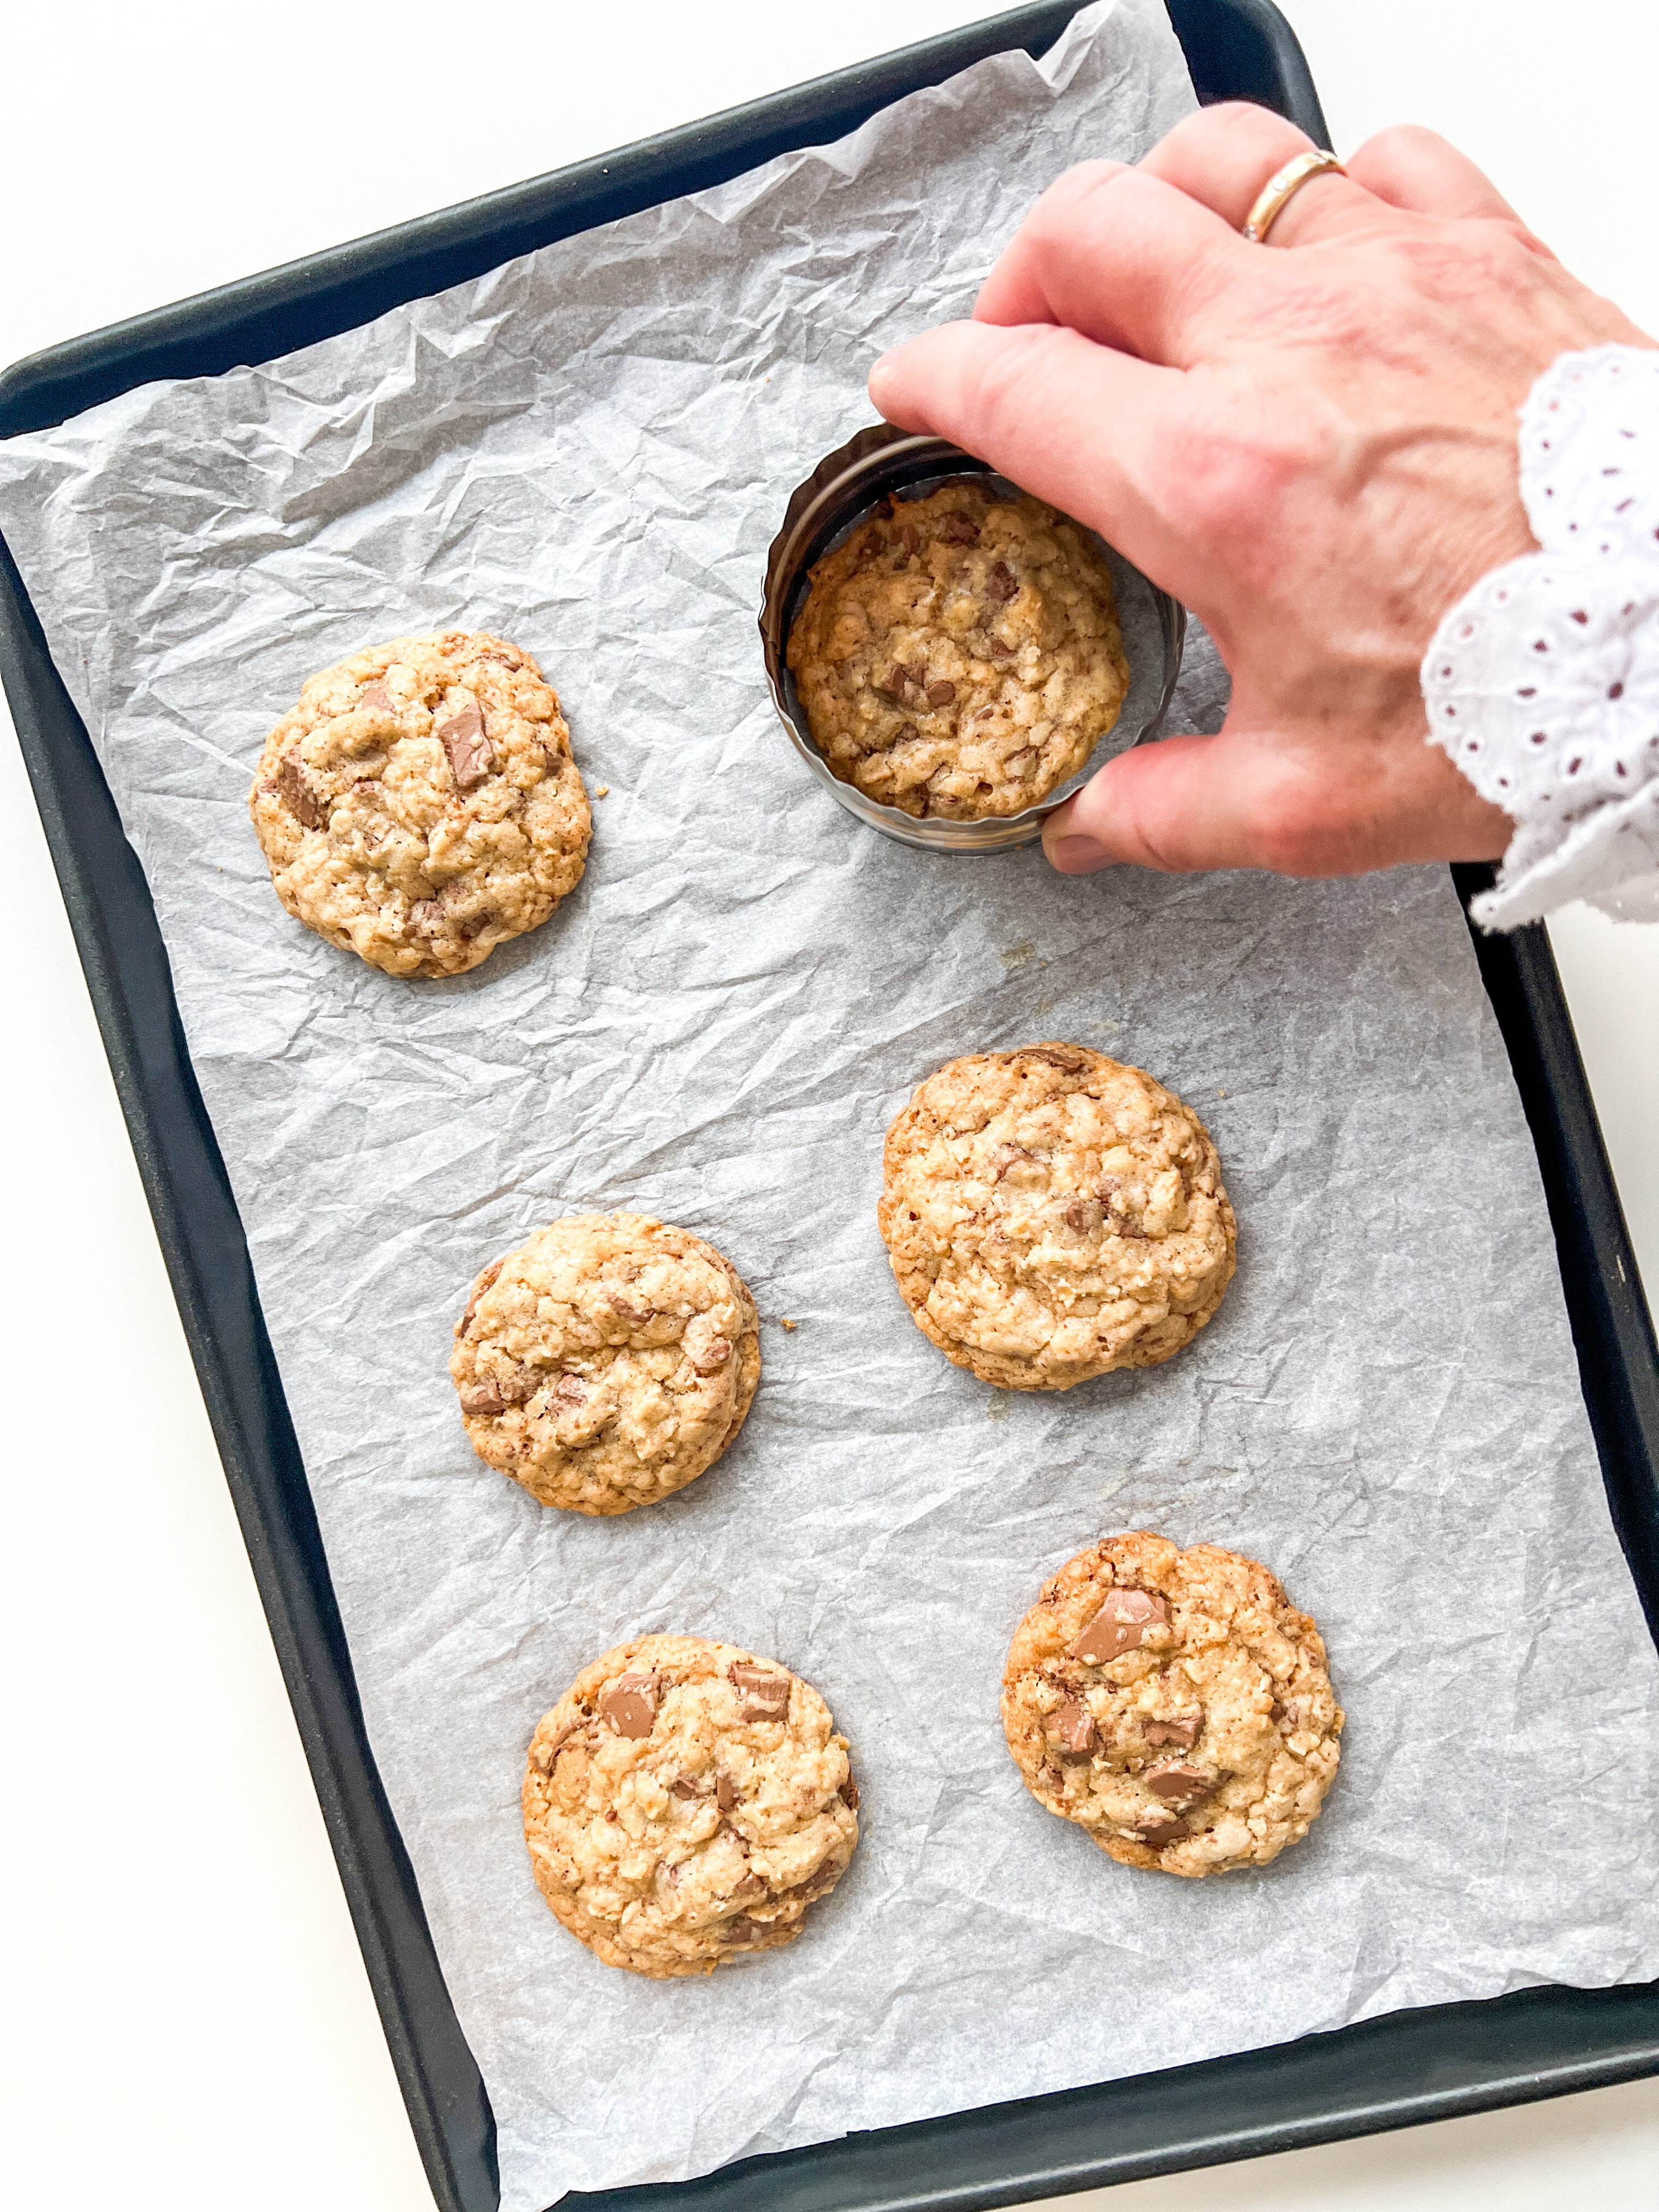
7 Bake and shape 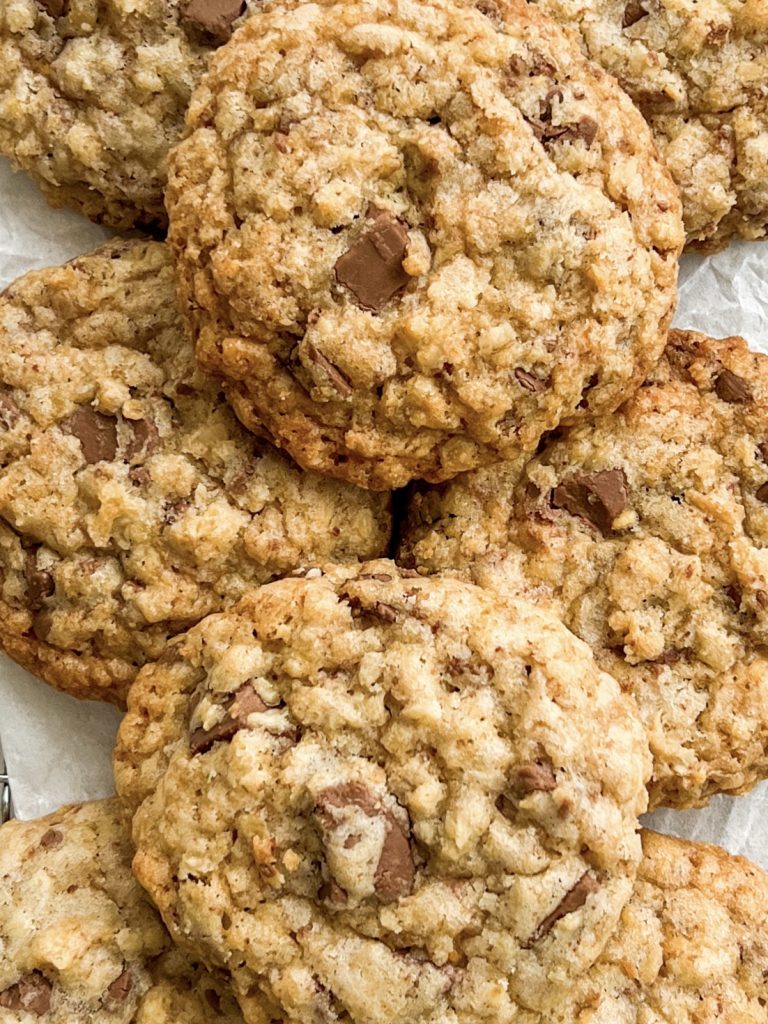
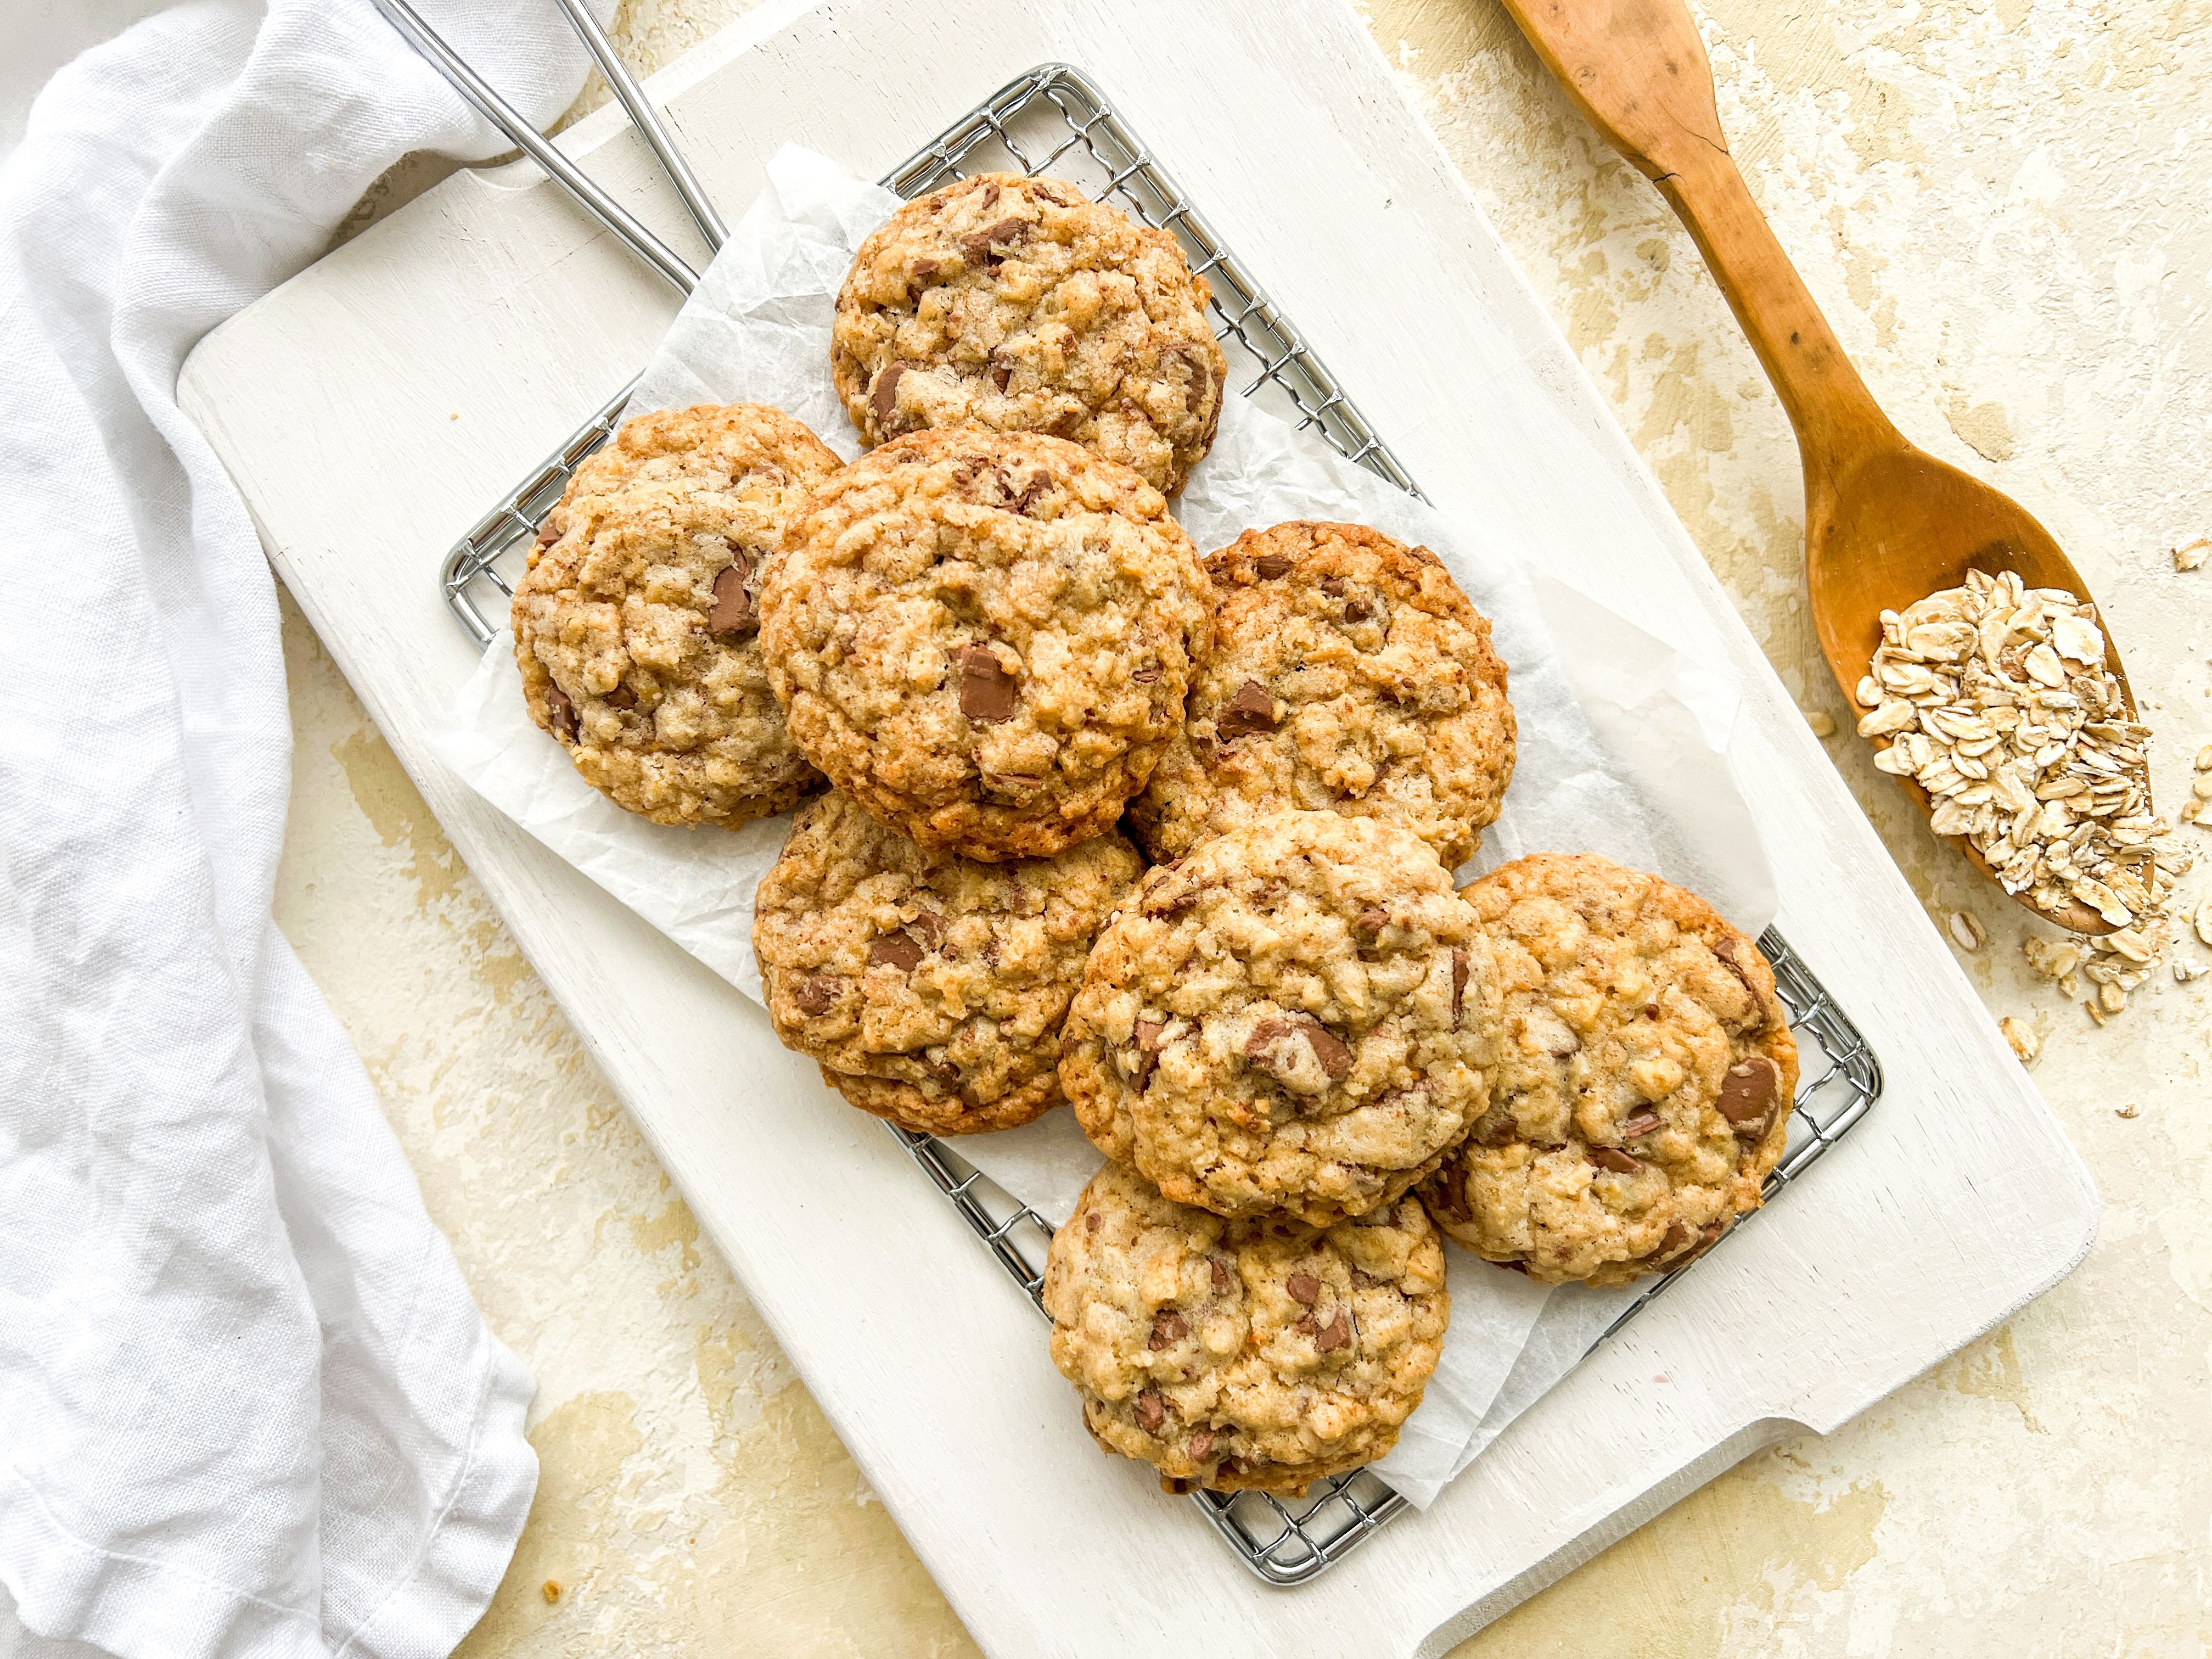
Serve
Made this recipe?
If you make this recipe, do please tag me on instagram @daffodil_kitchen. You could also leave a comment in the box directly below the recipe.
Crunchy Oat Chocolate Chip Biscuits
Growing up in the 1960s and 1970s in the UK, biscuits (or cookies) were small and, with the exception of Jaffa Cakes, they were normally crunchy. It wasn’t until I was an adult that I tried American style large chocolate chip cookies with a gorgeous gooey centre. I genuinely love both, but recently I have been craving the small, crispy biscuits from my youth. Although these are somewhat bigger by comparison, they are deliciously crispy and crunchy and are the perfect accompaniment to a cup of tea or coffee. Equally, if you live over the pond, they work wonderfully well with a glass of milk!
Ingredients
- 150g unsalted butter
- 100g caster sugar
- 50g soft brown sugar
- ½ teaspoon fine salt
- 1 egg
- 20 ml milk
- 2 teaspoons vanilla extract
- 125g plain/all-purpose flour
- 75g porridge oats
- 25g desiccated coconut
- ½ teaspoon baking powder
- 200g milk chocolate, chopped into chunks (I use Cadburys)
Instructions
-
Collect together your equipment (see Recipe Notes below) and ingredients.
-
Preheat oven to 180°C/350°F/Gas 4 (fan 160°C) and line 2 baking sheets with baking parchment.
-
Brown the butter: chop the butter into cubes and place in a saucepan. Heat over a moderate heat, stirring from time to time, until the butter turns brown and smells nutty. Decant into a mixing bowl (large enough to make the cookies) to prevent further browning, and set aside to cool. To read more about browning butter, please see here.
-
Make the biscuit dough: add the salt and sugars to the butter and mix thoroughly.
-
Mix in the egg, milk and vanilla extract/paste.
-
Fold the flour, oats, coconut and baking powder into the butter mixture.
-
Finally, fold in the chopped chocolate until evenly mixed throughout. (NB Hold a few chunks of chocolate back, just 4-5, to add into the last cookie.)
-
Divide the dough into 30g balls – you should make around 25 – 27. I use an ice cream scoop. Add the 4-5 remaining chunks of chocolate to the final cookie, if necessary. (If not, eat them!) Roll gently into a neater shape and place spread out on a baking sheet – I get 6 – 8 per sheet depending on the size of the baking sheet.
-
Baking one tray at a time: bake in the centre of a preheated oven for 13 – 16 minutes. The length of time will depend on how crunchy you want them to be and your individual oven. (I cook mine for 15 minutes.)
-
Baking two trays at a time: add one minute to the total time to cook. Bake for half this time and then quickly swap the trays over i.e. put the top tray on the lower shelf and the tray from the lower shelf and on the higher shelf and cook for the remaining time.
-
The cookies are cooked when: they have spread out, are starting to brown on the edges and look ever so slightly underdone. They should still be a little soft in the centre as they will continue to cook and crisp up when you take them out of the oven.
-
Optional shaping hack: as soon as the cookies come out of the oven, take a cookie cutter/bowl/mug the diameter of which is slightly larger than the cookies. One biscuit at a time, place the cutter/mug over the cookie and gently swirl the cookies to neaten the edges and give you a regular and more perfect round shape.
-
Let them cool on the baking sheet for 10 minutes and then transfer to a cooling rack.
Recipe Notes
Equipment:
- Kitchen scales and measuring spoons
- Saucepan to brown the butter
- Mixing bowl
- Chopping board and knife
- Baking sheets lined with baking parchment
Weighing the ingredients:
You can either weigh your ingredients and then add them to the mixing bowl or you can weigh your ingredients directly into your mixing bowl. Simply put the bowl on the scales and zero the scales. Make sure you remember to zero them in between adding each new ingredient.
Can I bake these cookies directly from the fridge?
Unlike many recipes, these cookies do not have to be chilled prior to baking. They can be cooked as soon as they are made. However, if you want to prepare the dough ahead of time, simply store them covered in the fridge for up to 3 days and then bake them, directly from the fridge, when you are ready.
What is the best way to store these cookies?
When you store cookies, it is important to cover them and store in an airtight container. They keep well for 3 – 4 days at room temperature or 5 – 6 days in the fridge. However, if you are storing them in the fridge, remember to take them out to warm up to room temperature before you serve them.
Can I freeze these cookies?
Yes you can! You can freeze the cookies prior to cooking and after cooking.
Freeze prior to cooking:
One of the wonderful things about this recipe (and most cookies in general to be fair) is that you can make a big batch and freeze them uncooked, but oven ready. To freeze, place them on a baking parchment lined board or baking tray, cover with cling film and place in the freezer until solid. As soon as the dough balls are frozen, they can be transferred into labelled freezer bags or containers. They can be cooked directly from frozen. Freshly baked warm cookies on demand – what is not to like?
Cook directly from the freezer:
Bake directly from frozen, as described in the recipe. Simply allow 1 – 2 extra minutes bake time.
Freeze after cooking:
These cookies can also be frozen after you have cooked them. Freeze in labelled or sealed containers/bags for up to 3 months.
You May Also Like
Chorizo Chutney with Tomatoes and Balsamic Vinegar
24th August 2024
Olive Ciabatta Loaded with Red Pepper, Mushrooms and Feta Cheese
17th May 2021