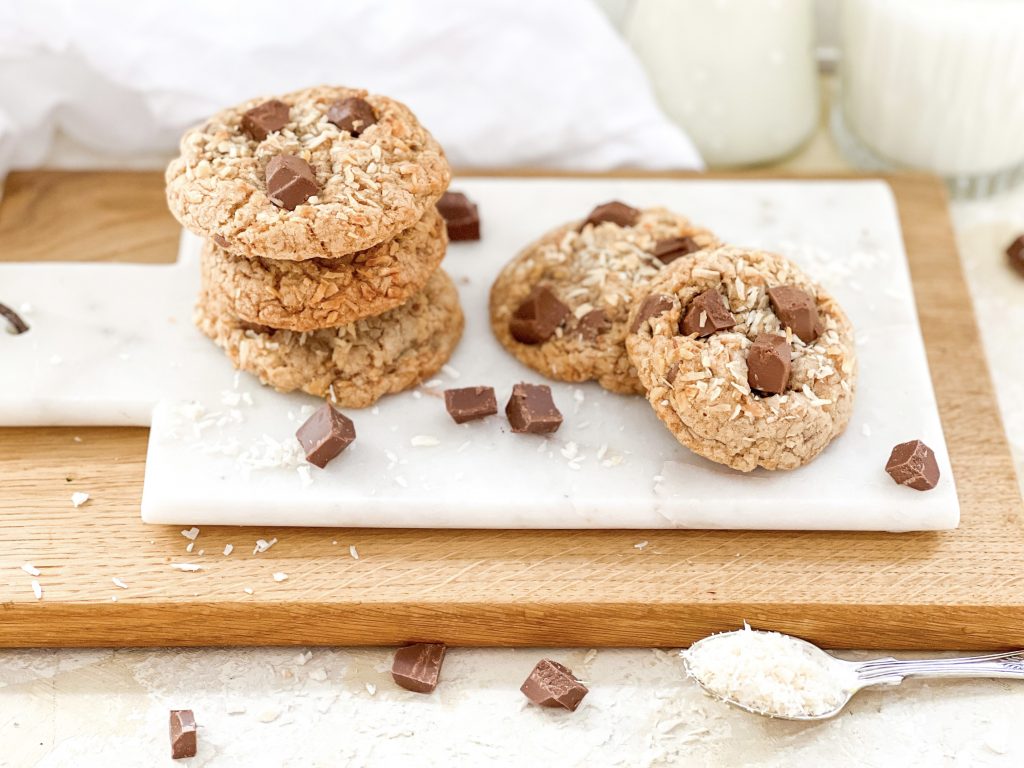
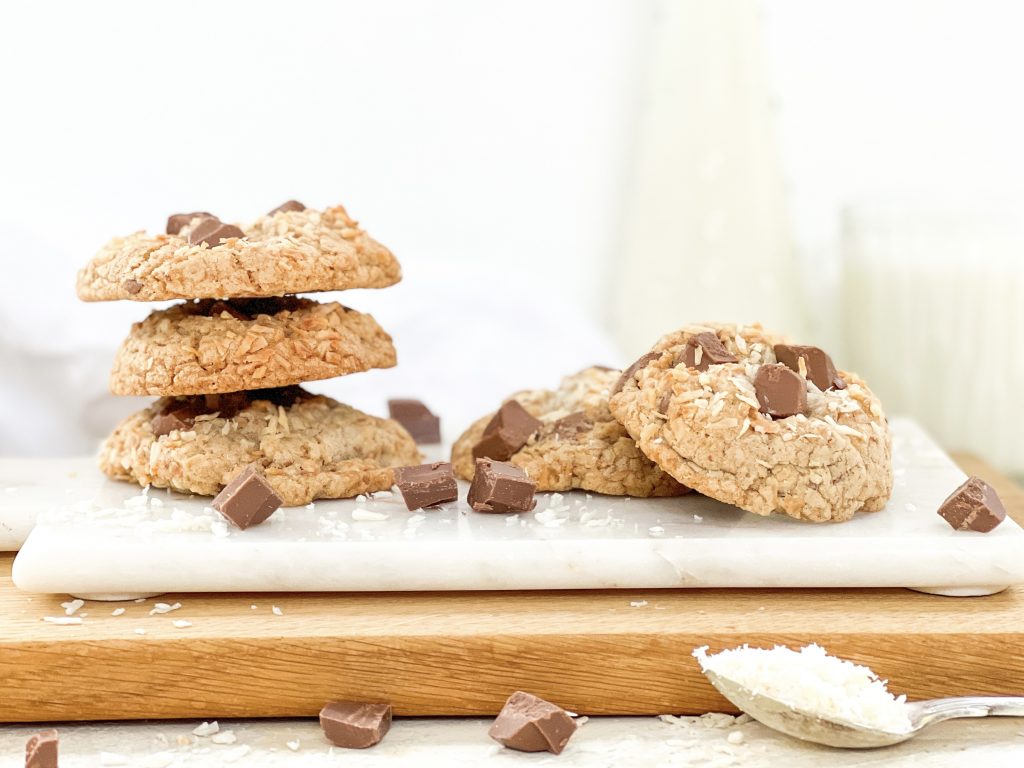
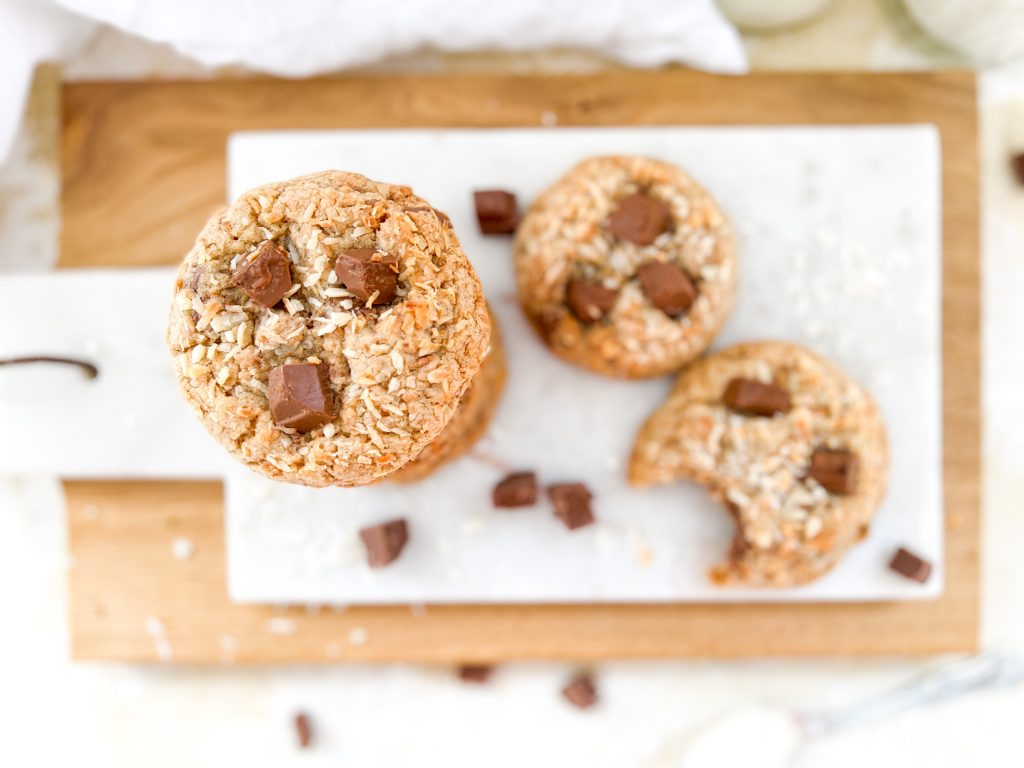
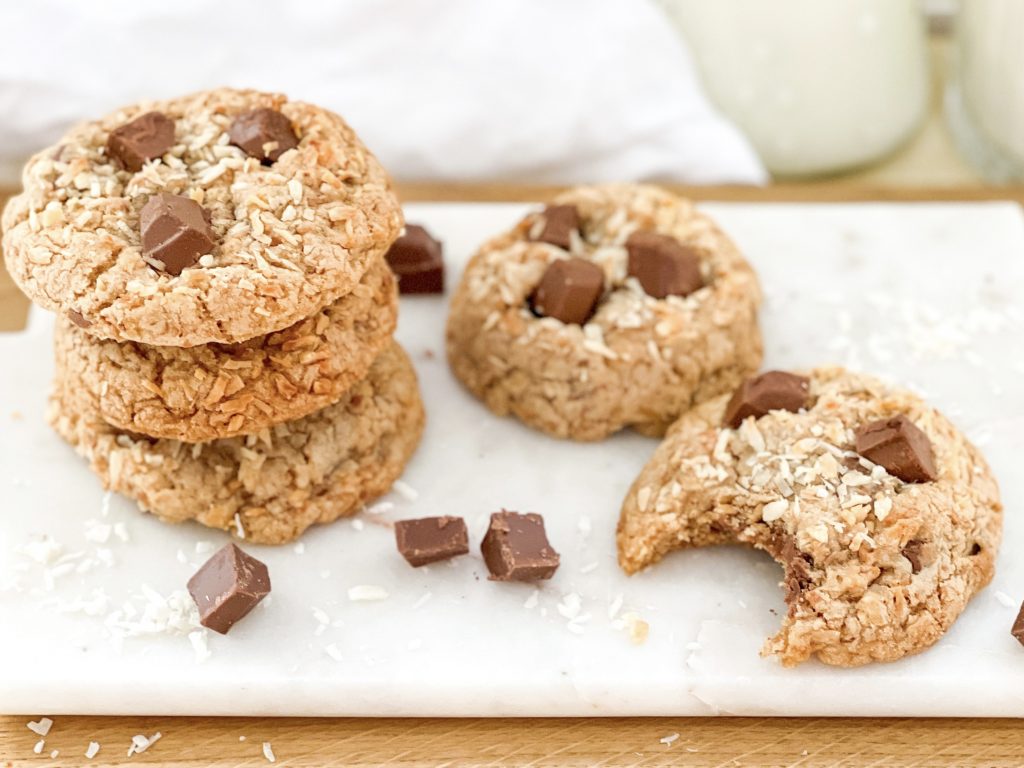
Toasted Coconut and Brown Butter Cookies with Milk Chocolate Chips
These Toasted Coconut and Brown Butter Cookies with Milk Chocolate Chips are a celebration of the timeless and classic flavour combination of chocolate and coconut. Toasting the coconut and browning the butter, takes these cookies up a notch by deepening the flavours and adding a rich, caramelised, nutty unami to these wonderful treats.
How to make Toasted Coconut and Brown Butter Cookies with Milk Chocolate Chips
The recipe is based on my Chocolate Chip Cookies – Core Recipe. The changes I made were:
- using brown butter instead of normal unsalted butter
- adding some milk to compensate for liquid lost when making brown butter
- toasting the coconut before adding to the cookie dough
Making Brown Butter
If you would like further details of how to brown butter, please check out my post here.
Collect all your ingredients together:
- unsalted butter
- desiccated coconut
- soft brown or light muscovado sugar
- caster sugar
- fine salt
- egg
- vanilla extract
- plain/all-purpose flour
- milk chocolate, cut into chunks – or use white or dark chocolate if you prefer
Toppings:
- extra desiccated coconut – not toasted
- extra chocolate chunks
How to make these fabulous cookies:
- Around an hour before you make want to bake the cookies, brown the butter: this must be done at least 1 hour before but can be made up to 3 days in advance. Chop the butter into squares and place in a saucepan. Heat over a moderate heat, stirring from time to time, until the butter turns brown. To read more about browning butter, please see here.
- Pour into a mixing big enough to make the cookie dough in. Let it cool a little and then pop it in the fridge to harden.
- Secondly toast the coconut: heat a frying pan over a moderate heat and add the desiccated coconut. Cook, stirring from time to time, until the coconut turns a light brown. Keep a close eye on it; the coconut can burn very easily.
- Tip the coconut in a bowl to ensure the coconut does not carry on cooking. Set aside to cool.
- Make the cookie dough: when the butter has hardened in the fridge, remove it and beat with an electric whisk until lighter and fluffy.
- Add both of the sugars and the salt and beat again until fluffy. This should take 3-4 minutes. You may need to scrape down the sides of the bowl to ensure it mixes evenly.
- Scrape down the sides of the bowl with a spatula and add the egg, milk and vanilla extract. Beat again with an electric whisk until thoroughly mixed.
- Add the flour and baking powder to the butter mixture. Either beat with an electric whisk on the slowest speed (to avoid a cloud of flour covering your kitchen!) or mix in with a wooden spoon. Do not over mix.
- Cut the chocolate into chunks and set 4 – 5 chunks aside to use later. Add the chocolate to the mixing bowl with the toasted coconut.. Fold in.
- Use an ice cream scoop to divide the mixture into balls, roughly 50g each – you should make around 17 cookies. If you prefer smaller cookies use a smaller scoop to give you 30g balls of cookie dough. Place, spread out, on a baking sheet lined with baking parchment.
- The final cookie is often devoid of chocolate chunks – add the 4 chunks you set aside and stick them into the base of the last cookie.
- Add the toppings: roll the top of each dough ball in desiccated coconut – you do not need to toast this coconut as it will toast as it cooks.
- Stick 3 – 4 chunks chocolate into the top of each dough ball.
- If you want to freeze any uncooked, now is the time. Spread out on baking parchment and freeze. As soon as the dough balls are solid, they can be transferred into labelled freezer bags or containers. Alternatively, you can store them covered in the fridge for up to 3 days and then bake them when you are ready.
- When you are ready to cook them, place spread out on a baking sheet and bake in a pre-heated oven for 14 – 15 minutes. (I cook 5 per sheet, but it depends on the size of the baking sheet – they will spread.)
- Let them cool on the baking sheet for 10 minutes and then transfer to a cooling rack.
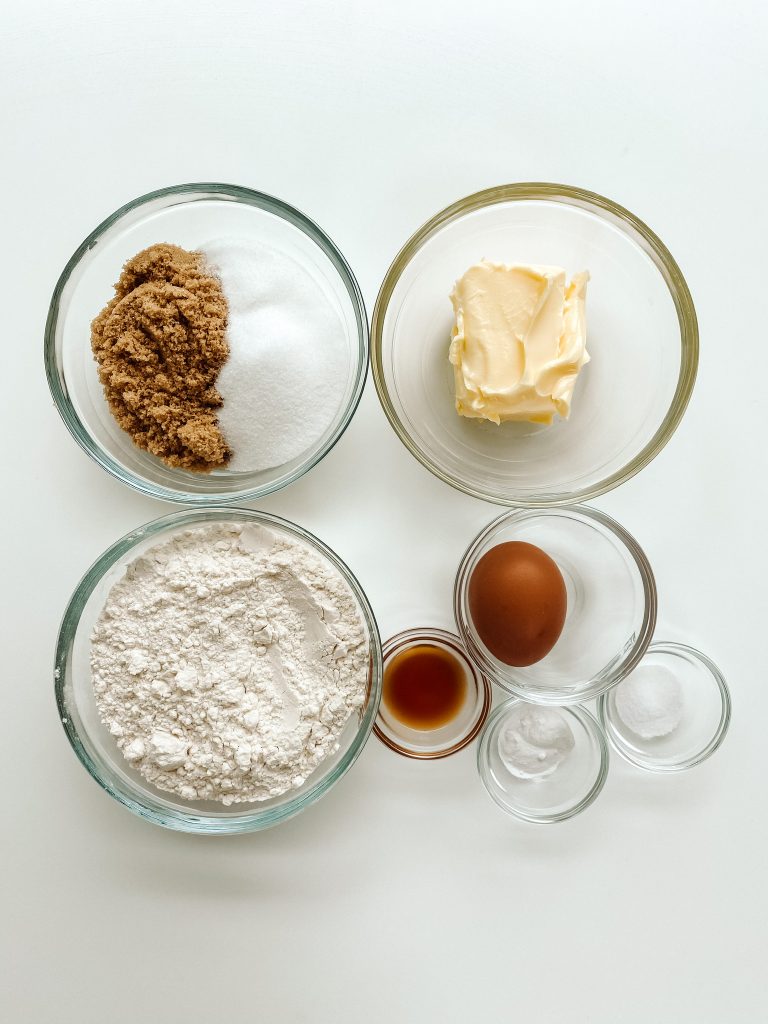
Core ingredients 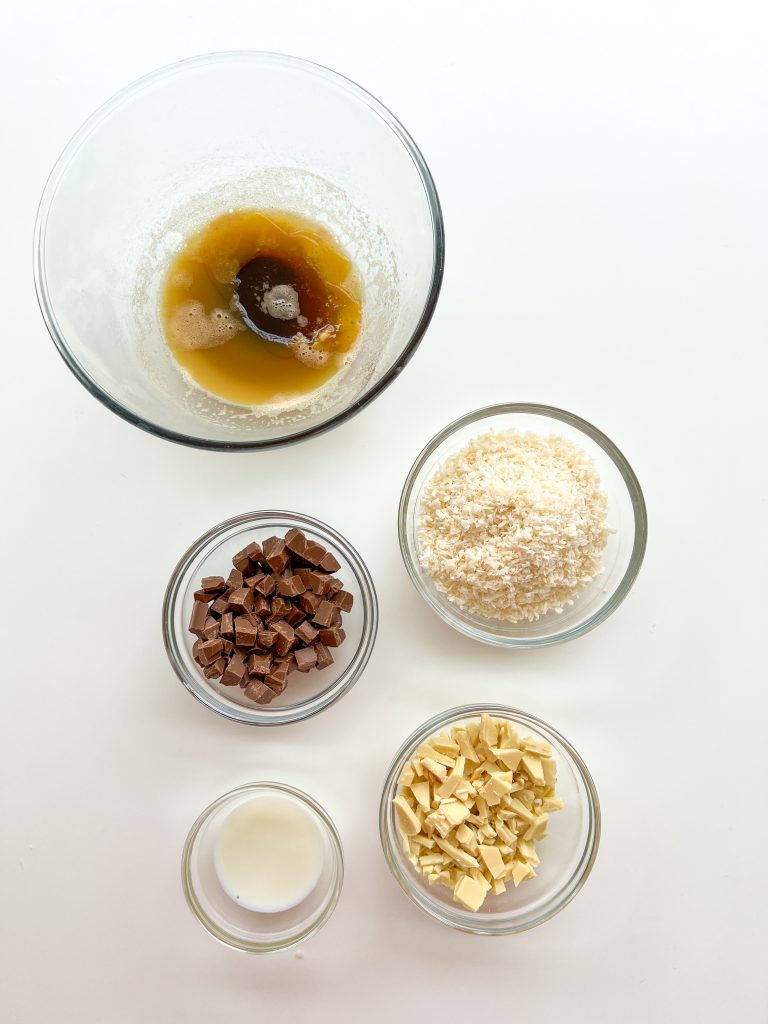
Additional ingredients 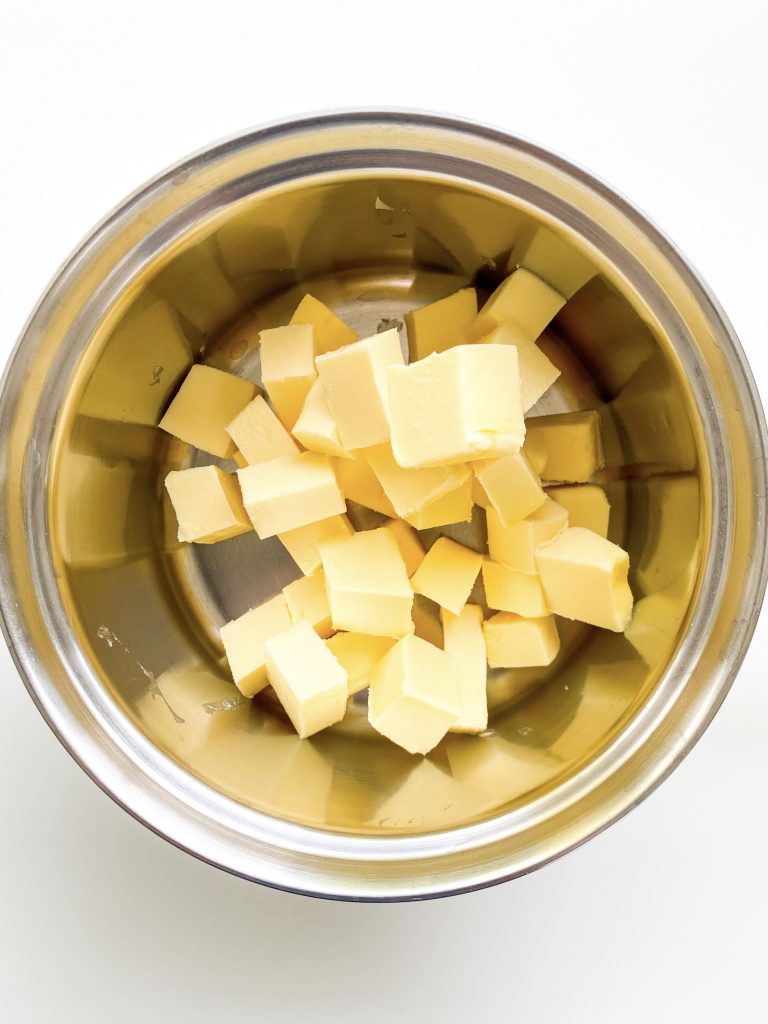
1 Cut butter into squares 
… and brown. 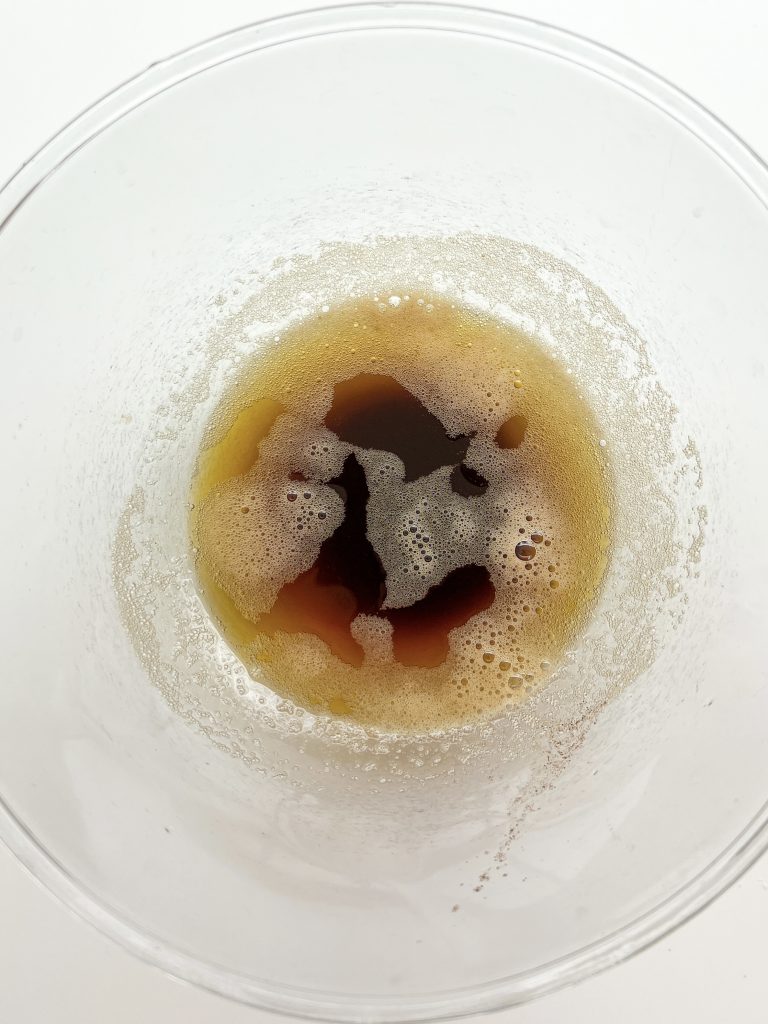
2 Transfer to mixing bowl. 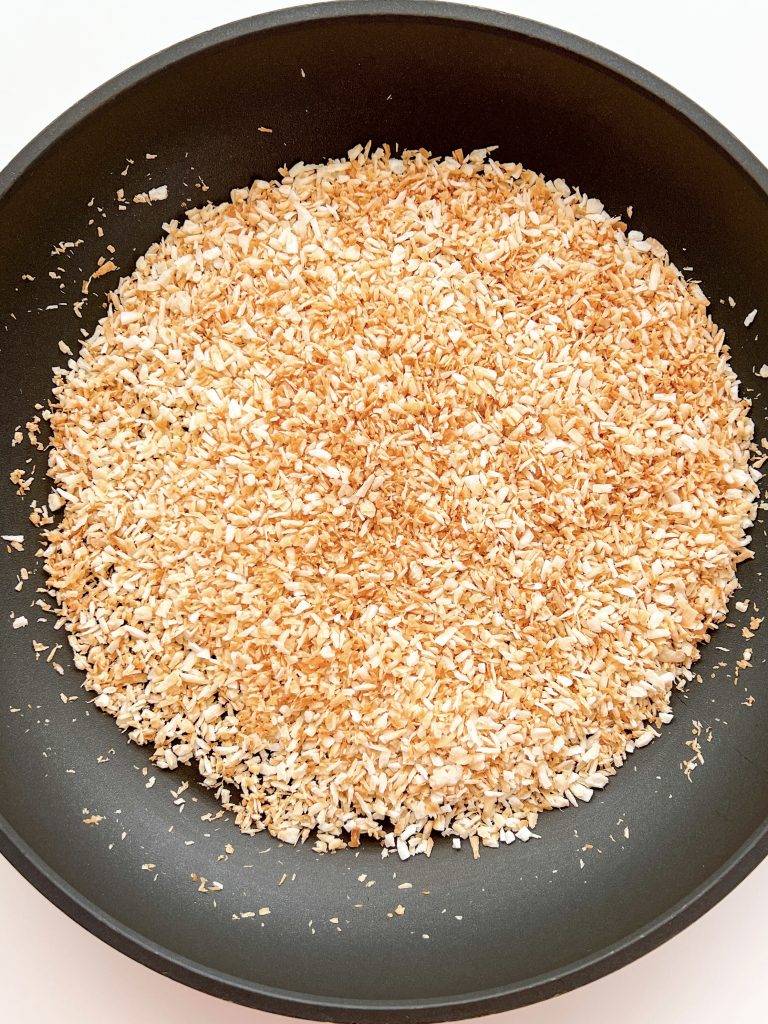
3, 4 Toast coconut 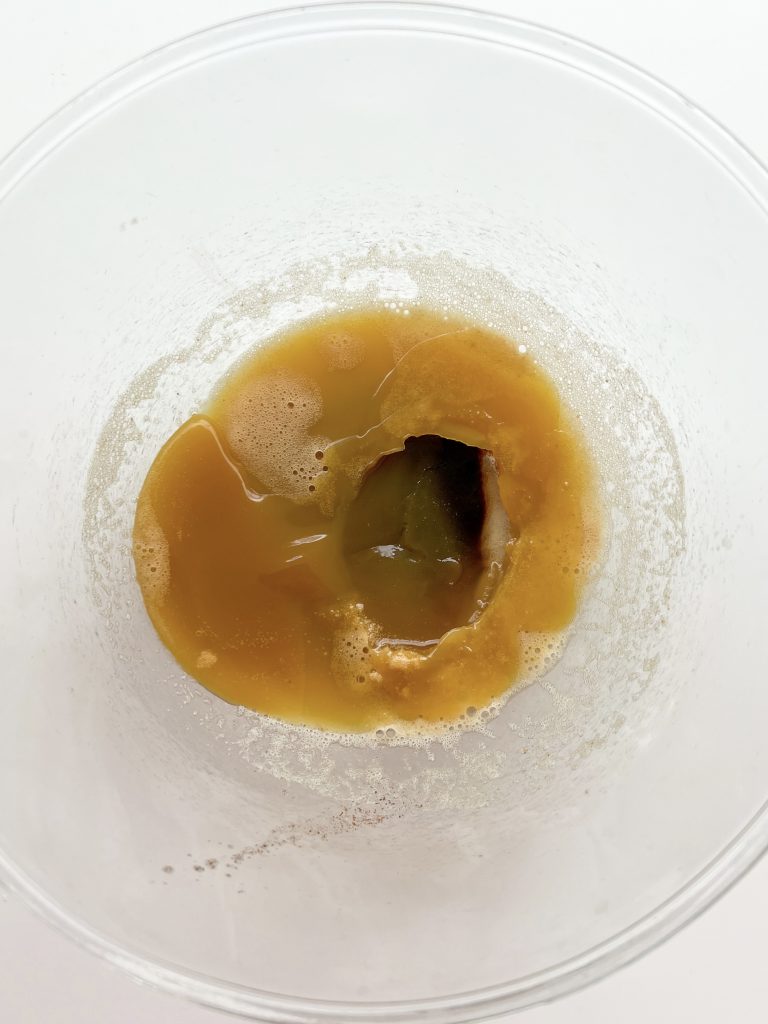
5 Hardened butter 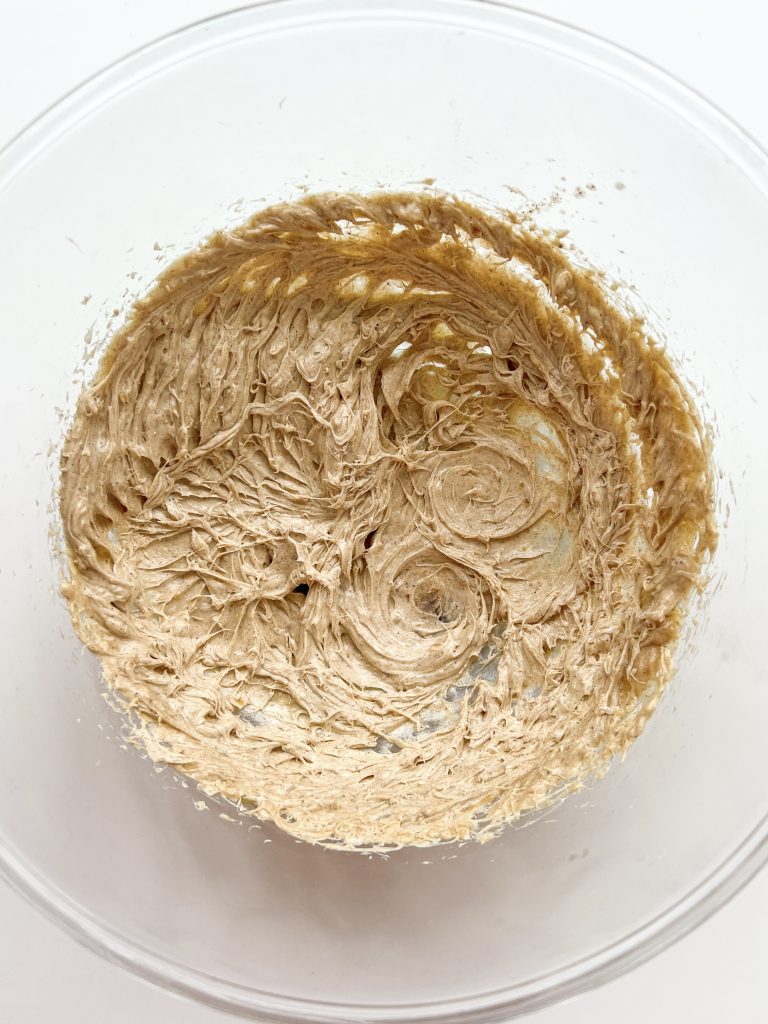
Beat to lighter and fluffy 
6 Add sugars and salt. Beat 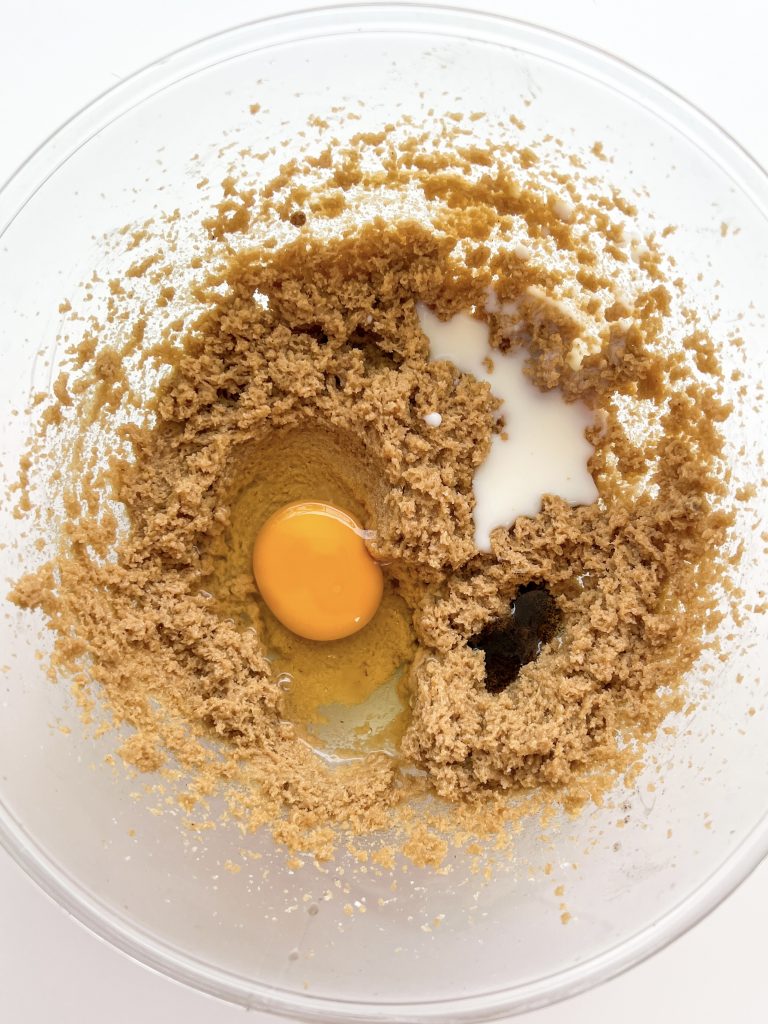
7 Beat in egg, milk & vanilla 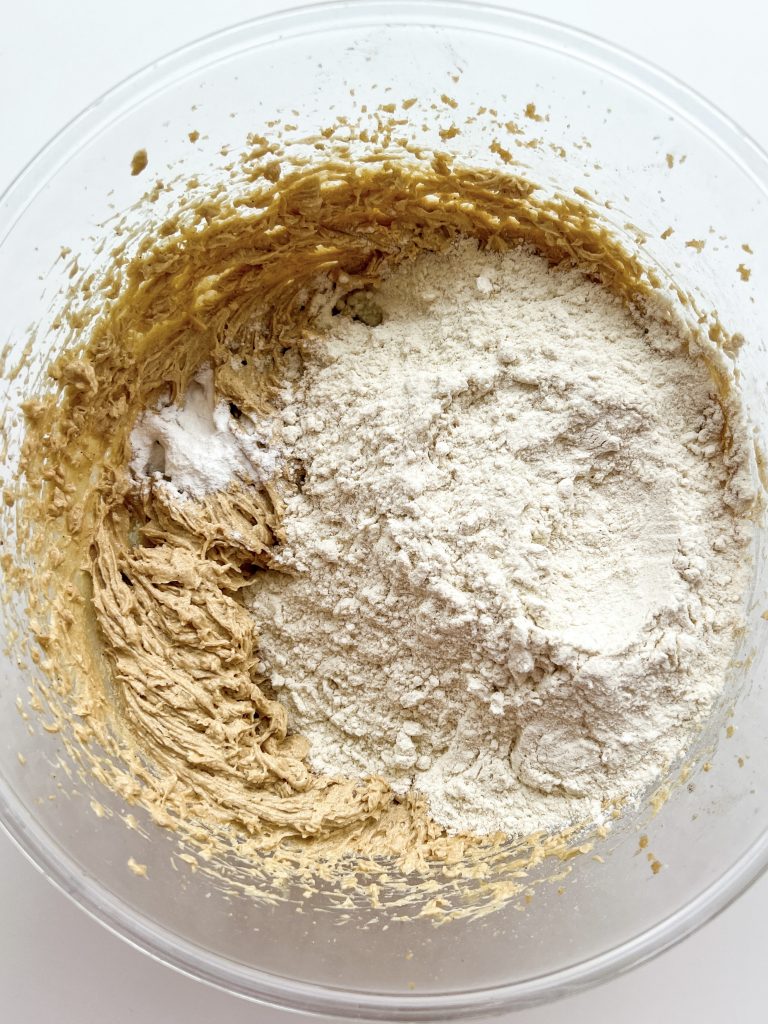
8 Add flour and bp and …. 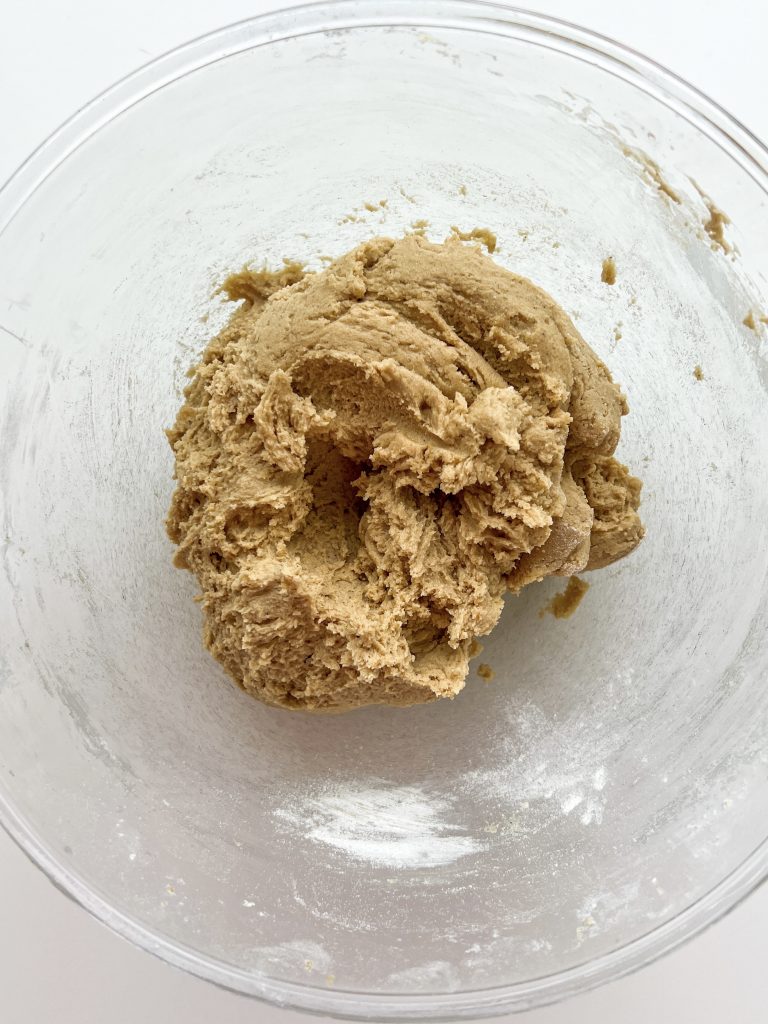
… fold in 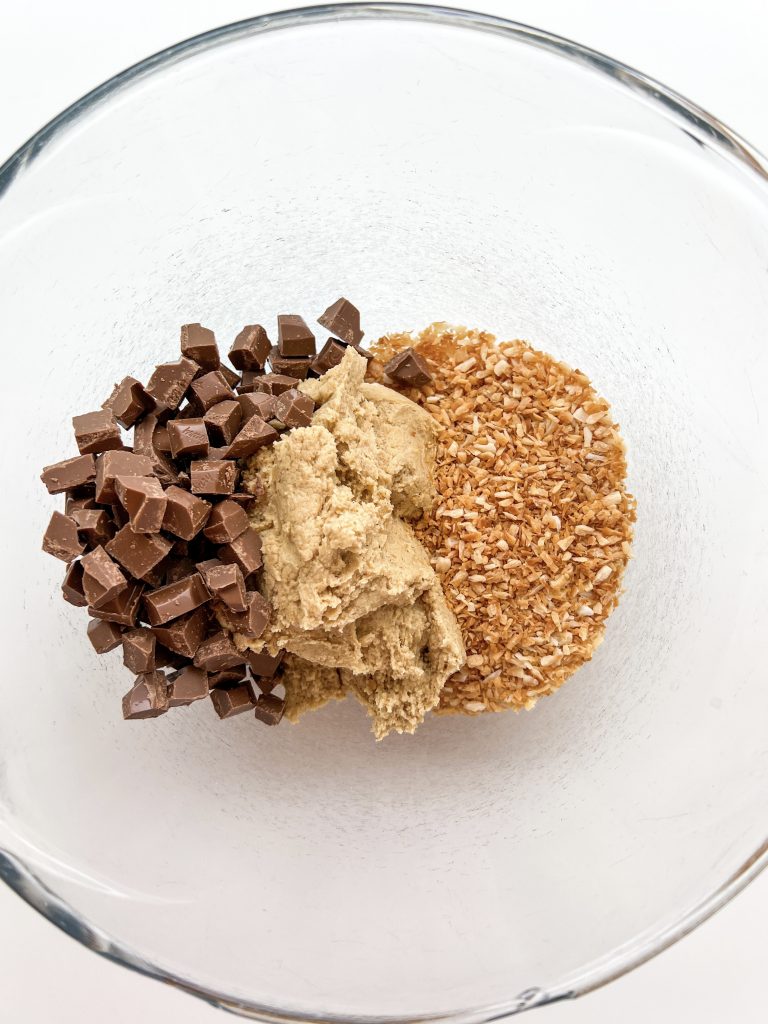
9 Fold in chocolate and coconut 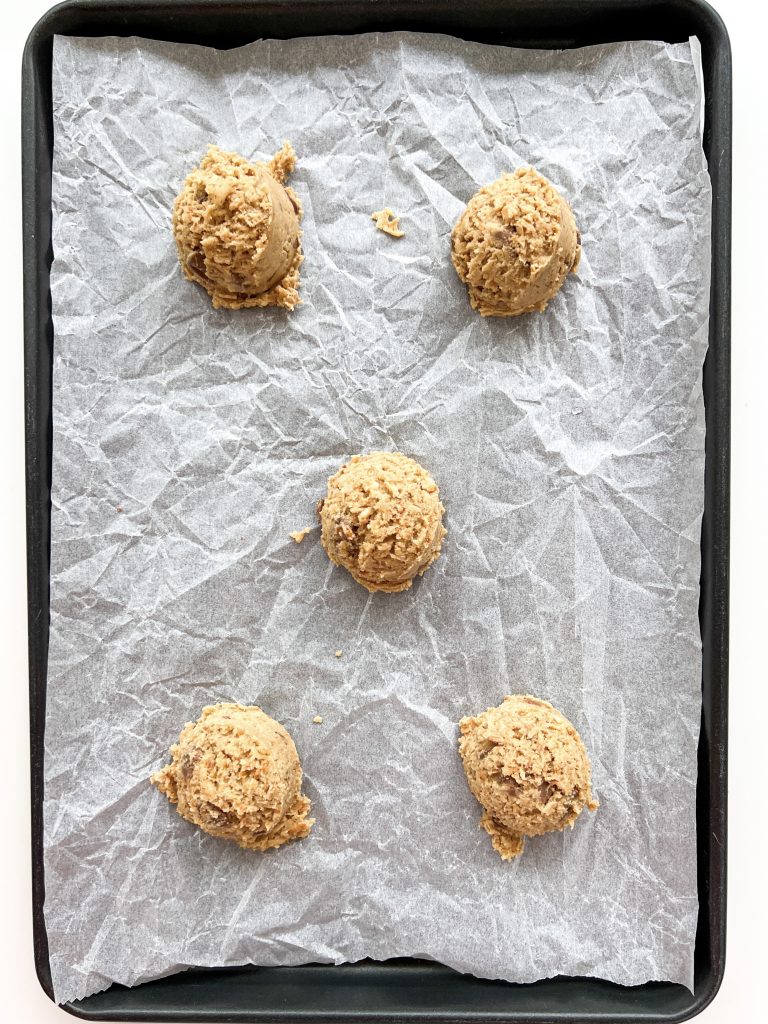
10 Cookie dough balls on baking tray 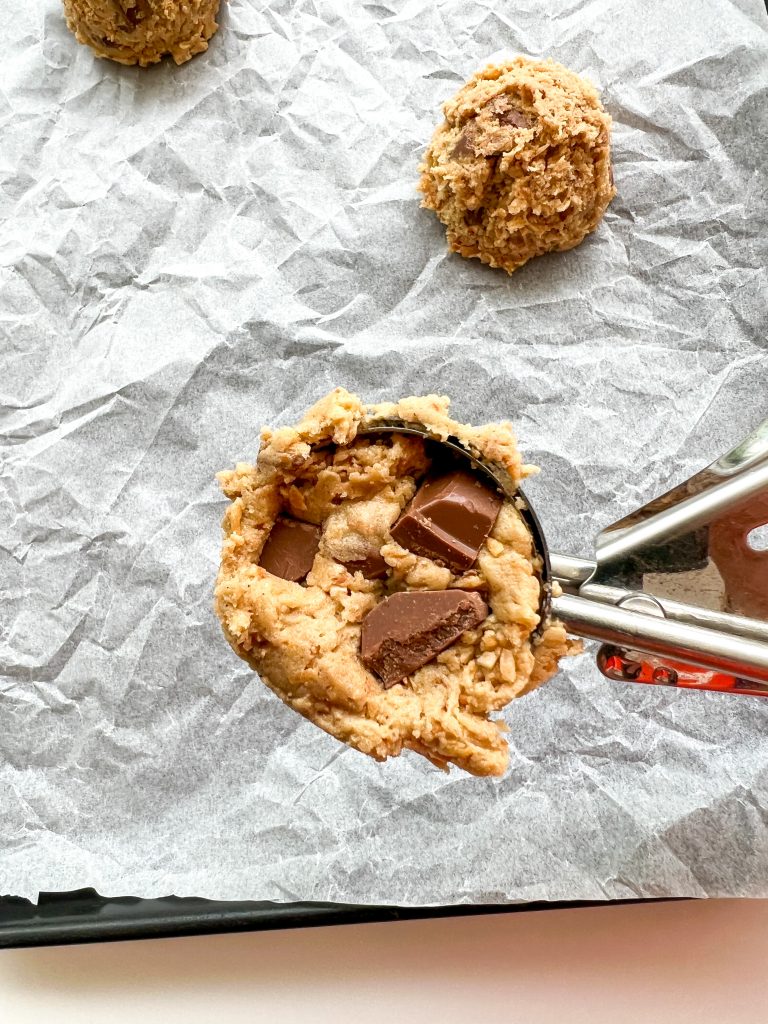
11 Stick chocolate chunks into final cookie dough ball 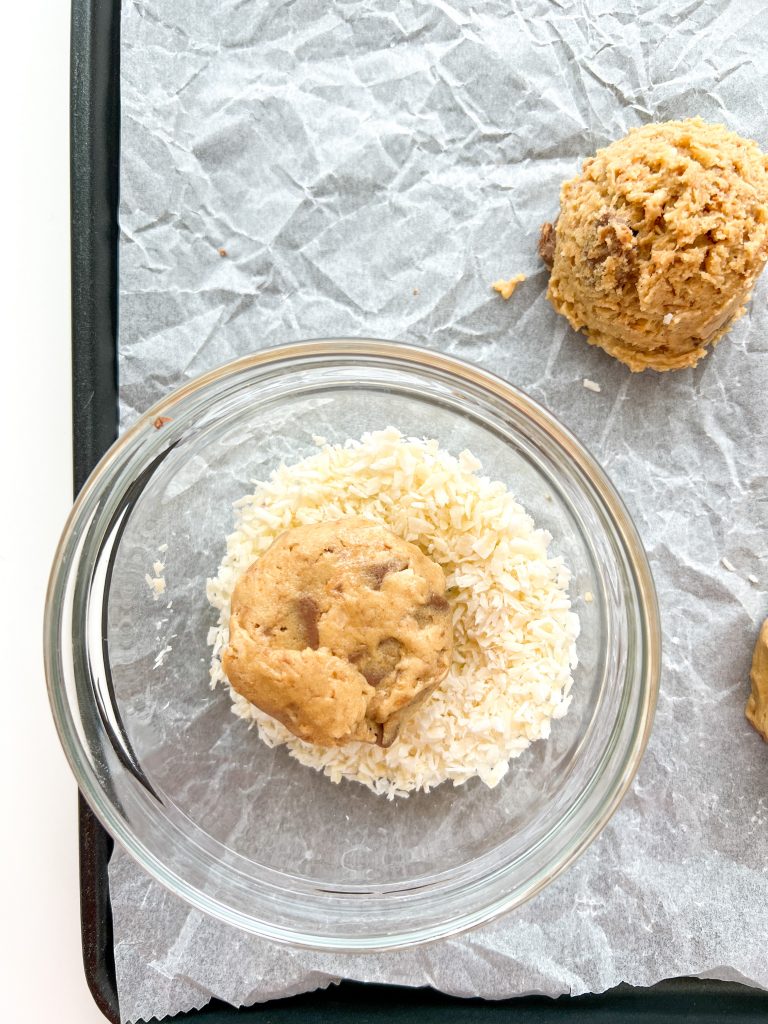
12 Dip in coconut 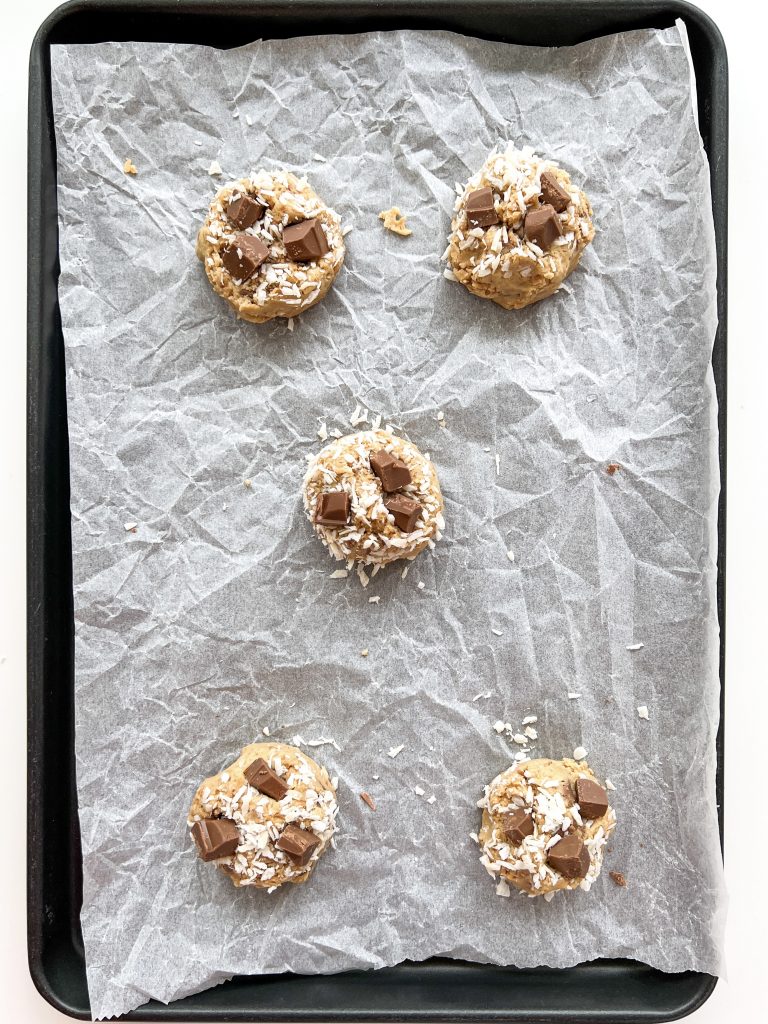
13, 14 Stick on chocolate chunks. Freeze, fridge or bake 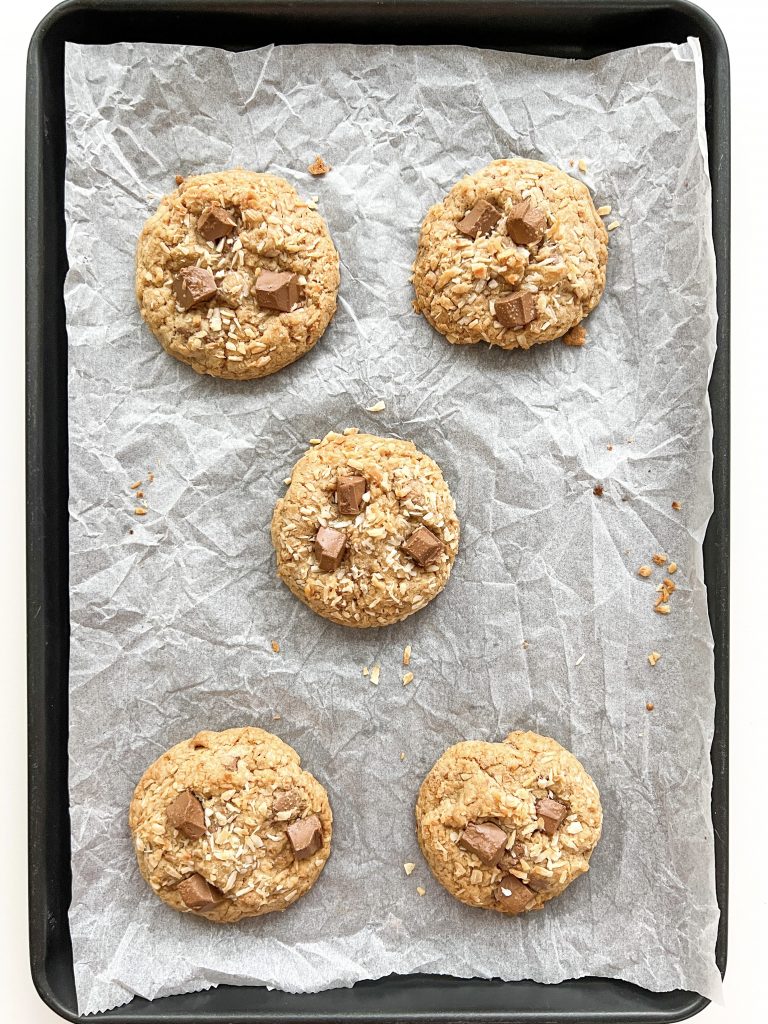
15 Bake
Softening Brown Sugar
Have you ever taken soft brown or muscovado sugar out of the cupboard and found it was rock solid? If this has happened to you, and you need to know how to fix it using the microwave rather than a hammer, please see here!
Can I bake these cookies directly from the fridge?
Unlike many recipes, these cookies do not have to be chilled prior to baking. They can be cooked as soon as they are made. However, if you want to prepare the dough ahead of time, simply store them covered in the fridge for up to 3 days and then bake them, directly from the fridge, when you are ready.
What is the best way to store these cookies?
When you store cookies, it is important to cover them and store in an airtight container. They keep well for 3 – 4 days at room temperature or 5 – 6 days in the fridge. However, if you are storing them in the fridge, remember to take them out to warm up to room temperature before you serve them.
Can I freeze these cookies?
Yes you can! You can freeze the cookies prior to cooking and after cooking.
Freeze prior to cooking:
One of the wonderful things about this recipe (and most cookies in general to be fair) is that you can make a big batch and freeze them uncooked, but oven ready. To freeze, place them on a baking parchment lined board or baking tray, cover with cling film and place in the freezer until solid. As soon as the dough balls are frozen, they can be transferred into labelled freezer bags or containers. They can be cooked directly from frozen. Freshly baked warm cookies on demand – what is not to like?
Cook directly from the freezer:
Bake directly from frozen, as described in the recipe. Simply allow 1 – 2 extra minutes bake time.
Freeze after cooking:
These cookies can also be frozen after you have cooked them. Freeze in labelled or sealed containers/bags for up to 3 months.
They can then be cooked directly from frozen; you just need to allow 1 – 2 minutes extra cooking time. Freshly cooked warm cookies on demand – what’s not to like?
Made this recipe?
If you make this recipe, do please tag me on instagram @daffodil_kitchen. You could also leave a comment in the box directly below the recipe.
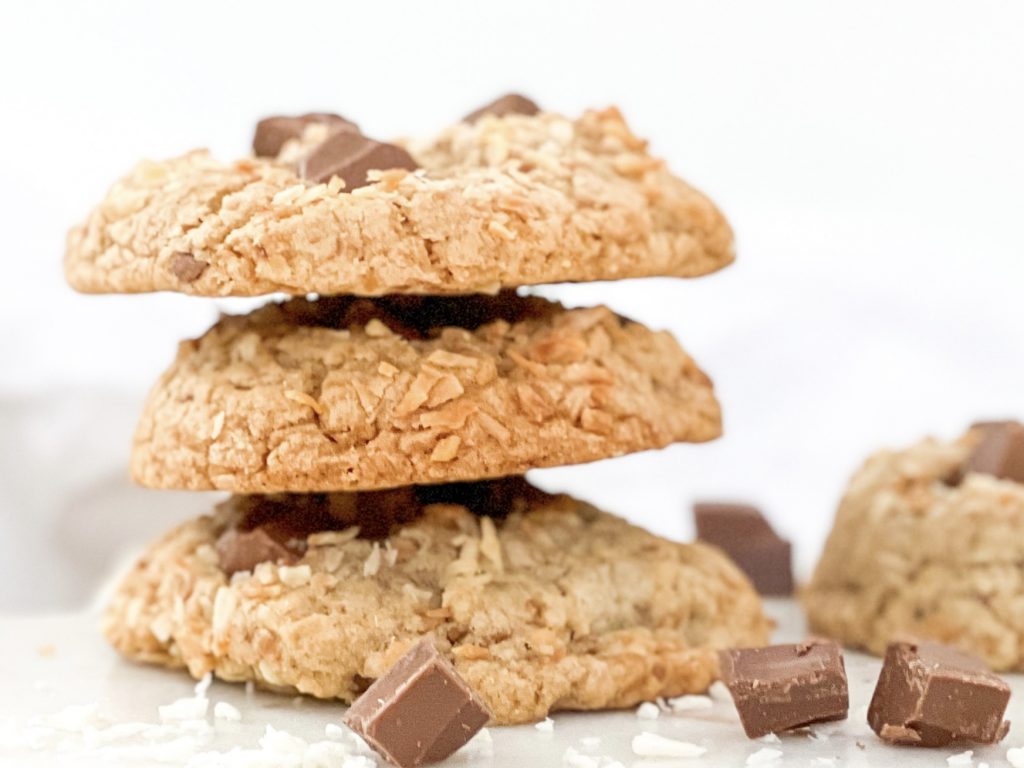

Toasted Coconut and Brown Butter Cookies with Milk Chocolate Chips
These Toasted Coconut and Brown Butter Cookies with Milk Chocolate Chips are a celebration of the timeless and classic flavour combination of chocolate and coconut.
Makes 16 – 18
Ingredients
For the cookies:
- 125g unsalted butter
- 100g desiccated coconut
- 100g soft brown sugar
- 75g caster sugar
- ½ teaspoon fine salt
- 1 egg
- 1 teaspoon vanilla extract
- 20ml milk
- 200g plain/all-purpose flour
- ½ teaspoon baking powder
- 200g milk chocolate, chopped into chunks – or use white or dark chocolate if you prefer
For topping cookies:
- 20g desiccated coconut
- extra chunks of chocolate – 3 or 4 per cookie
Instructions
-
Collect together your equipment (see Recipe Notes below) and ingredients.
-
Around an hour before you make want to bake the cookies, brown the butter: this must be done at least 1 hour before but can be made up to 3 days in advance. Chop the butter into squares and place in a saucepan. Heat over a moderate heat, stirring from time to time, until the butter turns brown. To read more about browning butter, please see here.
-
Pour into a mixing big enough to make the cookie dough in. Let it cool a little and then pop it in the fridge to harden.
-
Secondly toast the coconut: heat a frying pan over a moderate heat and add the desiccated coconut. Cook, stirring from time to time, until the coconut turns a light brown. Keep a close eye on it; the coconut can burn very easily.
-
Tip the coconut in a bowl to ensure the coconut does not carry on cooking. Set aside to cool.
-
Make the cookie dough: when the butter has hardened in the fridge, remove it and beat with an electric whisk until lighter and fluffy.
-
Add both of the sugars and the salt and beat again until fluffy. This should take 3-4 minutes. You may need to scrape down the sides of the bowl to ensure it mixes evenly.
-
Scrape down the sides of the bowl with a spatula and add the egg, milk and vanilla extract. Beat again with an electric whisk until thoroughly mixed.
-
Add the flour and baking powder to the butter mixture. Either beat with an electric whisk on the slowest speed (to avoid a cloud of flour covering your kitchen!) or mix in with a wooden spoon. Do not over mix.
-
Cut the chocolate into chunks and set 4 – 5 chunks aside to use later. Add the chocolate to the mixing bowl with the toasted coconut.. Fold in.
-
Use an ice cream scoop to divide the mixture into balls, roughly 50g each – you should make around 17 cookies. If you prefer smaller cookies use a smaller scoop to give you 30g balls of cookie dough. Place, spread out, on a baking sheet lined with baking parchment.
-
The final cookie is often devoid of chocolate chunks – add the chunks you set aside earlier and stick them into the base of the last cookie.
-
Add the toppings: roll the top of each dough ball in desiccated coconut – you do not need to toast this coconut as it will toast as it cooks.
-
Stick 3 – 4 chunks chocolate into the top of each dough ball.
-
If you want to freeze any uncooked, now is the time. Spread out on baking parchment and freeze. As soon as the dough balls are solid, they can be transferred into labelled freezer bags or containers. Alternatively, you can store them covered in the fridge for up to 3 days and then bake them when you are ready
-
A few minutes before you want to cook your cookies, preheat oven to Fan Oven 160°C/180°C/350°F/Gas 4 and line your baking trays with baking parchment if necessary.
-
Place the cookies spread out on baking sheets and bake in a pre-heated oven for:
– 14 – 15 minutes for larger 50g cookies.
– 11 – 12 minutes for smaller 30g cookies
-
Let them cool on the baking sheet for 10 minutes and then transfer to a cooling rack.
Recipe Notes
Equipment:
- Kitchen scales and measuring spoons
- Electric whisk and mixing bowl
- Ice cream scoop
- Chopping board and knife
- Baking sheets lined with baking parchment, if necessary
Softening brown sugar:
Have you ever taken soft brown sugar out of the cupboard and found it was rock solid? If this has happened to you and you need to know how to fix it using the microwave rather than a hammer, please see here.
Weighing the ingredients:
You can either weigh your ingredients and then add them to the mixing bowl or you can weigh your ingredients directly into your mixing bowl. Simply put the bowl on the scales and zero the scales. Make sure you remember to zero them in between adding each new ingredient.
Can I freeze these cookies?
One of the wonderful things about this recipe (and most cookies in general, to be fair) is that you can make a big batch and freeze them uncooked but oven ready. Simply place on a baking tray lined with baking parchment, cover loosely with cling film and place in the freezer. As soon as the dough balls are solid, they can be transferred into labelled freezer bags or containers.
They can then be cooked directly from frozen; you just need to allow 1 – 2 minutes extra cooking time. Freshly cooked warm cookies on demand – what’s not to like?
More from my site
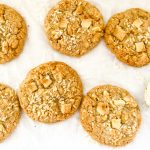 Toasted Coconut and Brown Butter Cookies with White Chocolate Chips
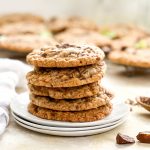 Brown Butter Fruit and Nut Chocolate Chip Cookies with Oats and Coconut, finished with Smoked Salt
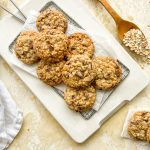 Crunchy Oat Chocolate Chip Biscuits
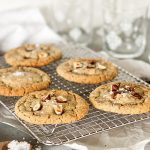 Chocolate Chip Cookies with Chocolate Hazelnut Spread
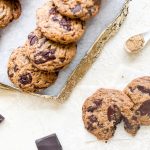 Ginger and Dark Chocolate Brown Butter Cookies
 Brown Butter Chocolate Chip Walnut Cookies with Spelt


You May Also Like

Lemon Friands with Lemon Cream, Mini Meringues and Sweet Mint Lemon Syrup

Aspic by Quentin Giroud, Paris