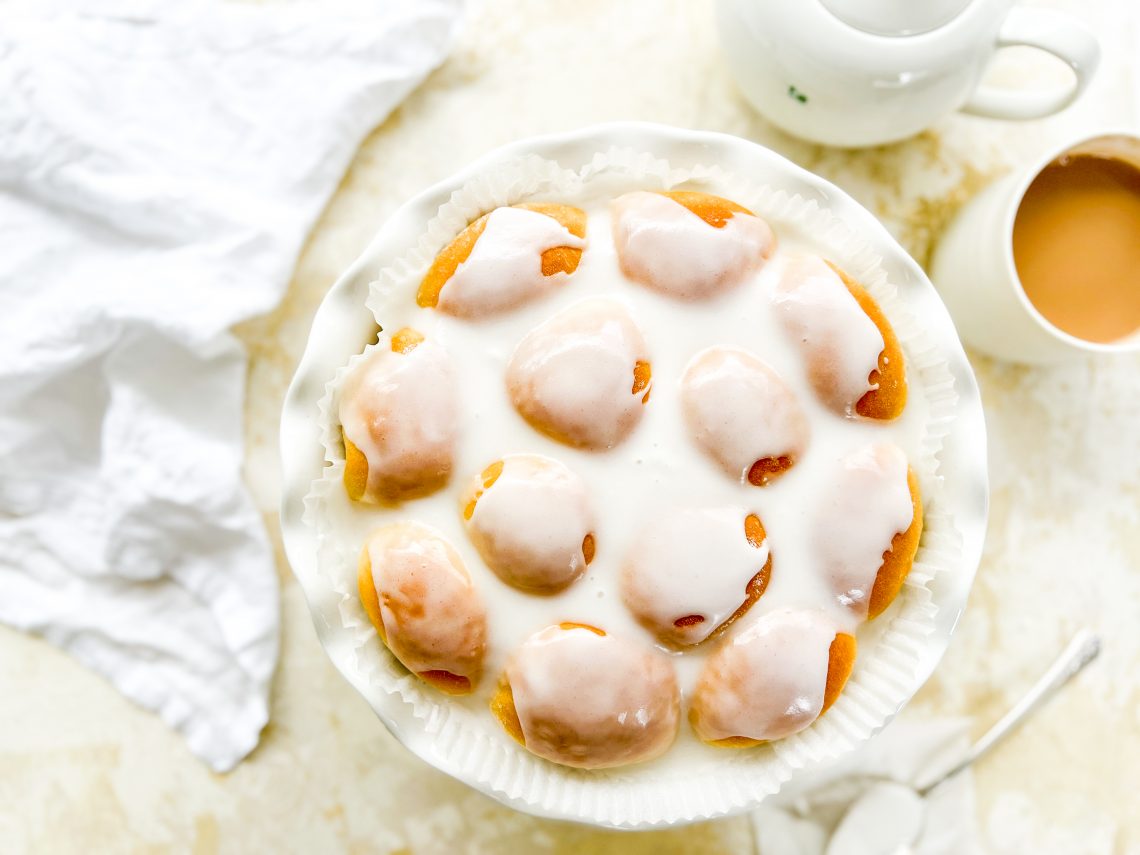
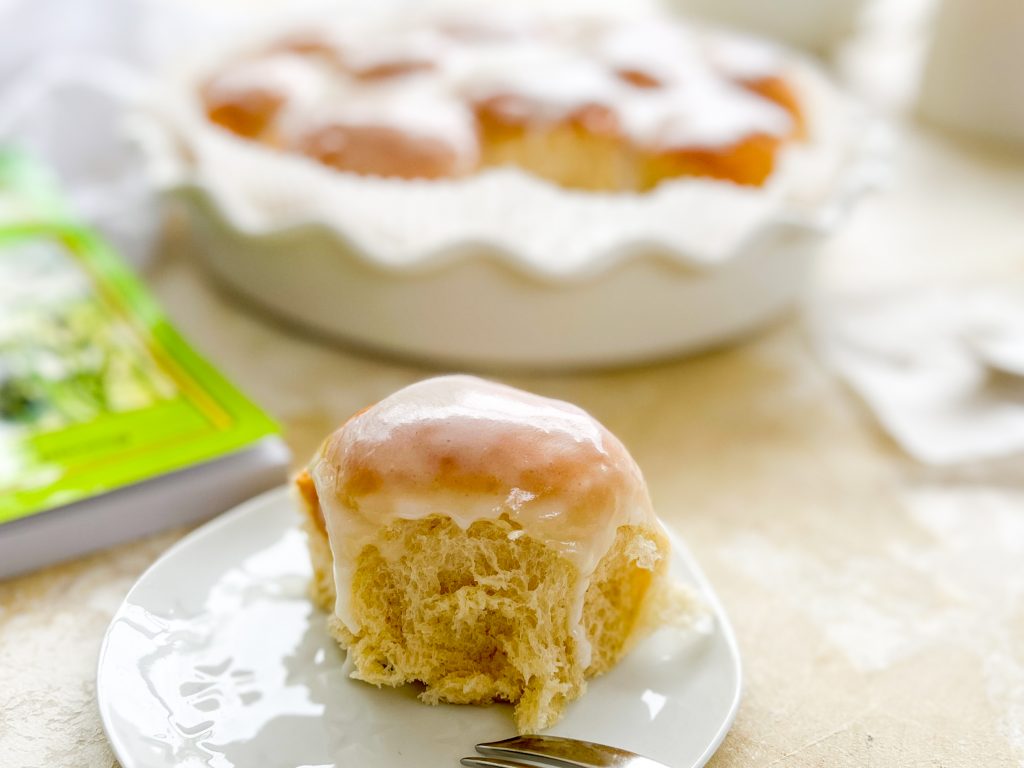
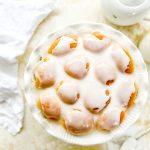
Tear and Share Iced Buns
Super soft, sweet bread rolls topped with melt in your mouth icing; Iced Buns are a delicious and addictive British classic. Naughty but very, very nice, these nostalgic little buns have been popular across the generations for decades. Wonderful served fresh, as they are, or, if you are in a decadent mood, sandwich with whipped fresh cream and jam. Unbelievably good. Either way, a cup of tea (or coffee) is essential.
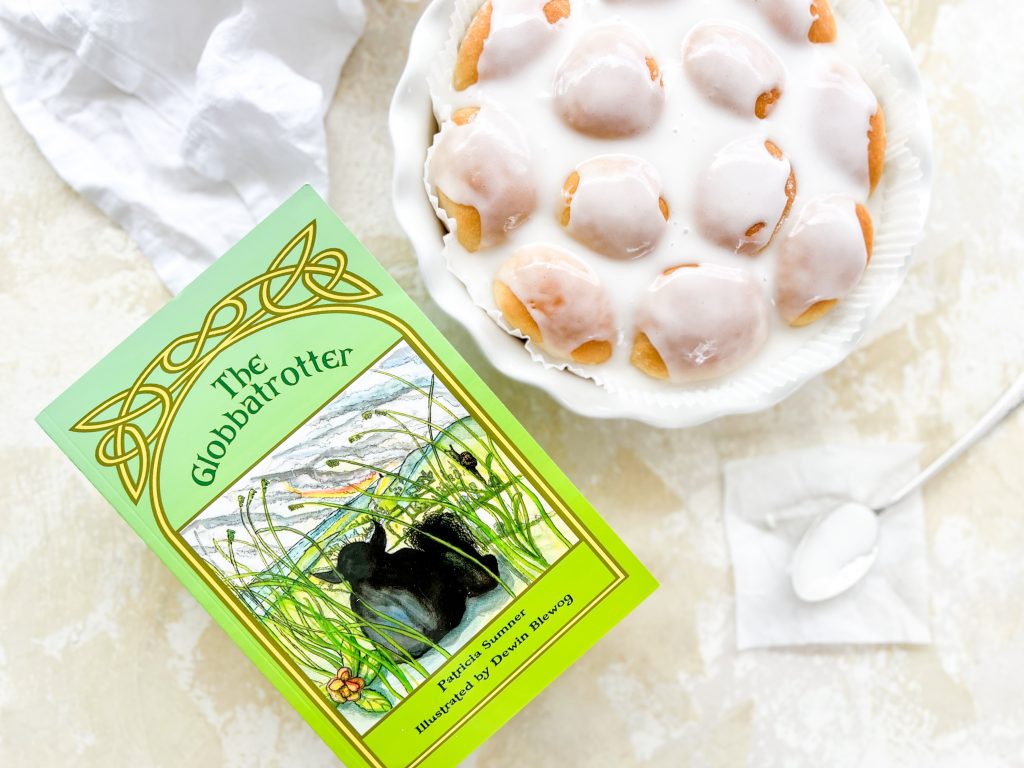
The Globbatrotter
I made these Iced Buns to celebrate the publication of my cousin’s (Pat Sumner’s) incredible new children’s fantasy novel, called The Globbatrotter. I was honoured to have a sneaky peak earlier in the year and I can guarantee that it is an absolute page turner. Aimed at 9-12 year olds, and set in the marshes, rhynes and ditches of the Somerset Levels, the Globbatrotter takes you on a magical, exhilarating adventure with pathos, humour and suspense. With relatable, likeable, and sometimes unlikable (yet interesting) characters, this wonderful tale is a masterclass in creative writing and page-turning story telling. Furthermore, references to Arthurian legends and Shakespeare permeate throughout the novel and add further interest and knowledge, invaluable for young minds.
So, why iced buns?
You’ll have to read the book to find that out! Whilst iced buns feature from the opening credits to the book itself, they play a small, but important, part of the story. No spoilers here, however, you’ll have to read the Globbatrotter to find out! It is available on Amazon, through most major book shops, as well as through the publisher, Ginger Fyre Press.
Are Iced Buns difficult to make?
Many people shy away from making yeasted products. Whilst some can be difficult, these are not, especially if you have a freestanding mixer with a dough hook. The most difficult thing is remembering to start making them a few hours before you want to eat them. You need to allow time to make the dough, let it rise, shape it, rise again, cook it, cool it and ice it. It’s very difficult to be specific about how long dough takes to rise as the ambient temperature will affect the speed at which the yeast activates. The chances are you can make these more quickly in the summer than the winter, for example. My oven has a setting you can use for dough to rise; this is invaluable if you make a lot of yeasted products and helps control the time it takes for the dough to rise, whatever the season or weather. However long they take, it is important to remember that most of the time is hands off, and most of the hands on work can be done in a freestanding mixer.
How to make Iced Buns
Where is this recipe from?
This is a Paul Hollywood recipe which I found on the Great British Bake Off website. Paul’s original post can be found here.
Collect all the ingredients together:
Buns –
- strong white flour
- caster sugar
- unsalted butter, softened
- egg, beaten
- sachet instant yeast
- fine salt
- warm milk
- warm water
Icing –
- icing sugar, ideally fondant icing sugar
- cold water
Start making these buns around 4 hours before you want to eat them:
- If using a freestanding mixer fitted with a dough hook: place all the ingredients in the bowl of the stand mixer, holding back a quarter of the water. Stir the mixture with a spoon, then slowly add the remaining water to form a sticky, rough dough. Attach the bowl to your mixer and mix on speed 2 for 8 – 10 minutes or until the dough is smooth and elastic. This dough is quite wet so kneading in a freestanding mixer is my preferred method.
- If kneading by hand: place all the ingredients in a large bowl, holding back a quarter of the water. Stir the mixture with a spoon, then slowly add the remaining water to form a sticky, rough dough. Knead the dough in the bowl for 3 – 4 minutes and then turn out onto a lightly floured surface. Knead well for 10 minutes or until the dough is smooth and elastic, adding extra flour as necessary. This is quite a wet, sticky dough and I find it quite difficult knead hand, without adding too much extra flour. If you have a freestanding mixer with a dough hook, this is by far the easiest way.
- Meanwhile, lightly oil a clean bowl, large enough for the dough to rise in until double in size. When the dough is ready, transfer to the oiled bowl and cover with a damp tea towel, lid or cling film. Leave to rise in a warm place for 1 – 2 hours, or until doubled in size. (On cold days I set my oven to 40°C, on a dough setting, cover and leave it to rise in the oven.)
- Whilst the dough is rising, line a baking dish with baking parchment and lightly oil it. I use a 25cm/10 inch round baking dish.
- When the dough is ready, lightly flour the top, knock it down and briefly knead it on a floured work surface.
- Divide into 12 pieces (or however many you want!), and knead each piece into a ball. Pinch underneath the dough to create a neater shape. Make all 12 in this way, placing them, pinched side down, evenly in the dish. Leave sufficient space for them to double in size. It is also common to make them into a finger shape.
- Cover loosely with cling film and set aside in a warm place for roughly 40 minutes. They should be touching each other when they have risen.
- Preheat oven to 180°C/350°F/Gas 4 (fan 160°C) and cook the buns in the centre of the oven for 10 – 15 minutes, or until they are lightly browned and cooked. Remove from the oven and set aside to cool.
- Top with the icing – gradually add the water to the icing sugar until it forms a thick, smooth paste.
- Either:
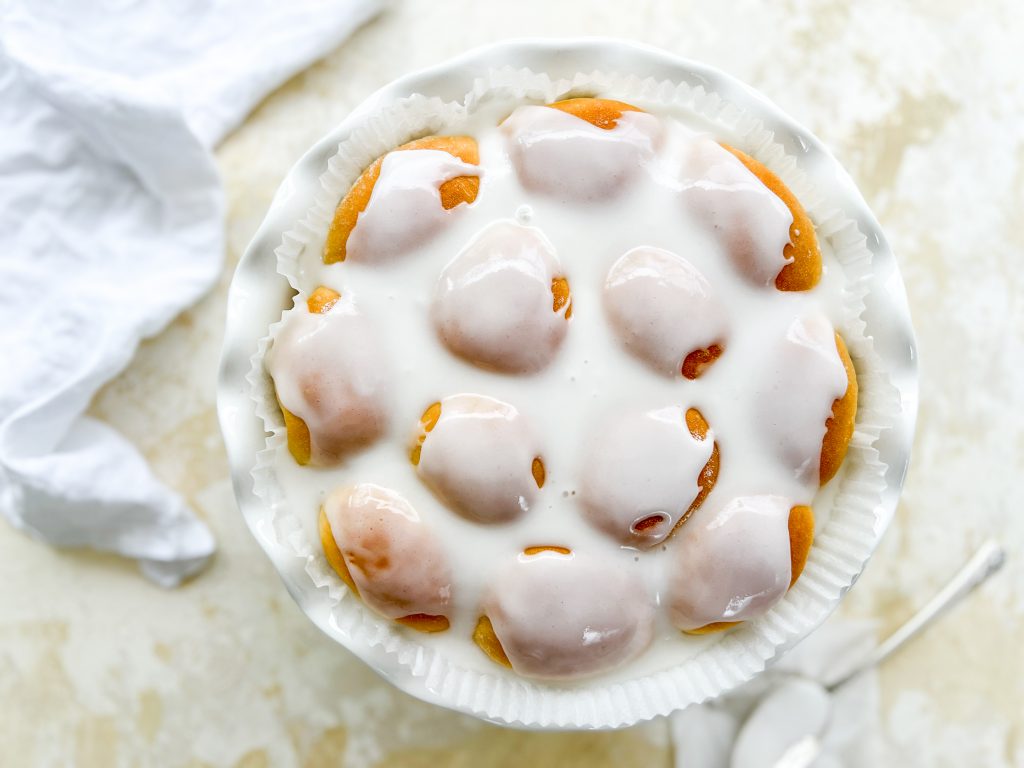
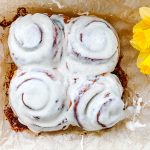
- pour and spread the icing over the buns and leave to set, OR
- separate the buns and dip the top of each cooled bun in the icing. Smooth the surface of the icing with your fingers, wetting them if necessary.
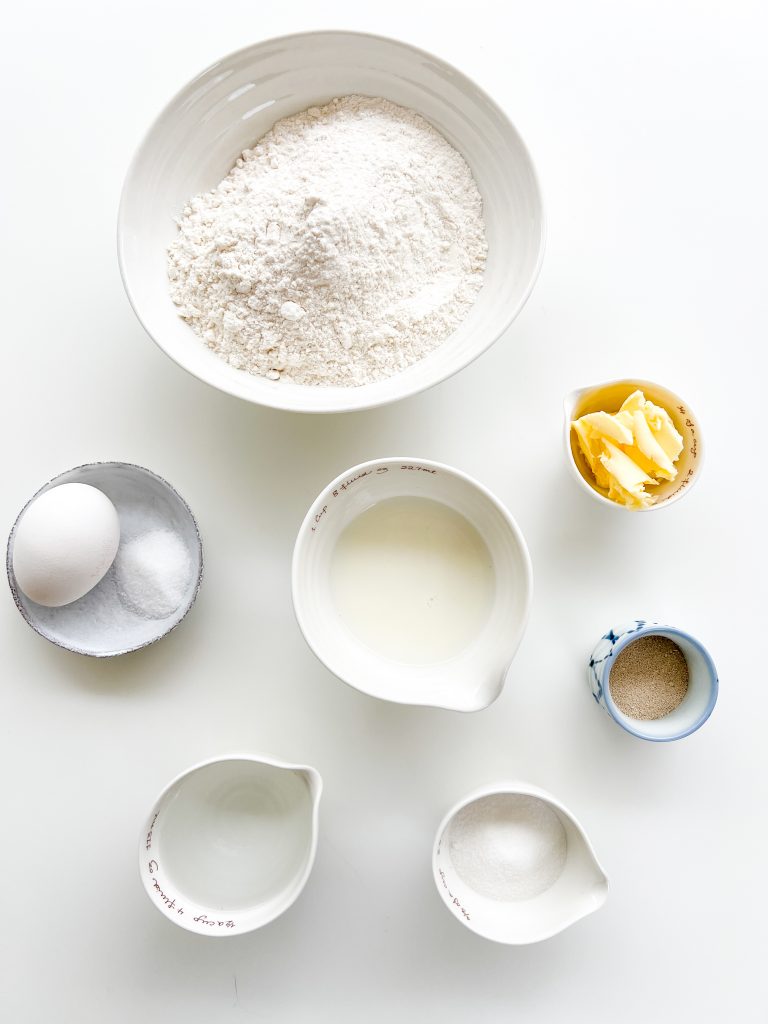
Bun ingredients 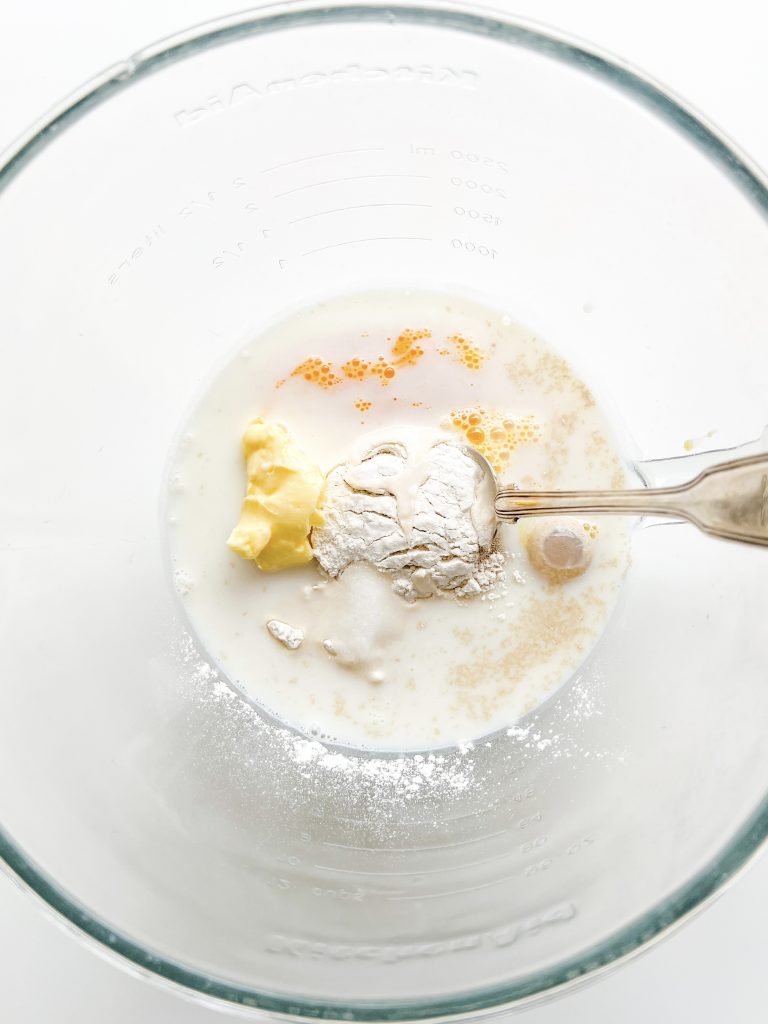
1 All ingredients 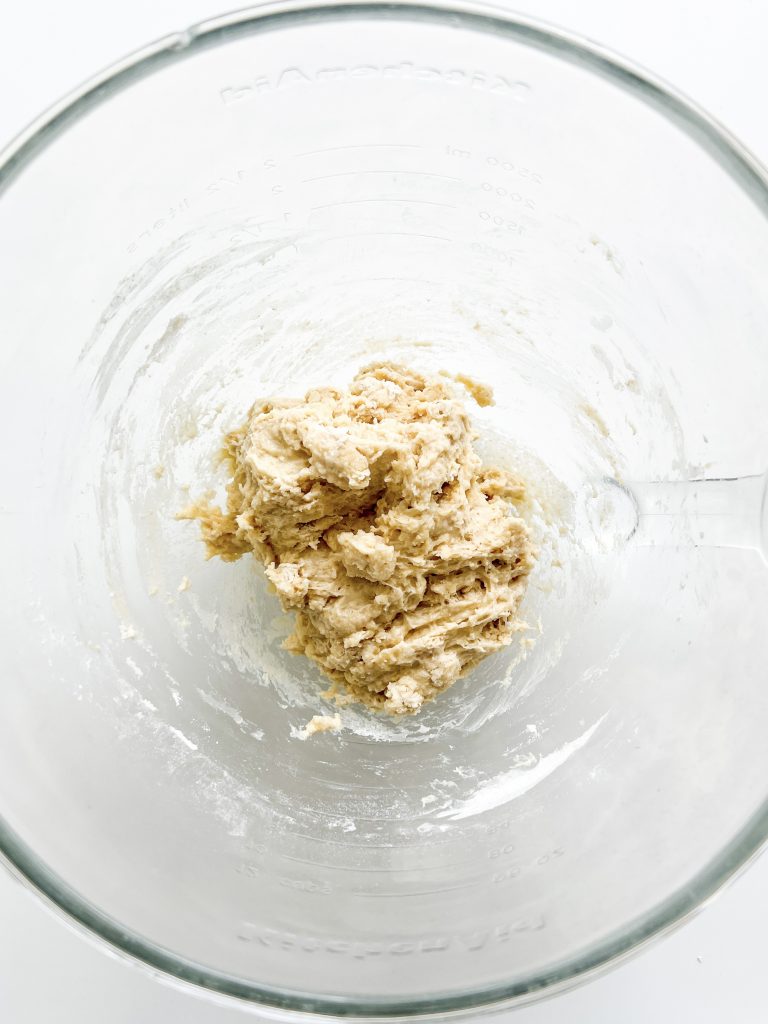
Stir together 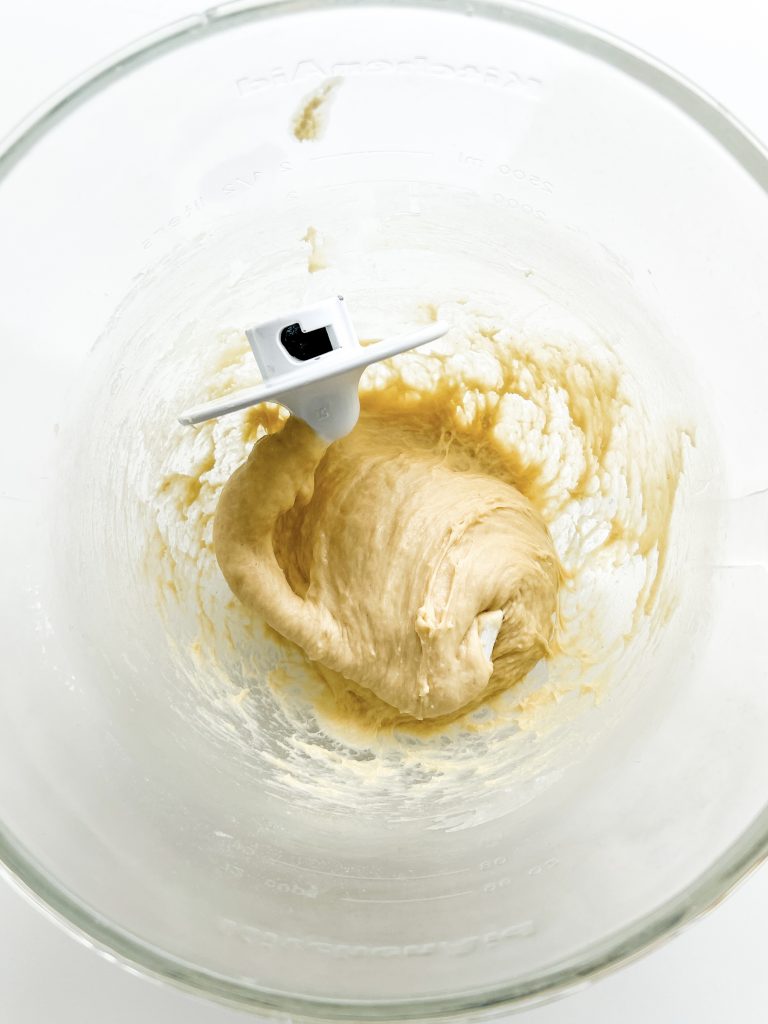
Knead 10 mins 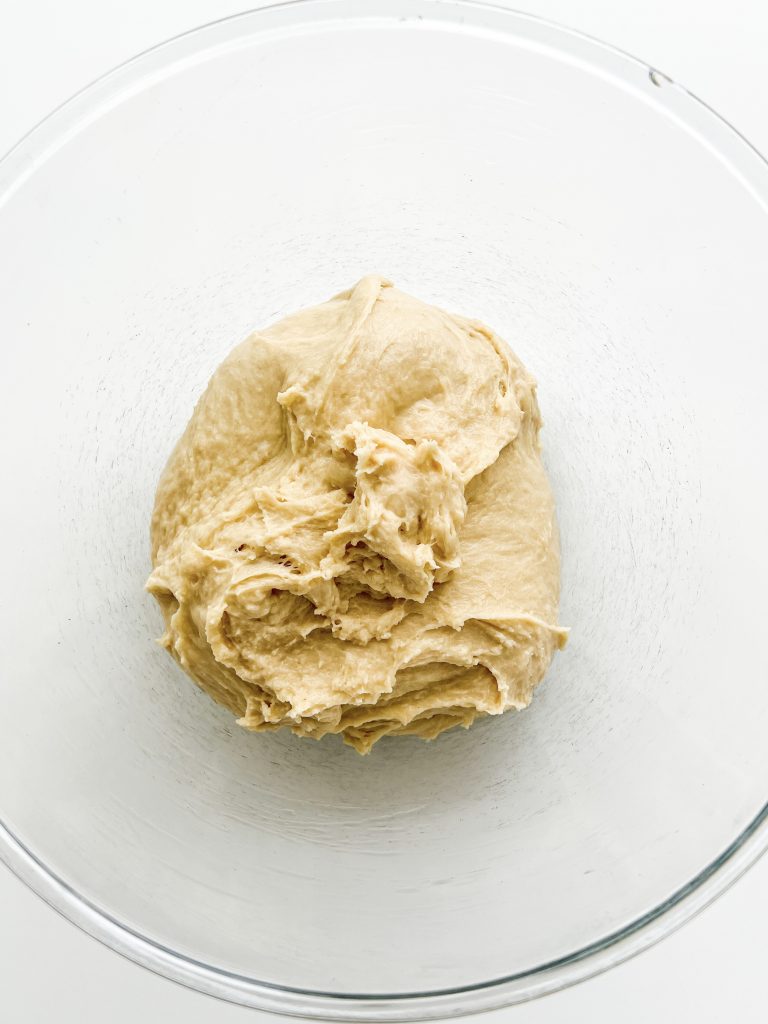
3 Oiled bowl 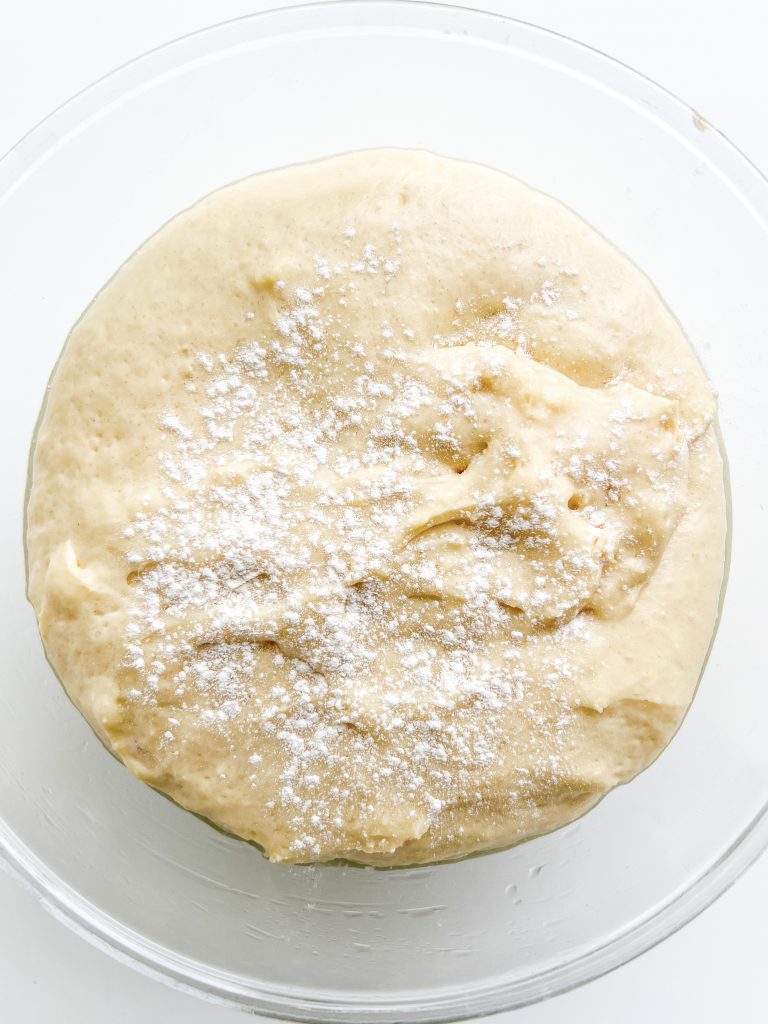
5 Rise 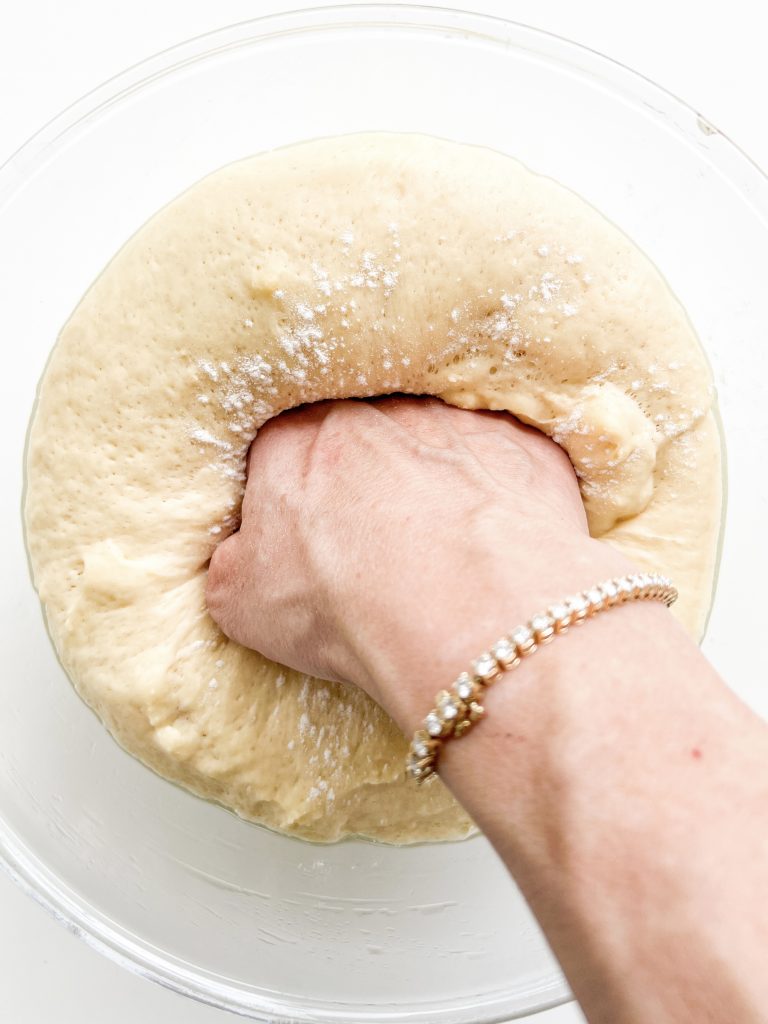
Punch down 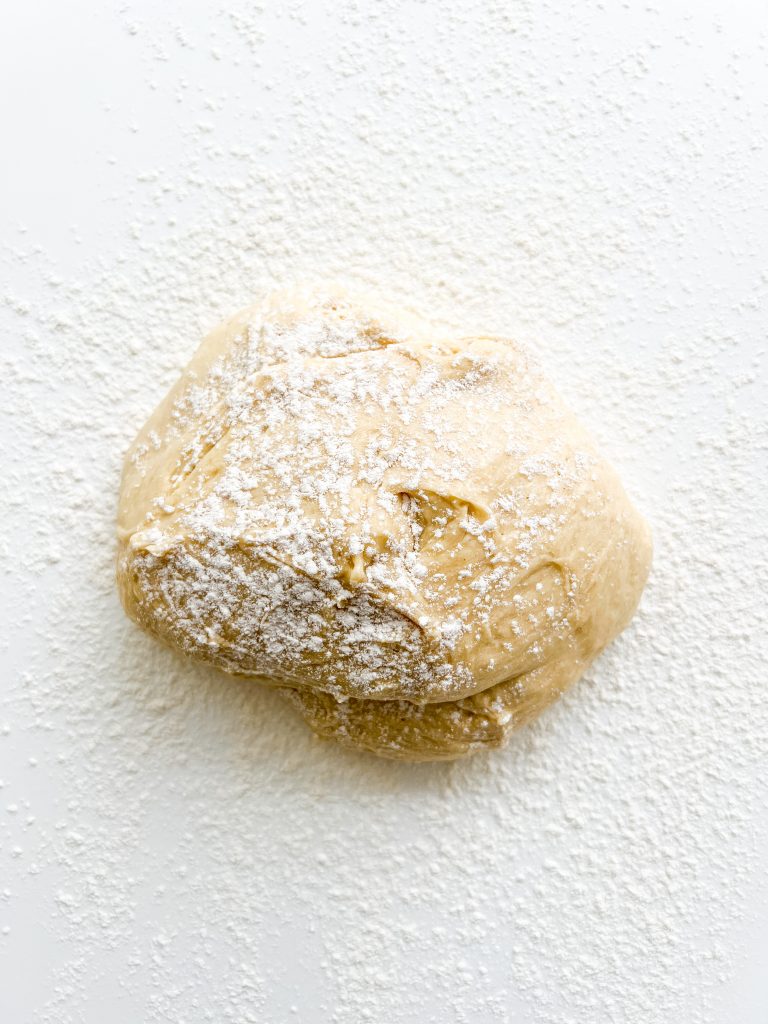
Floured surface 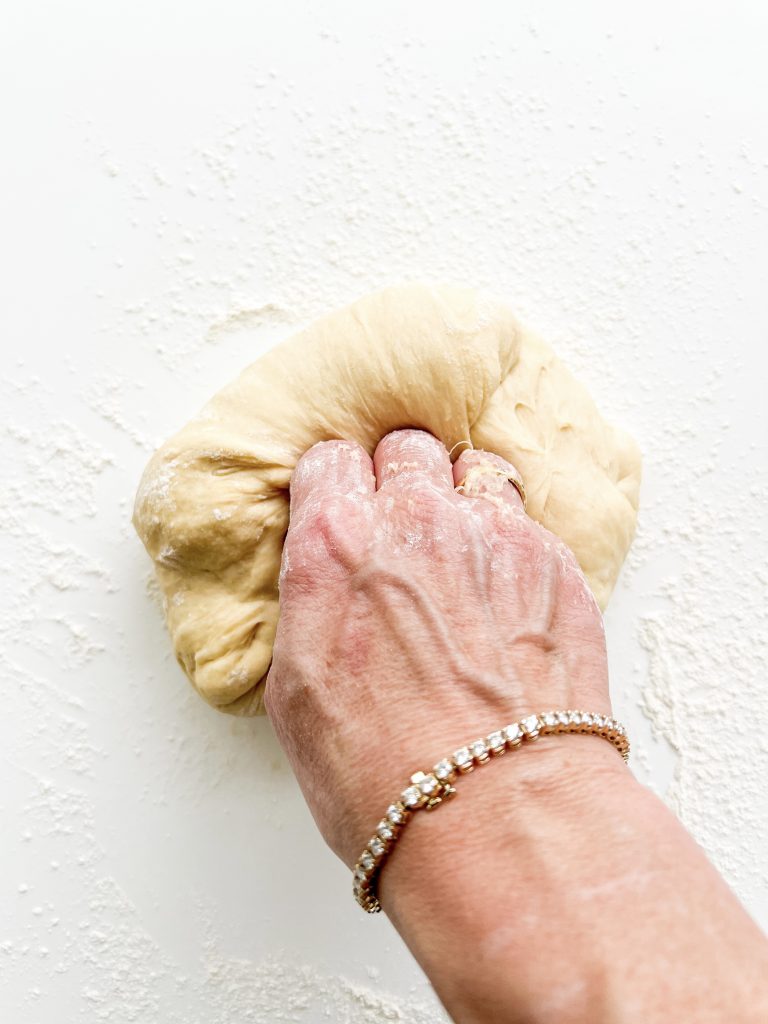
Knead 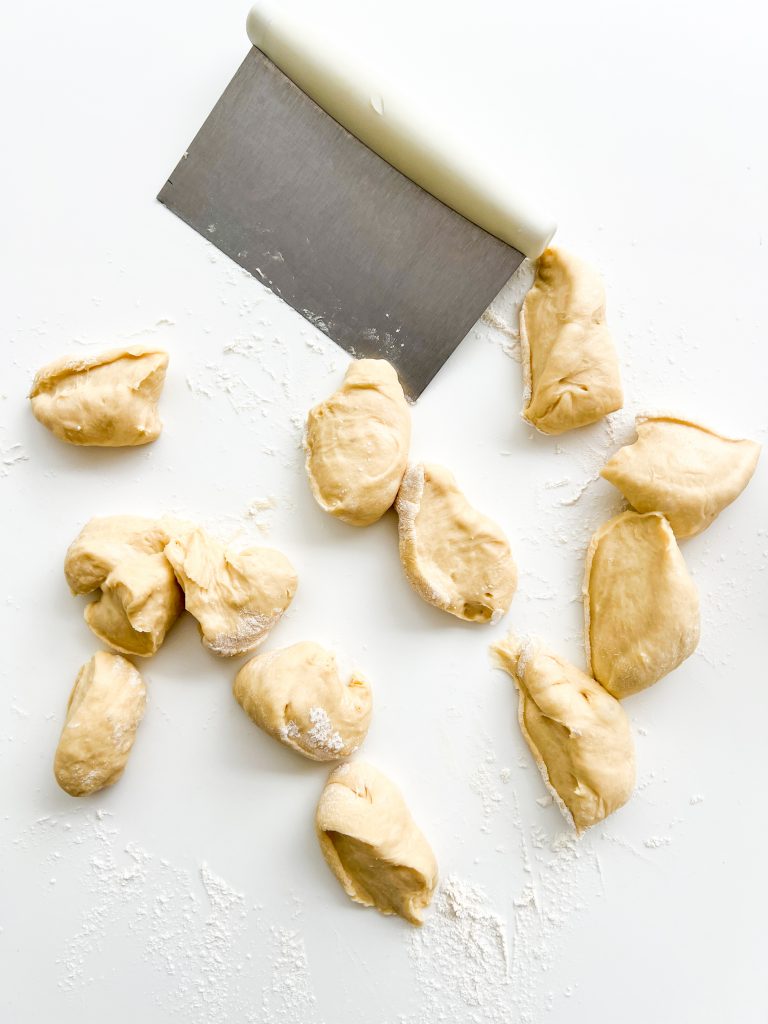
6 Divide 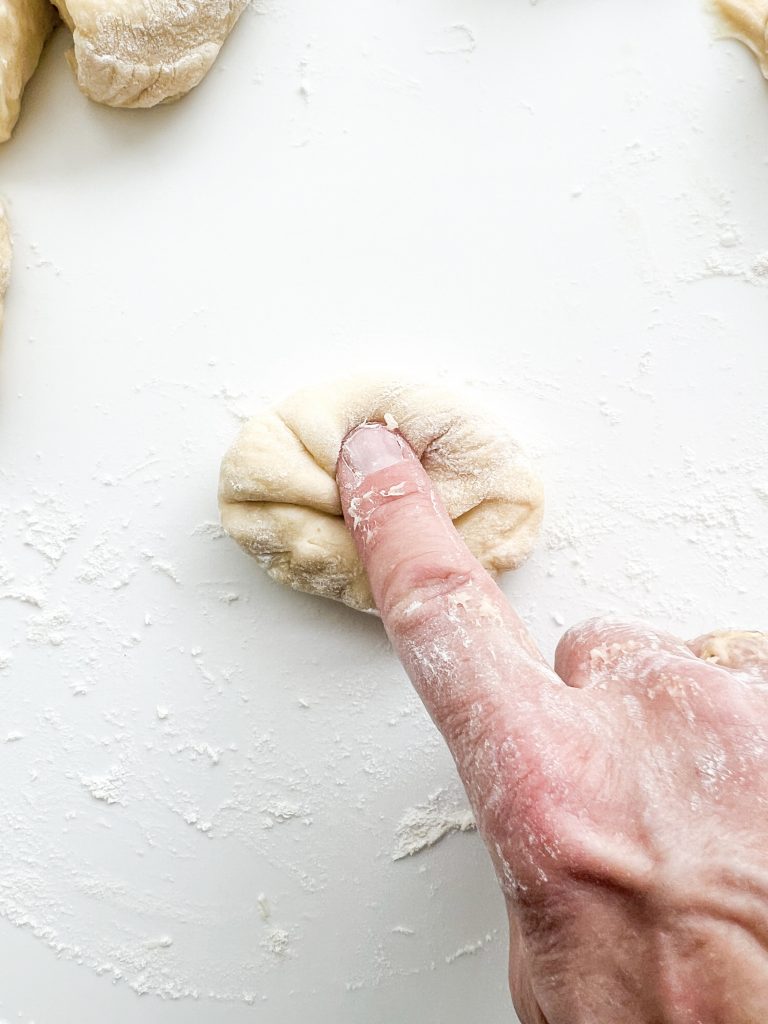
Knead to ball 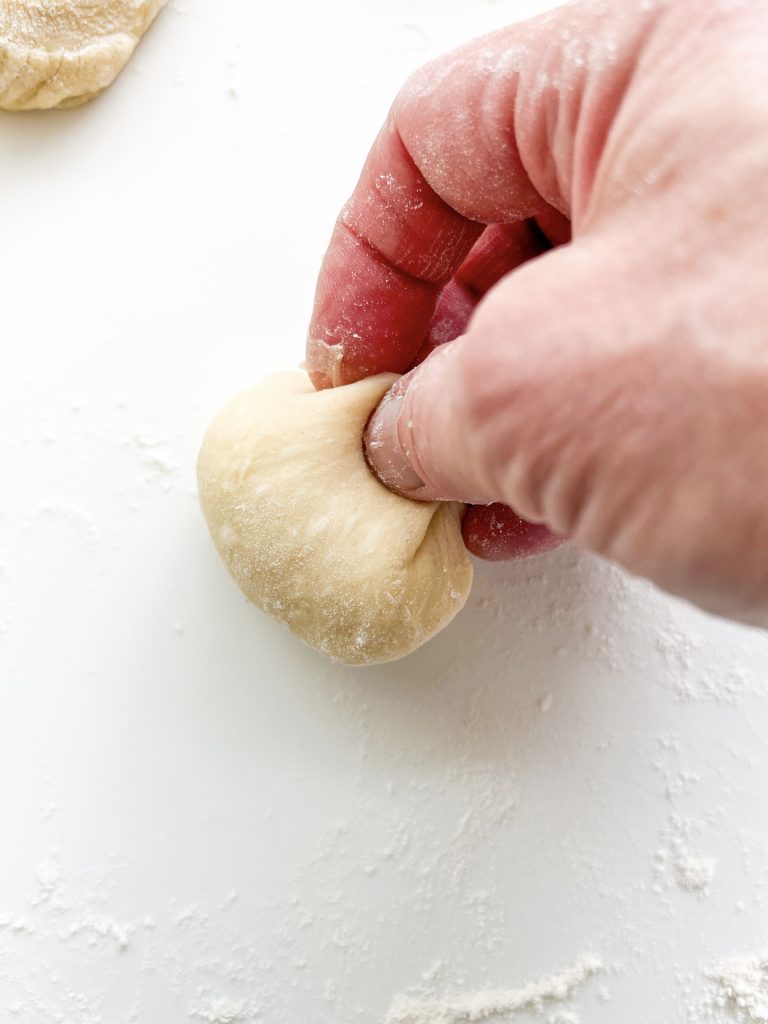
Neaten shape 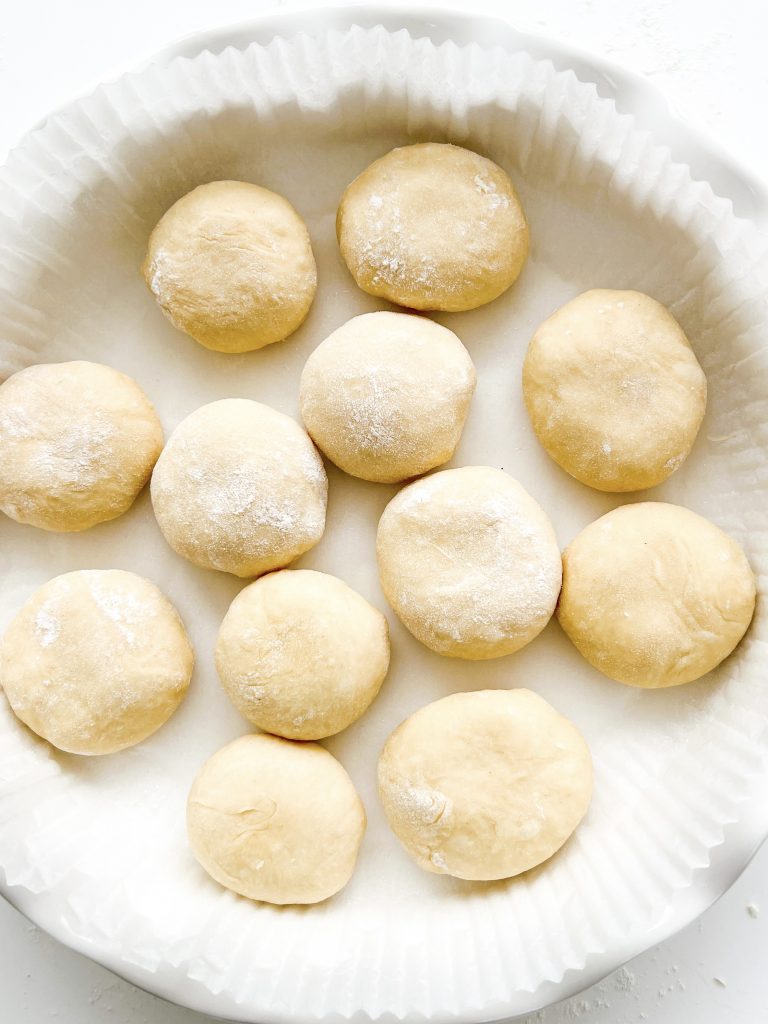
Baking dish 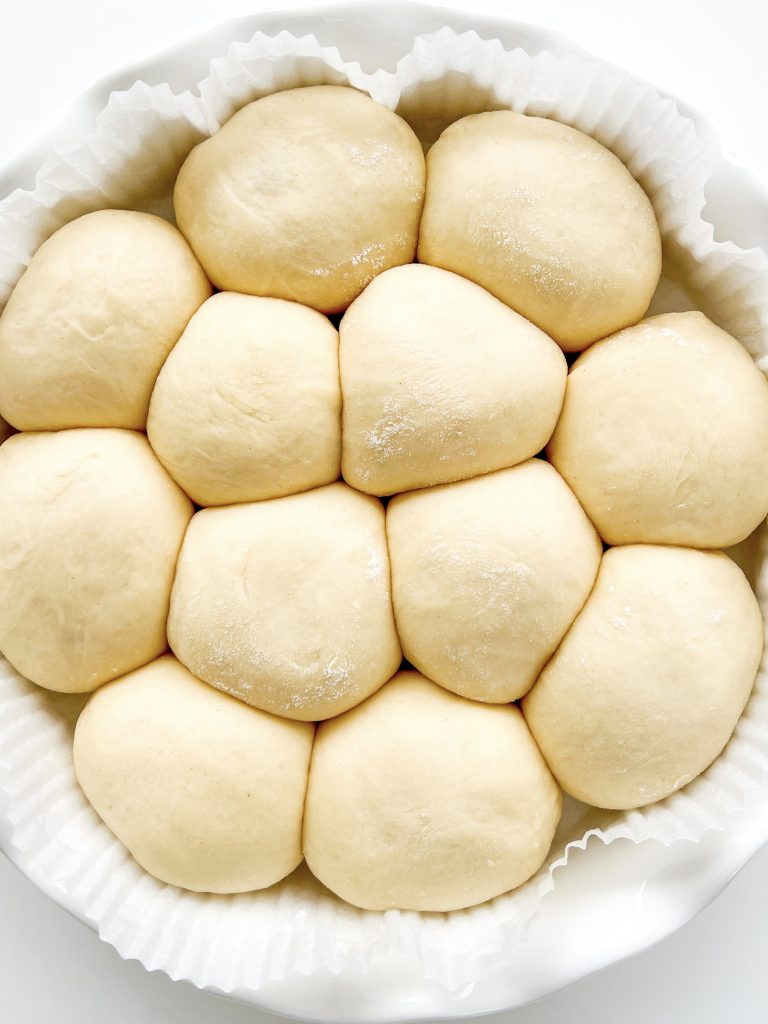
7 Rise 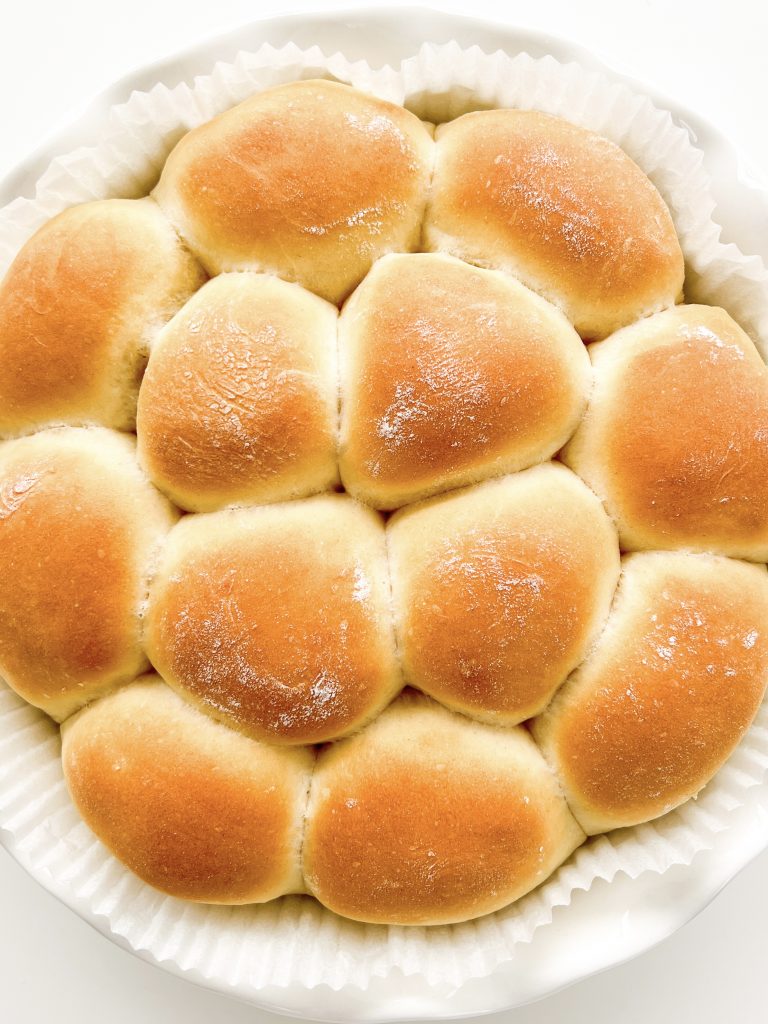
8 Bake 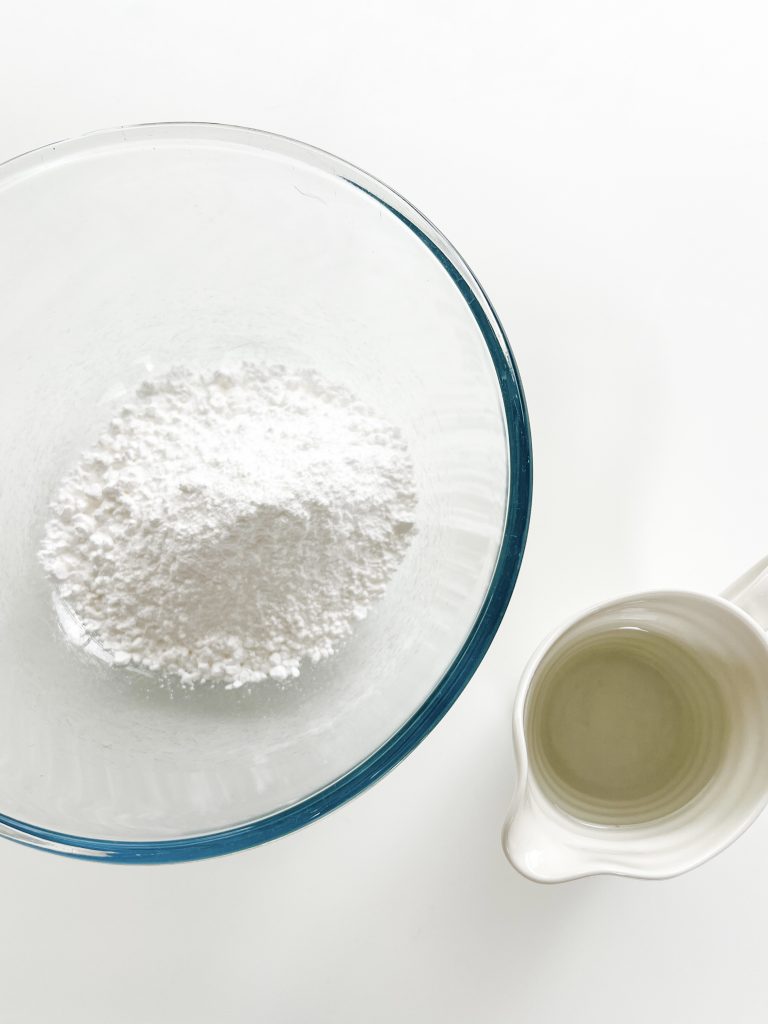
Icing ingredients 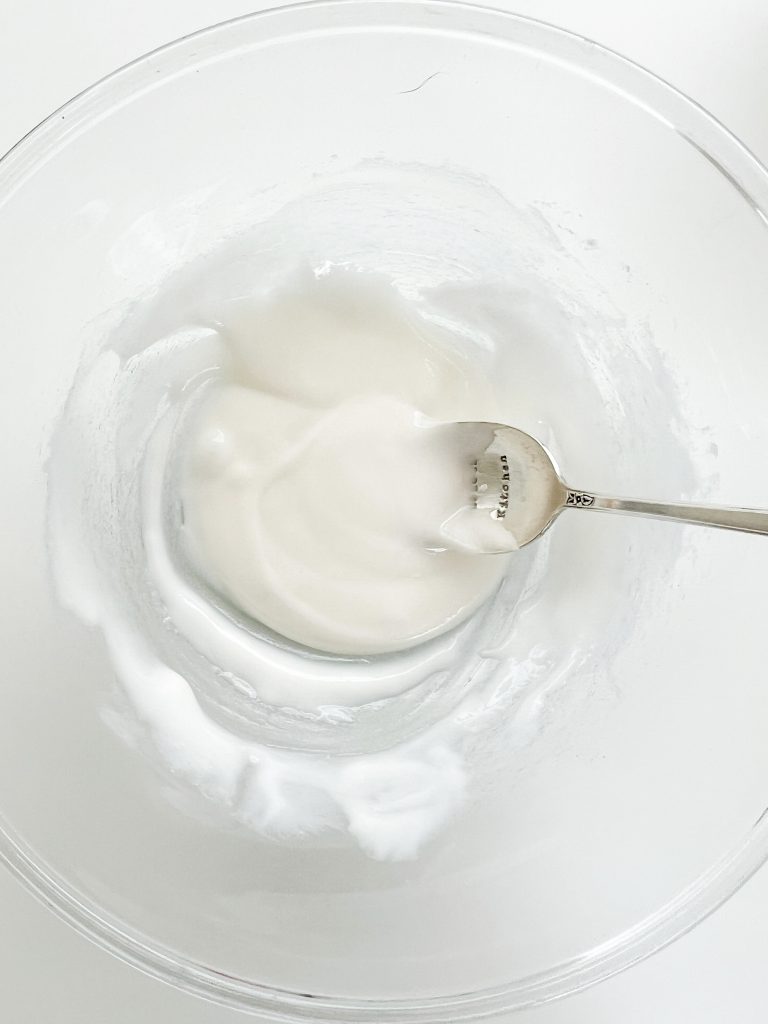
9 Mix 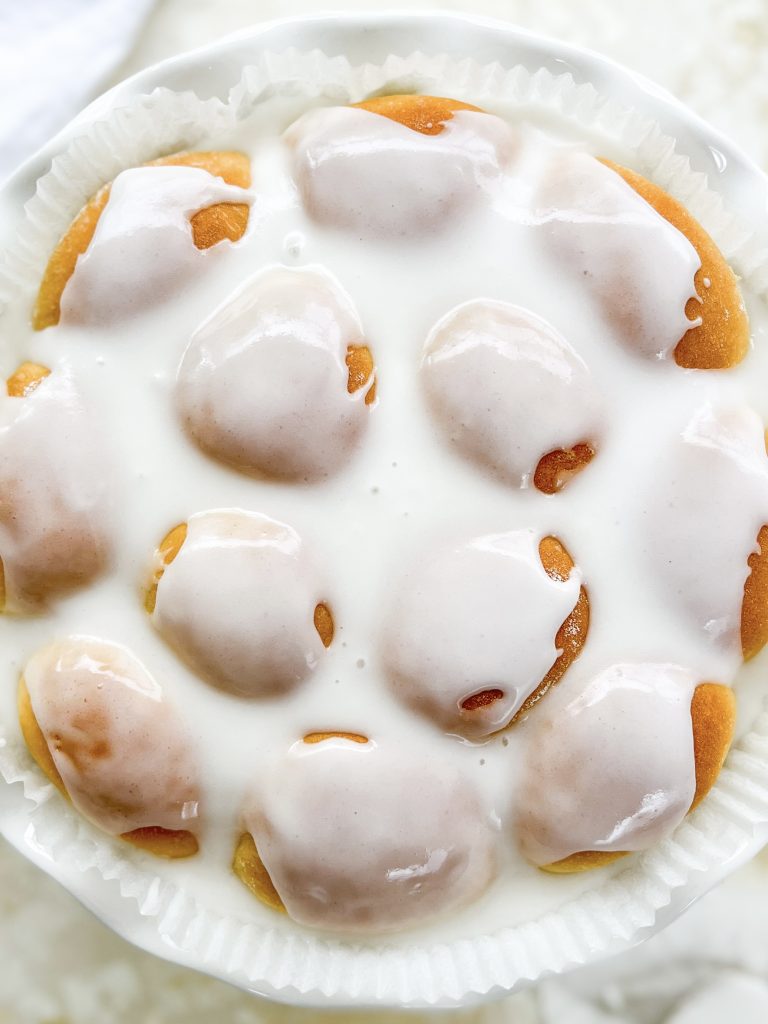
10 Cover
Made this recipe?
If you make this recipe, do please tag me on instagram @daffodil_kitchen. You could also leave a comment in the box directly below the recipe.
Tear and Share Iced Buns
Super soft, sweet bread rolls topped with melt in your mouth icing; Iced Buns are a delicious and addictive British classic. Naughty but very, very nice, these nostalgic little buns have been popular across the generations for decades. Wonderful served fresh, as they are, or, if you are in a decadent mood, sandwich with whipped fresh cream and jam. Unbelievably good. Either way, a cup of tea (or coffee) is essential.
Ingredients
Buns:
- 250g strong white flour
- 25g caster sugar
- 20g unsalted butter, softened but not melted
- 1 egg, beaten
- 1 x 7g sachet instant yeast
- 1 teaspoon fine salt
- 75ml warm milk
- 70ml warm water
Icing:
- 150g icing sugar, ideally fondant icing sugar
- 5 – 6 teaspoons cold water
Instructions
-
First make the buns – collect together your equipment (see Recipe Notes below) and ingredients.
-
If using a freestanding mixer fitted with a dough hook: place all the ingredients in the bowl of the stand mixer, holding back a quarter of the water. Stir the mixture with a spoon, then slowly add the remaining water to form a sticky, rough dough. Attach the bowl to your mixer and mix on speed 2 for 8 – 10 minutes or until the dough is smooth and elastic. This dough is quite wet so kneading in a freestanding mixer is my preferred method.
-
If kneading by hand: place all the ingredients in a large bowl, holding back a quarter of the water. Stir the mixture with a spoon, then slowly add the remaining water to form a sticky, rough dough. Knead the dough in the bowl for 3 – 4 minutes and then turn out onto a lightly floured surface. Knead well for 10 minutes or until the dough is smooth and elastic, adding extra flour as necessary. This is quite a wet, sticky dough and I find it quite difficult knead hand, without adding too much extra flour. If you have a freestanding mixer with a dough hook, this is by far the easiest way.
-
Meanwhile, lightly oil a clean bowl, large enough for the dough to rise in until double in size. When the dough is ready, transfer to the oiled bowl and cover with a damp tea towel, lid or cling film. Leave to rise in a warm place for 1 – 2 hours, or until doubled in size. (On cold days I set my oven to 40°C, on a dough setting, cover and leave it to rise in the oven.)
-
Whilst the dough is rising, line a baking dish with baking parchment and lightly oil it. I use a 25cm/10 inch round baking dish.
-
When the dough is ready, lightly flour the top, knock it down and briefly knead it on a floured work surface.
-
Divide into 12 pieces (or however many you want!), and knead each piece into a ball. Pinch underneath the dough to create a neater shape. Make all 12 in this way, placing them, pinched side down, evenly in the dish. Leave sufficient space for them to double in size. It is also common to make them into a finger shape.
-
Cover loosely with cling film and set aside in a warm place for roughly 40 minutes. They should be touching each other when they have risen.
-
Preheat oven to 180°C/350°F/Gas 4 (fan 160°C) and cook the buns in the centre of the oven for 10 – 15 minutes, or until they are lightly browned and cooked. Remove from the oven and set aside to cool.
-
Top with the icing – gradually add the water to the icing sugar until it forms a thick, smooth paste.
-
Either:
– pour and spread the icing over the buns and leave to set, OR
– separate the buns and dip the top of each cooled bun in the icing. Smooth the surface of the icing with your fingers, wetting them if necessary.
-
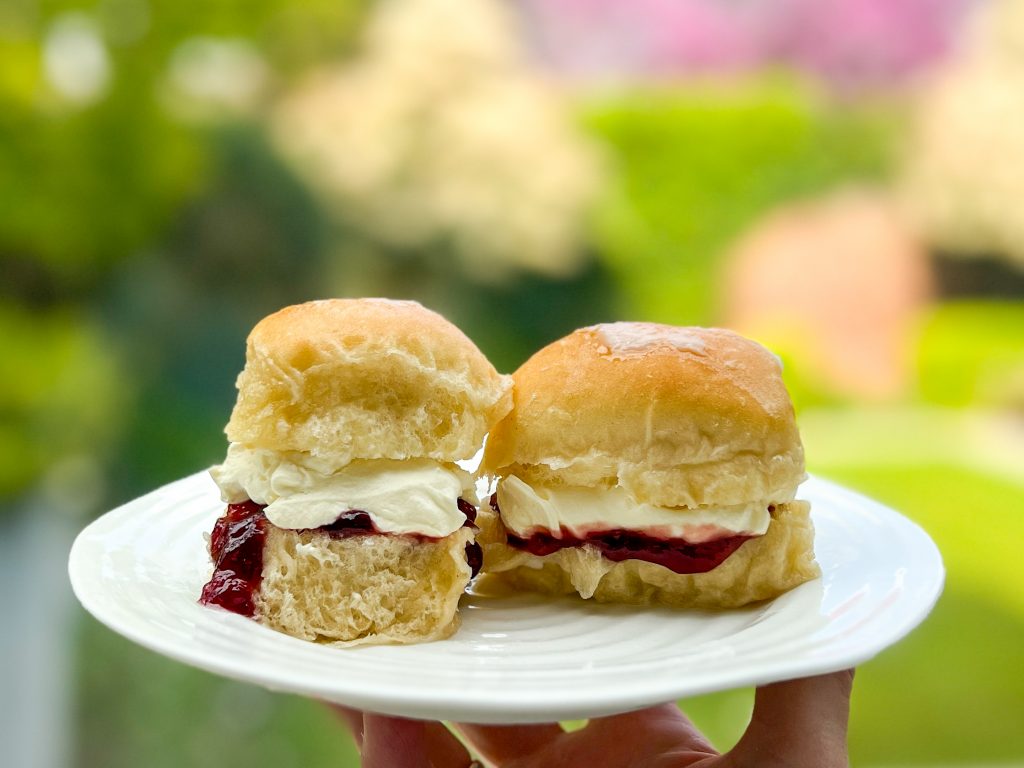
Wonderful served fresh, as they are, or, if you are in a decadent mood, sandwich with whipped fresh cream and jam. Unbelievably good. Either way, a cup of tea (or coffee) is essential.
Recipe Notes
Equipment:
- freestanding mixer with dough hook, ideally
- large bowl or bowl from freestanding mixer
- damp tea towel/lid/cling film
- baking dish lined with lightly oiled baking parchment
- mixing bowl for the icing
- mixing bowl to whip the cream (if necessary)
Where is this recipe from?
This is a Paul Hollywood recipe which I found on the Great British Bake Off website. Paul’s original post can be found here.


You May Also Like
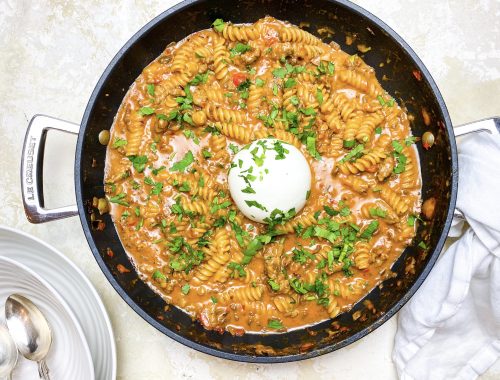
Cheesy One-Pot Beef and Sausage Pasta with Red Pepper, Mushrooms and Burrata
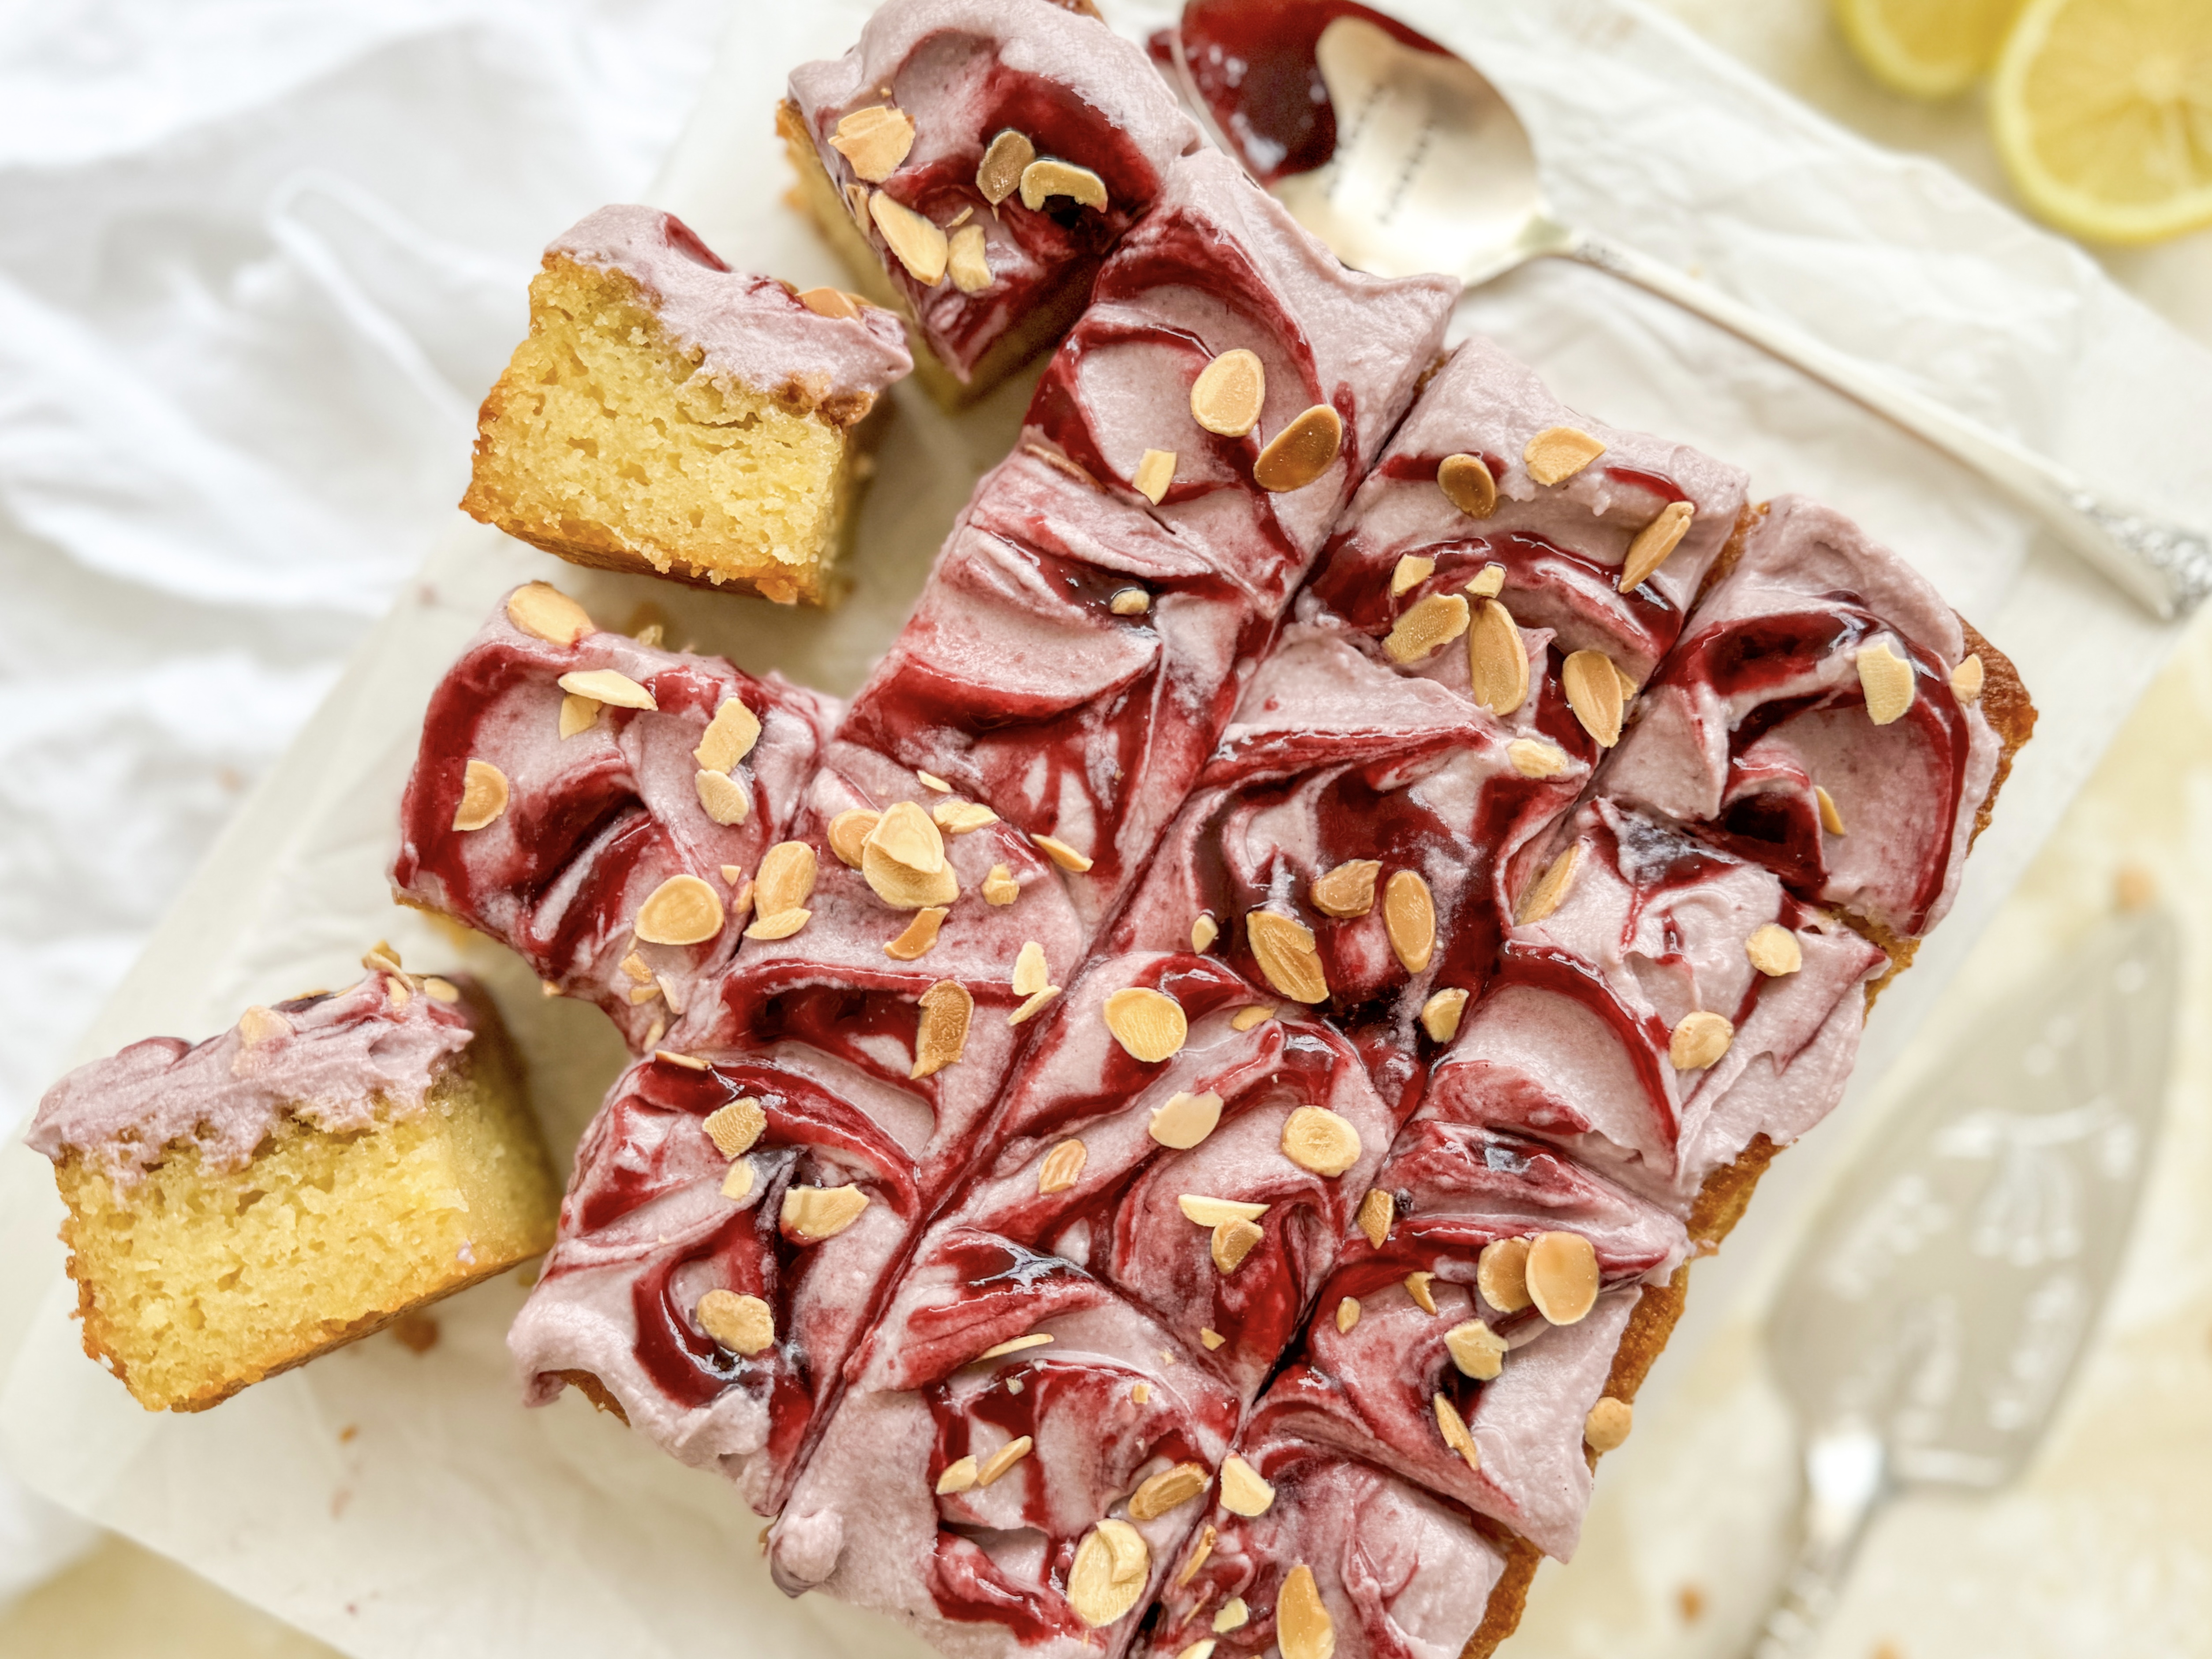
Lemon and Almond Olive Oil Slice with Blackberry Mascarpone Frosting