Dark Chocolate Brownies with Chunks of Milk Chocolate
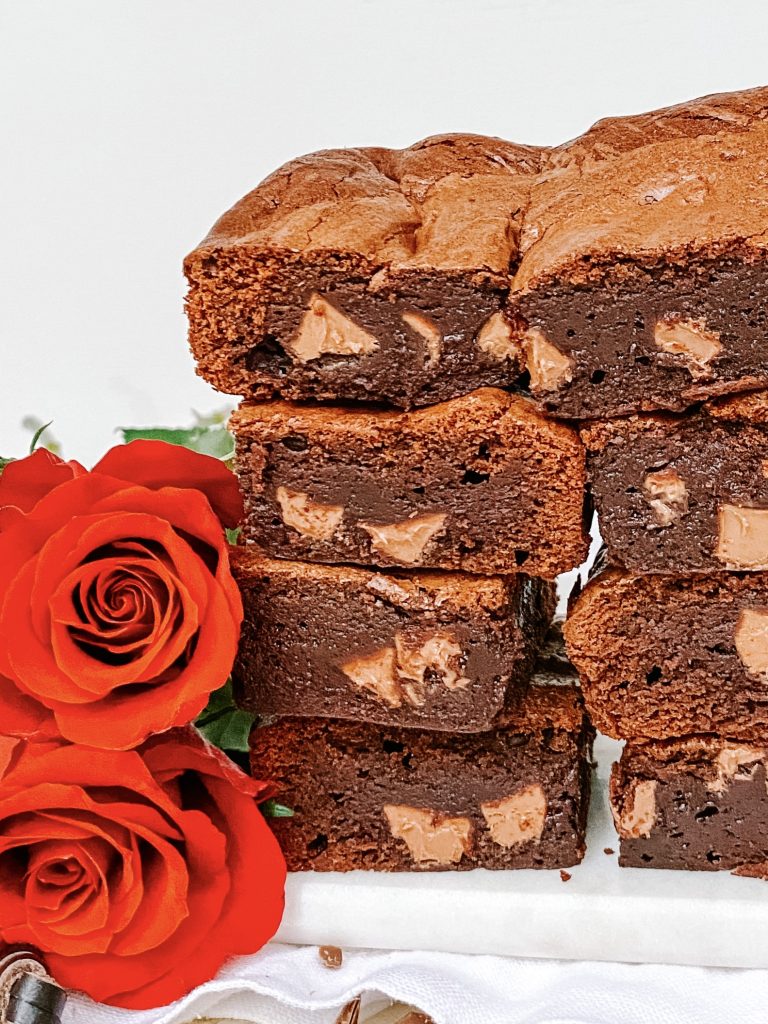
Which would you choose this Valentine’s Day?
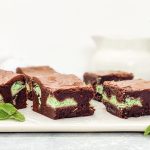
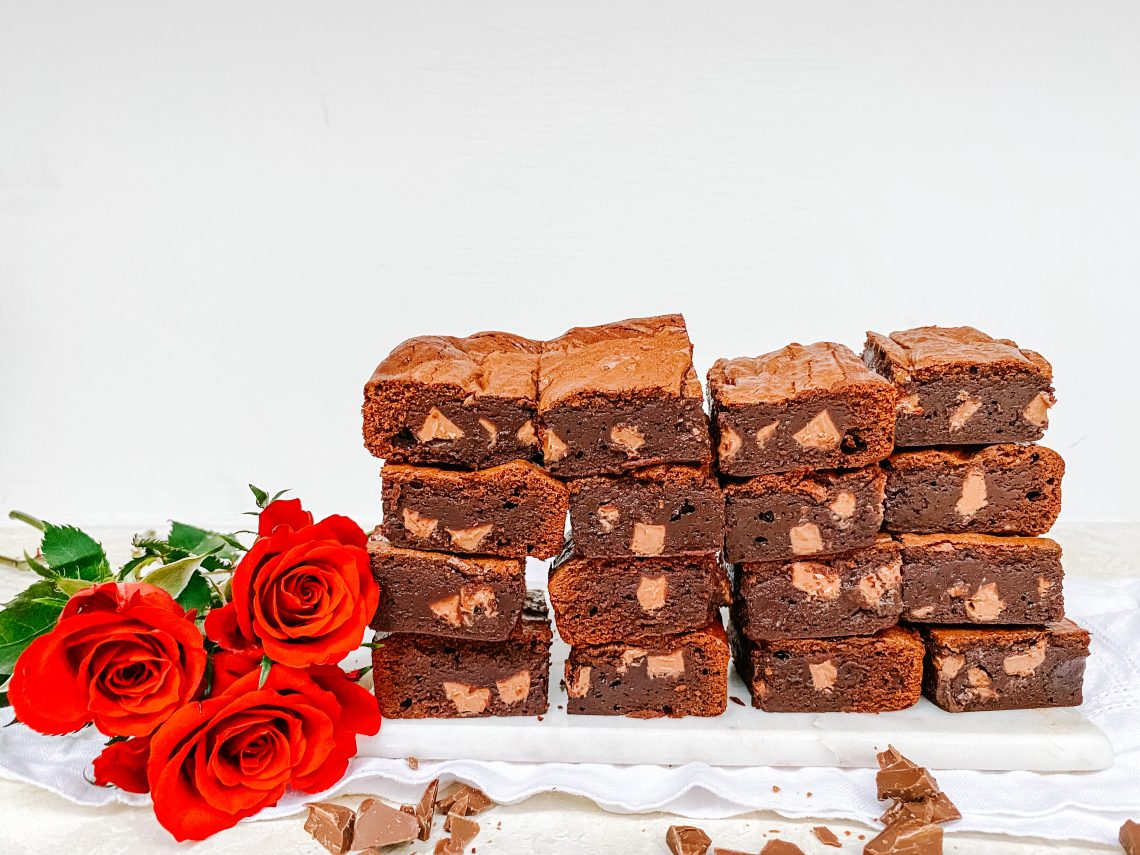
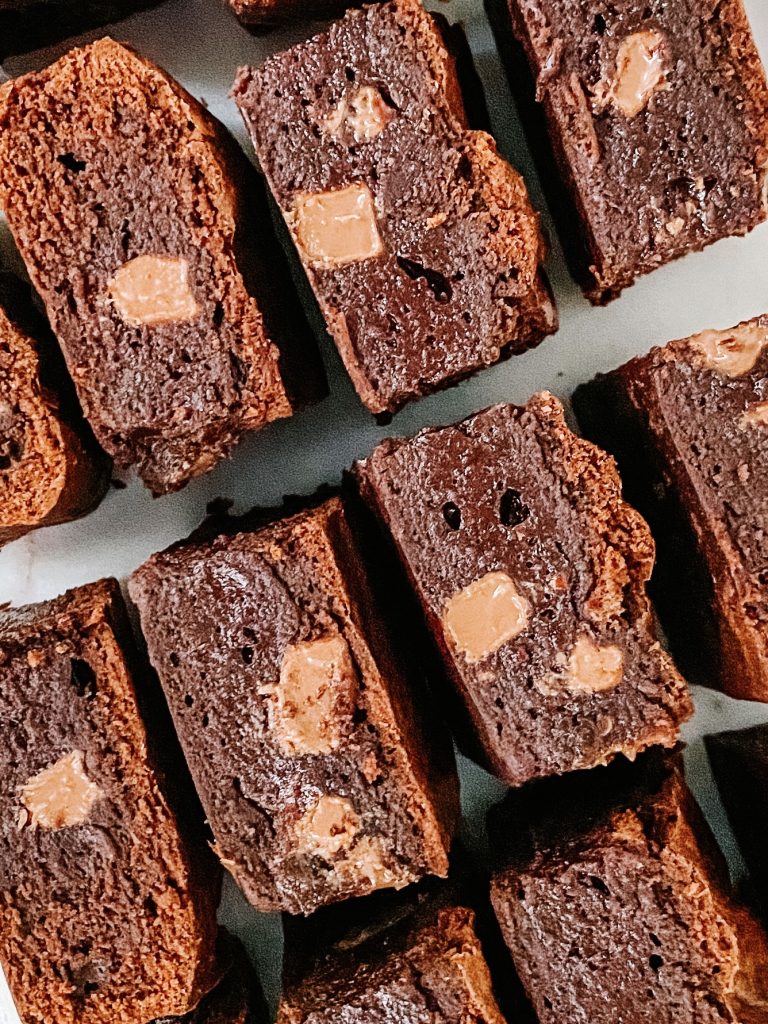
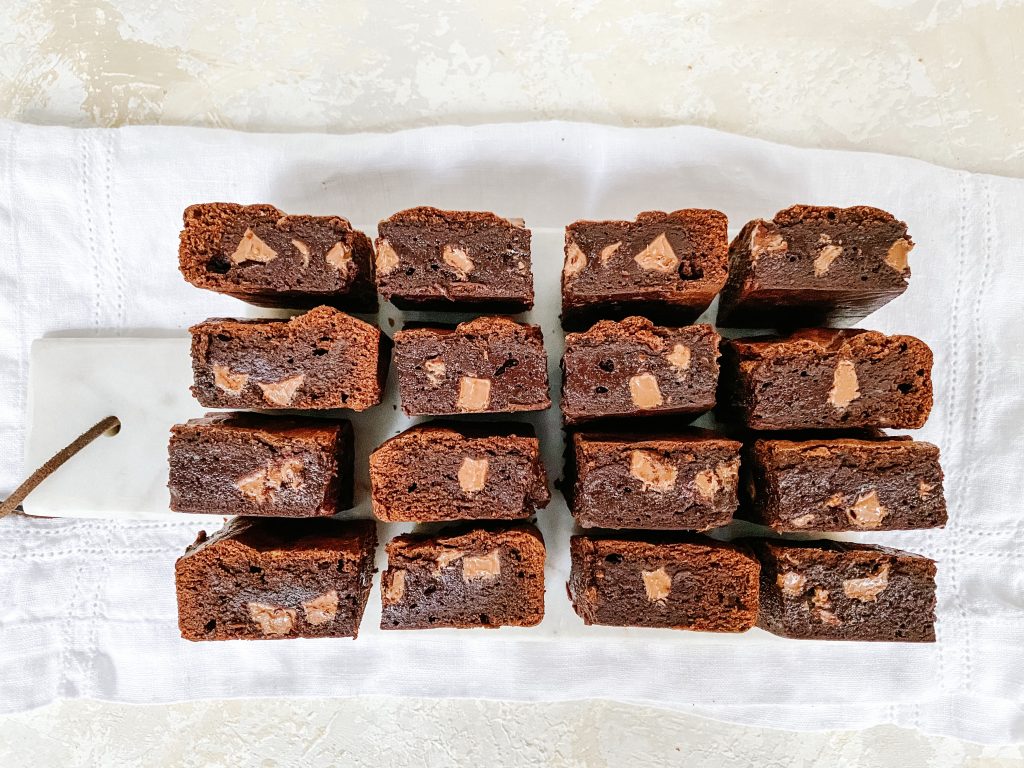
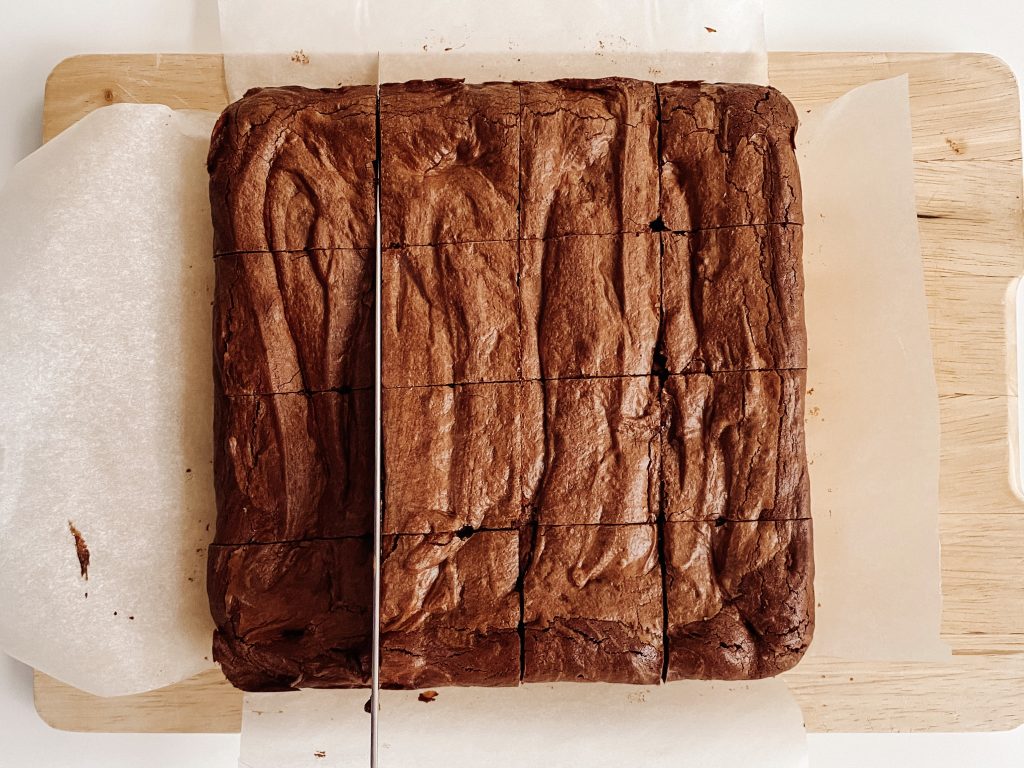
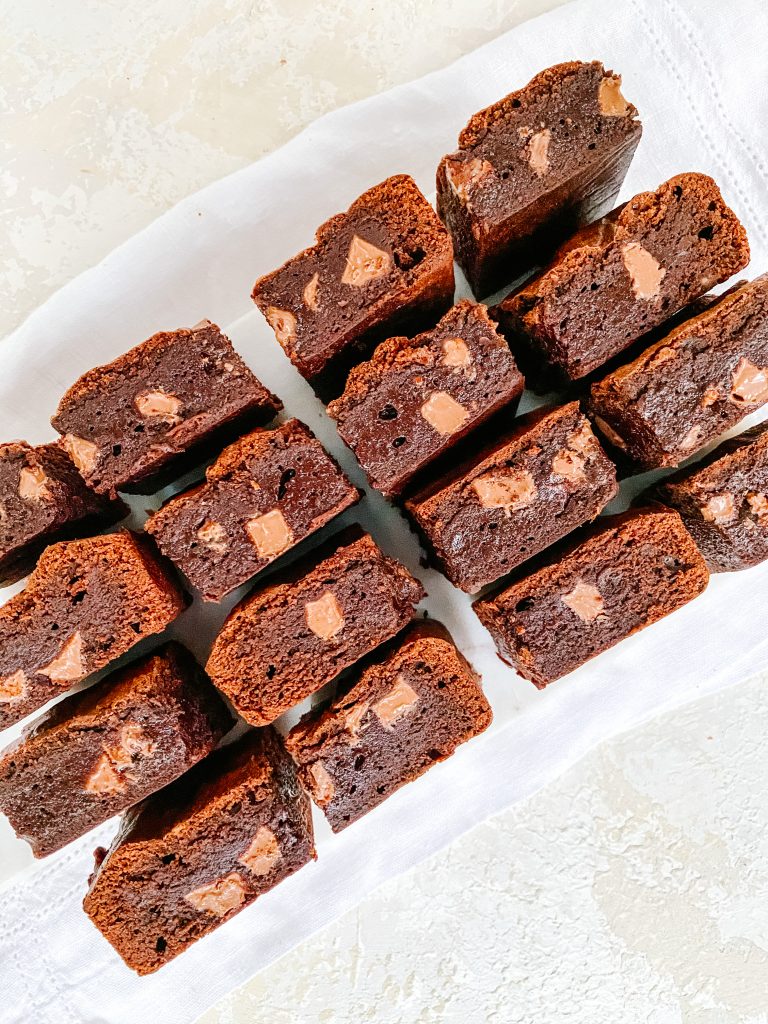
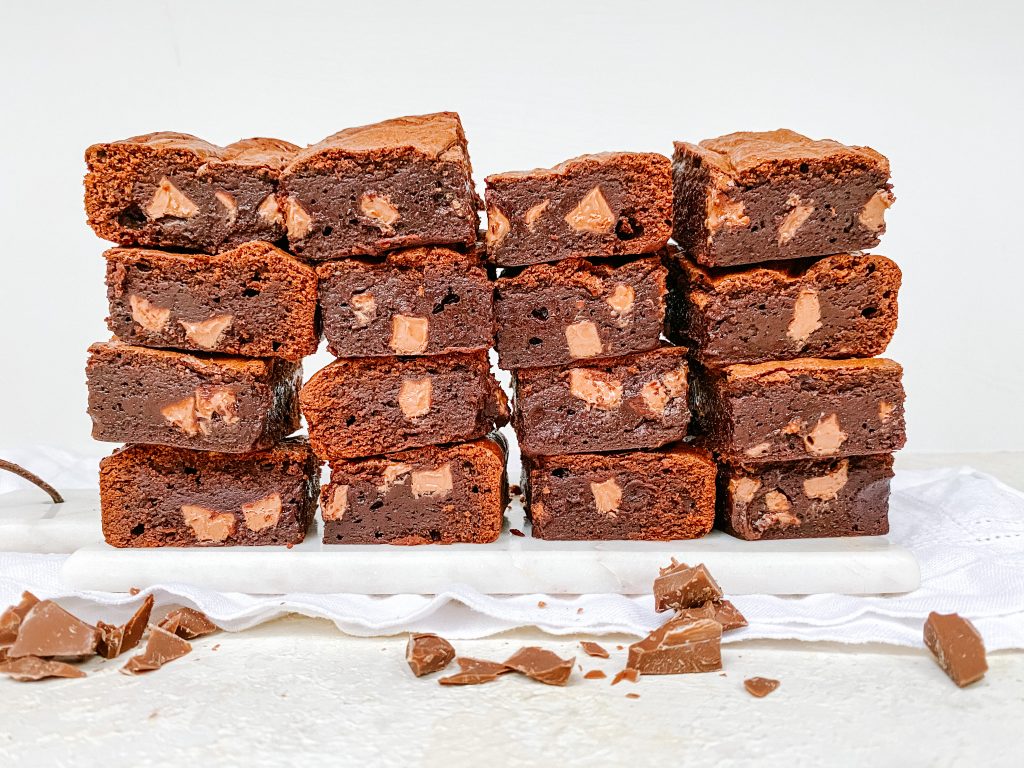
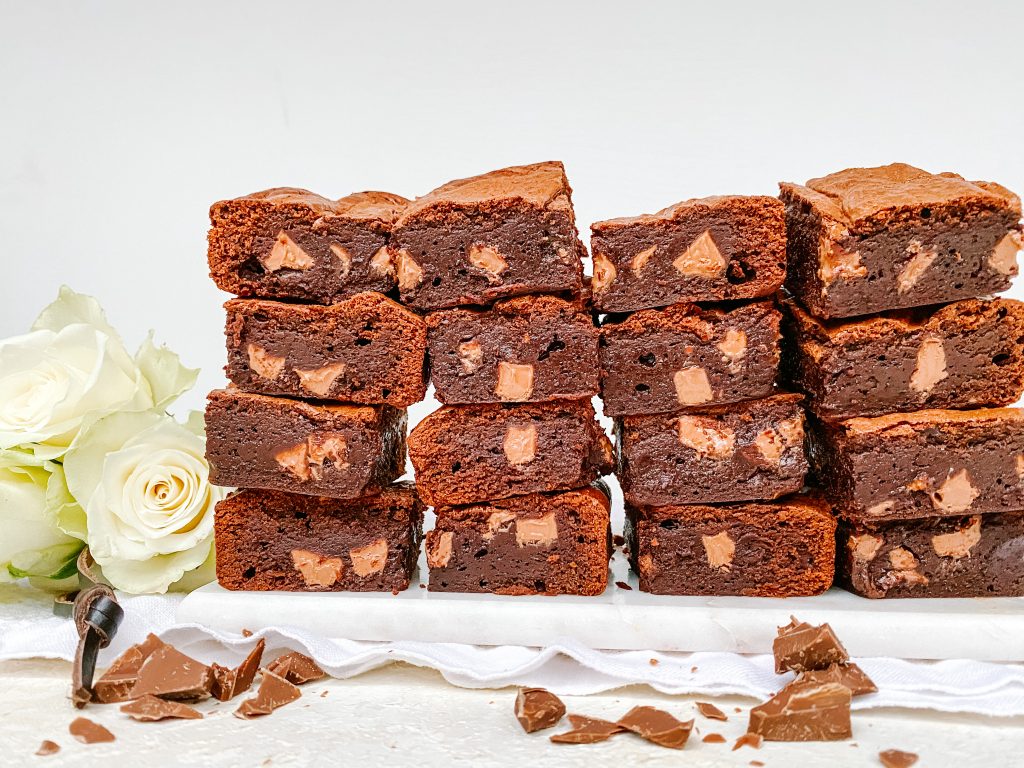
Delicious, fudgy, intense chocolate squares with a hint of salt and chunks of milk chocolate littered throughout each square. Soft and gooey on the inside, slightly crispy on the outside – brownie love heaven.
Or a bunch of red roses?

Whilst I am pretty much brownies all the way, I was very happy to receive a beautiful bunch of red roses earlier today!
Full disclosure here – we are all a bit bah humbug about Valentine’s Day in this house. Valentine’s Day has become far too commercialised and I find the inflated prices rather cheeky! How sensible and British is that?
However, what better way to show your love for somebody than whipping up a tray of freshly baked cakes or cookies? On Valentine’s Day, or any day, for that matter. Food is definitely my love language and gifting somebody something you have made with care and thought is priceless and the best gift to give and receive.
These brownies are my most frequently gifted cakes. I make them for family and friends as a thank you, a gift or simply so they know I am thinking about them. Where people might send flowers, I send cake! As a celebration or a commiseration, surely everybody is cheered up by fresh cake, made with love?
These brownies are simply wonderful served just as they are with morning coffee or as an afternoon treat with a cup of tea. They also make a fabulous dessert; either with some strawberries or raspberries on the side or try them warmed with ice cream and hot chocolate sauce. Just divine.
How to make Dark Chocolate Brownies with Chunks of Milk Chocolate
This recipe is adapted from my Daffodil Brownies – Core Recipe. For further brownie ideas and inspiration, see here.
Collect all your ingredients together and line the baking tin:
In order to guarantee soft and fudgy brownies, it is important to use the correct size tin – in this case it is a 20cm/8inch square tin. If your tin is larger the depth of your cake batter will be less and the cake will cook more quickly. Equally if the tin is smaller, your cake batter will be deeper and cook more slowly.
- Sit the tin on greaseproof paper making sure the paper is large enough to line the tin, come up the sides and have a little overhang.
- Cut out the corners of the paper so it will fit easily into the tin
- Fold the paper from corner to corner so the size of the centre of the paper matches the base of the tin. Slot inside the tin.
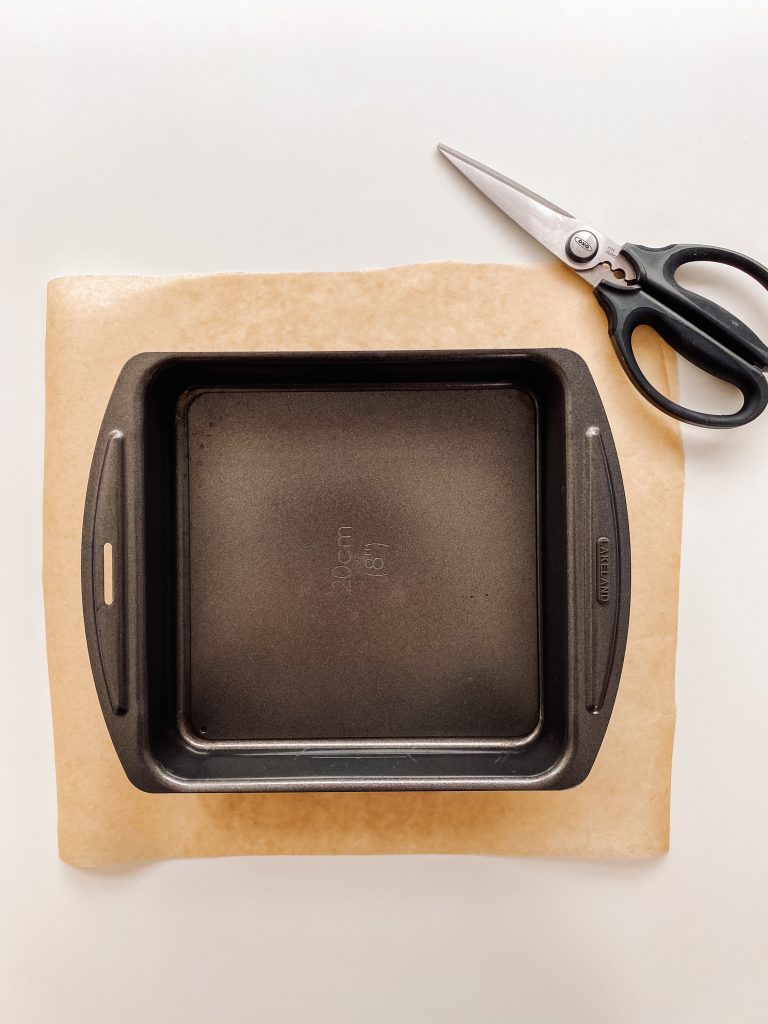
1 Tin and greaseproof paper 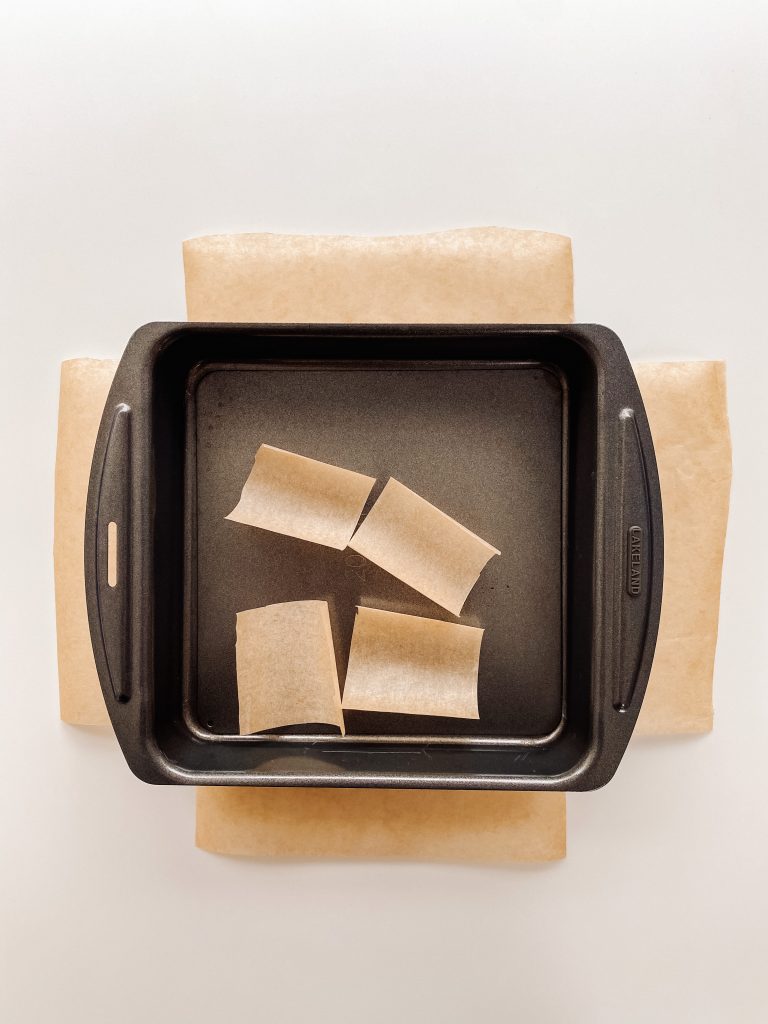
2 Cut out the corners 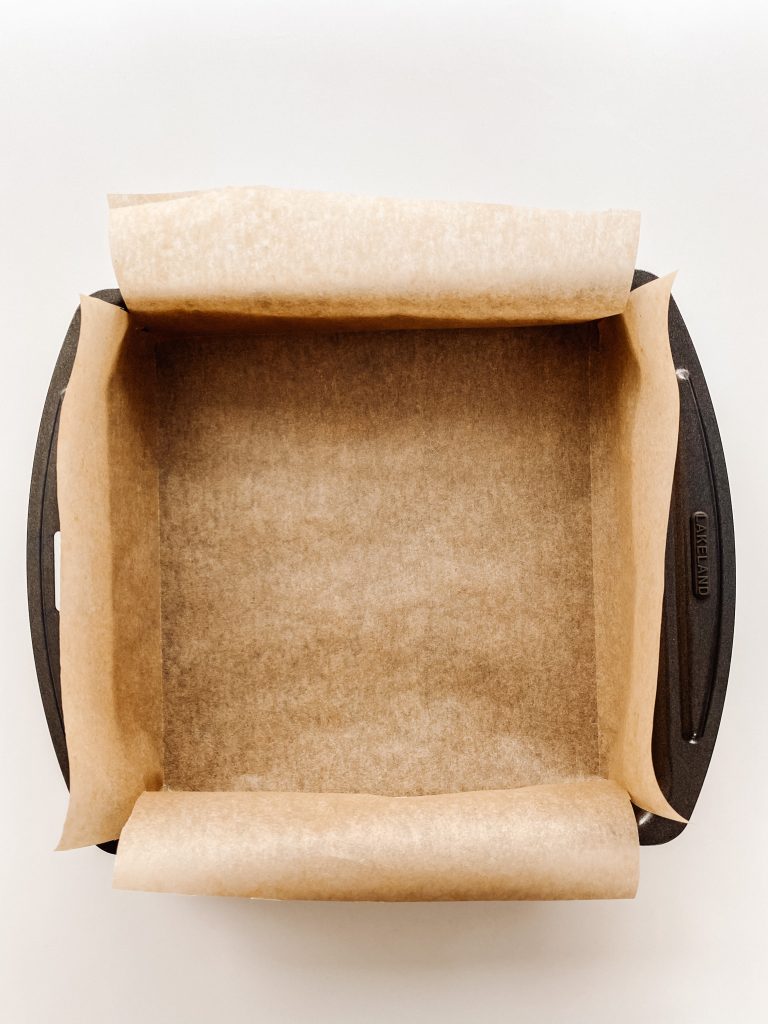
3 Fold, corner to corner, and slot inside the tin
Brownie Ingredients:
- unsalted butter, in cubes
- dark chocolate, 70% cocoa solids, broken into pieces
- soft brown sugar
- caster sugar
- large eggs
- fine salt
- plain/all-purpose flour, sieved
- cocoa, sieved
- instant coffee powder, sieved
- chopped milk chocolate
Make those brownies:
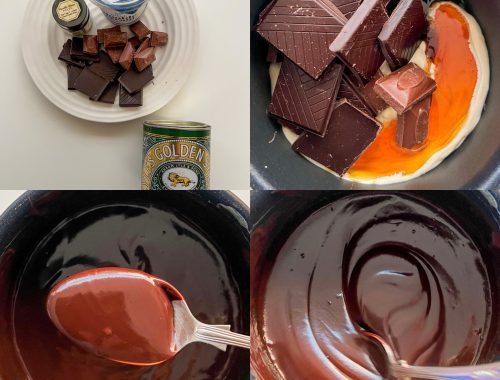
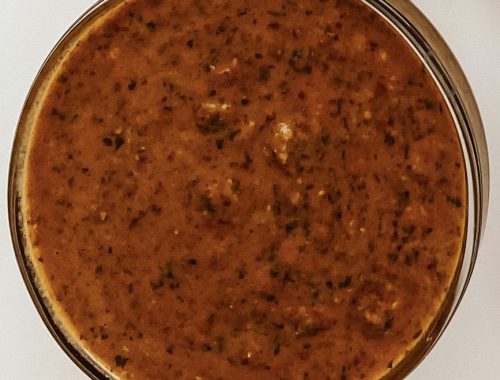
- Chop the butter into squares and place in a microwave safe bowl with the chopped chocolate. Melt in a microwave or a bain marie or and mix until smooth. (See Recipe Notes for details.)
- Meanwhile put the sugars, eggs and salt in a mixing bowl and whisk with an electric whisk until thick and creamy. This will take around 3 minutes.
- Pour the chocolate and butter into the eggs and sugar, whilst whisking, and mix thoroughly with the electric whisk until smooth and glossy.
- Put a sieve over the bowl and add the flour, cocoa and coffee
- Sift directly over the cake batter.
- Fold until nearly mixed in.
- Add the chopped milk chocolate and fold in. Be careful not to over-mix at this stage.
- Transfer to your baking tin and level the surface, making sure the cake batter goes all the way into the corners.
- Cook in the oven for 20 – 25 minutes, depending on how squidgy you like the centre to be. It will carry on cooking when you take it out of the oven so bear this in mind. (I cook mine for 23 minutes in London and 24 minutes in Switzerland.)
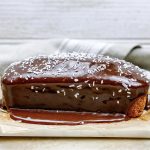
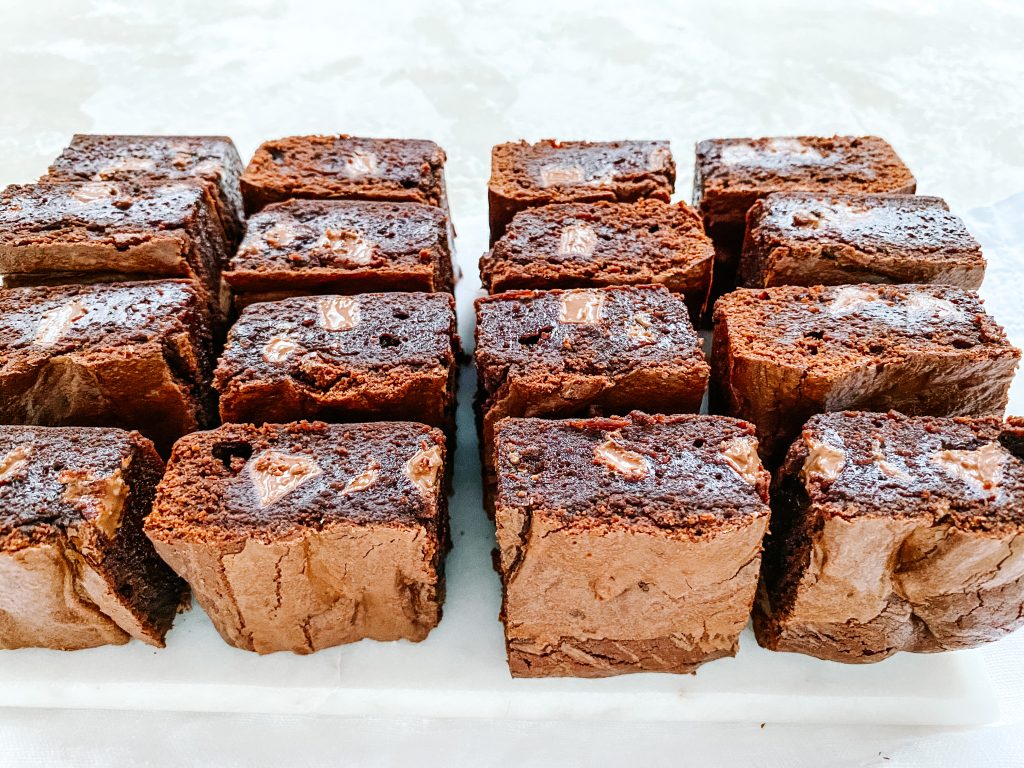
This gives me a slightly crispy top but a gorgeous gooey centre. The cake will be slightly risen and cracked around the edges (see the pictures below) but the centre will feel quite soft. Remember the cake will continue to cook after you have taken it out of the oven.
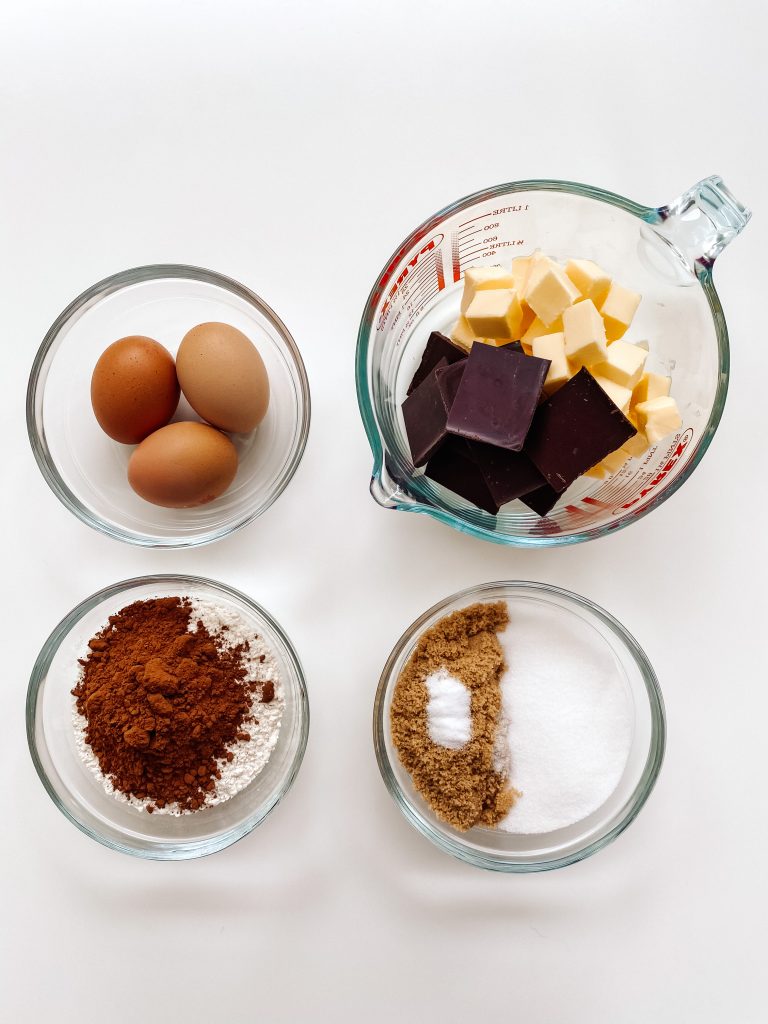
Core ingredients 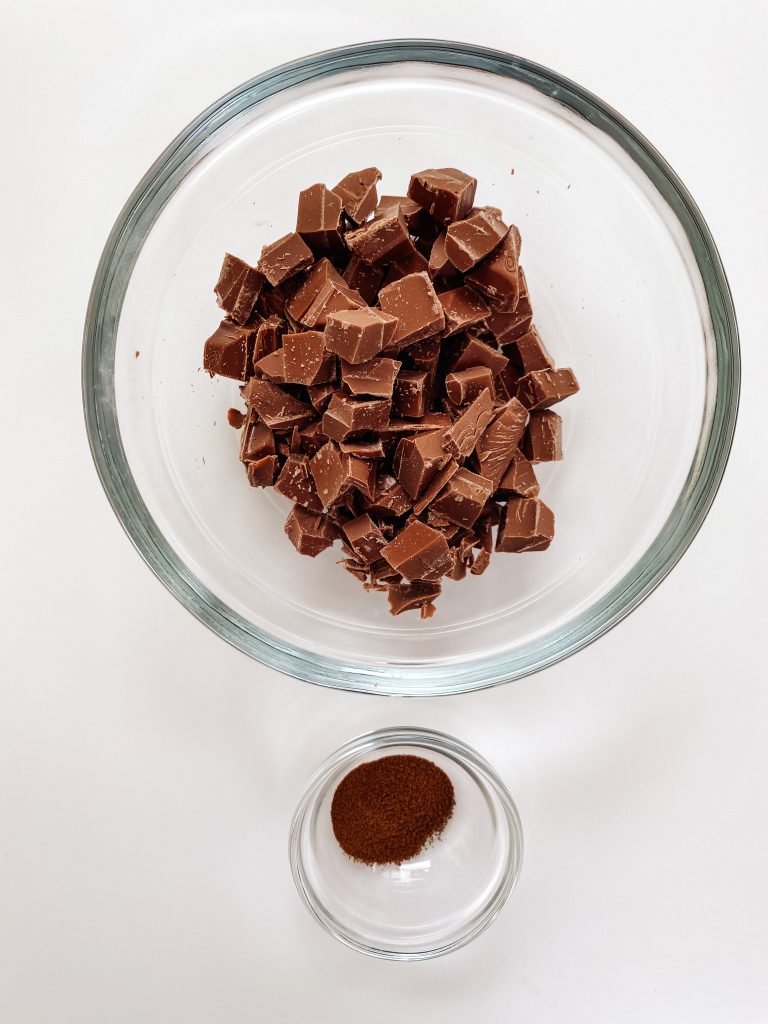
Additional ingredients 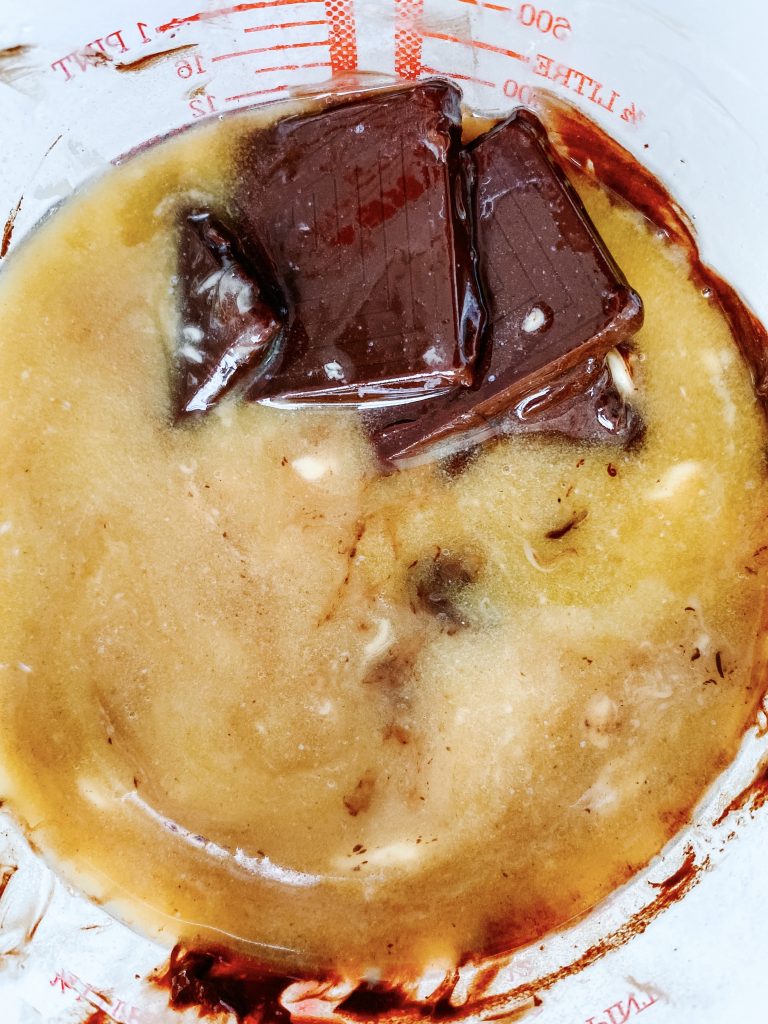
1 Melt the chocolate and butter ….. 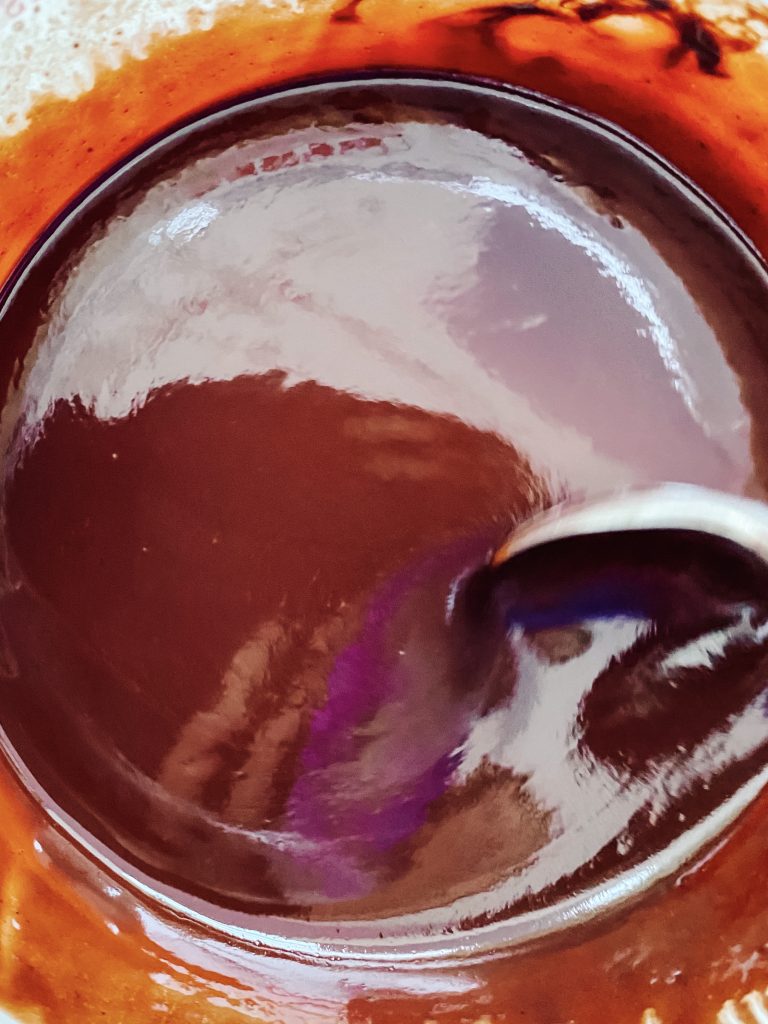
… and mix until smooth 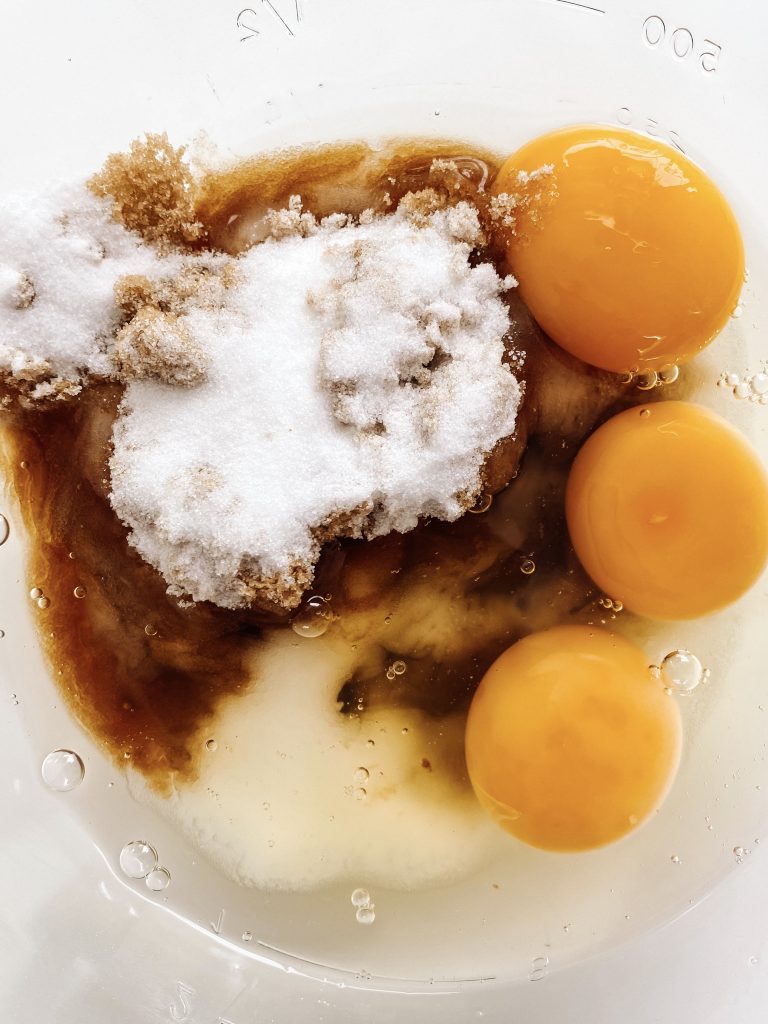
2 Put the sugars, eggs and salt in a mixing bowl …. 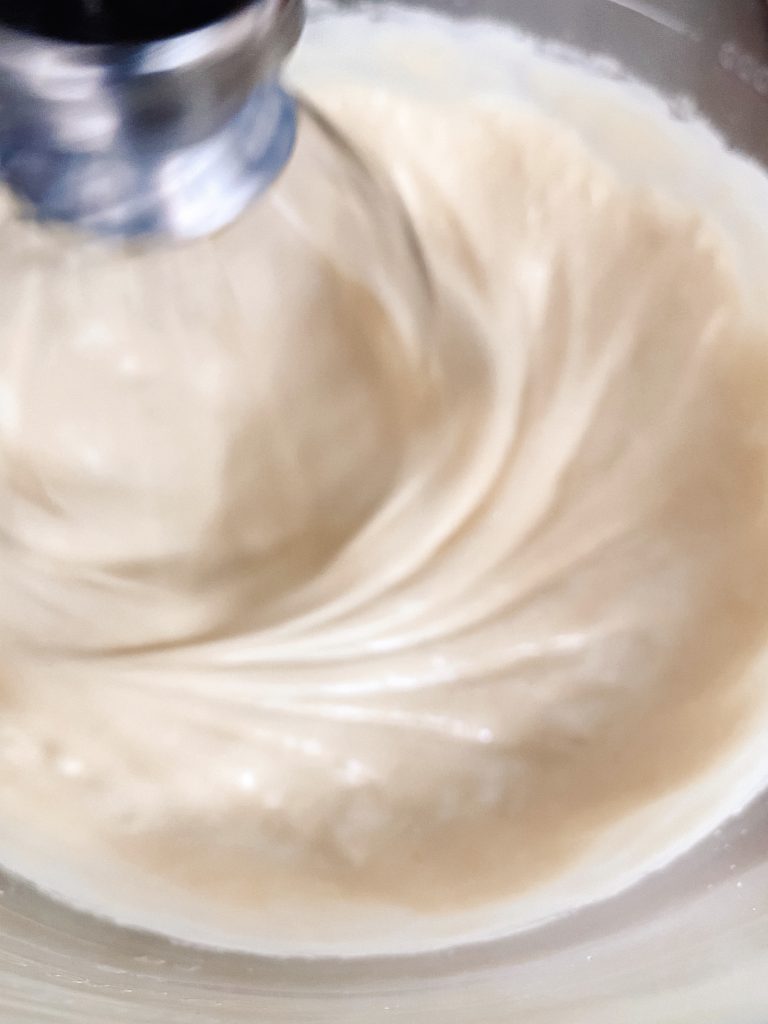
…. and whisk until thick and creamy. 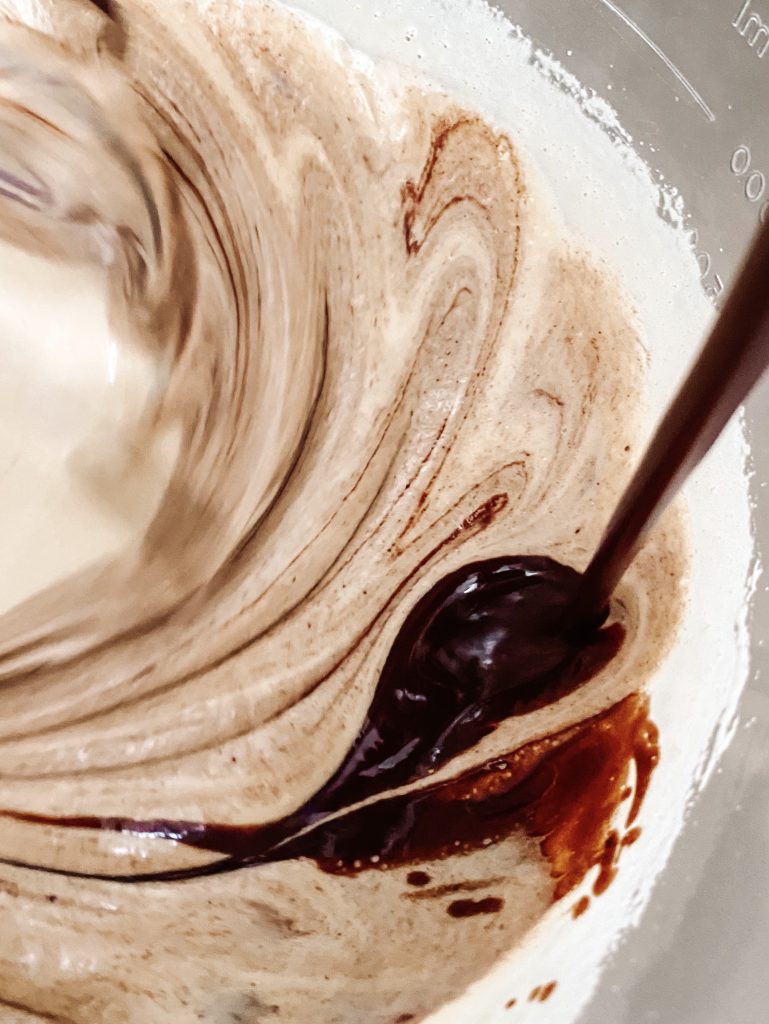
3 Pour the chocolate and butter into the eggs and sugar, whilst whisking. 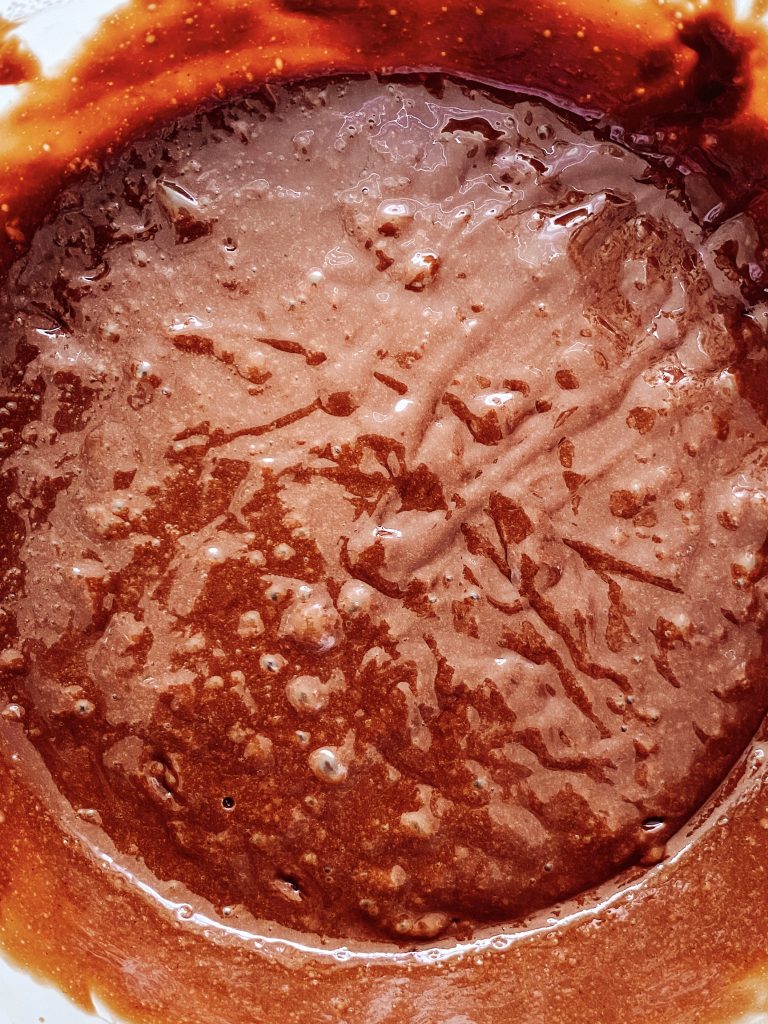
…..whisk until smooth and glossy. 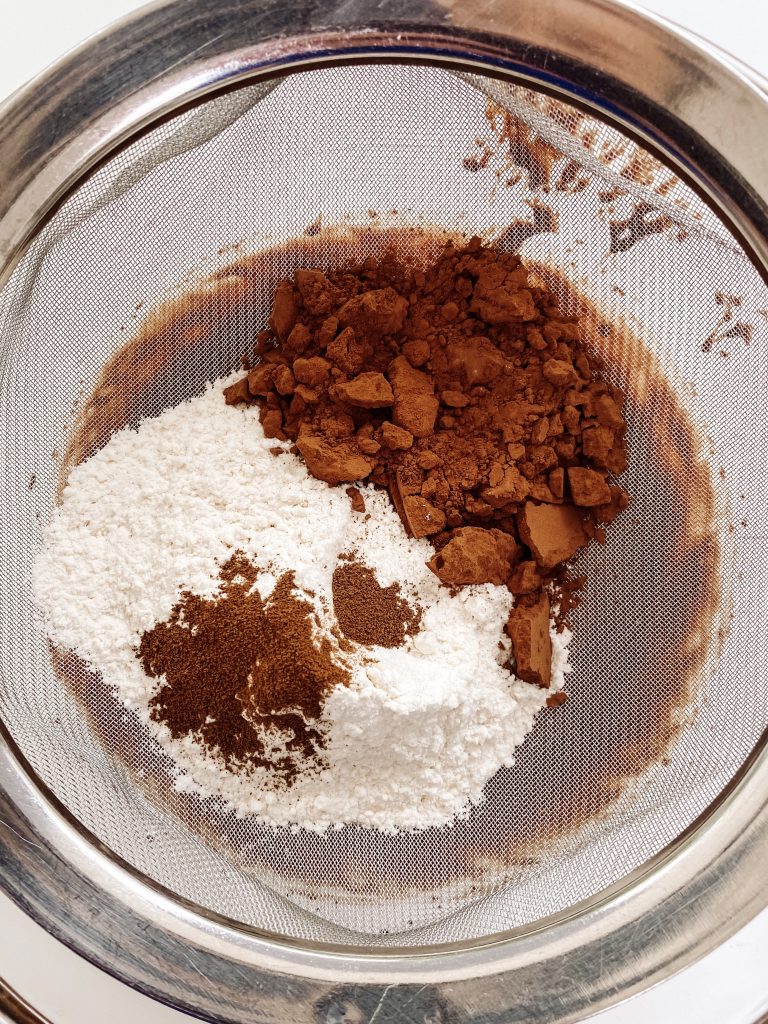
4 Put a sieve over bowl, add flour, cocoa & coffee 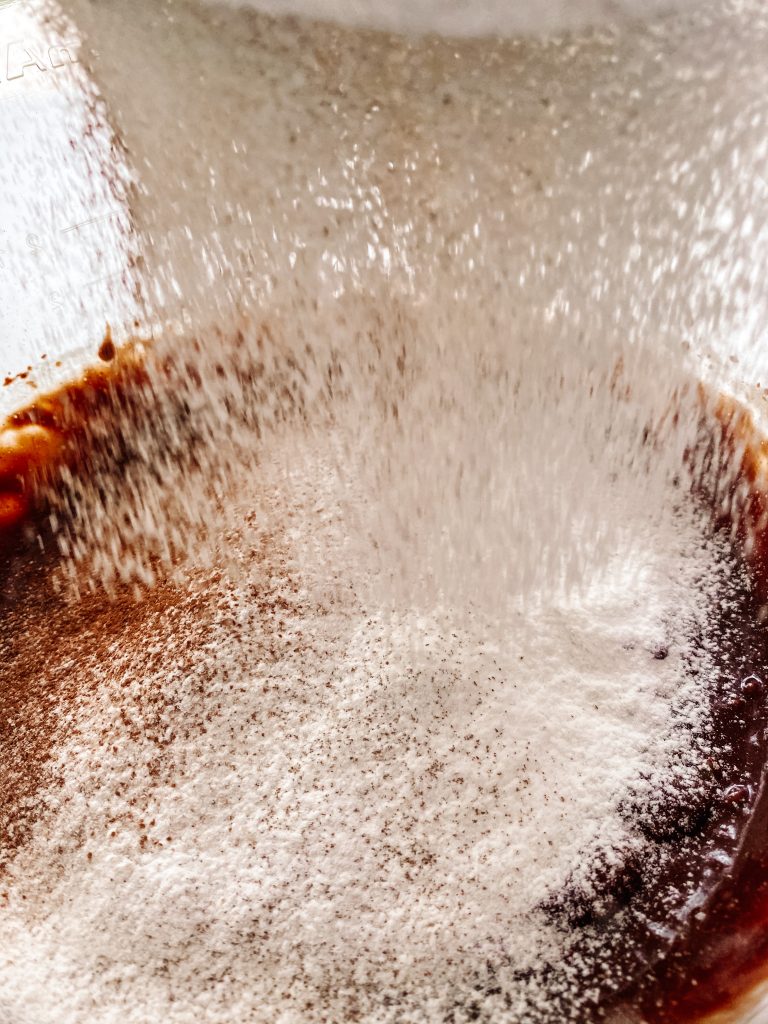
5 Sift directly over the cake batter. 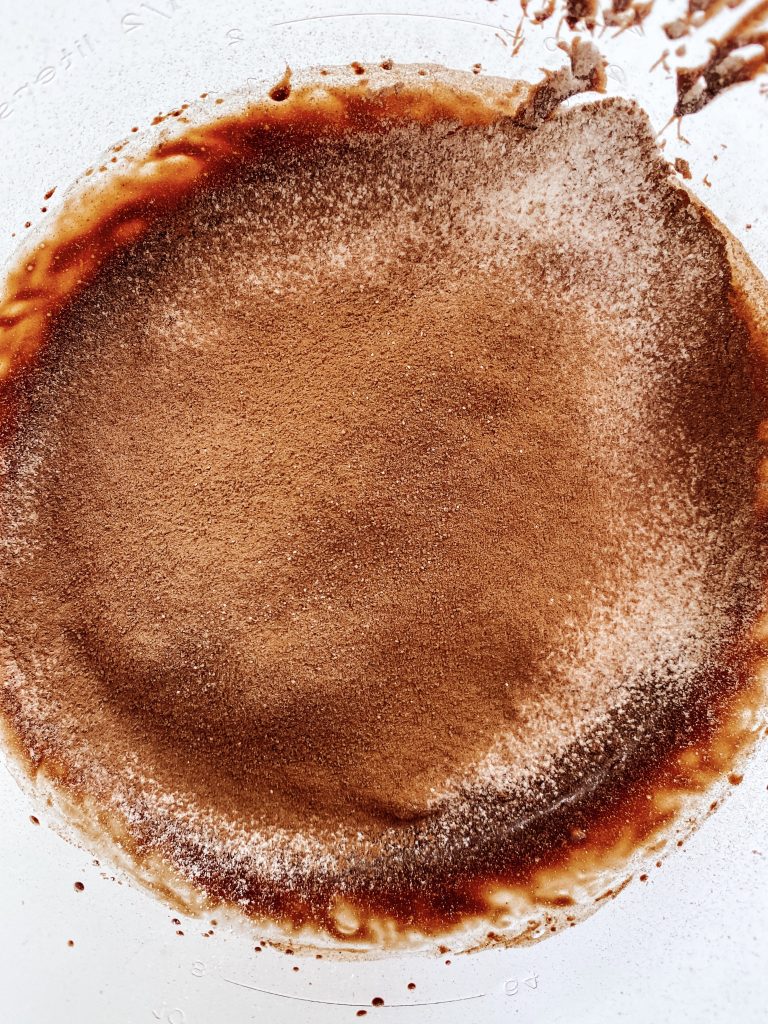

6 Fold until nearly mixed in 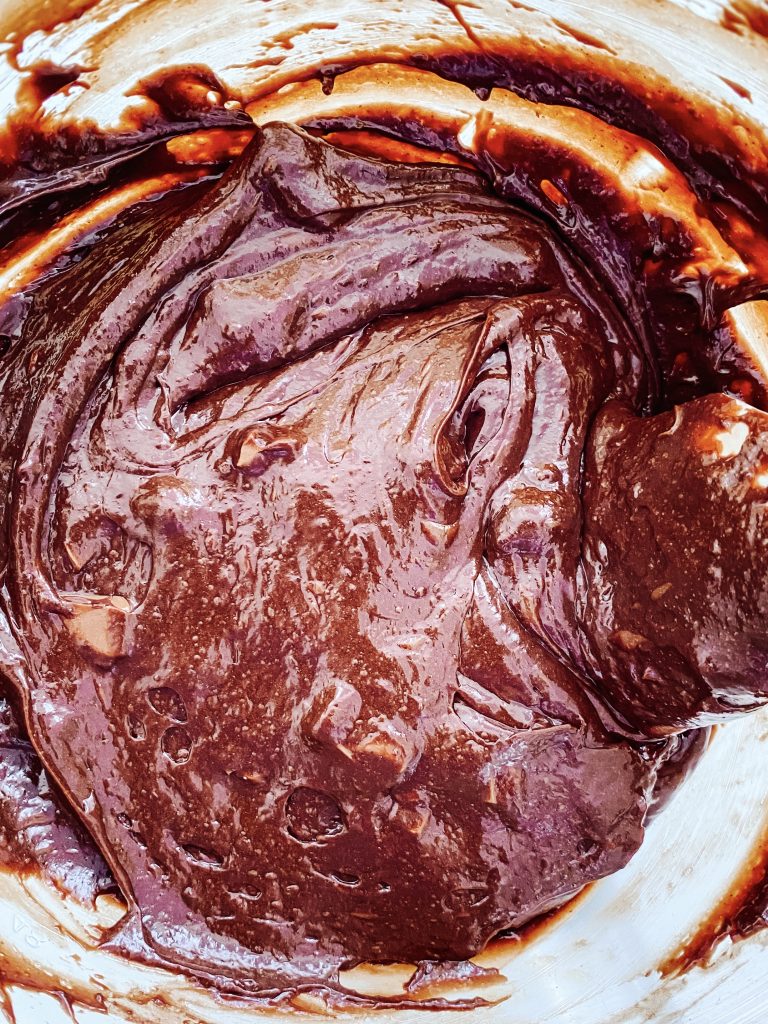
7 Add chocolate chunks – do not over-mix 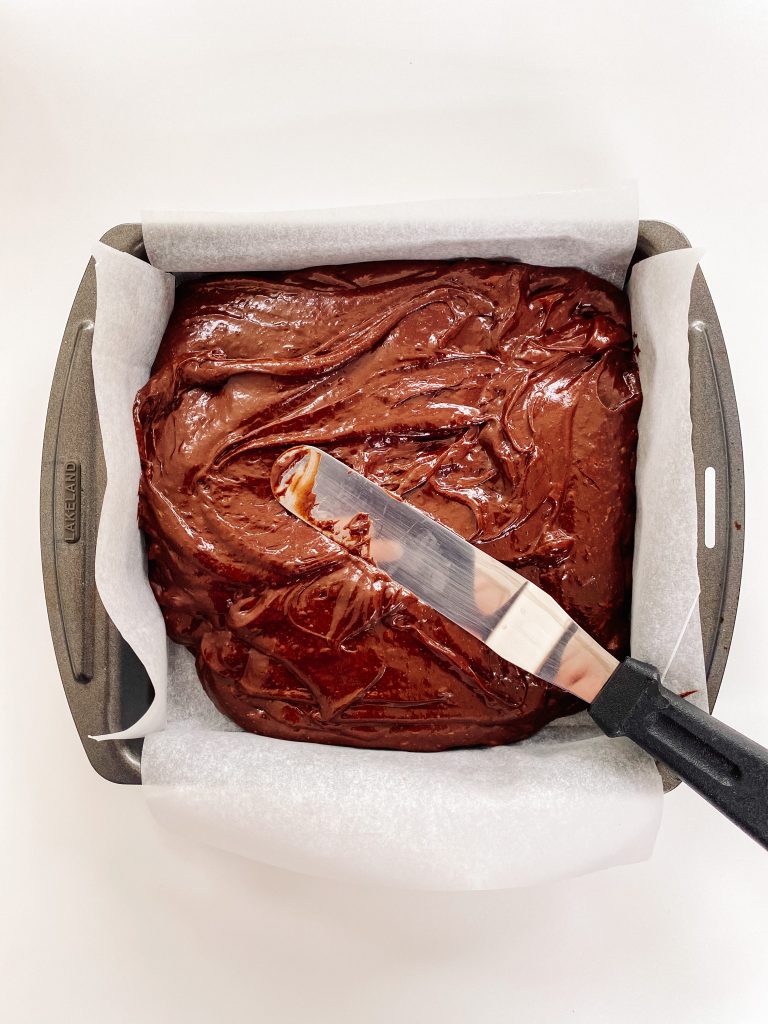
8 Transfer to your baking tin and… 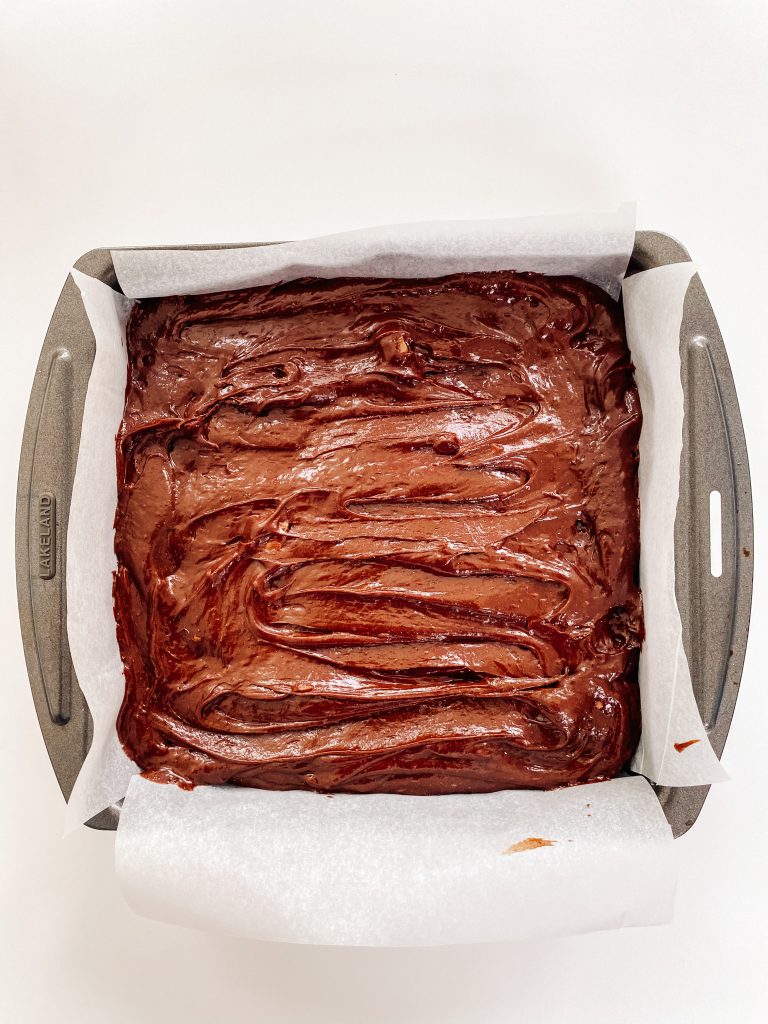
…. level the surface. 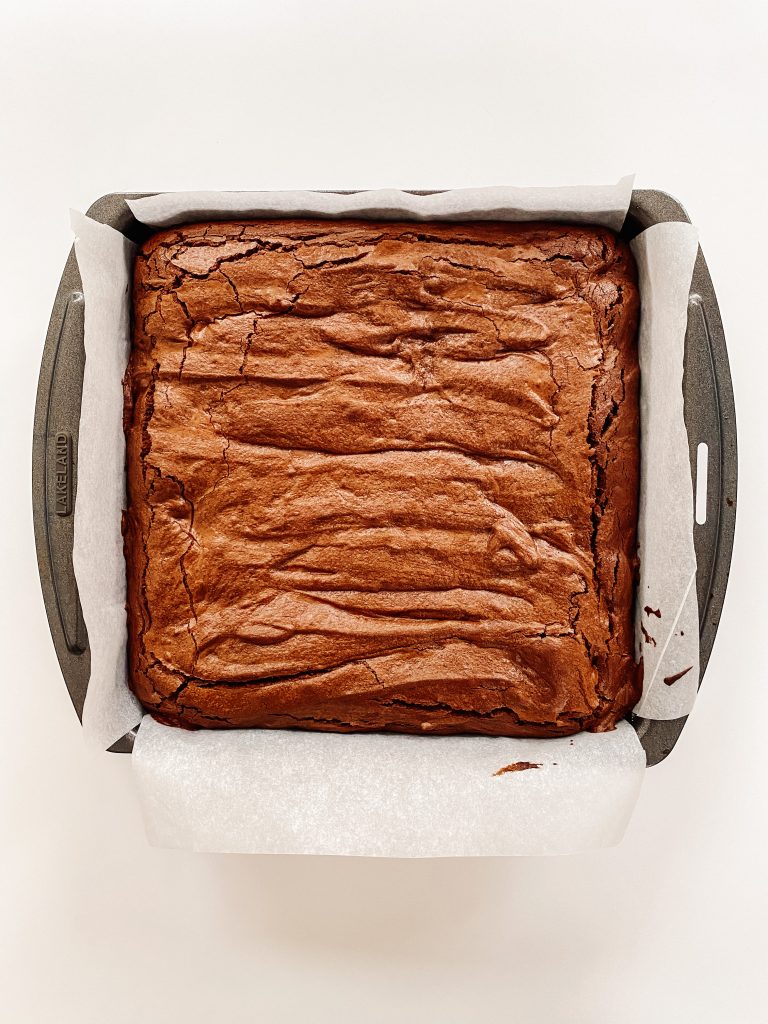
9 Cook in a preheated oven for 20 – 25 minutes 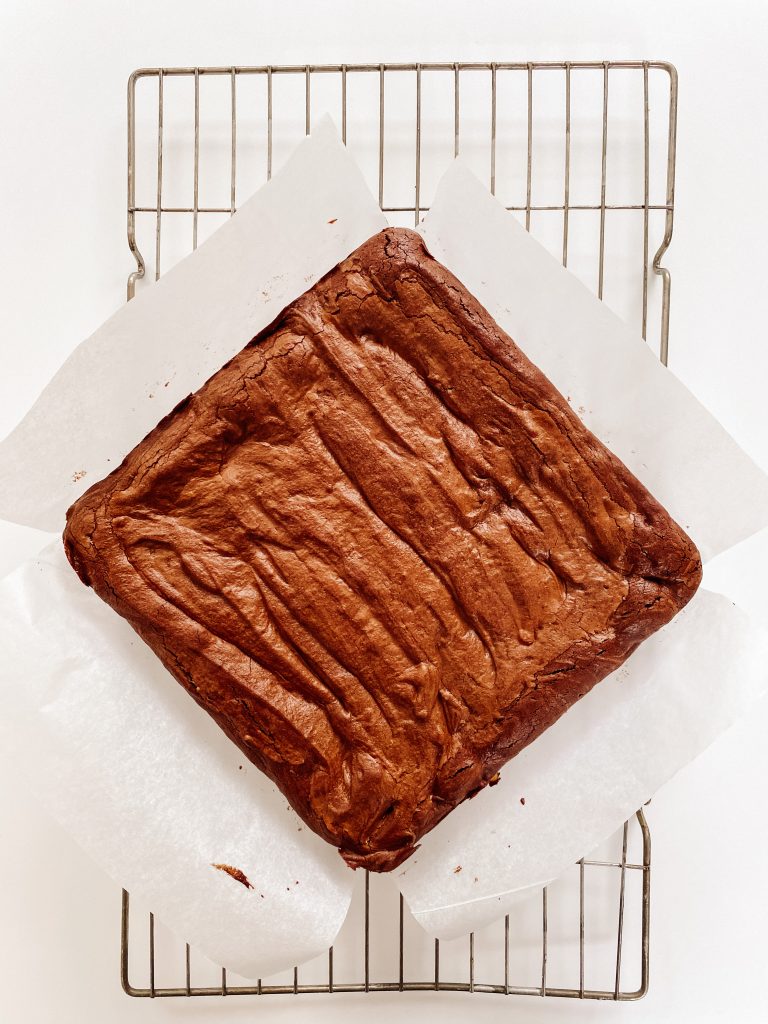
Transfer to cooling rack after 30 minutes
Ovens do vary so make a note of how long it takes to cook to your favourite consistency in your oven. Remember the less you cook it, the more gooey it will be and the more you cook it, the more cakey it will be.
Leave to cool in the tin for 20 – 30 minutes and then transfer, in the baking parchment to a cooling rack.
Made this recipe?
If you make this recipe, do please tag me on instagram @daffodil_kitchen. You could also leave a comment in the box directly below the recipe.

Dark Chocolate Brownies with Chunks of Milk Chocolate
Delicious, fudgy, intense chocolate squares with a hint of salt and chunks of milk chocolate littered throughout each square. Soft and gooey on the inside, slightly crispy on the outside – brownie love heaven. Makes 9, 12 or 16
Ingredients
- 200g unsalted butter, in cubes
- 200g dark chocolate, 74% cocoa solids, broken into pieces
- 150g soft brown sugar
- 50g caster sugar
- 3 large eggs
- ¼ teaspoon fine salt
- 100g plain/all-purpose flour, sieved
- 25g cocoa, sieved
- ½ teaspoon instant coffee powder, sieved
- 100g chopped milk chocolate
Instructions
-
Collect together your equipment (see Recipe Notes below) and ingredients.
-
Preheat oven to fan oven 170°C /190°C/375°F/Gas 5
-
Chop the butter into squares and place in a microwave safe bowl with the chopped chocolate. Melt in a microwave or a bain marie and mix until smooth. (See Recipe Notes for details.)
-
Meanwhile put the sugar, eggs and salt in a mixing bowl and whisk with an electric whisk until thick and creamy. This will take around 3 minutes.
-
Pour the chocolate and butter into the eggs and sugar, whilst whisking, and mix thoroughly with the electric whisk until smooth and glossy.
-
Add the flour, sifted cocoa, coffee and fold until nearly mixed in.
-
Add the chocolate pieces and fold in completely but be careful not over mix at this stage.
-
Transfer to your baking tin and level the surface. Cook in the oven for 20 – 25 minutes, depending on how squidgy you like the centre to be. It will carry on cooking when you take it out of the oven so bear this in mind. (I cook mine for 23 minutes in London and 24 minutes in Switzerland.)
-
Leave to cool in the tin for 30 minutes and then, using the overhanging parchment, transfer the brownies to a cooling rack – do not remove the parchment, they will be too fragile.
-
Leave to cool completely before cutting into squares.
-
N.B. To speed up the cooling process and/or create particularly neat edges when cutting, transfer to a fridge to cool and slice when very cool. However, they are best served at room temperature.
Recipe Notes
Equipment
- Large microwave safe jug or heatproof bowl
- Electric whisk and mixing bowl
- Kitchen scales and measuring spoons
- Sieve
- Chopping board and knife
- 20cm/8inch square baking tin lined with baking parchment
Be very careful melting the chocolate. Chocolate can be very difficult to work with. You can overheat it very easily and the mixture will go grainy. When this happens, there is no way to resolve it I’m afraid!
Microwave: I give the chocolate and butter a minute in the microwave, take it out and stir it well, then let it sit for a few minutes to see if it continues melting sufficiently to melt all the chocolate. If not, I then continue with the microwave but in 10 – 15 second bursts.
Bain Marie: if you do not have a microwave, put the chocolate and butter in a heatproof bowl over a saucepan of gently simmering water. Do not let the base of the bowl touch the water. Heat until the chocolate and butter are very nearly melted then take it off the heat and take the bowl off the saucepan. Be very careful not to burn yourself as the bowl will be hot and steam will escape from the saucepan. Allow the mixture to sit for a few minutes for the residual heat to melt the remainder of the mixture. Again, be careful not to over-heat.