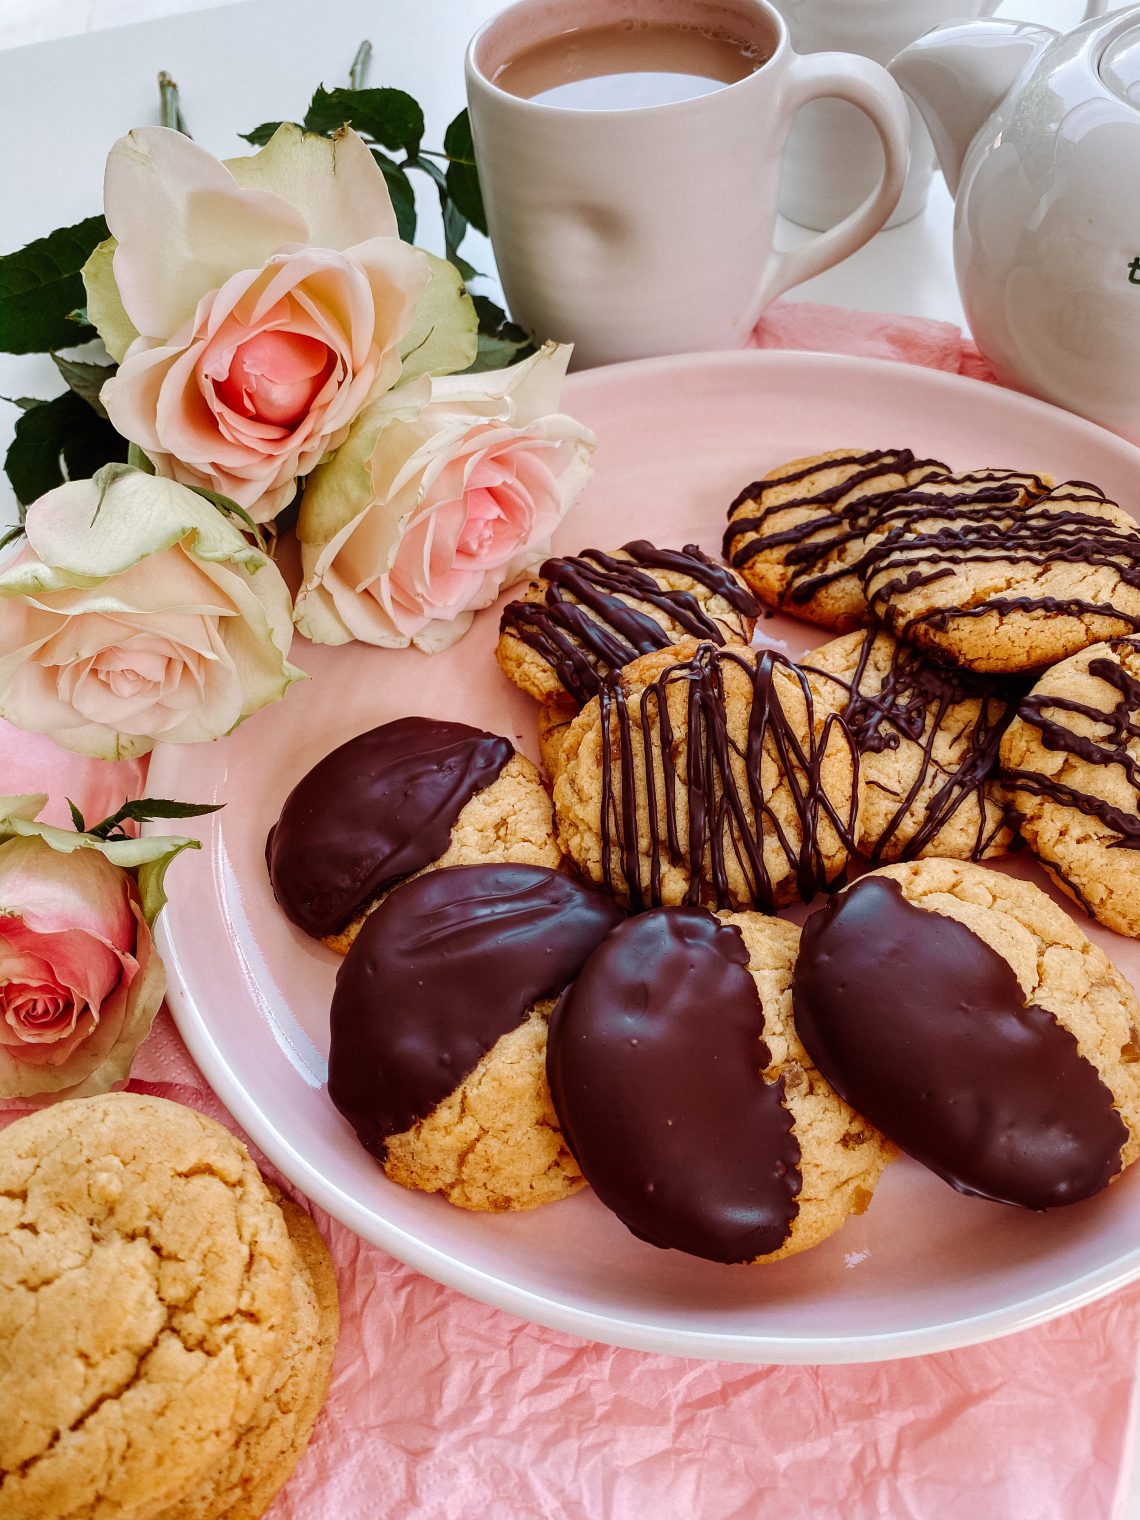
Ginger Biscuits
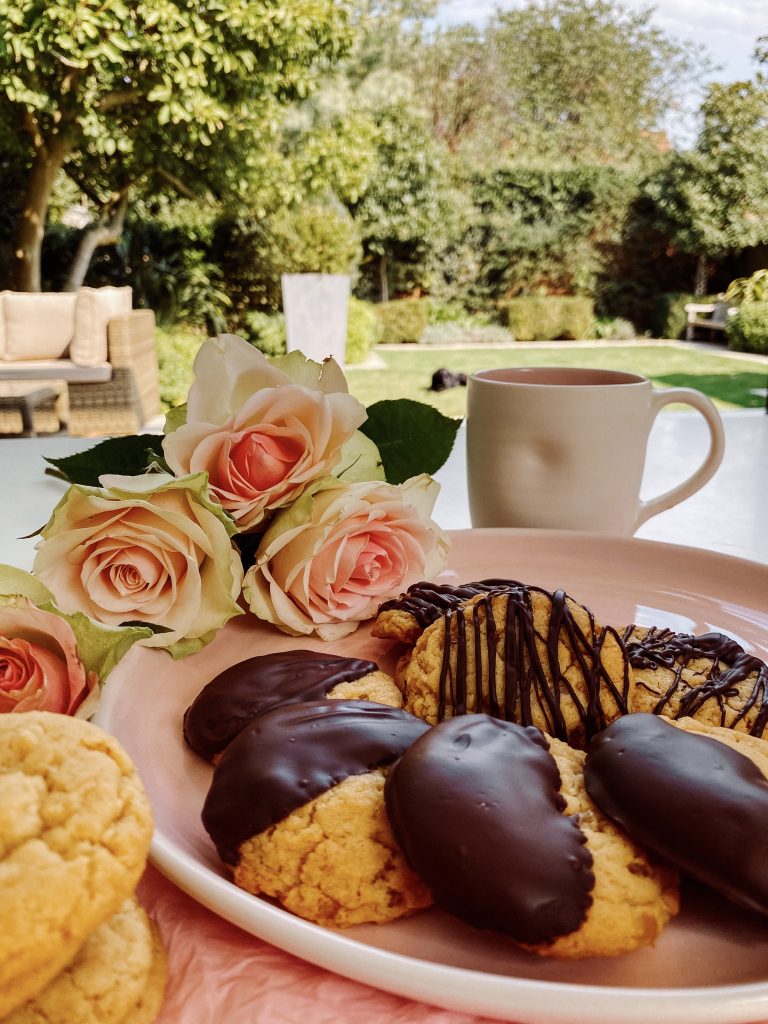
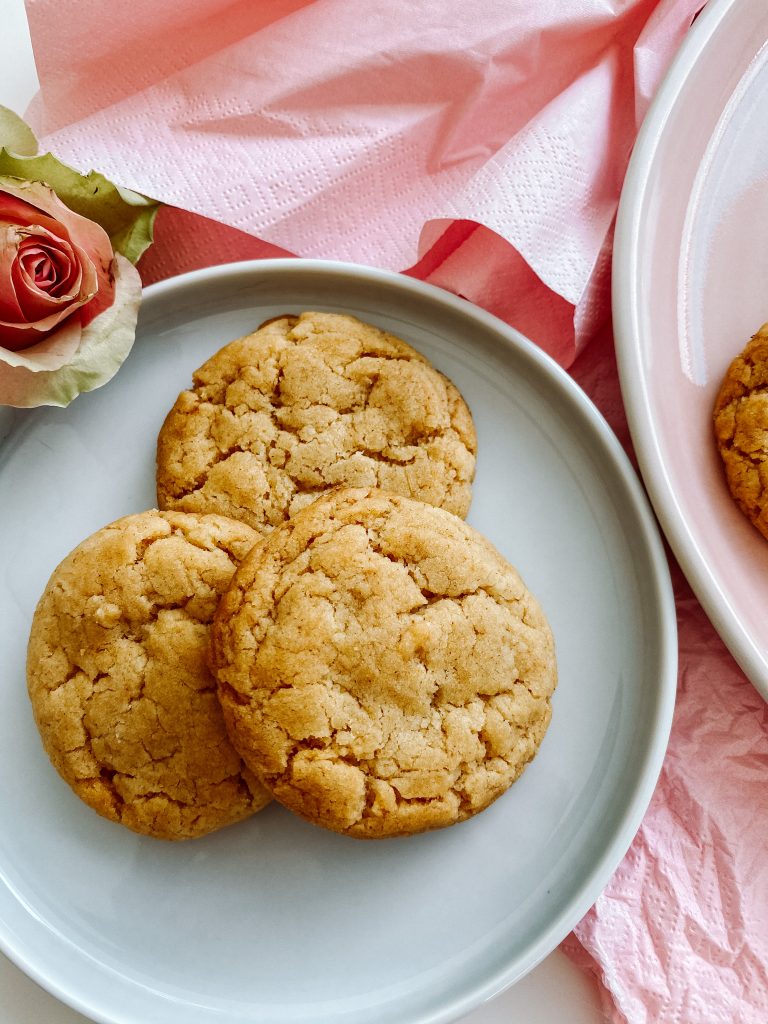
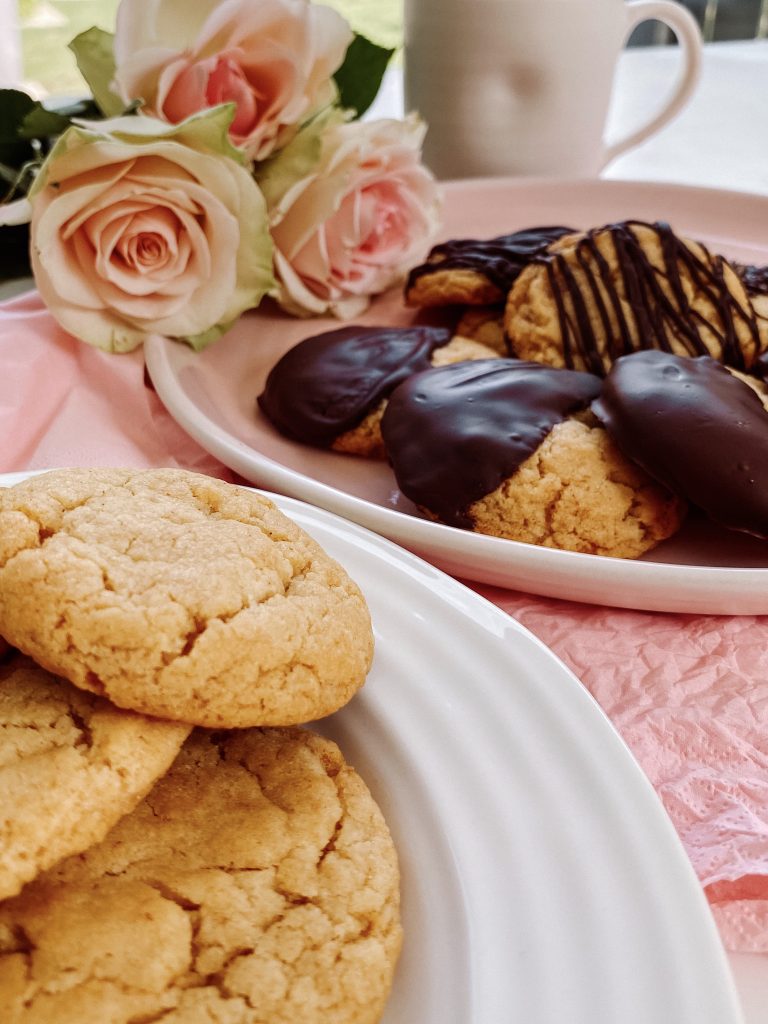
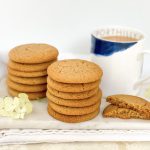
Extremely quick to make, loaded with ginger, a little crispy on the outside and with a chewy centre, these delicious biscuits are best served with a steaming, hot cup of tea.
The original recipe came from a friend of my mum’s; a lovely lady who was also my school teacher when I was 6 years old. We have been making these biscuits for decades. Although I mostly make the basic recipe as is, I also embellish the recipe by adding chopped stem ginger and/or dark chocolate for a special treat or if making them as a gift.
Whilst I had always planned to post this recipe, I was prompted to post it sooner when challenged by my lovely friend Rosalie, to suggest a recipe to match this fabulous and exceptionally accurate David Walliams quote.
Initially, I thought I’d make a copycat recipe for Britain’s favourite biscuit – I had a google and discovered it is, of course, the Milk Chocolate Digestive. I genuinely don’t think you can improve on a digestive so I had another think.
I decided on these incredible Ginger Biscuits. Ginger has many health qualities, most famously for relieving nausea. It also has anti-inflammatory and antioxidant properties, benefits indigestion and apparently, may help reduce cholesterol as well.
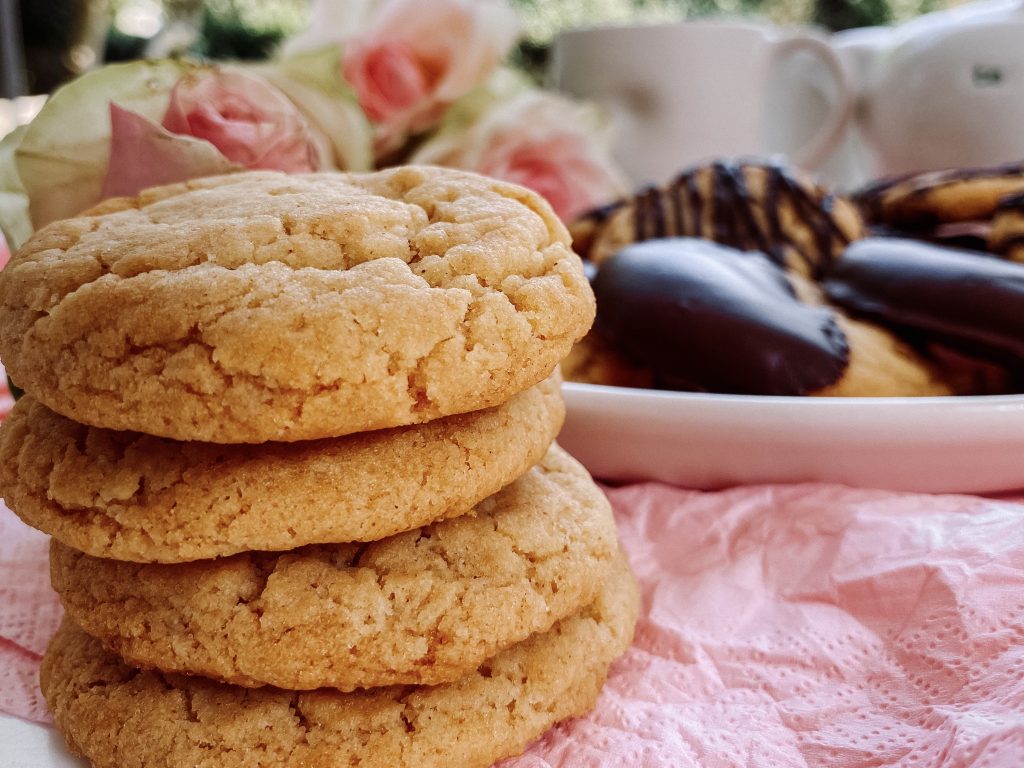
Quite frankly, if your house has been hit by a meteorite, the chances of you feeling a little nauseous are pretty high; this is definitely the biscuit you should go for! Even better, it will help with a range of other conditions as well. Perhaps more importantly, it is a genuinely top class biscuit, full of flavour and ginger deliciousness, a mix of textures, super easy to make and ridiculously moreish. Rosalie – I owe you a batch!
How to make Ginger Biscuits
First, collect all your ingredients together:
- unsalted butter
- golden syrup
- caster sugar
- plain/all-purpose
- baking powder
- ground ginger powder
- fine salt
You may also wish to add:
- dark chocolate (I use 70% cocoa solids)
- finely chopped stem ginger
Heat the butter and syrup over a moderate heat until melted. Add the flour, baking powder, powdered ginger, (chopped stem ginger if using) and salt and thoroughly mix.
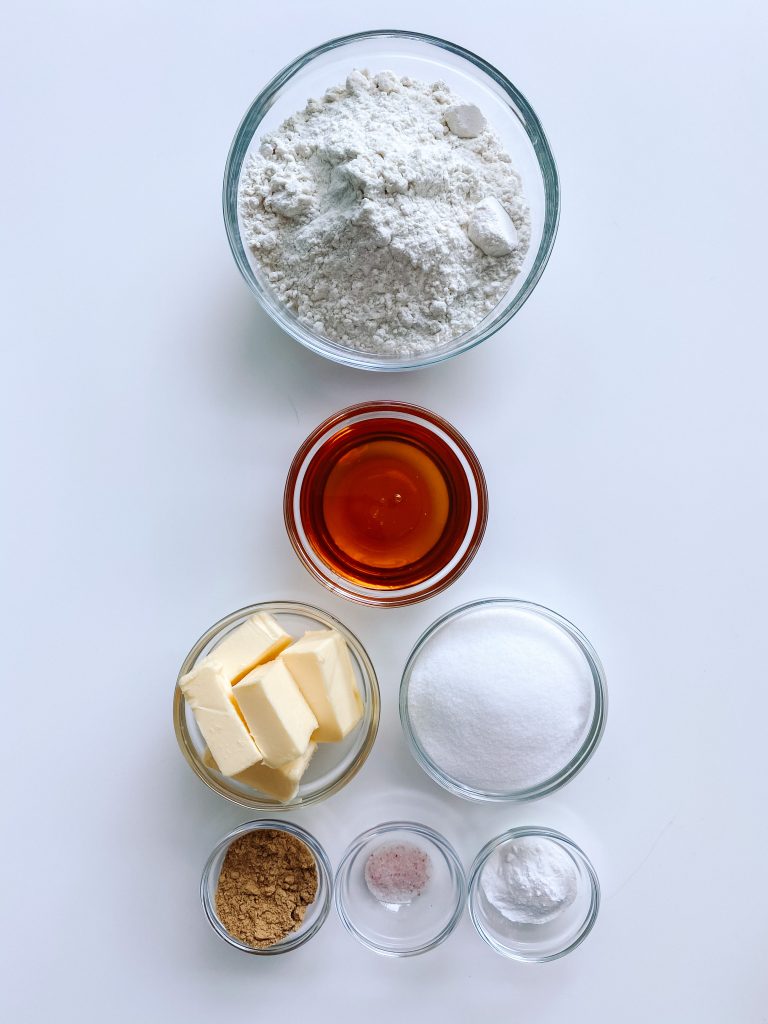
Biscuit ingredients 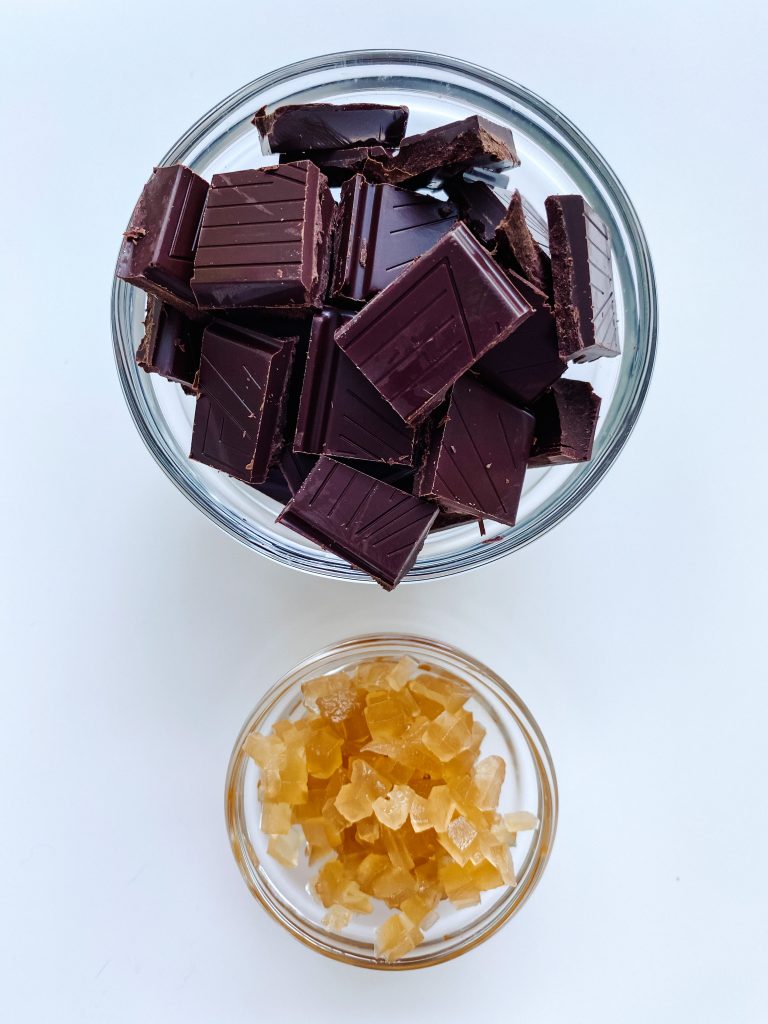
Optional extras 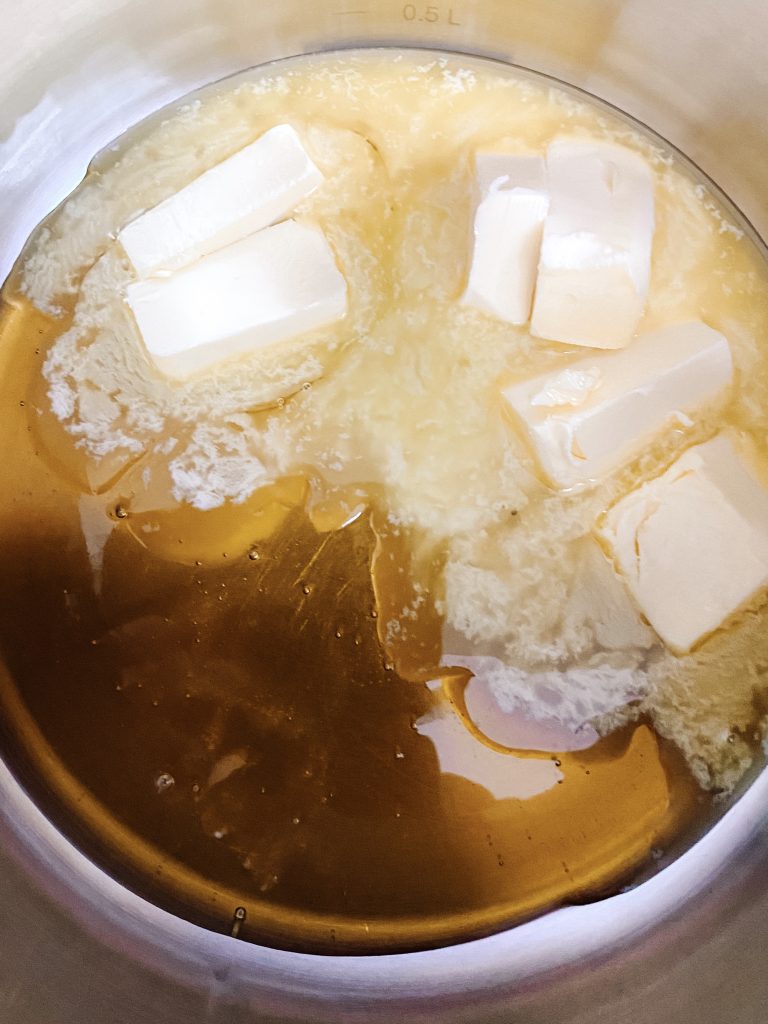
1 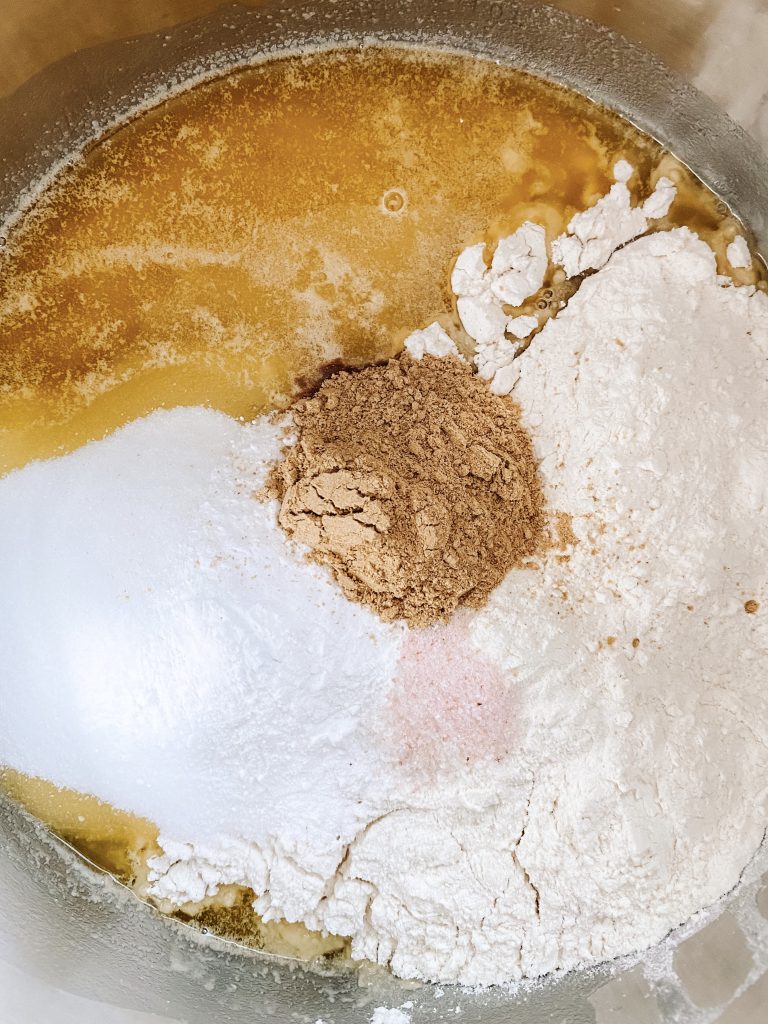
2 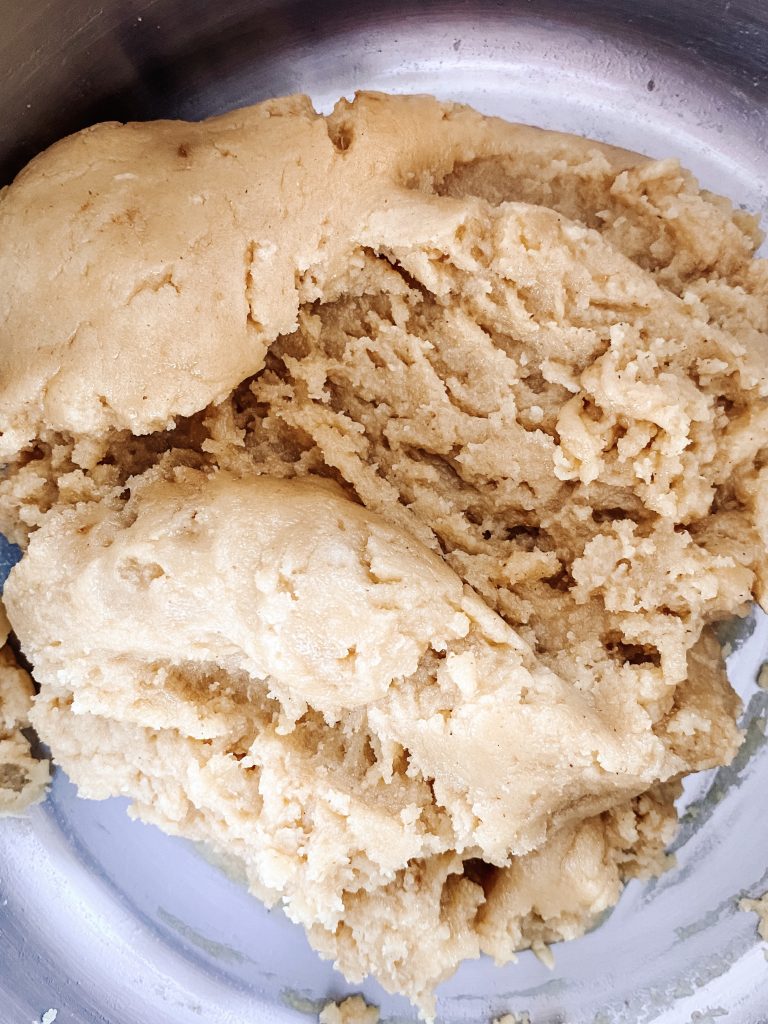
3 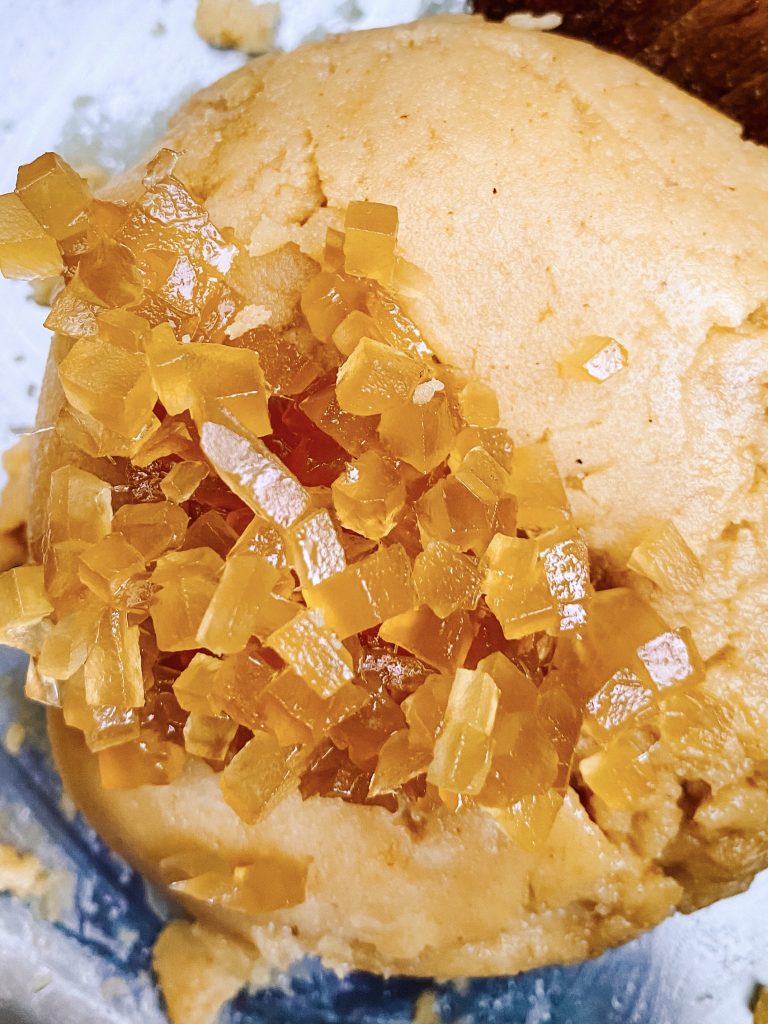
4 – chopped stem ginger, if using
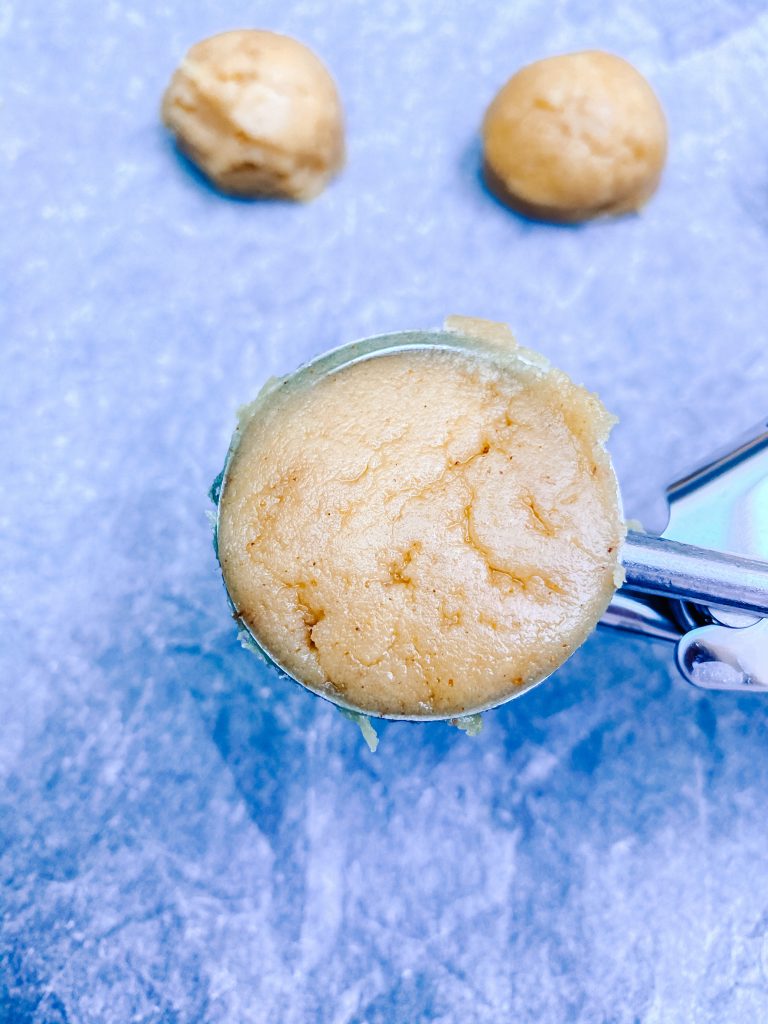
Use a small ice cream scoop or a tablespoon to measure out roughly 16 – 18 balls of dough weighing roughly 30g each. Once you have divided the dough into balls, roll gently into a neater shape, if necessary. You can either:
- cook them straight away – there is no need to refrigerate them first, OR
- if you want to freeze any before cooking, now is the time. Place close together on a baking parchment lined baking tray or chopping board and place in the freezer. As soon as the dough balls are solid, they can be transferred into labelled freezer bags or containers.
To cook the biscuits, place them spread out on a baking sheet – I get 4 – 6 per sheet depending on the size of the baking sheet. Cook in a preheated oven for 10 – 12 minutes or until cooked to your liking. In my oven they take exactly 11 minutes. However if you are cooking 2 trays of cookies at the same time, I cook for 6 minutes and then swap the trays over and cook for a further 6 minutes.
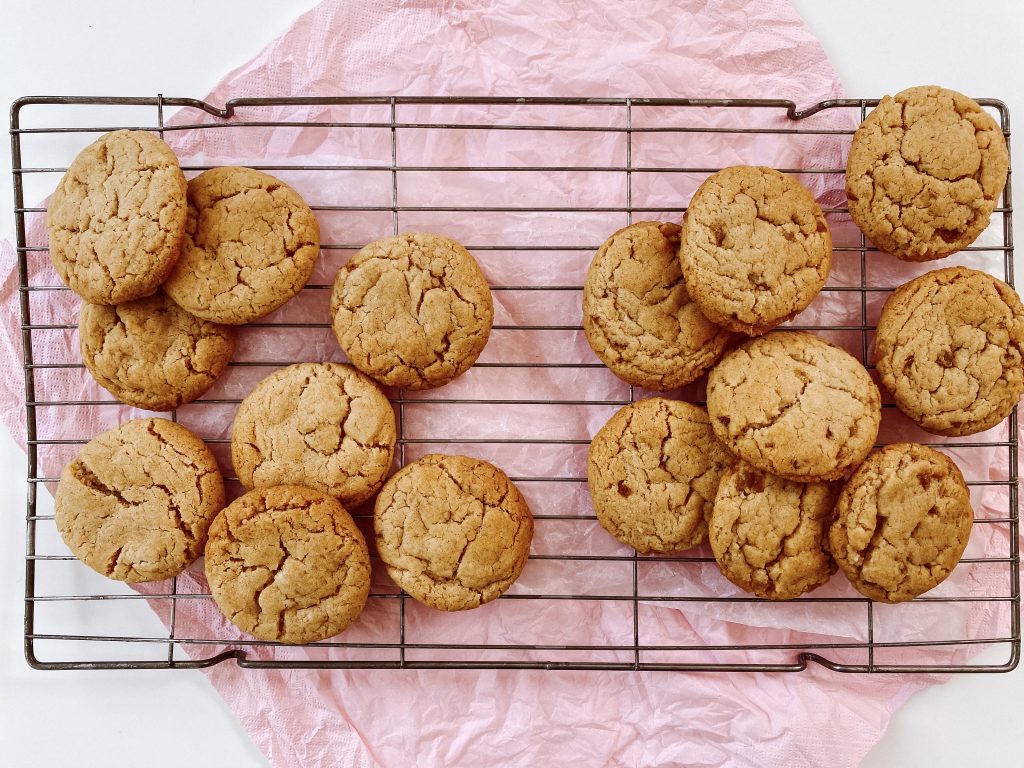
They are cooked when they have spread out, are starting to brown on the edges and look ever so slightly underdone. They should still be soft in the middle. Let them cool on the baking sheet for 10 minutes and then transfer to a cooling rack.
5 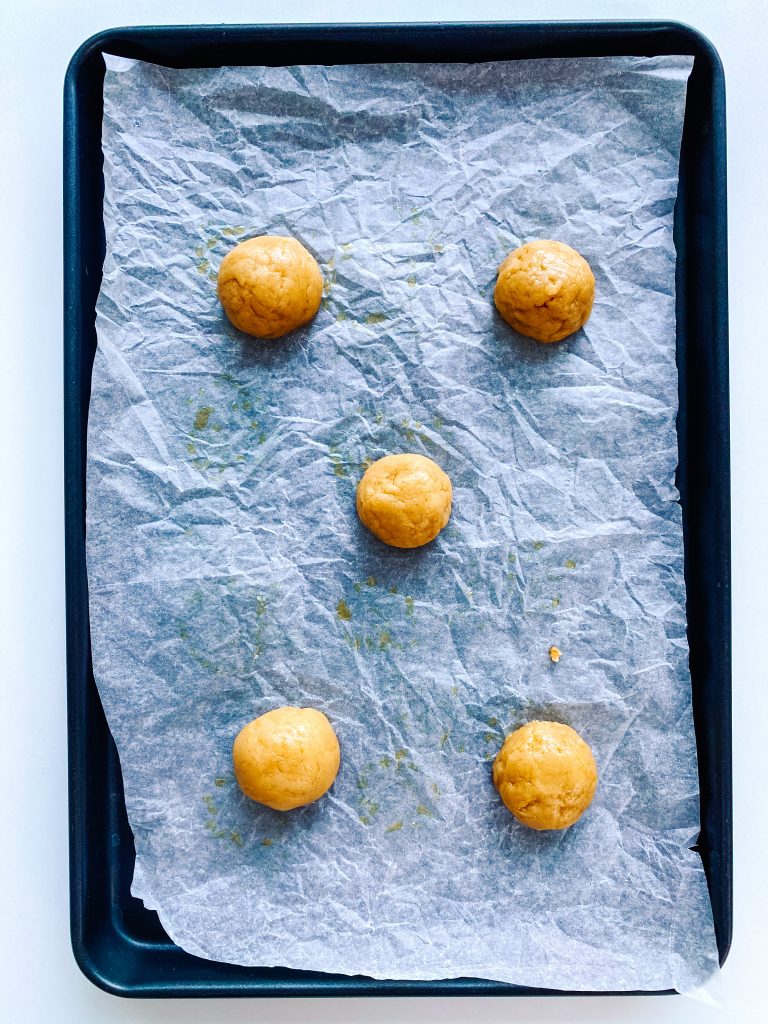
6 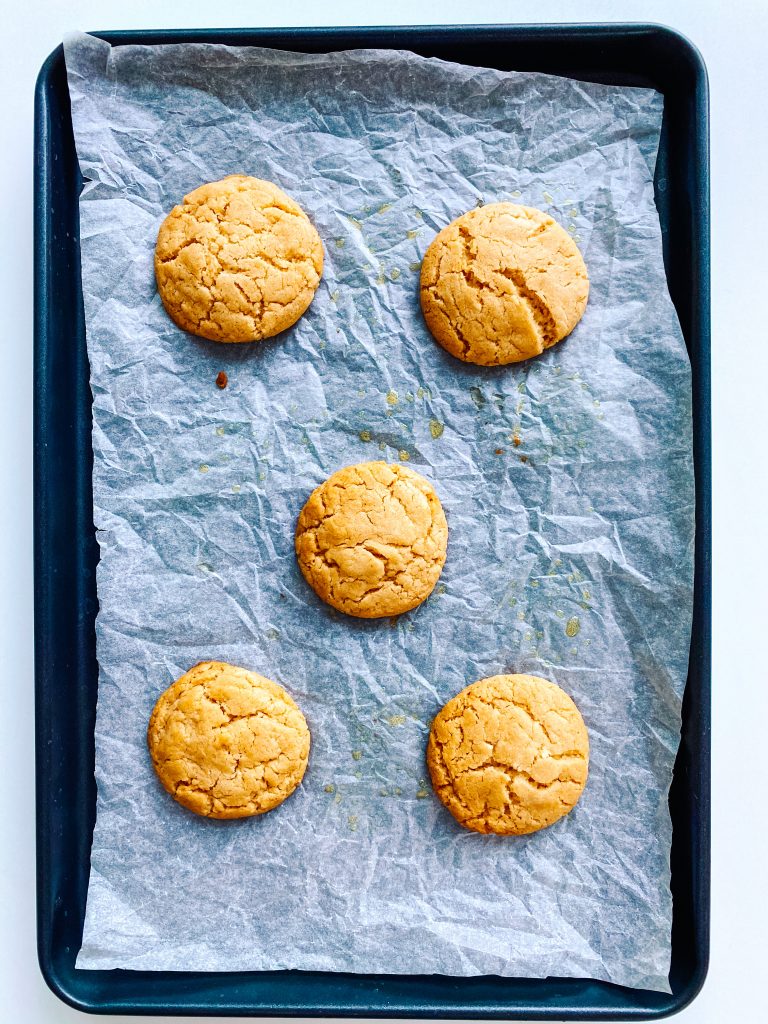
7
Add the chocolate
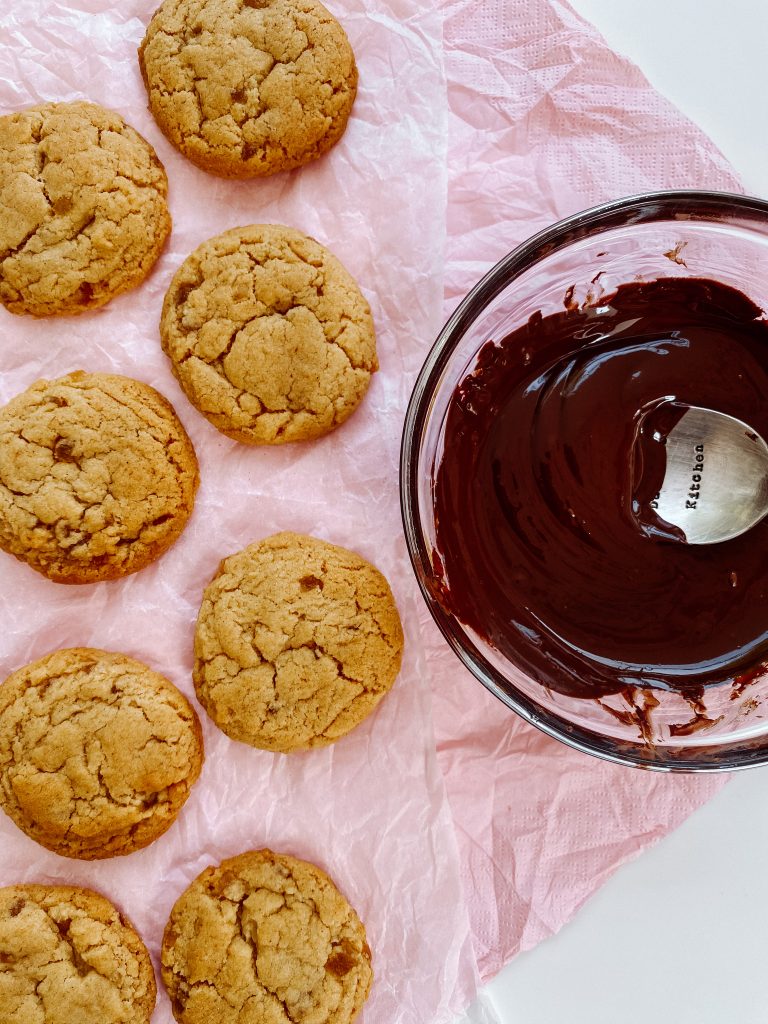
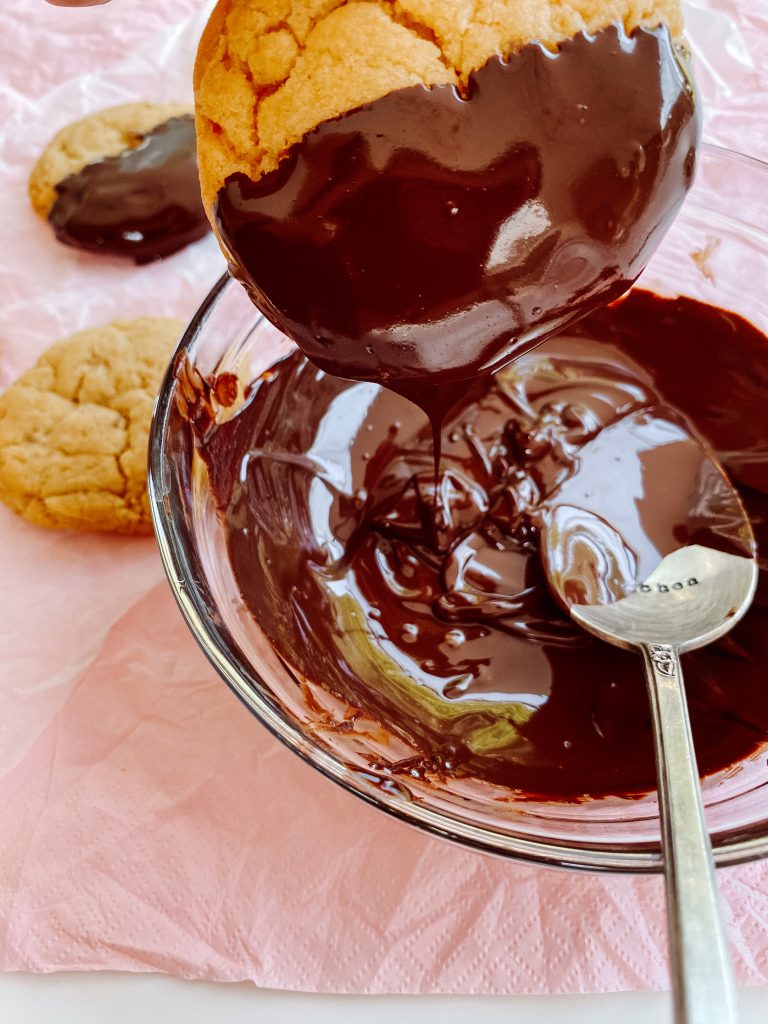
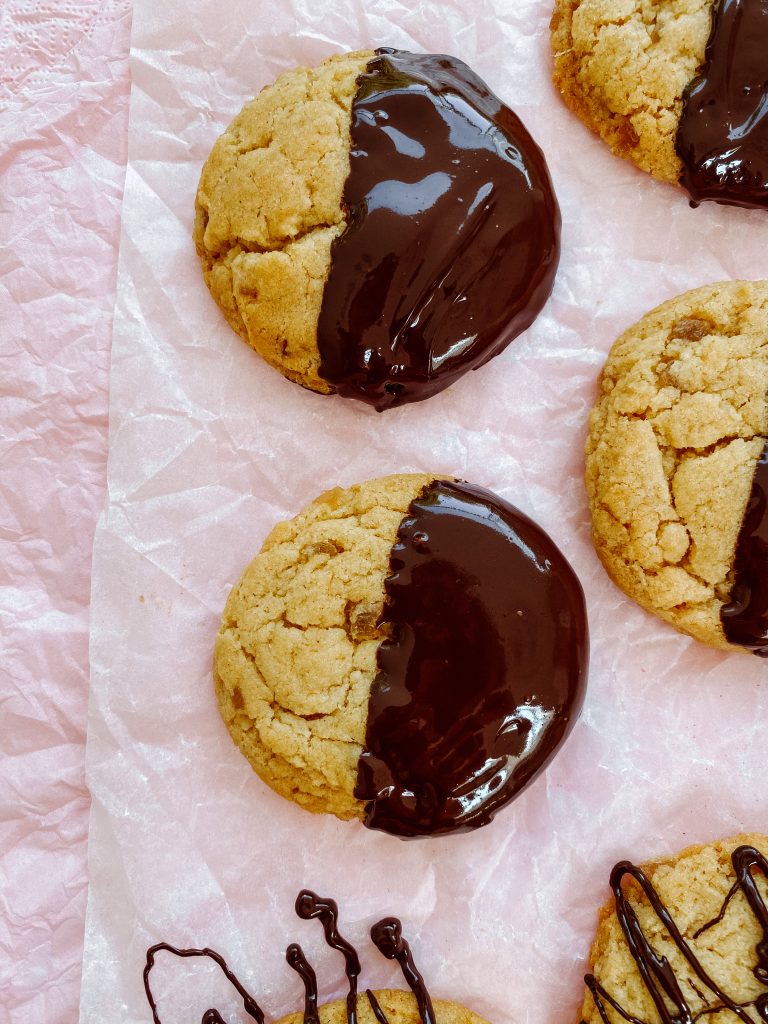
If you are adding the chocolate, you need to melt it either in a bain marie or in the microwave. You can use it to dip the biscuits into the chocolate – I like to cover half the biscuit only.
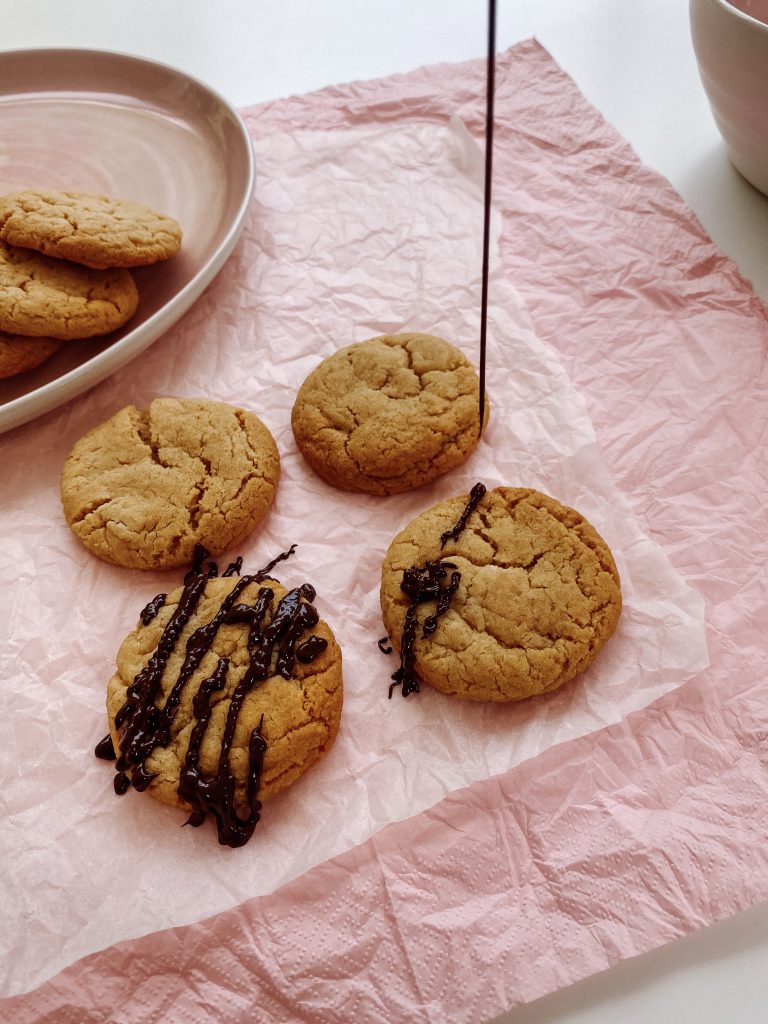
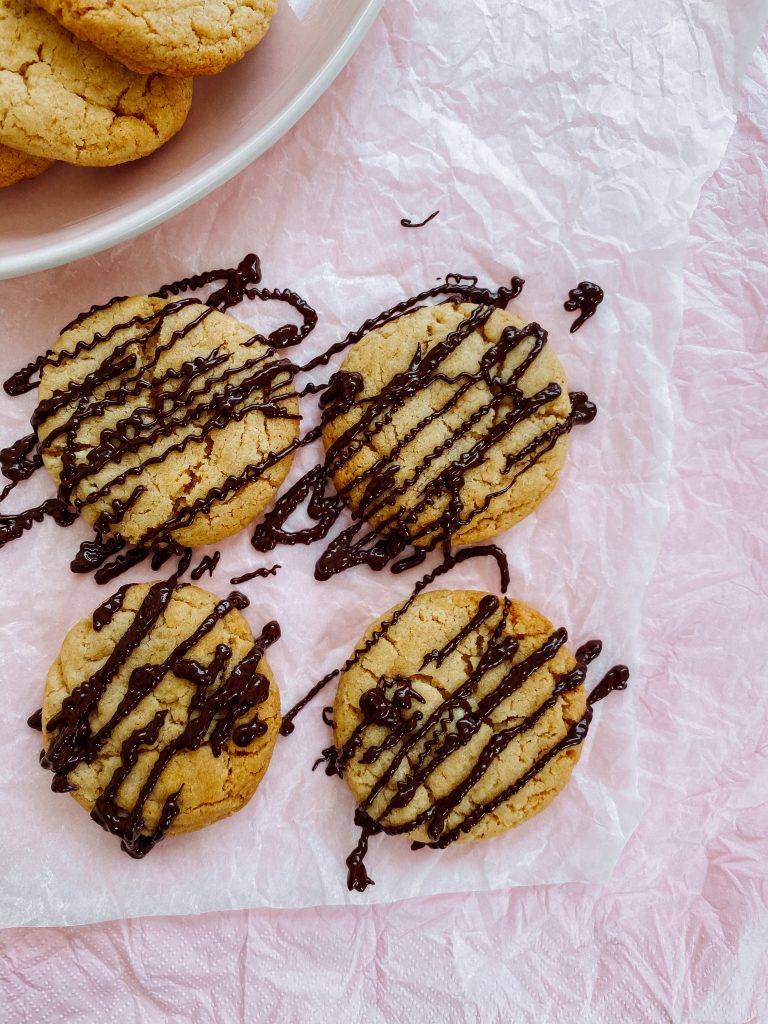
Or you can drizzle the chocolate over the biscuits either by drizzling it off a spoon or using a small piping bag.
Made this recipe?
If you make this recipe, do please tag me on instagram @daffodil_kitchen. You could also leave a comment in the box directly below the recipe.
Ginger Biscuits
Extremely quick to make, loaded with ginger, a little crispy on the outside and with a chewy centre, these delicious biscuits are best served with a steaming, hot cup of tea.
Ingredients
- 100g unsalted butter
- 100g golden syrup
- 100g caster sugar
- 200g plain/all-purpose flour
- 1½ teaspoons baking powder
- 2½ – 3½ teaspoons ground ginger (I use 3½, we like quite a strong ginger flavour.)
- ¼ teaspoon fine salt
Optional additions:
- 2 balls of stem ginger, finely chopped, roughly 35g – 40g
- 50g – 100g dark chocolate
Instructions
-
Collect together your equipment (see Recipe Notes below) and ingredients.
-
Preheat oven to Fan Oven 160°C/180°C/350°F/Gas 4 and either grease your baking trays or line them with baking parchment.
-
Heat the butter and syrup over a moderate heat until melted.
-
Add the sugar, flour, baking powder, powdered ginger, (chopped stem ginger if using) and salt and thoroughly mix.
-
Use a small ice cream scoop or a tablespoon to measure out roughly 16 – 18 balls of dough weighing roughly 30g each.
-
Once you have divided the dough into balls, roll gently into a neater shape if necessary
-
To cook the biscuits, place them spread out on a baking sheet – I get 4 – 6 per sheet depending on the size of the baking sheet.
-
Baking one tray at a time: bake for 10 – 12 minutes. (I cook mine for 11 minutes.)
Baking two trays at a time: add one minute to the total time to cook. Bake for half this time and then quickly swap the trays over i.e. put the top tray on the lower shelf and the tray from the lower shelf and on the higher shelf and cook for the remaining time.
(So for one tray I cook for 11 minutes and 2 trays for 6 minutes, swap the trays and then another 6 minutes = 12 minutes on total.)
-
The cookies are cooked when: they have spread out, are starting to brown on the edges and look ever so slightly underdone. They should still be soft in the middle. They will be slightly raised but will settle and flatten as they cool.
-
If you are adding chocolate: when the biscuits have cooled, melt the chocolate either in a bain marie or in the microwave. (See comments below for guidance.) Either:
A) dip the biscuits into the chocolate – I like to cover half the biscuit only, OR
B) drizzle the chocolate over the biscuits either by drizzling it off a spoon or using a small piping bag.
Allow the chocolate to set. You can speed this up by popping them in the fridge.
NB You will use less chocolate if drizzling, rather than part covering the biscuits.
Recipe Notes
Equipment:
- Kitchen scales and measuring spoons
- Large saucepan
- Baking sheets, either greased or lined with baking parchment
- Cooling rack
- Chopping board and knife – if using stem ginger
- Microwave safe bowl of jug – if adding chocolate
Be very careful melting the chocolate. Chocolate can be very difficult to work with. You can overheat it very easily and the mixture will go grainy.
Microwave: I give the chocolate 60 seconds in the microwave, take it out and stir it well, then let it sit for a few minutes to see if it continues melting sufficiently to melt all the chocolate. If not, I then continue with the microwave but in 10 second bursts.
Bain Marie: if you do not have a microwave, put the chocolate in a heatproof bowl over a saucepan of gently simmering water. Do not let the base of the bowl touch the water. Heat until the chocolate is very nearly melted then take it off the heat and take the bowl off the saucepan. Be very careful not to burn yourself as the bowl will be hot and steam will escape from the saucepan. Allow the mixture to sit for a few minutes for the residual heat to melt the remainder of the mixture. Again, be careful not to over-heat.
Cooking from frozen: allow 1 – 2 minutes extra cooking time.
Weighing the ingredients:
You can either weigh your ingredients and then add them to the saucepan or you can weigh your ingredients directly into your saucepan. Simply put it on the scales and zero the scales. Make sure you remember to zero them in between adding each new ingredient.

Indian Spice Mix

Tikka Marinade
You May Also Like
Irish Oat Cookies in a Jar
21st November 2021
Cinnamon Swirl Vanilla Slice
26th March 2023