
Hot Chocolate Bombs
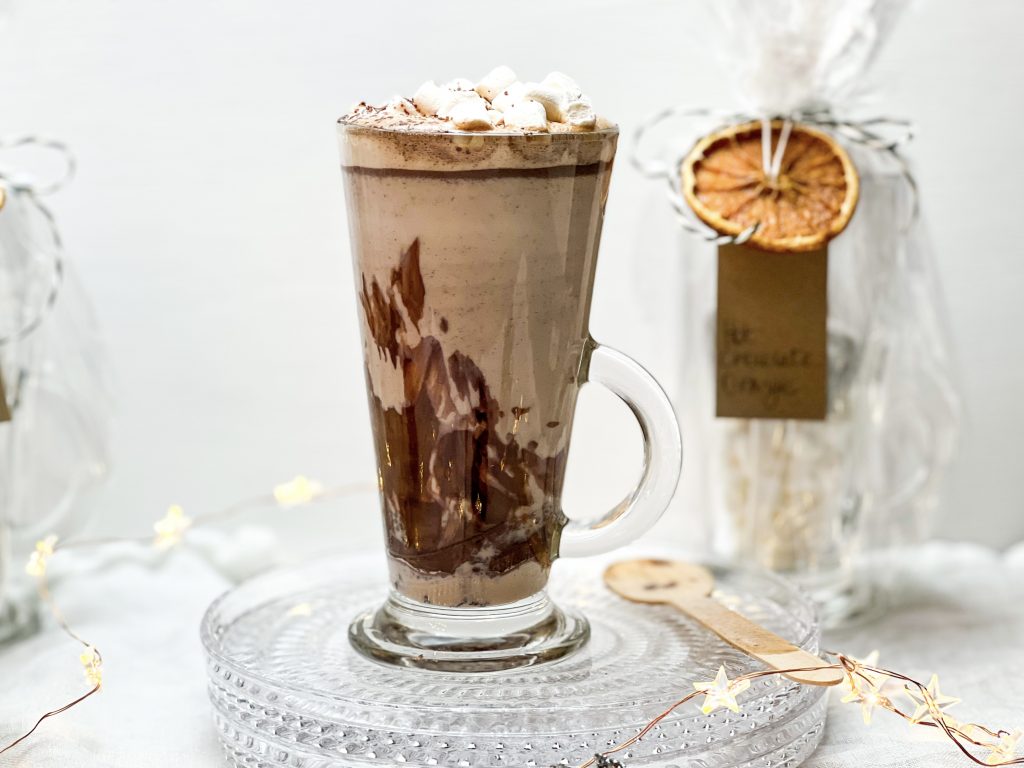
Hot Chocolate Bombs, served with an attached spoon, ready to be melted in hot milk and served with marshmallows or luscious, thickened cream – the ultimate winter treat after a long, cold, wet walk or simply when you need a pick me up. These make wonderful gifts, for family and friends or simply for yourself!
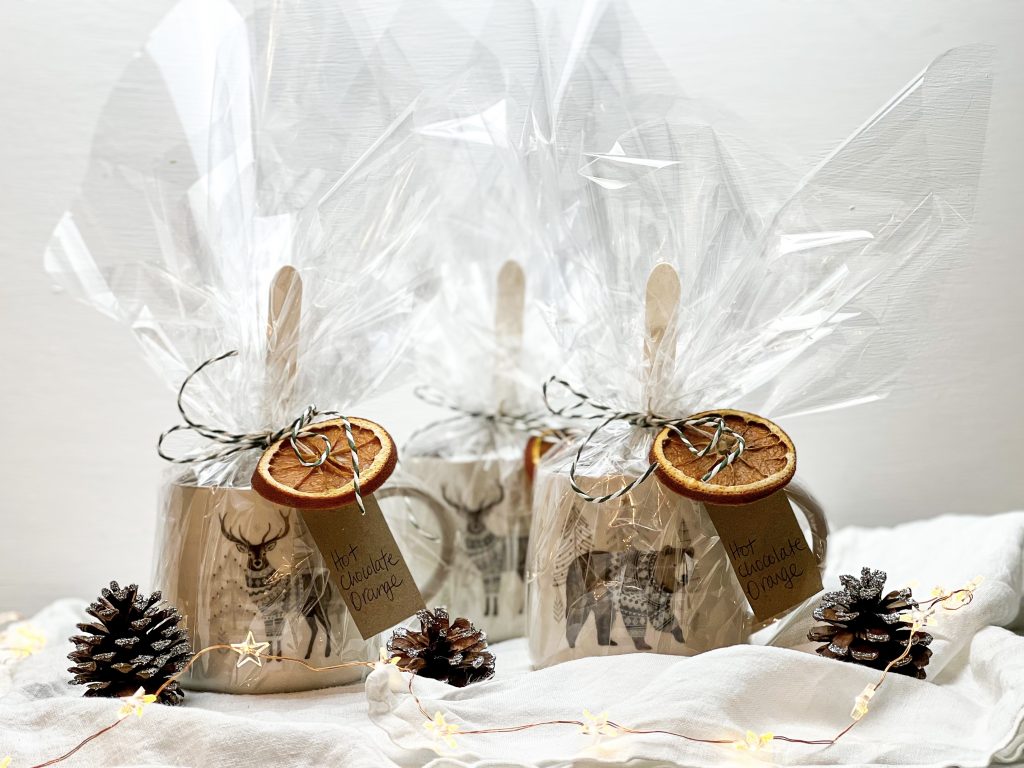
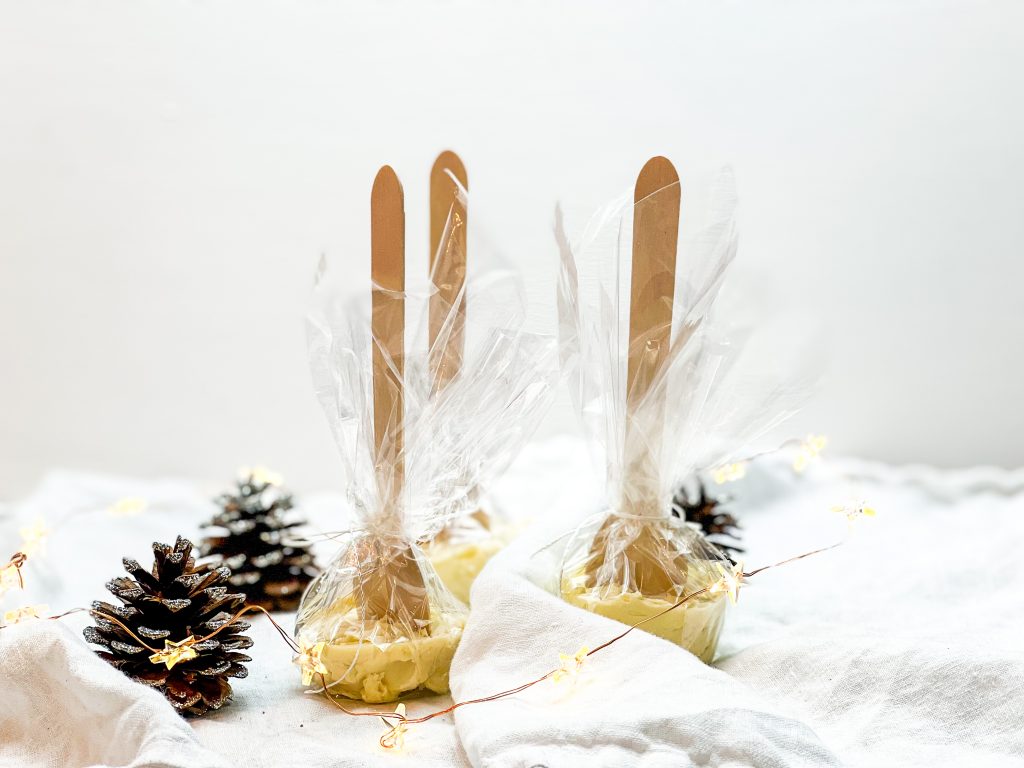
No powders, just a glorious chunk of your favourite chocolate – you can use dark, milk or white chocolate – melted and set in a block with the spoon, ready to go. You can gift just these bombs or you can add some marshmallows and a mug, if you prefer.
Materials and costs:
I use:
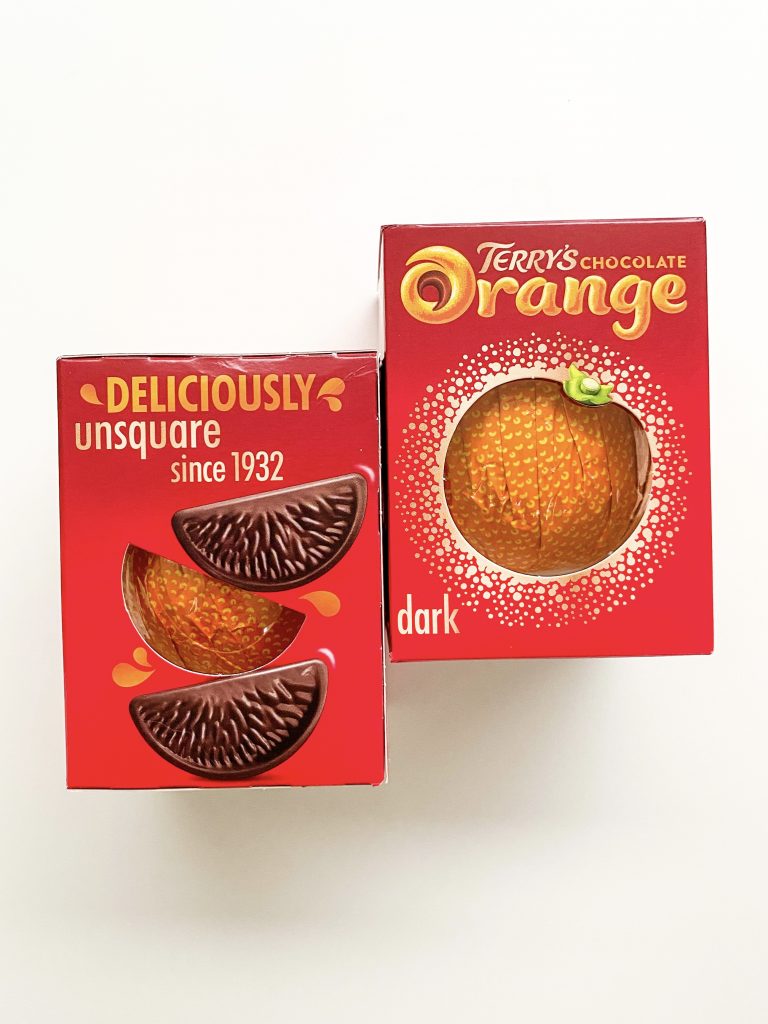
- Terry’s Chocolate Orange balls (currently half price, £1, in most supermarkets) and each ball makes 3 bombs. See below for information on what chocolate you can use.
- small white marshmallows – 80p per packet, enough for 4 – 5 hot chocolates
- The glass latte mugs I have been using, are from Ikea and cost only £1. I also have some more expensive ones from M&S, with fabulous seasonal designs. Totally up to you and your budget.
- cellophane from Amazon to cover and wrap each bomb and mug.
So, hot chocolate bombs ready to gift for less than 50p or served in a mug with marshmallows for around £2. As a confirmed chocaholic, I would be utterly delighted to receive one of these; they make fabulous stocking fillers, table presents or wonderful homemade gifts for Secret `Santa. Maybe you just want to treat your family one weekend, but however you want to use them, I urge you to give them a try.
What chocolate can I use?
You can use dark/semi-sweet, milk or white chocolate but, it is really important, that you use ‘real’ chocolate. Real chocolate contains cocoa solids, so check the ingredients to check you are using real chocolate and not candy flavoured fake or compound chocolate.
Tempered chocolate
Although they are quick and not difficult to make, you do need to make sure you use tempered chocolate. I am absolutely no expert at cooking with chocolate and have had my fair share of disasters, so when I came across a method for tempering chocolate in the microwave, I jumped at the chance to try it out and was amazed how simple it was.
I read about tempering chocolate this way on Sugar Geek Show website. To read more about it, see here.
What does ‘tempering chocolate’ mean?
The chocolate you buy is already tempered but normally, when you heat it, it can go out of temper.
What does temper mean?
In tempered chocolate, the crystals in the cocoa butter are arranged in a specific order which ensures the chocolate is shiny and has a sharp snap when you break it. When you heat chocolate above a certain temperature, these crystals become jumbled up and when the chocolate sets, they set in the incorrect order. The structure of the chocolate will change, it will loose its shine and sharp snap and it can ‘bloom’, which makes it look dull and cloudy.
The aim of tempering chocolate is to heat it in such a way, that when it melts and sets again, these crystals re-set in the correct specific order to ensure the chocolate retains its shininess and snap.
Traditionally chocolate is tempered using the ‘seeding method’ which involves heating, removing some, cooling and heating again whilst adding the removed chocolate, to control the temperature.

Ready to melt 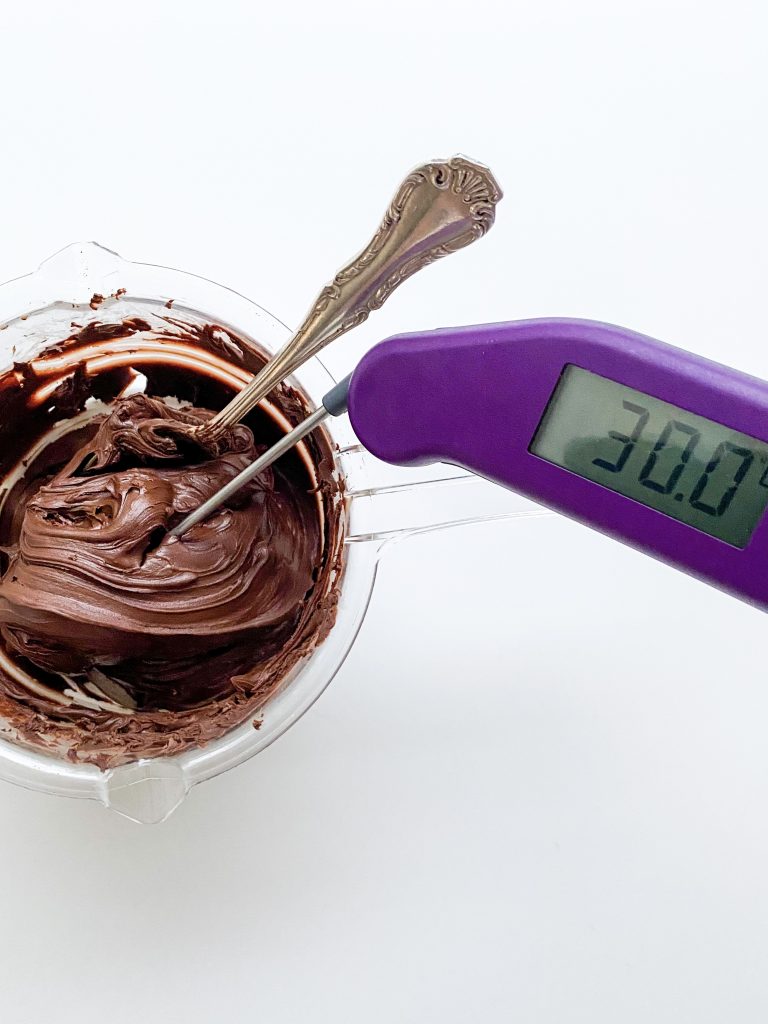
Do not let dark chocolate go above 30°C or 86°F
Tempering in the microwave.
In a nutshell, this method involves making sure the chocolate never actually goes out of temper. It is ideal for small quantities of chocolate, I wouldn’t recommend doing this with more than around 300g – 350g chocolate at a time. You need to make sure that the chocolate never goes above a certain temperature (see below) when you melt it. You do this by:
- blitzing the chocolate in a food processor until it is almost powder like
- if you don’t have a food processor, you can grate the chocolate using a fine grater – although this is quite time consuming.
- being patient and melting the chocolate slowly with time to allow the chocolate to cool, between bursts in the microwave.
Maximum temperature when heating the chocolate:
Your chocolate must NOT go above these temperatures:
- Dark chocolate – 30°C or 86°F
- Milk chocolate – 28°C or 84°F
- White chocolate – 27°C or 82°F
How to make Hot Chocolate Bombs
Collect all your ingredients and equipment together:
- 300g – 350g ‘real’ chocolate. I use 2 x Terry’s Chocolate Orange Balls which totals 314g – I like the dark chocolate ones. See above for more information on what chocolate to use.
- one plastic, microwave safe bowl. This is important – do not use glass or ceramic as they will heat up with the chocolate and may affect the overall temperature of the chocolate as it melts, overheating it.
- spatula and food thermometer
- moulds for the bombs – I use small silicone moulds for small muffins
- disposable wooden spoons
- 600W microwave oven – if your microwave is more powerful, reduce the timings and don’t forget to check the temperature of the chocolate.
How to make the Hot Chocolate Bombs
- Break up the chocolate and add to a powerful blender. Blitz until it forms a powder-like consistency. If your blender is not very powerful or is small, do this in batches.
- Transfer to a plastic, microwave safe bowl.
- Blitz for 30 seconds, take out of the microwave and stir well – it probably won’t look much different at this stage.
- Blitz again for 30 seconds, take out of the microwave and stir again, thoroughly. The chocolate should start clumping together. Check the temperature.
- Next, blitz again for 15 seconds and stir well. At this point mine had already reached 29.7°C but it was still a bit grainy. Set aside for 1 minute to cool a little before heating again.
- Stir again, and if necessary, blitz for a further 10 seconds. Stir well. At this point mine was ready for the mould – it was smooth but quite thick. If it is still not ready, blitz for 10 seconds only at a time, stir well and leave for 30 seconds in between each blitz.
- Divide into your silicone mould and level the surface.
- Add your wooden spoon and set aside to set.
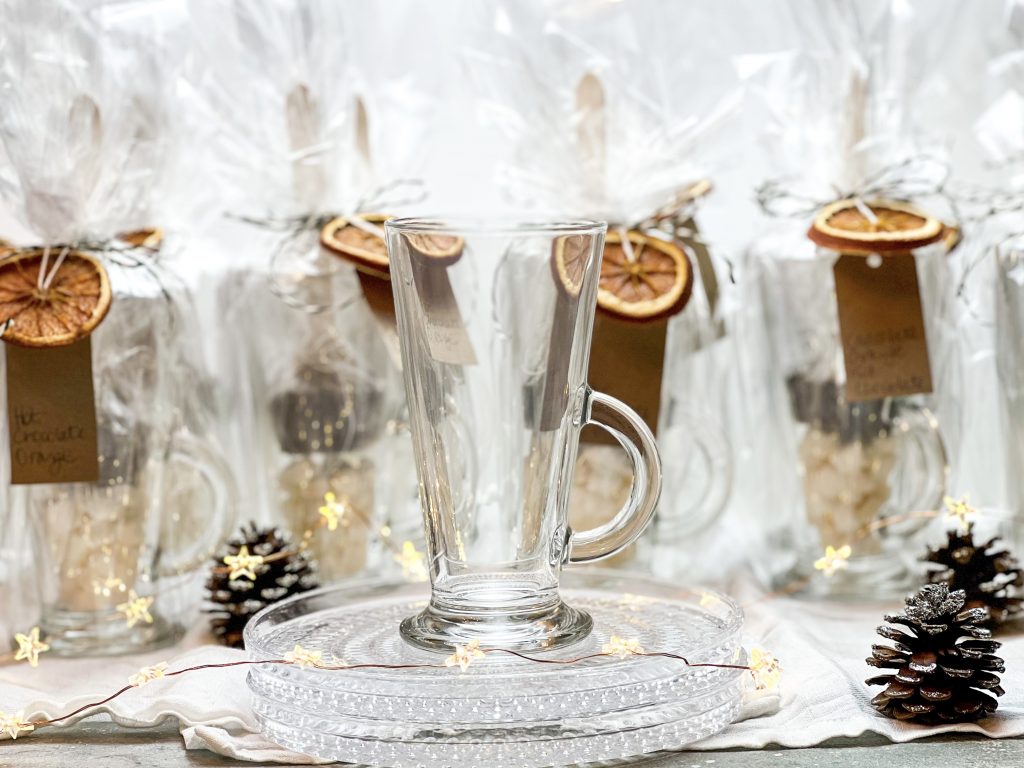
- When set, wrap in cellophane and seal tightly with ribbon or string.
- If gifting in a mug with marshmallows, place the marshmallows in the bottom of the mug, top with the cellophane wrapped Hot Chocolate Bomb and then wrap everything in cellophane. Seal tightly with ribbon or string.
- I use orange flavoured chocolate and also like to add a slice of dried orange to the ribbon/string and a label.
- Print out the recipe at the bottom of this post to accompany the Hot Chocolate Bomb. Simply click on the ‘print icon’ under the small photograph to the right of the recipe title. Not only does it share the recipe, in case they want to make some for themselves, it shares the link to the recipe if they want more information, and it explains how to make the Hot Chocolate using the bomb!
Ingredients 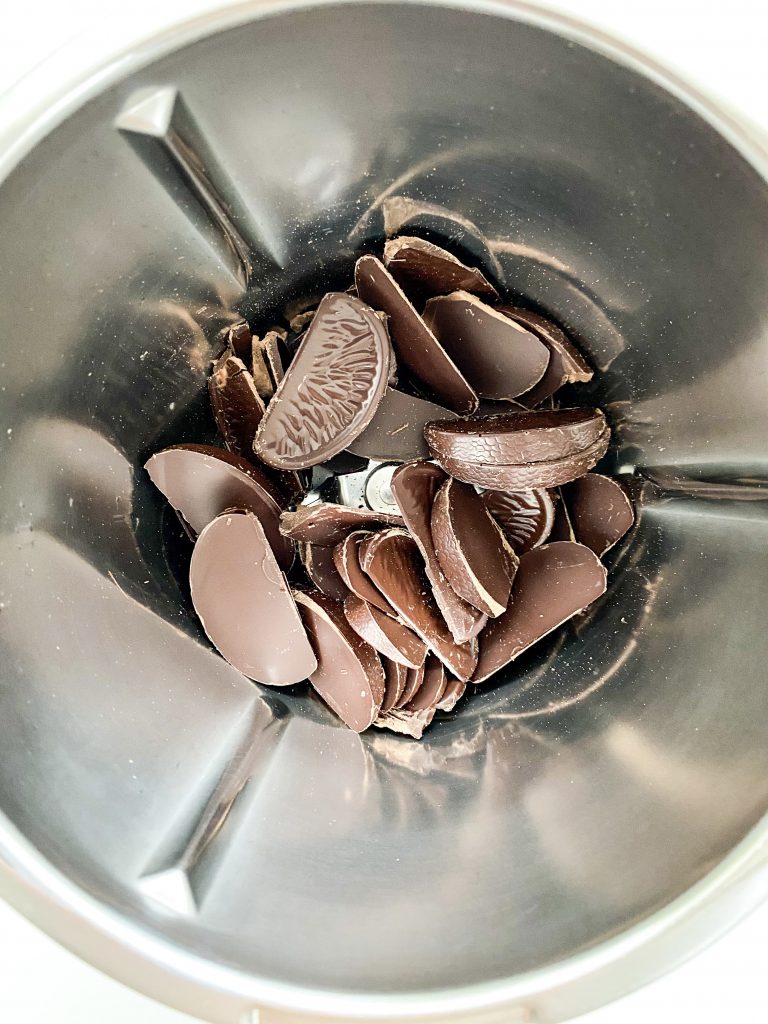
1 Break up chocolate 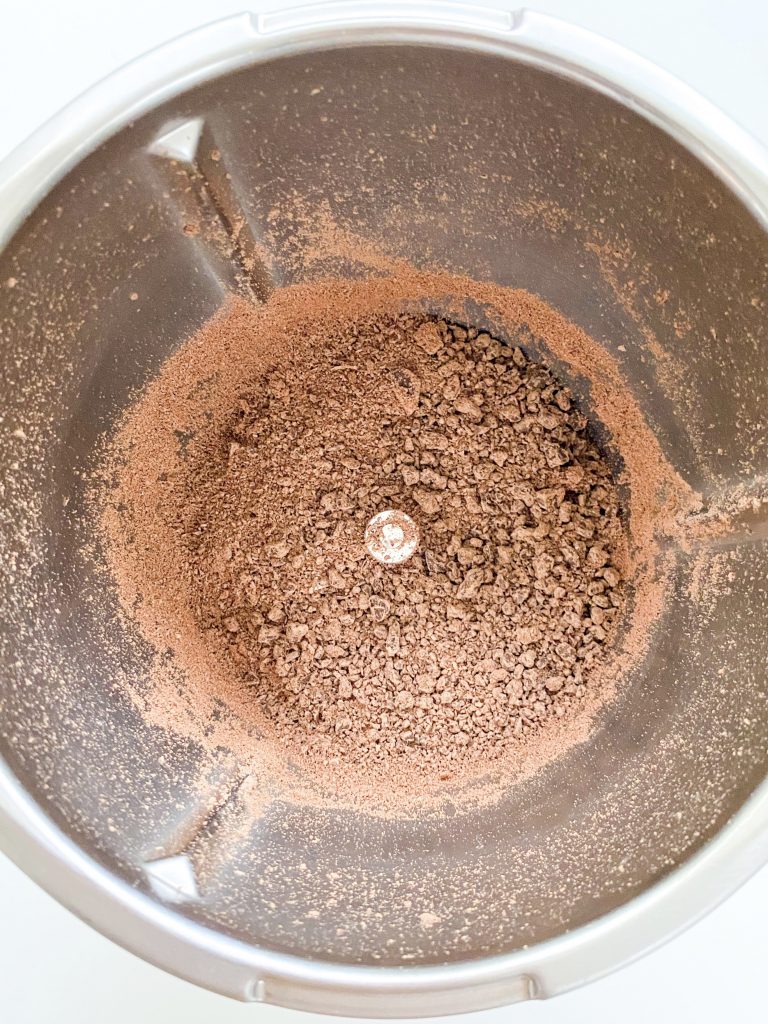
Blitz 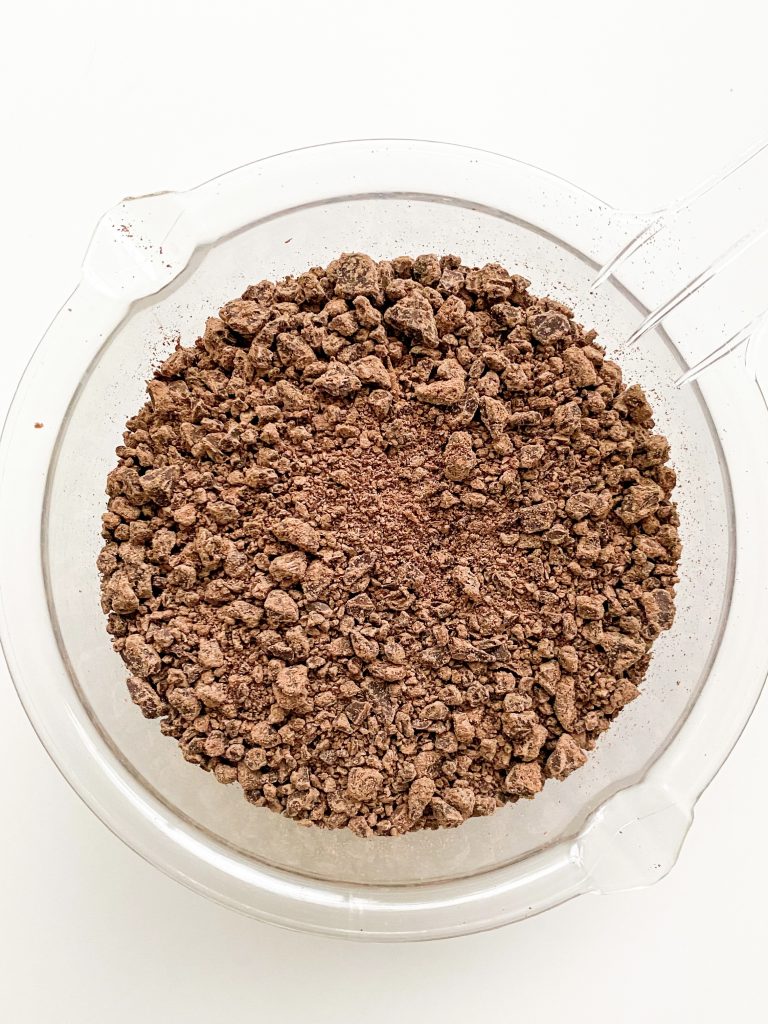
2 Microwave safe bowl 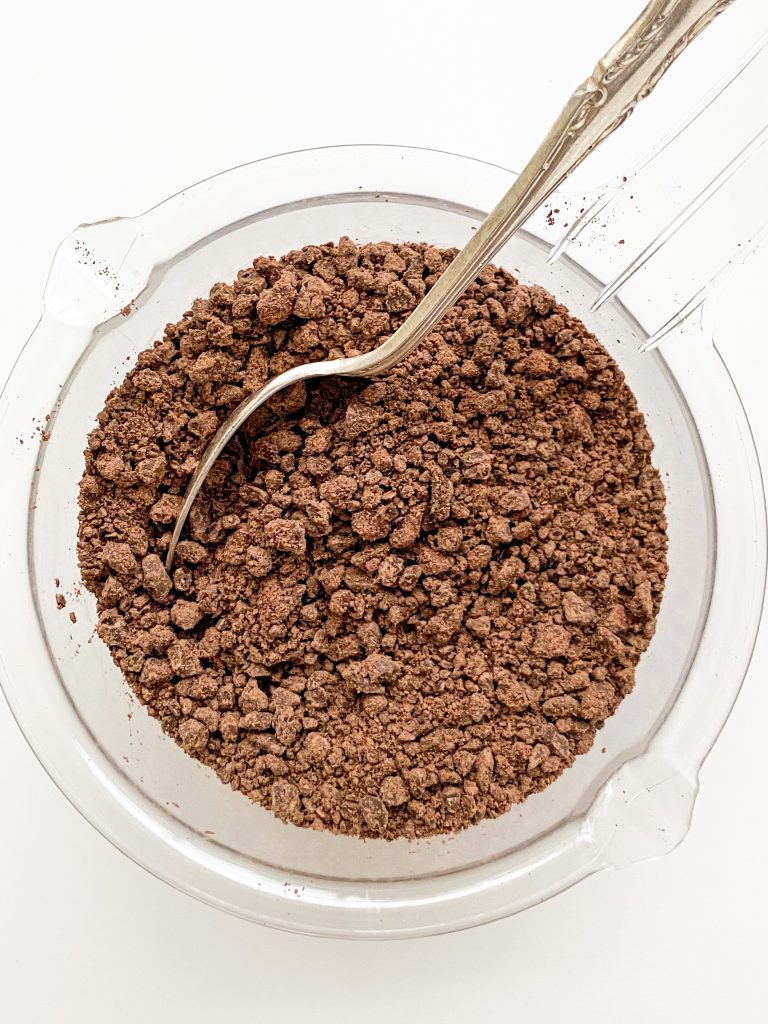
3 Blitz, stir, check temp 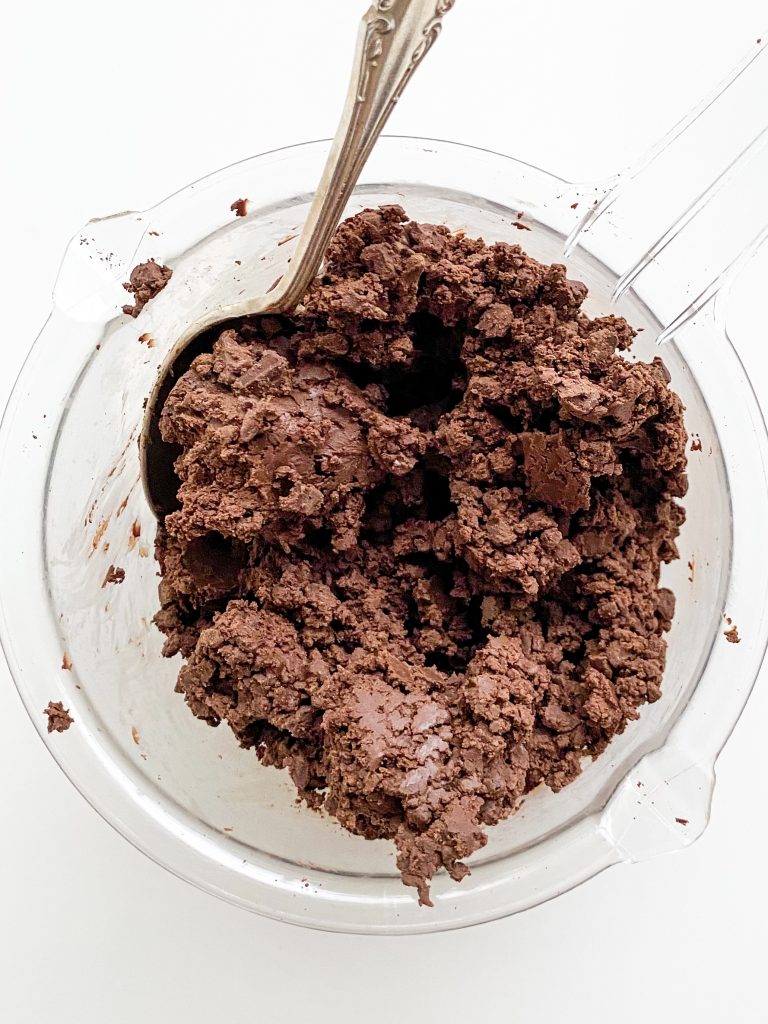
4 Blitz, stir, check temp 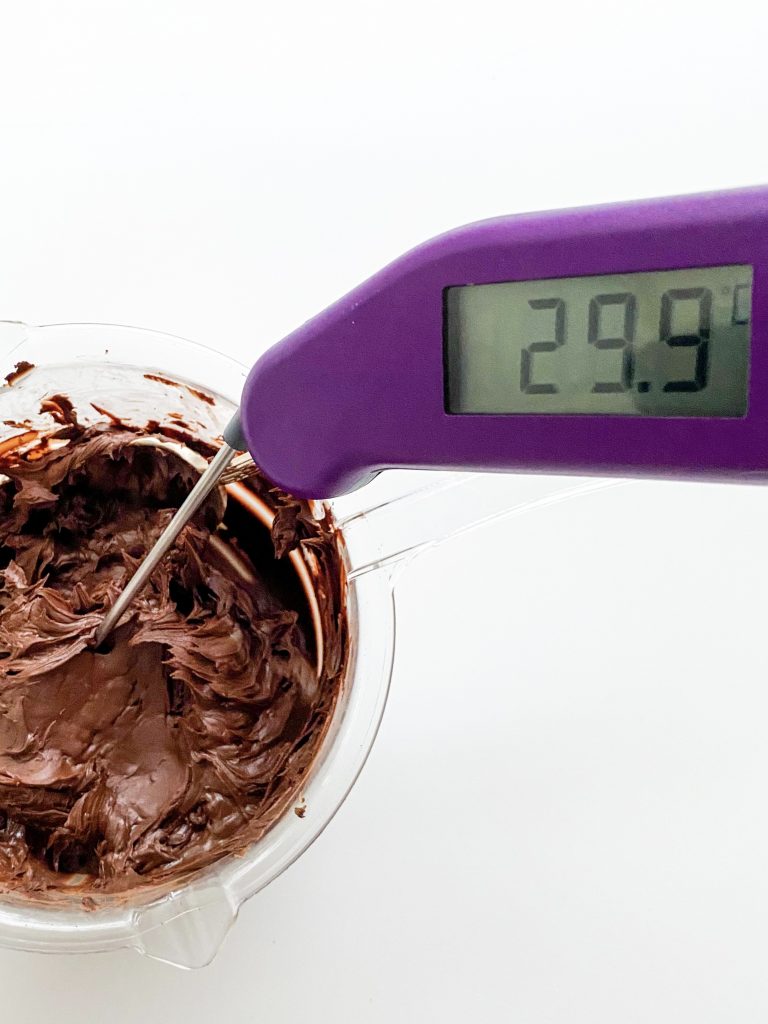
5, 6 Blitz, stir, check temp 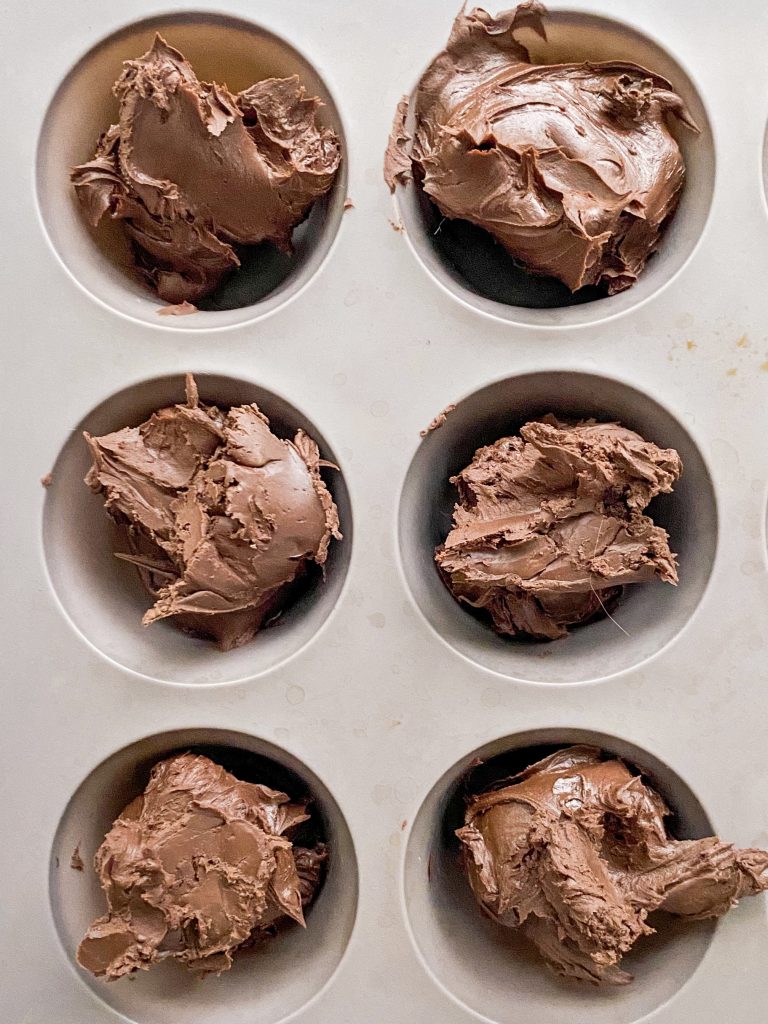
7 Divide into silicone mould 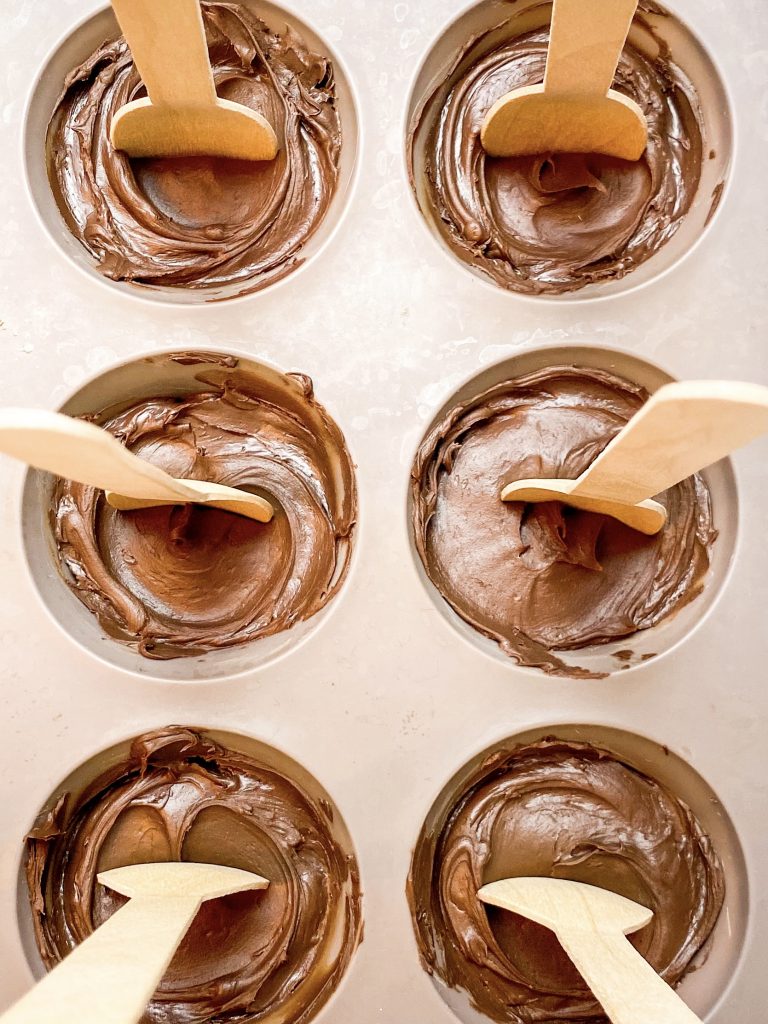
8 Add spoons. Set
How make Hot Chocolate using these bombs:
You will need:
- 1 x Hot Chocolate Bomb
- 250g milk – you can use dairy or dairy free milk
Optional extras:
- ¼ cup small marshmallows
- whipped cream
- grated chocolate or sieved cocoa
It is very simple to make:
- Place the chocolate bomb in your favourite mug.
- Heat the milk until steaming but not boiling. I use my milk heater which I also use to heat milk for latte coffees.
- Pour over the chocolate bomb.
- Leave for a few minutes, stirring from time to time, until the chocolate has melted into the milk.
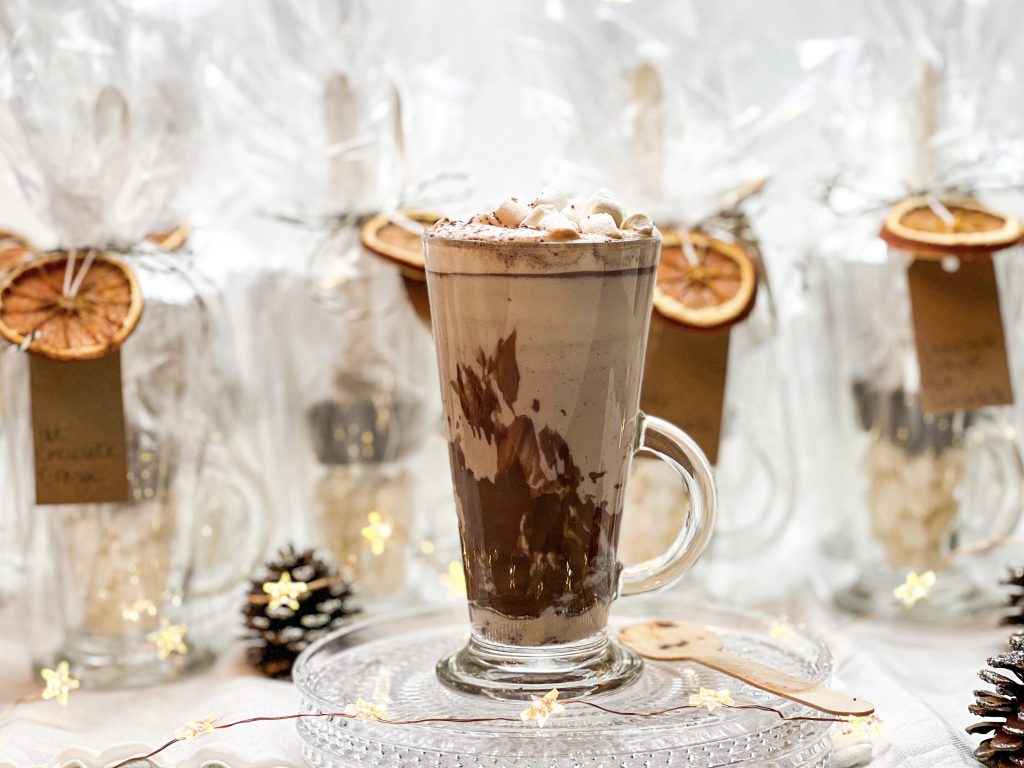
- Either:
- serve as is, OR
- top with mini marshmallows and grate over some chocolate, OR
- top with whipped cream and grated chocolate, if you like
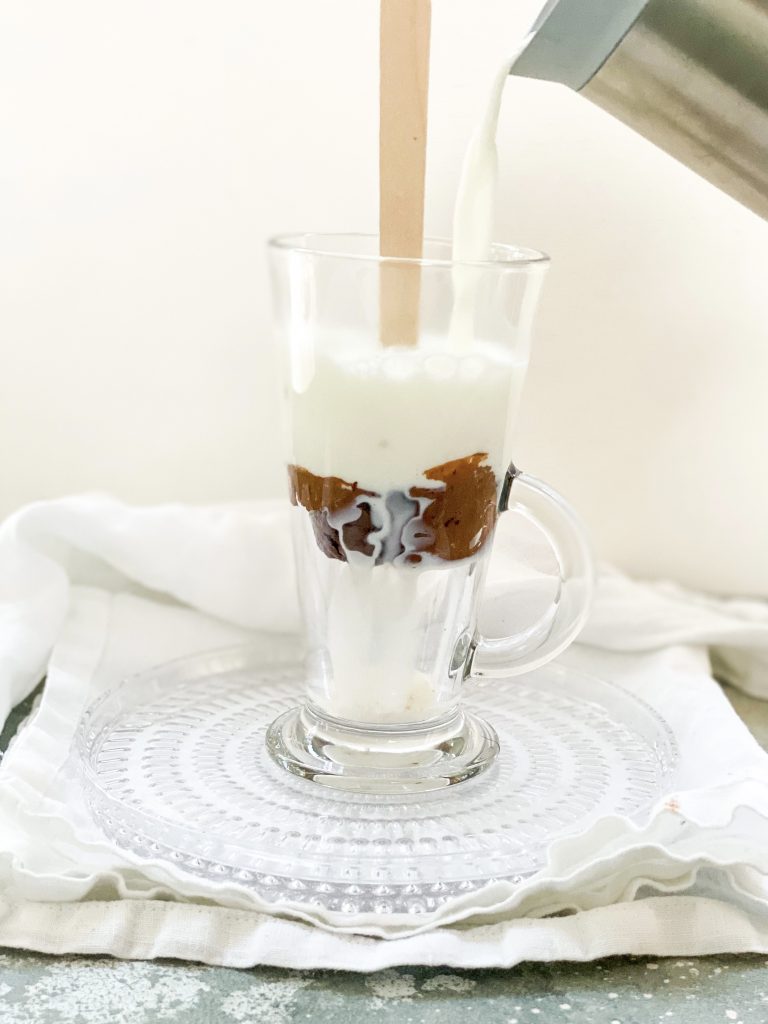
1,2, 3 Add hot milk 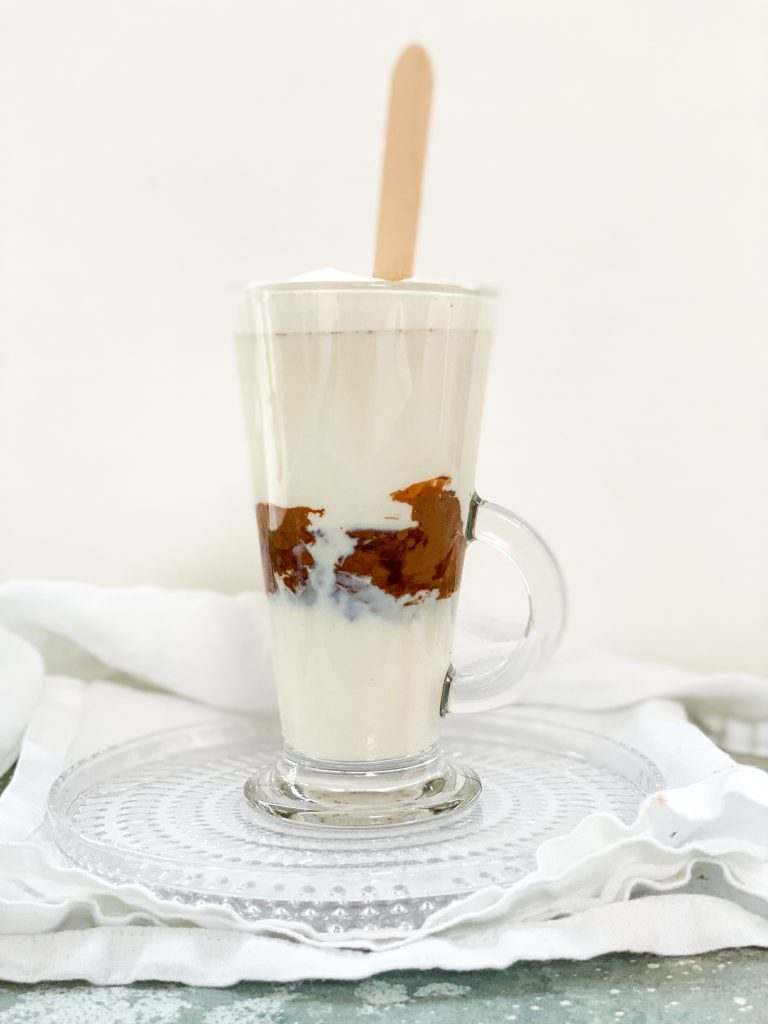
4 Stir 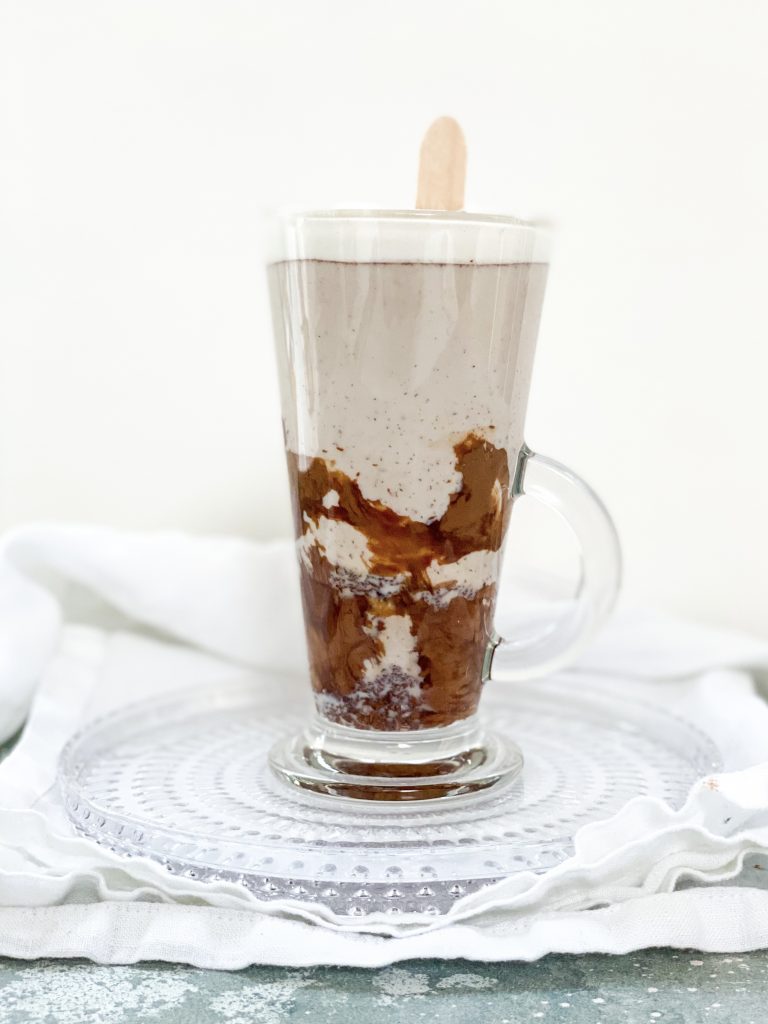
5 Serve 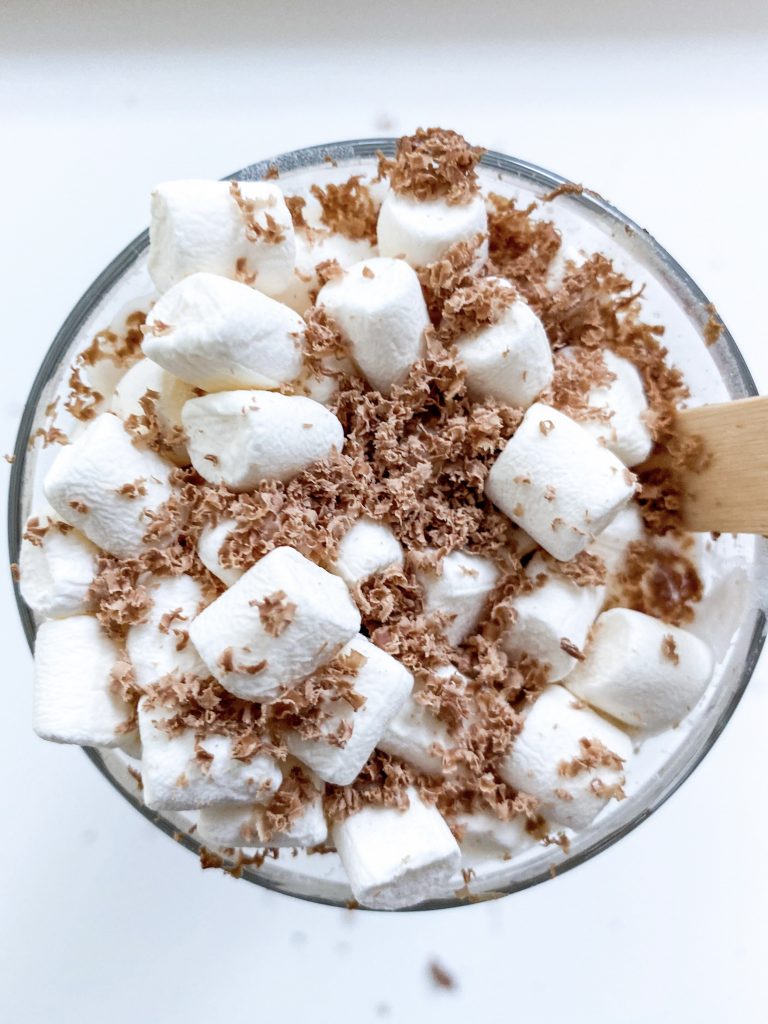
With marshmallows 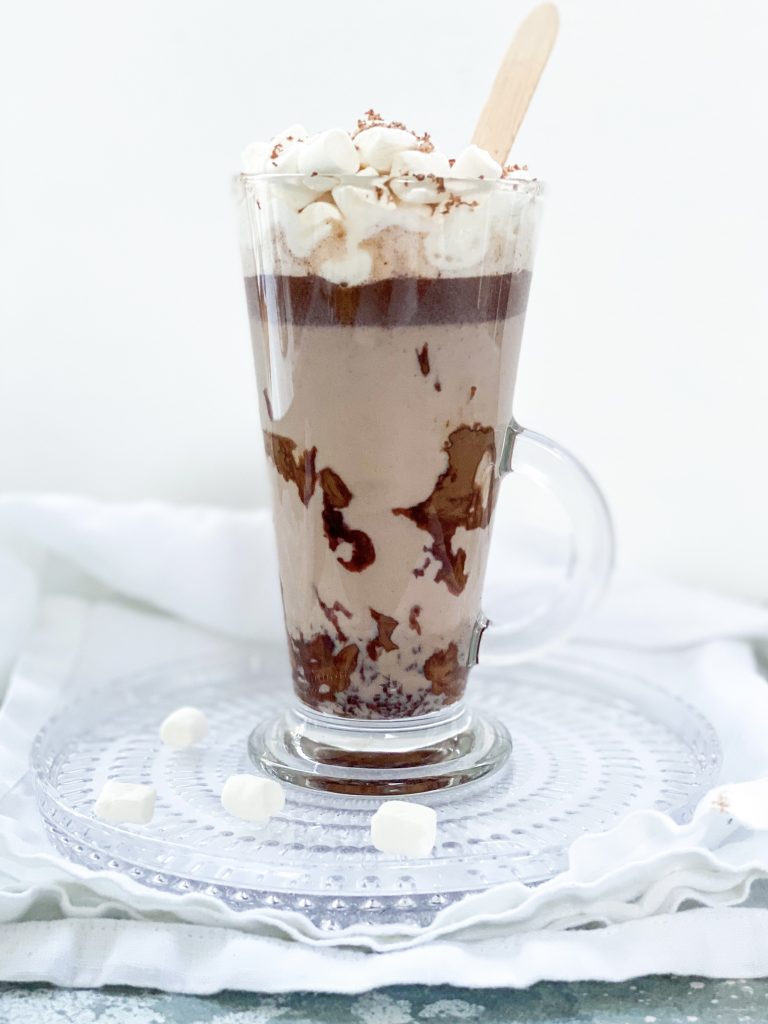
Dark Hot Chocolate
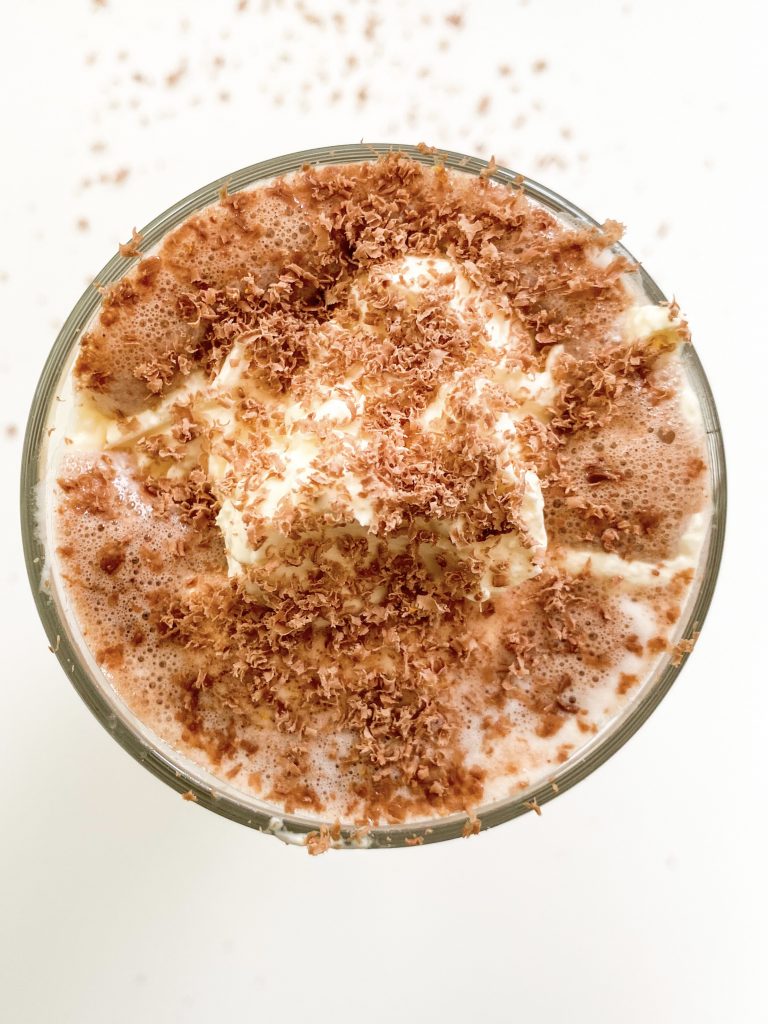
With cream 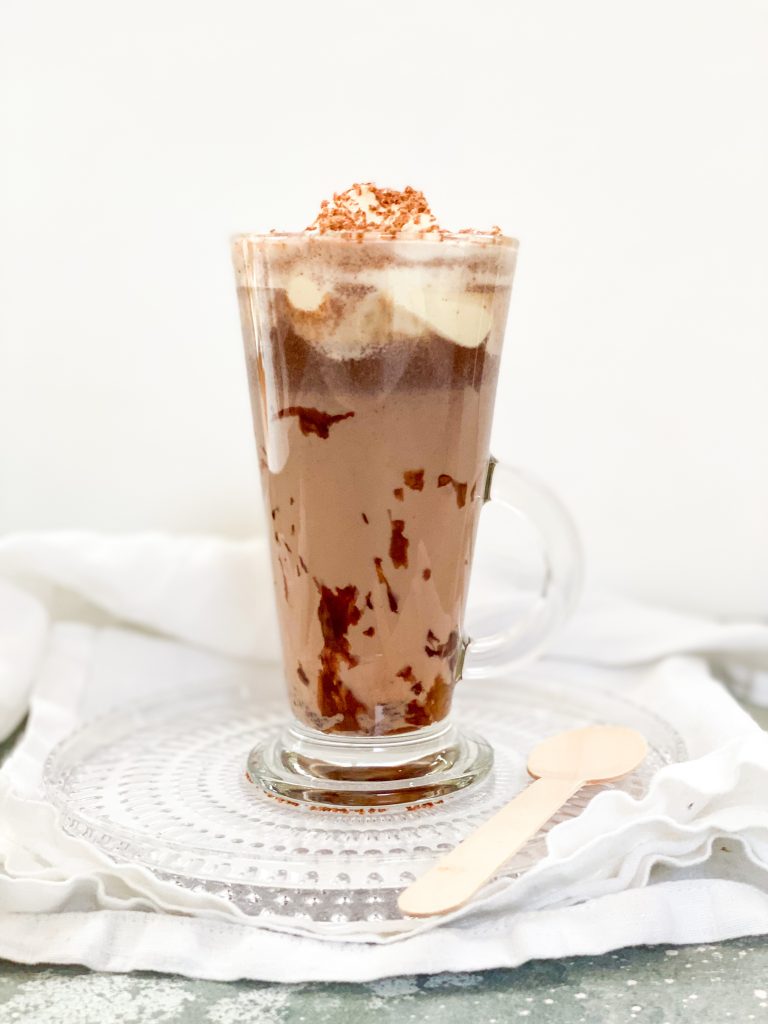
Hot Milk Chocolate
Made this recipe?
If you make this recipe, do please tag me on instagram @daffodil_kitchen. You could also leave a comment in the box directly below the recipe.

Hot Chocolate Bombs
Hot Chocolate Bombs, served with an attached spoon, ready to be melted in hot milk and served with marshmallows or luscious, thickened cream – the ultimate winter treat after a long, cold, wet walk or simply when you need a pick me up. These make wonderful gifts, for family and friends or simply for yourself!
Ingredients
For more information about Hot Chocolate Bombs, please see http://www.daffodilkitchen.com/hot-chocolate-bombs/
Hot Chocolate Bombs:
- 300g – 350g chocolate. I use 2 x Terry’s Dark Chocolate Orange Balls which totals 314g. See Recipe Notes below for more information on what chocolate to use.
- one plastic, microwave safe bowl. This is important – do not use glass or ceramic as they will heat up with the chocolate and may affect the overall temperature of the chocolate as it melts, and overheat it.
- spatula and food thermometer
- moulds for the bombs – I use small silicone moulds for small muffins
- disposable wooden spoons
- 600W microwave oven – if your microwave is more powerful, reduce the timings and don’t forget to check the temperature of the chocolate.
Hot Chocolate ingredients:
- 1 x Hot Chocolate Bomb
- 250g milk – you can use dairy or dairy free milk
Optional extras:
- ¼ cup small marshmallows
- whipped cream
- grated chocolate or sieved cocoa
Instructions
How to make the Hot Chocolate Bombs
-
Collect together the ingredients and equipment.
-
Break up the chocolate and add to a powerful blender. Blitz until it forms a powder like consistency. If your blender is not very powerful or is small, do this in batches.
-
Transfer to a plastic, microwave safe bowl.
-
Blitz for 30 seconds, take out of the microwave and stir well – it probably won’t look much different at this stage.
-
Blitz again for 30 seconds, take out of the microwave and stir again, thoroughly. The chocolate should start clumping together. Check the temperature.
-
Next, blitz again for 15 seconds and stir well. At this point mine had already reached 29.7°C but it was still a bit grainy. Set aside for 1 minute to cool a little before heating again.
-
Stir again, and if necessary, blitz for a further 10 seconds. Stir well. At this point mine was ready for the mould – it was smooth but quite thick. If it is still not ready, blitz for 10 seconds only at a time, stir well and leave for 30 seconds in between each blitz.
-
Divide into your silicone mould and level the surface.
-
Add your wooden spoon and set aside to set.
-
When set, wrap in cellophane and seal tightly with ribbon or string.
-
If gifting in a mug with marshmallows, place the marshmallows in the bottom of the mug, top with the wrapped Hot Chocolate Bomb and wrap everything in cellophane. Seal tightly with ribbon or string. I use orange flavoured chocolate and also like to add a slice of dried orange to the ribbon/string and a label.
How make Hot Chocolate using these bombs:
-
Place the chocolate bomb in your favourite mug.
-
Heat the milk until steaming but not boiling. I use my milk heater which I also use to heat milk for latte coffees.
-
Pour over the chocolate bomb.
-
Leave for a few minutes, stirring from time to time, until the chocolate has melted into the milk.
-
Either:
– serve as is, OR
– top with mini marshmallows and grate over some chocolate, OR
– top with whipped cream and grated chocolate, if you like
Recipe Notes
What chocolate can I use?
You can use dark/semi-sweet, milk or white chocolate but, it is really important, that you use ‘real’ chocolate. Real chocolate contains cocoa solids, so check the ingredients to check you are using real chocolate and not candy flavoured fake or compound chocolate.
Tempered Chocolate:
Although they are not difficult to make, you do need to make sure you use tempered chocolate.
What does temper mean?
The chocolate you buy is already tempered but normally, when you heat it, it can go out of temper. In tempered chocolate, the crystals in the cocoa butter are arranged in a specific order which ensures the chocolate is shiny and has a sharp snap when you break it. When you heat chocolate above a certain temperature, these crystals become jumbled up and when the chocolate sets, they set in the incorrect order. The structure of the chocolate will change, it will loose its shine and sharp snap and it can ‘bloom’, which makes it look dull and cloudy.
The aim of tempering chocolate is to heat it in such a way, that when it melts and sets again, these crystals re-set in the correct specific order to ensure the chocolate retains its shininess and snap.
Tempering in the microwave:
In a nutshell, this method involves making sure the chocolate never actually goes out of temper. It is ideal for small quantities of chocolate, I wouldn’t recommend doing this with more than around 300g – 350g chocolate at a time. You need to make sure that the chocolate never goes above a certain temperature (see below) when you melt it. You do this by:
- blitzing the chocolate in a food processor until it is almost powder like
- if you don’t have a food processor, you can grate the chocolate using a fine grater – although this is quite time consuming.
- being patient and melting the chocolate slowly with time to allow the chocolate to cool, between bursts in the microwave.
Maximum temperature when heating the chocolate:
Your chocolate must NOT go above these temperatures –
- Dark chocolate – 30°C or 86°F
- Milk chocolate – 28°C or 84°F
- White chocolate – 27°C or 82°F


You May Also Like
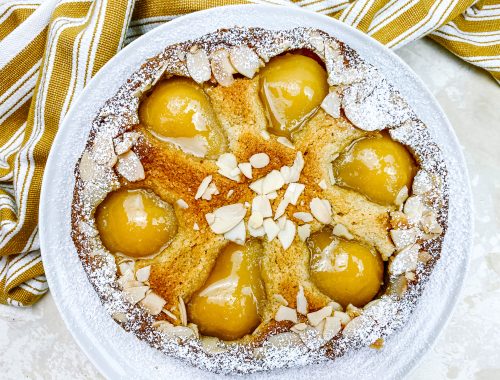
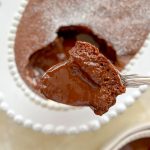
Pear Almondine

Ginger Biscuits

