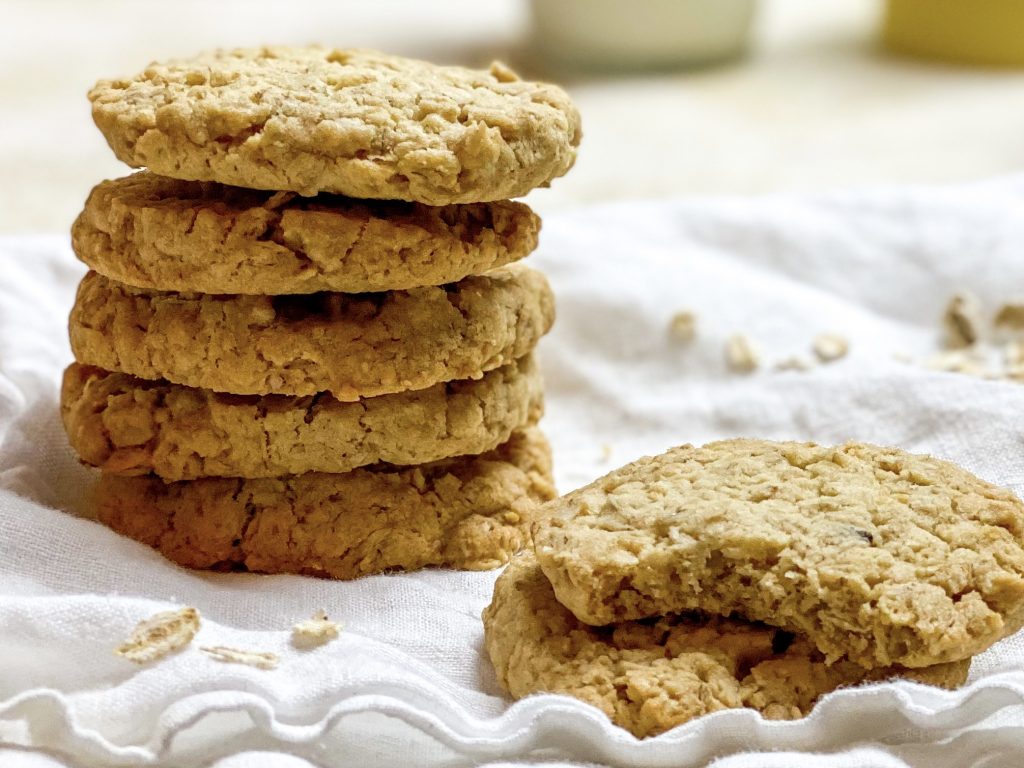
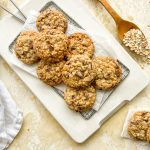
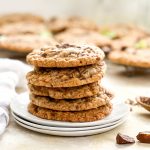
Irish Oat Cookies
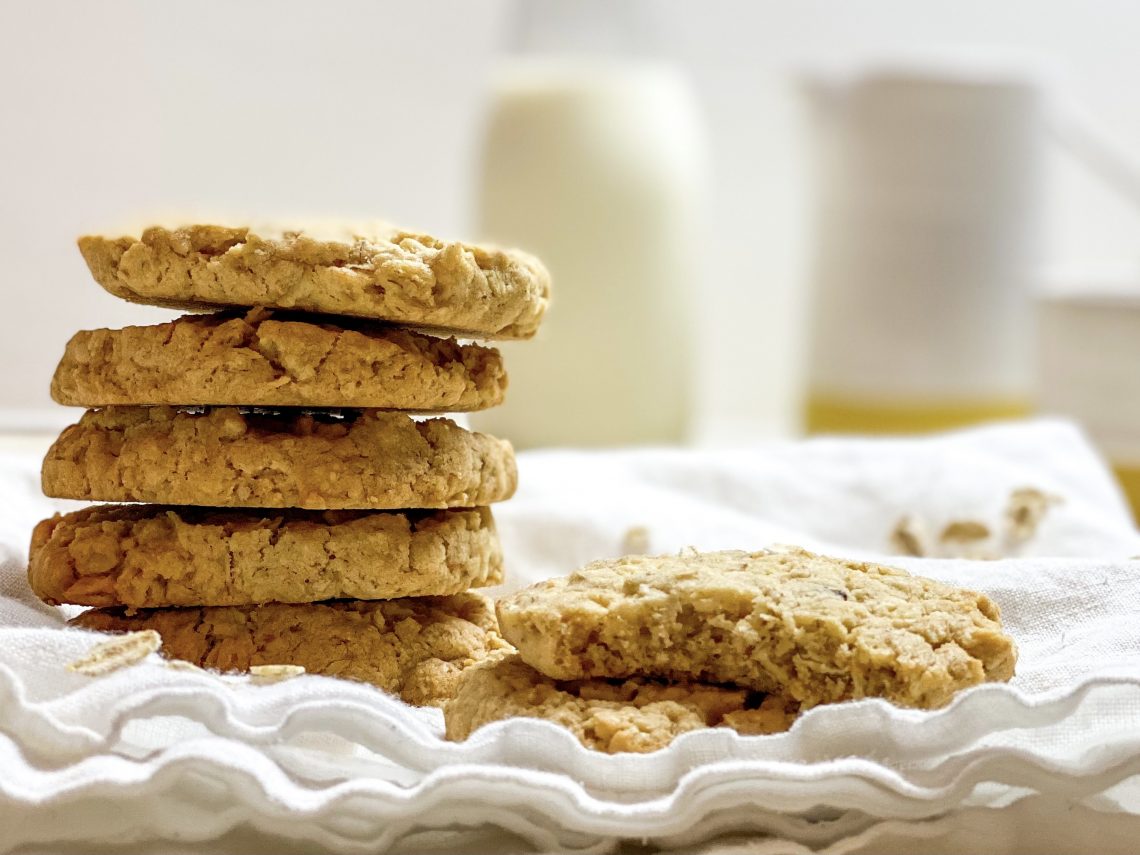
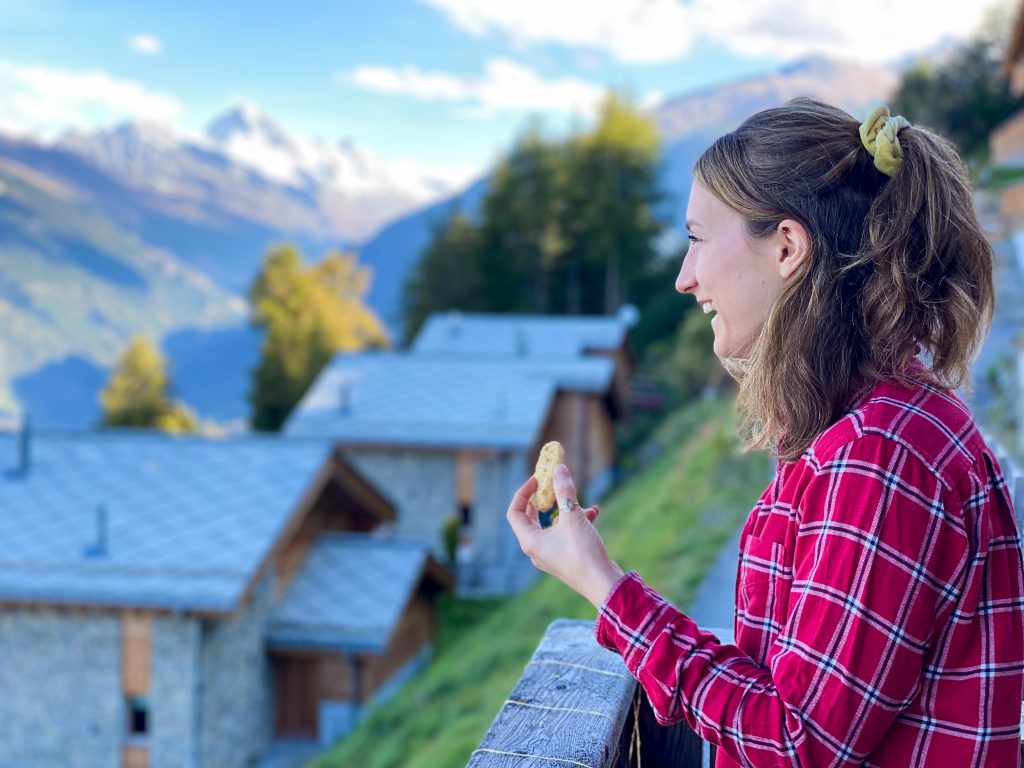
A delicious, crunchy, traditional and utterly moreish cookie/biscuit, loaded with oats. I’d been craving Irish Oat Cookies since our little trip to Ireland last week; obviously, the only solution was to whip up a batch as soon as possible. Charlotte and I drove to Switzerland yesterday and these wonderful biscuits were an ideal treat (read: good excuse to eat a significant number of these incredible cookies!) to sustain us on the long 12 hour journey.
Whilst they are definitely sweet, these biscuits have less sugar than a lot of cookies and the oats have many health benefits. Oats have more protein and fat than most other grains, a large range of vitamins and minerals, as well as being rich in fibre and carbohydrates. They are loaded with antioxidants and are an excellent source of slow release energy. For all these reasons, oats make a wonderful breakfast either served as porridge/oatmeal, in granola or muesli or other dishes.
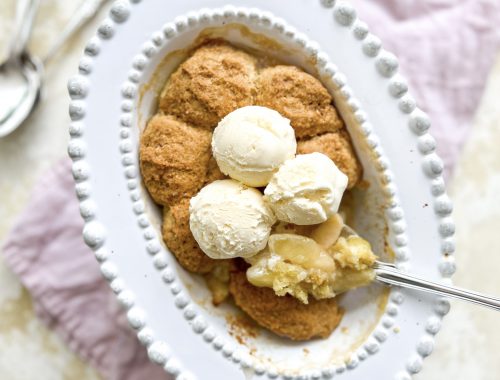
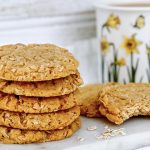
These Oat Cookies can be eaten at any time of the day. They are a fabulous treat with a cup of tea or coffee and, with all the health benefits, you can enjoy them guilt free! I can guarantee, that they are delicious for a quick breakfast or when you need a pick me up or energy boost. They certainly sustained us on our 12 hour trip across Europe.
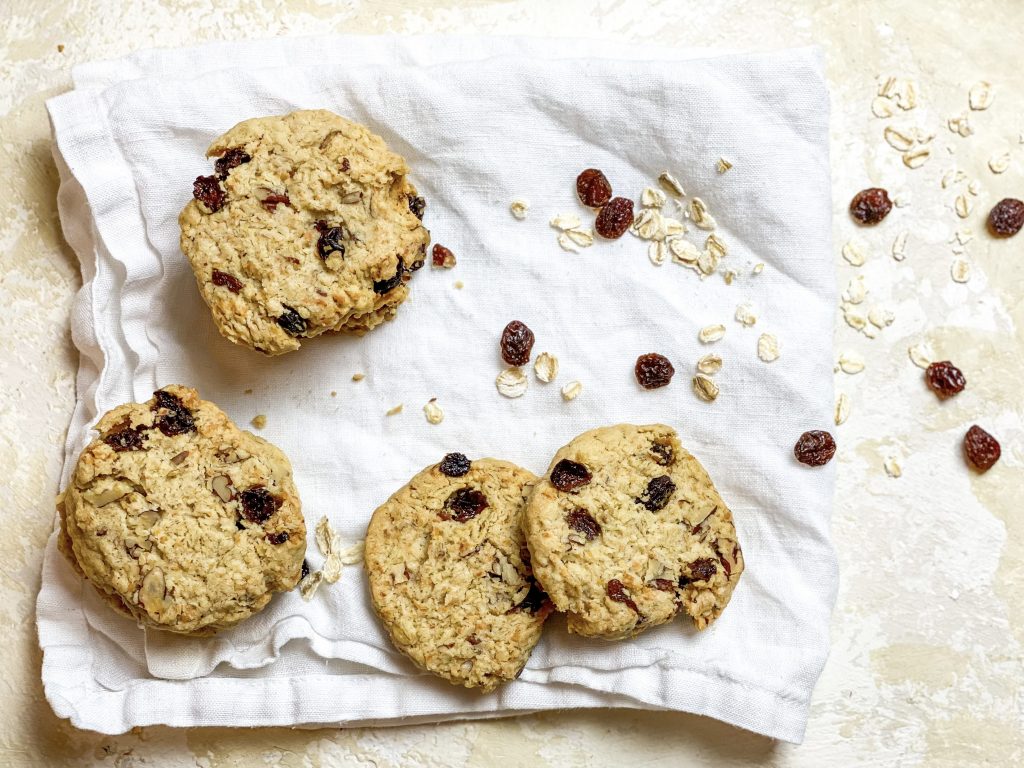
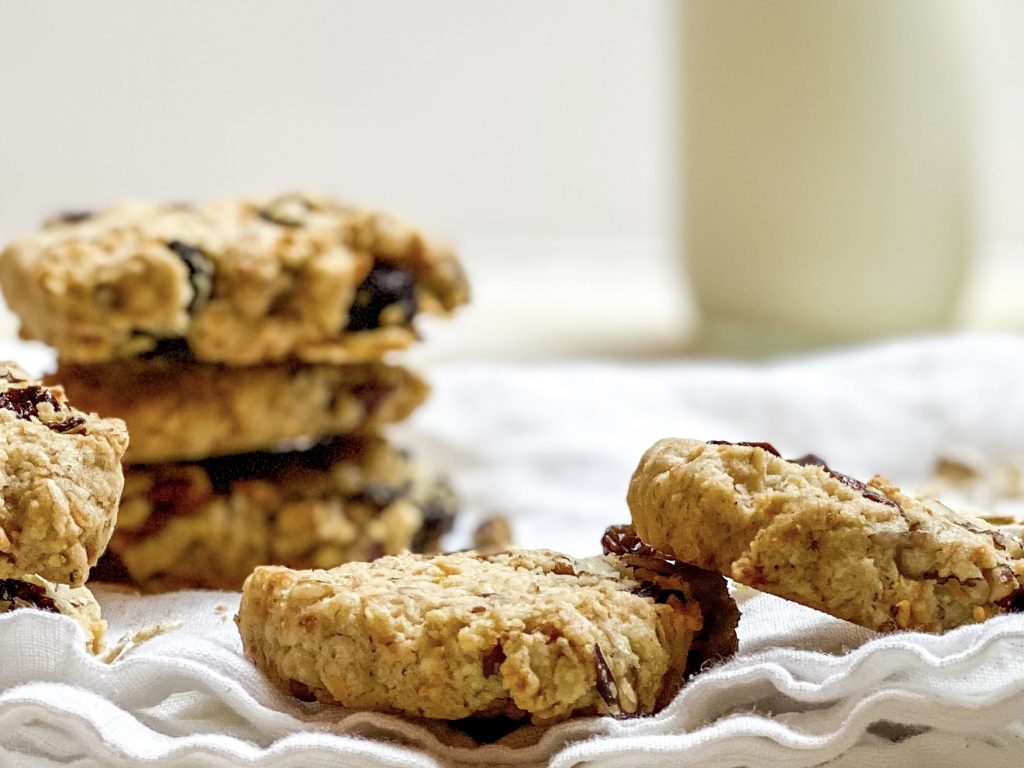
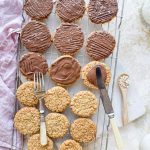
Reminiscent of Hobnobs, the base recipe is utterly delicious as is but it is also a a great base to add some extra flavours and therefore nutrients as well. For example, you could add desiccated coconut, chopped nuts, seeds, dried fruit and/or chocolate. You can add chocolate chips or they are delicious dipped in chocolate as well. Your choice completely.
How to make Irish Oat Cookies
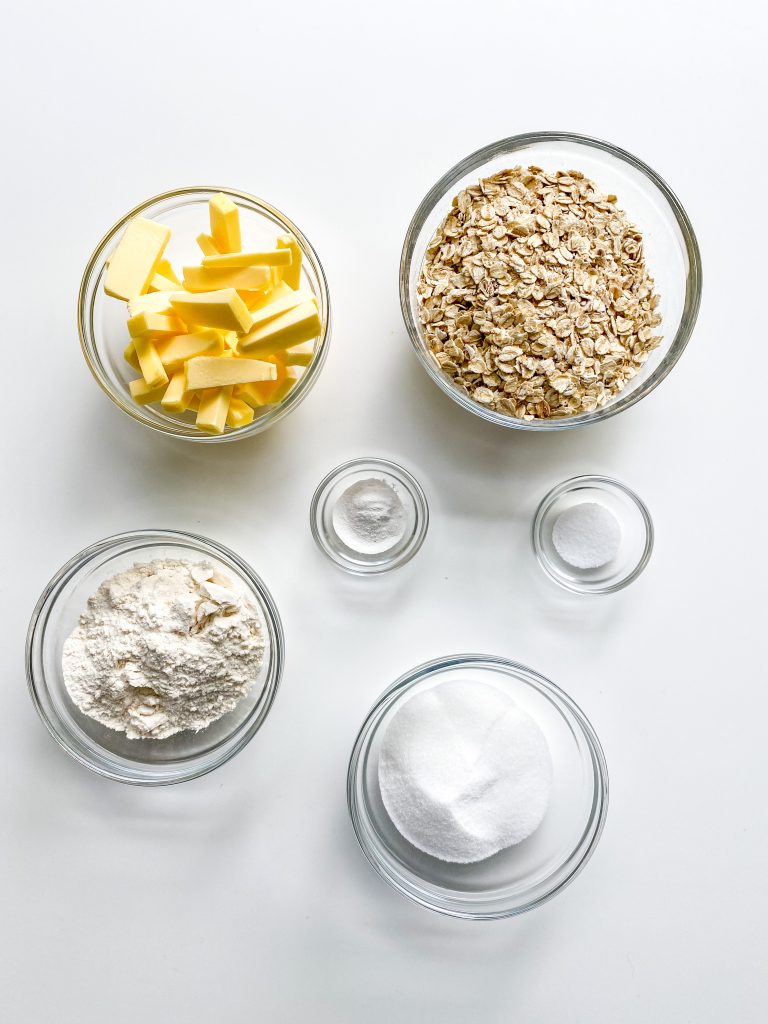
Collect all your ingredients together:
Basic cookie ingredients –
- unsalted butter, at room temperature
- caster sugar
- fine salt
- plain/all-purpose flour
- baking powder
- jumbo oats
Optional extras: up to 100g
- desiccated coconut
- chopped nuts – such as pecans, walnuts, hazelnuts, almonds, pistachio
- seeds – such as pumpkin, sunflower, sesame, flax, chia, poppy
- dried fruit – raisins, sultanas, currants, chopped dates, chopped apricots
- chocolate – milk, plain, white
Now make these delicious cookies:
- Make sure the butter is at room temperature and beat, using an electric whisk, with the sugar and salt until it is light and fluffy.
- Add the flour and baking powder and beat again until completely mixed.
- Now add the oats and mix together using a spoon.
- If adding any additional ingredients, add them now and thoroughly mix together.
- Tip the cookie dough onto clingfilm, press the mixture together really well with your hands and form into a cylinder, 5cm/2in diameter.
- Wrap tightly in the cling film. Once wrapped, roll the sausage shape with your hands to help create an even shape with smooth sides. Refrigerate for a minimum of 10 minutes or up to 48 hours.
- When you are ready to bake the cookies, use a sharp knife to slice round cookies. You should get around 14 – 15 slices with no additional ingredients and between 15 – 18, if you add other ingredients. I halved the mixture and cooked half (7) plain and added additional ingredients to the other half which made 8. I make little marks on the side of the dough before `I slice them to make sure they are all the same size. The dough may crumble a little when you cut them, simply push back together with your hands.
- Lay, spread out on greased baking trays, and bake in the centre of the oven for 18 – 20 minutes, until very lightly golden.
- Remove from the oven, leave on the baking trays for 10 minutes and then transfer to a wire rack to cool.
Basic cookie ingredients 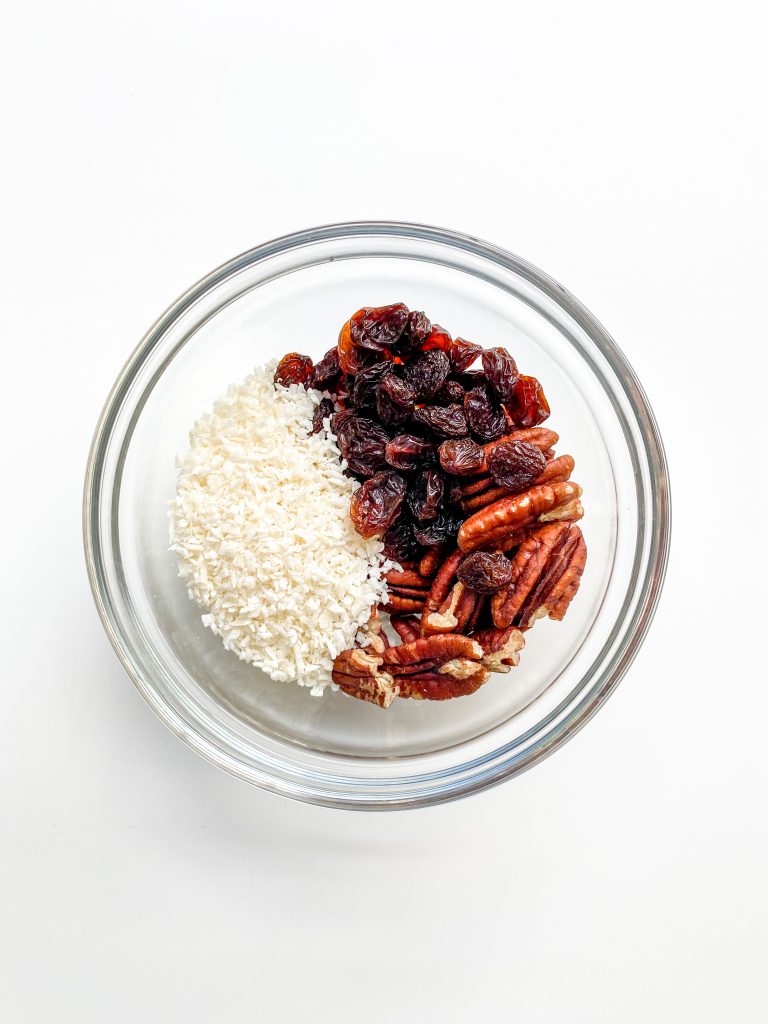
Example extras 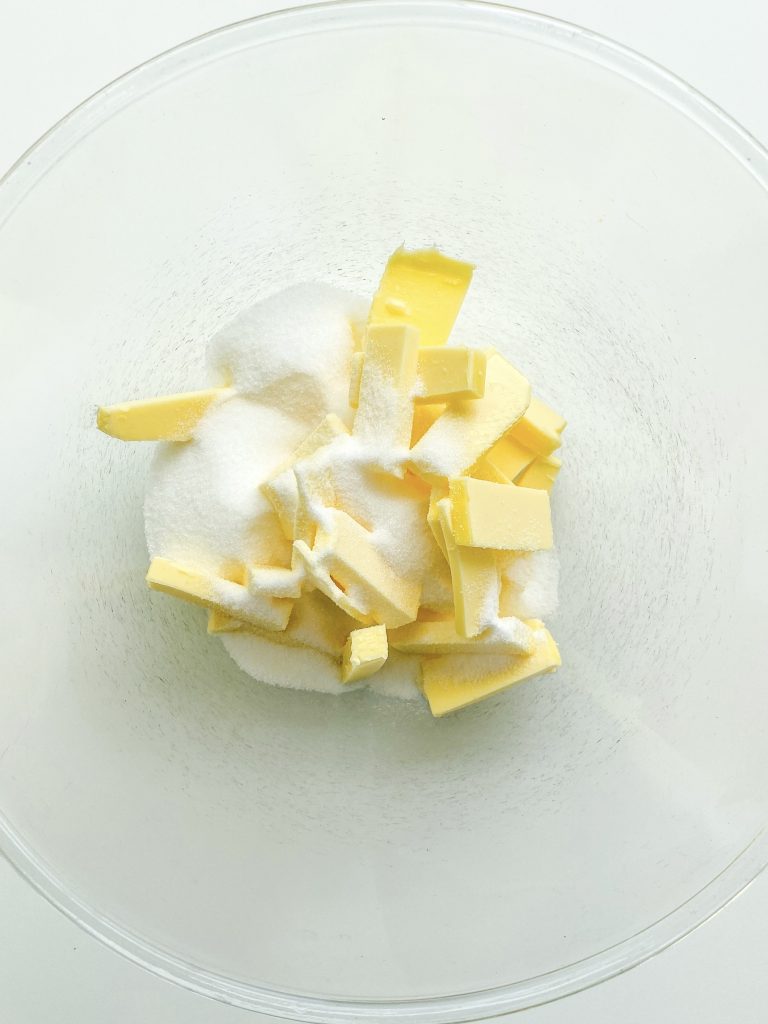
1 Butter, sugar and salt … 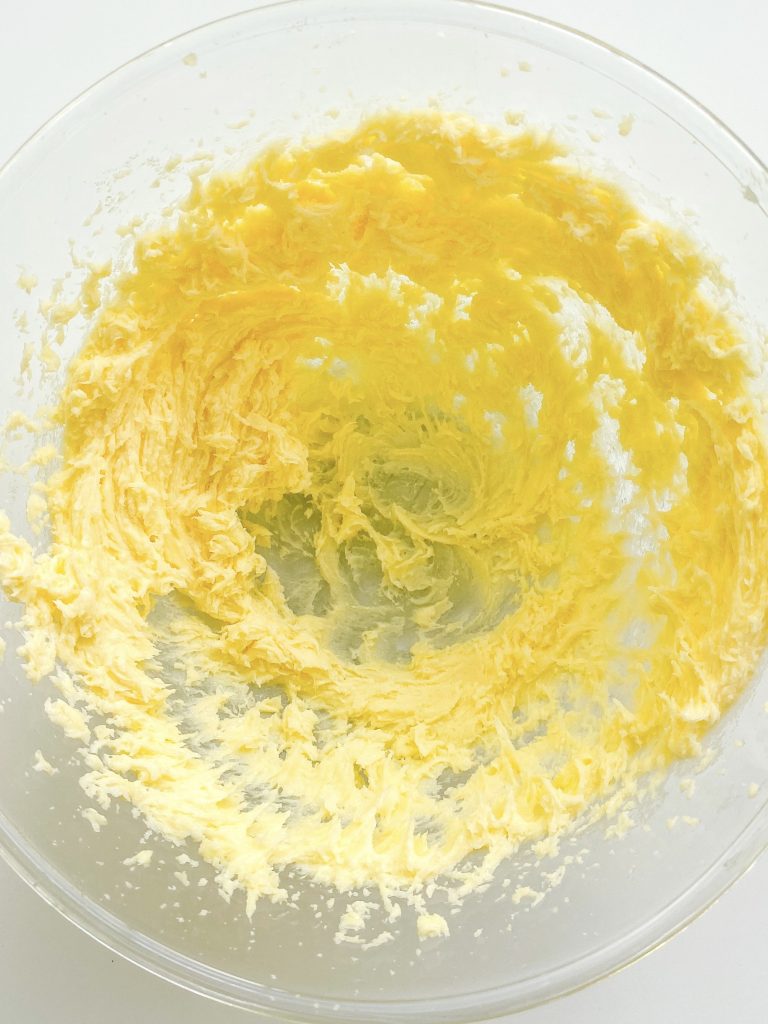
… beat until light and fluffy 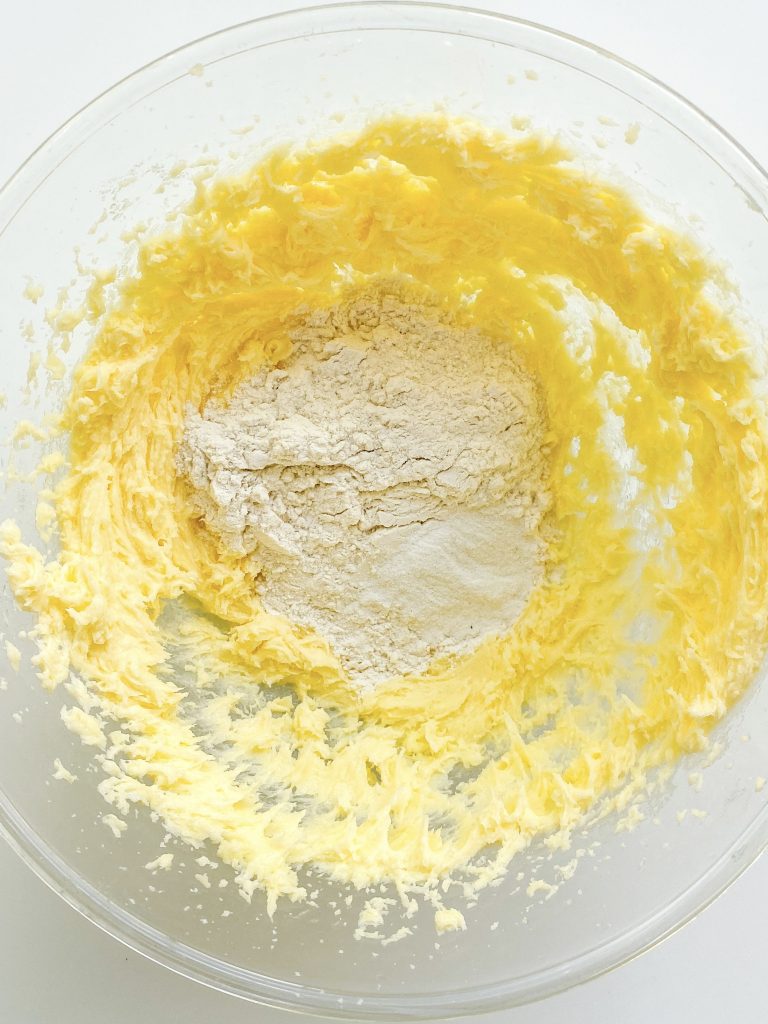
2 Add flour and baking … 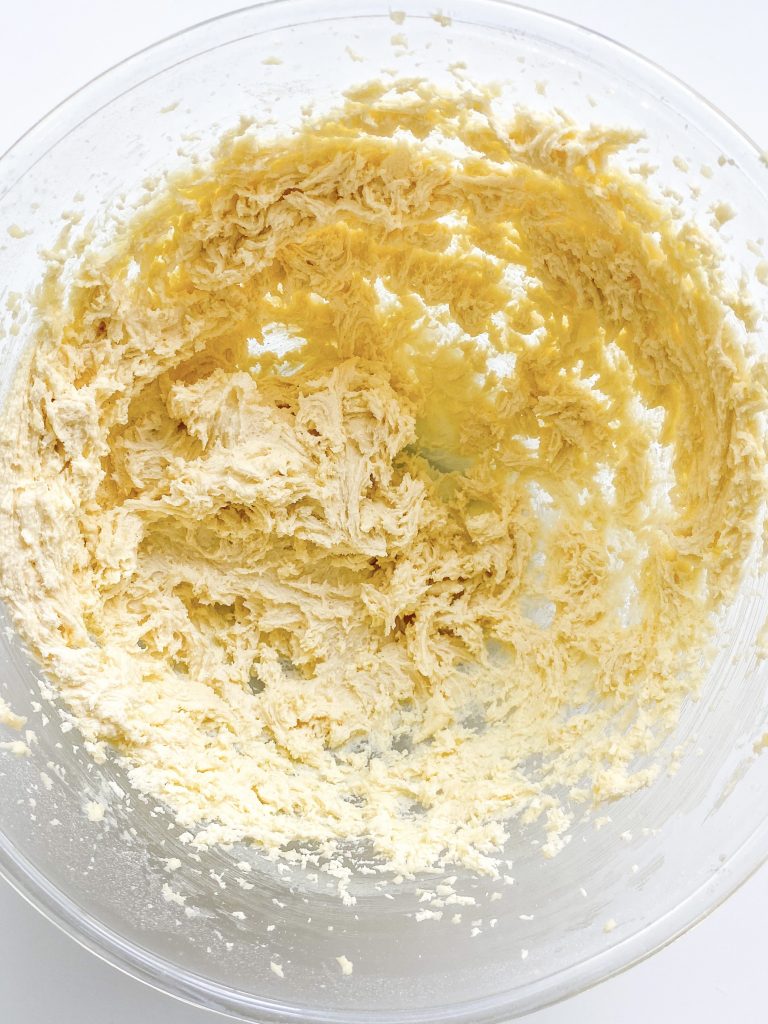
… powder and beat well. 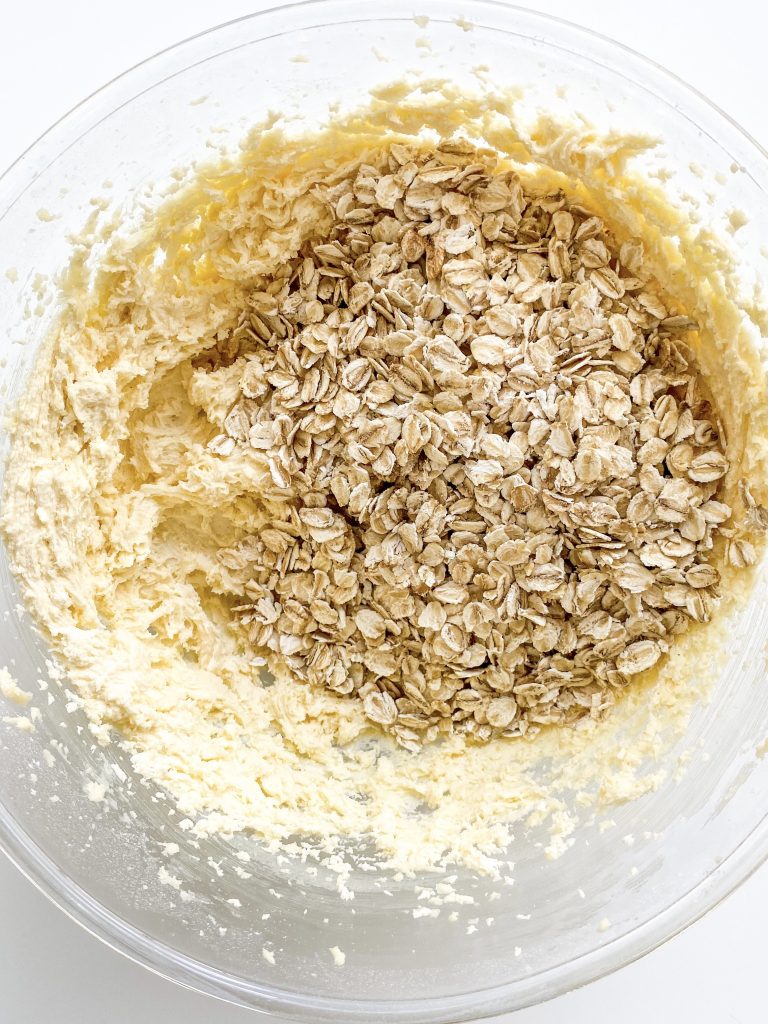
3 Add oats and … 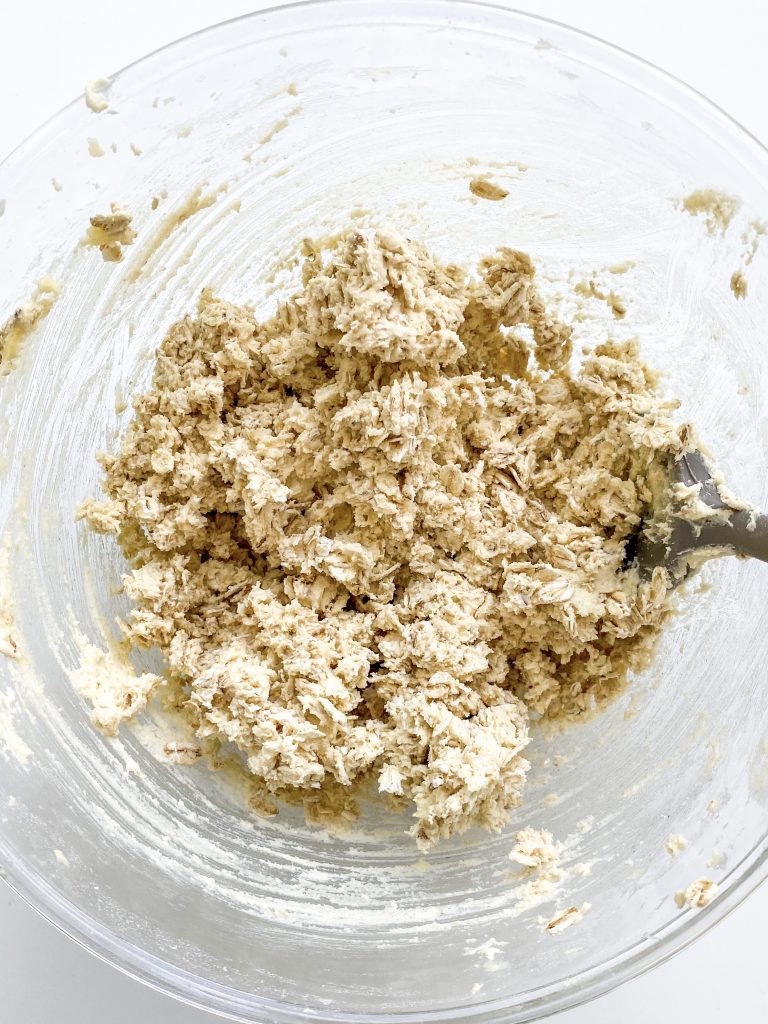
mix together with a spoon. 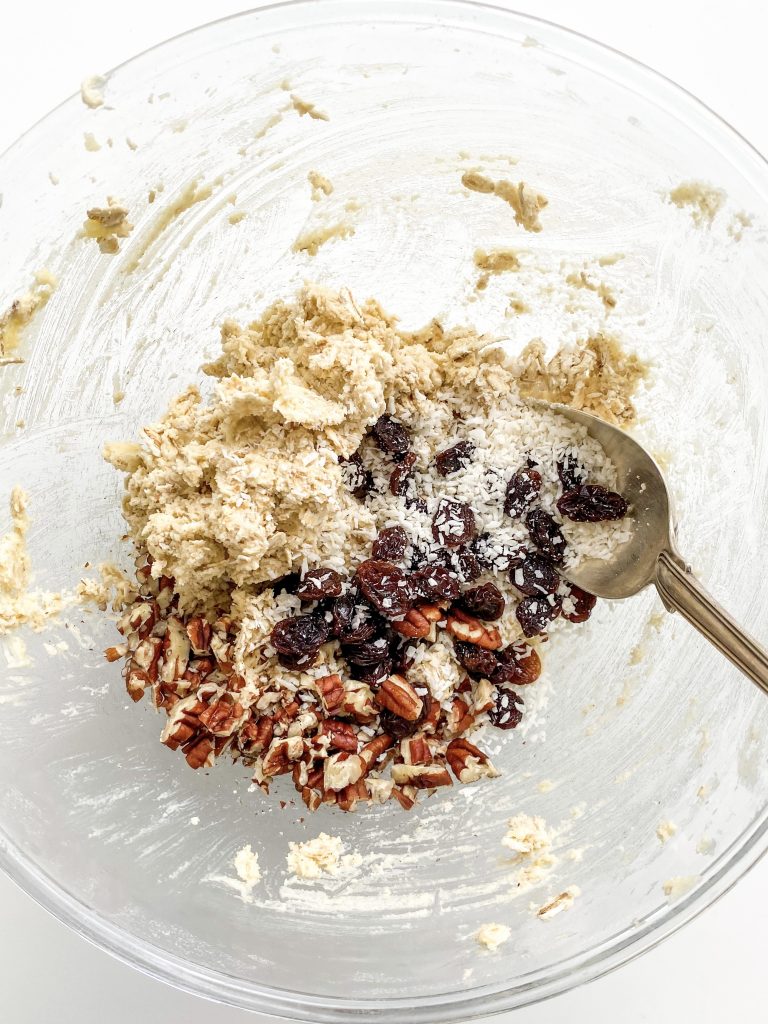
4 Add optional extras if using. Mix well. 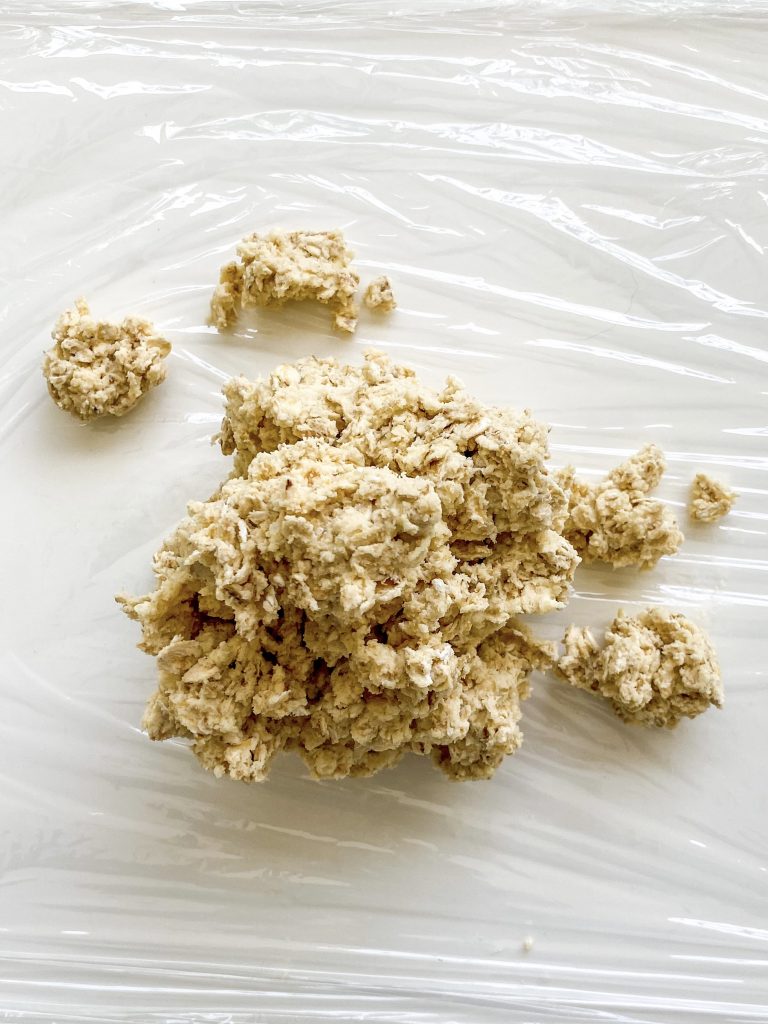
5 Tip onto clingfilm and press into a cylinder 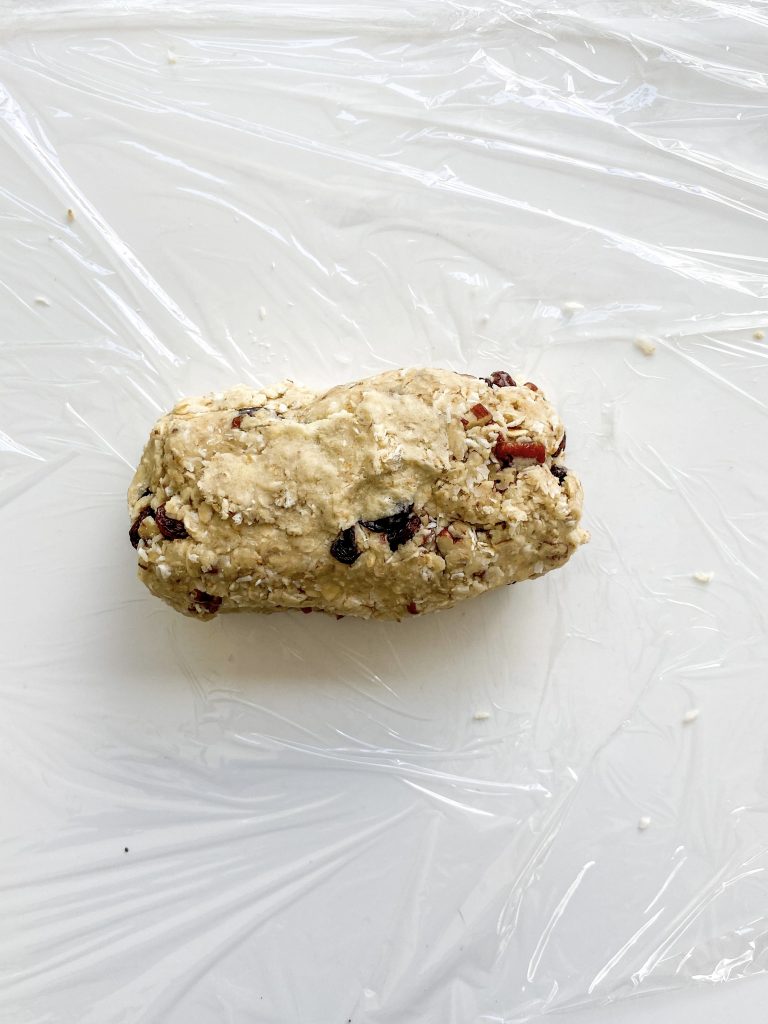
shape 5cm diameter.
6 Wrap and refrigerate.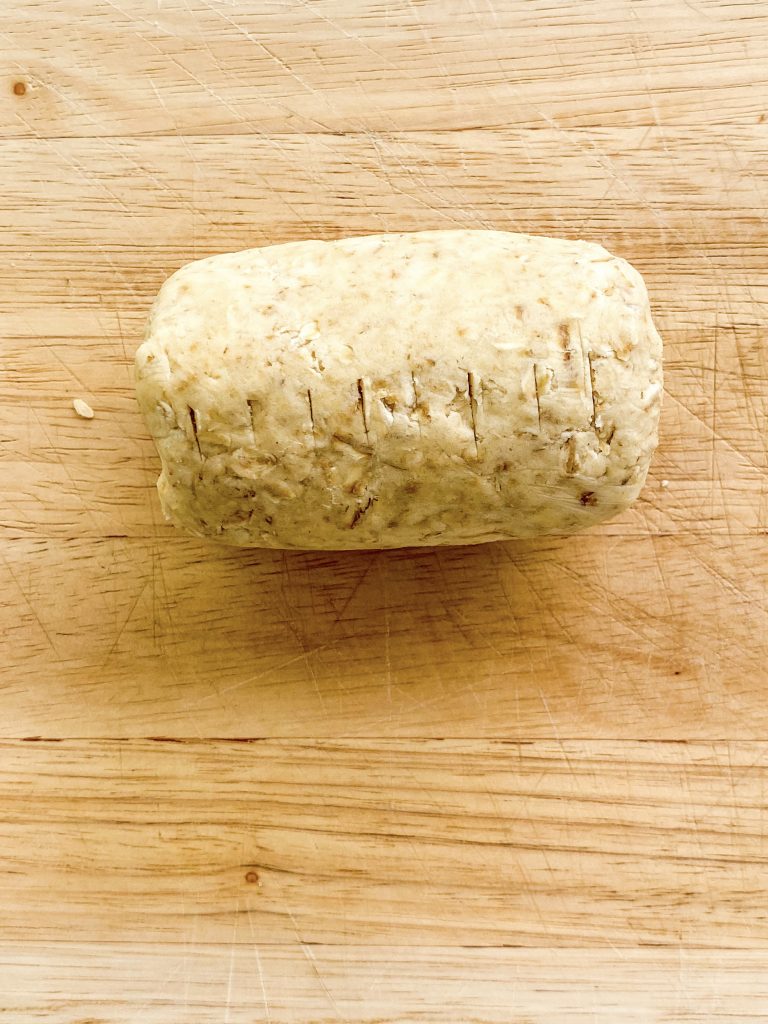
7 Unwrap and slice into .. 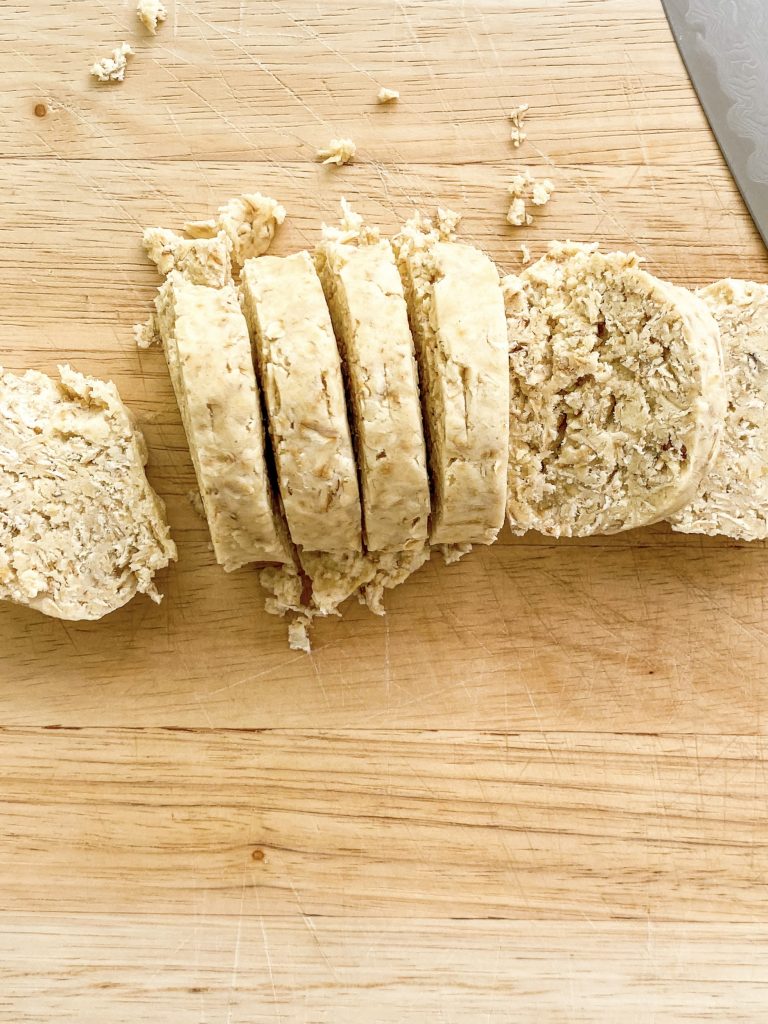
… 1 cm thick rounds.
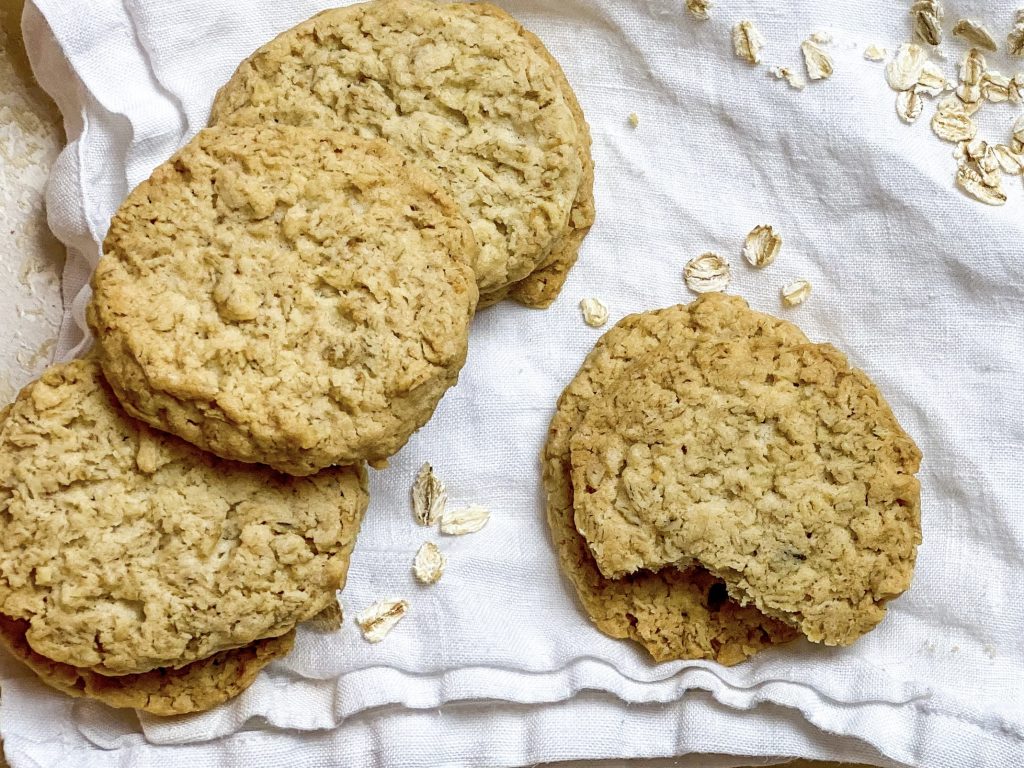
(no additions)
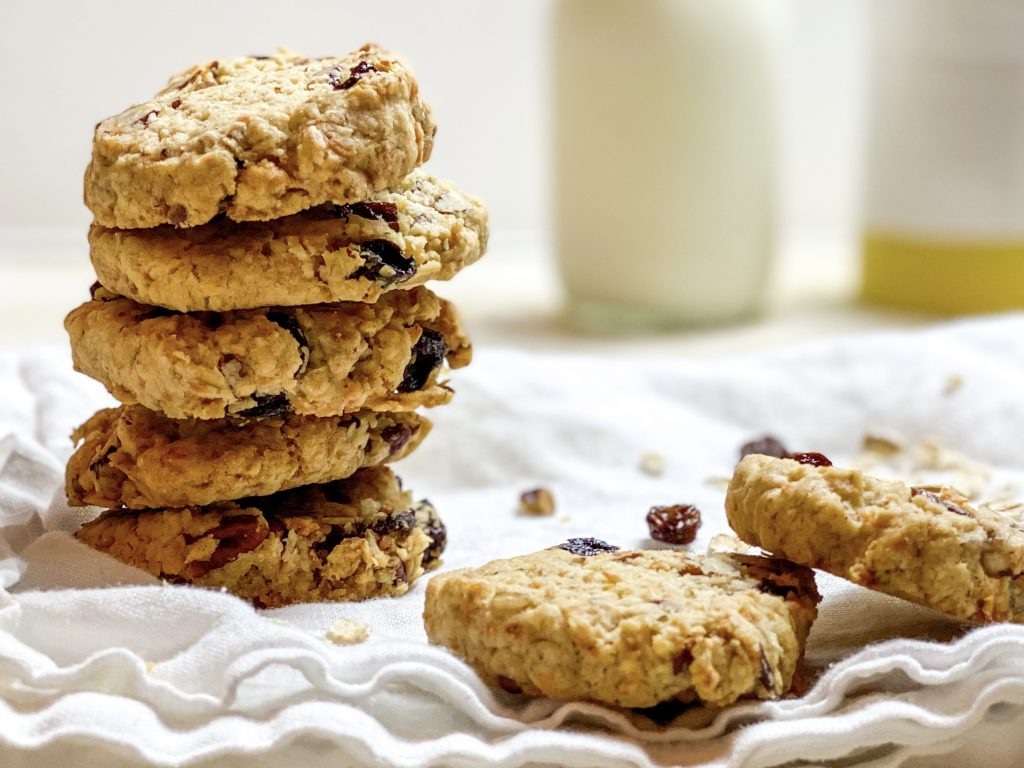
With coconut, pecan uts and raisins 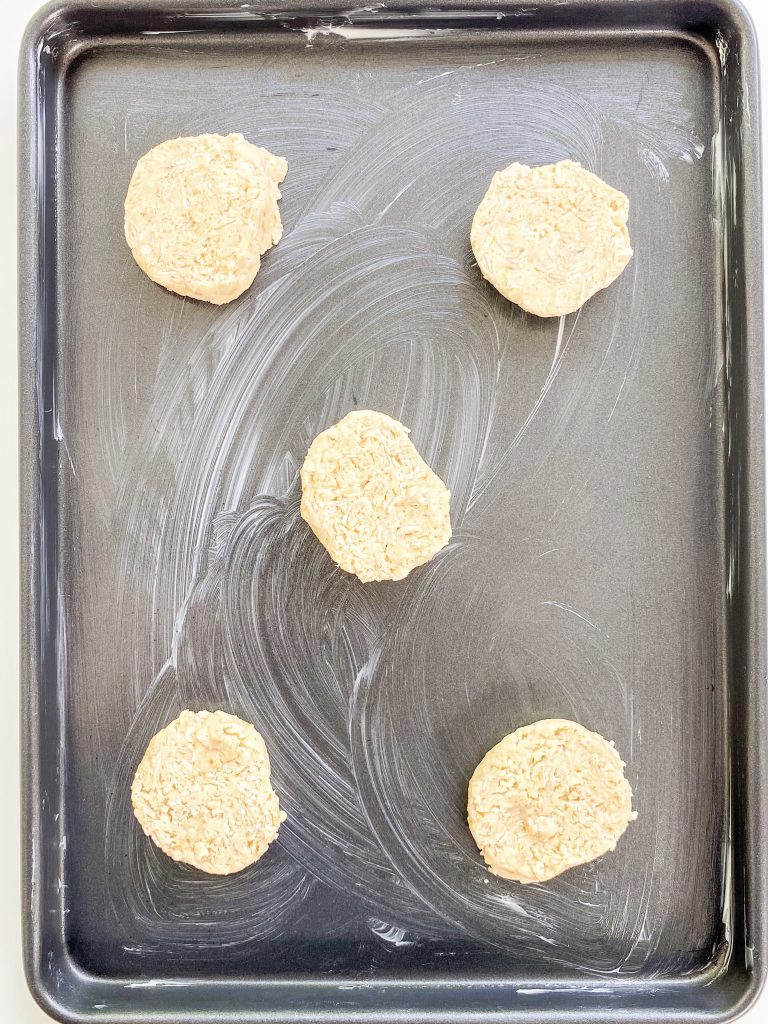
8 Spread out on baking rays 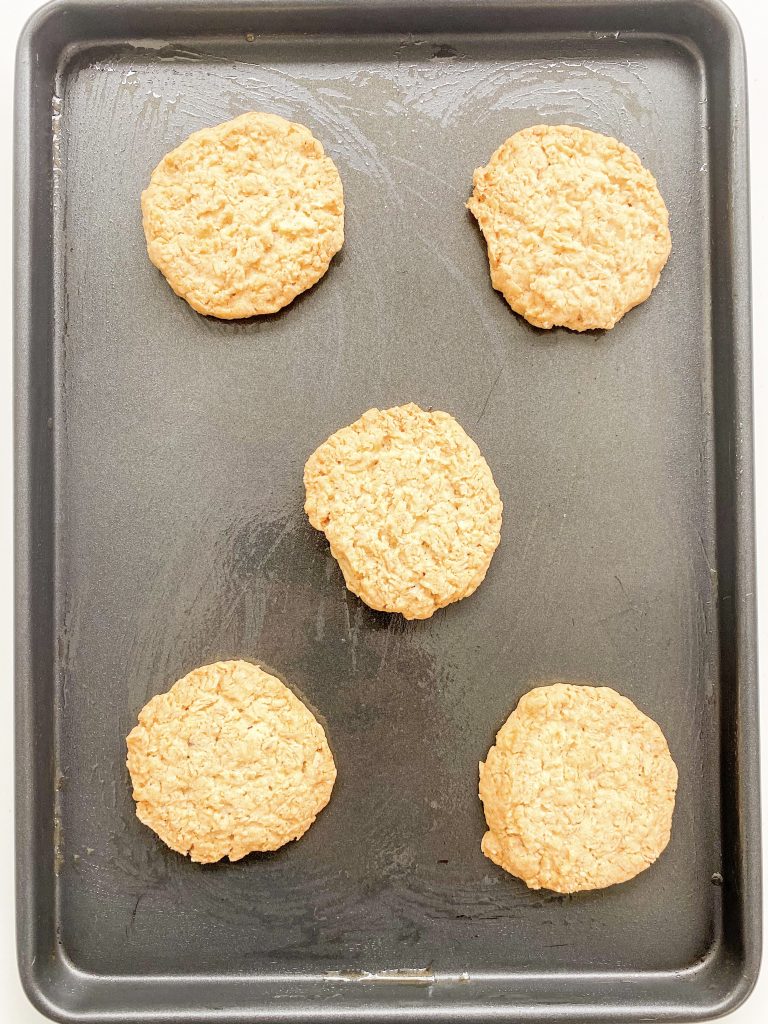
Bake. 10 mins on tray. 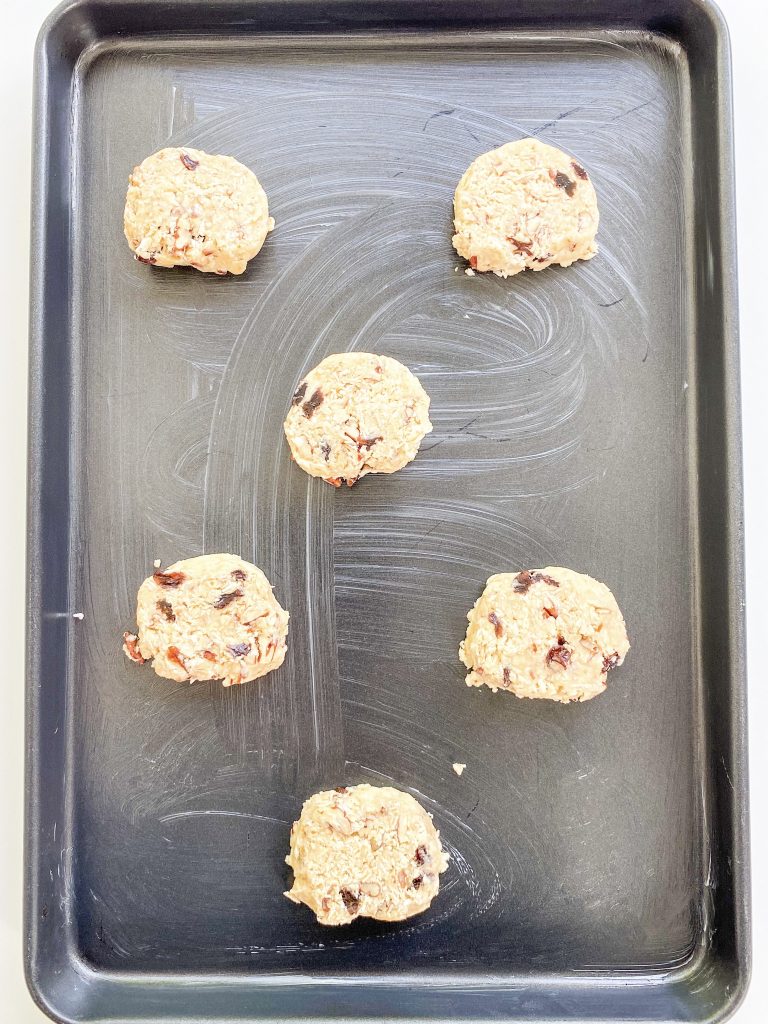
With additions 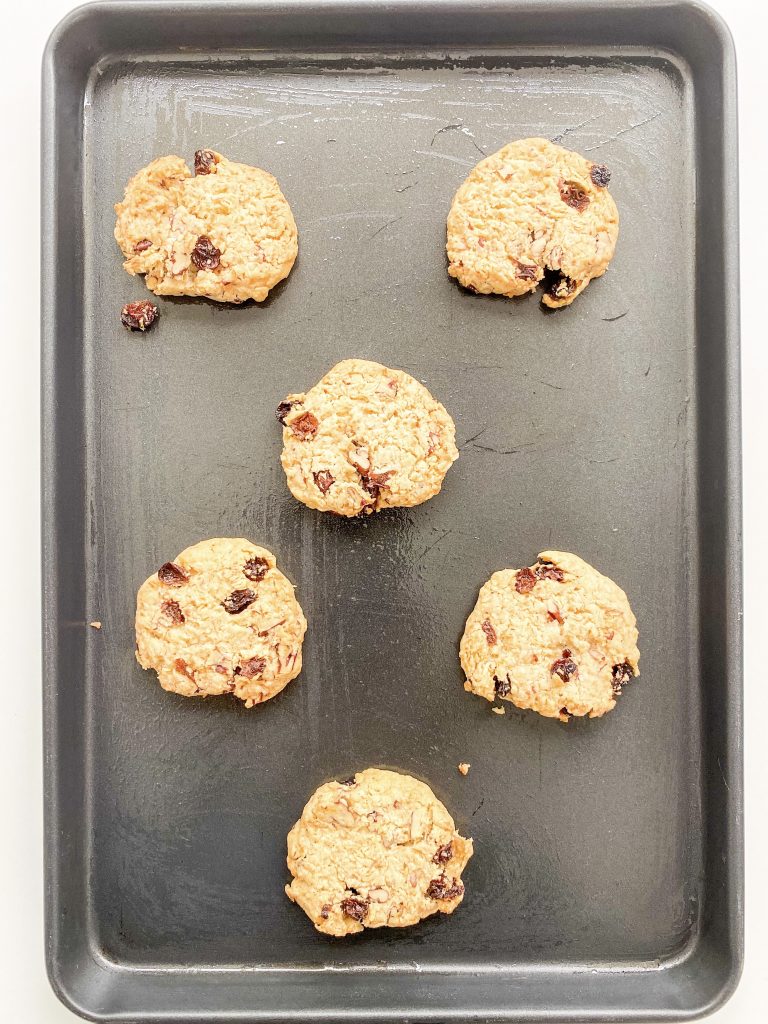
Baked 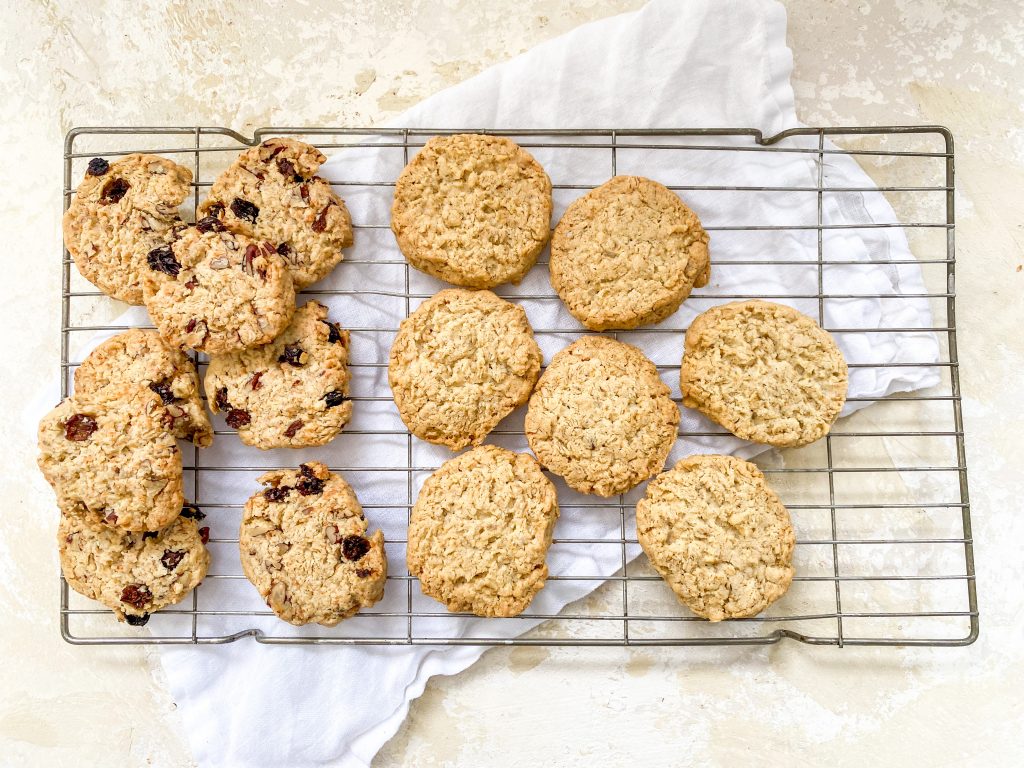
9 After 10 minutes transfer to a wire rack to cool.
What is the best way to store these cookies?
These cookies should be stored covered at room temperature. They keep well for up to 5 days.
Can I freeze these cookies?
Yes you can! You can freeze them either before you cook them or afterwards.
Freeze before cooking –
- when wrapped in the cling film, freeze for up to 3 months. Defrost over night in the fridge and then unwrap, slice and bake as described in the recipe, OR
- freeze slices of unbaked cookies on a flat surface. Once frozen, cover and freeze for up to 3 months. Cook from frozen; you will need to add 1-2 minutes to the cooking time.
Freeze after cooking –
Cover and freeze for up to 3 months. Ideally freeze as soon as possible after baking but make sure they are properly cool before bagging/covering and freezing.
Made this recipe?
If you make this recipe, do please tag me on instagram @daffodil_kitchen. You could also leave a comment in the box directly below the recipe.
Irish Oat Cookies
A delicious, crunchy traditional and utterly moreish cookie/biscuit, loaded with oats. I'd been craving Irish Oat Cookies since our little trip to Ireland last week; obviously, the only solution was to whip up a batch as soon as possible.
Makes 15
Ingredients
Basic cookie ingredients –
- 125g unsalted butter, at room temperature
- 75g caster sugar
- ¼ teaspoon fine salt
- 75g plain/all-purpose flour
- ½ teaspoon baking powder
- 125g jumbo oats
Optional extras: (up to 100g)
- See Recipe notes for the quantities and ingredients I used
- desiccated coconut
- chopped nuts – such as pecans, walnuts, hazelnuts, almonds, pistachio
- seeds – such as pumpkin, sunflower, sesame, flax, chia, poppy
- dried fruit – raisins, sultanas, currants, chopped dates, chopped apricots
- chocolate – milk, plain, white
Instructions
-
Collect together your equipment (see Recipe Notes below) and ingredients.
-
Preheat oven to fan oven 160°C /180°C/350°F/Gas 4
-
Make sure the butter is at room temperature and beat, using an electric whisk, with the sugar and salt until it is light and fluffy.
-
Add the flour and baking powder and beat again until completely mixed.
-
Now add the oats and mix together using a spoon.
-
If adding any additional ingredients, add them now and thoroughly mix together.
-
Tip the cookie dough onto clingfilm, press the mixture together really well with your hands and form into a cylinder, 5cm/2in diameter.
-
Wrap tightly in the cling film. Once wrapped, roll the sausage shape with your hands to help create an even shape with smooth sides. Refrigerate for a minimum of 10 minutes or up to 48 hours.
-
When you are ready to bake the cookies, use a sharp knife to slice round cookies. You should get around 14 – 15 slices with no additional ingredients and between 15 – 18, if you add other ingredients. I halved the mixture and cooked half (7) plain and added additional ingredients to the other half which made 8. I make little marks on the side of the dough before `I slice them to make sure they are all the same size. The dough may crumble a little when you cut them, simply push back together with your hands.
-
Lay, spread out on greased baking trays, and bake in the centre of the oven for 18 – 20 minutes, until very lightly golden.
-
Remove from the oven, leave on the baking trays for 10 minutes and then transfer to a wire rack to cool.
Recipe Notes
Equipment:
- kitchen scales and measuring spoons
- mixing bowl and electric whisk
- chopping board and knife – if necessary, for chopping nuts
- cling film
- baking trays, lightly greased with butter, or you could use baking parchment
- wire rack
What is the best way to store these cookies?
These cookies should be stored covered at room temperature. They keep well for up to 5 days.
Can I freeze these cookies?
Yes you can! You can freeze them either before you cook them or afterwards.
Freeze before cooking –
- when wrapped in the cling film, freeze for up to 3 months. Defrost over night in the fridge and then unwrap, slice and bake as described in the recipe, OR
- freeze slices of unbaked cookies on a flat surface. Once frozen, cover and freeze for up to 3 months. Cook from frozen; you will need to add 1-2 minutes to the cooking time.
Freeze after cooking –
Cover and freeze for up to 3 months. Ideally freeze as soon as possible after baking but make sure they are properly cool before bagging/covering and freezing.


You May Also Like

Toffee Vodka
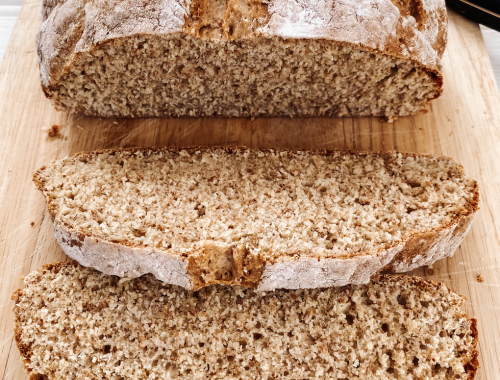
Soda Bread with Honey, Wholewheat and Spelt Flour