
Hummus – Core Recipe
Today is all about hummus! Smooth, creamy chickpea and tahini puree with hints of garlic and lemon. Delicious eaten as is but it is also a wonderful base to embellish with a range of delicious traditional (and some not so traditional!) flavours. Originating in the Middle East, it is now available all over the world and indeed is commonly found in most supermarkets. It can be used as a spread, a dip or as a complementary part of a main course. It can be served as a snack, at lunch, dinner or supper and in fact in the Middle East, it is often served for breakfast as well.
Early recipes date back to the 13th century and tended to include vinegar rather than fresh lemon juice as well as preserved lemons. Some included tahini but not all. There are a myriad of recipes out there now but most of them are consistent in their basic ingredients – chickpeas, tahini, lemon juice and garlic. It is normally just the proportions that vary plus whether to use dried or tinned chickpeas. Traditionalists will undoubtably use dried, but generally speaking I’m just not that organised (you need to soak them overnight and cook for a long time!) and I prefer the ease and speed of being able to open up a tin and make it immediately.
Texture is another area where tastes differ. Some people like their hummus chunky, others prefer slightly grainy and then there are those, like me, who like them all, but specifically adore smooth and silky. It is easy to achieve these options:
- Smooth and silky – simmer the tinned chickpeas in fresh water with a little bicarbonate of soda/baking soda for 20 minutes. Rinse and drain well before use.
- Grainy – do not boil your tinned chickpeas before you use them.
- Chunky – mash with a fork, or pulse, rather than puree, in a food processor or blender.
I first tried Lebanese food in Australia in the 1980s, but I really fell in love with it when I spent some time working in Beirut with Chef Ramzi Choueiri. He went on to become the first Arab chef to star in a live cooking show with 10 million viewers and has since written his own cookery books. I was there before that, however, when Chef Ramzi (amongst many other things) ran his own cookery school as part of the Al Kafaat Foundation, of which he is now CEO.
On leaving Beirut, Chef Ramzi gave me a copy of Rayees’ cookery book called ‘Art of Lebanese Cooking’. This instantly became my bible for food from this part of the world. A few years later, my great friend Sam gave me another book, The Arab Table, which was written by her husband’s cousin May Bsisu. This has been a massively successful book, particularly in the US, where May currently lives. It has 5 star reviews, is a 5 star book and has helped to further cement my love of food from the Middle East. Together with the hugely successful and exceptionally talented Yotam Ottolenghi, and many other chefs and cookery writers, the availability of ingredients has improved dramatically, and as such, my knowledge of Middle Eastern Food.
This recipe has evolved with our tastes over the years. When making it yourself, play around with it to suit your tastes but do stay true to the basic ingredients. When you have found your favourite combination, write it down and you will have your own personalised recipe.
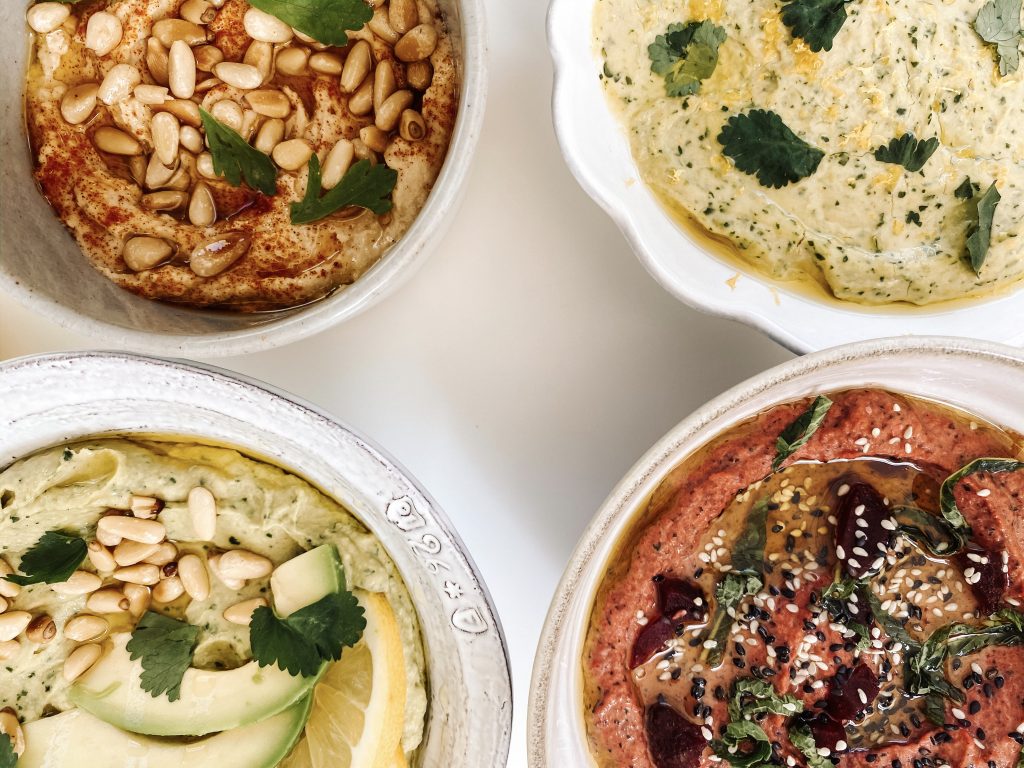
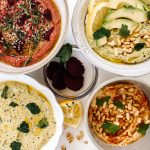
A variety of recipes based on Hummus – Core Recipe
Keep an eye out for these dishes:
Dishes already posted:
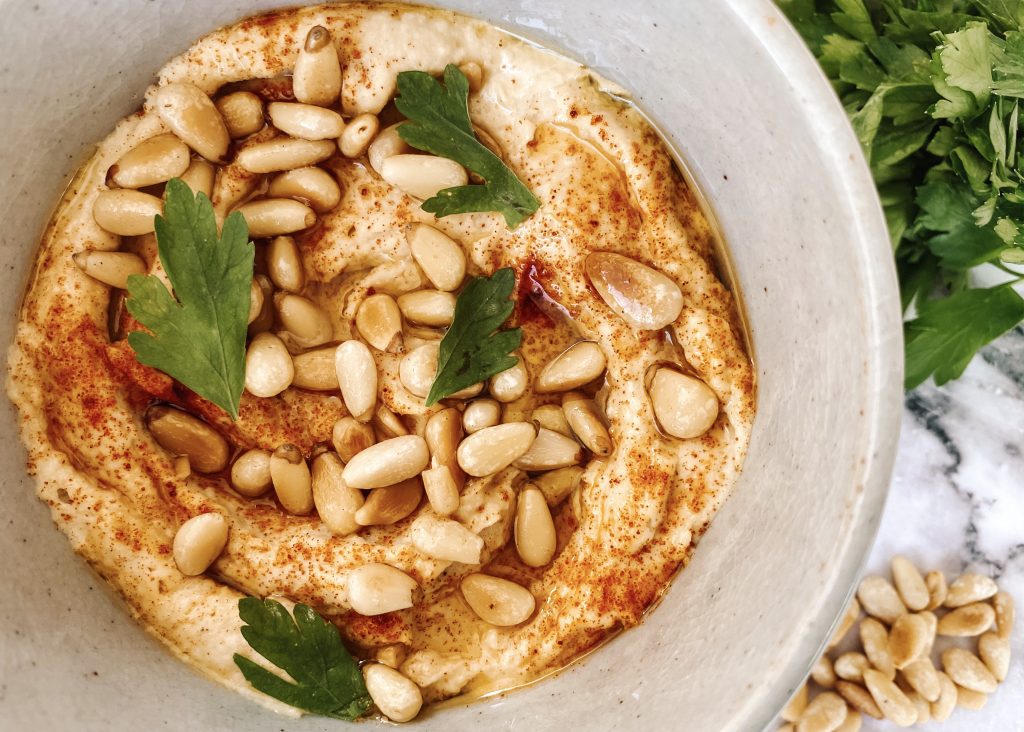
- Classic Hummus
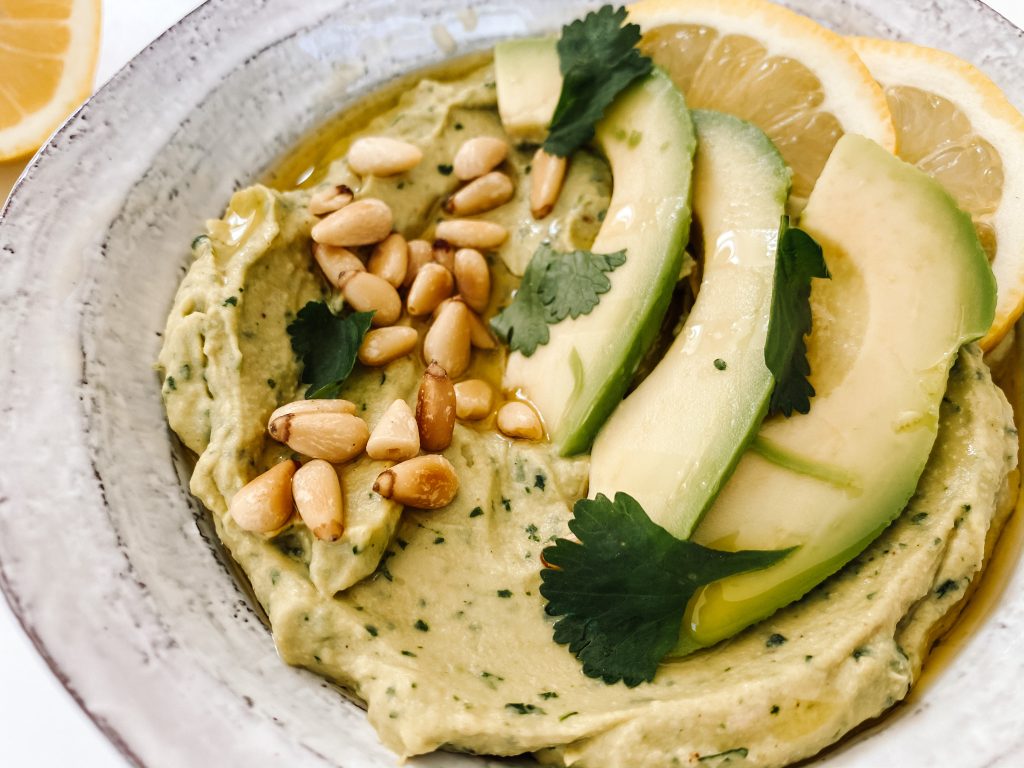
- Avocado Hummus with Fresh Herbs and Lemon
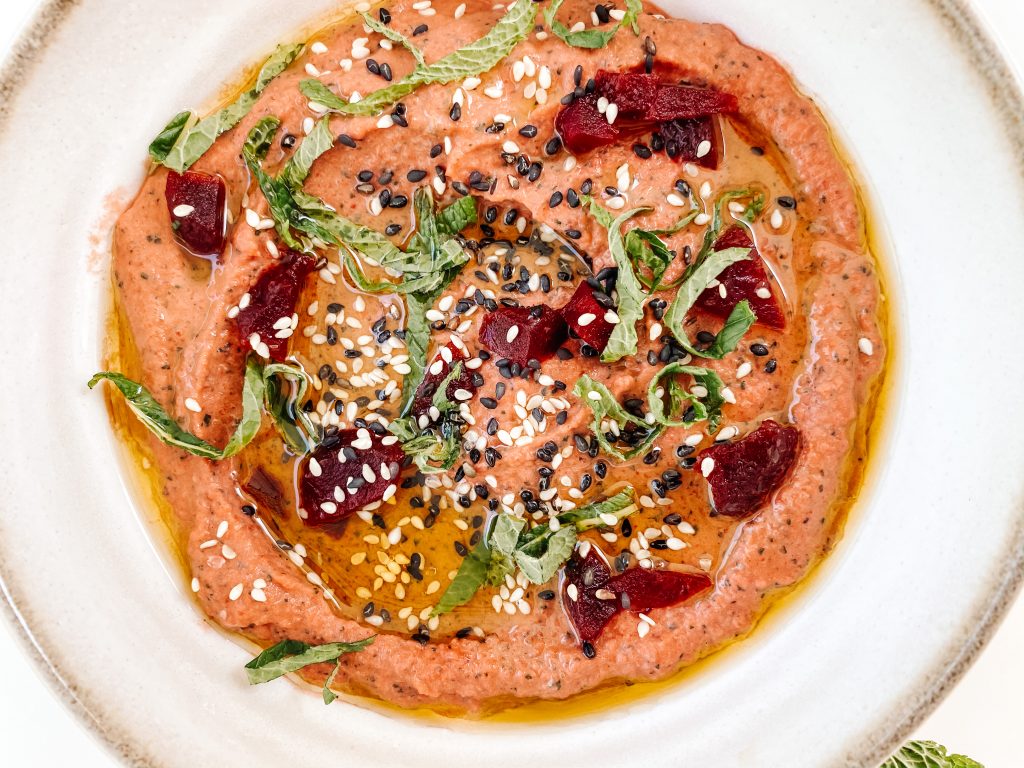
- Beetroot and Mint Hummus with Sesame Seeds
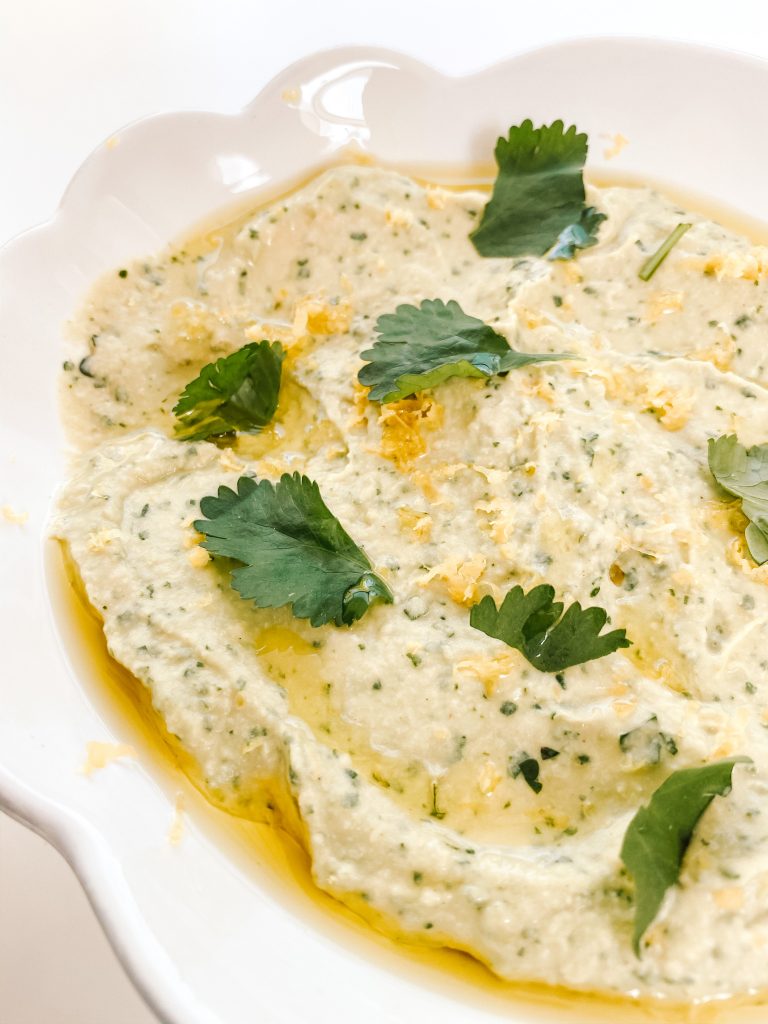
- Lemon and Coriander Hummus
Dishes I plan to post:
- Roast Red Repper Hummus
- Semi Dried Tomato and Basil Hummus
- Hummus with Harissa and Za’atar
- Caramelised Onion Hummus
- Hummus with Roast Garlic and Sweet Potato
- Hummus with Roast Aubergine and Cumin
- Hummus with Basil Puree and Black Olives
How to make Hummus – Core Recipe
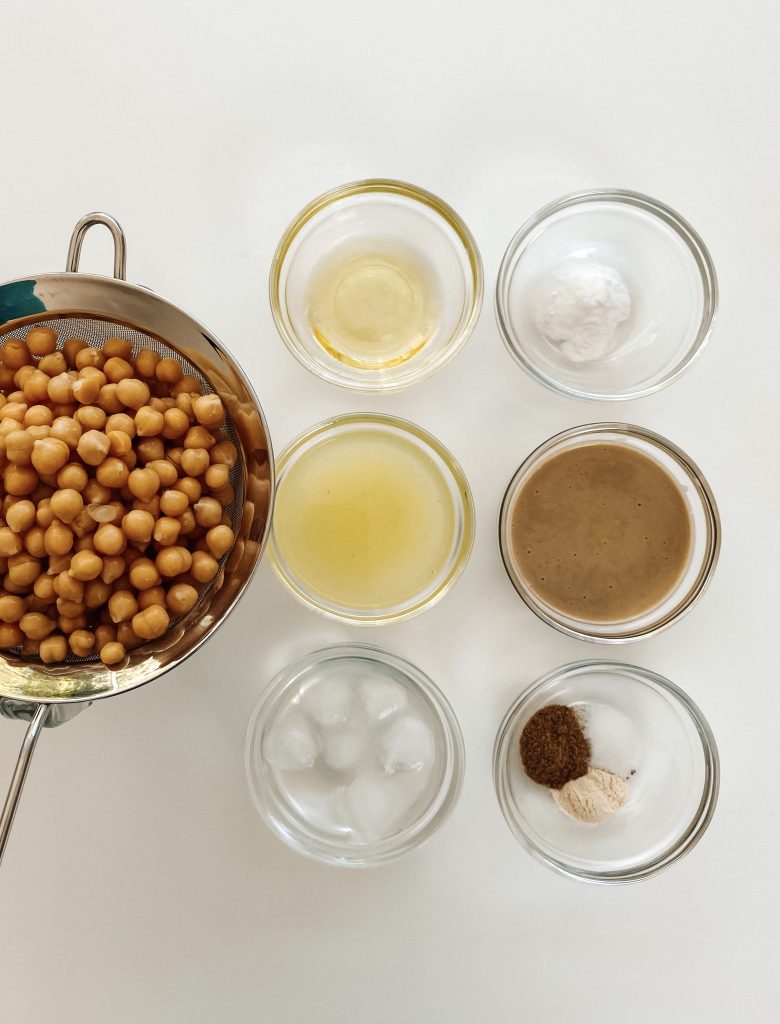
Making hummus is extremely easy and quick. It uses just a few basic store cupboard ingredients and can be whipped up in a food processor or by hand. You just need to:
- open and drain a tin of chickpeas
- (only cook if wanting to make a very silky texture)
- blend with tahini, lemon juice, a little oil, garlic and seasoning
- garnish, drizzle with olive oil and serve!
1 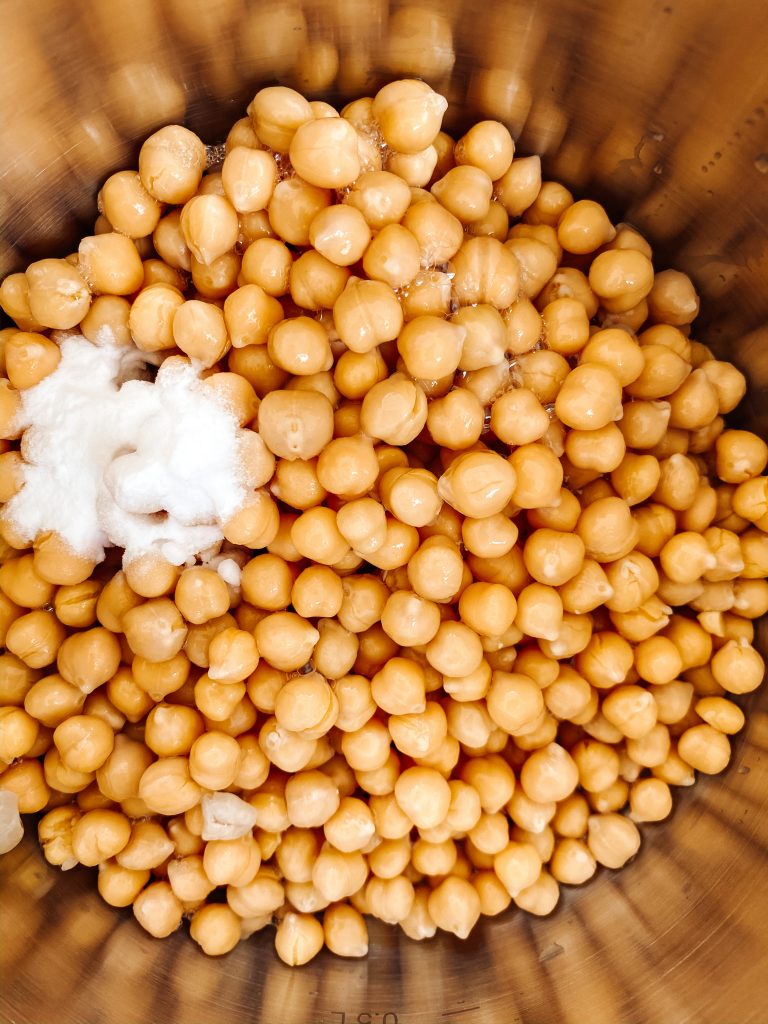
2 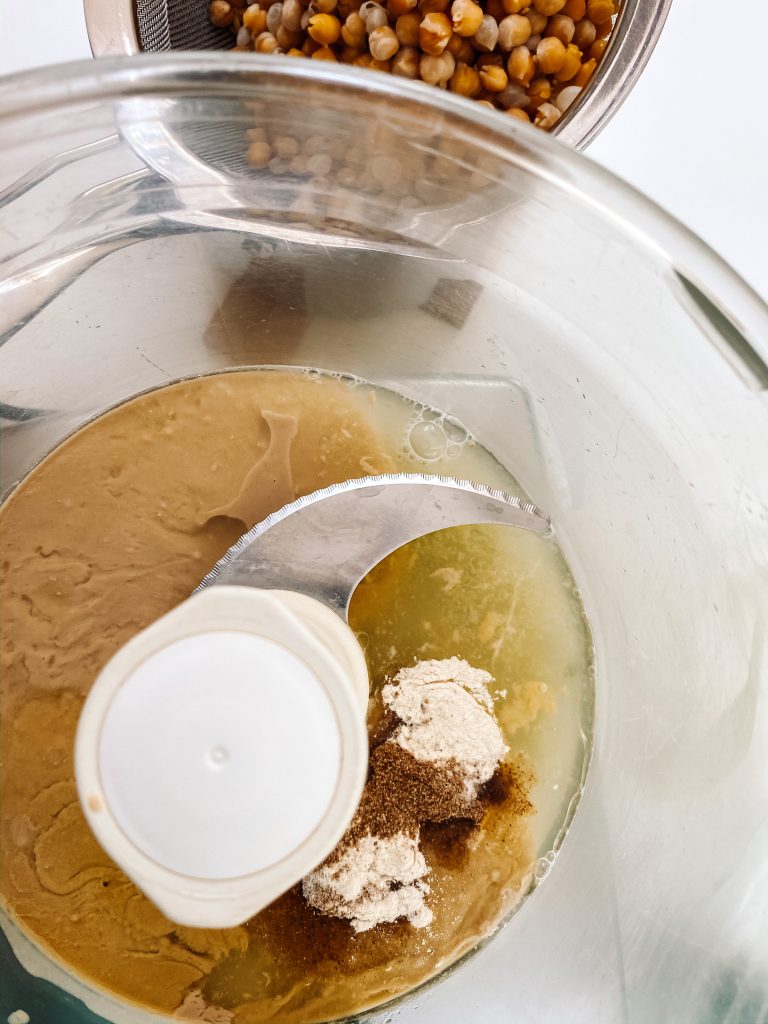
3 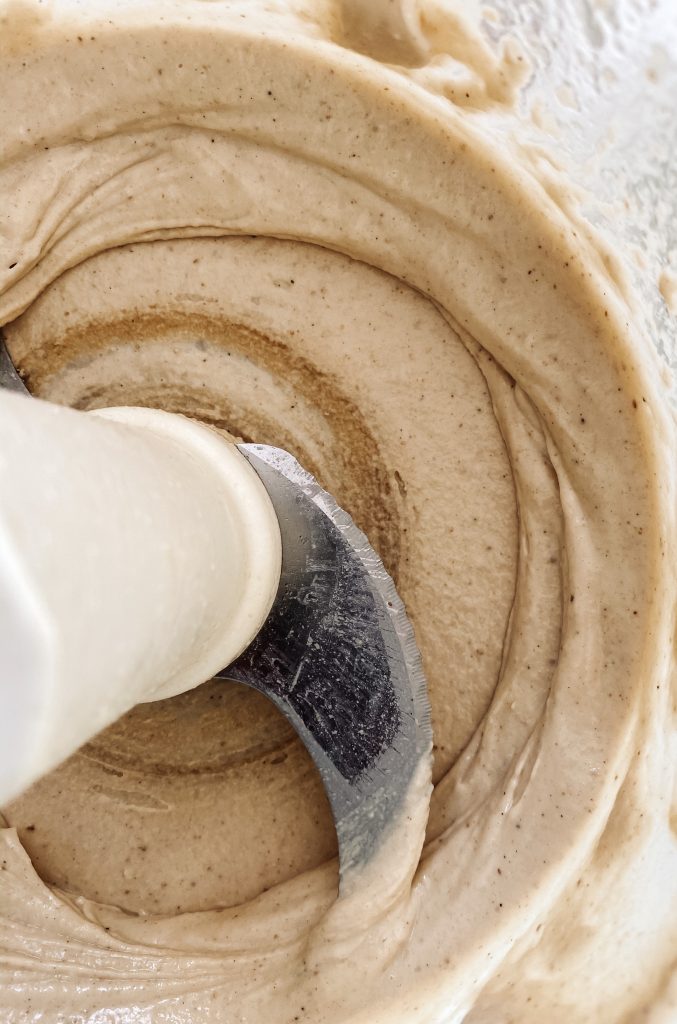
4 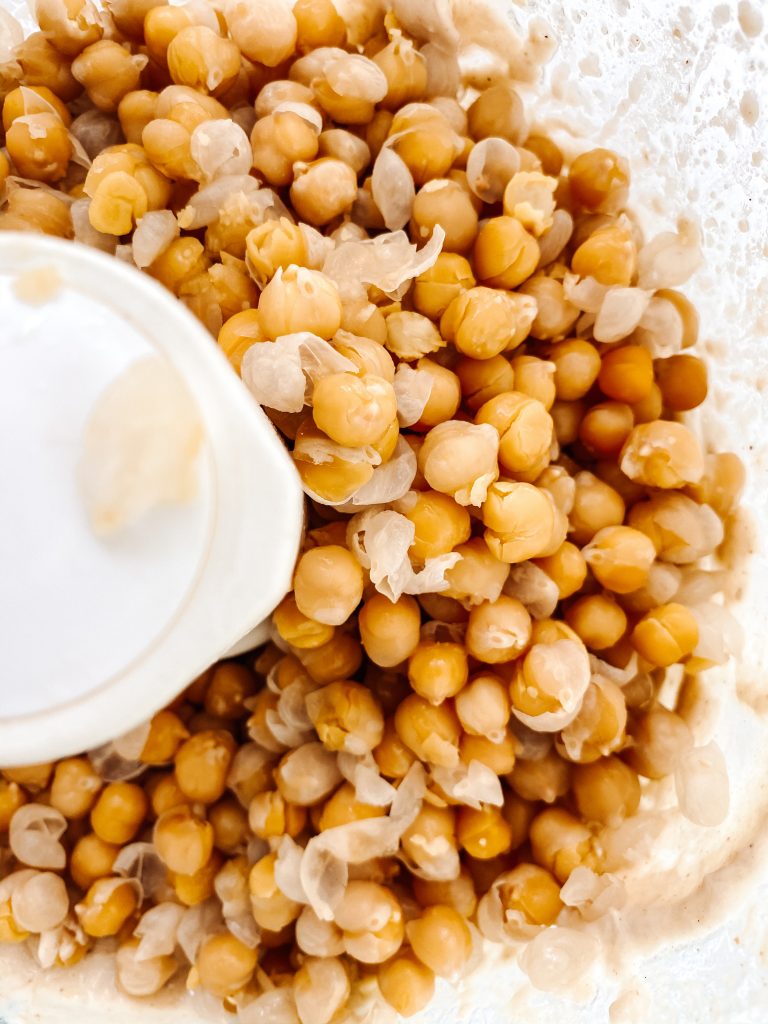
5 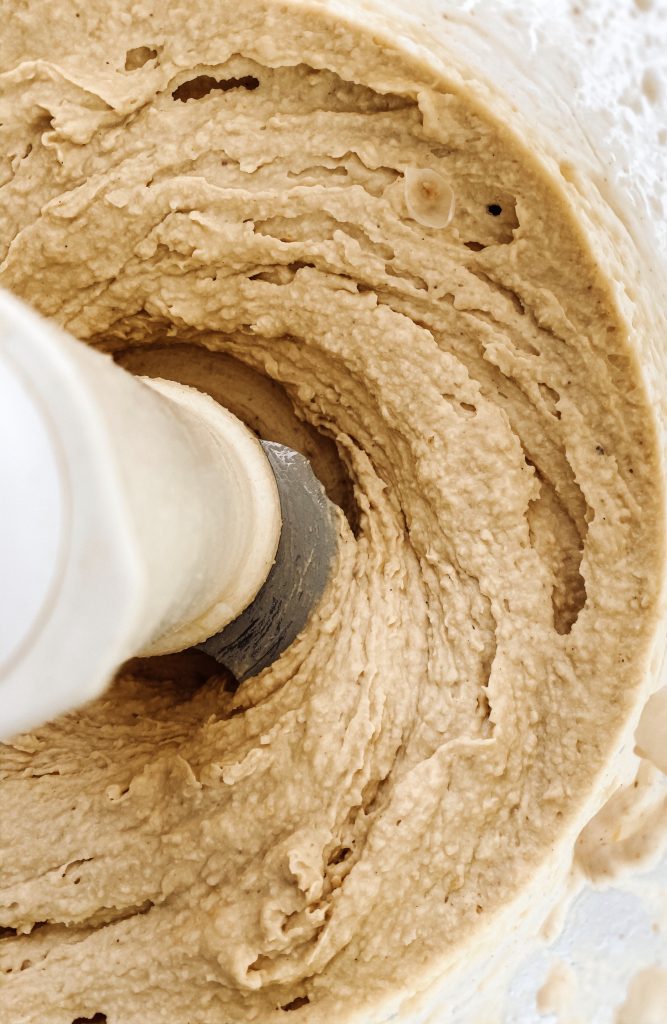
6 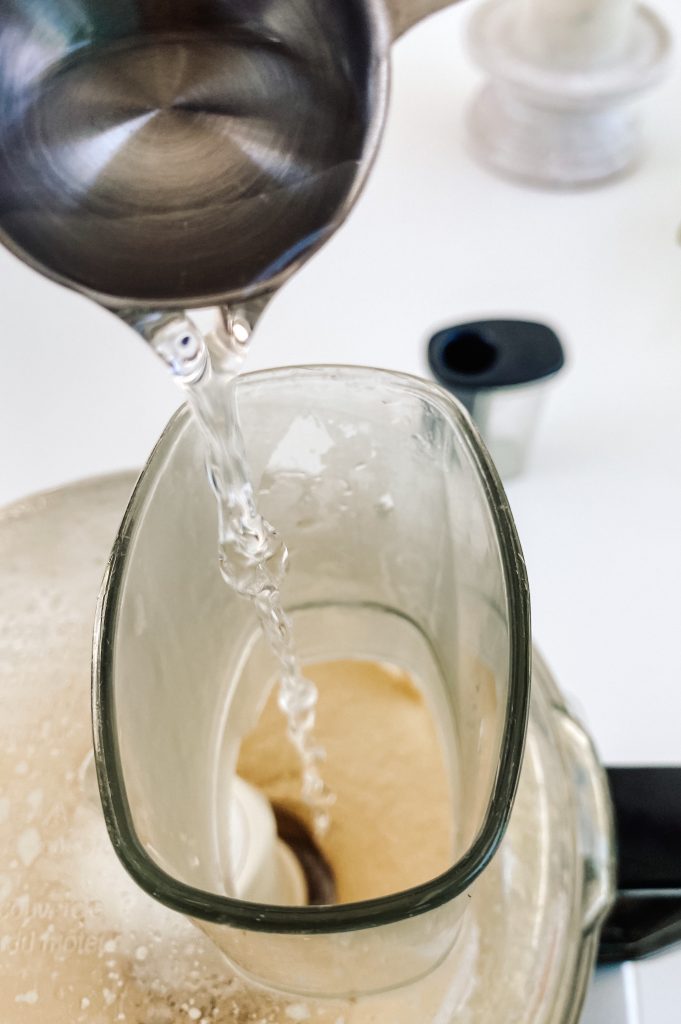
7 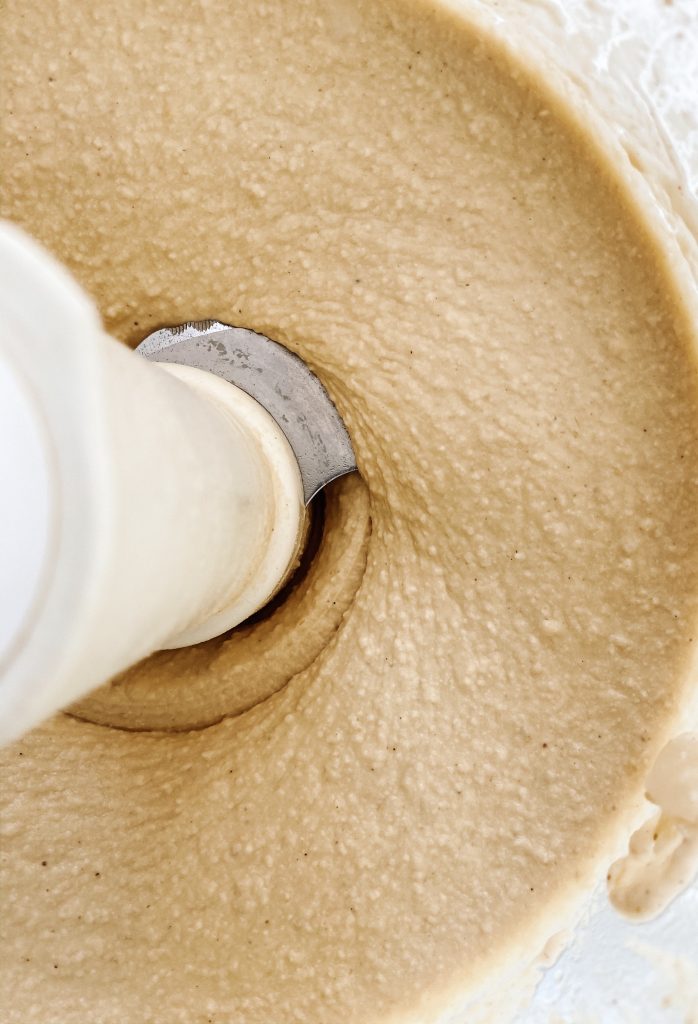
8 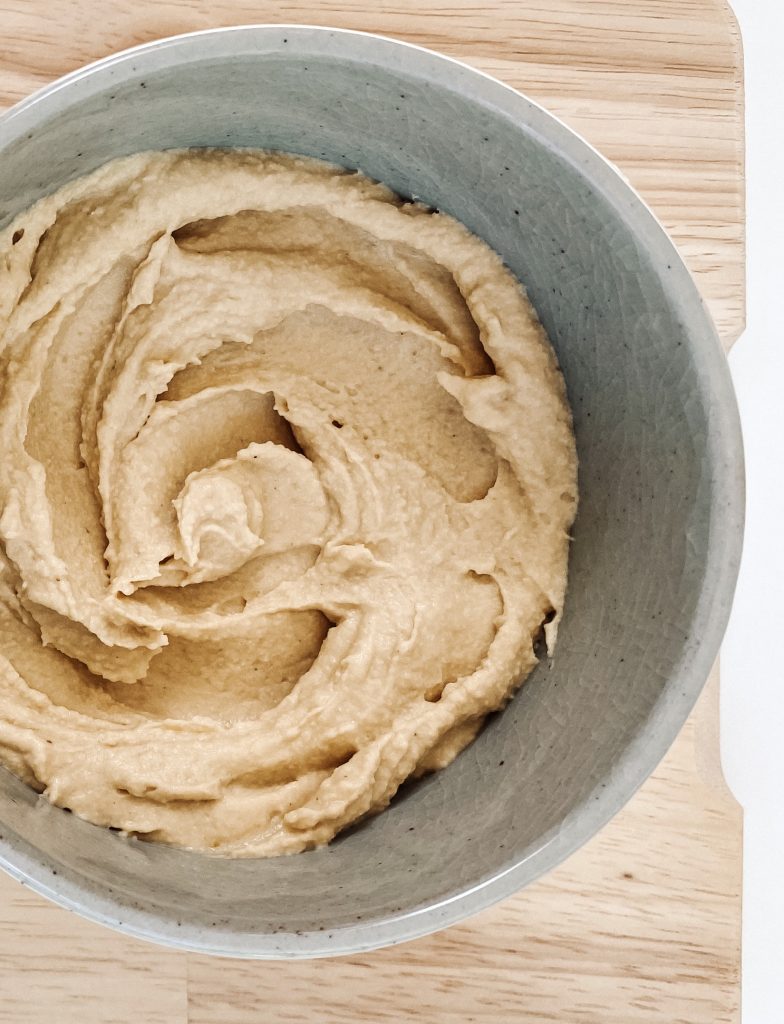
9
Made this recipe?
If you make this recipe, do please tag me on instagram @daffodil_kitchen. You could also leave a comment in the box directly below the recipe.
Hummus – Core Recipe
Smooth, creamy chickpea and tahini puree with hints of garlic and lemon. Delicious eaten as is but it is also a wonderful base to embellish with a range of delicious traditional (and some not so traditional!) flavours.
Ingredients
- 1 x 400g can chickpeas
- ½ teaspoon bicarbonate of soda/baking soda (only if cooking)
- 48g – 64g/3 – 4 tablespoons tahini (I use 4 tablespoons)
- 3 – 4 tablespoons lemon juice – roughly 1½ – 2 lemons (I use 4 tablespoons)
- 1 tablespoon garlic oil or olive oil (*See Recipe Notes)
- ½ teaspoon Middle Eastern Spice Mix or use ¼ teaspoon cumin powder and ¼ teaspoon coriander powder (*See Recipe Notes)
- ¼ teaspoon garlic powder or 1 clove of garlic, peeled and crushed (*See Recipe Notes)
- ⅛ teaspoon salt
- 2 – 3 tablespoons iced water or reserved chickpea liquid
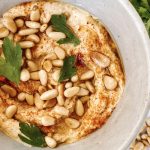
Garnish ideas:
-
Olive oil to drizzle
-
Smoked paprika
-
Roasted pine nuts (*See Recipe Notes)
-
Few chick peas, ideally roasted or fried until crispy
- Sesame seeds – black or white
- Chopped fresh herbs
- Grated lemon rind
Instructions
Smooth and Silky Hummus
-
Drain the chickpeas, reserving the chickpea liquid, and rinse well. Put them into a saucepan with the bicarbonate of soda and add cold water to cover the chick peas by a few centimetres/couple of inches. Bring to the boil and simmer for 20 minutes. When the chickpeas have cooked and are very soft, drain and run under cold water. Drain well.
-
Meanwhile, put the tahini, lemon juice, garlic oil, Middle Eastern spice, garlic and salt into the food processor and blitz until thoroughly mixed.
-
Add the chickpeas to the food processor and blend until smooth, light and velvety.
-
With the motor running add the iced water or some reserved chick pea liquid until you reach your desired consistency.
Grainy:
-
Drain the chickpeas, reserving the chickpea liquid, and rinse well. There is no need to cook them.
-
Put the tahini, lemon juice, garlic oil, Middle Eastern spice, garlic and salt into the food processor and blitz until thoroughly mixed.
-
Add the chickpeas to the food processor and blend until smooth, light and creamy.
-
With the motor running add the iced water or some reserved chick pea liquid until you reach your desired consistency.
Chunky:
-
Drain the chickpeas, reserving the chickpea liquid, and rinse well. There is no need to cook them.
-
Meanwhile, measure the tahini, lemon juice, garlic oil, Middle Eastern spice, garlic and salt into a bowl and mix thoroughly mix.
-
Mash the chickpeas with a fork until you reach your desired consistency and stir into the lemon juice and tahini mix.
-
Add the iced water or reserved chick pea liquid and mix well until you reach your desired consistency.
To serve:
-
Spoon into a bowl, top with your choice of garnishes and drizzle with good quality olive oil.
Recipe Notes
Equipment
- Food processor or mixing bowl
- Serving dish
- Saucepan (if cooking)
- Sieve
- Measuring spoons
- Frying pan to roast pine nuts or chick peas
Oil and Garlic
My preferred choice would be garlic oil and powdered garlic. Normally I like a big hit of garlic, but for hummus, I prefer the softer more mellow flavour of using garlic oil and powdered garlic. Totally up to you – both are gorgeous.
Middle Eastern Spice Mix
To see my recipe for this spice mix, please see here.
Roasted Pine Nuts
Heat a frying pan over a moderate heat and add the pine nuts. Cook, stirring from time to time, until the pine nuts are lightly browned. Remove from the heat and tip into another bowl immediately to stop the cooking process. It will only take 2 – 3 minutes. Do not take your eyes off them though as they burn easily
If you need further details, see here.
More from my site
 Classic Hummus
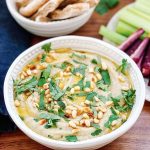 Baba Ganoush with Roast Garlic
 Lentil, Pulse and Vegetable Curry/Stew – Core Recipe
 Vegetarian Lentil Chilli with Black Beans, Sweetcorn and Chickpeas
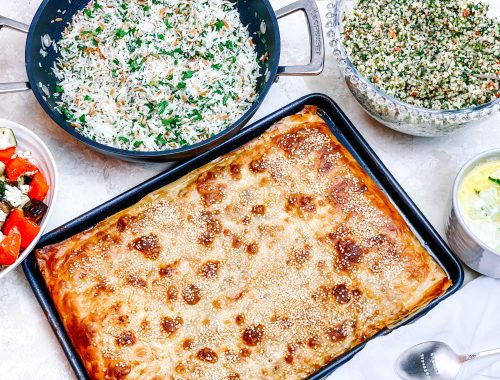
 Quick and Easy Lahmacun – Flatbread cooked with minced meat and spices.
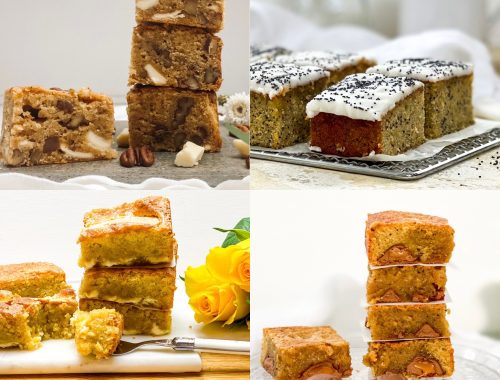
 Spicy Date Cake with Pecan Nuts and a Salted Tahini Caramel – Vegan, Gluten and Processed Sugar-free

Chocolate Orange Brownies


2 Comments
Emma
Super smooth hummus is the superior option! Definitely worth the added time- you won’t realize how much so until you try it yourself.
Susan
Absolutely agree! Really worth the tiny bit of extra effort. Susan XX