Chocolate Orange Cheesecake
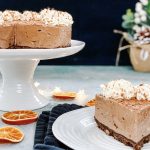
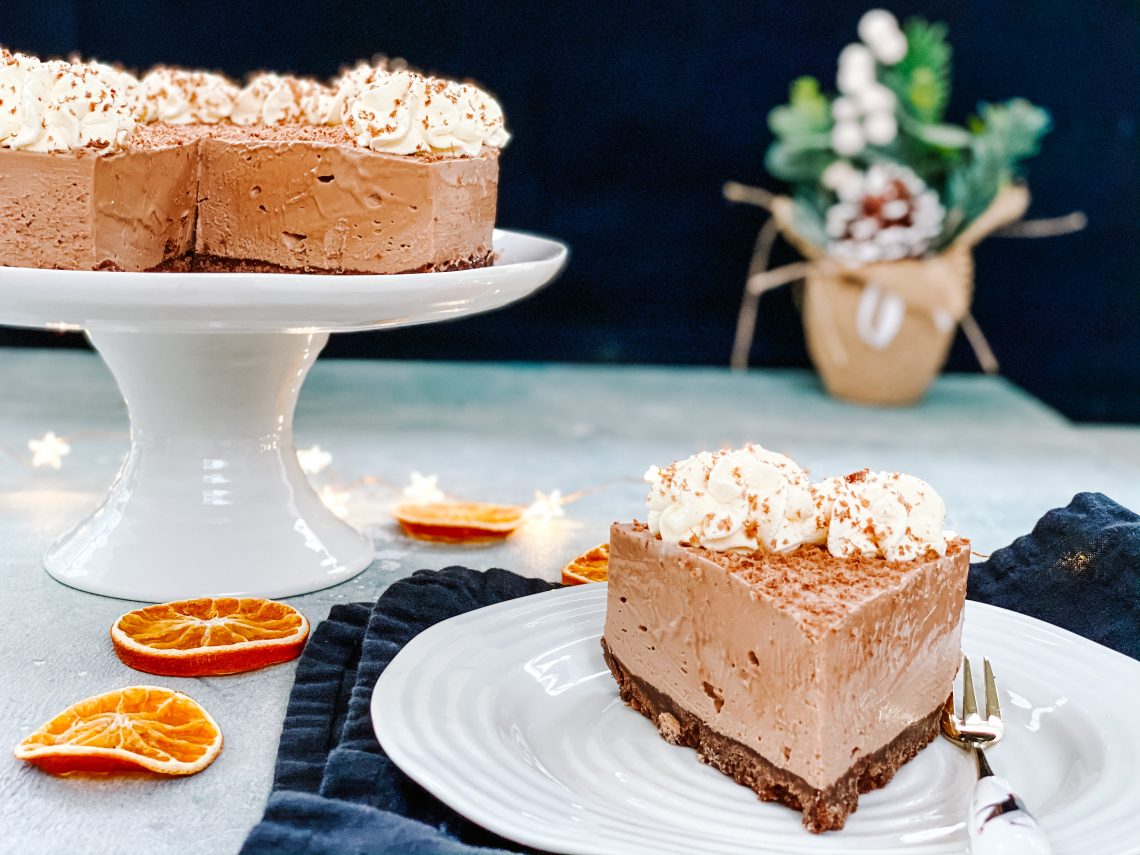
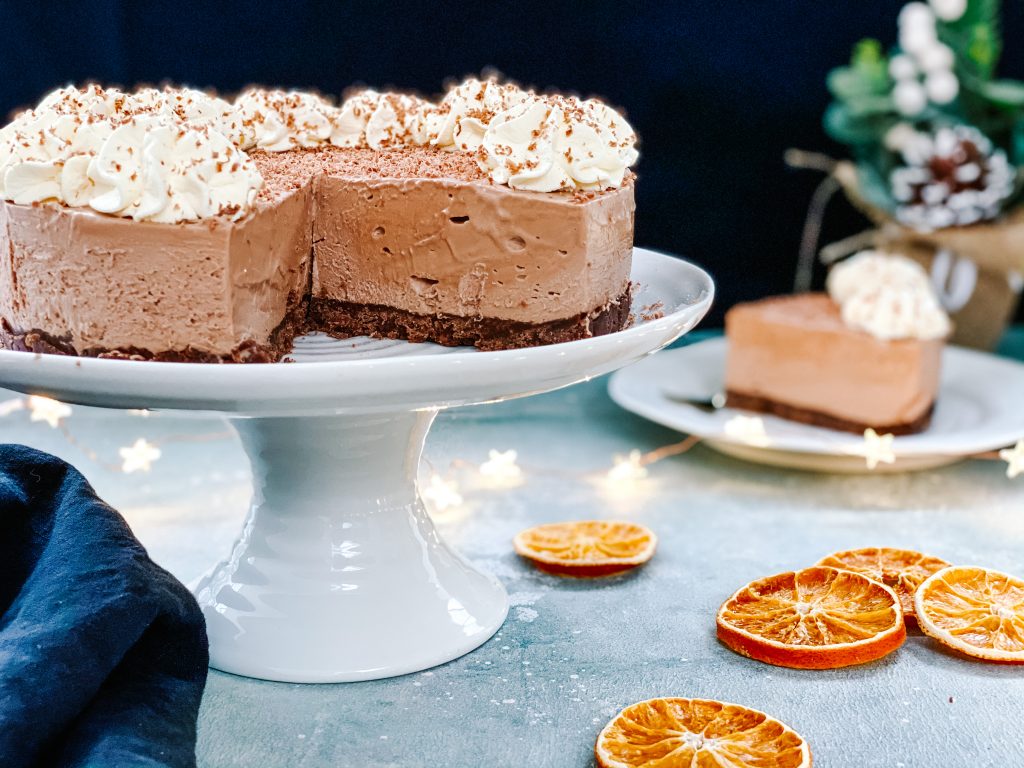
Dreamy, creamy cheesecake loaded with chocolate orange on a delicious crunchy base made from Bourbon biscuits, with a slight salty kick! OMG – chocolate orange heaven. Charlotte has been nagging me to make this recipe for a while – she’s a very happy bunny tonight!
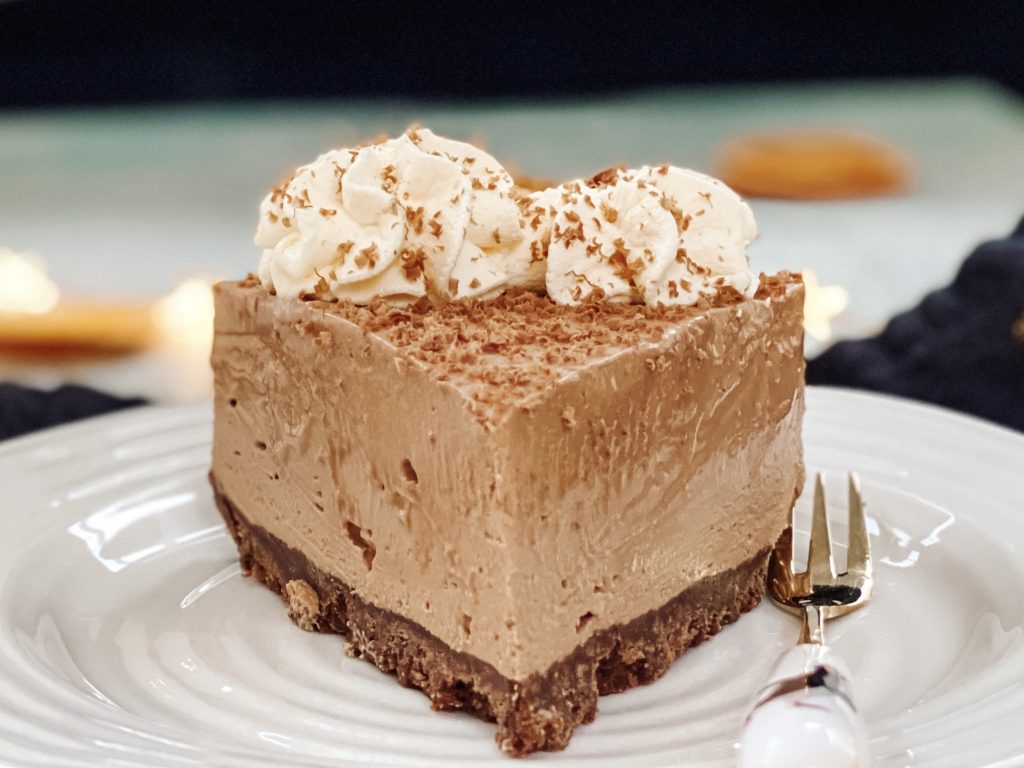
There are many variants of this recipe out there. This one comes from my lovely friend Deborah. Her daughter Sophie was at school with Charlotte and after Charlotte visited their home, she RAVED about this dessert. It has been a firm favourite in our house ever since! This version uses Bourbon biscuits in the base but Deborah uses digestives, both of which are just gorgeous.
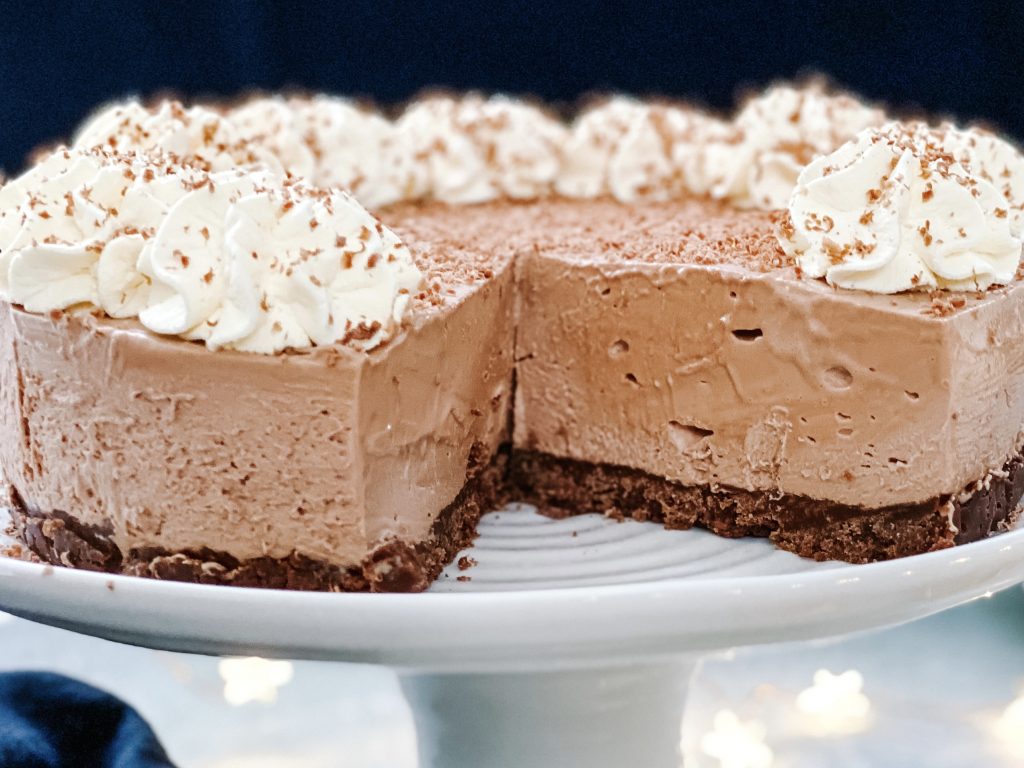
Unlike many recipes, this one has no added sugar in the base or the cheesecake – there really is sufficient sugar coming through from the biscuits and the chocolate. No added sugar? Clearly there must be orange in the chocolate as well – I would argue that this decadent, addictive and moreish dessert, is actually a health food!!! 😂 I wish.
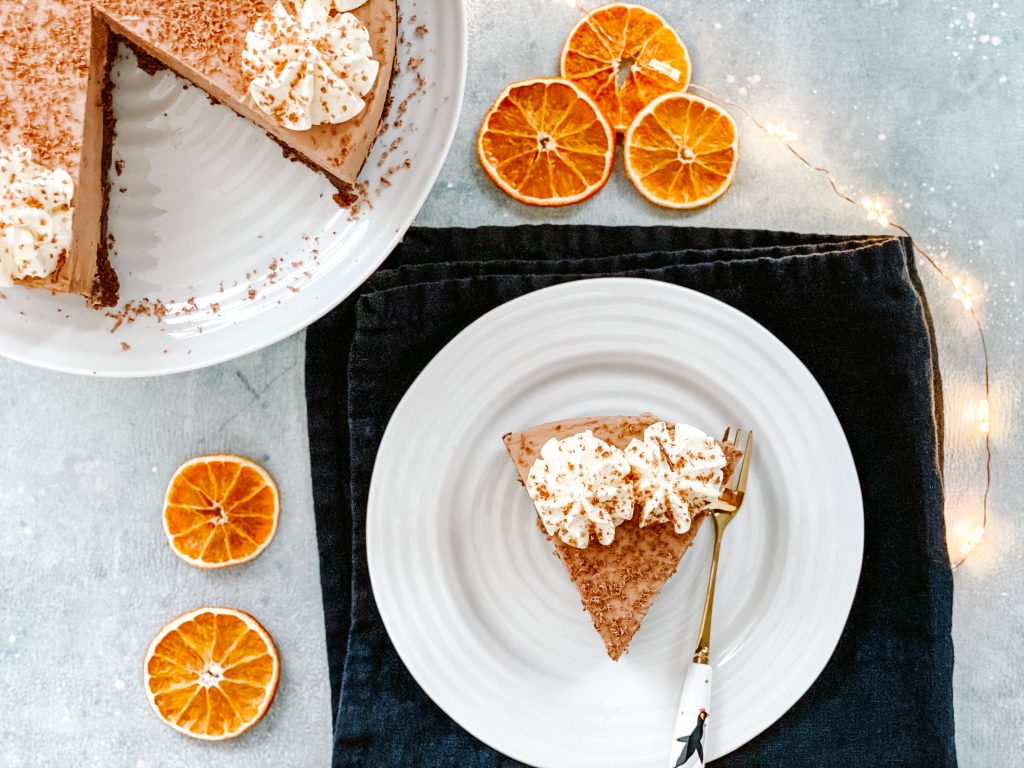
Do you have adult children, who have come back to live at home post university? Are you never sure if they are coming home after work or going out and staying with friends? Then this is the dessert for you! When I asked Charlotte if she was coming home tonight, this was the response!
How to make Chocolate Orange Cheesecake
Collect all your ingredients together:
- BASE:
- Bourbon biscuits – or you can use digestives
- unsalted butter
- fine salt
- FILLING:
- Terry’s Chocolate Orange or chocolate orange milk chocolate
- cream cheese
- fresh double/heavy cream
- TOPPING:
- double or heavy cream
- grated Terry’s Chocolate Orange or chocolate orange milk chocolate
First of all, make the base:
- Put the Bourbon biscuits into a large plastic/freezer bag, lay out on a work surface and roll your rolling pin over to crush the biscuits. Continue to roll until you have fine crumbs. Alternatively, you can roughly break the biscuits with your hand and then put them in a food processor and pulse until they make fine crumbs.
- Melt the butter in a medium to large saucepan over a moderate heat. Take off the heat when melted.
- Tip in the biscuit crumbs, as well as the salt and stir to mix thoroughly, ensuring all the crumbs are evenly covered in the butter.
- Tip into a lined, deep sided 20cm/8 inch loose-bottomed cake tin and press firmly into the tin.
- Put in the fridge to solidify whilst you make the cheesecake.
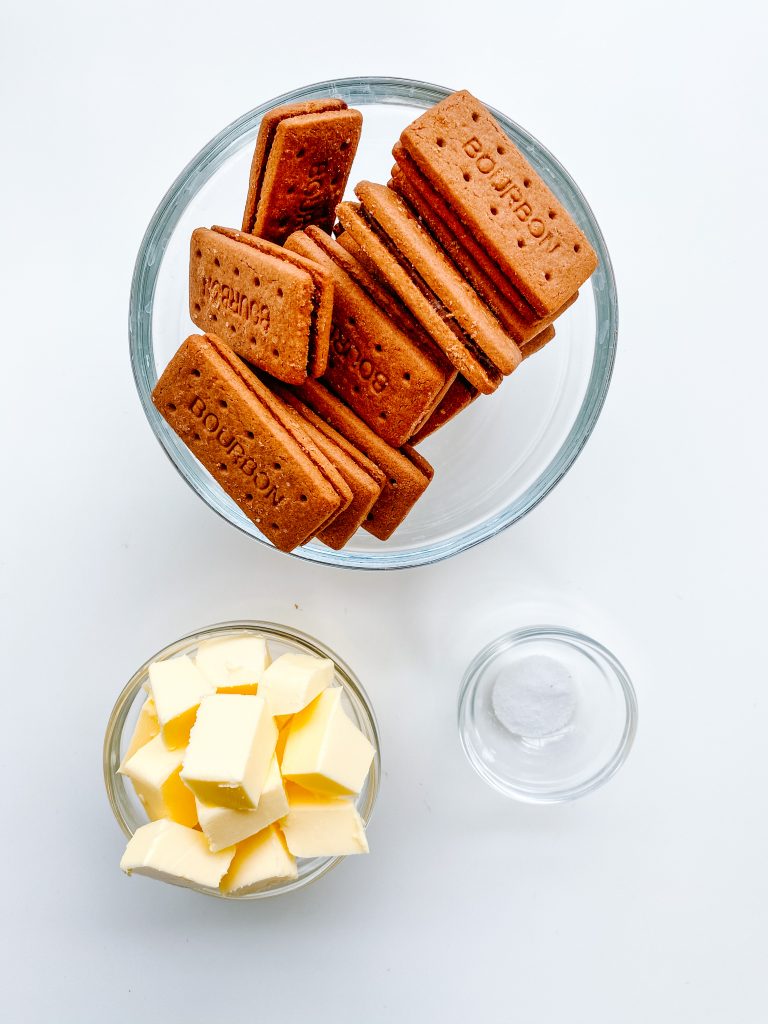
Base ingredients 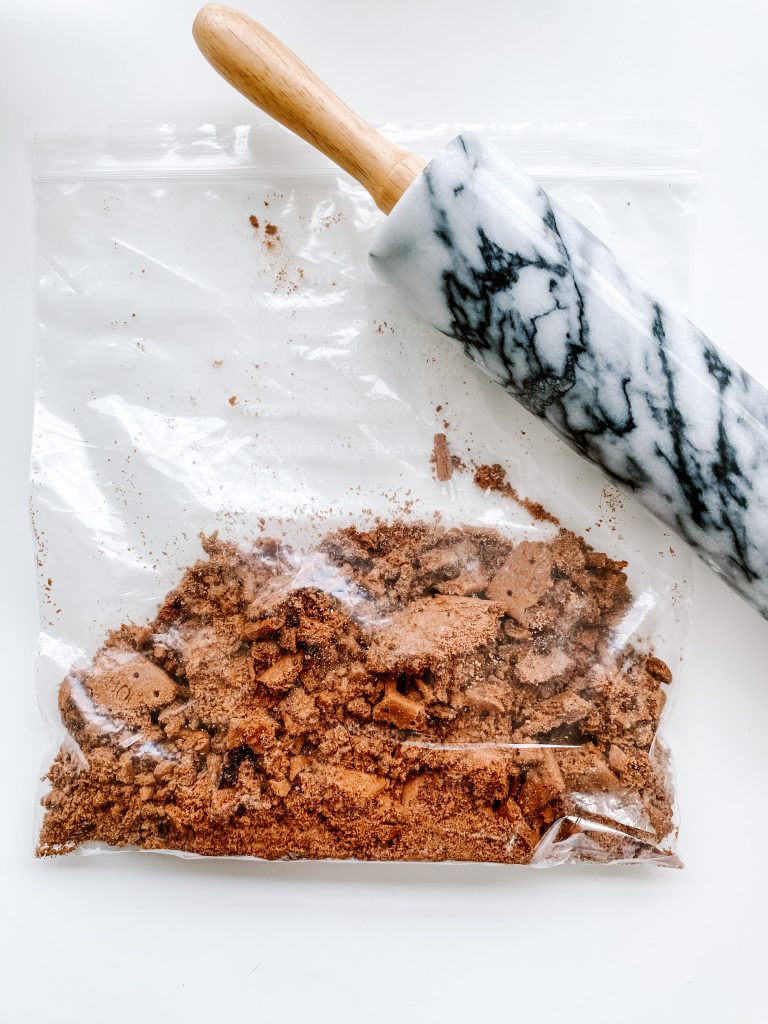
1. Roll the biscuit until you have fine crumbs 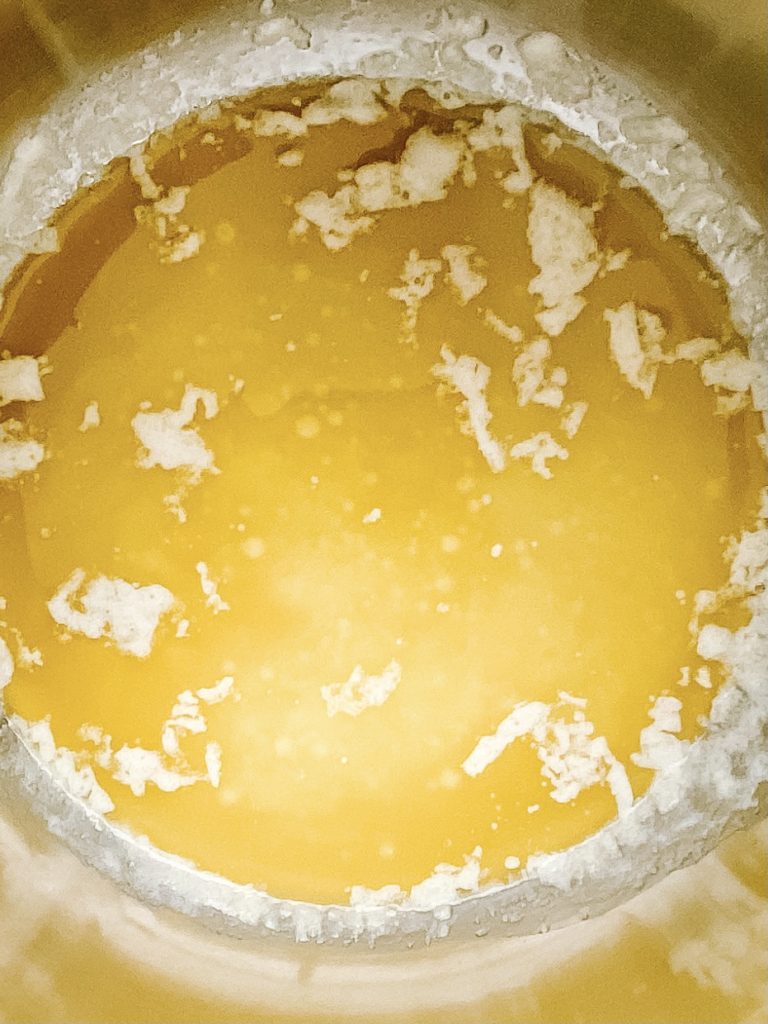
2 Melt the butter and take off the heat 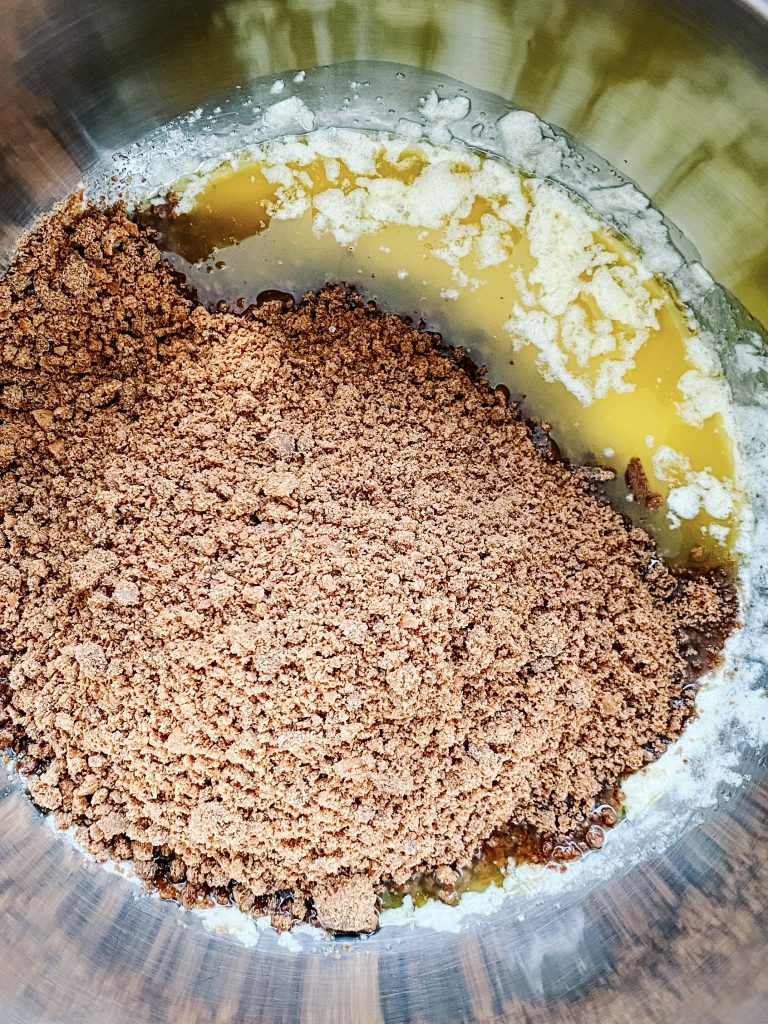
3 Add biscuit crumbs and salt. Stir to mix 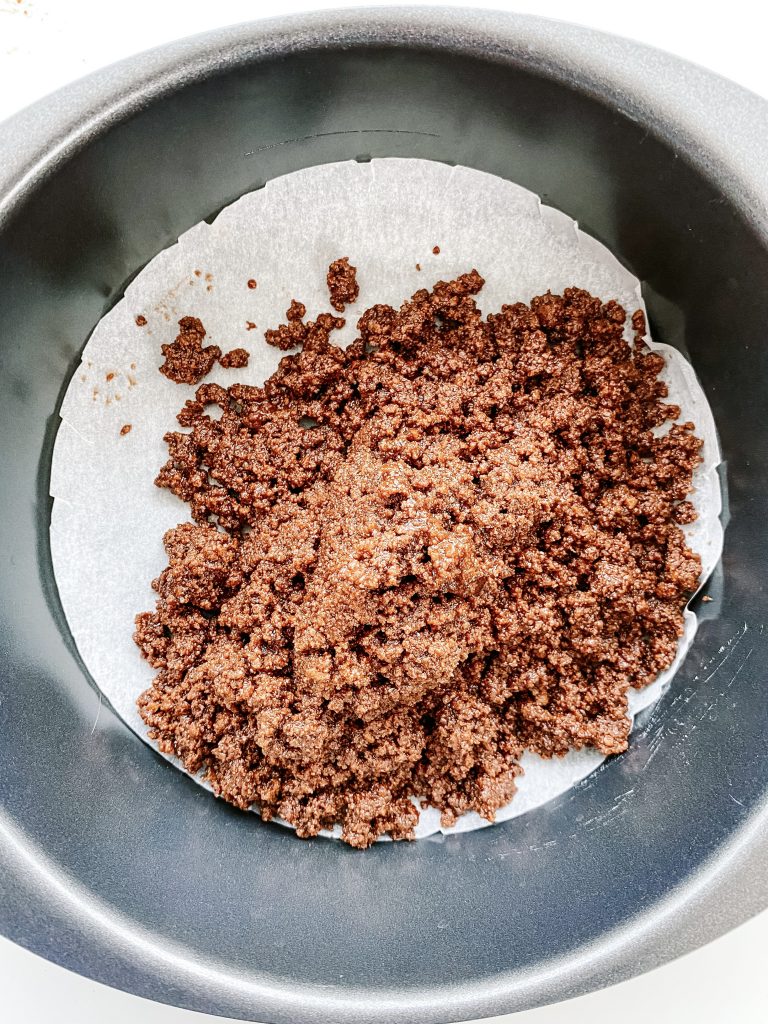
4 Tip into tin 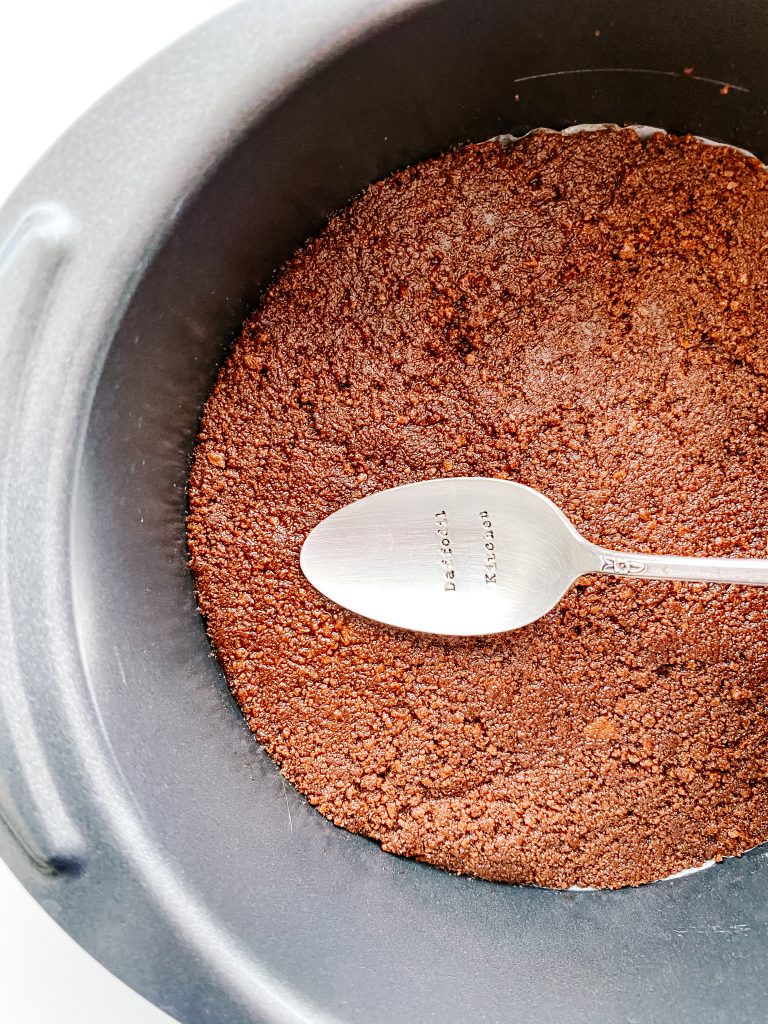
5 Flatten and refrigerate
Make the cheesecake:
- Take the cream cheese and cream out of the fridge to allow to warm slightly – this will help prevent the melted chocolate solidifying when added.
- Place all bar 1 segment of chocolate orange in a microwave safe bowl or jug.
- Melt in the microwave. I blitz for 60 seconds and then leave it for a couple of minutes. Stir well and if it is not completely melted continue to blitz but 15 seconds at a time and stir well after each blitz. Set on one side to cool.
- Beat the cream cheese with an electric whisk until light and fluffy.
- Pour in the cream.
- Add the melted chocolate.
- Quickly beat with an electric whisk until thoroughly mixed and thickened. The mixture should easily hold its shape.
- Remove the base from the fridge and cover with the cheesecake mix.
- Level the surface of the cheesecake as best you can and refrigerate for a minimum of 2 hours but preferably more. Cover with cling film whilst in the fridge.
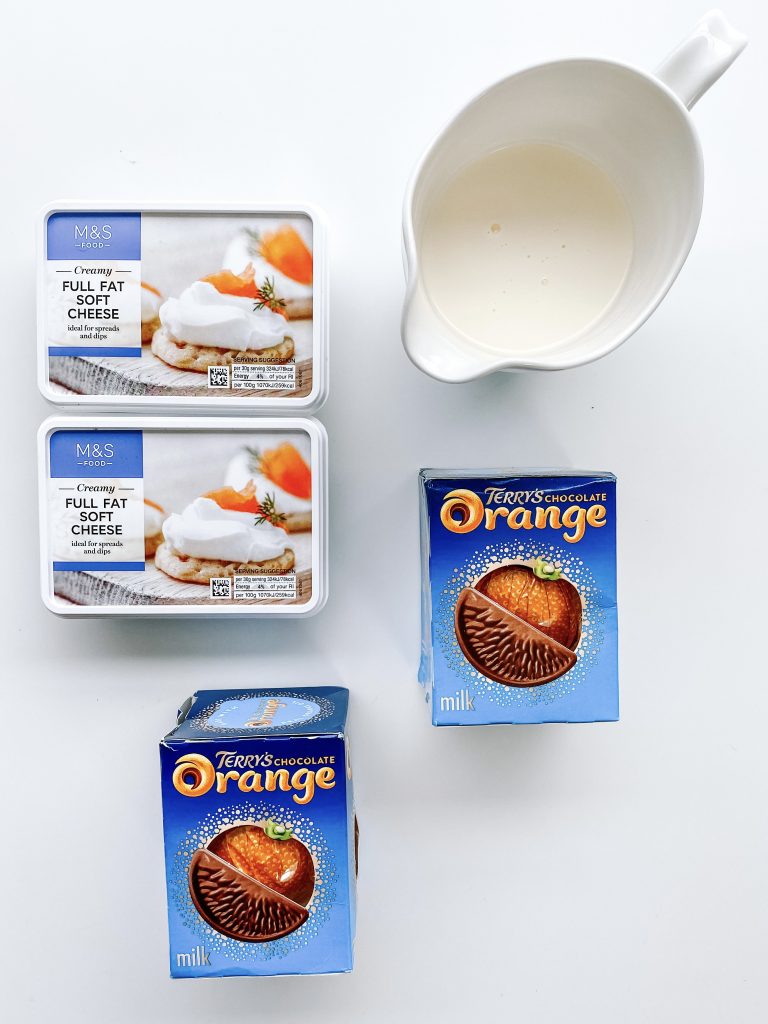
1 Ingredients – take cream & cheese out of the fridge 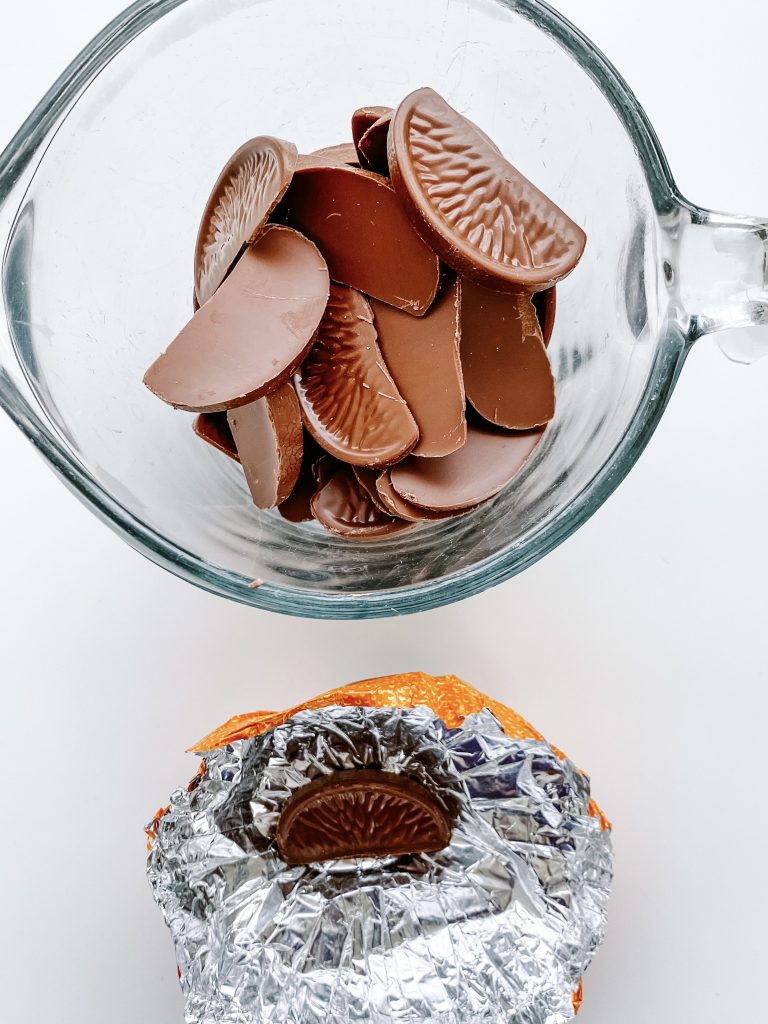
2 Remove and save 1 segment of chocolate 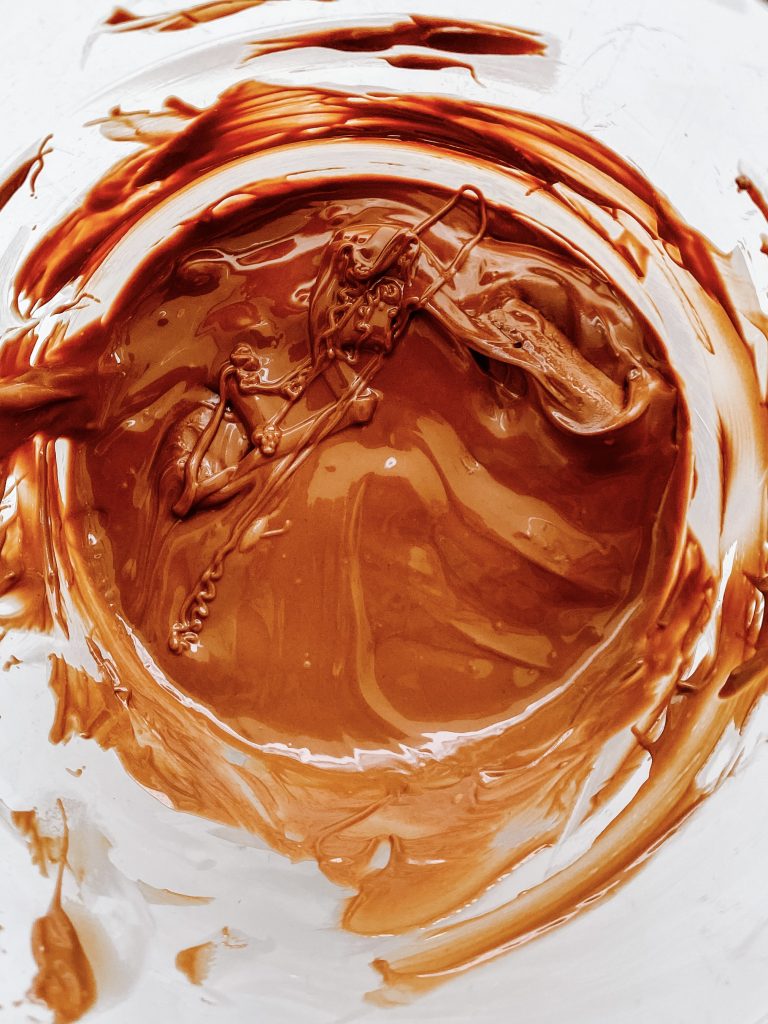
3 Melt the remainder 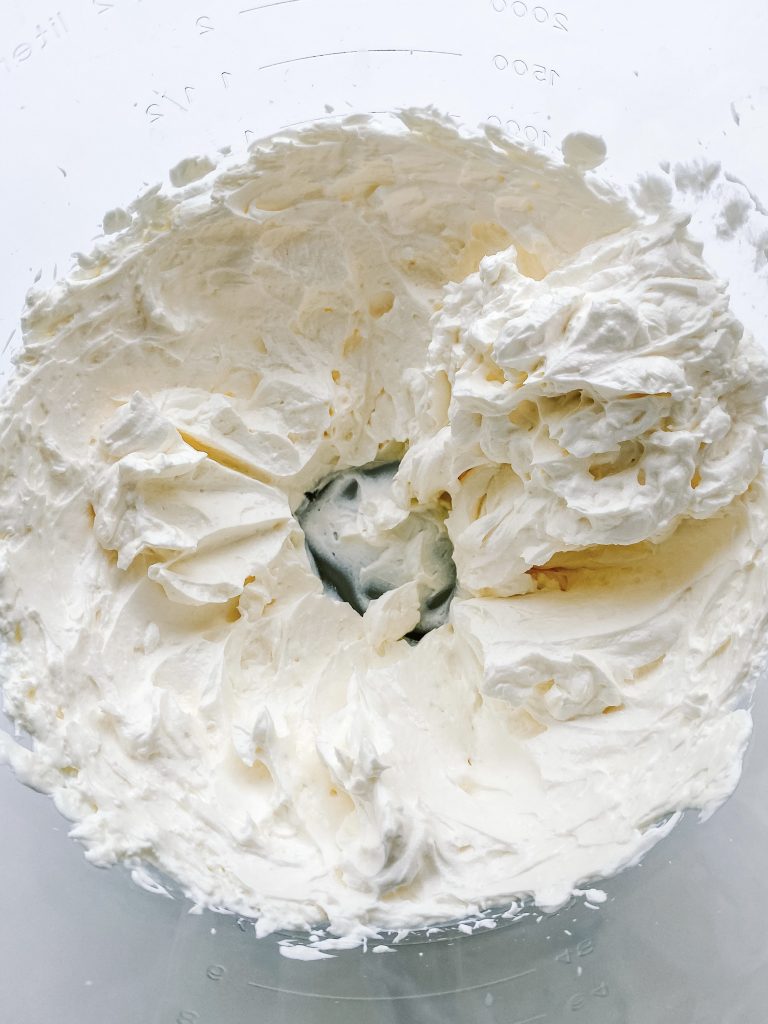
4 Beat cream cheese until light and fluffy. 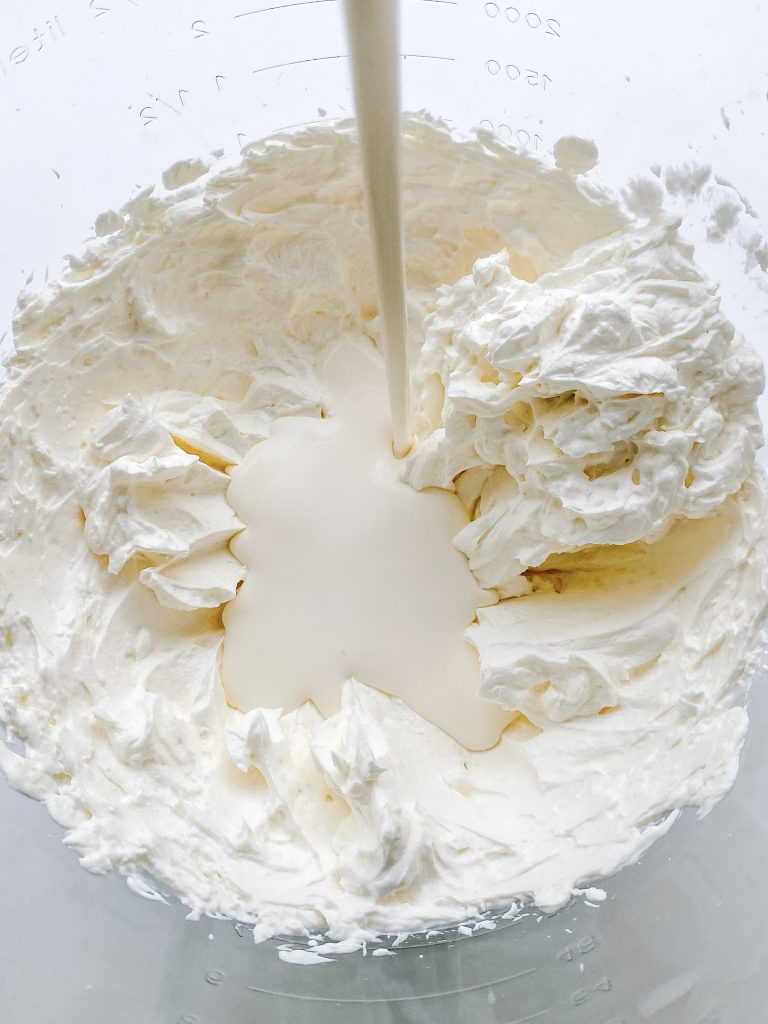
5 Pour in the cream. 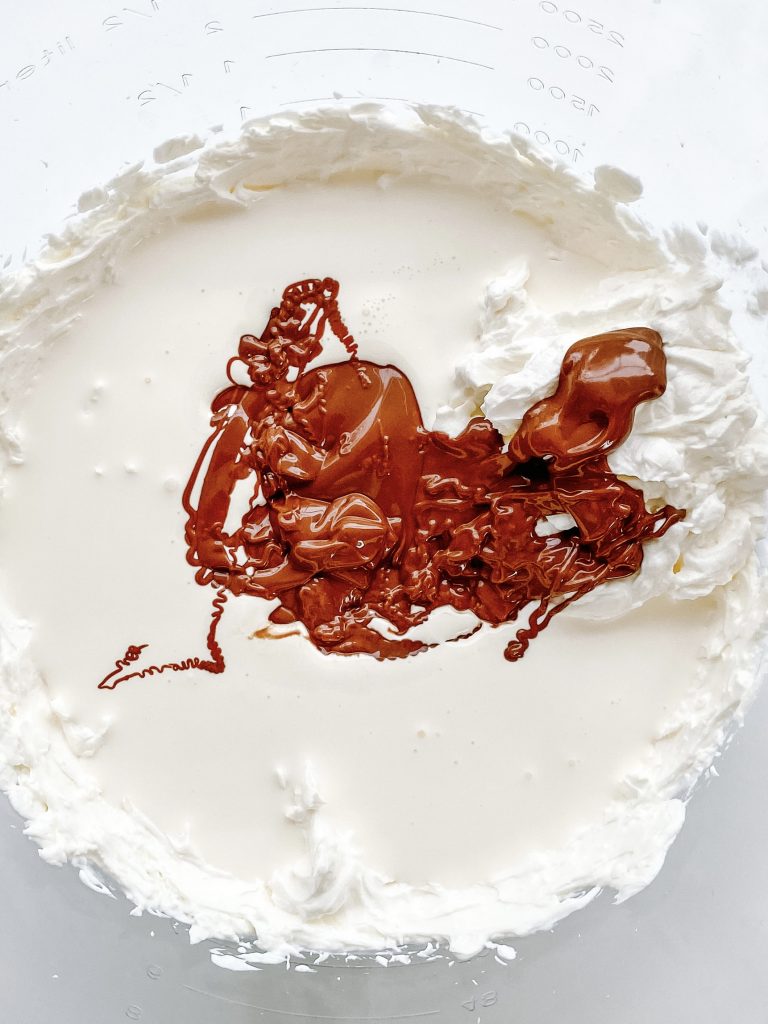
6 Add melted chocolate 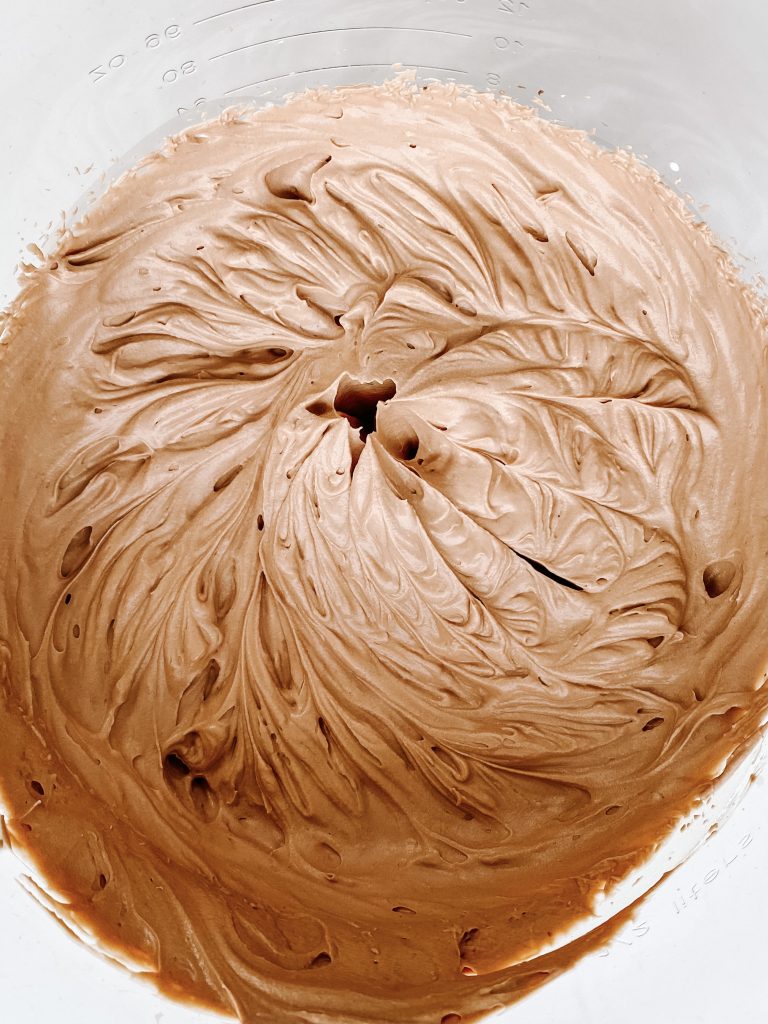
7 Quickly beat with an electric whisk 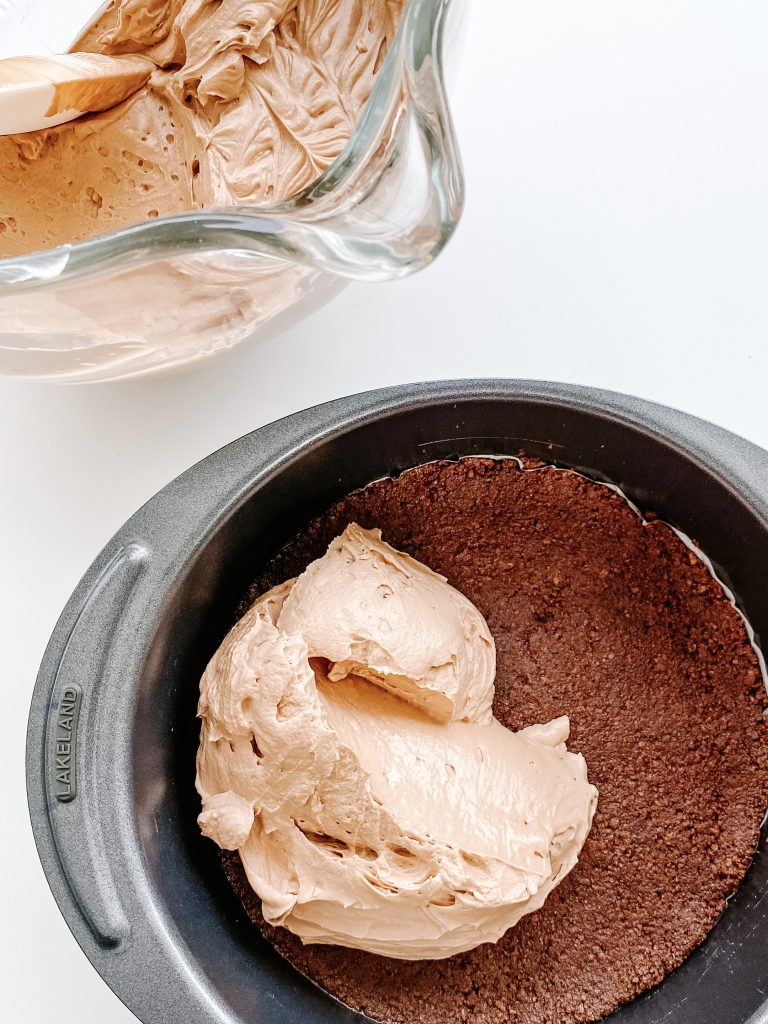
8 Cover base with the mix 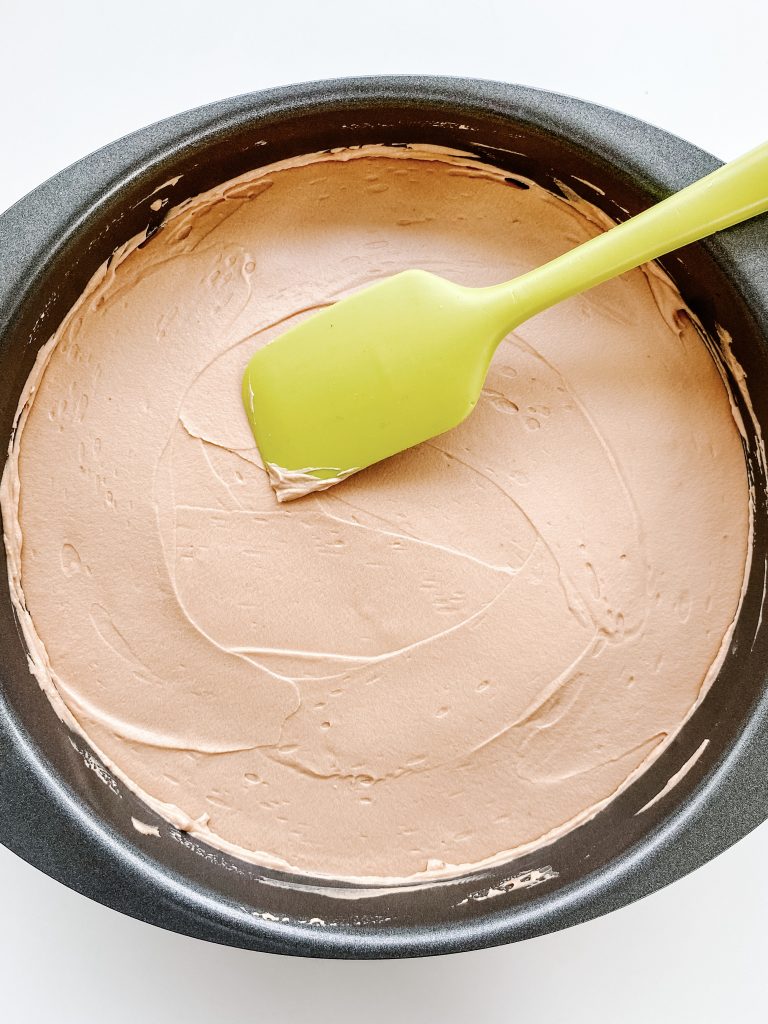
9 Level the surface
Top with Cream and Grated Chocolate:
- Whip the cream with an electric whisk until it reaches soft peaks.
- Fill a piping bag with a nozzle.
- Heat a palate knife in boiling water. Dry with a cloth and then slide around the edge of the cheesecake to release it from the tin.
- Sit the cheesecake on a tin to remove the outside of the baking tin.
- Lower baking parchment to expose the base.
- Insert a cake slice between the cheesecake and the baking parchment and transfer the cheesecake to a serving plate.
- Cut the end from the piping bag to expose the nozzle, if necessary
- Pipe or spoon the cream onto the cheesecake.
- Grate the remaining segment of chocolate orange over the dessert.
- Slice the cheesecake, serve and luxuriate in the flavour and texture pleasures!
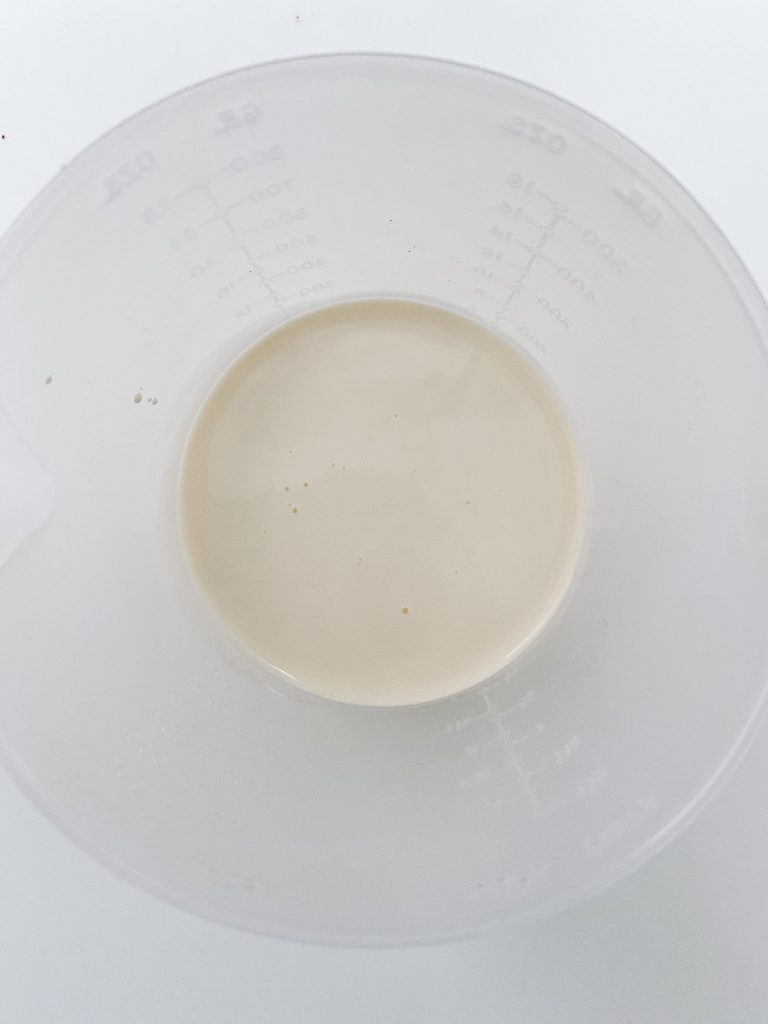
Ingredients – cream, plus the segment of chocolate orange 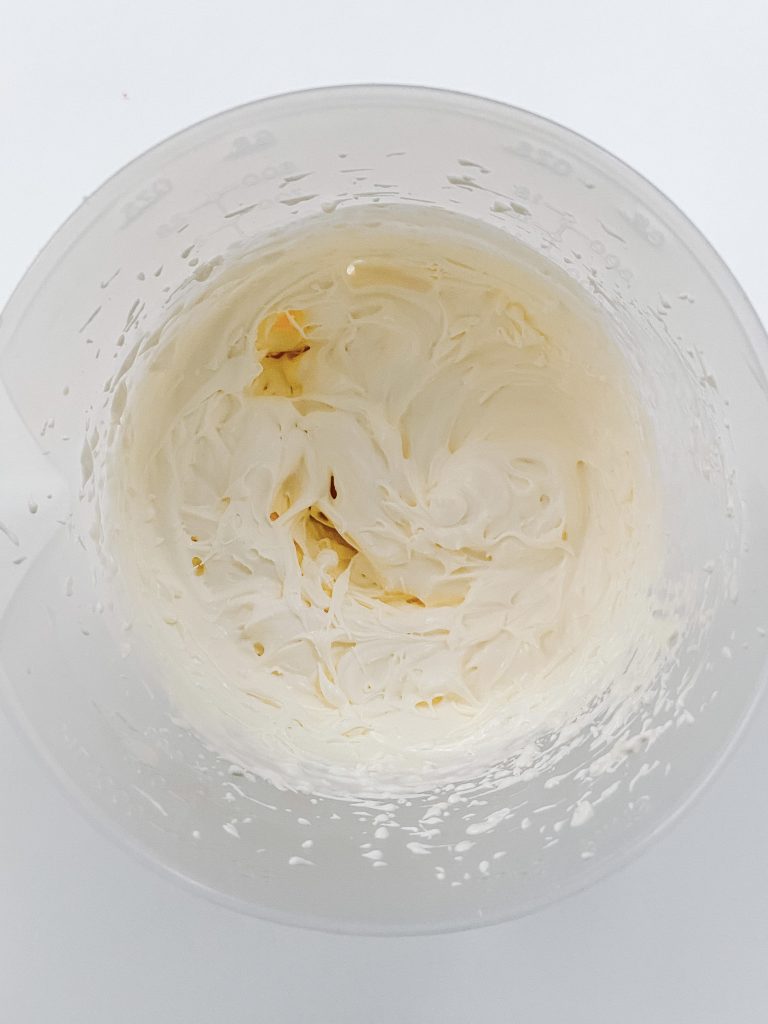
1 Whip cream until it reaches soft peaks 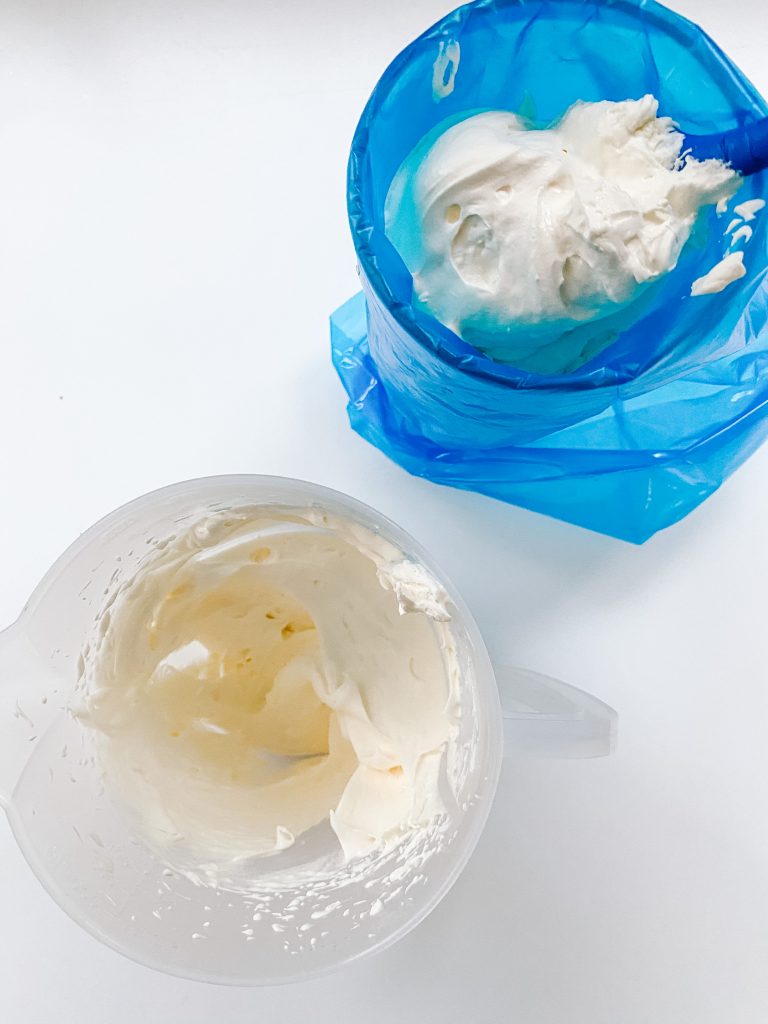
2 Fill a piping bag … 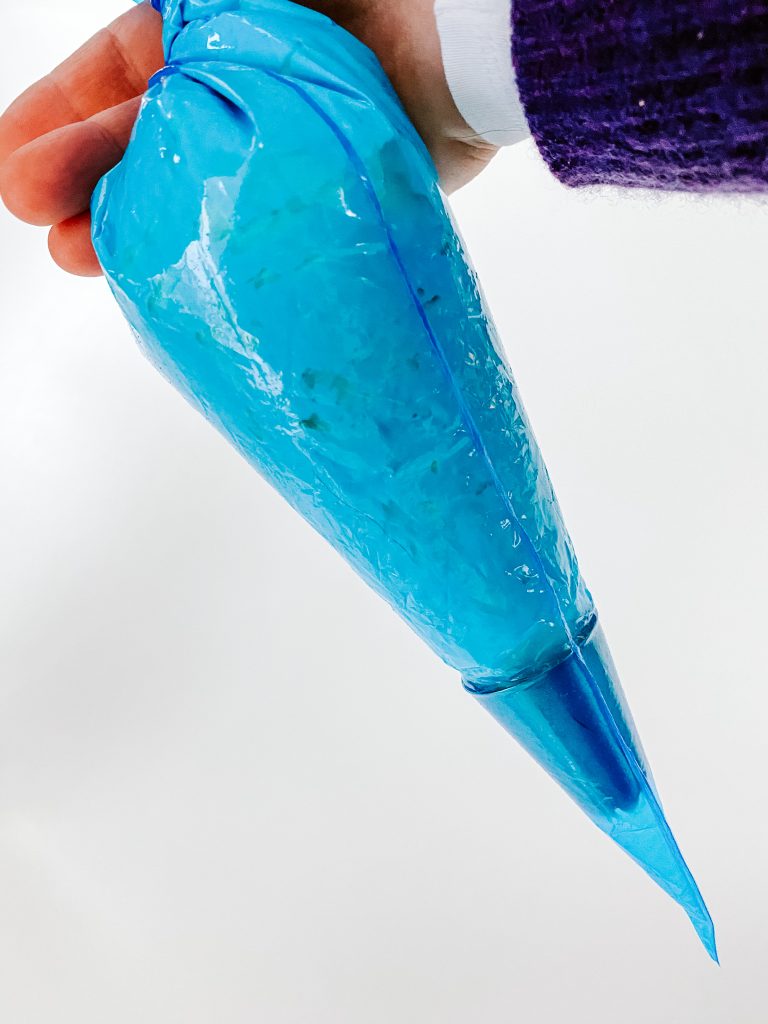
… with a nozzle. 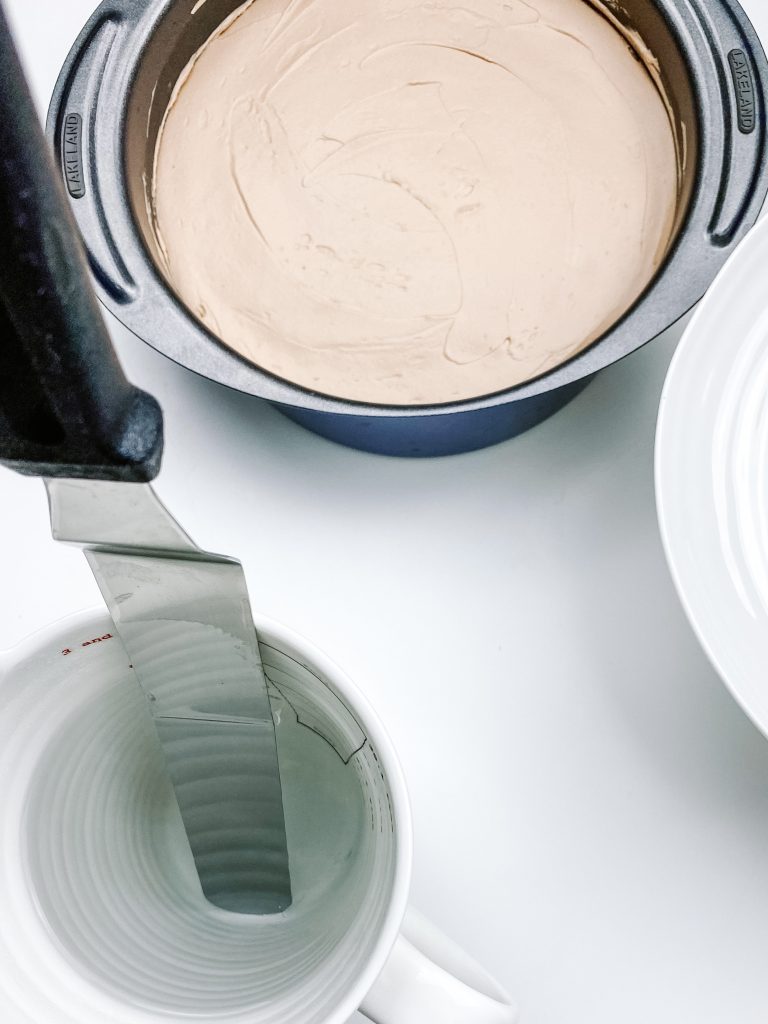
3 Heat a palate knife in boiling water … 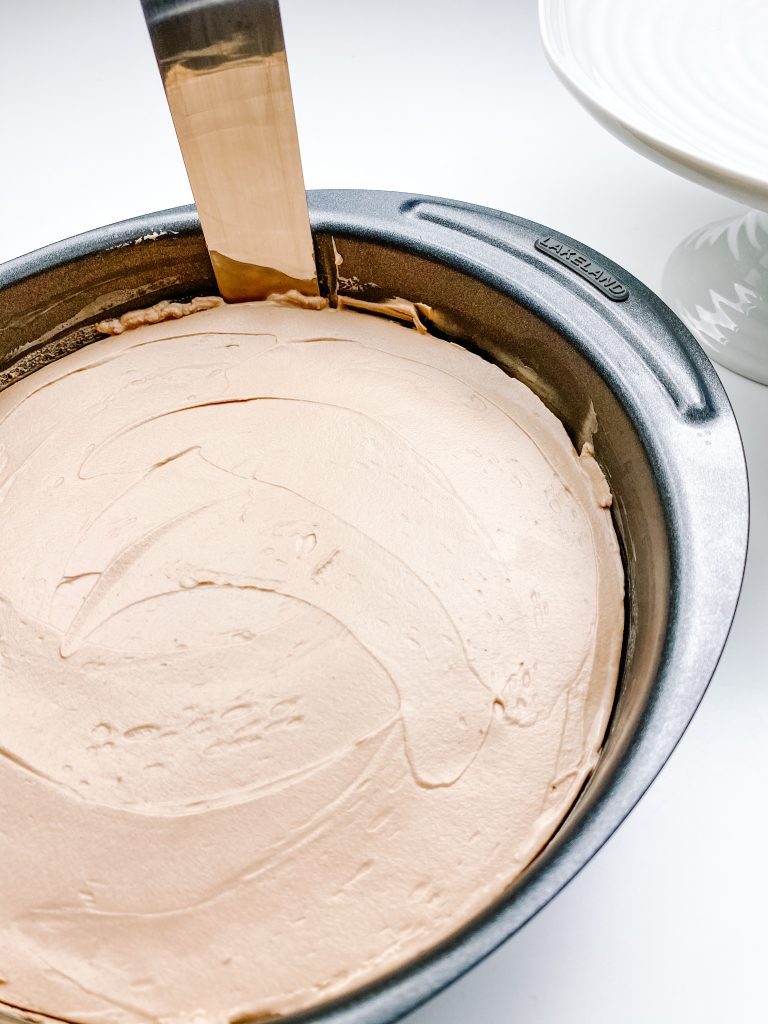
… slide around the edge of the cheesecake 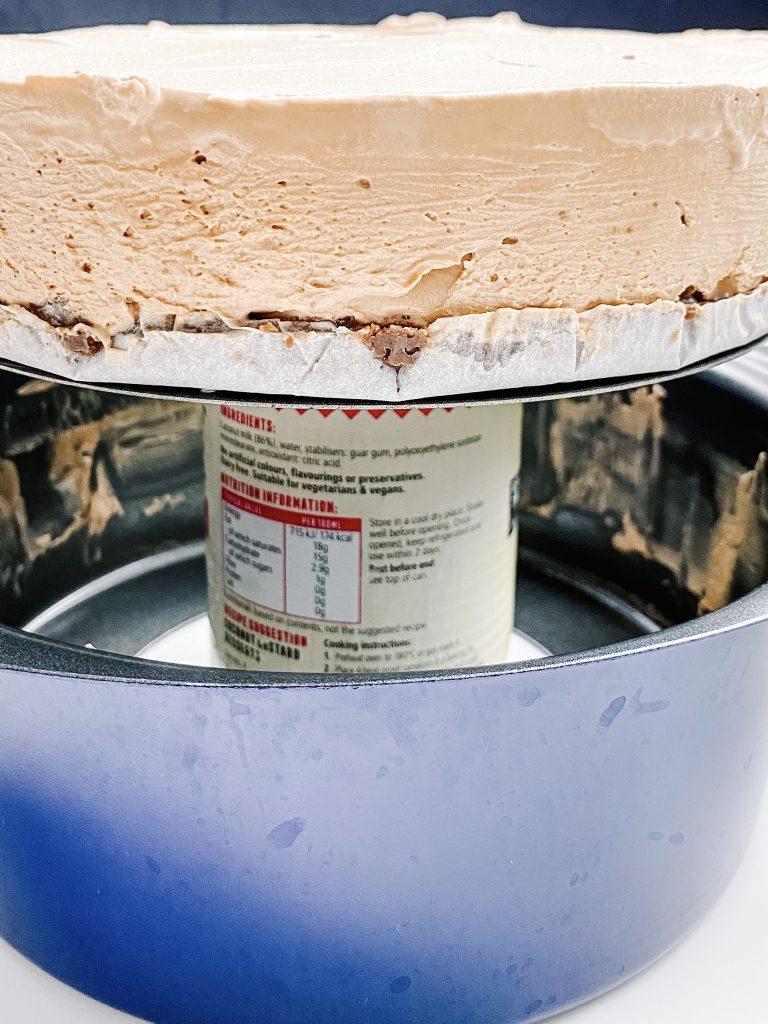
4 Sit cheesecake on a tin to remove the outside of the tin 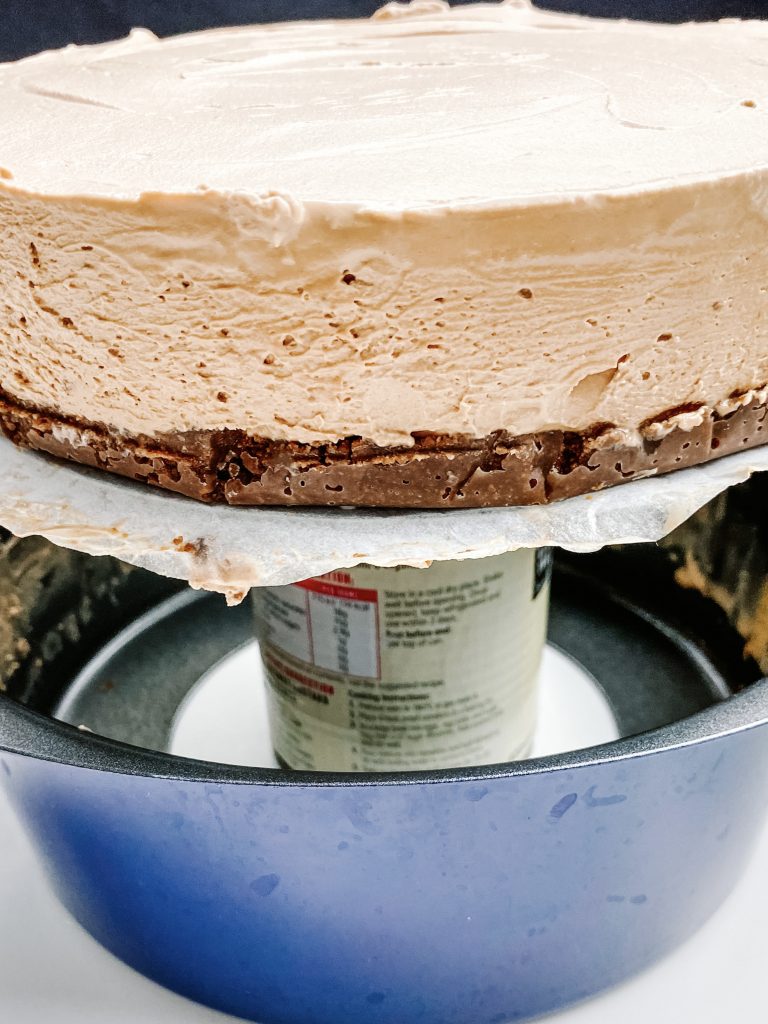
5 Lower baking parchment around base 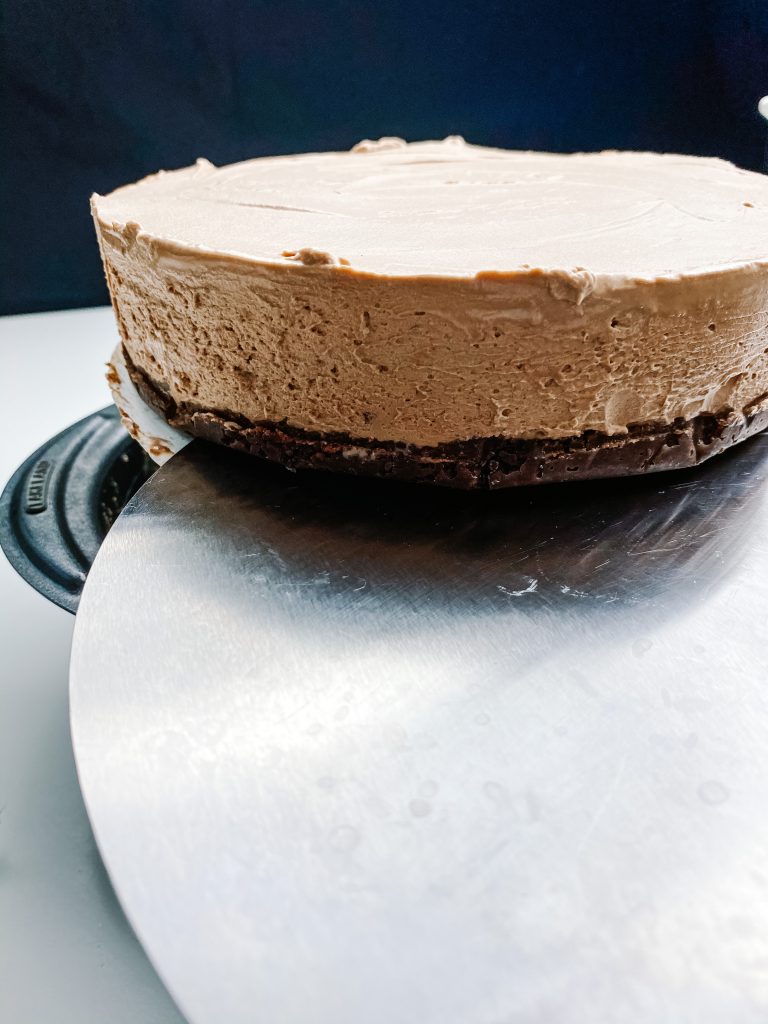
6 Use a cake slice between base and baking parchment … 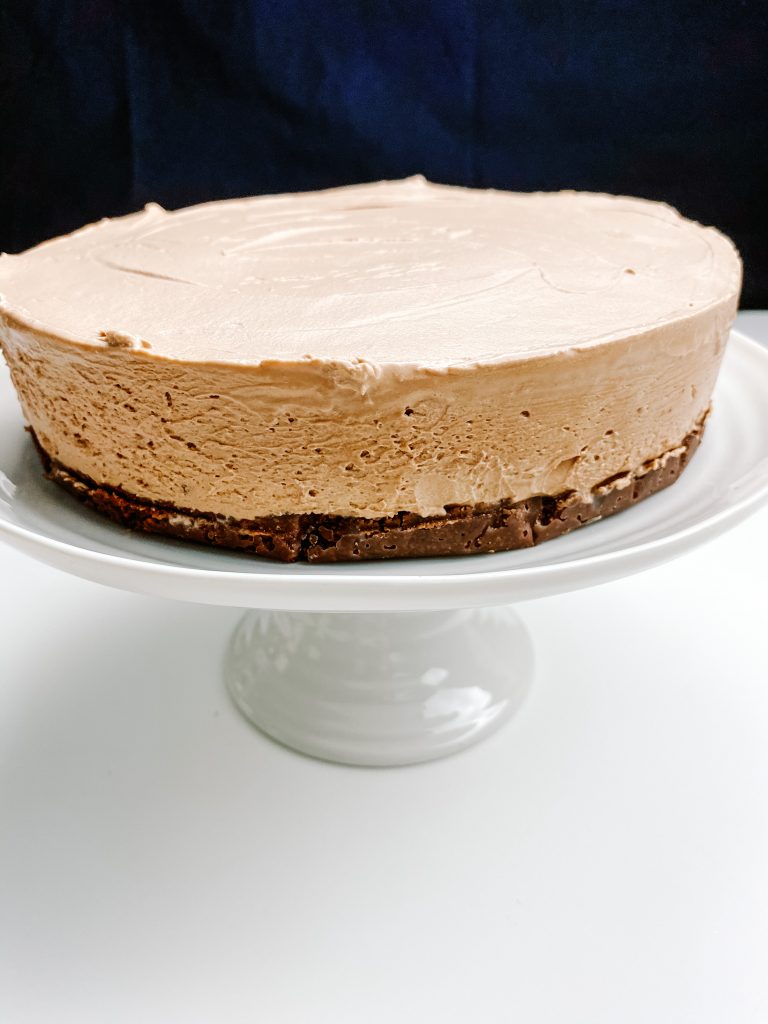
… and transfer to a serving plate 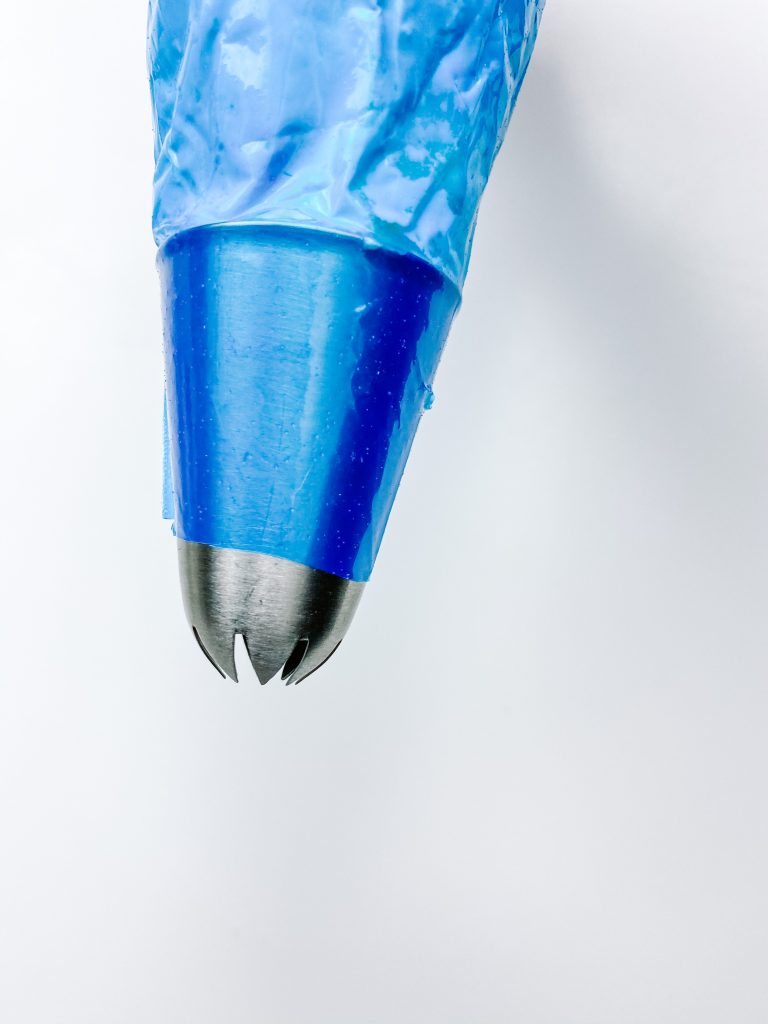
7 Cut end from piping bag, if necessary 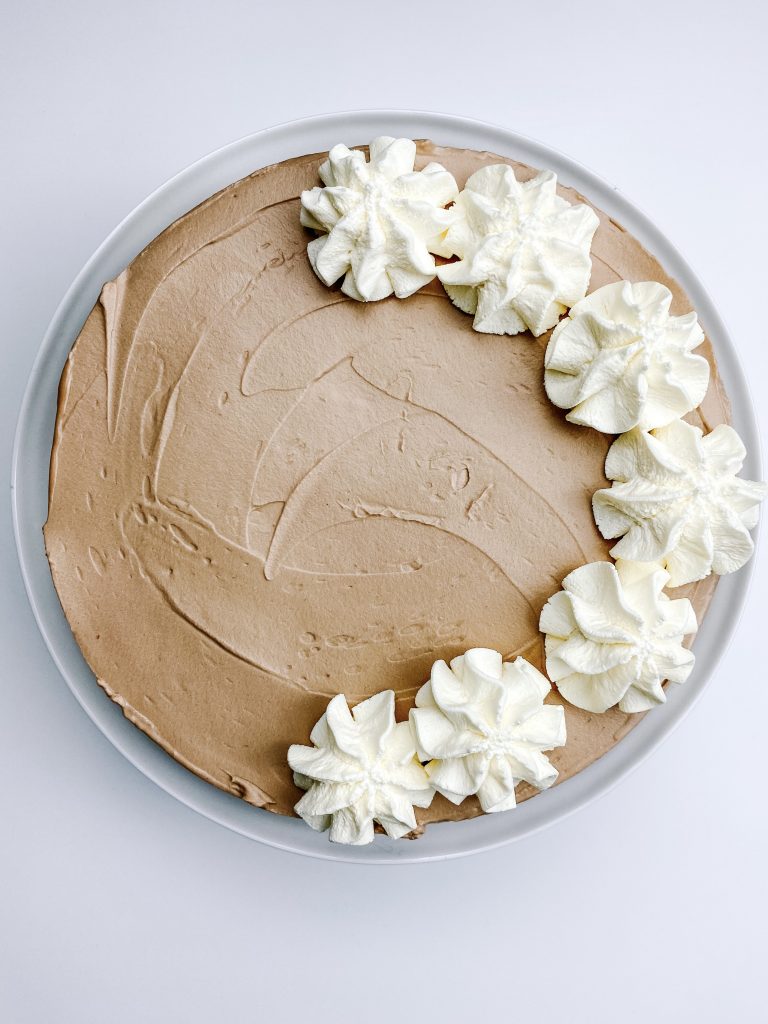
8 Pipe or spoon cream onto cheesecake. 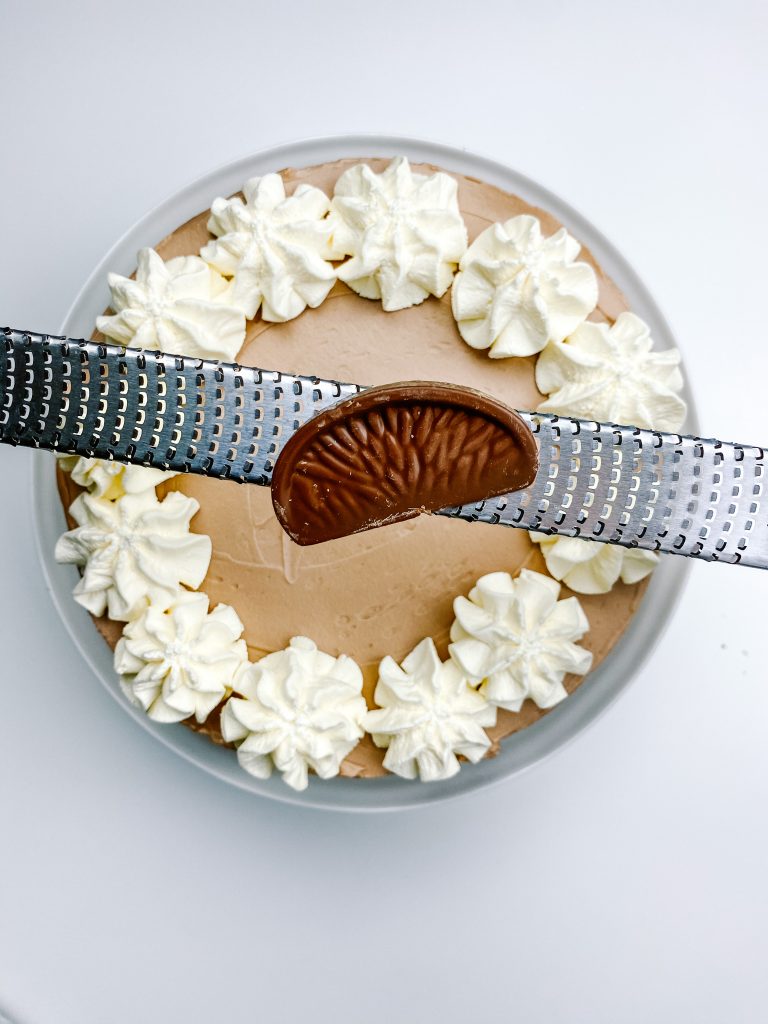
9 Grate chocolate orange 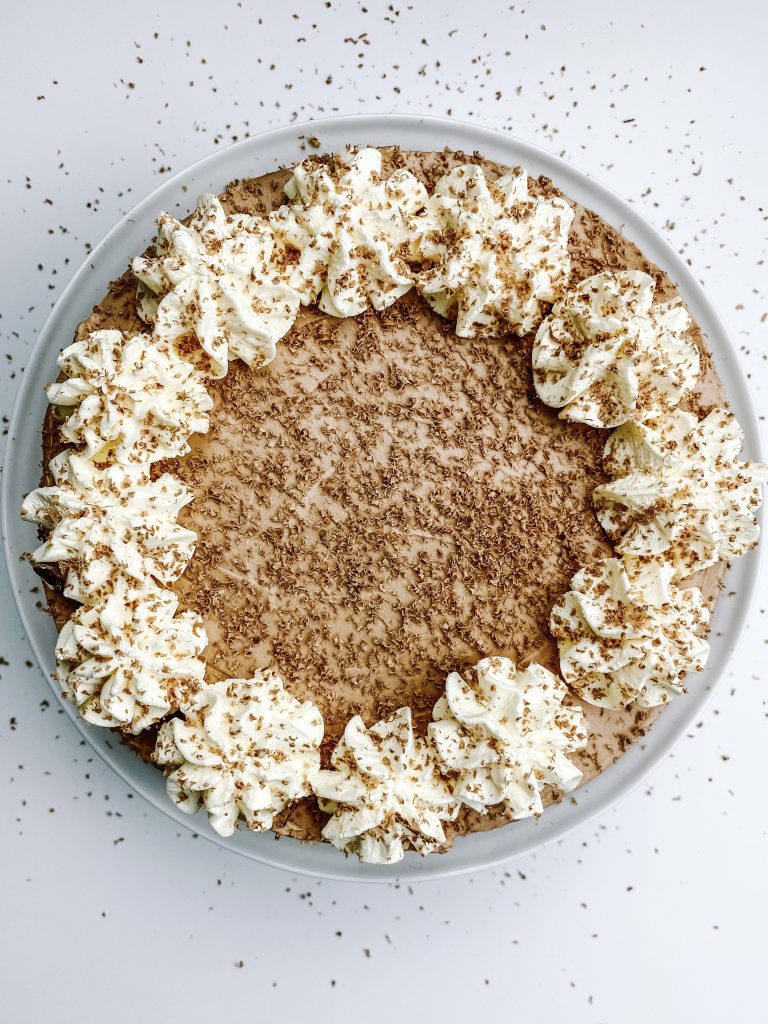
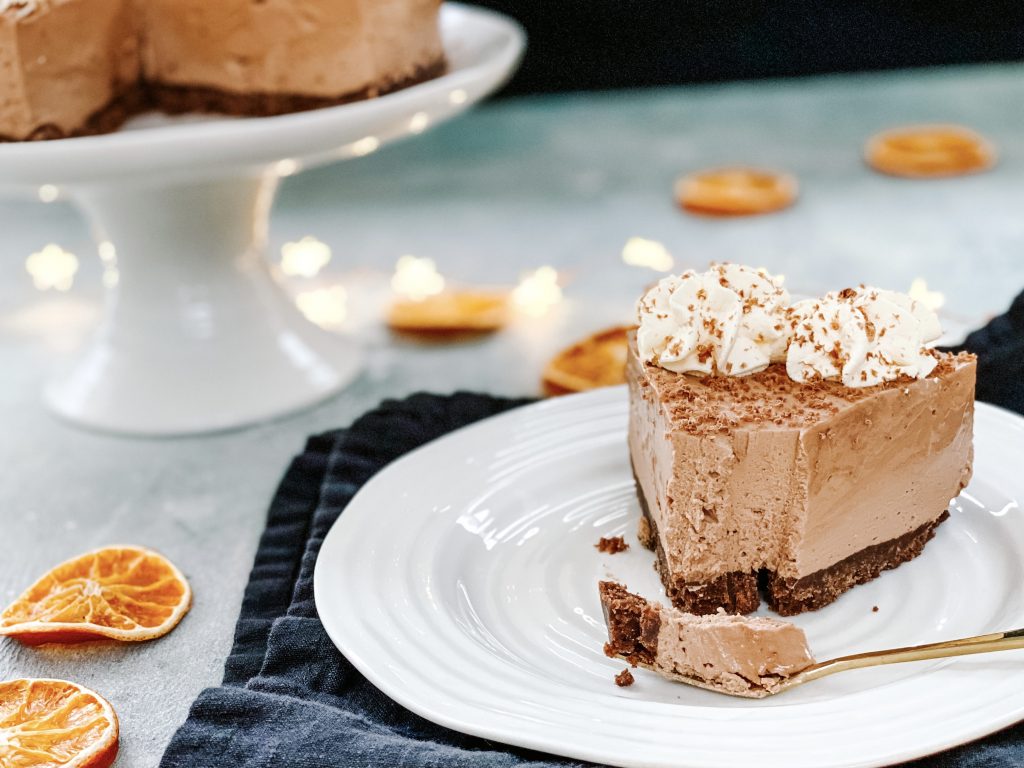
Chocolate Orange Cheesecake
Dreamy, creamy cheesecake loaded with chocolate orange on a delicious crunchy base made from Bourbon biscuits, with a slight salty kick! OMG – chocolate orange heaven. Serves 6
Ingredients
For the base:
- 200g bourbon biscuits (or digestives)
- 100g unsalted butter
- ⅛ teaspoon salt
For the cheesecake:
- 400g cream cheese
- 200g double/heavy cream
- 300g chocolate orange (ie all bar 1 segment from 2 oranges)
For the topping:
- 200g double/heavy cream
- 1 segment from the chocolate orange
Instructions
-
Make the base:
-
Put the Bourbon biscuits into a large plastic/freezer bag, lay out on a work surface and roll your rolling pin over to crush the biscuits. Continue to roll until you have fine crumbs.
Alternatively, you can roughly break the biscuits with your hand and then put them in a food processor. Pulse until they make fine crumbs.
-
Melt the butter in a medium to large saucepan over a moderate heat. Take off the heat as soon as it has melted.
-
Tip in the biscuit crumbs, as well as the salt, and stir to mix thoroughly, ensuring all the crumbs are evenly covered in the butter.
-
Tip into a lined, deep sided 20cm/8 inch loose-bottomed cake tin and press firmly into the tin.
-
Put in the fridge to solidify whilst you make the cheesecake.
-
Make the cheesecake: take the cream cheese and cream out of the fridge to allow to warm slightly – this will help prevent the melted chocolate solidifying when added.
-
Place all bar 1 segment of chocolate orange from 2 chocolate oranges in a microwave safe bowl or jug.
-
Melt in the microwave. I blitz for 60 seconds and then leave it for a couple of minutes. Stir well and if it is not completely melted, continue to blitz but 15 seconds at a time and stir well after each blitz. Set on one side to cool.
-
Beat the cream cheese with an electric whisk until light and fluffy.
-
Pour in the cream and add the melted chocolate.
-
Quickly beat with an electric whisk until thoroughly mixed and thickened. The mixture should easily hold its shape.
-
Remove the base from the fridge and cover with the cheesecake mix.
-
Level the surface of the cheesecake as best you can and refrigerate for a minimum of 2 hours but preferably longer. Cover with cling film whilst in the fridge.
-
Top with Cream and Grated Chocolate: whip the cream with an electric whisk until it reaches soft peaks.
-
Put your favourite nozzle in a piping bag.
-
Heat a palate knife in boiling water. Dry with a cloth and then slide around the edge of the cheesecake to release it from the tin.
-
Sit the cheesecake on a tin or mug to remove the outside of the baking tin.
-
Lower baking parchment to expose the base.
-
Insert a cake slice between the cheesecake and the baking parchment and transfer the cheesecake to a serving plate.
-
Cut the end from the piping bag to expose the nozzle, if necessary
-
Pipe or spoon the cream onto the cheesecake.
-
Grate the remaining segment of chocolate orange over the dessert.
-
Slice the cheesecake, serve and luxuriate in the flavour and texture pleasures!
Recipe Notes
Equipment:
- kitchen scales and spoons
- rolling pin and plastic bag
- deep 8 inch cake tin lined with baking parchment
- mixing bowl and electric whisk
- microwave safe bowl
- piping bag and nozzle
You May Also Like
Pineapple Upside Down Cake
18th October 2021
Lamb Casserole with Garlic and Rosemary
31st March 2023