Chocolate Chip Cookies – Core Recipe
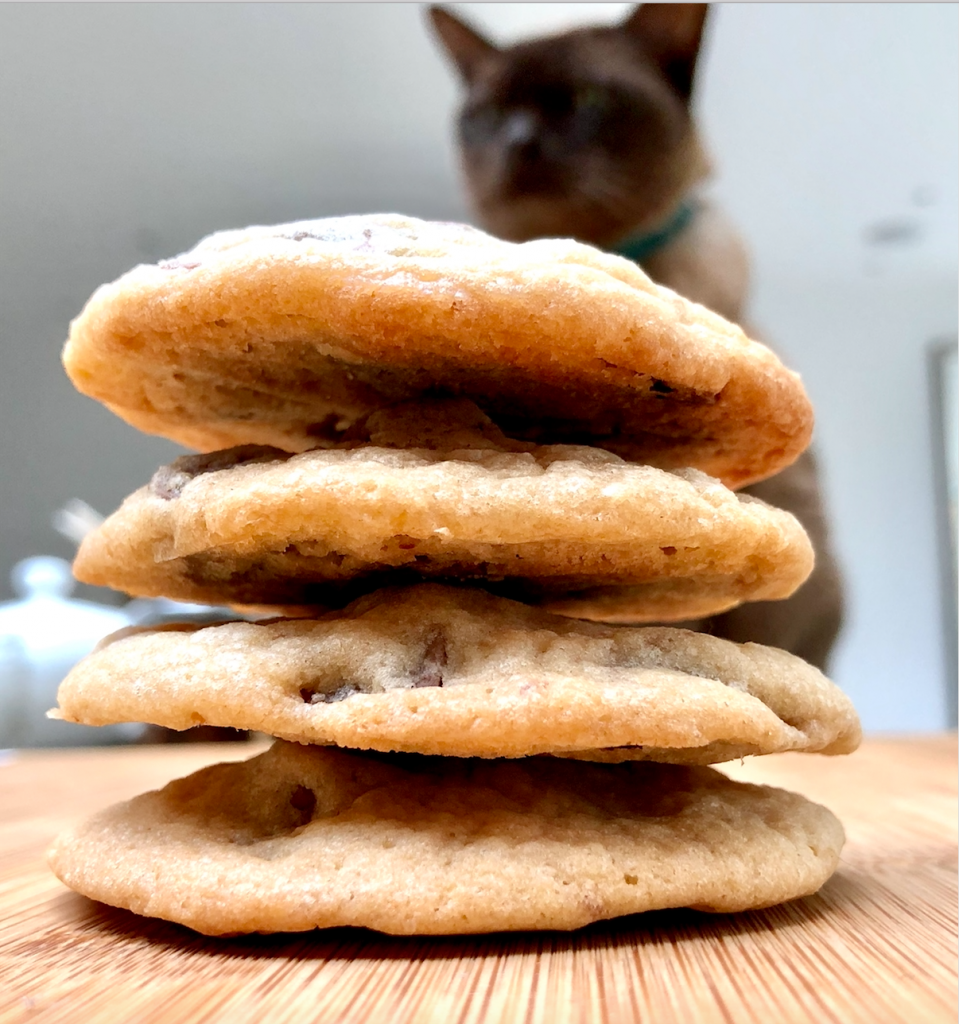
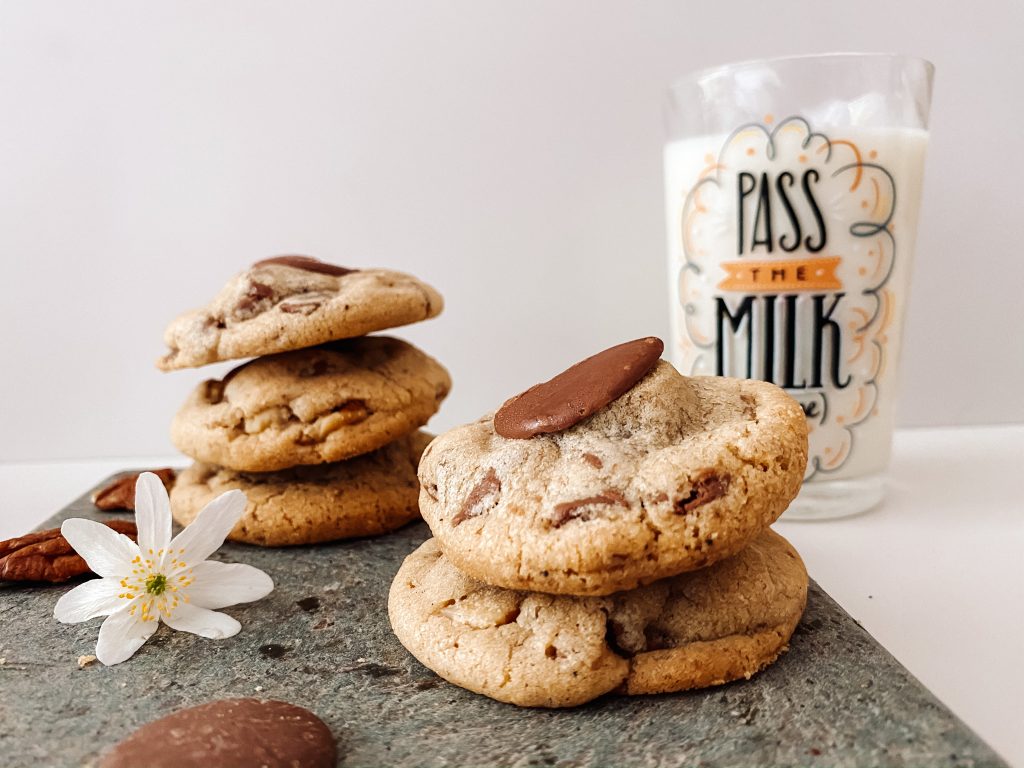
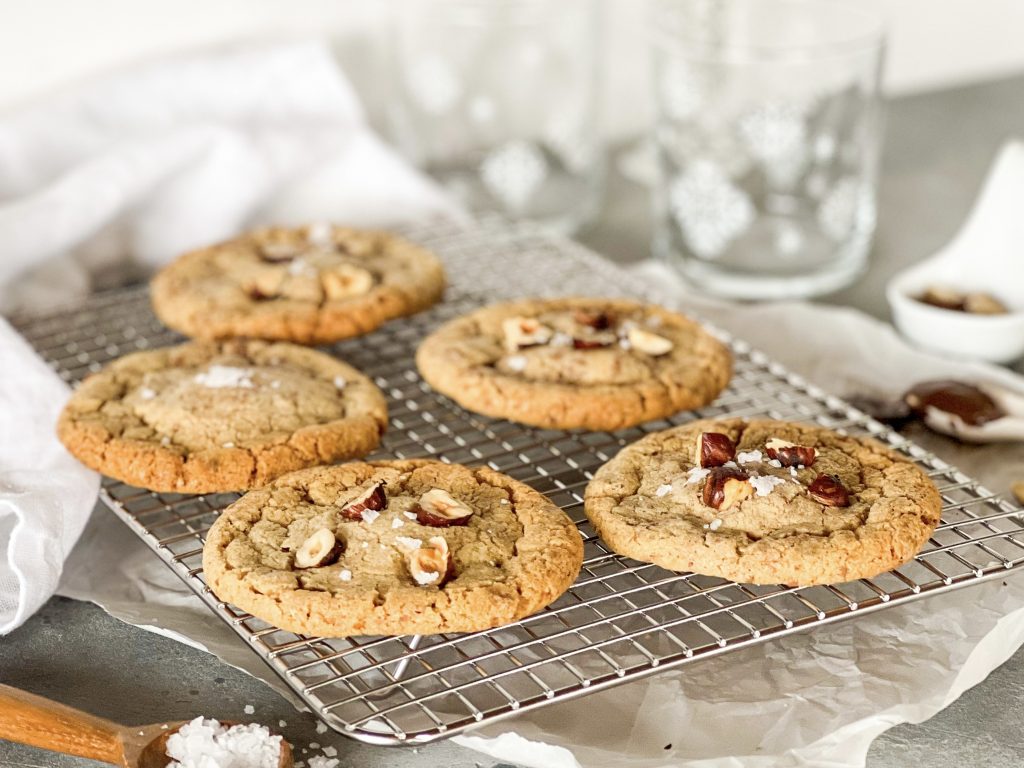
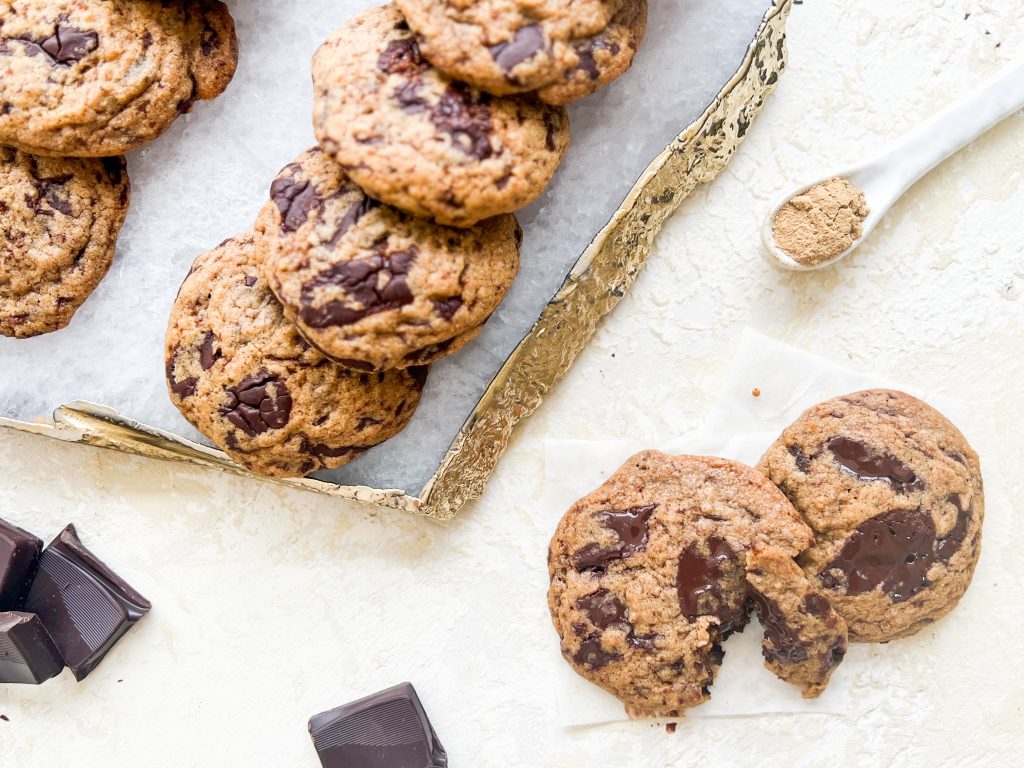
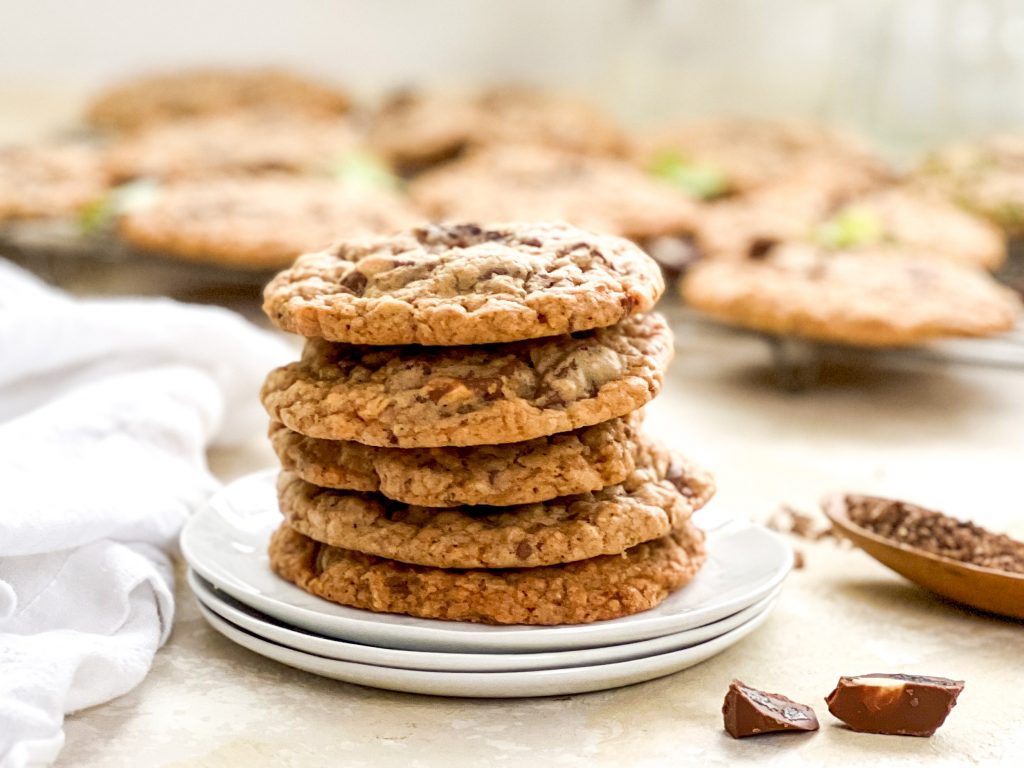
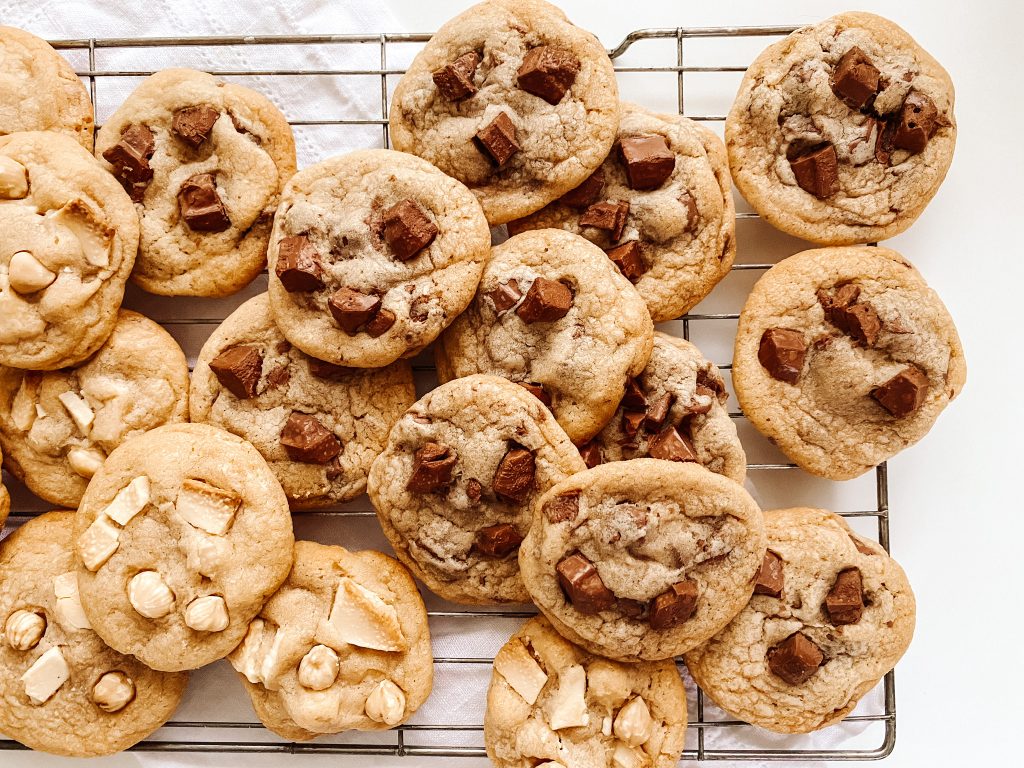
How do you like your cookies? In our house we all like crispy on the outside and chewy on the inside. I know that if the dough for each cookie weighs around 30g and is cooked for precisely 11 minutes, I will get exactly that every time! Just look at that photograph of a chewy centre below. This recipe is exceptionally reliable, easy to recreate over and over and very adaptable. If you prefer a crispier cookie, just cook them for a little longer.
Whilst we all love cake and cookies, my elder daughter Charlotte prefers cookies, whilst Emma, my younger daughter prefers cake. This is probably Charlotte’s favourite recipe and I can guarantee that Emma, despite favouring cake, cannot walk past the biscuit tin without grabbing one. Even my husband, who claims not to like chocolate and cookies, (who is he trying to kid?!!) cannot be trusted around them!
One of the wonderful things about this recipe (and most cookies in general to be fair) is that you can make a big batch and freeze them uncooked but oven ready. They can be cooked directly from frozen in just 12 minutes. Freshly cooked warm cookies on demand – what is not to like?
I’ve mentioned before how I often send food in the post to my girls when away at university or indeed to my mum and my in-laws as little treats and pick me ups. These cookies are perfect for that! As soon as they are cool – I put them in the fridge for a while first to ensure the chocolate has solidified properly – wrap them thoroughly. I use clingfilm first, then bubble wrap as a layer of protection and then pack them in a box and send them first class. A special treat for anybody you want to spoil!
Mimi the cat photobombing!
A variety of recipes based on Chocolate Chip Cookies – Core Recipe
Recipes already posted:
Keep an eye out for these dishes –
- Hazelnut and White Chocolate Chip Cookies
- Milk Chocolate Chip Cookies
- Brown Butter Chocolate Chip Walnut Cookies with Spelt
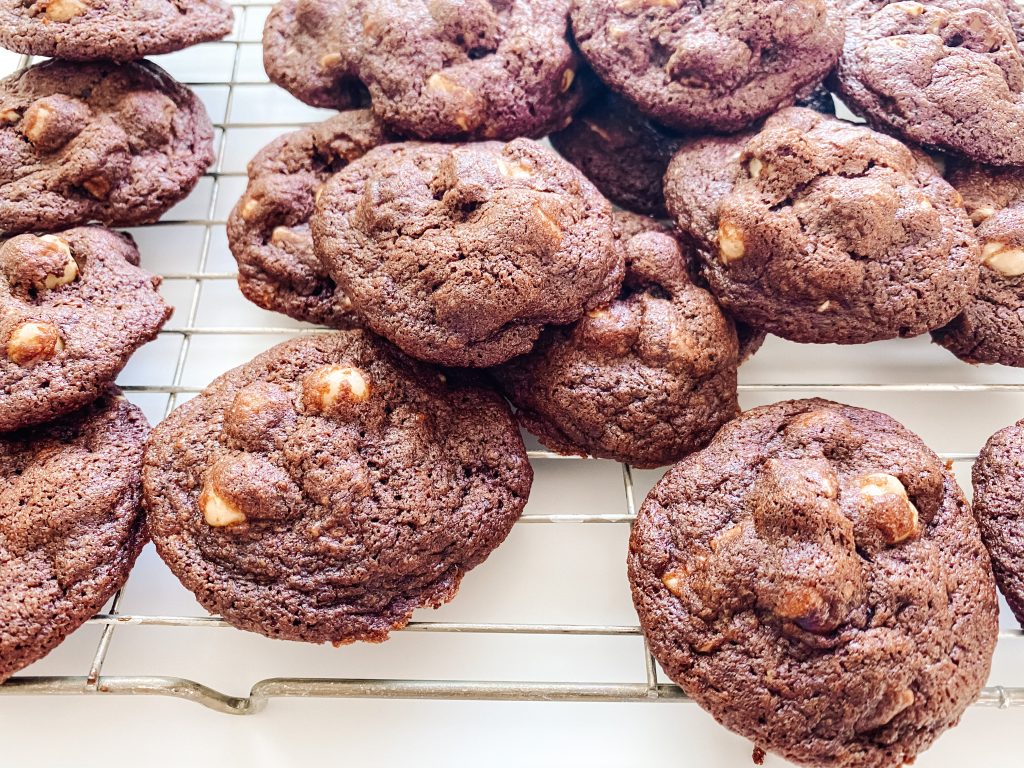
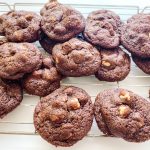
- Triple Chocolate Hazelnuts Cookies
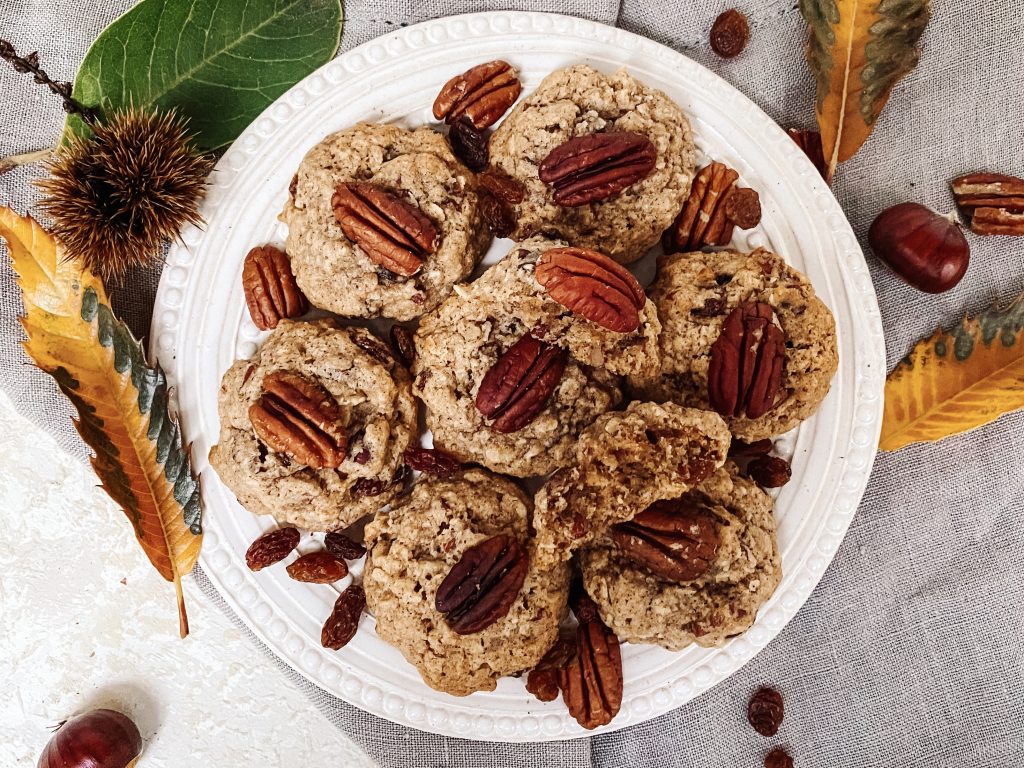
- Autumn Cookies with Pumpkin Spice, Oats, Pecan Nuts and Raisins
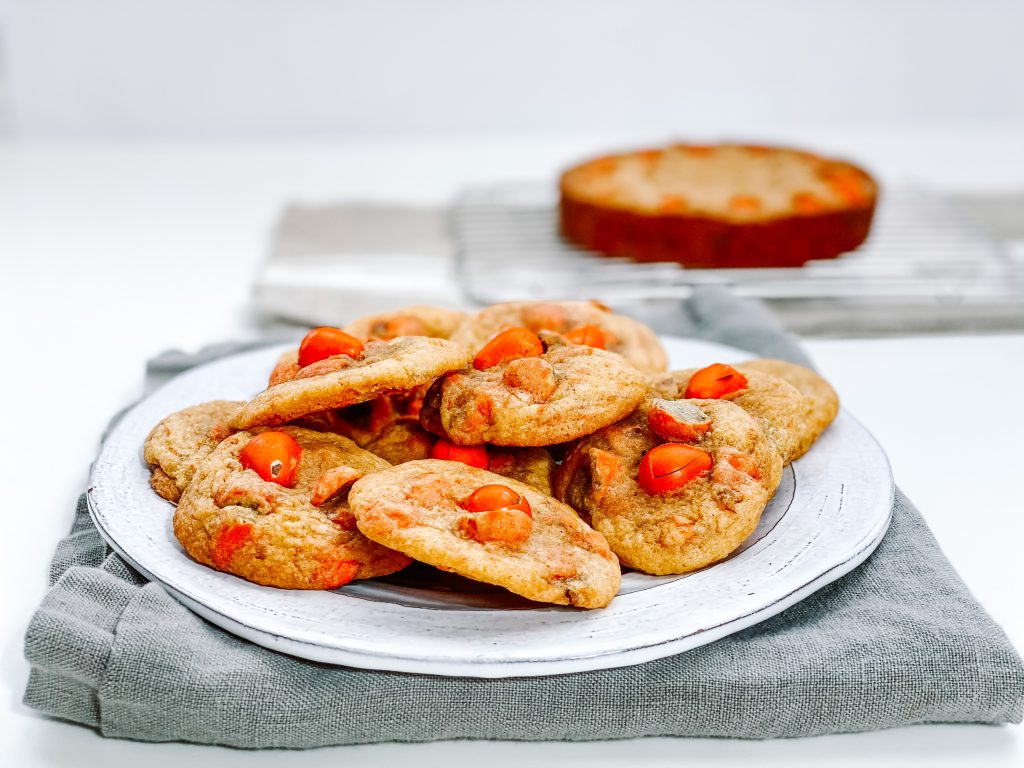
- Chewy Orange Cookies Loaded with Chocolate Orange Mini Eggs
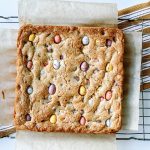
- Chocolate Mini Egg Cookies
- Chocolate Chip Cookies with Chocolate Hazelnut Spread
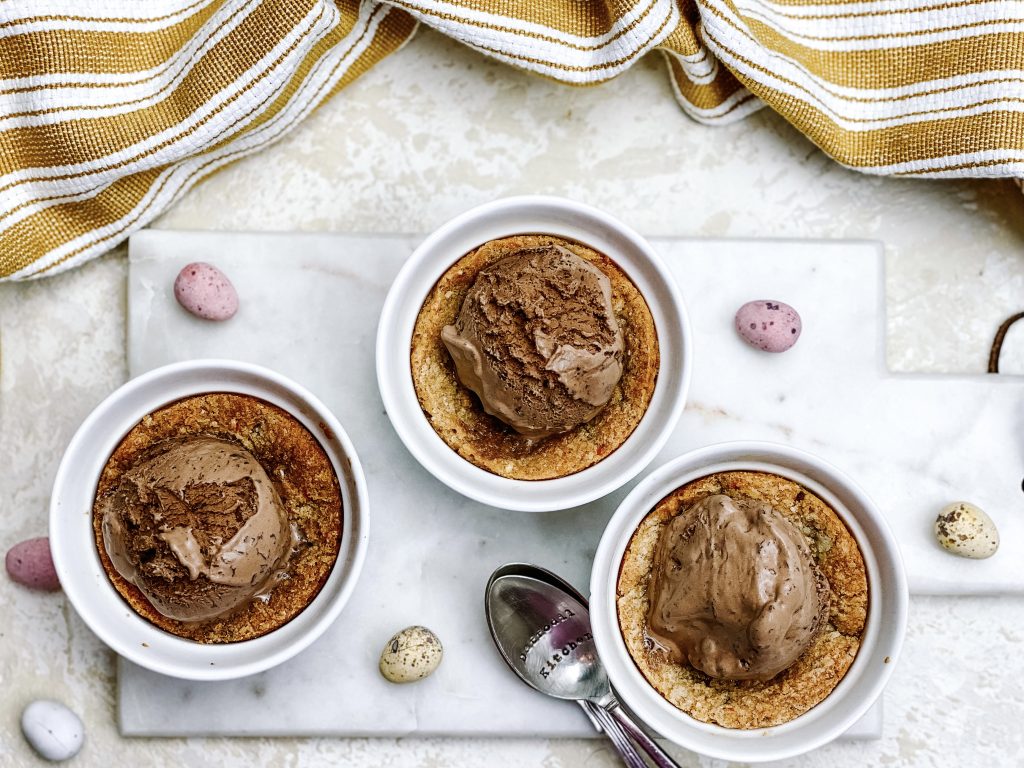
- Chocolate Mini Egg Cookie Dessert Cups
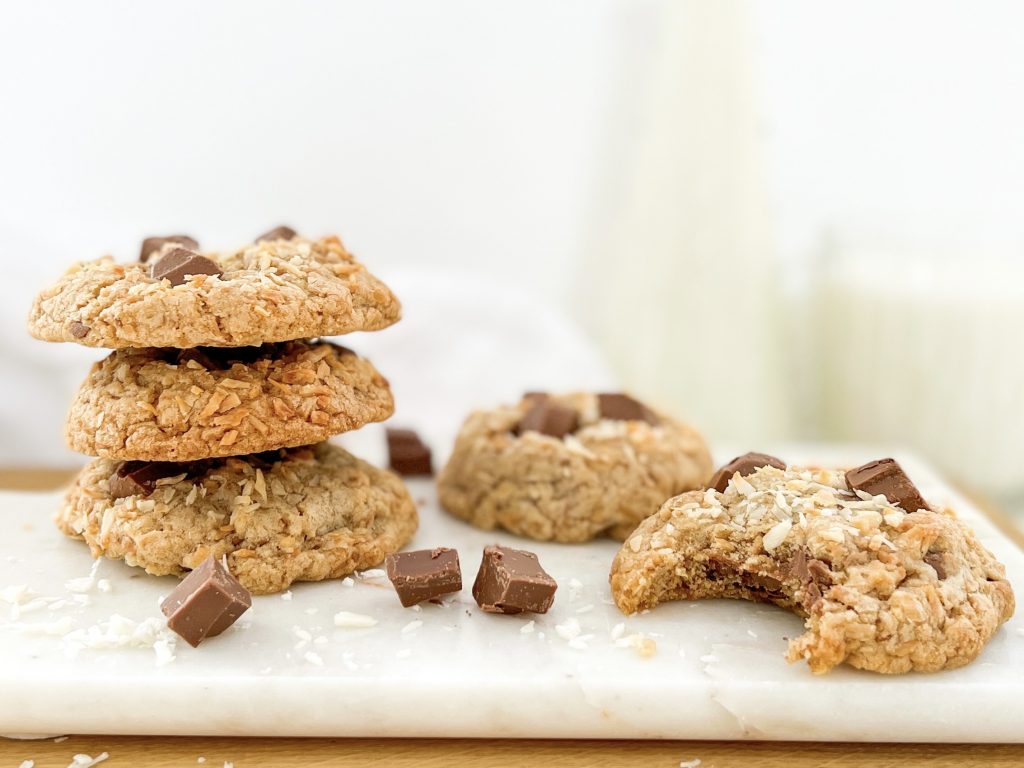
- Toasted Coconut and Brown Butter Cookies with Milk Chocolate Chips
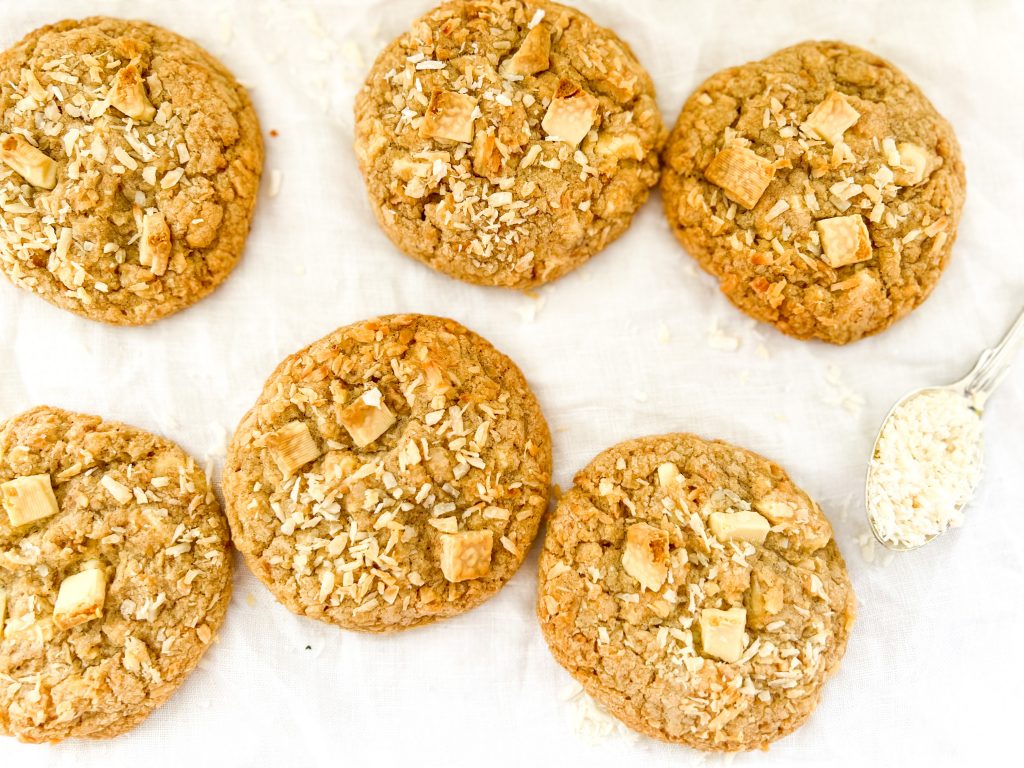
- Toasted Coconut and Brown Butter Cookies with White Chocolate Chips
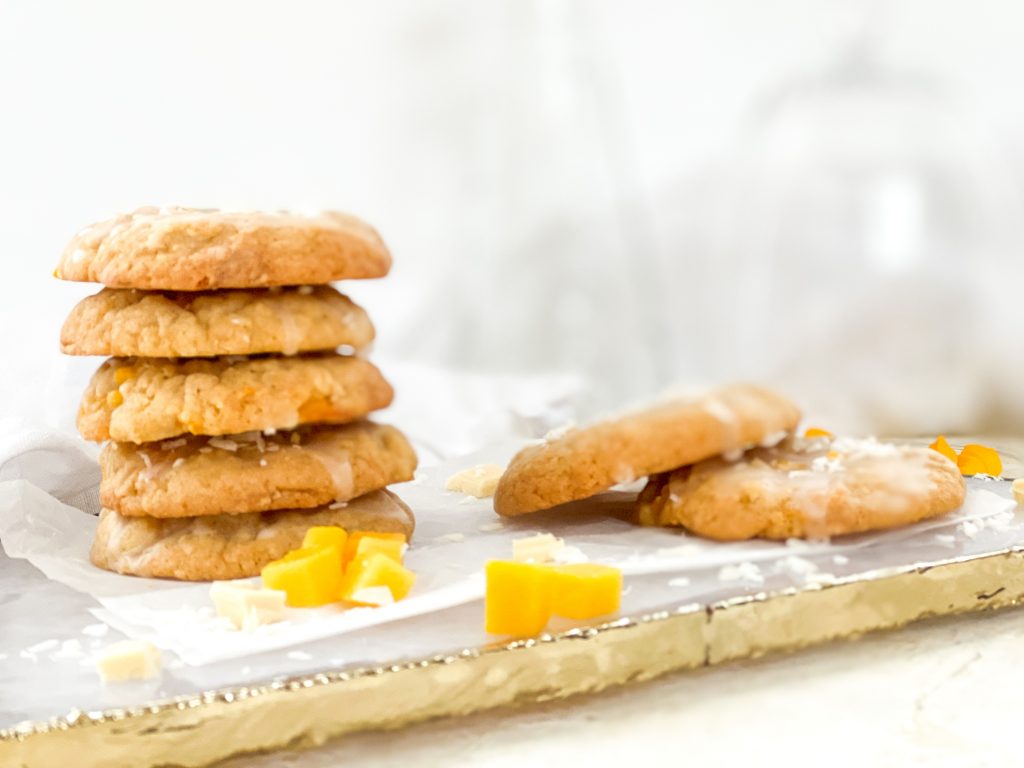
- Mango, Coconut and White Chocolate Cookies with Lemon
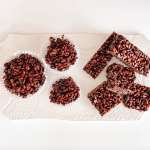
- ‘Love is Love’ Cookies with White Chocolate, Cranberries and Pistachio Nuts
- Ginger and Dark Chocolate Brown Butter Cookies
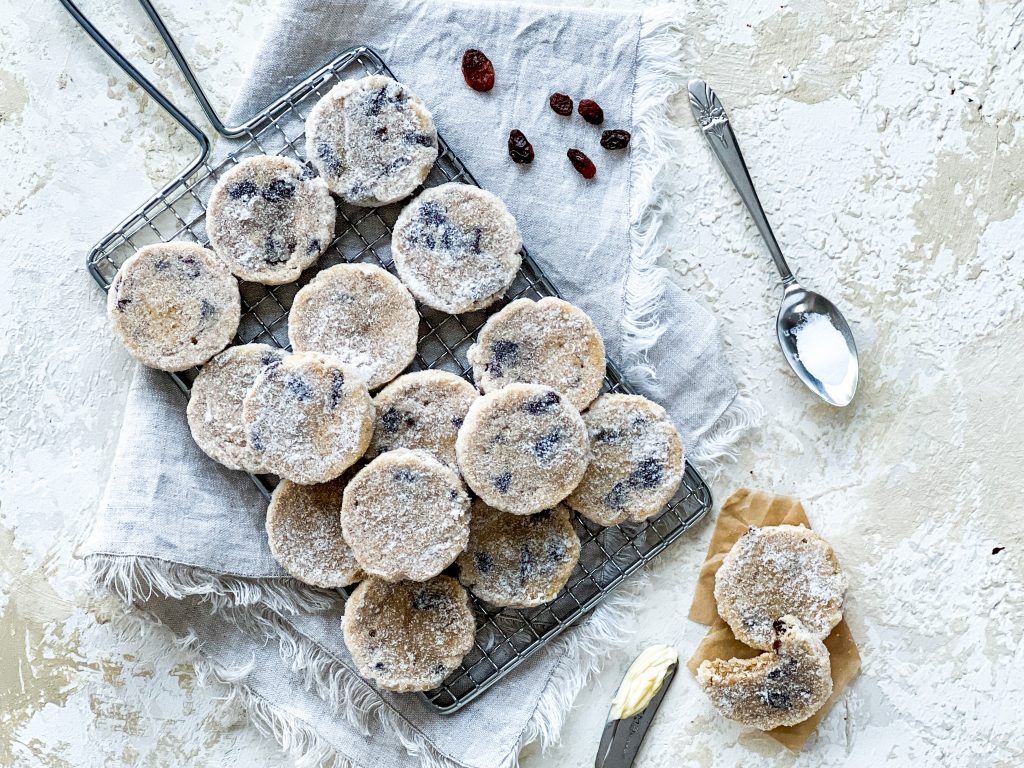
- Welsh Cake Cookies
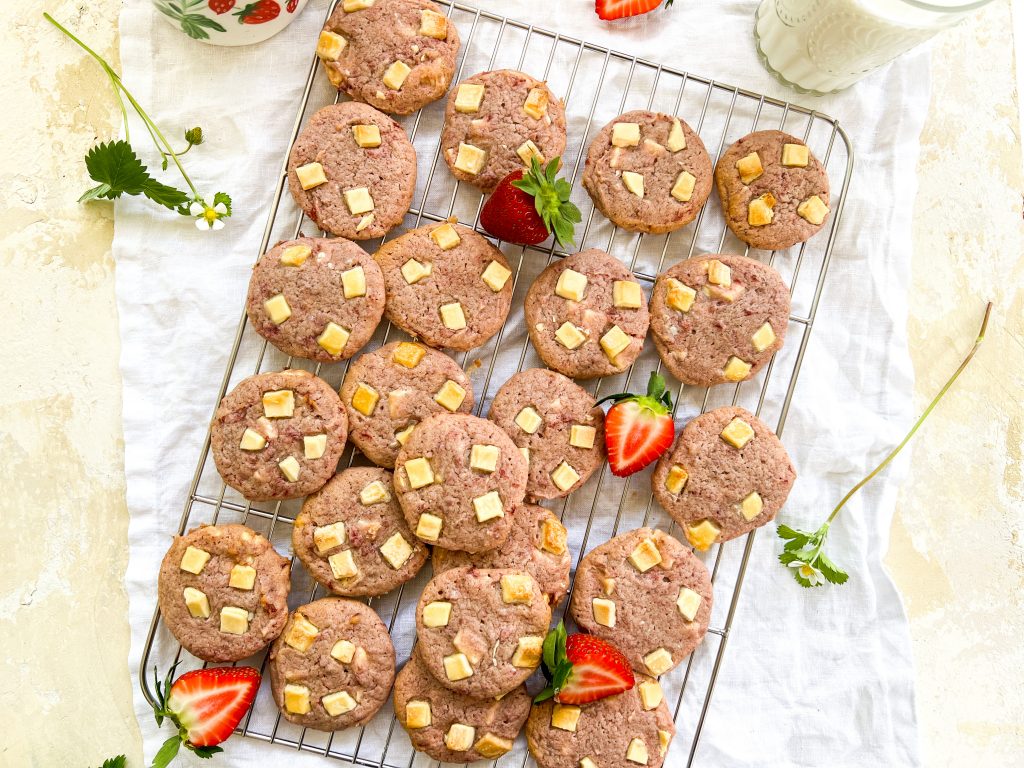
- Strawberries and Cream White Chocolate Chip Cookies
- Brown Butter Fruit and Nut Chocolate Chip Cookies with Oats and Coconut

Recipes I plan to post:
- Carrot and Sultana Cookies with Coconut, Pecans and Pumpkin Seeds
- Chocolate Chip Cream Cheese Cookies
- Coconut Chocolate Chip Cookies
- Coffee Chocolate Chip Cookies
- Cowboy Cookies
- Hazelnut and Chocolate Chip Cookies
- Pecan and Chocolate Chip Cookies
- Pecan and Raisin Cookies with Oats
- Quadruple Chocolate Chip Cookies
- White Chocolate Chip and Cranberry Cookies
- White Chocolate Chip and Raspberry Cookies
- White Chocolate, Almond and Strawberry Cookies with Fresh Strawberries, Ice cream and White Chocolate and Almond Sauce
How to make Chocolate Chip Cookies – Core Recipe
Collect all your ingredients together:
Basic cookie ingredients –
- unsalted butter
- soft brown sugar
- caster sugar
- salt
- egg
- vanilla extract
- plain/all-purpose flour
- spices
- baking powder
Suggested additional ingredients –
- choice of additions e.g. chocolate, nuts, dried fruits, desiccated coconut
- choice of toppings e.g. chocolate, nuts, desiccated coconut, icing, melted chocolate
How to make these fabulous cookies:
- Put the butter, salt and both of the sugars into a large bowl and, using an electric whisk, beat until fluffy. This should take 3-4 minutes. You may need to scrape down the sides of the bowl to ensure it mixes evenly.
- Scrape down the sides of the bowl with a spatula and add the egg and vanilla extract. Beat again with an electric whisk until thoroughly mixed.
- Add the flour and baking powder to the butter mixture. Either beat with an electric whisk on the slowest speed (to avoid a cloud of flour covering your kitchen!) or mix in with a wooden spoon.
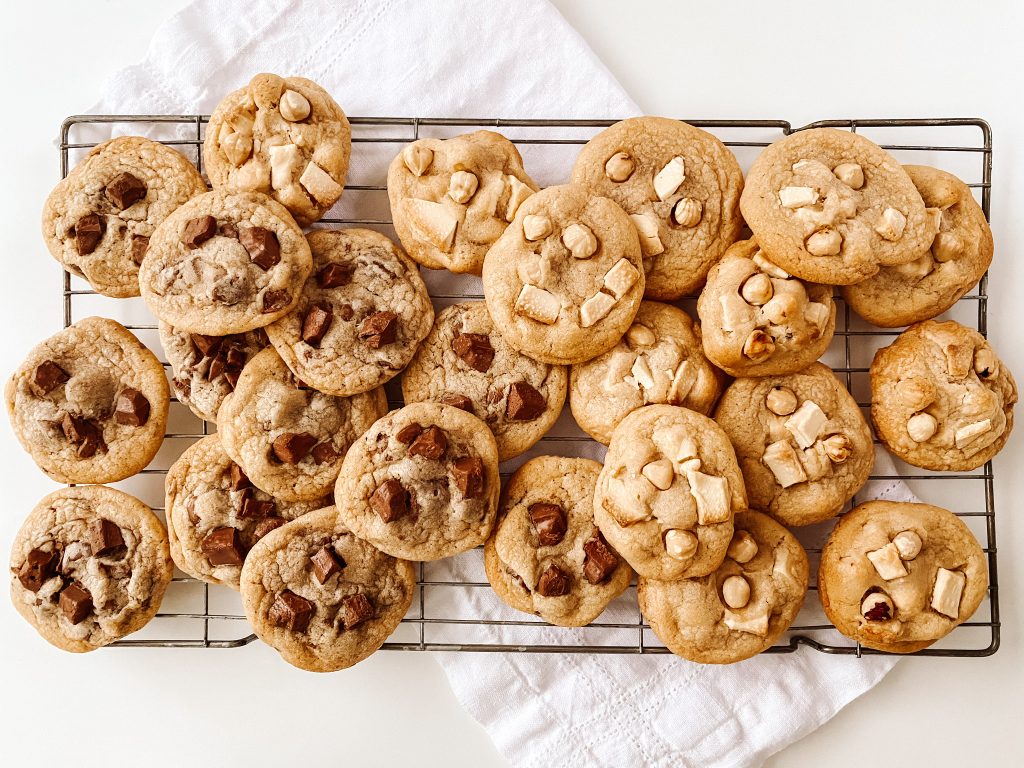
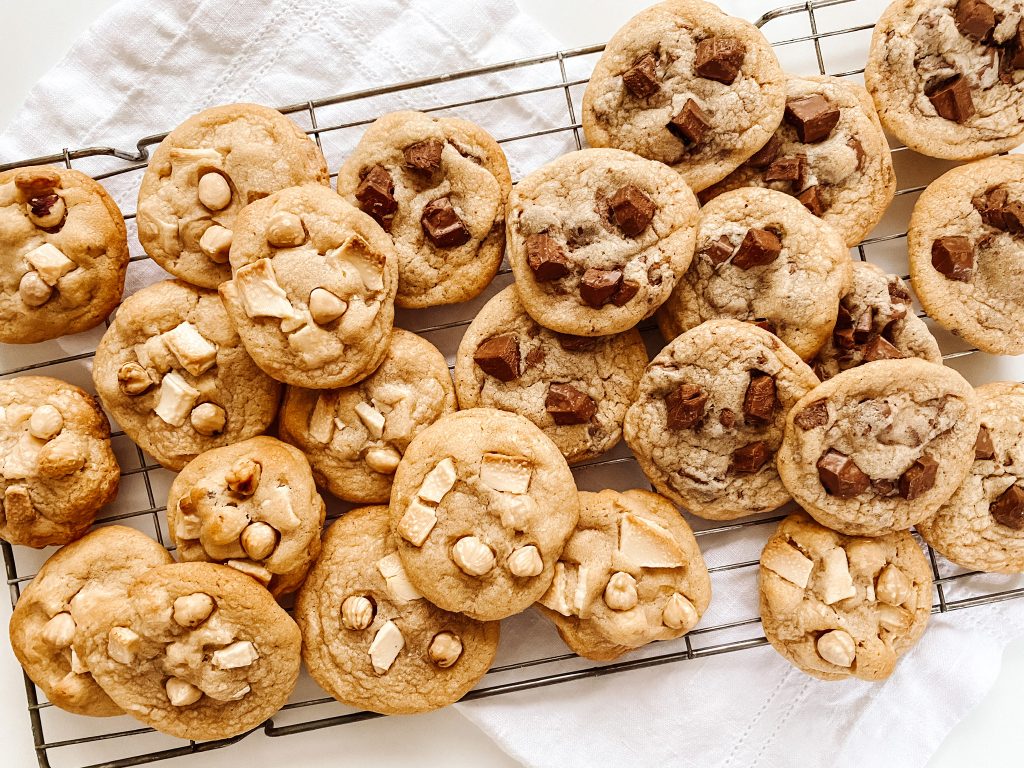
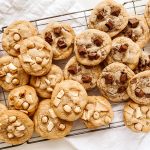
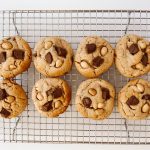
- Finally, fold through any additional ingredients of your choice. If you want to make two different types of cookies, divide the dough now – the dough will weigh approximately 560g, so remove 280g into another bowl. You can then add different add-ins to each bowl. Seen below are Milk Chocolate Chip Cookies and White Chocolate and Hazelnut Cookies.
- N.B. Hold a few chocolate chunks back before mixing in. I often find the last cookie dough ball to be made has no or very few chocolate chunks in it. If you hold a few back you can simply mix into the final cookie.
- Next divide into 25 – 27 x 30g balls of cookie dough or 16 – 18 x 50g balls. I am quite specific how I do this. I line a baking tray with parchment, sit it on the top of the scales and zero the scales. I can then check that each cookie weighs 30g/50g each. I use a heaped tablespoon measure or a small ice cream scoop for the 30g, and a medium ice cream scoop for the 50g. The more accurate you are, the more consistent your cookies will be when cooked. I don’t worry about 2g here or there but I am quite careful. However, when in a hurry, I eye ball it and they still work out very well! Your choice!
- Once you have divided the dough into balls, roll gently into a neater shape (the dough will be very soft at this stage) and then stick on any toppings.
- To bake straight away: when you are ready to cook your cookies, place them spread out on a baking sheet – I get 4 – 5 per sheet depending on the size of the baking sheet.
- Bake in a preheated oven for 10 – 12 minutes for the smaller size or 14 – 16 minutes for the larger size, or until cooked to your liking. In my oven they take exactly 11 and 15 minutes.
- They are cooked when they have spread out, are starting to brown on the edges and look ever so slightly underdone. They should still be soft in the middle.
- Let them cool on the baking sheet for 10 minutes and then transfer to a cooling rack.
- To bake later: cover with cling film and refrigerate until you are ready to cook them. Follow the same instructions as above.
- If you want to freeze any, before cooking, now is the time: cover with cling film and place in the freezer. As soon as the dough balls are solid, they can be transferred into labelled freezer bags or containers.
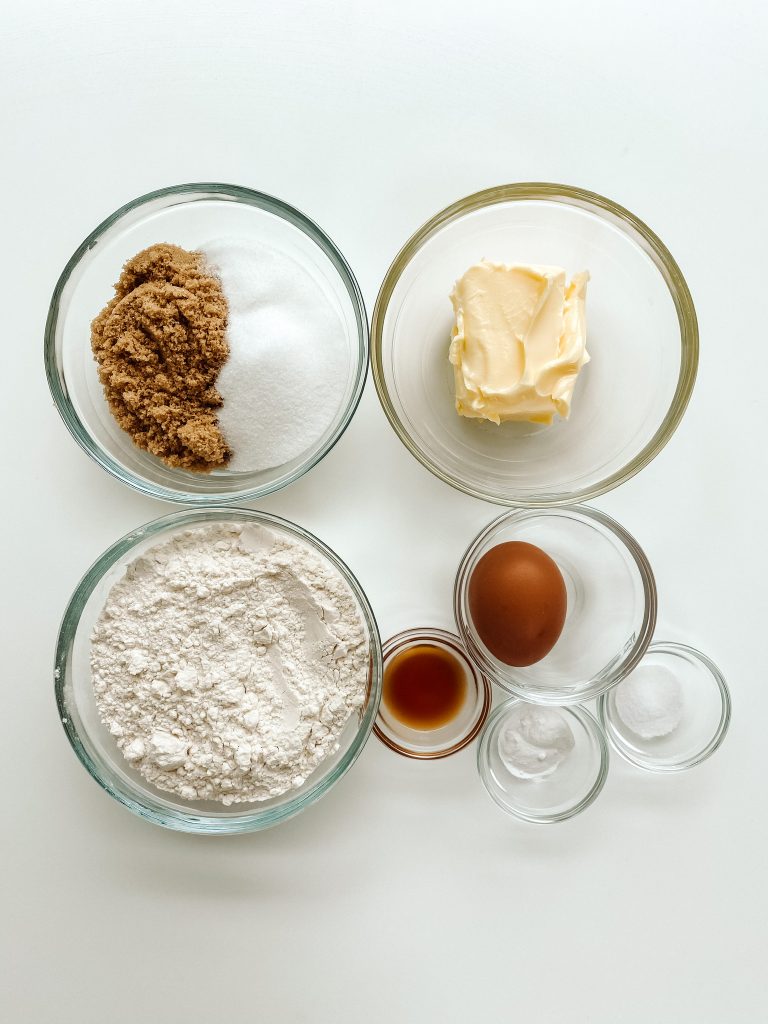
Core ingredients 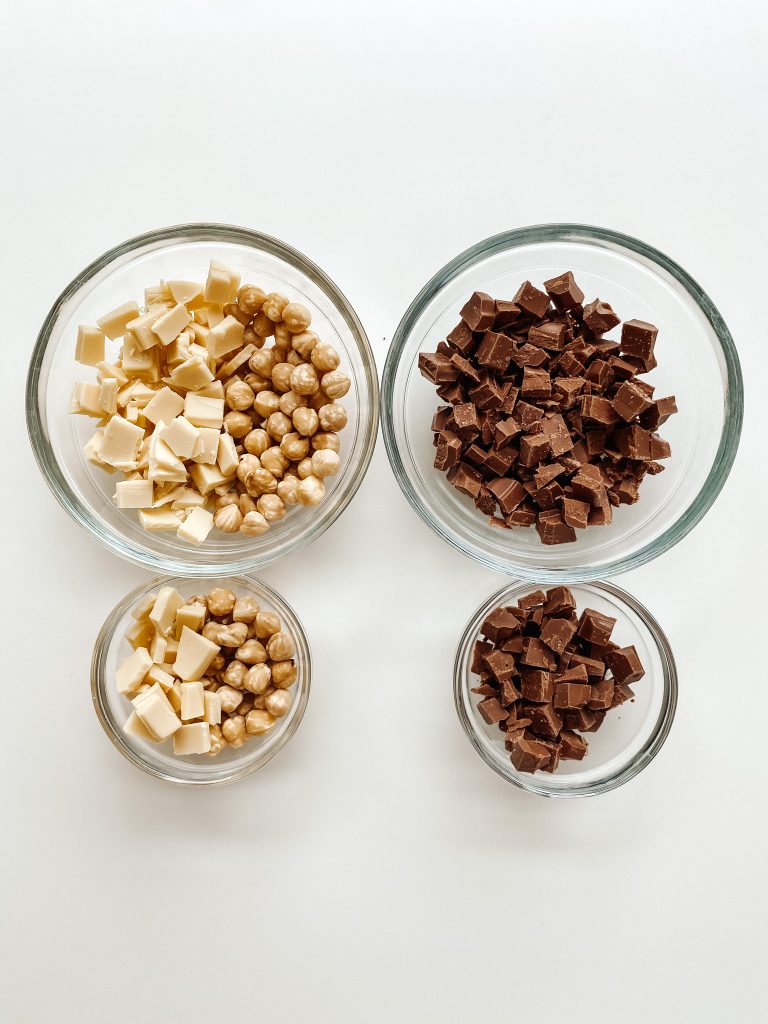
Suggested additional ingredients 
1 Put butter, salt and sugars into bowl … 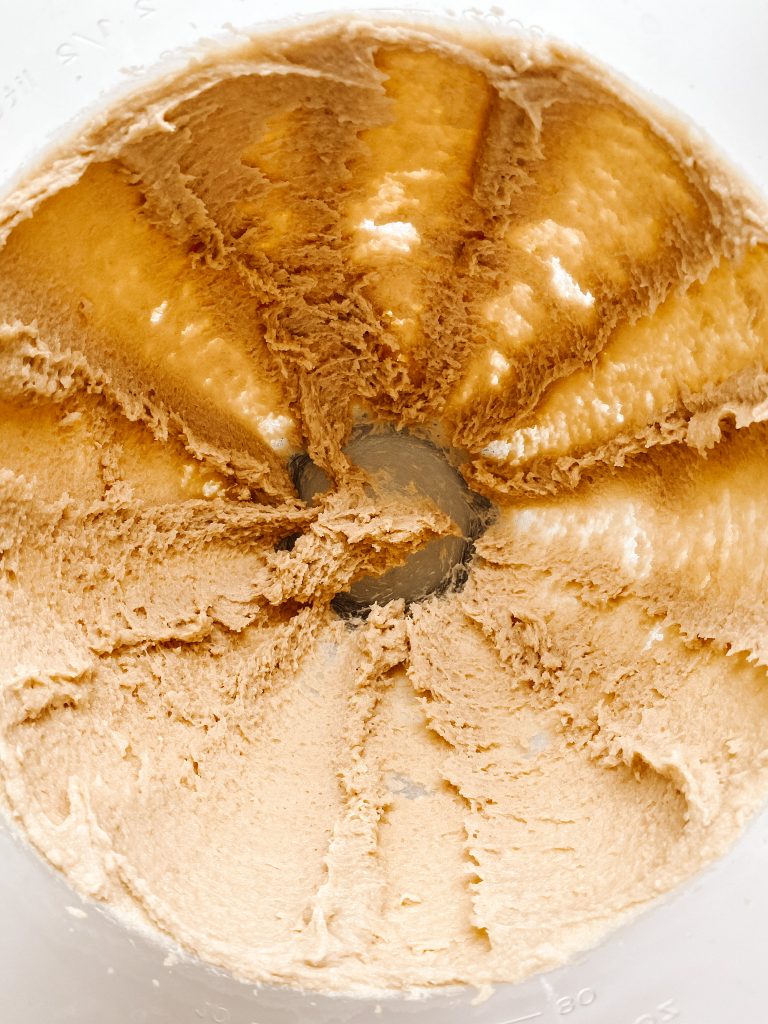
… and beat until fluffy. 
2 Add egg and vanilla. Beat. 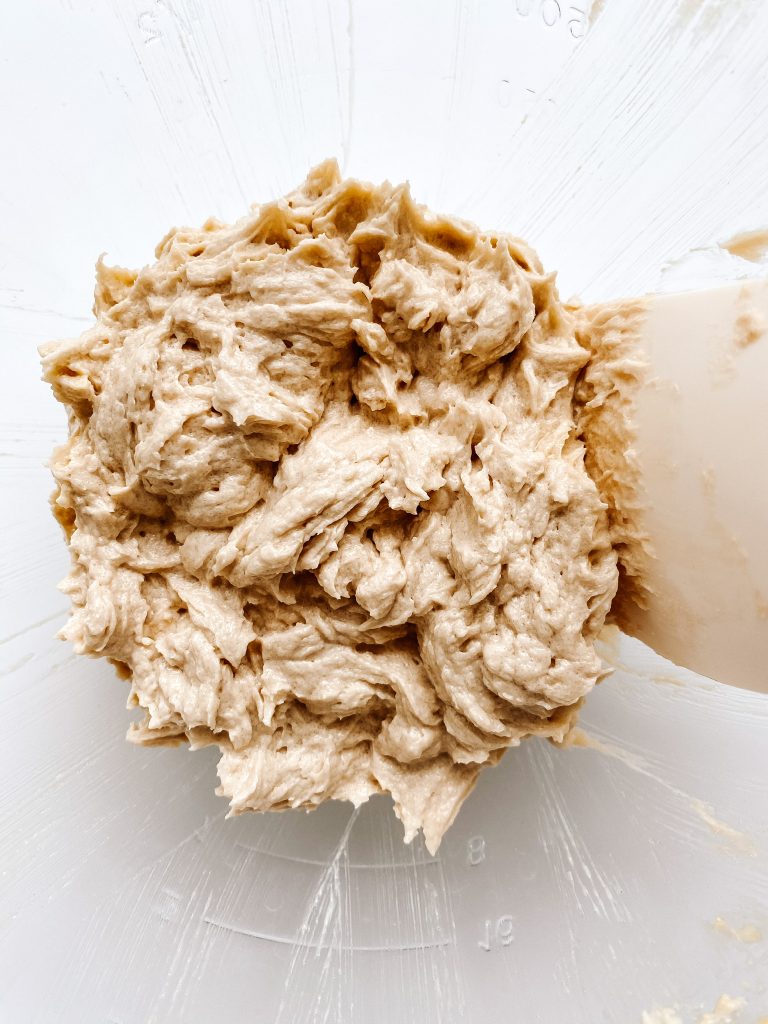
Scrape down sides 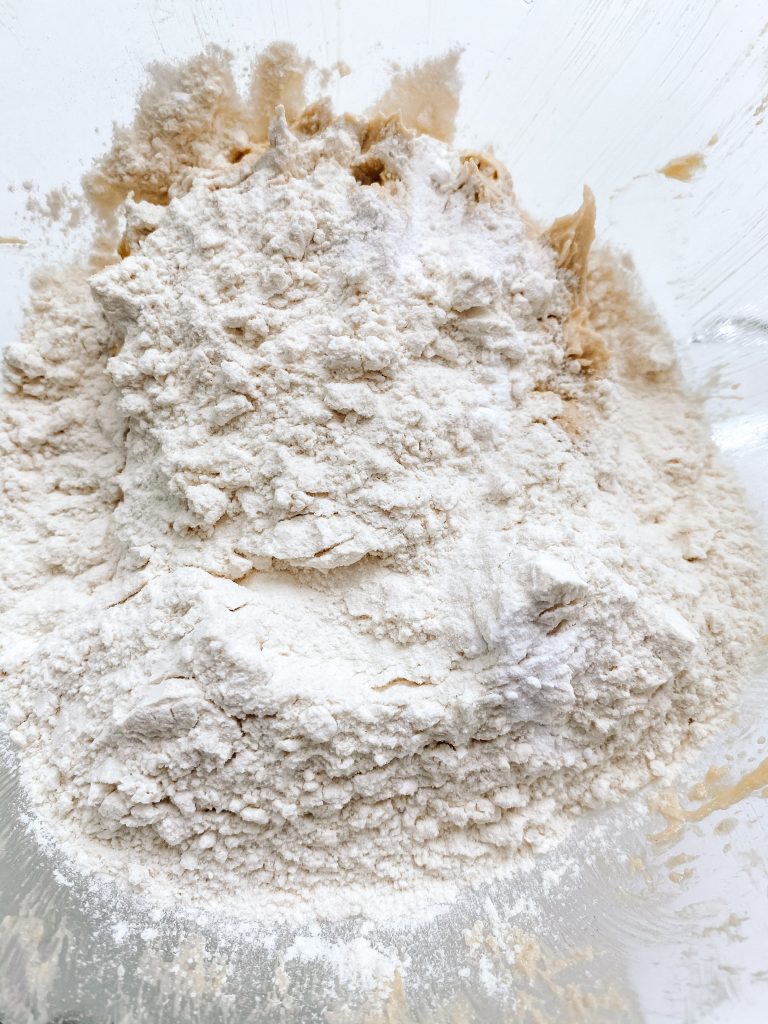
3 Add flour and bp. 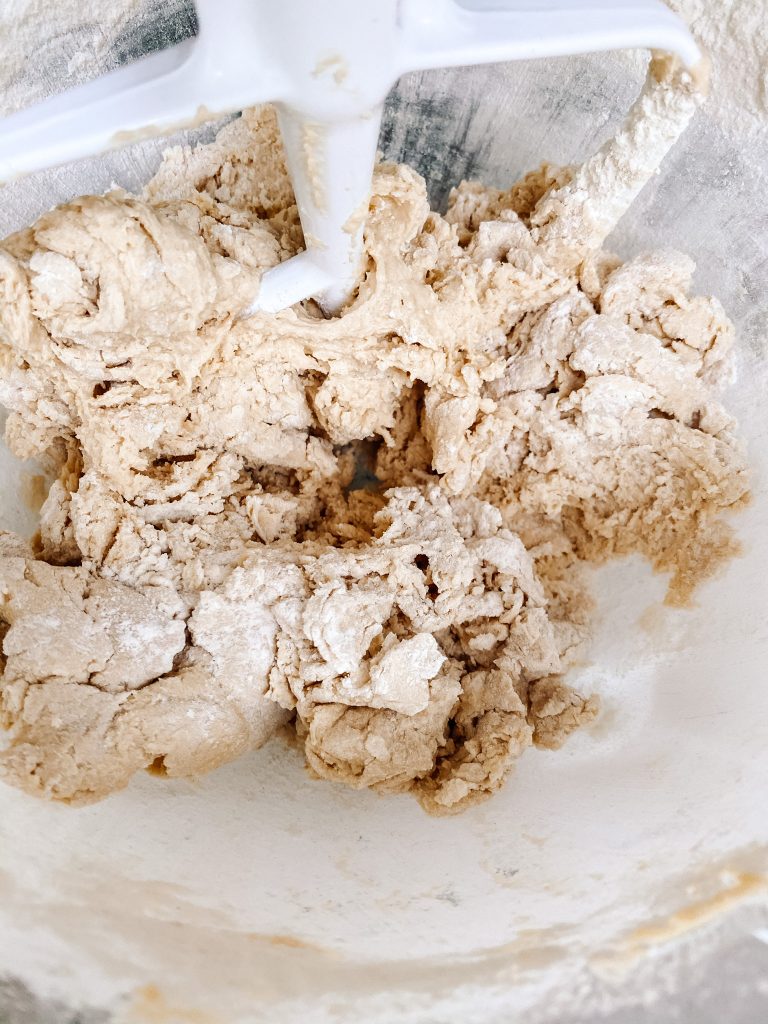
Beat. 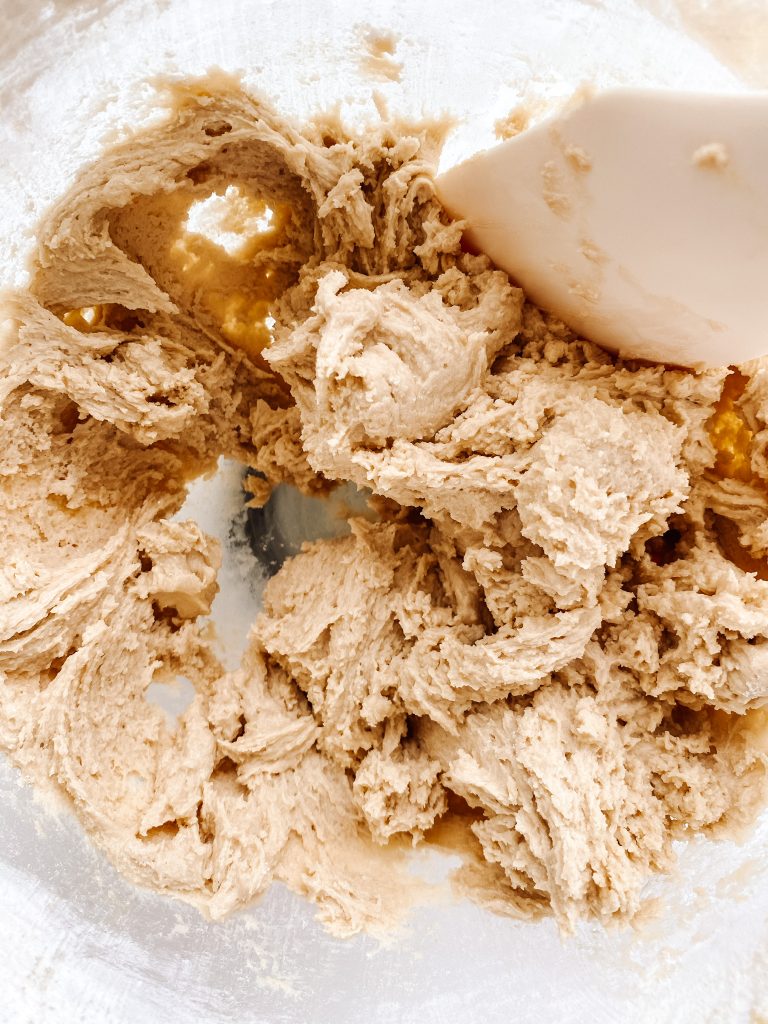
Until mixed 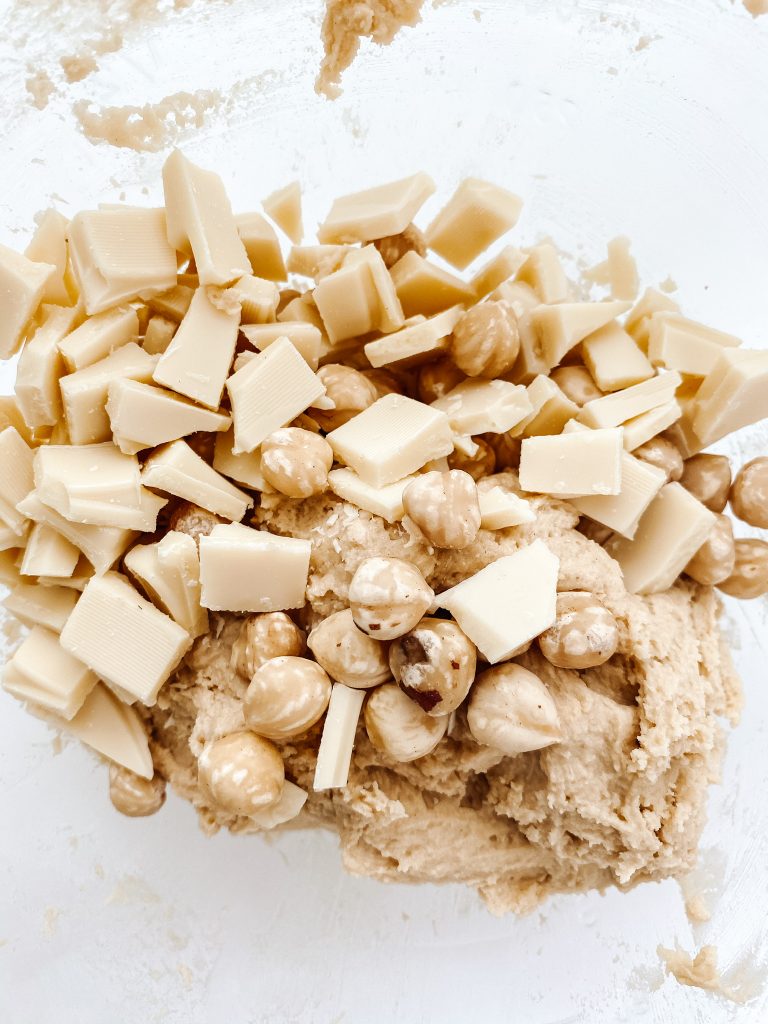
4 Add chosen additional ingredients 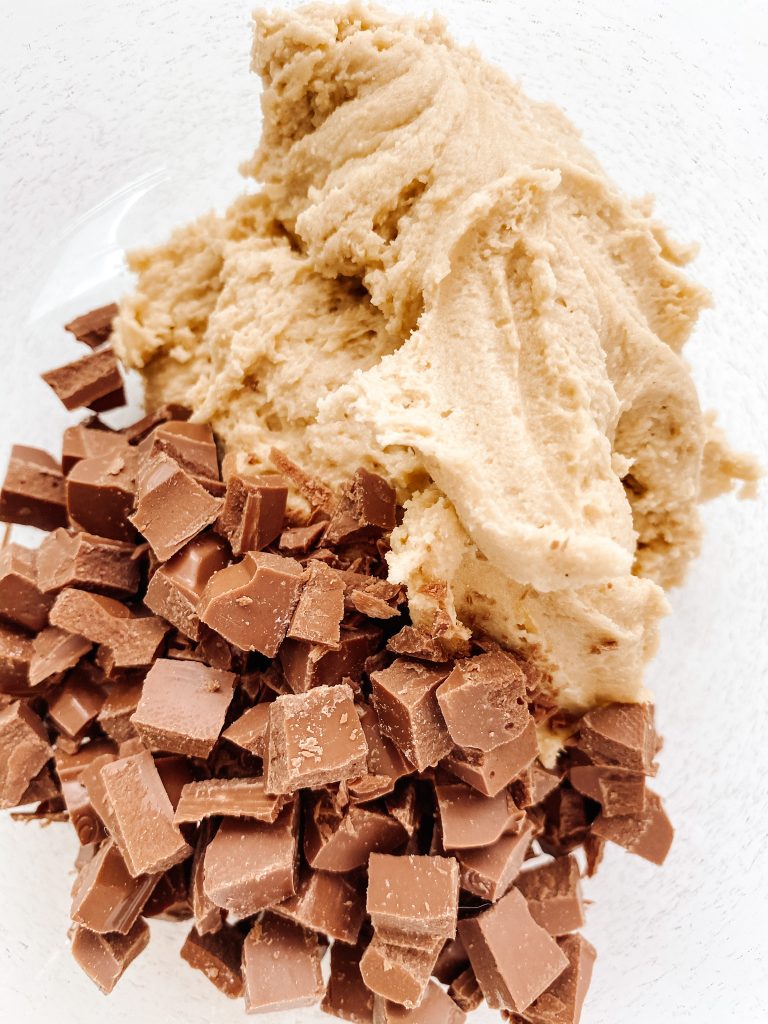
Stir to mix 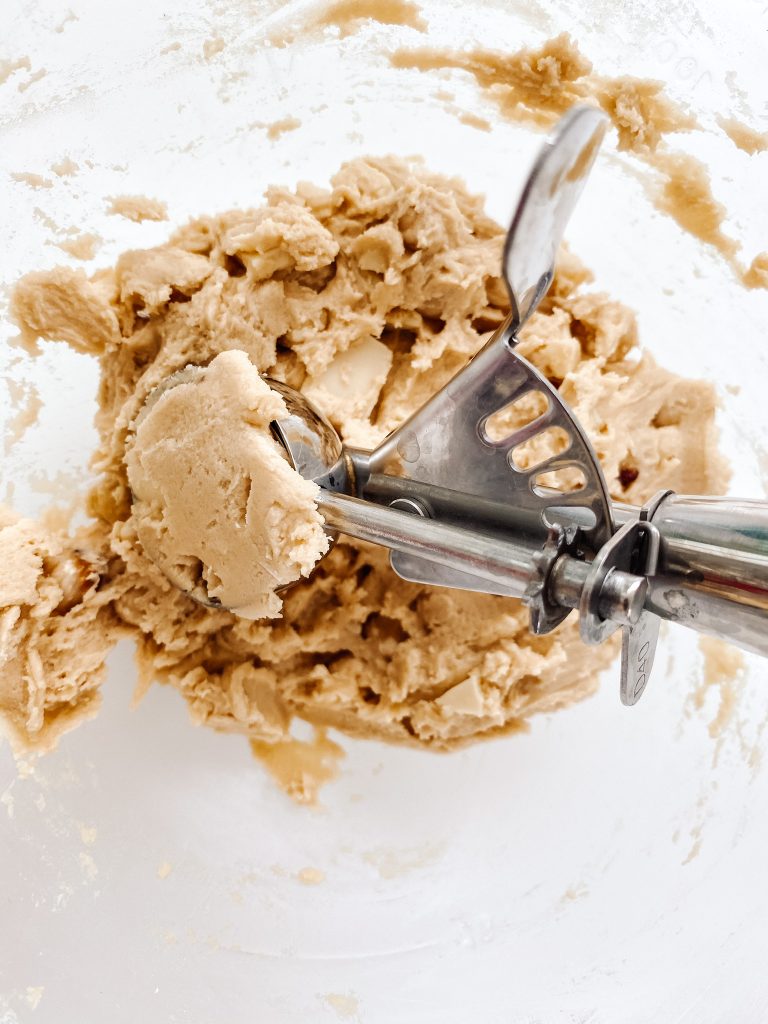
6 Divide into cookies 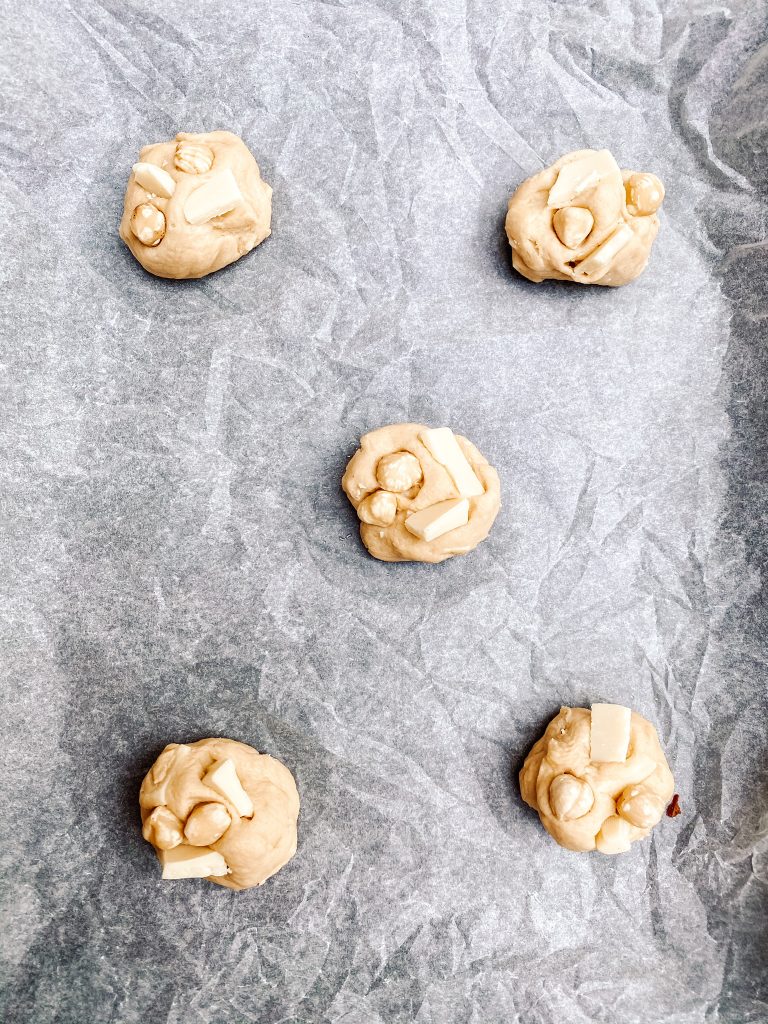
7 Roll neatly. Add toppings 
8 Bake 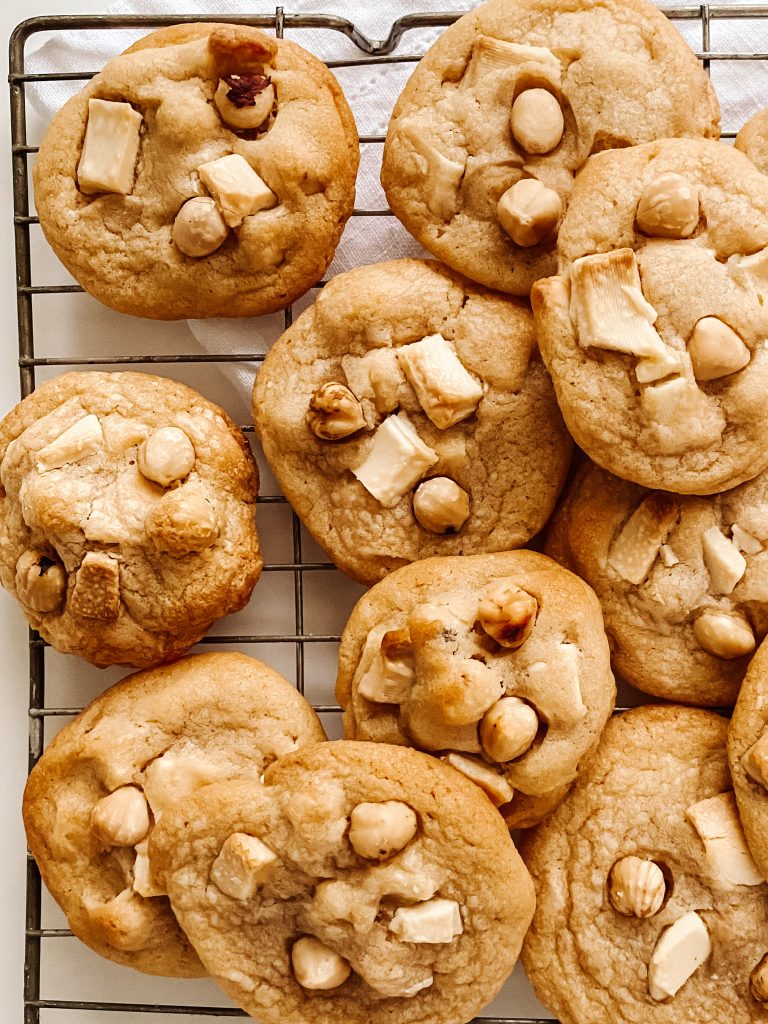
Cool
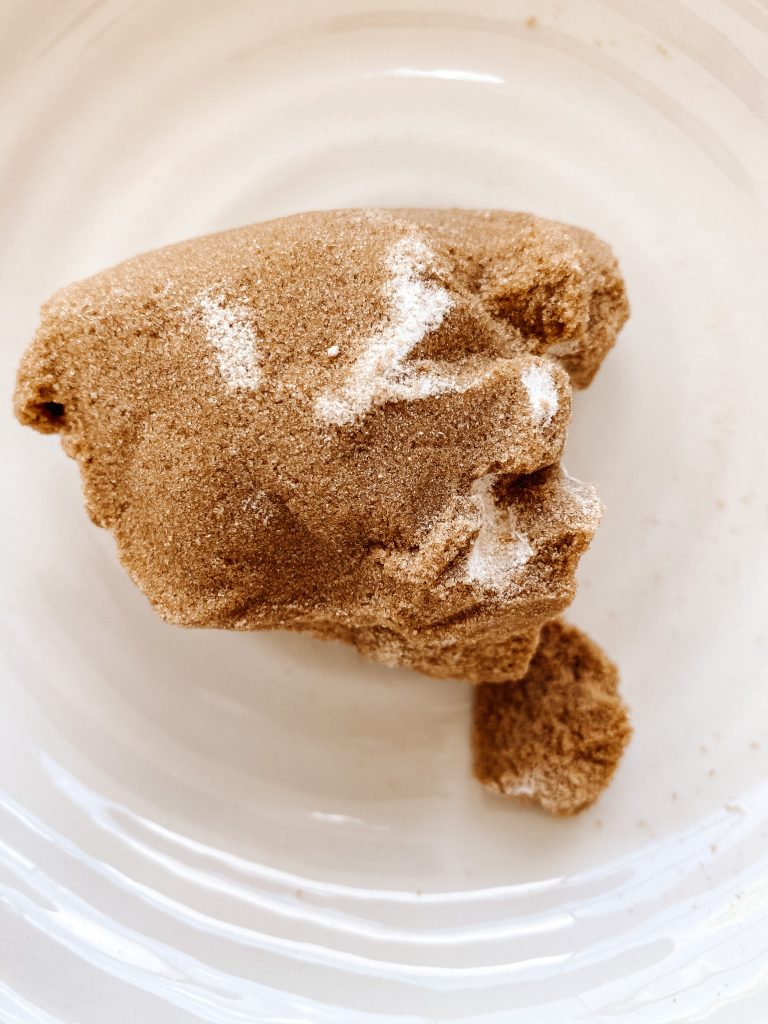
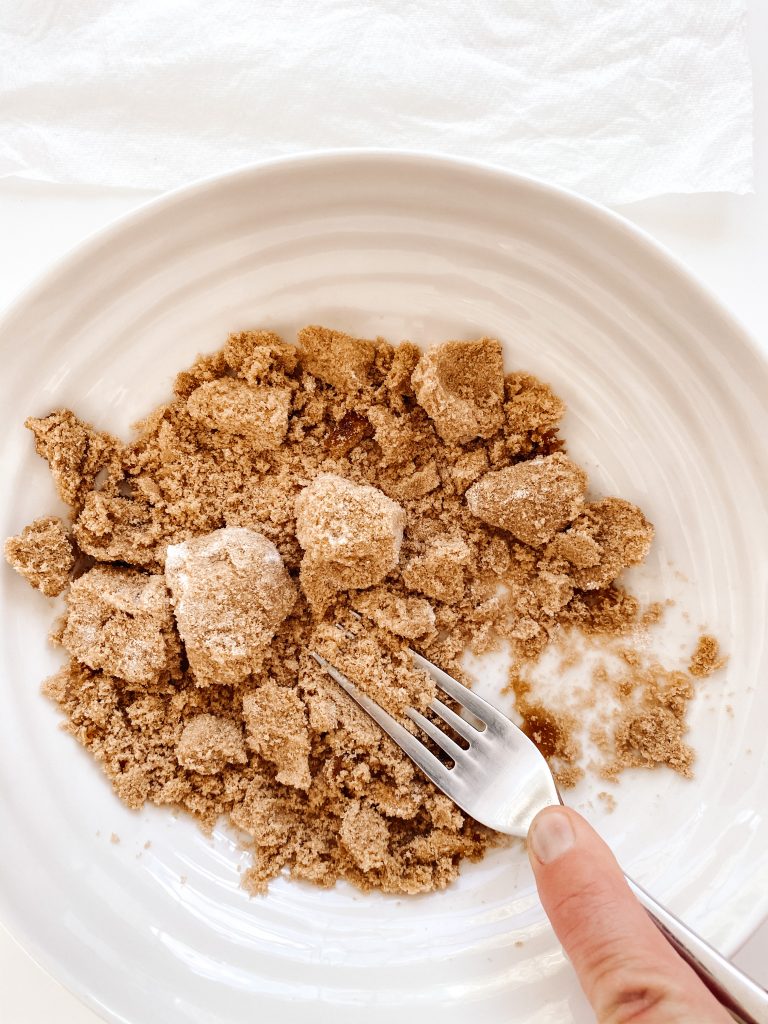
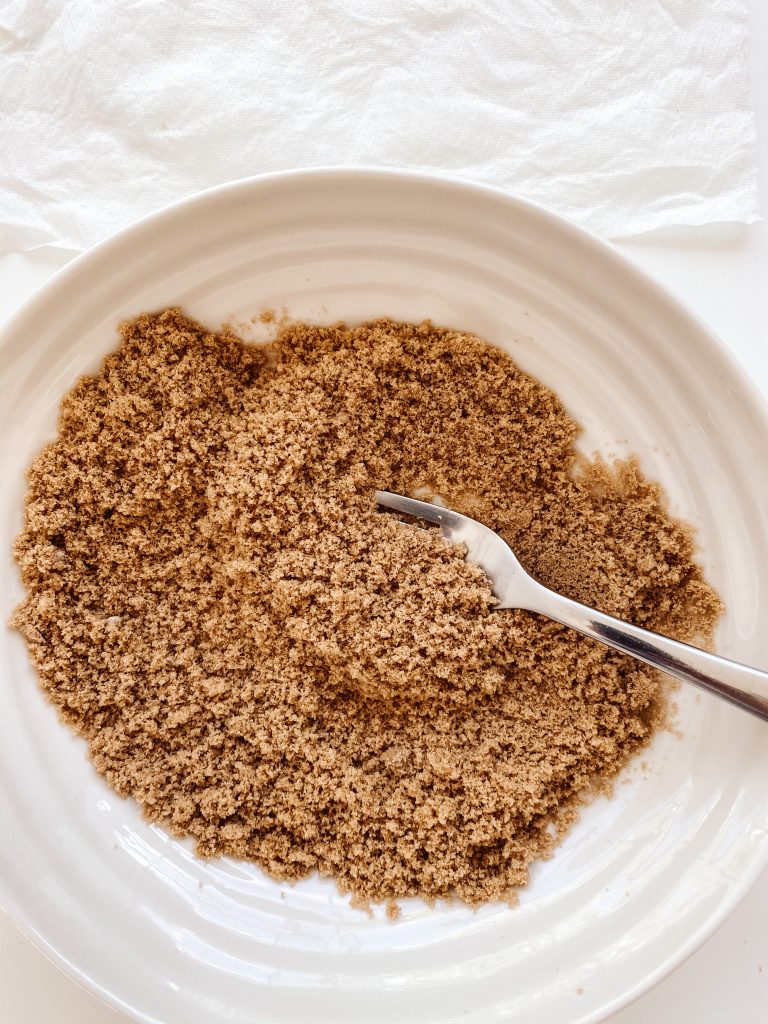
Softening Brown Sugar
Have you ever taken soft brown or muscovado sugar out of the cupboard and found it was rock solid? If this has happened to you and you need to know how to fix it using the microwave rather than a hammer, please see here.
Can I bake these cookies directly from the fridge?
Unlike many recipes, these cookies do not have to be chilled prior to baking. They can be cooked as soon as they are made. However, if you want to prepare the dough ahead of time, simply store them covered in the fridge for up to 3 days and then bake them, directly from the fridge, when you are ready.
What is the best way to store these cookies?
When you store cookies, it is important to cover them and store in an airtight container. They keep well for 3 – 4 days at room temperature or 5 – 6 days in the fridge. However, if you are storing them in the fridge, remember to take them out to warm up to room temperature before you serve them.
Can I freeze these cookies?
Yes you can! You can freeze the cookies prior to cooking and after cooking.
Freeze prior to cooking:
One of the wonderful things about this recipe (and most cookies in general to be fair) is that you can make a big batch and freeze them uncooked, but oven ready. To freeze, place them on a baking parchment lined board or baking tray, cover with cling film and place in the freezer until solid. As soon as the dough balls are frozen, they can be transferred into labelled freezer bags or containers. They can be cooked directly from frozen. Freshly baked warm cookies on demand – what is not to like?
Cook directly from the freezer:
Bake directly from frozen, as described in the recipe. Simply allow 1 – 2 extra minutes bake time.
Freeze after cooking:
These cookies can also be frozen after you have cooked them. Freeze in labelled or sealed containers/bags for up to 3 months.
Made this recipe?
If you make this recipe, do please tag me on instagram @daffodil_kitchen. You could also leave a comment in the box directly below the recipe.
Chocolate Chip Cookies – Core Recipe
Crisp on the outside, chewy on the inside – ridiculously delicious chocolate chip cookies.
Ingredients
Basic Cookie ingredients:
- 125g unsalted butter, at room temperature (NB if you would like to use brown butter, see Recipe Notes below)
- 175g sugar – mix of soft brown and caster
-
½ teaspoon fine salt
- 1 egg
-
1 teaspoon vanilla extract/paste
-
200g plain/all-purpose flour
-
½ teaspoon baking powder
Additions and Toppings:
- 200g – 300g additional ingredients such as chocolate chunks, chopped nuts, dried fruits
- Optional toppings – such as 100g chocolate chunks or nuts
Instructions
-
Collect together your equipment (see Recipe Notes below) and ingredients.
-
Preheat oven to Fan Oven 160°C/180°C/350°F/Gas 4 and line your baking trays with baking parchment if necessary.
-
Put the butter, salt and both of the sugars into a large bowl and using an electric whisk beat until fluffy. This should take 3-4 minutes.
-
Add the egg and vanilla extract/paste and continue to whisk until thoroughly mixed.
-
Add the flour and baking powder to the butter mixture and beat, on a slow speed, until almost entirely incorporated. Alternatively, fold in by hand.
-
Finally, fold through any additional ingredients of your choice. If you want to make two different types of cookies, divide the dough now – the dough will weigh approximately 560g, so remove 280g into another bowl. You can then add different add-ins to each bowl.
-
N.B. Hold a few chocolate chunks back before mixing in. I often find the last cookie dough ball to be made has no or very few chocolate chunks in it. If you hold a few back you can simply mix into the final cookie.
-
Next divide the dough into 25 – 27 x 30g balls of cookie dough or 16 – 18 x 50g balls. I am quite specific how I do this. I line a baking tray with parchment, sit it on the top of the scales and zero the scales. I can then check that each cookie weighs 30g or 50g each. I use a heaped tablespoon measure or a small ice cream scoop for the 30g, and a medium ice cream scoop for the 50g. The more accurate you are, the more consistent your cookies will be when cooked. I don’t worry about 2g here or there but I am quite careful. However, when in a hurry, I eye ball it and they still work out very well! Your choice!
-
Once you have divided the dough into balls, roll gently into a neater shape (the dough will be very soft at this stage) and then stick on any toppings.
-
To bake straight away: when you are ready to cook your cookies, place them spread out on a baking sheet – I get 4 – 5 per sheet depending on the size of the baking sheet.
-
Baking one tray at a time: bake in a pre-heated oven for either 10 – 12 minutes for the smaller size or 14 – 16 minutes for the larger size. (I cook mine for 11 and 15 minutes.)
Baking two trays at a time: add one minute to the total time to cook. Bake for half this time and then quickly swap the trays over i.e. put the top tray on the lower shelf and the tray from the lower shelf and on the higher shelf and cook for the remaining time.
(So for one tray I cook for 11 and 15 minutes and 2 trays for 6/8 minutes, swap the trays and then another 6/8 minutes = 12 and 16 minutes on total.)
-
The cookies are cooked when: they have spread out, are starting to brown on the edges and look ever so slightly underdone. They should still be soft in the middle.
-
Let them cool on the baking sheet for 10 minutes and then transfer to a cooling rack.
-
To bake later: cover with cling film and refrigerate until you are ready to cook them. Follow the same instructions as above.
-
If you want to freeze any, before cooking, now is the time: cover with cling film and place in the freezer. As soon as the dough balls are solid, they can be transferred into labelled freezer bags or containers.
Recipe Notes
Equipment:
- Kitchen scales and measuring spoons
- Electric whisk and mixing bowl
- Chopping board and knife
- Baking sheets lined with baking parchment, if necessary
Brown Butter: if you would like to replace the unsalted butter with brown butter, you should use 105g brown butter and add 20ml milk. For more information on Brown Butter, please see my post.
Cooking from frozen: allow 1 – 2 minutes extra cooking time.
Weighing the ingredients:
You can either weigh your ingredients and then add them to the mixing bowl or you can weigh your ingredients directly into your mixing bowl. Simply put the bowl on the scales and zero the scales. Make sure you remember to zero them in between adding each new ingredient.


Middle Eastern Spice Mix

You May Also Like
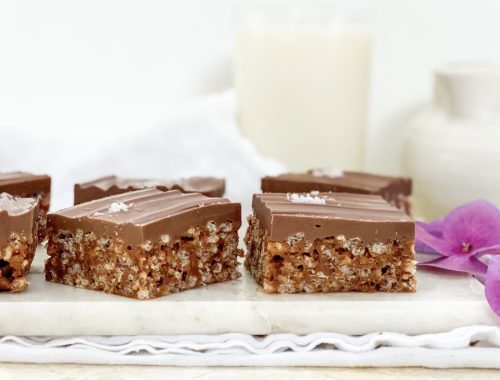
Mars Bar Rice Krispie Slice
Chocolate Cake with Mint Chocolate Buttercream Frosting