Daffodil Brownies – Core Recipe
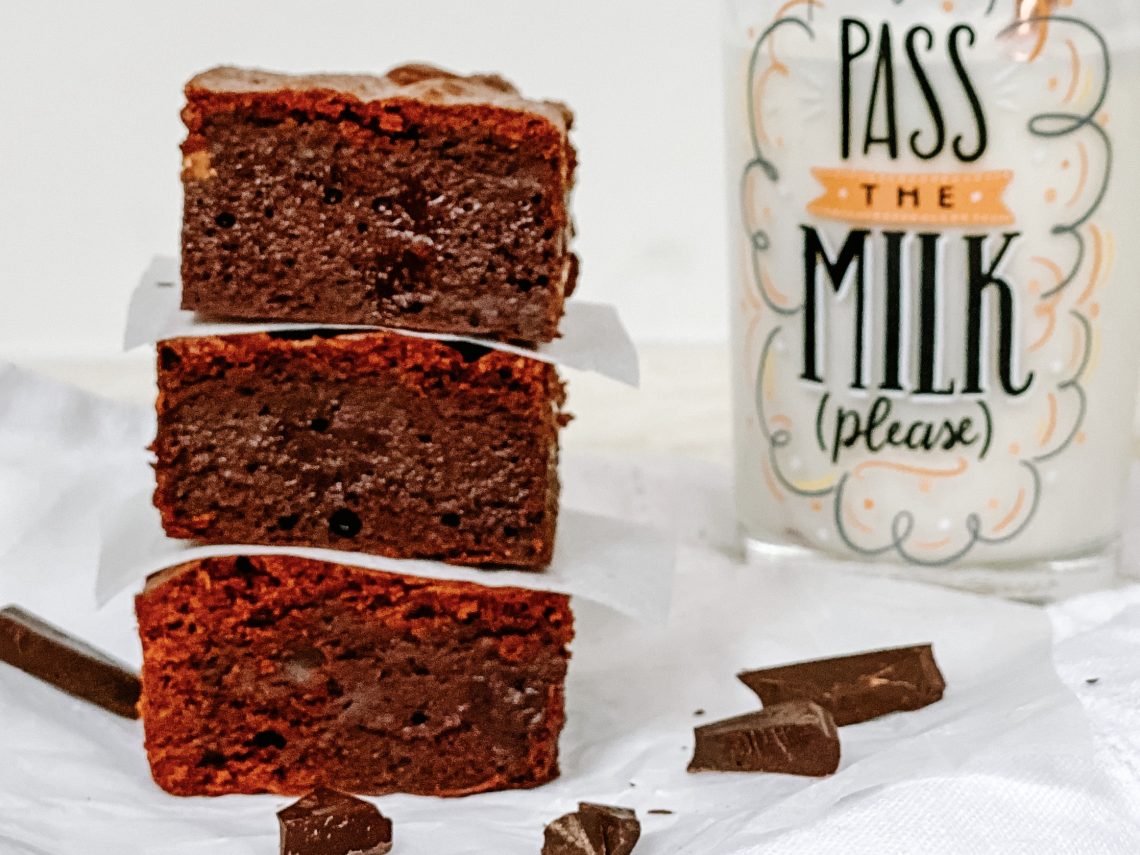
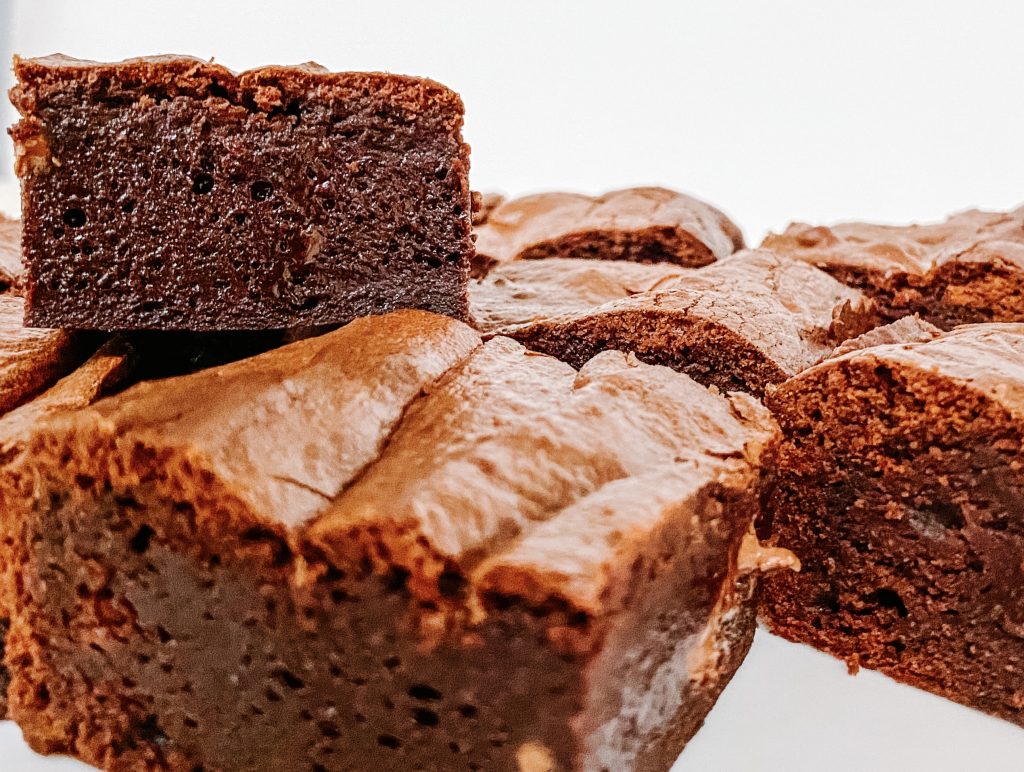
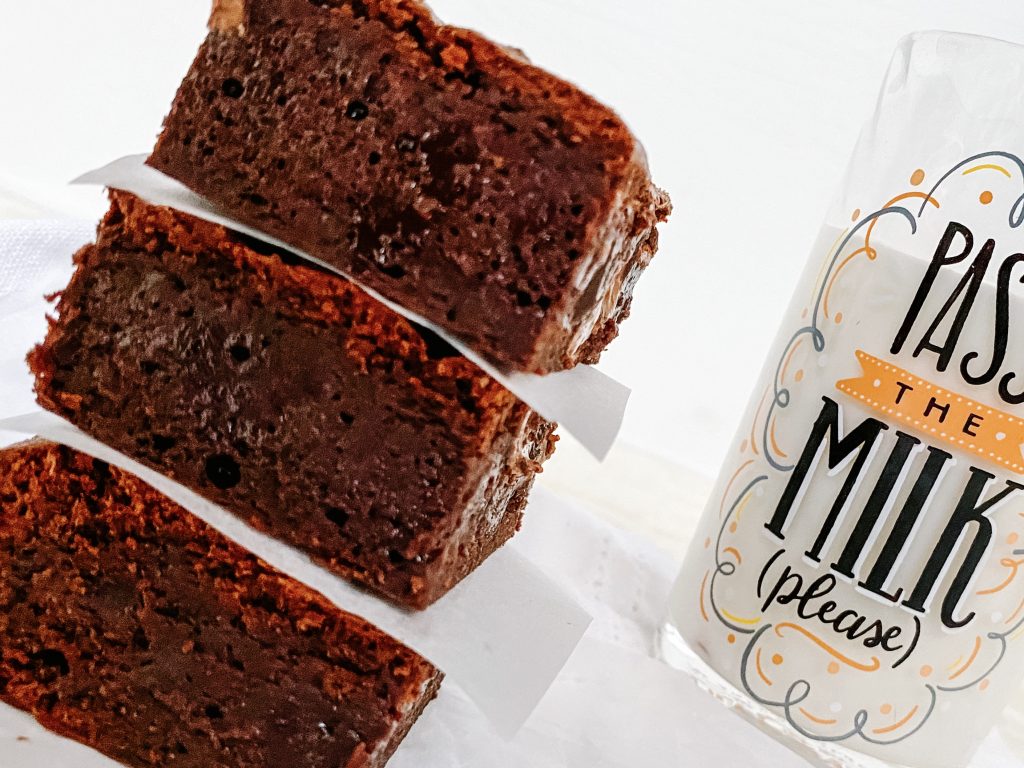
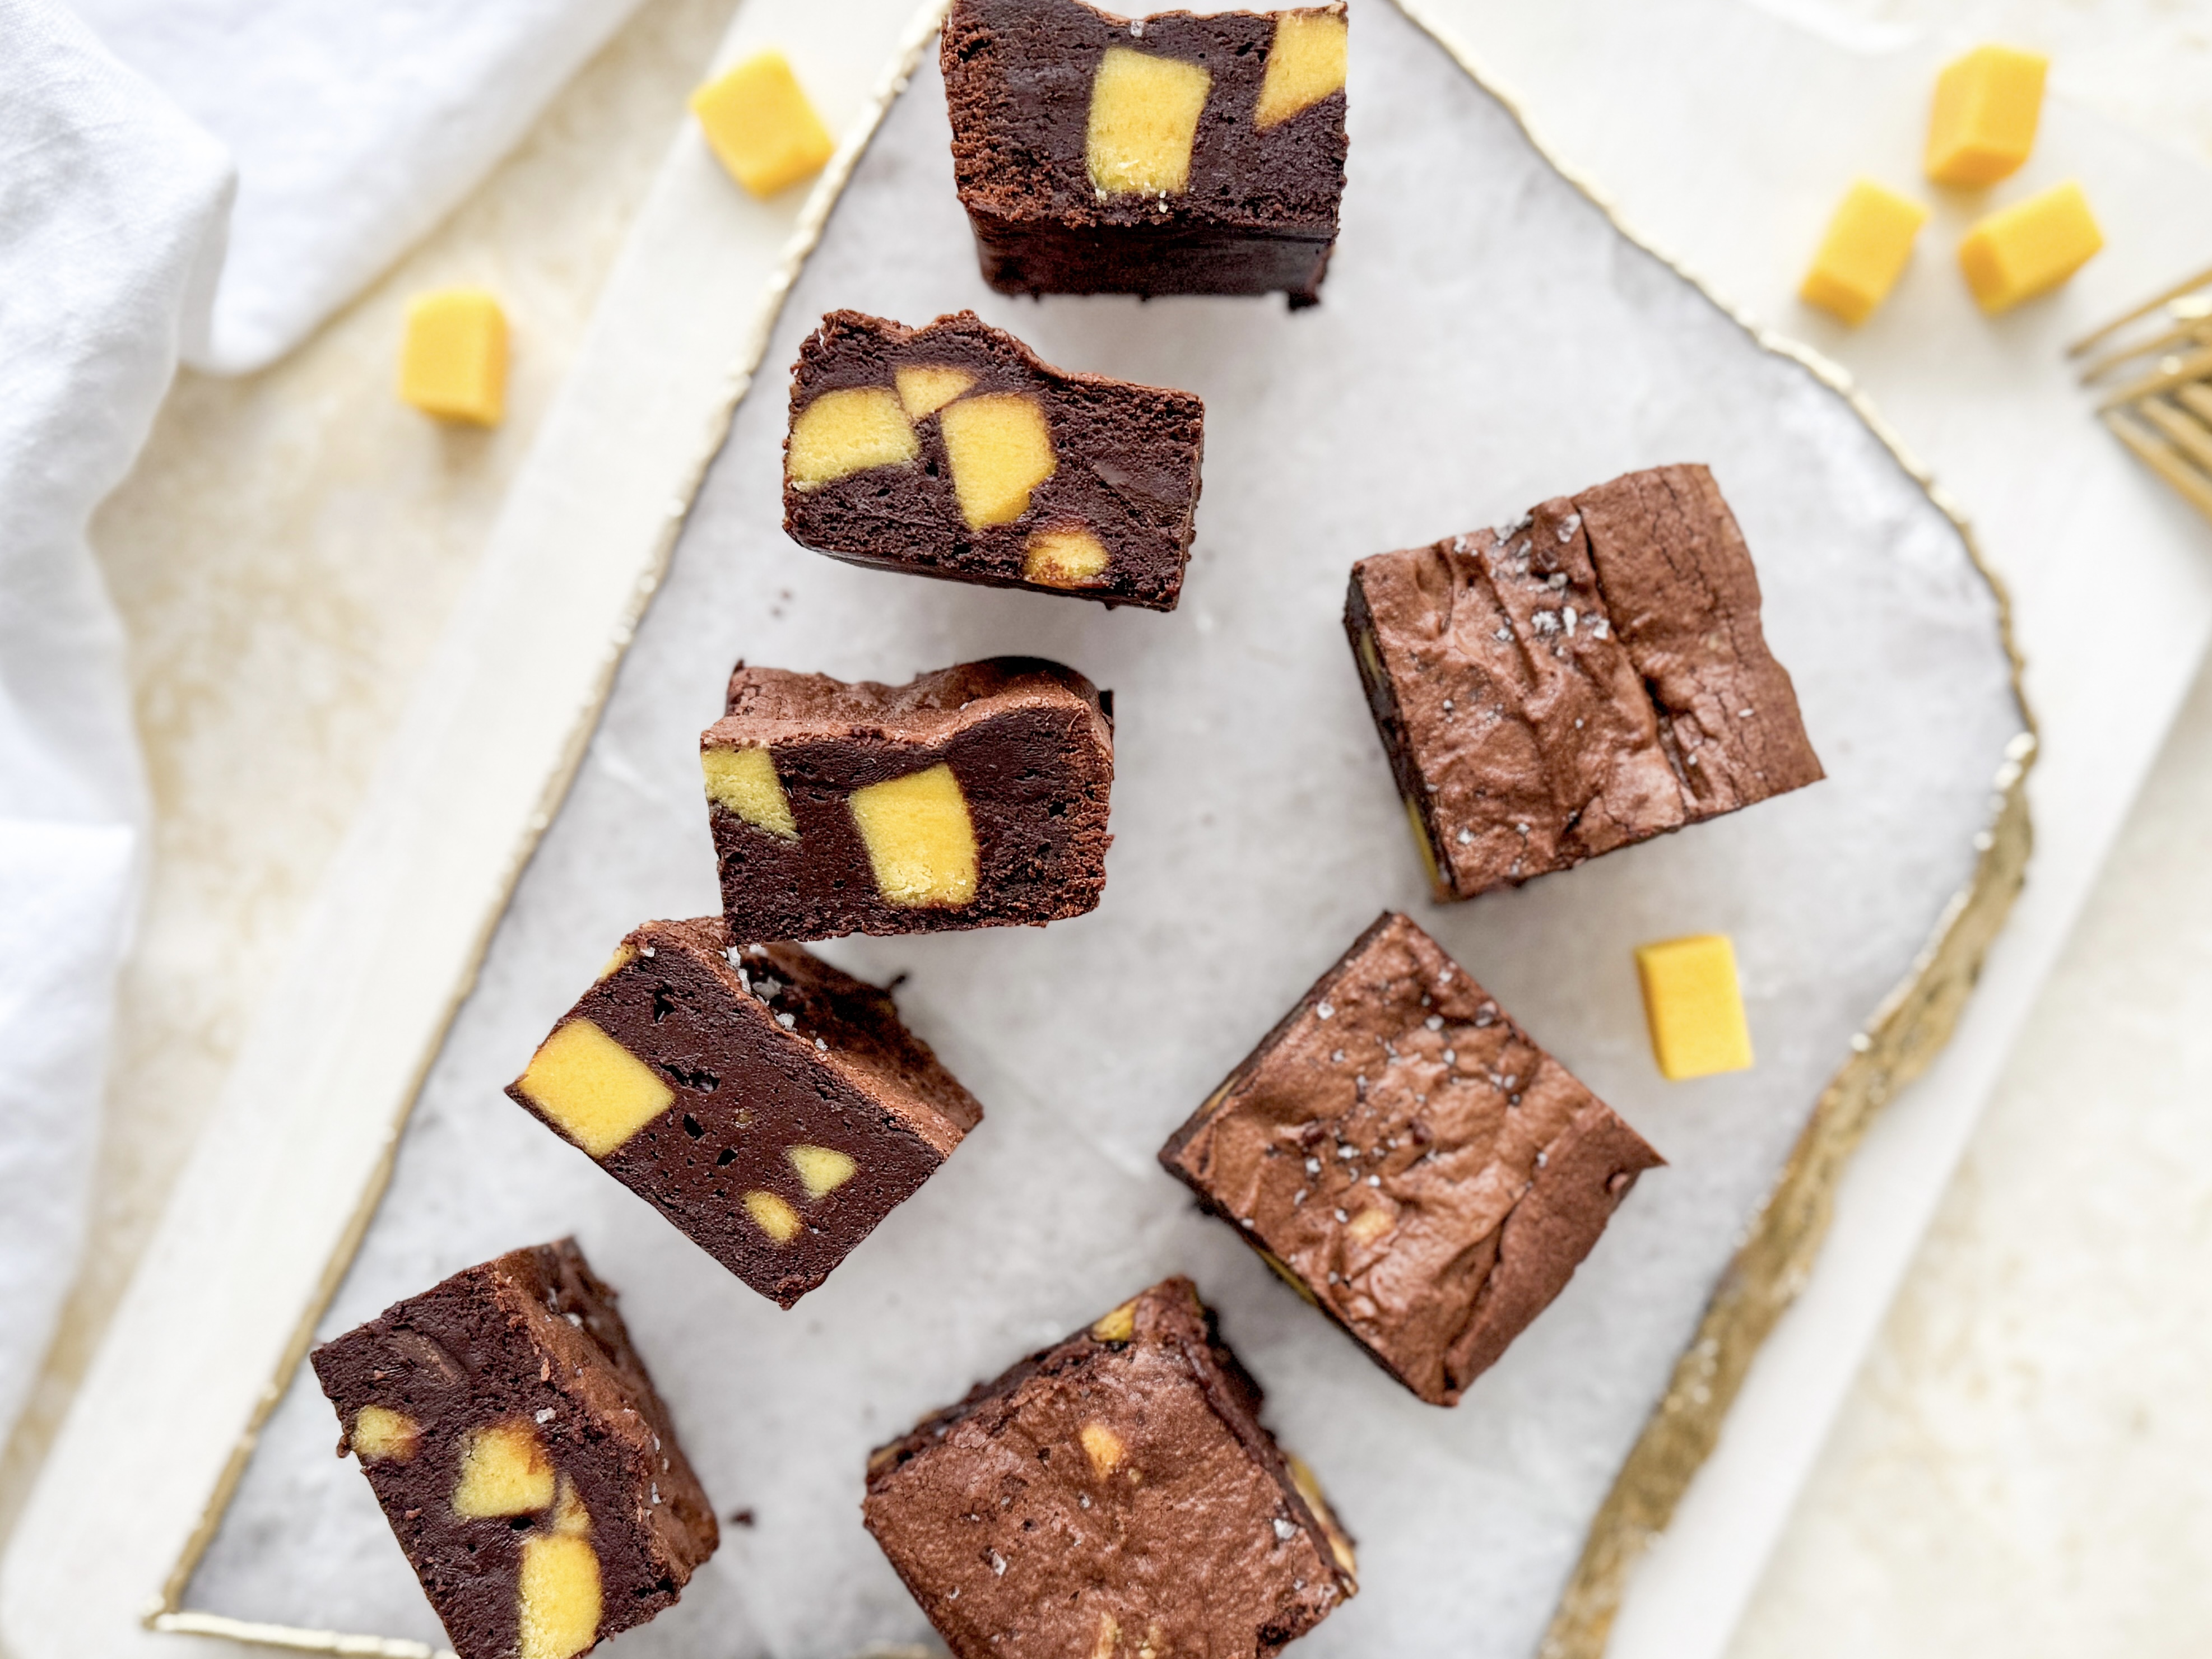
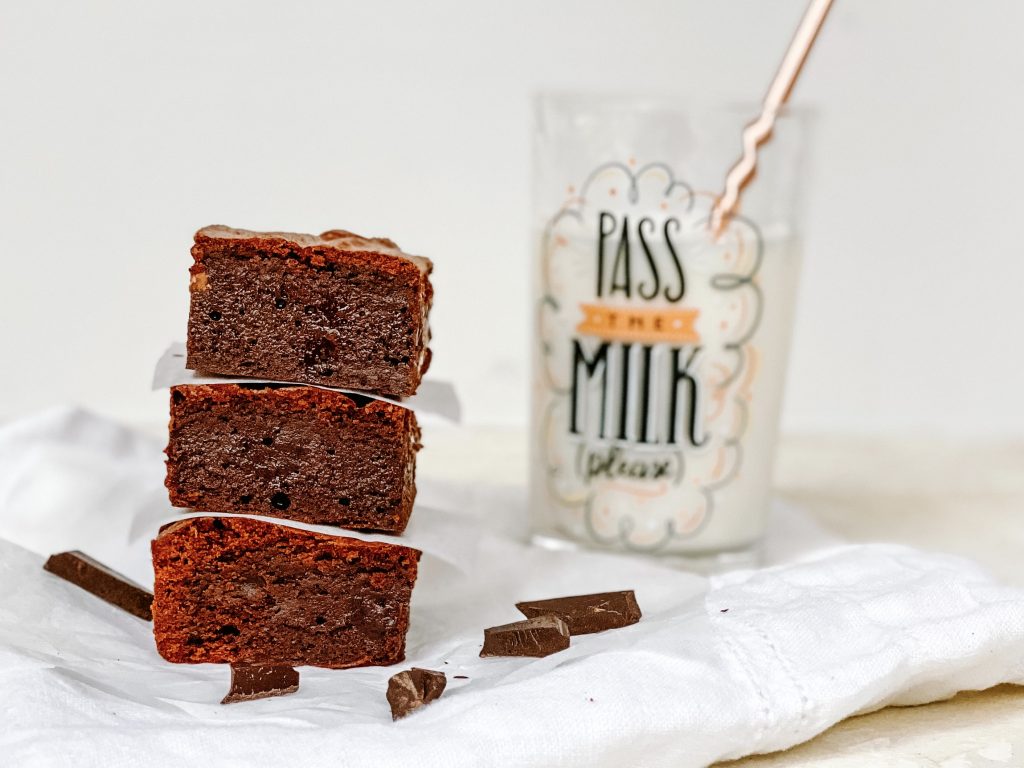
Delicious, fudgy, intense chocolate squares with a hint of salt. Soft and gooey on the inside, slightly crispy on the outside. How do you like your brownies?
We have been making these brownies in our family for years. They are simply wonderful served just as they are with morning coffee or as an afternoon treat with a cup of tea. Also, they make a fabulous dessert; either with some strawberries or raspberries on the side or try them warmed with ice cream and hot chocolate sauce. Just divine.
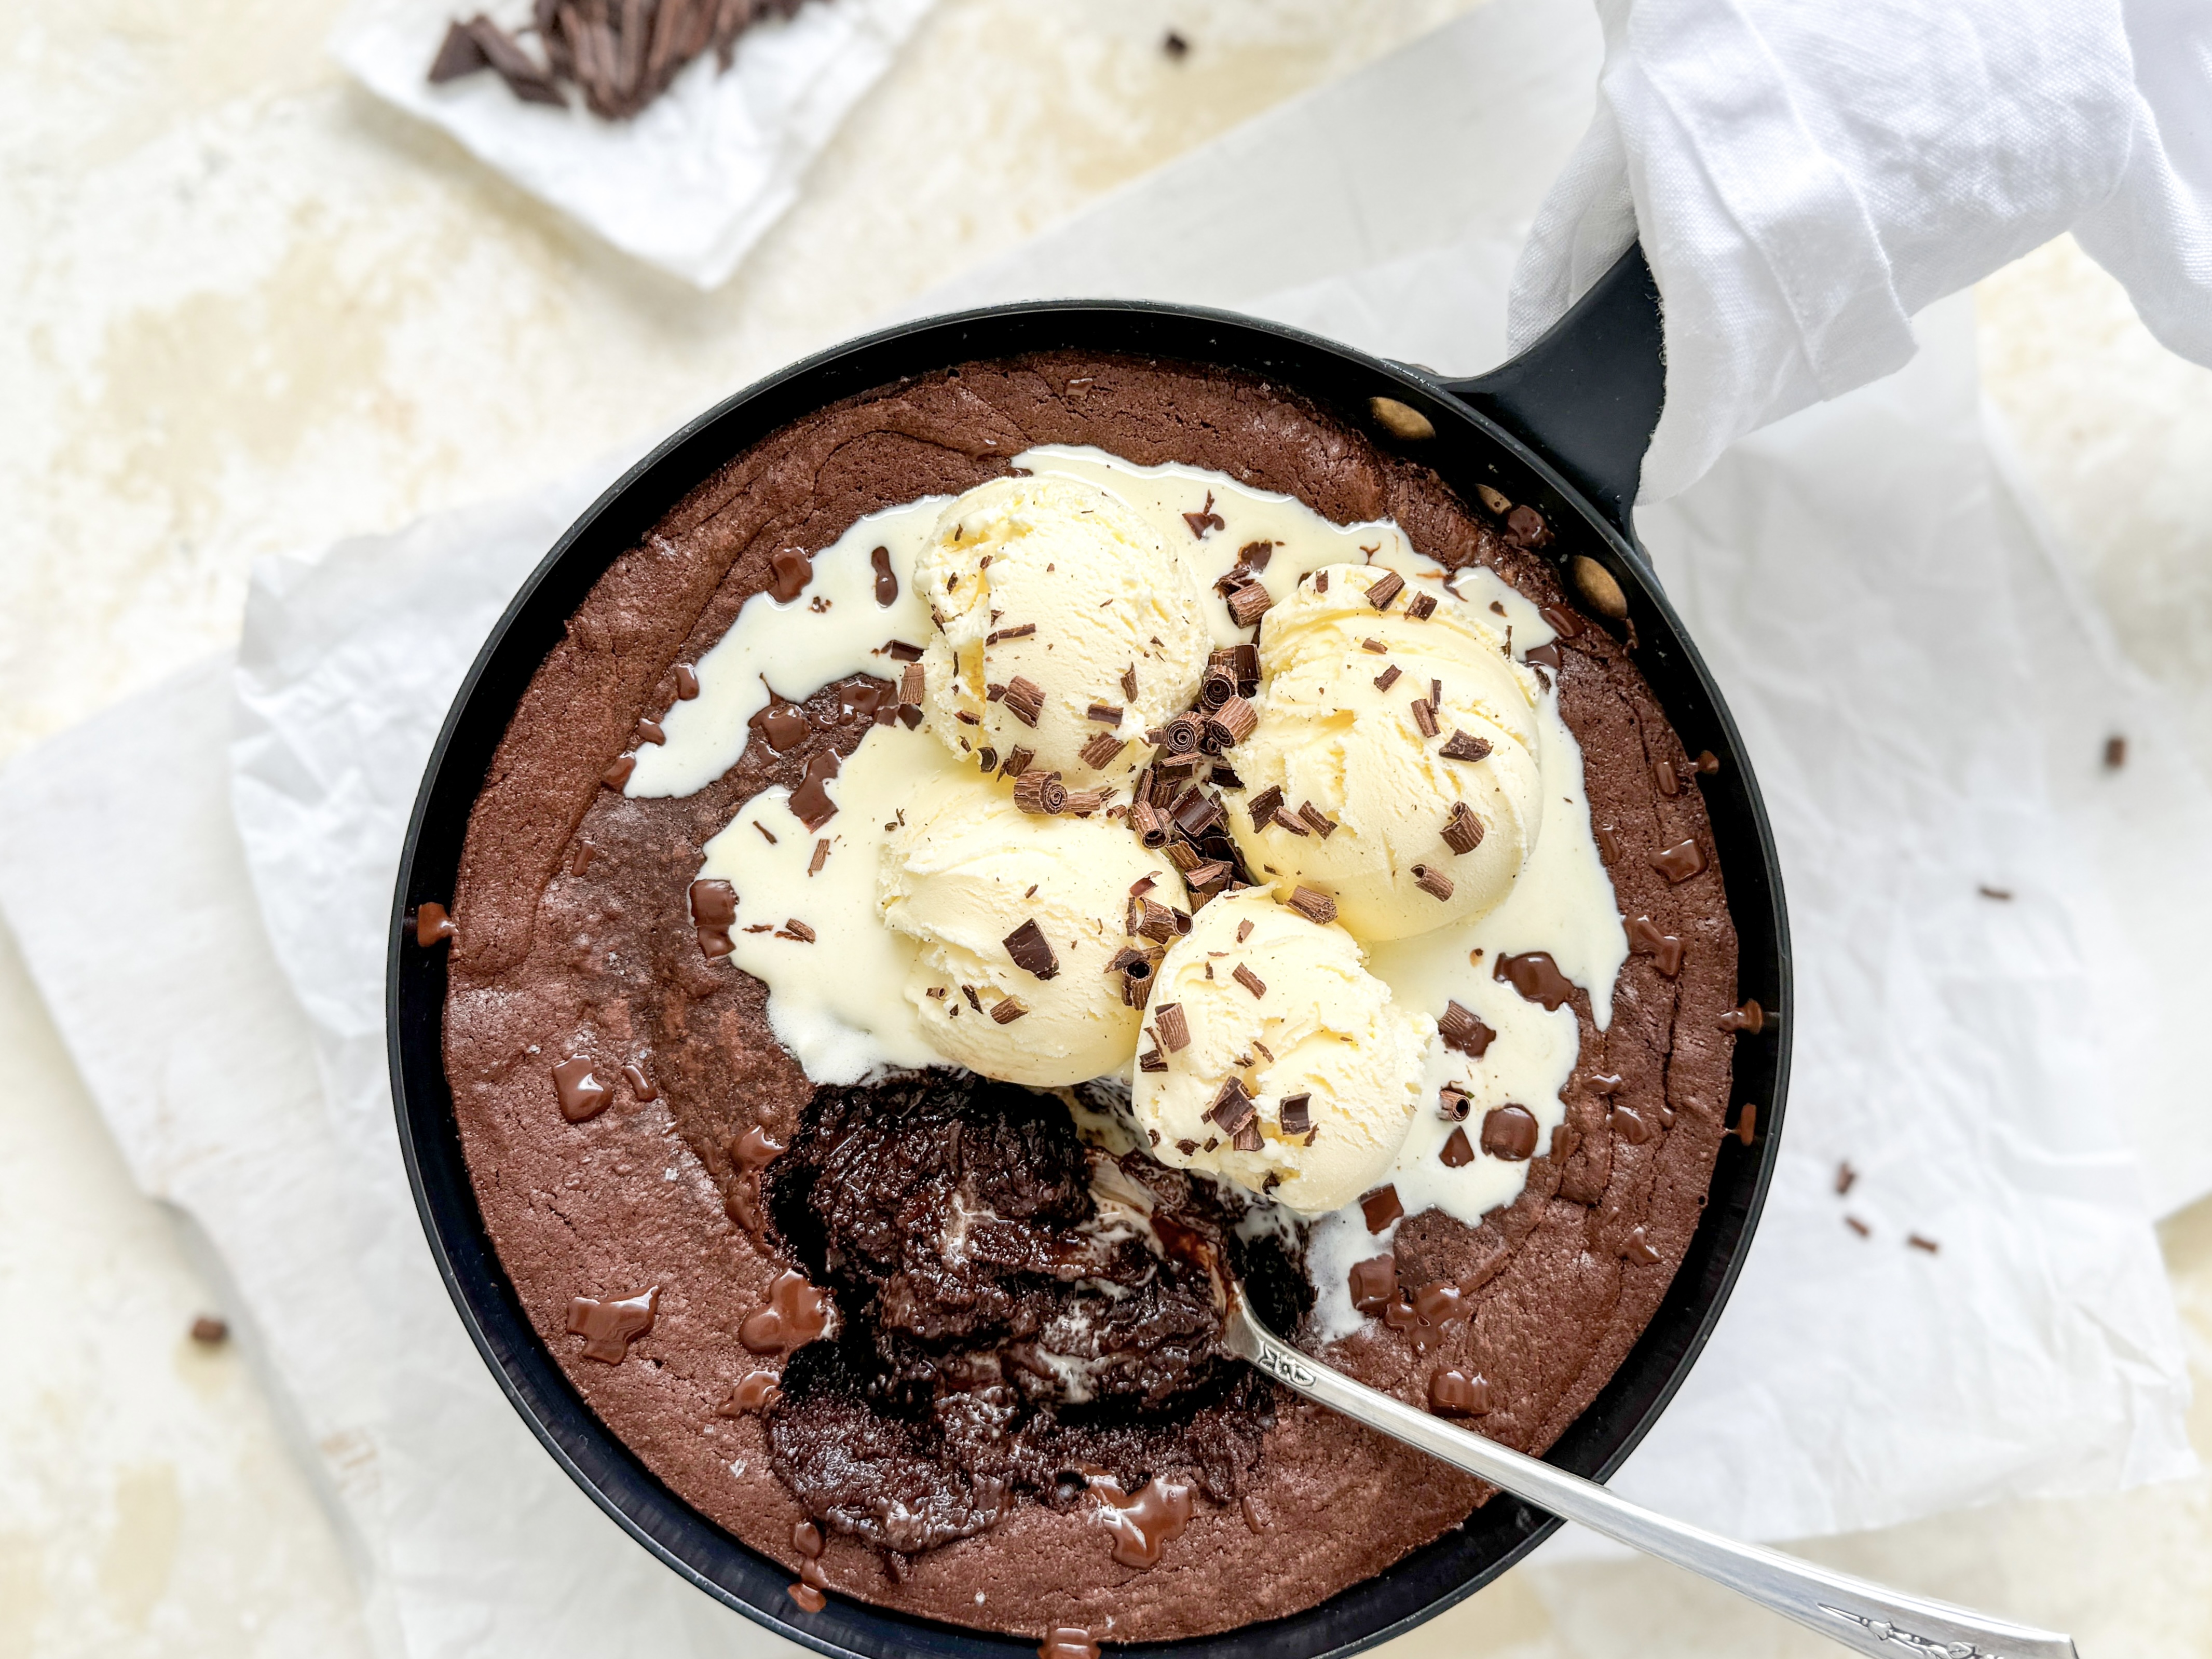
They can be cooked in ramekin dishes or a large baking dish to serve as dessert with a cakey top and runny sauce underneath. Serve hot with ice cream.
They make wonderful gifts and travel well. They are easy to wrap in a gift box or transported in a cake tin for a picnic or handed around to share with a group of friends or colleagues as a thank you or perhaps for a birthday celebration. I have even boxed them up and posted them to my girls for a surprise whilst away at university! In turn they have made many batches and gifted them as a thank you or treats to share at their various jobs and hospitals wards they have worked in. When skiing or out for a long walk, we often pack brownies individually in foil and throw them in our back pack for a little ‘pick me up’ (sometimes literally!) treat!
A variety of recipes based on Daffodil Brownies – Core Recipe
Although absolutely divine just as they are, you can use this Core Recipe as a base to add lots of additional ingredients and flavourings. Think of it as a blank canvas and use your imagination. Keep an eye out for these dishes:
Recipes already posted:
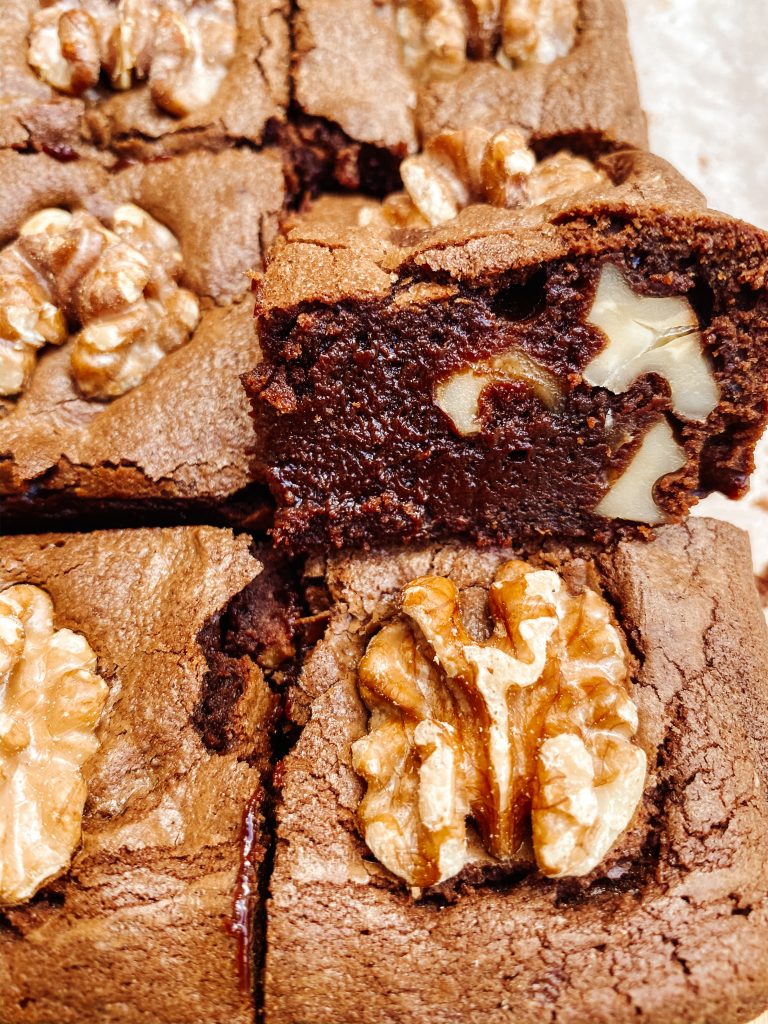
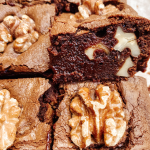
- Walnut Brownies
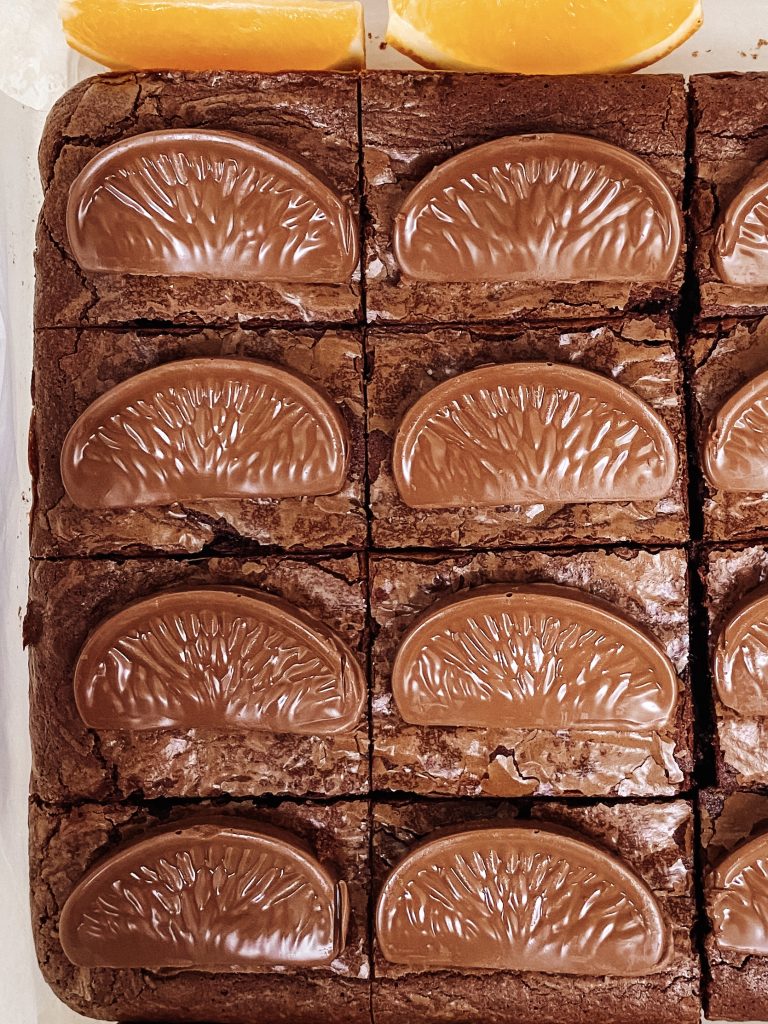
- Chocolate Orange Brownies
- Chocolate Mint Brownies
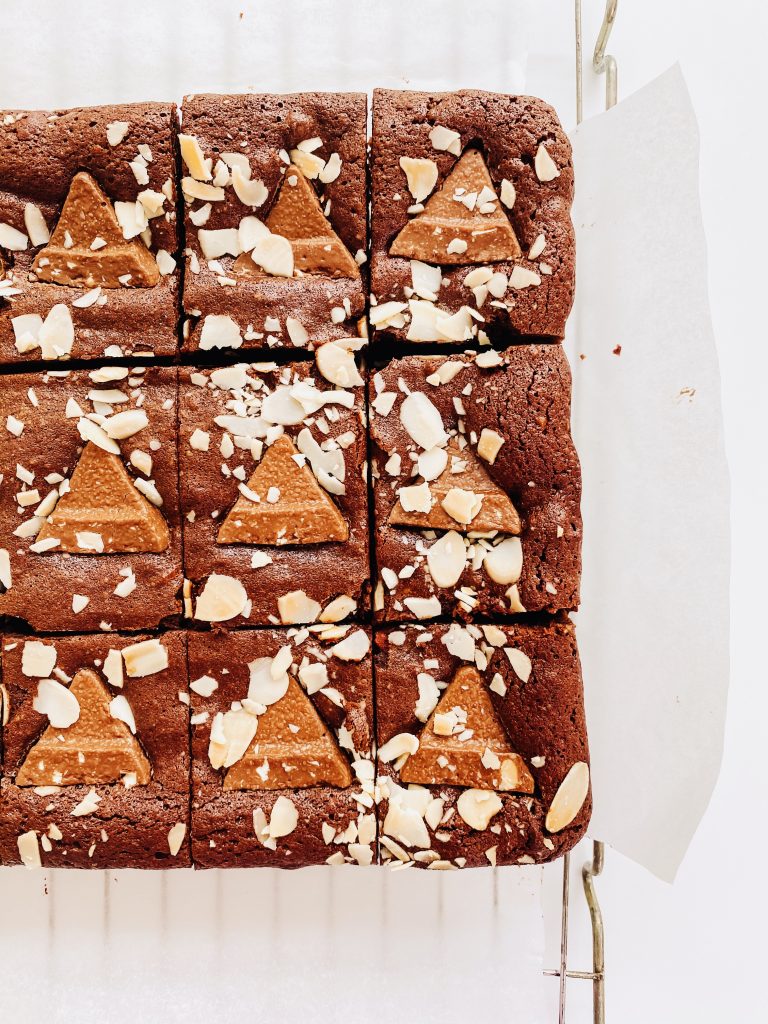
- Toblerone Brownies with Almonds and Honey (Gluten Free)
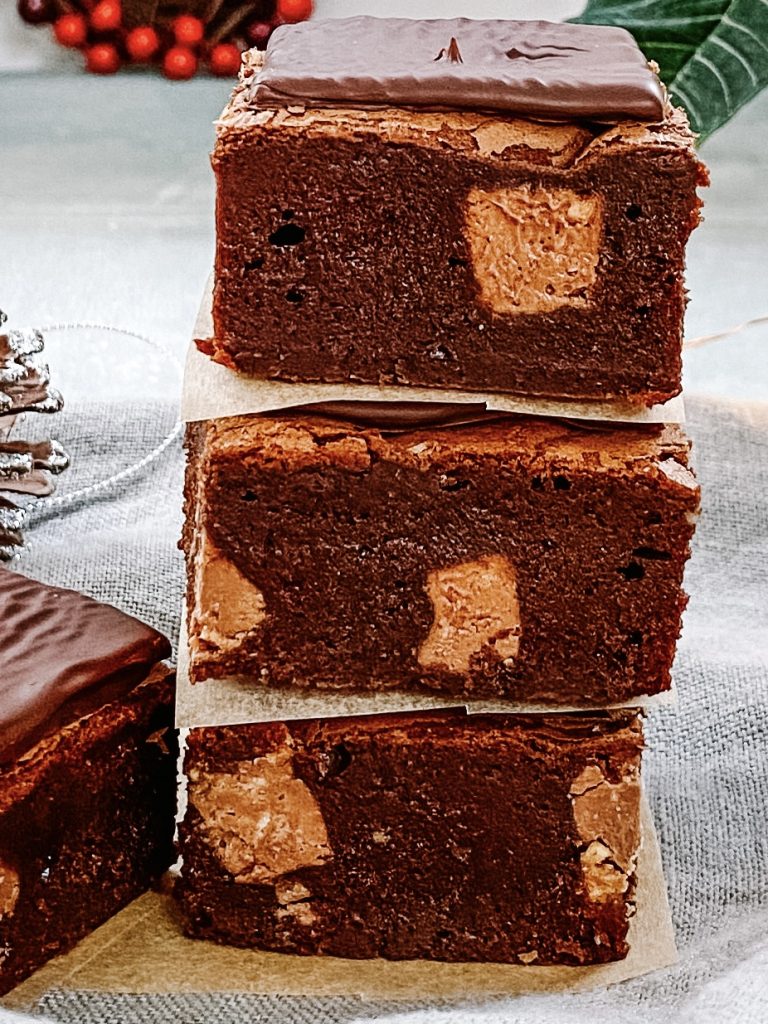
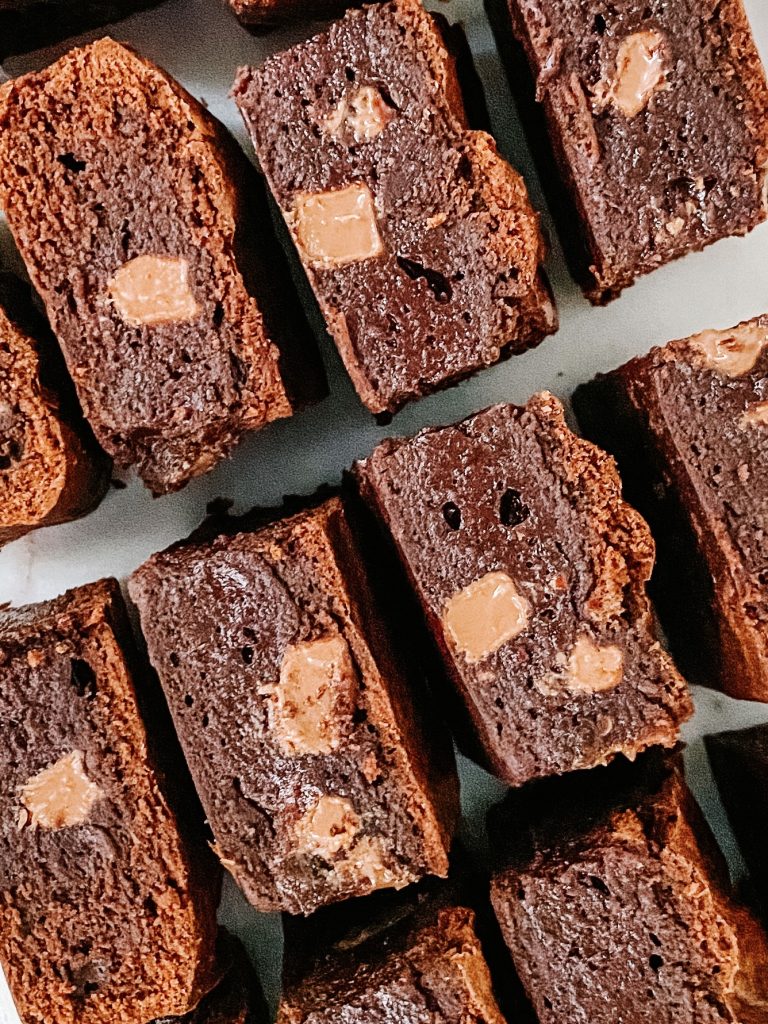
- Dark Chocolate Brownies with Milk Chocolate Chunks
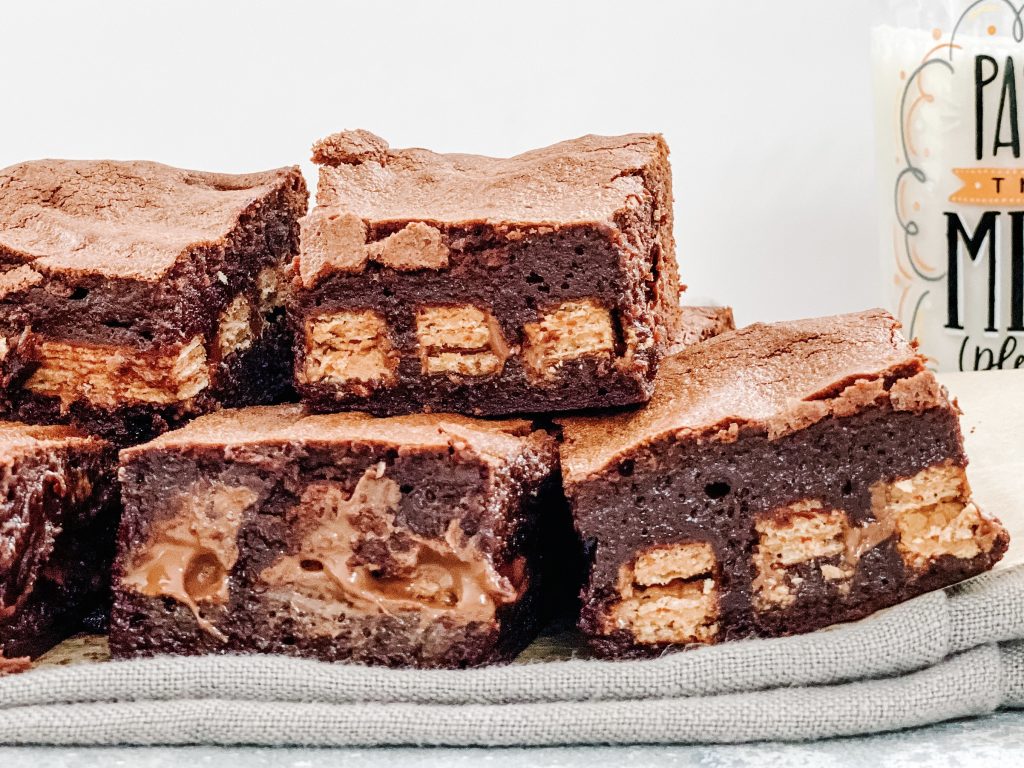
- KitKat Brownies
- Mexican Chilli Brownies with Cinnamon and All Spice
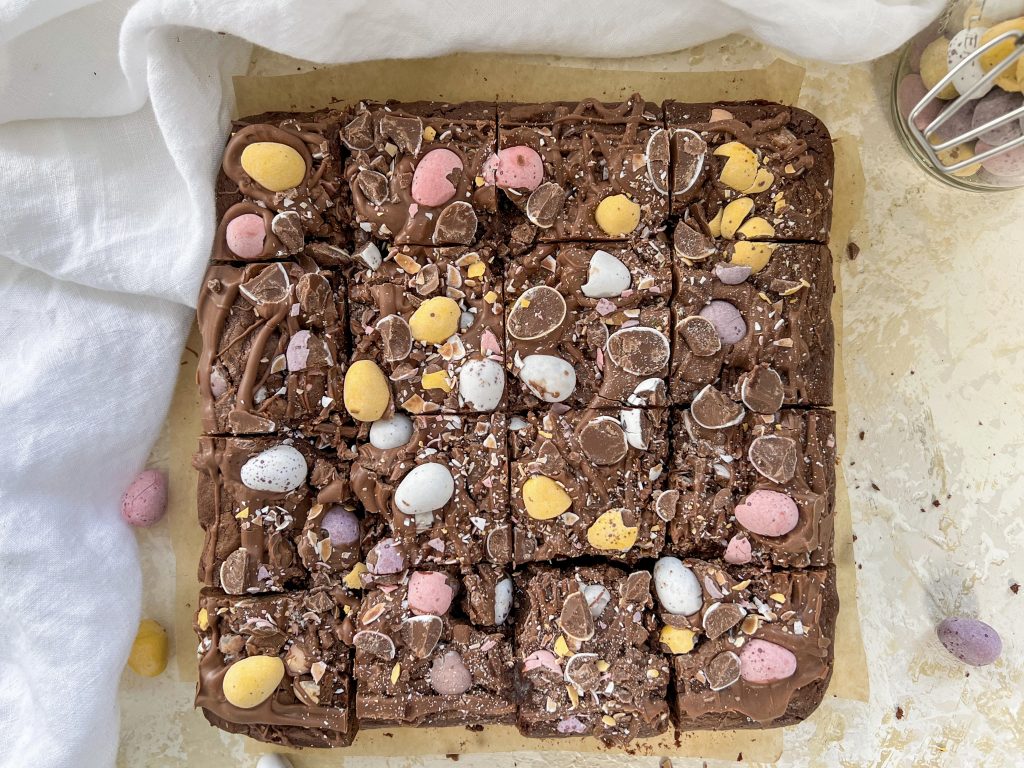
- Cadbury’s Cream Egg Brownies
- Cheesecake Chocolate Brownies
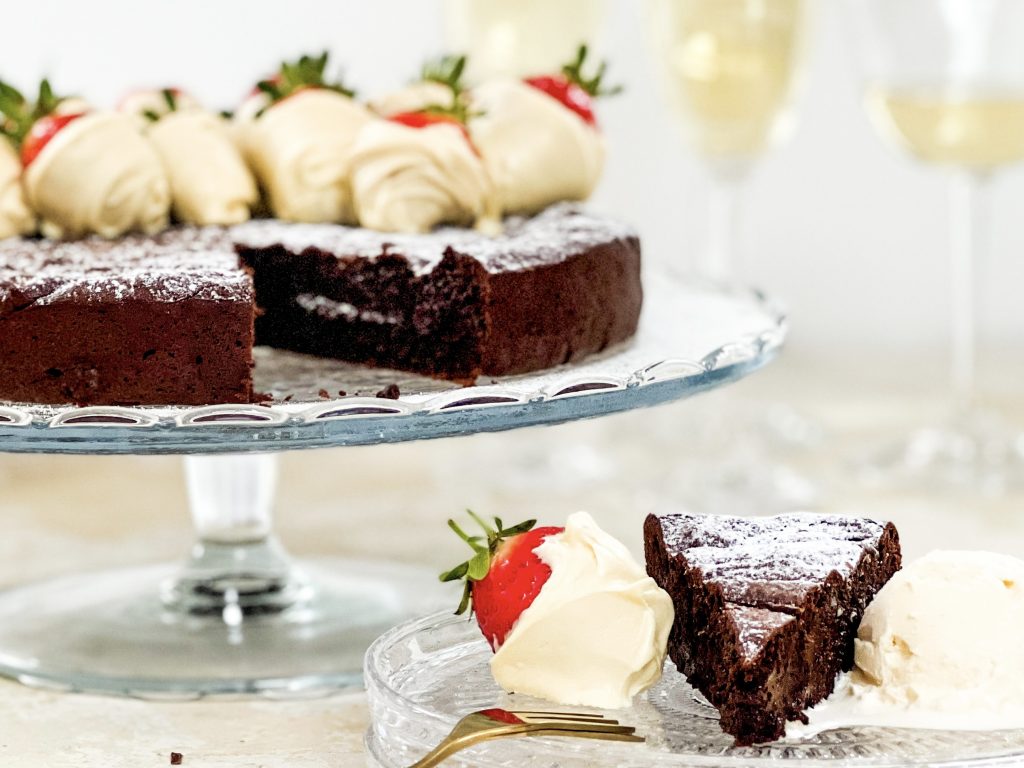
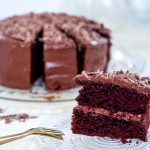
- Flourless Chocolate Cake
- Roast Hazelnut and Dark Chocolate Brownies with Milk Chocolate Chunks (Gluten-free)
- Chocolate Mint Aero Brownies.
- Wagon Wheel Brownies
- Hot Mocha Brownies with Coffee Cheesecake Swirl and Kahlua
- Tim Tam Brownies with Vegemite
- Chocolate Brownie and Greek Yoghurt Layered Dessert
- Chocolate Brownies with Caramel Squares and Sea Salt
- Chocolate Chunk Peanut Butter Brownies with Salted Brownies
- Chocolate Mini Egg Brownies
- Rich, Fudgy Chocolate Cake with White Chocolate Dipped Strawberries
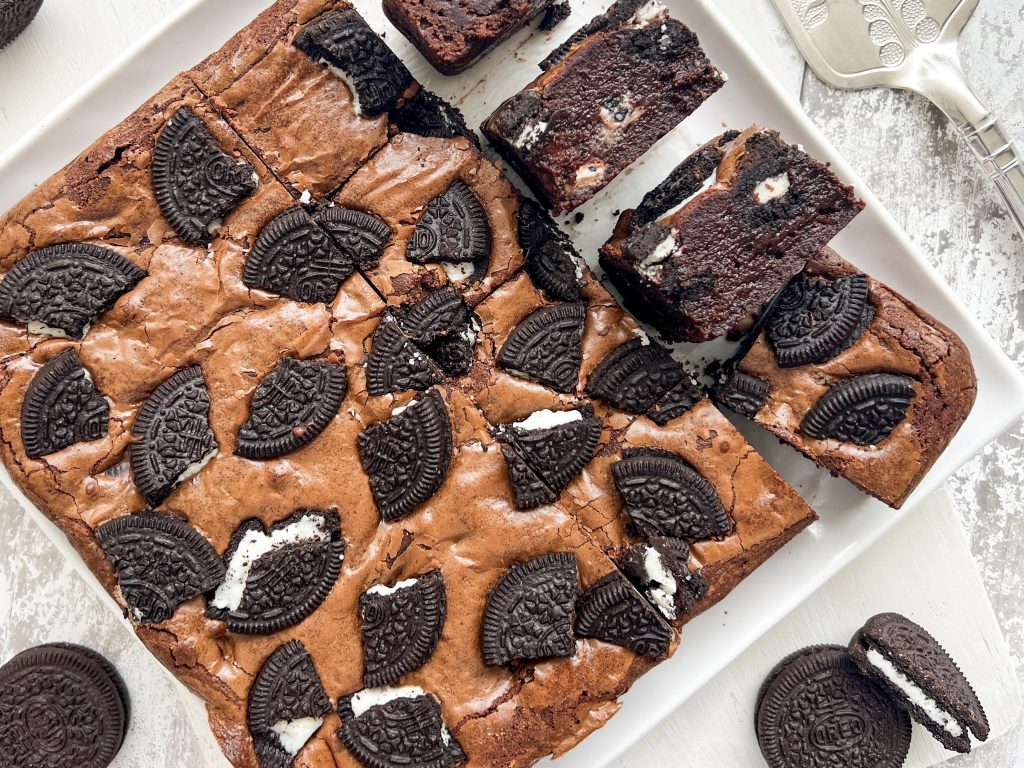
- Oreo Chocolate Brownies
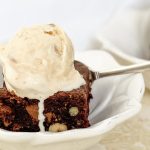
- Hot Brownie Dessert with Vanilla Ice Cream
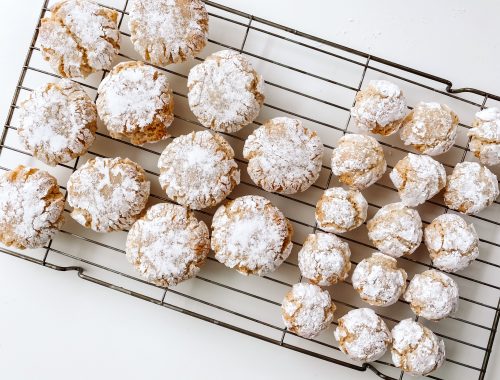
- Marzipan Brownies – aka Sherborne Brownies

Mexican Chilli Brownies 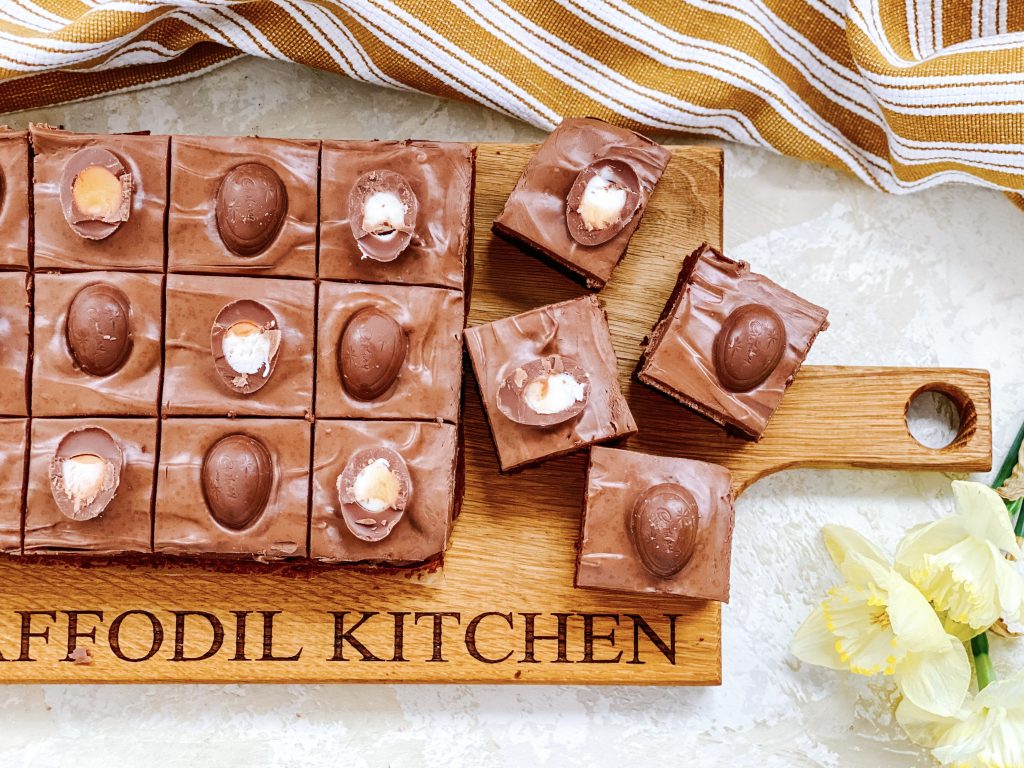
Cadbury’s Cream Egg Brownies 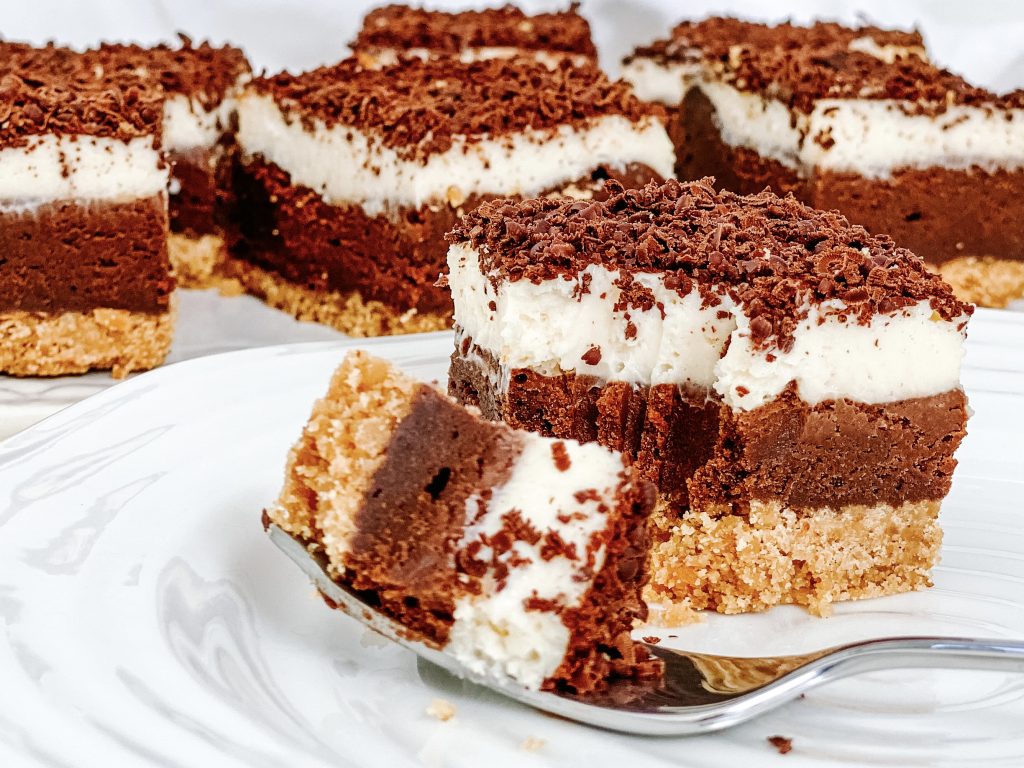
Cheesecake Chocolate Brownies 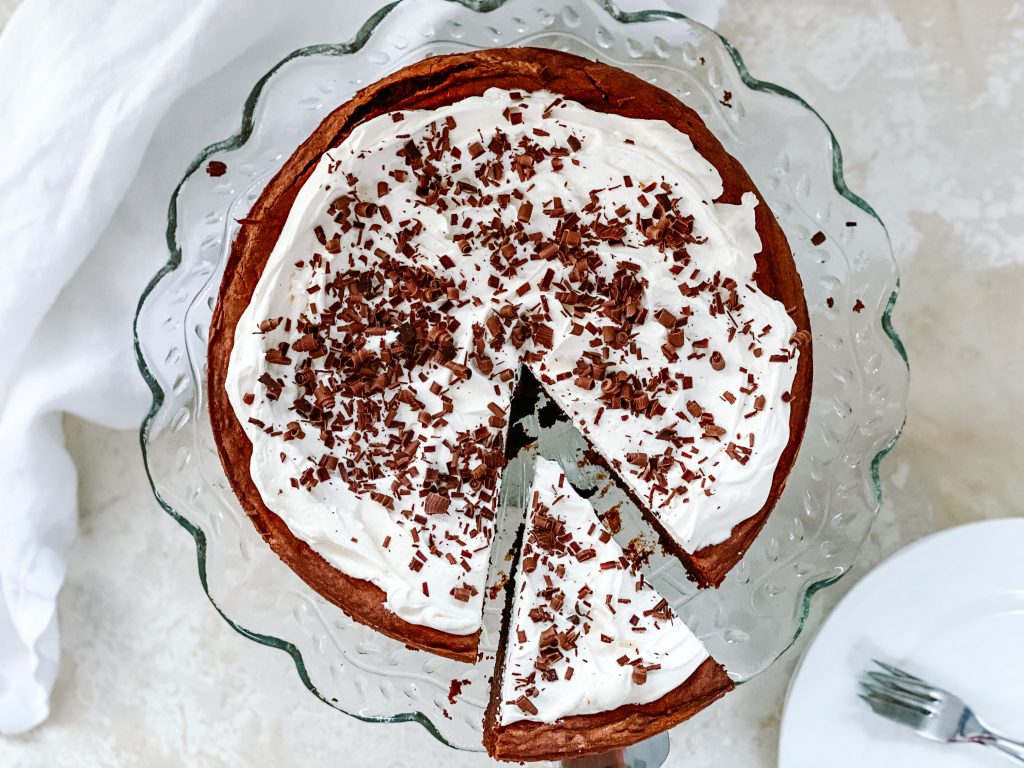
Flourless Chocolate Cake 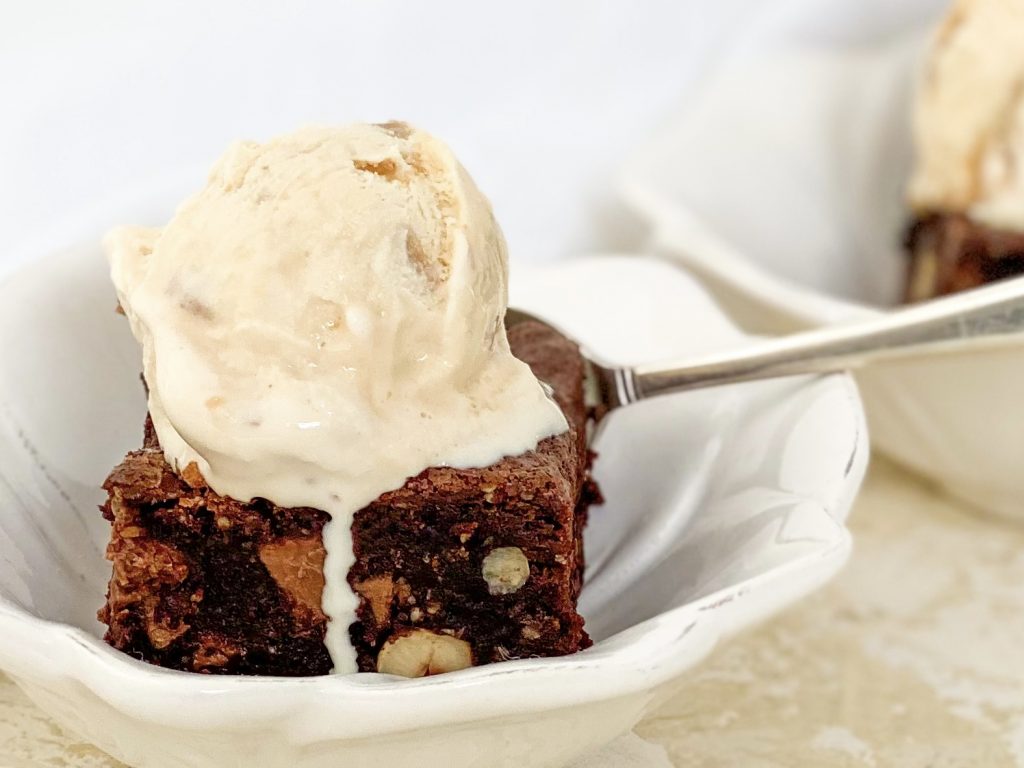
Roast Hazelnut and Dark Chocolate Brownies 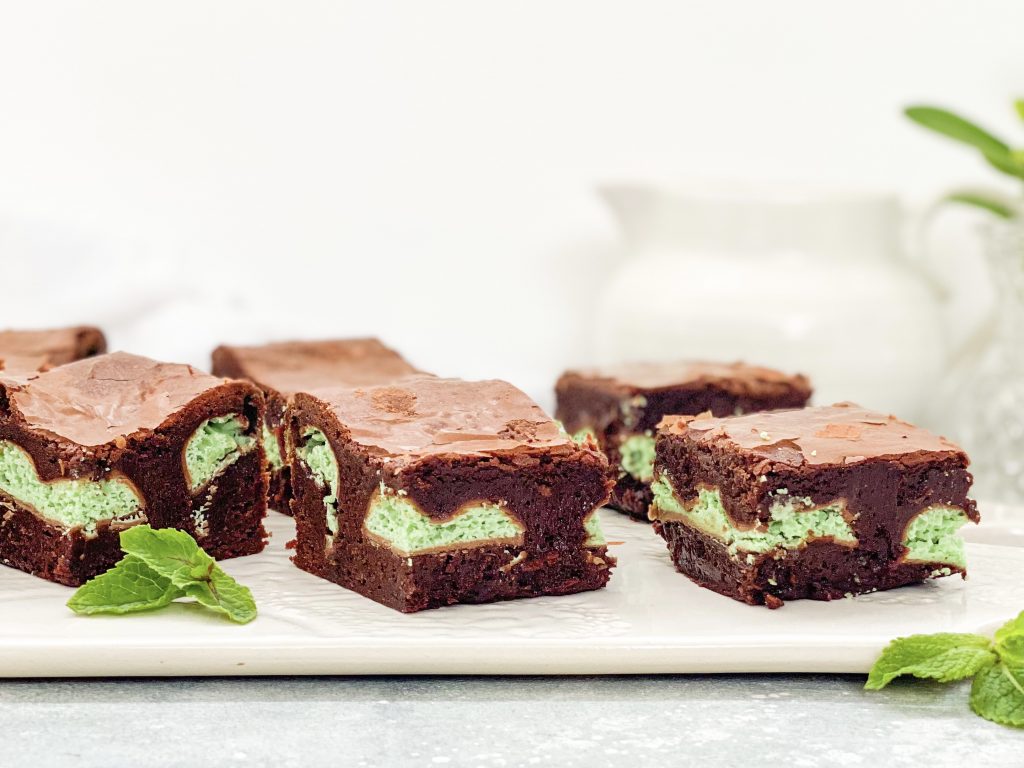
Chocolate Mint Aero Brownies. 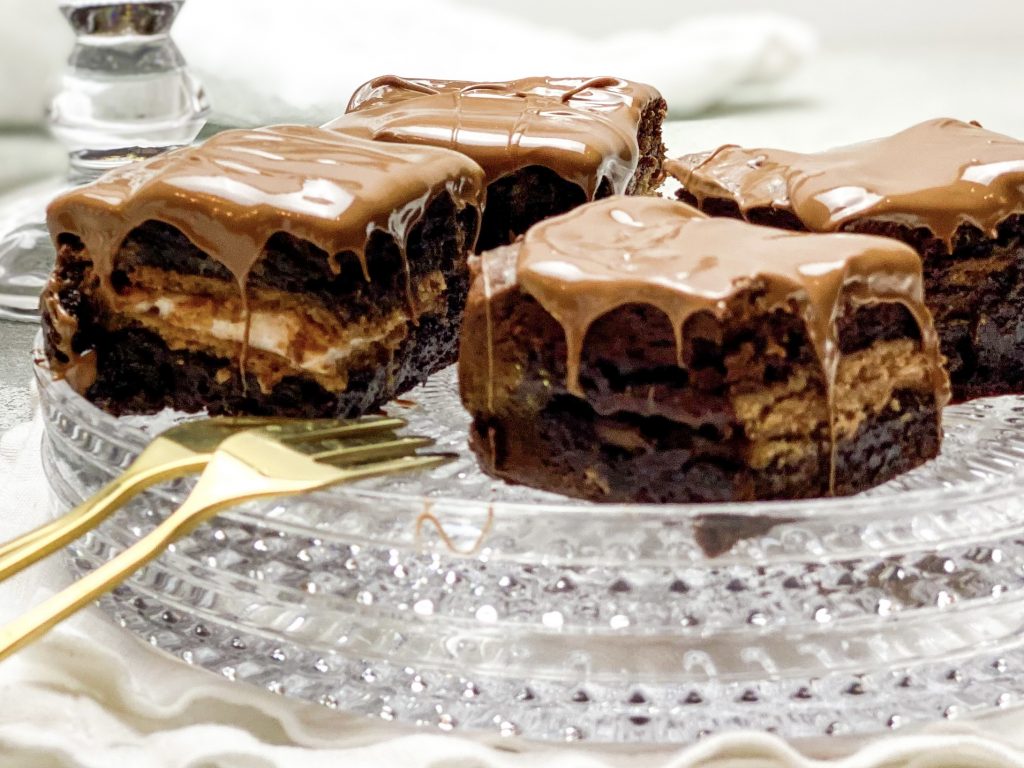
Wagon Wheel Brownies 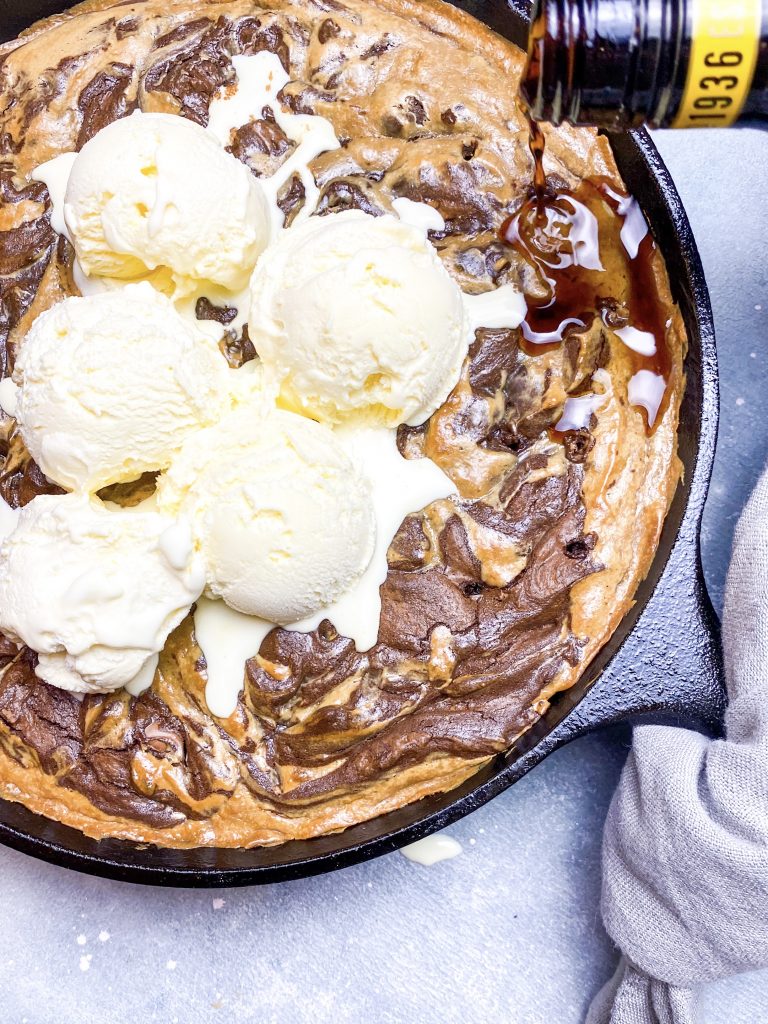
Hot Mocha Brownies with Coffee Cheesecake Swirl and Kahlua 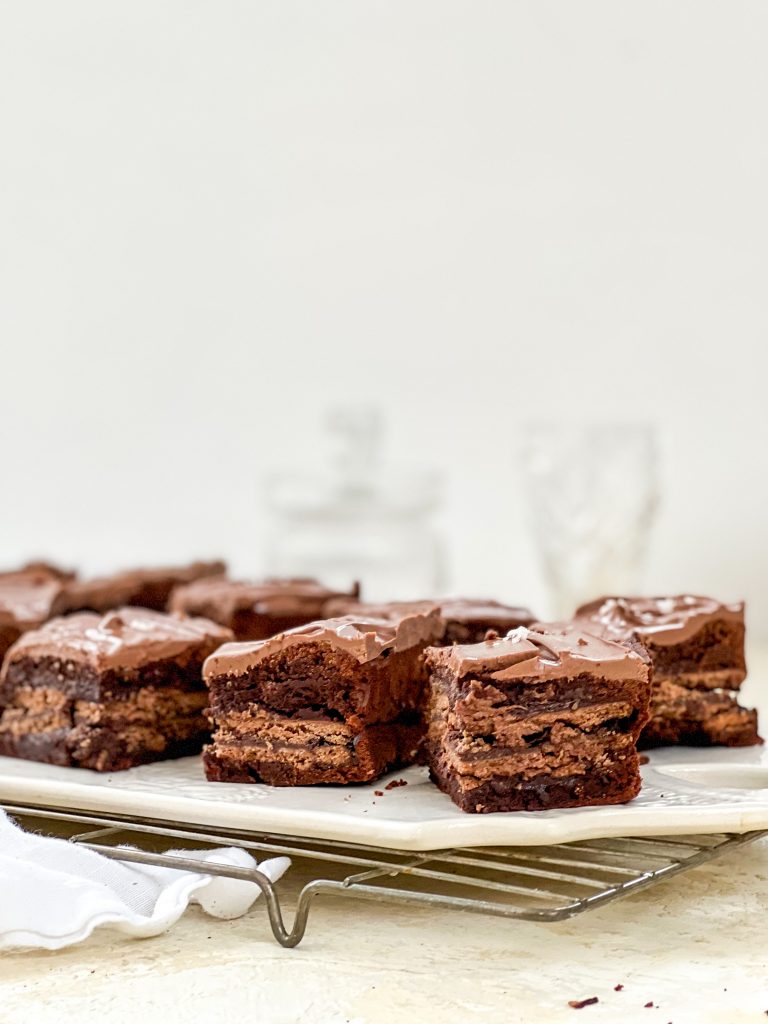
Tim Tam Brownies with Vegemite 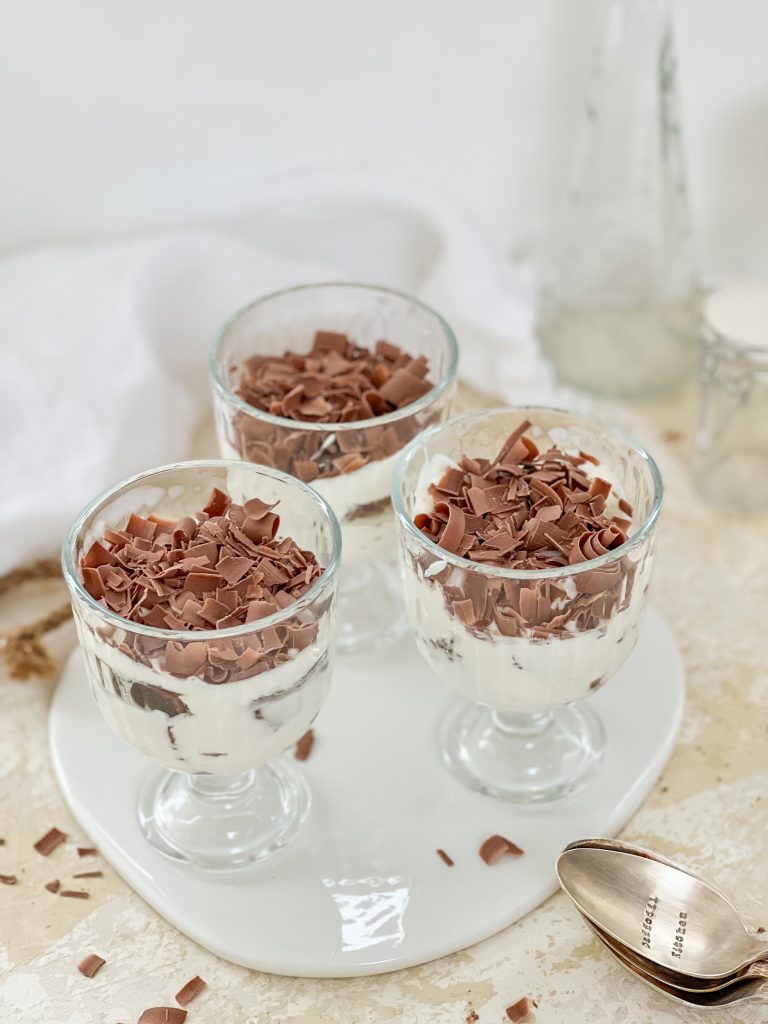
Chocolate Brownie and Greek Yoghurt Layered Dessert 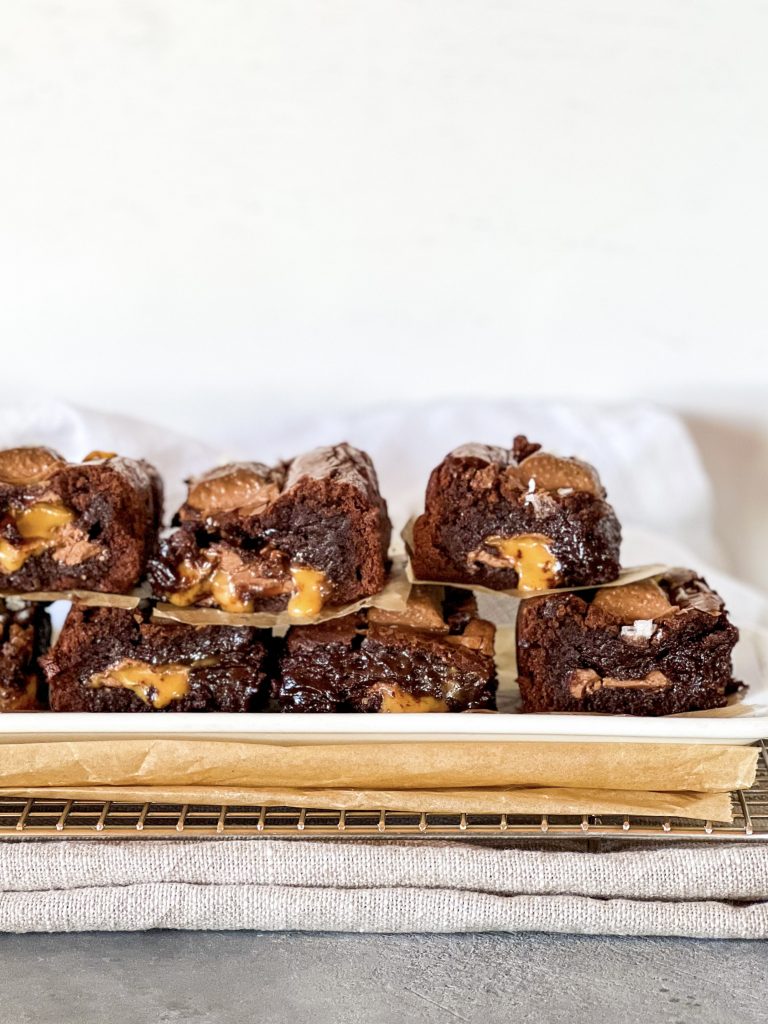
Chocolate Brownies with Caramel Squares and Sea Salt 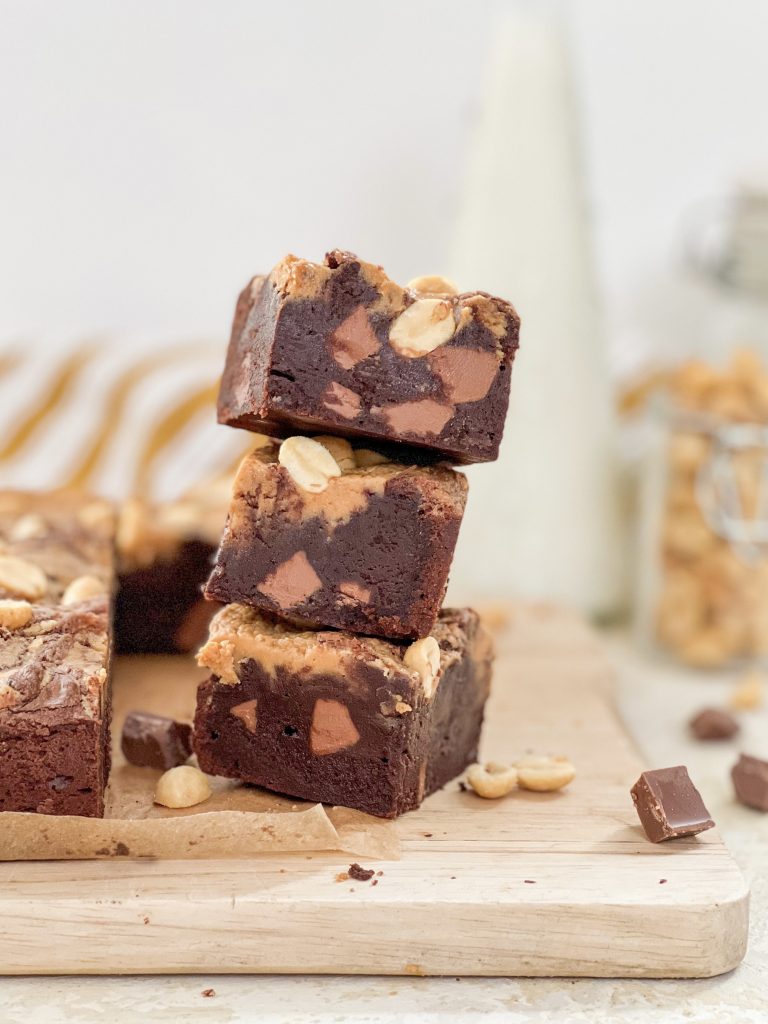
Chocolate Chunk Peanut Butter Brownies with Salted Brownies
Recipes I plan to post:
- Cookie Dough Brownies
- Reese’s Peanut Butter Cup Brownies
- Chocolate Mocha Brownies with Milk Chocolate Chunks
- Chocolate and Almond Brownies with Milk Chocolate and Roasted Almonds (gluten free)
- Chocolate Brownies with White Chocolate and Pecan Nuts
- Slutty Chocolate Orange Brownies – a delicious layer of chocolate chip cookies, Jaffa cakes, topped with brownies and a layer of chocolate orange
- Slutty Easter Brownies – a chocolate chip cookie base, Oreos, brownie layer, chocolate ganache and mini chocolate eggs – Oh my!
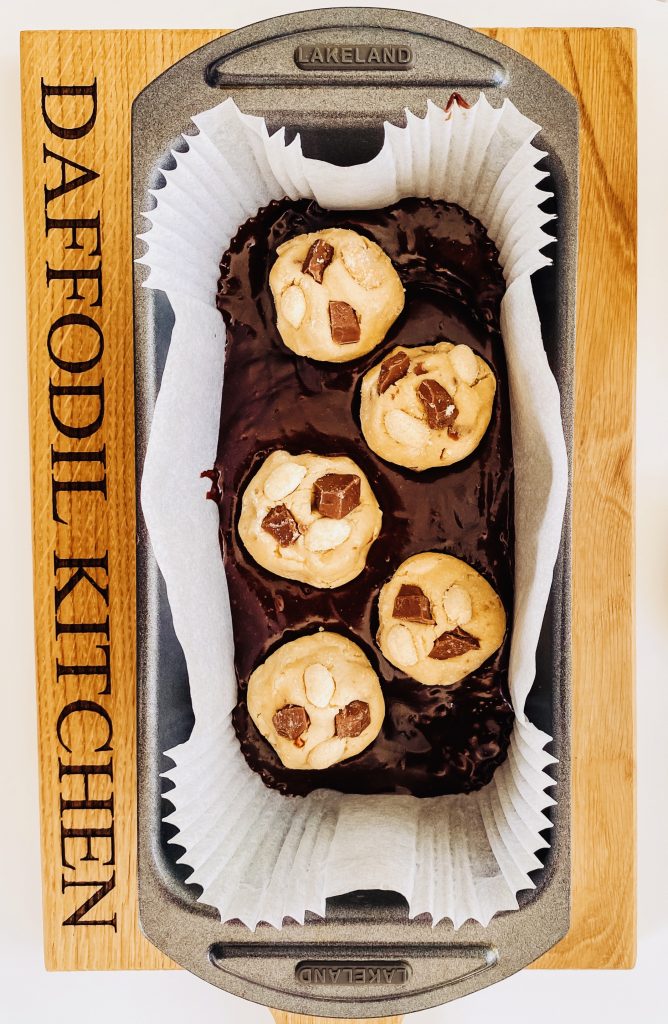
Cookie Dough Brownies 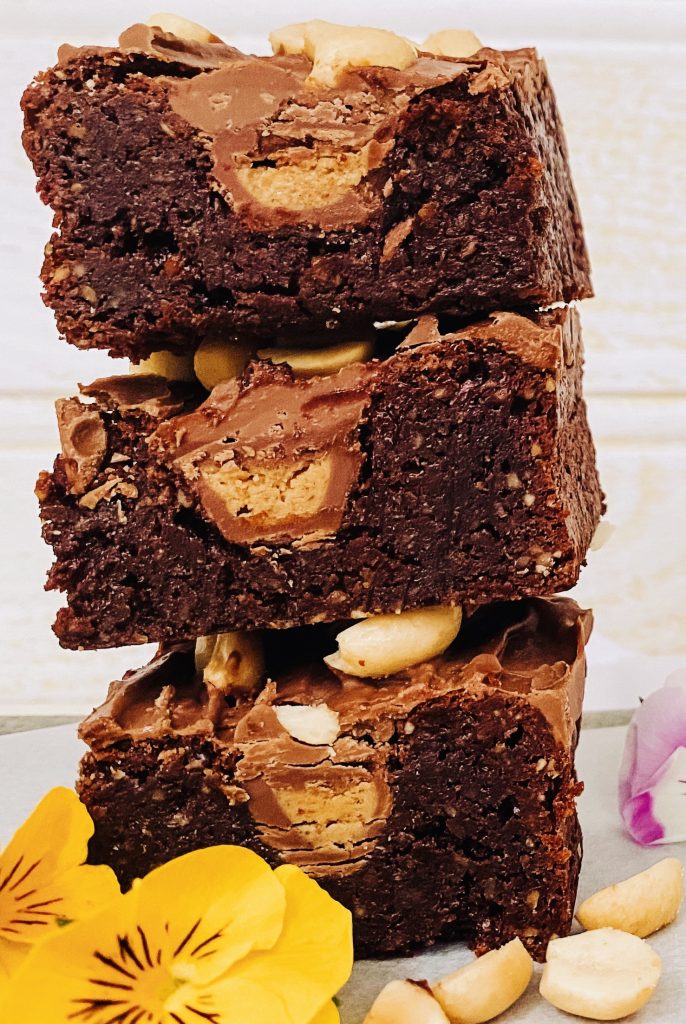
Reese’s Peanut Butter Cup Brownies
How to make Daffodil Brownies – Core Recipe
This really is one of my most versatile recipes and one which is very easy to remember. If you ever need to whip up a batch of cakes or come up with a pudding, this is my absolute go to. I don’t need to refer to the recipe or open a book!
Collect all your ingredients together and line the baking tin:
In order to guarantee soft and fudgy brownies, it is important to use the correct size tin – in this case it is a 20cm/8inch square tin. If your tin is larger the depth of your cake batter will be less and the cake will cook more quickly. Equally if the tin is smaller, your cake batter will be deeper and cook more slowly.
- Sit the tin on greaseproof paper making sure the paper is large enough to line the tin, come up the sides and have a little overhang.
- Cut out the corners of the paper so it will fit easily into the tin
- Fold the paper from corner to corner so the size of the centre of the paper matches the base of the tin. Slot inside the tin.
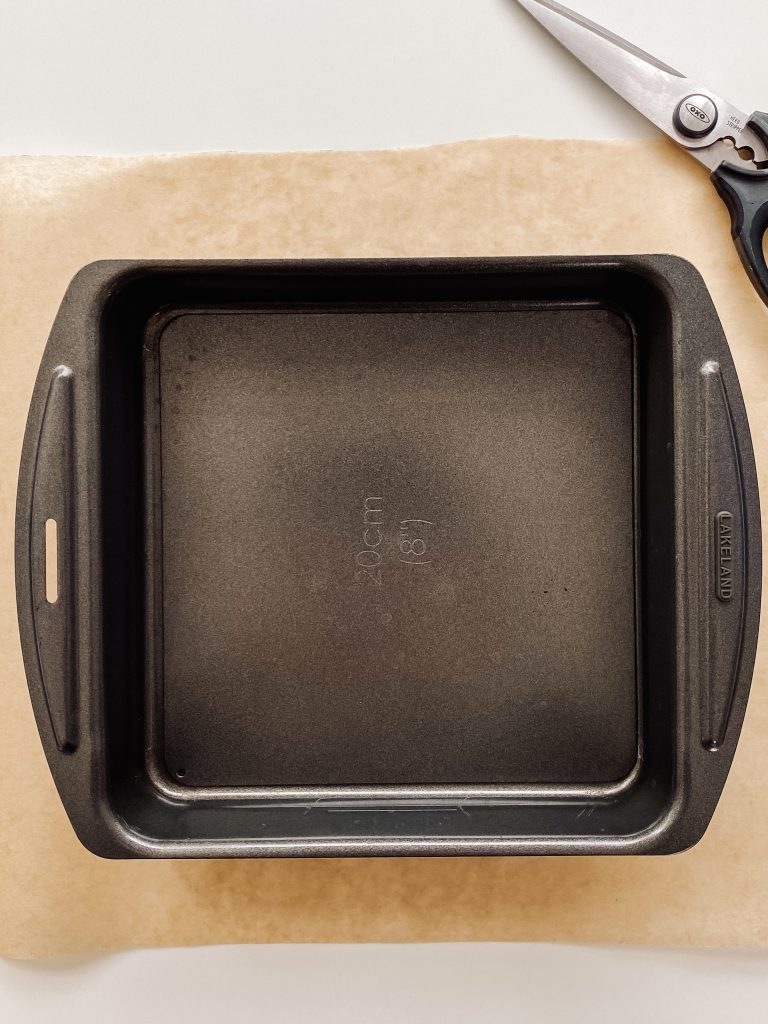
1 Tin and greaseproof paper 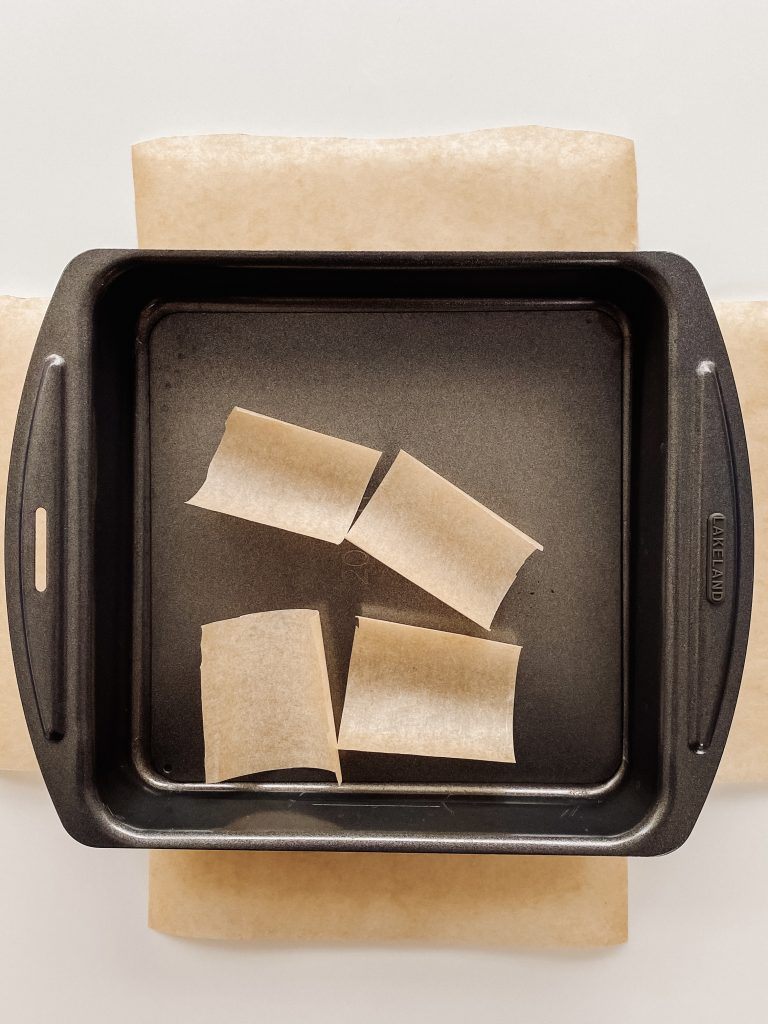
2 Cut out the corners 
3 Fold, corner to corner, and slot inside the tin
Brownie Ingredients:
- unsalted butter, in cubes
- dark chocolate, 70% cocoa solids, broken into pieces
- soft brown sugar
- caster sugar
- large eggs
- fine salt
- plain/all-purpose flour, sieved
- cocoa, sieved
- instant coffee powder, sieved
- chopped chocolate or nuts, optional
Make those brownies:
- Chop the butter into squares and place in a microwave safe bowl with the chopped chocolate. Melt in a microwave or a bain marie and mix until smooth. (See Recipe Notes for details.)
- Meanwhile put the sugars, eggs and salt in a mixing bowl and whisk with an electric whisk until thick and creamy. This will take around 3 minutes.
- Pour the chocolate and butter into the eggs and sugar, whilst whisking, and mix thoroughly with the electric whisk until smooth and glossy.
- Put a sieve over the bowl and add the flour, cocoa and coffee. Sift directly over the cake batter. Fold in but be careful not to over-mix at this stage.
- Transfer to your lined baking tin and level the surface, making sure the cake batter goes all the way into the corners.
- Bake in the centre of the pre-heated oven for 20 – 25 minutes, depending on how squidgy you like the centre to be. (I cook mine for 23 minutes in London and 24 minutes in Switzerland.) This gives me a slightly crispy top but a gorgeous gooey centre. The cake will be slightly risen and cracked around the edges (see the pictures below) but the centre will feel quite soft. Remember the cake will continue to cook after you have taken it out of the oven.
- Leave to cool in the tin for 20 – 30 minutes and then transfer, in the baking parchment to a cooling rack.
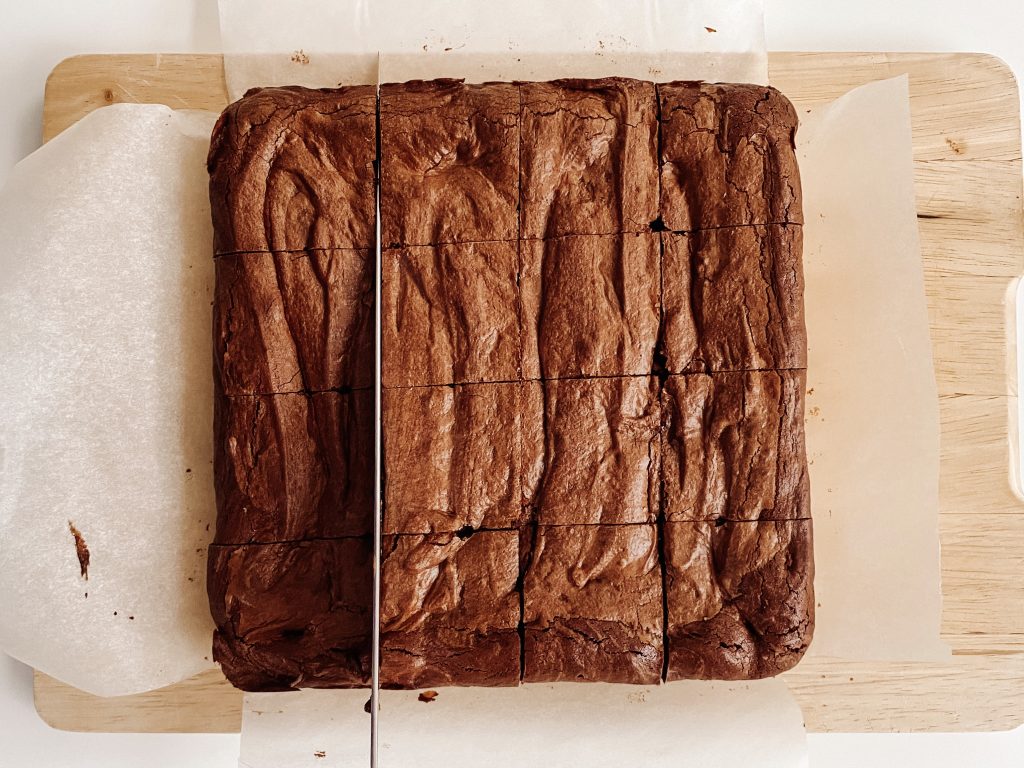
- When the brownies are cold, lay on a chopping board and cut into 16; they are rich and this size is big enough for me. If you want more, just grab another one! However, if making these for a bake sale and selling individually, I would them cut into 9 squares.
- If I have time and/or if I want my brownies to look really smart, I put my brownies in the fridge to harden before I cut them. You will get much better lines and edges – definitely do this if trying to impress or gifting/selling them! However, they are best served at room temperature.
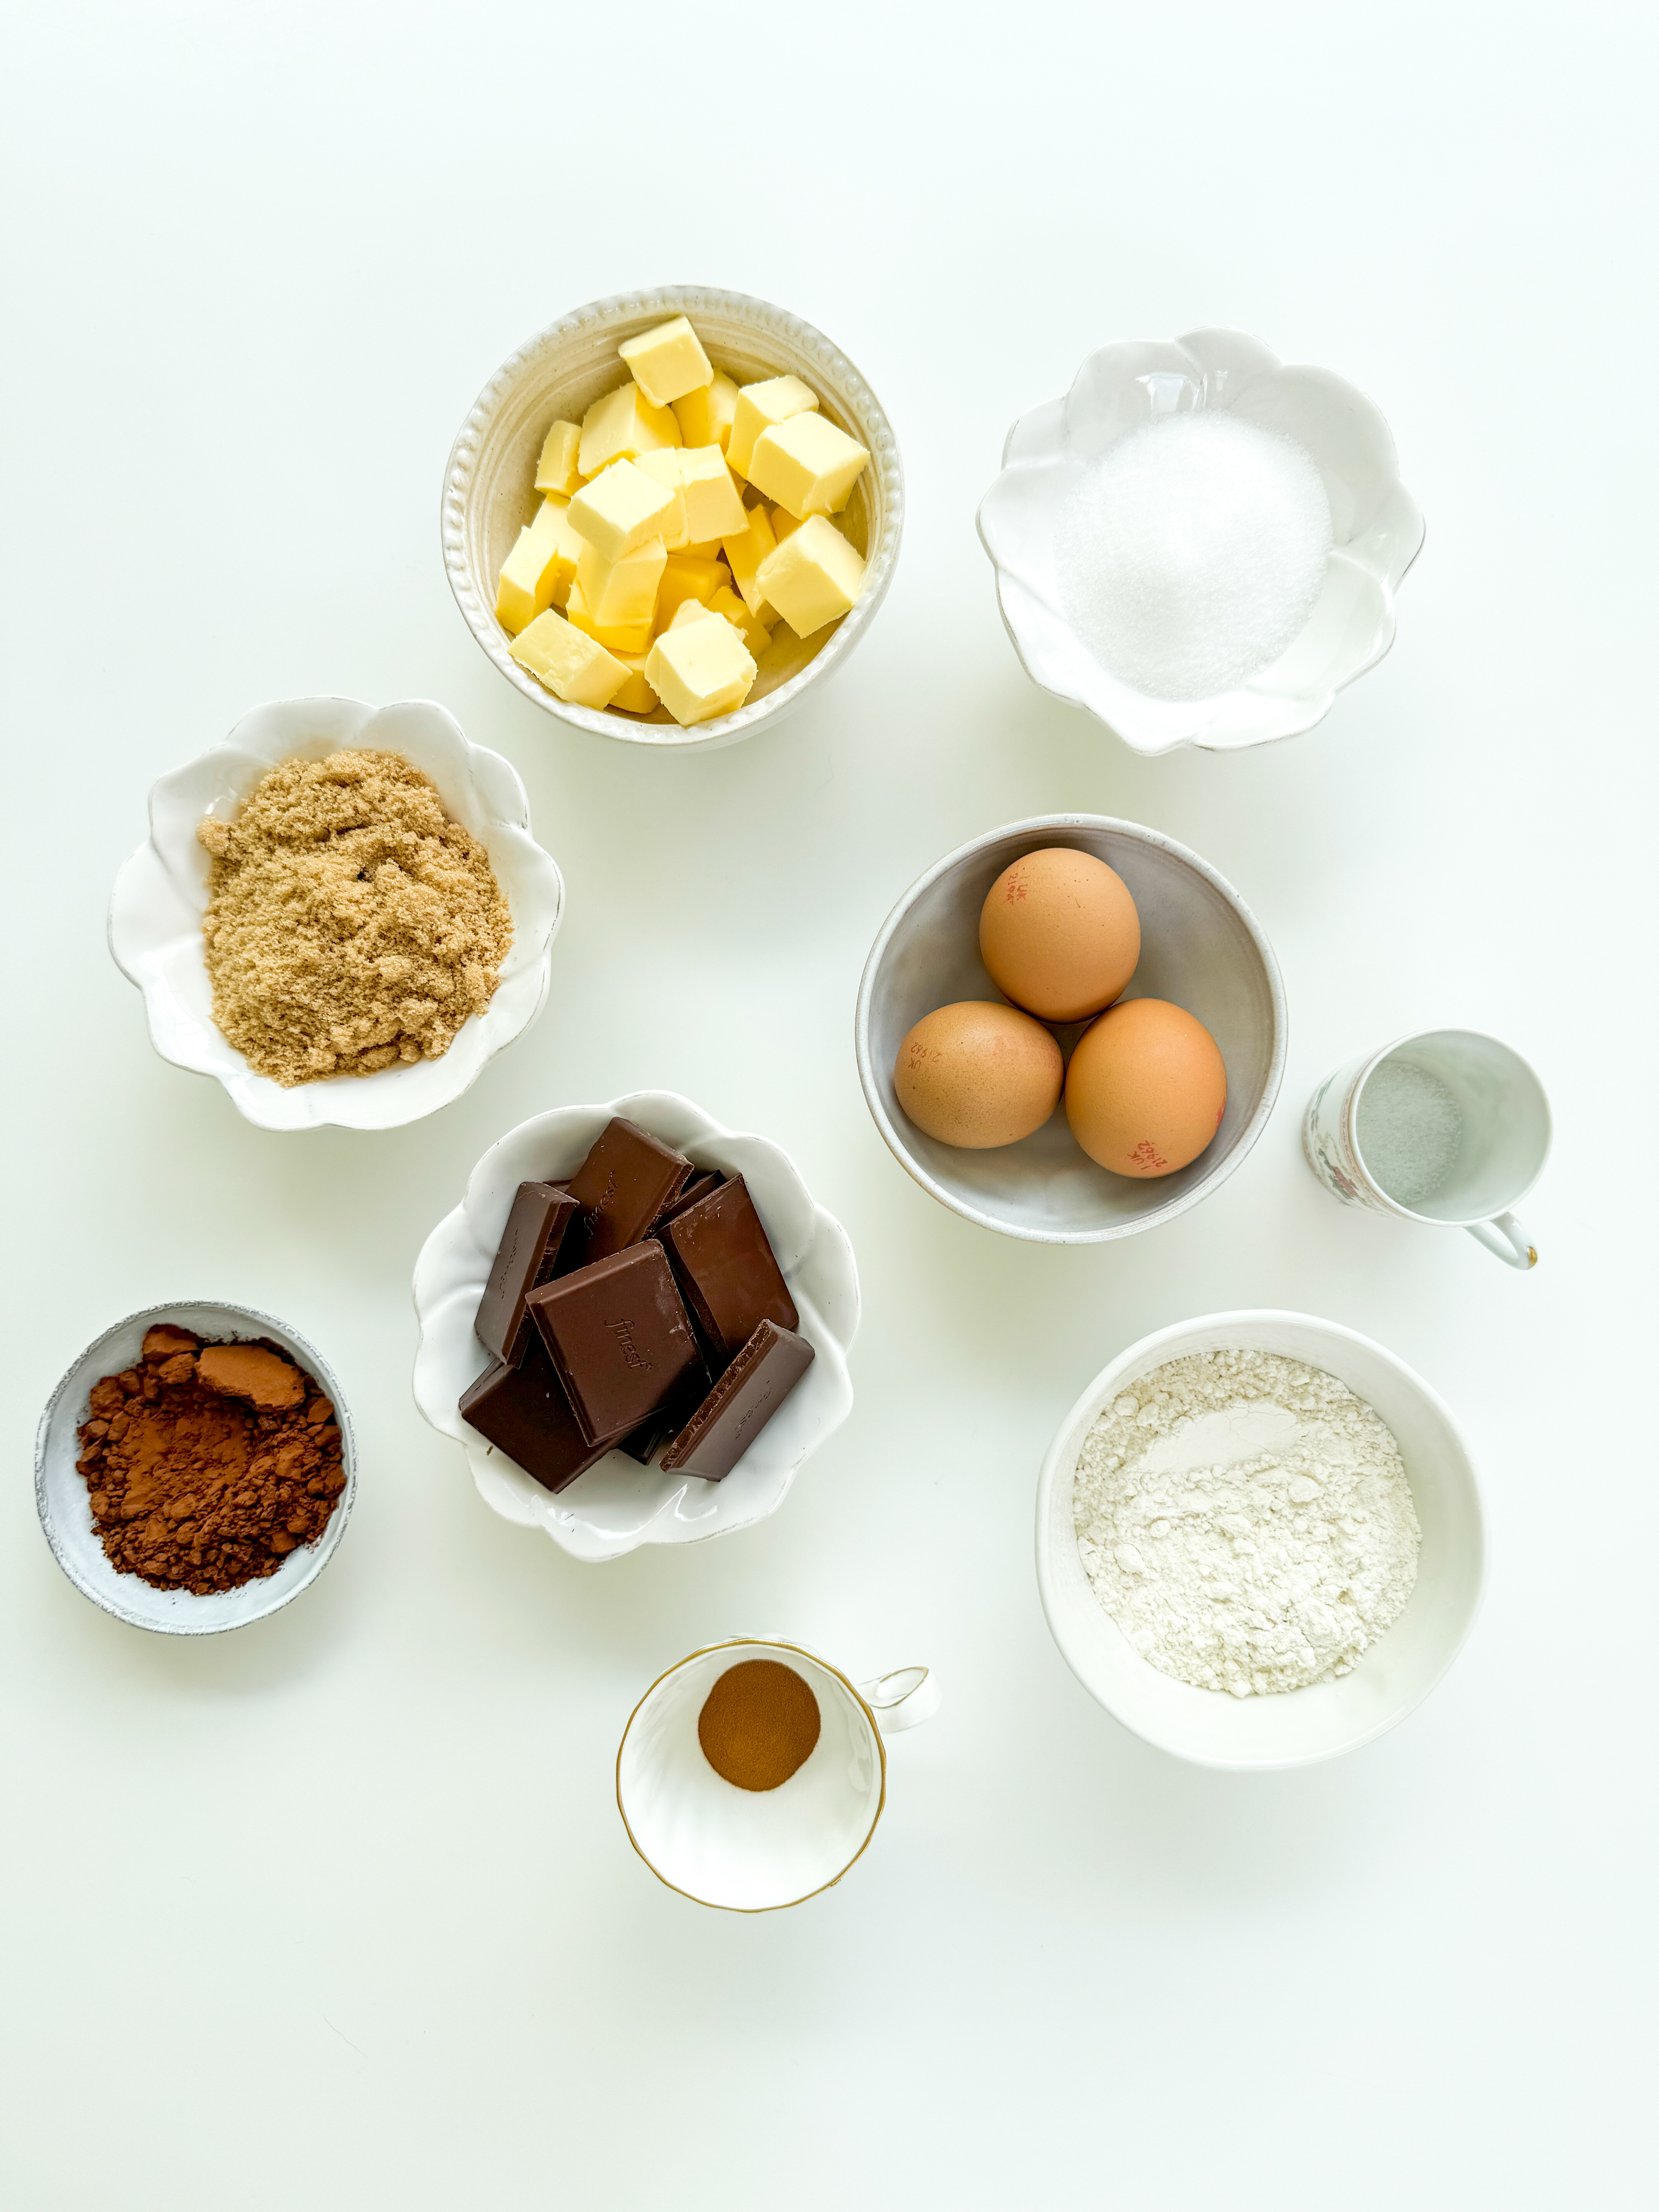
Ingredients 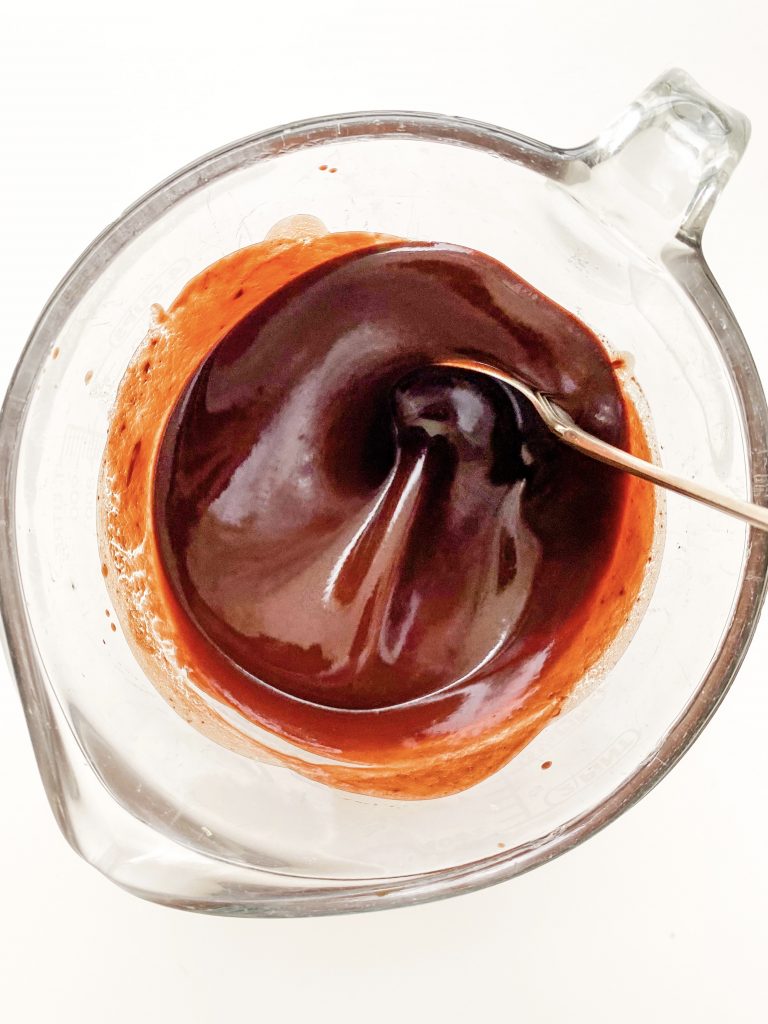
1 Butter, chocolate 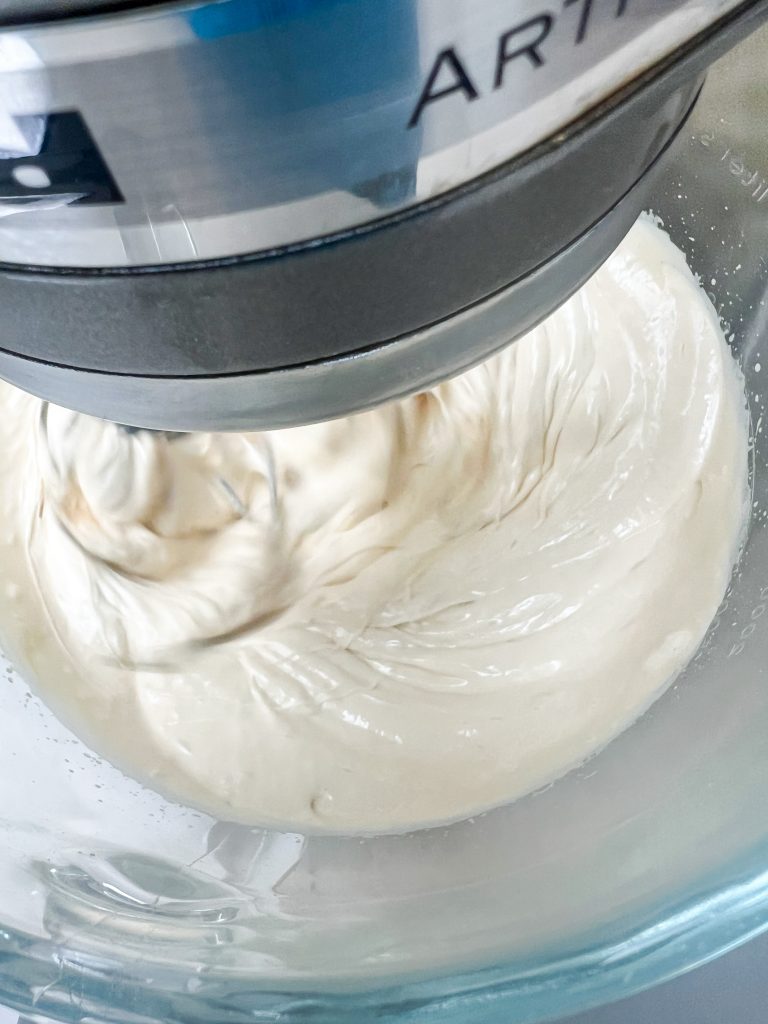
2 Eggs, sugar 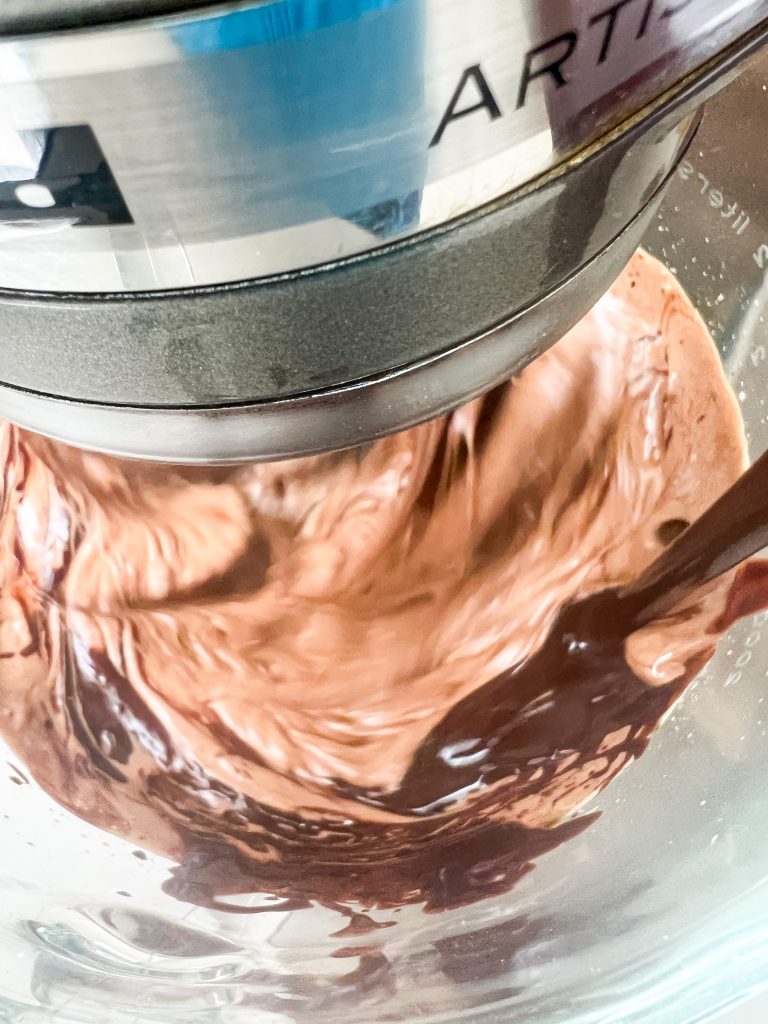
3 Add chocolate & butter 
Smooth & glossy 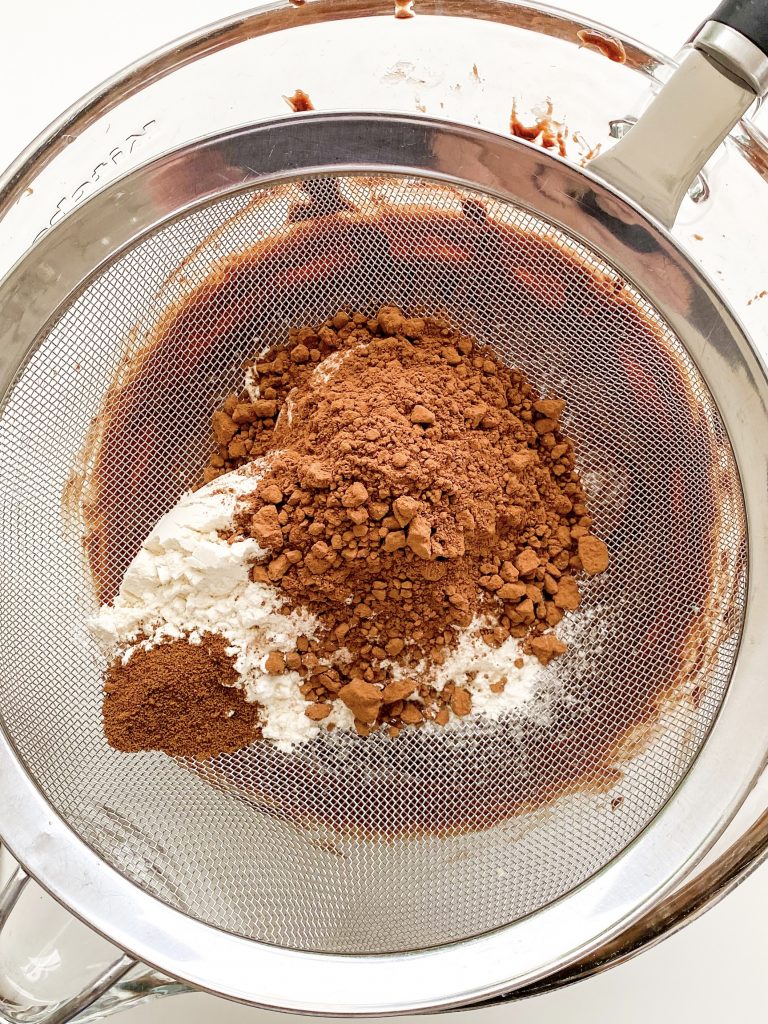
4 Flour, cocoa, coffee 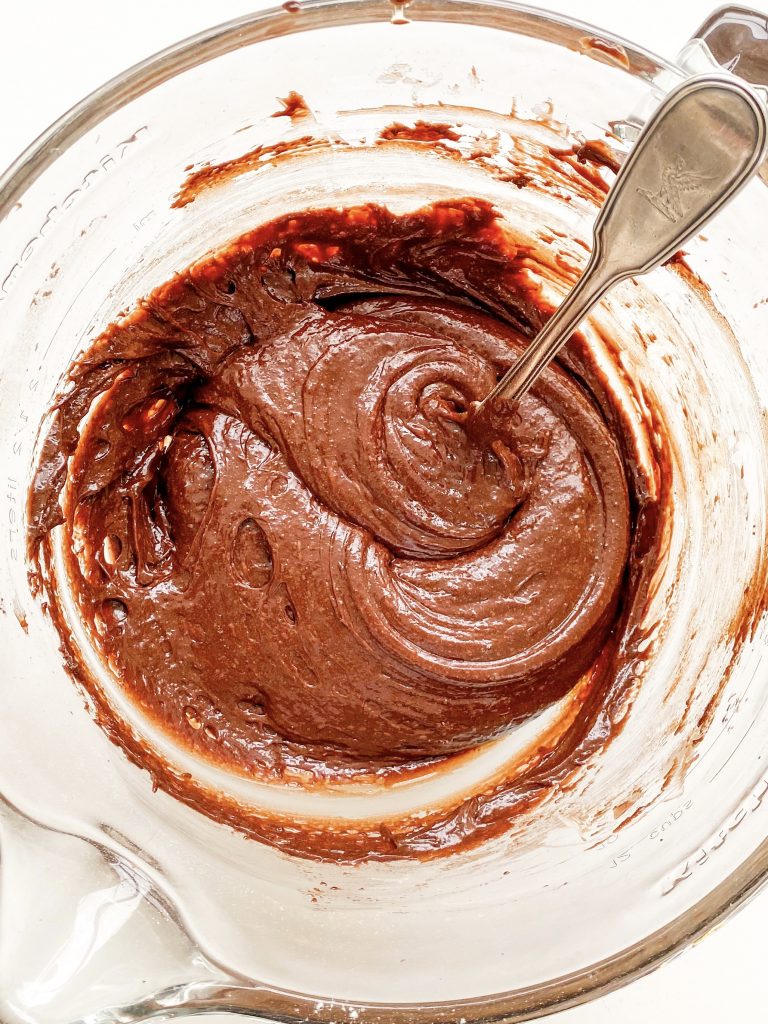
Fold in 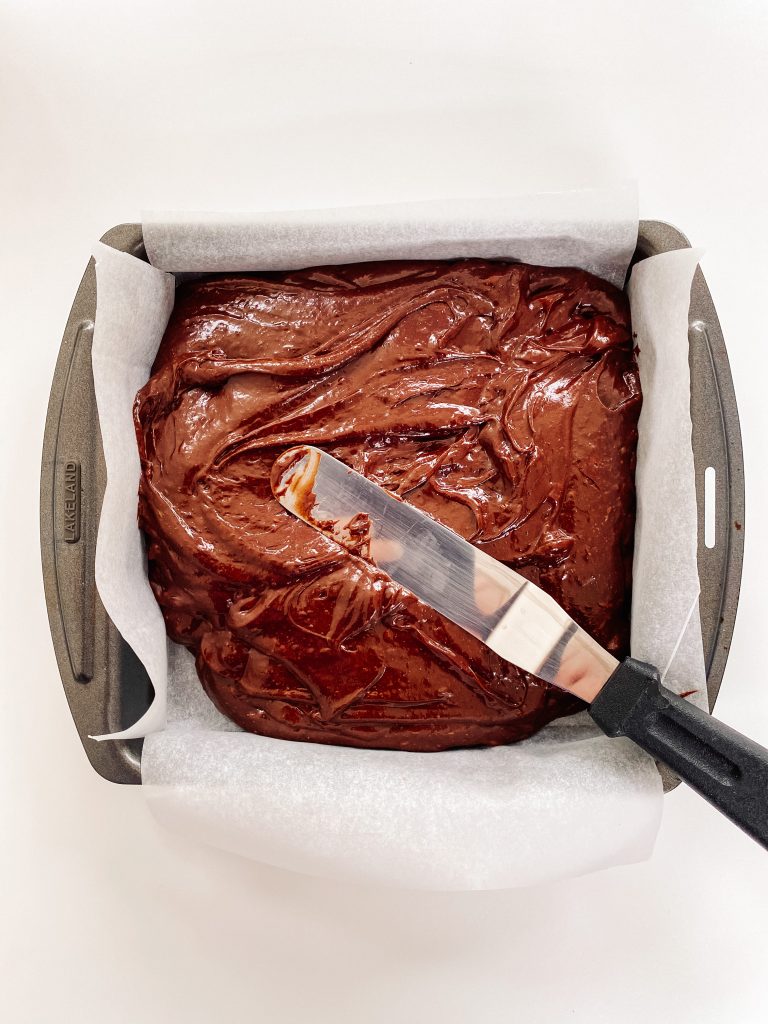
5 Cake tin 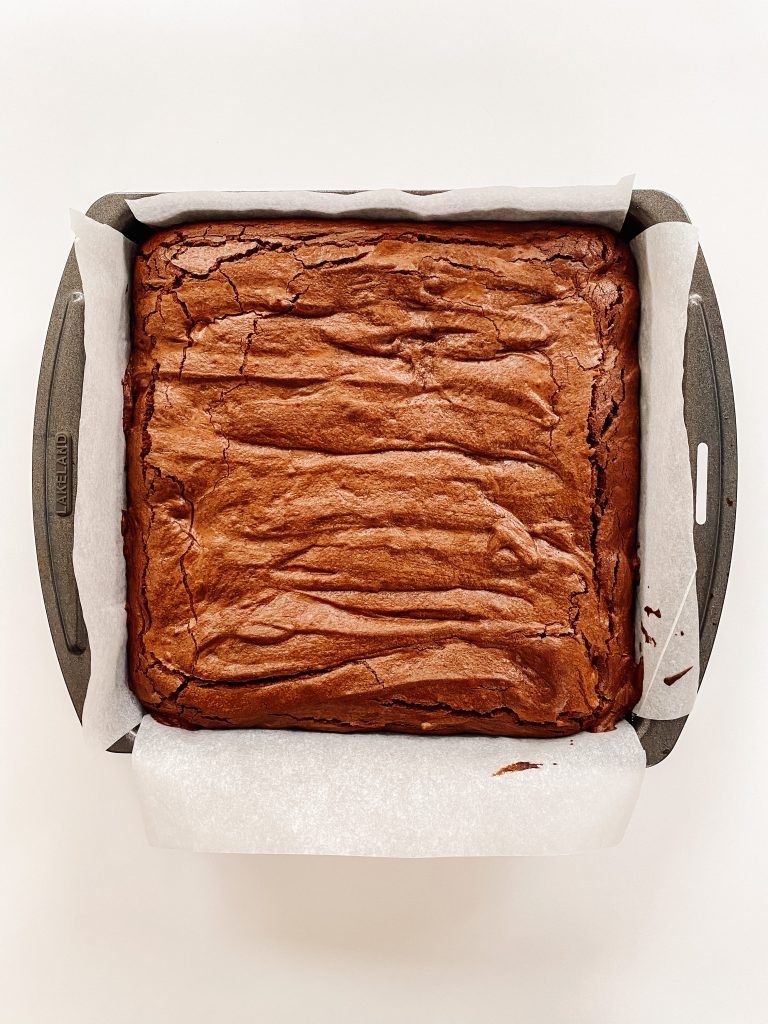
6 Bake
What is the best way to store brownies?
When you store brownies, it is important to cover them. They keep well for up to 3 days at room temperature or up to 5 days in the fridge. However, if you are storing them in the fridge, remember to take them out to warm up to room temperature before you serve them.
What is the best way to warm brownies?
I adore warm brownies for dessert, served with ice cream. If you have made the brownies in advance and want to warm them up, simply zap each brownie in the microwave for 10 – 20 seconds. The time it takes will depend on the temperature of the brownies to start with (ie have they been in the fridge or not?), the power of the microwave and how hot you actually want them. I like mine warm, but not too hot. I recommend heating them in 10 second increments until you are happy with the heat.
If you do not have a microwave, you could warm them in the oven. Cover with foil and place them in an oven preheated to fan oven 150°C/170°C/325°F/Gas 3 for 1 – 3 minutes. (Depending on how many you are heating and how hot you want them.) Check them after 1 minute and be careful not to overheat, as you may over cook them.
Can I freeze these brownies?
Yes you can! These brownies freeze well, covered, for up to 3 months.
Made this recipe?
If you make this recipe, do please tag me on instagram @daffodil_kitchen. You could also leave a comment in the box directly below the recipe.
Daffodil Brownies – Core Recipe
Delicious, fudgy, intense chocolate squares with a hint of salt. Soft and gooey on the inside, slightly crispy on the outside
Ingredients
- 200g unsalted butter, in cubes
-
200g dark chocolate, 74% cocoa solids, broken into pieces
-
150g soft brown sugar
- 50g caster sugar
-
3 large eggs
- ¼ teaspoon fine salt
-
100g plain/all-purpose flour, sieved
- 25g cocoa, sieved
-
½ teaspoon instant coffee powder, sieved
- 100g chopped chocolate or nuts, optional
Instructions
-
Collect together your equipment (see Recipe Notes below) and ingredients.
-
Preheat oven to fan oven 170°C /190°C/375°F/Gas 5
-
Chop the butter into squares and place in a microwave safe bowl with the chopped chocolate. Melt in a microwave or a bain marie and mix until smooth. (See Recipe Notes for details.)
-
Meanwhile put the sugar, eggs and salt in a mixing bowl and whisk with an electric whisk until thick and creamy. This will take around 3 minutes.
-
Pour the chocolate and butter into the eggs and sugar, whilst whisking, and mix thoroughly with the electric whisk until smooth and glossy.
-
Finally add the flour, sifted cocoa, coffee and chocolate pieces and fold into the chocolate mix. Do not over mix at this stage.
-
Transfer to your baking tin and level the surface. Cook in the oven for 20 – 25 minutes, depending on how squidgy you like the centre to be. It will carry on cooking when you take it out of the oven so bear this in mind. (I cook mine for 23 minutes in London and 24 minutes in Switzerland.)
-
Leave to cool in the tin for 30 minutes and then, using the overhanging parchment, transfer the brownies to a cooling rack – do not remove the parchment, they will be too fragile
-
Leave to cool completely before cutting into squares
-
N.B. To speed up the cooling process and/or create particularly neat edges when cutting, transfer to a fridge to cool and slice when very cool. However, they are best served at room temperature.
Recipe Notes
Equipment
- Large microwave safe jug or heatproof bowl
- Electric whisk and mixing bowl
- Kitchen scales and measuring spoons
- Sieve
- Chopping board and knife
- 20cm/8inch square baking tin lined with baking parchment
Be very careful melting the chocolate. Chocolate can be very difficult to work with. You can overheat it very easily and the mixture will go grainy. When this happens, there is no way to resolve it I’m afraid!
Microwave: I give the chocolate and butter a minute in the microwave, take it out and stir it well, then let it sit for a few minutes to see if it continues melting sufficiently to melt all the chocolate. If not, I then continue with the microwave but in 10 – 15 second bursts.
Bain Marie: if you do not have a microwave, put the chocolate and butter in a heatproof bowl over a saucepan of gently simmering water. Do not let the base of the bowl touch the water. Heat until the chocolate and butter are very nearly melted then take it off the heat and take the bowl off the saucepan. Be very careful not to burn yourself as the bowl will be hot and steam will escape from the saucepan. Allow the mixture to sit for a few minutes for the residual heat to melt the remainder of the mixture. Again, be careful not to over-heat.


3 Comments
Emma
My absolute favourite brownie recipe- i love doing the mocha and the orange chocolate variants the most!
Rhian Clarke
Straightforward and ‘easy to follow recipe’. Illustrations were welcome. These are not going to last long in my house!
Susan
Hi Rhian. Thank you so much for the feedback. I am so pleased you enjoyed these brownies; they are one of our favourites as well! I am fairly new to blogging and really appreciate the feedback. Thank you. Susan 💛🌼